

How to Take Your First Sale
Before you put the POS in front of staff, take one sale yourself. It takes two minutes and it catches every setup mistake at once.
Before you start
Section titled “Before you start”Three things have to be in place:
- Enable Point of Sale System is on under Configuration → General
- An outlet exists, is Active, and has at least one payment method assigned
- You are signed in as an administrator, a shop manager or a POS Cashier
Step 1: Open the terminal
Section titled “Step 1: Open the terminal”Go to yoursite.com/pos, or use Visit POS in the WordPress admin bar under your site name.
Sign in if you are not already.
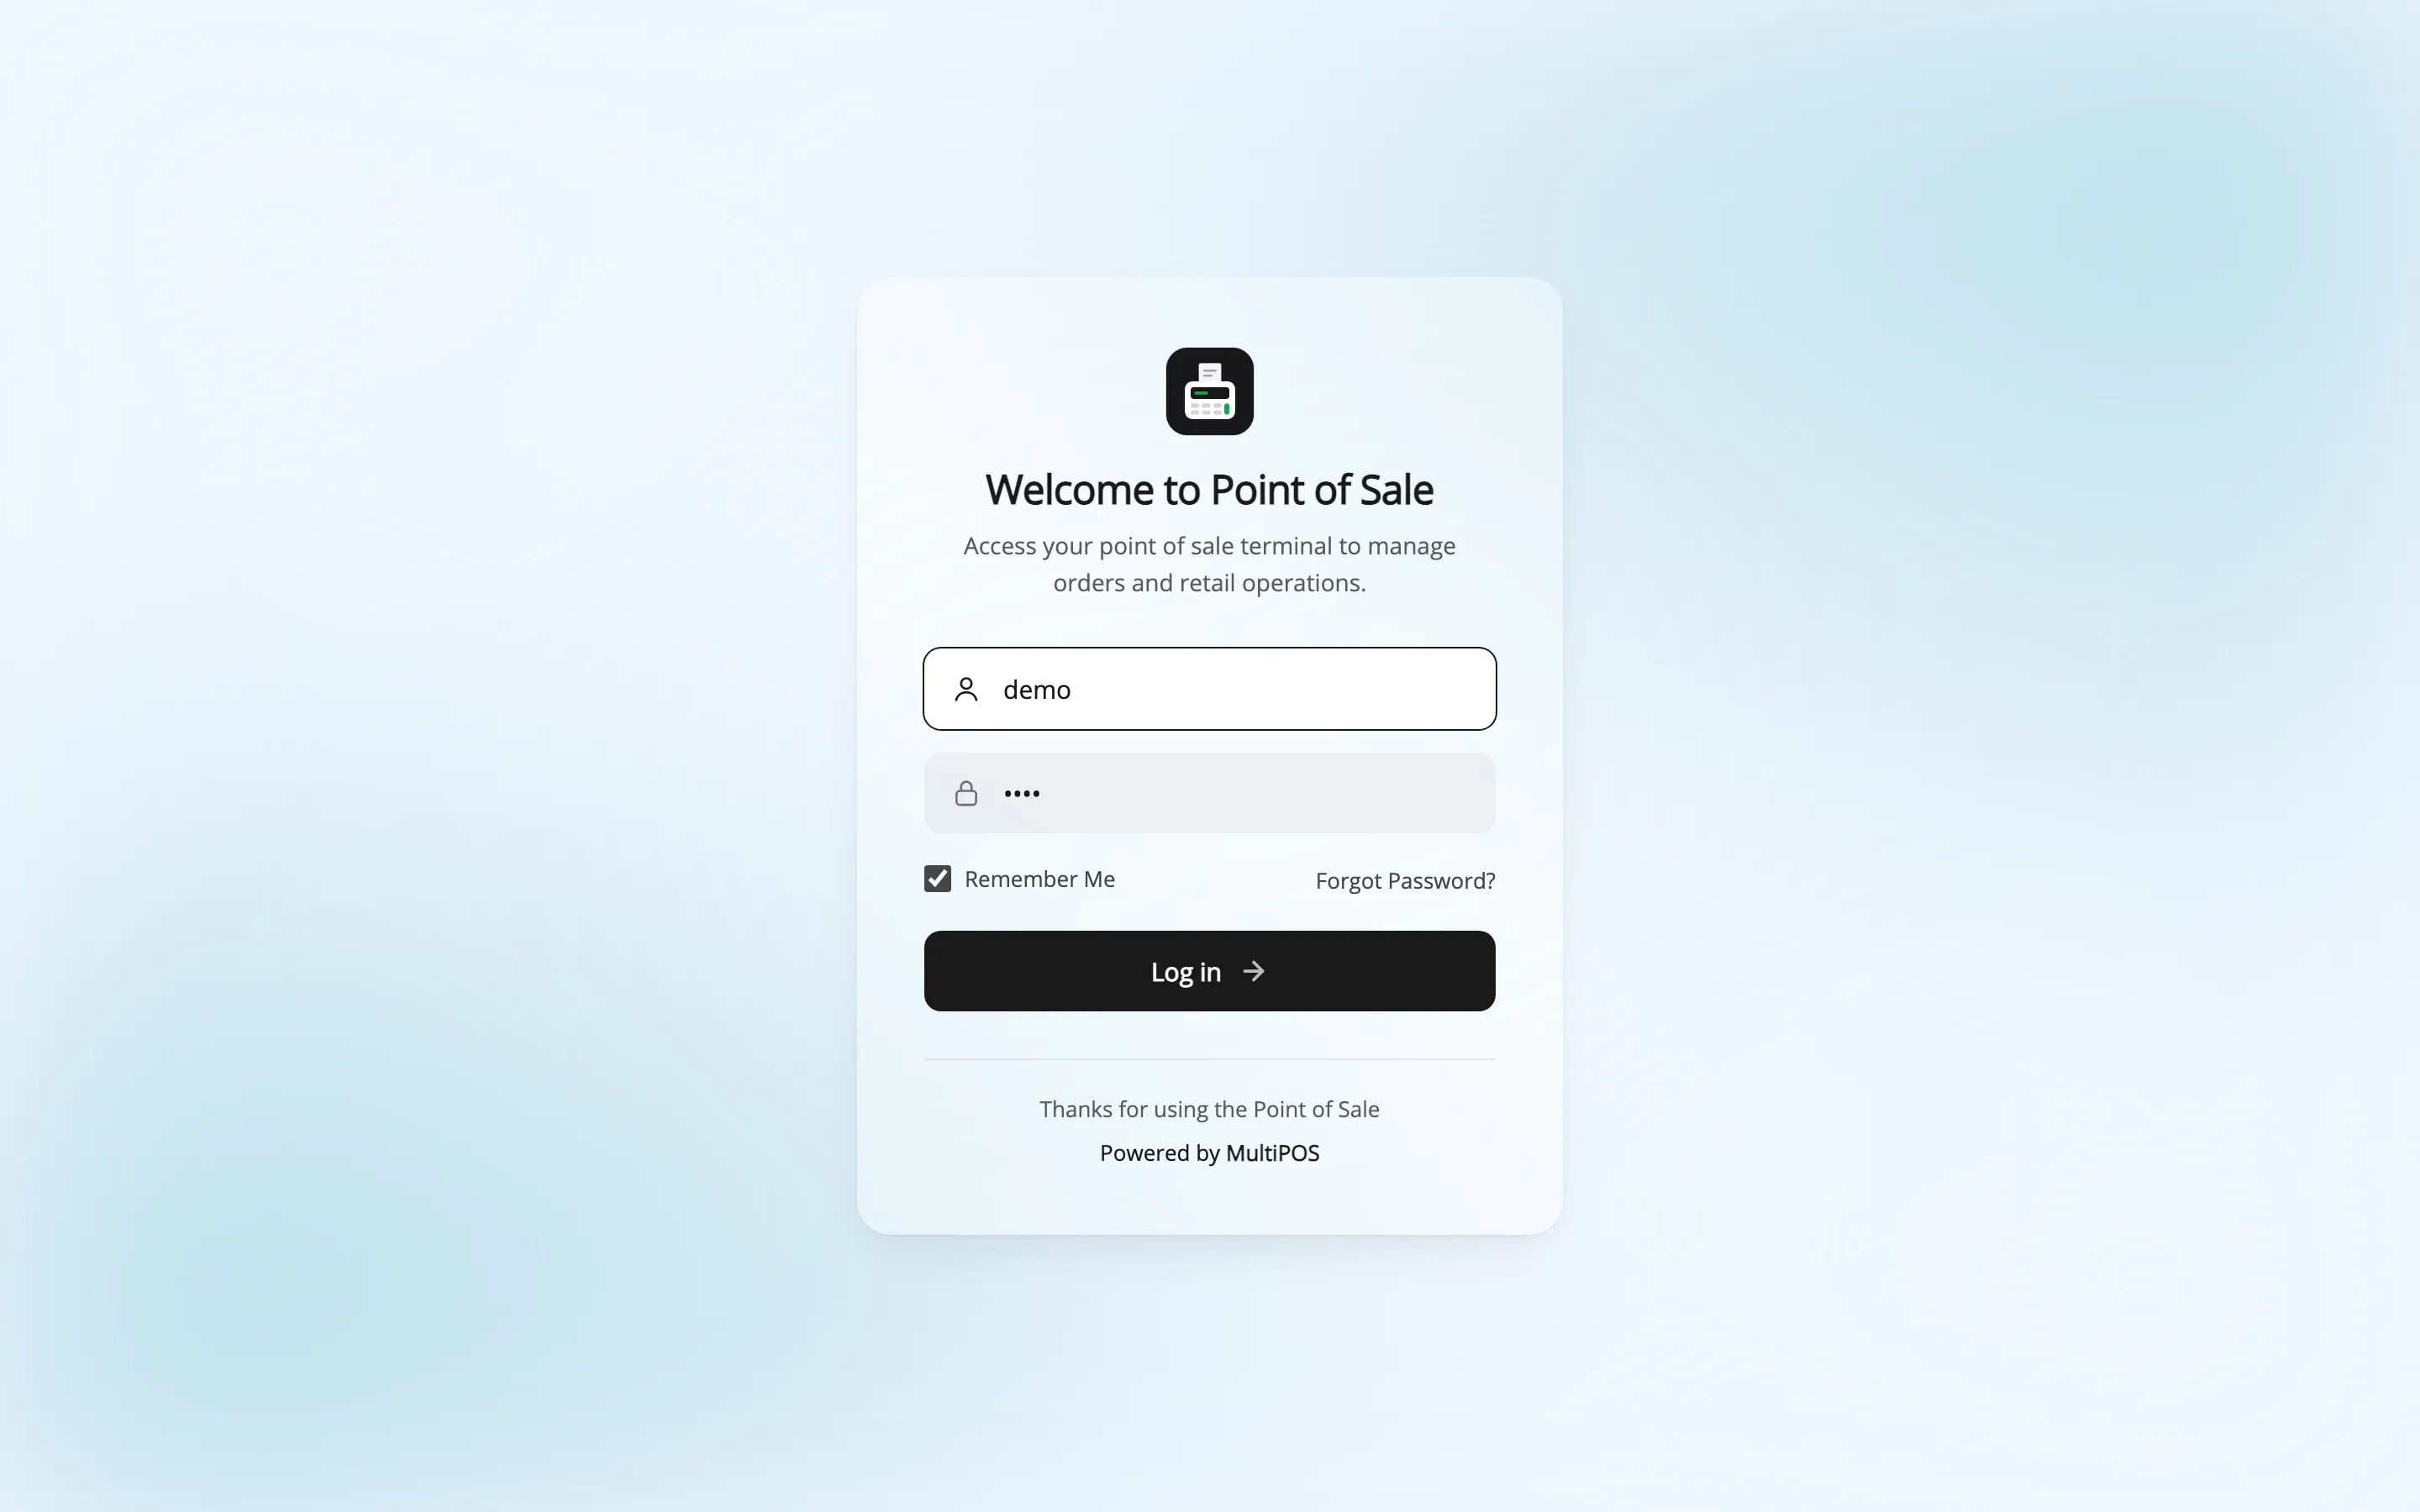
Then pick your outlet.
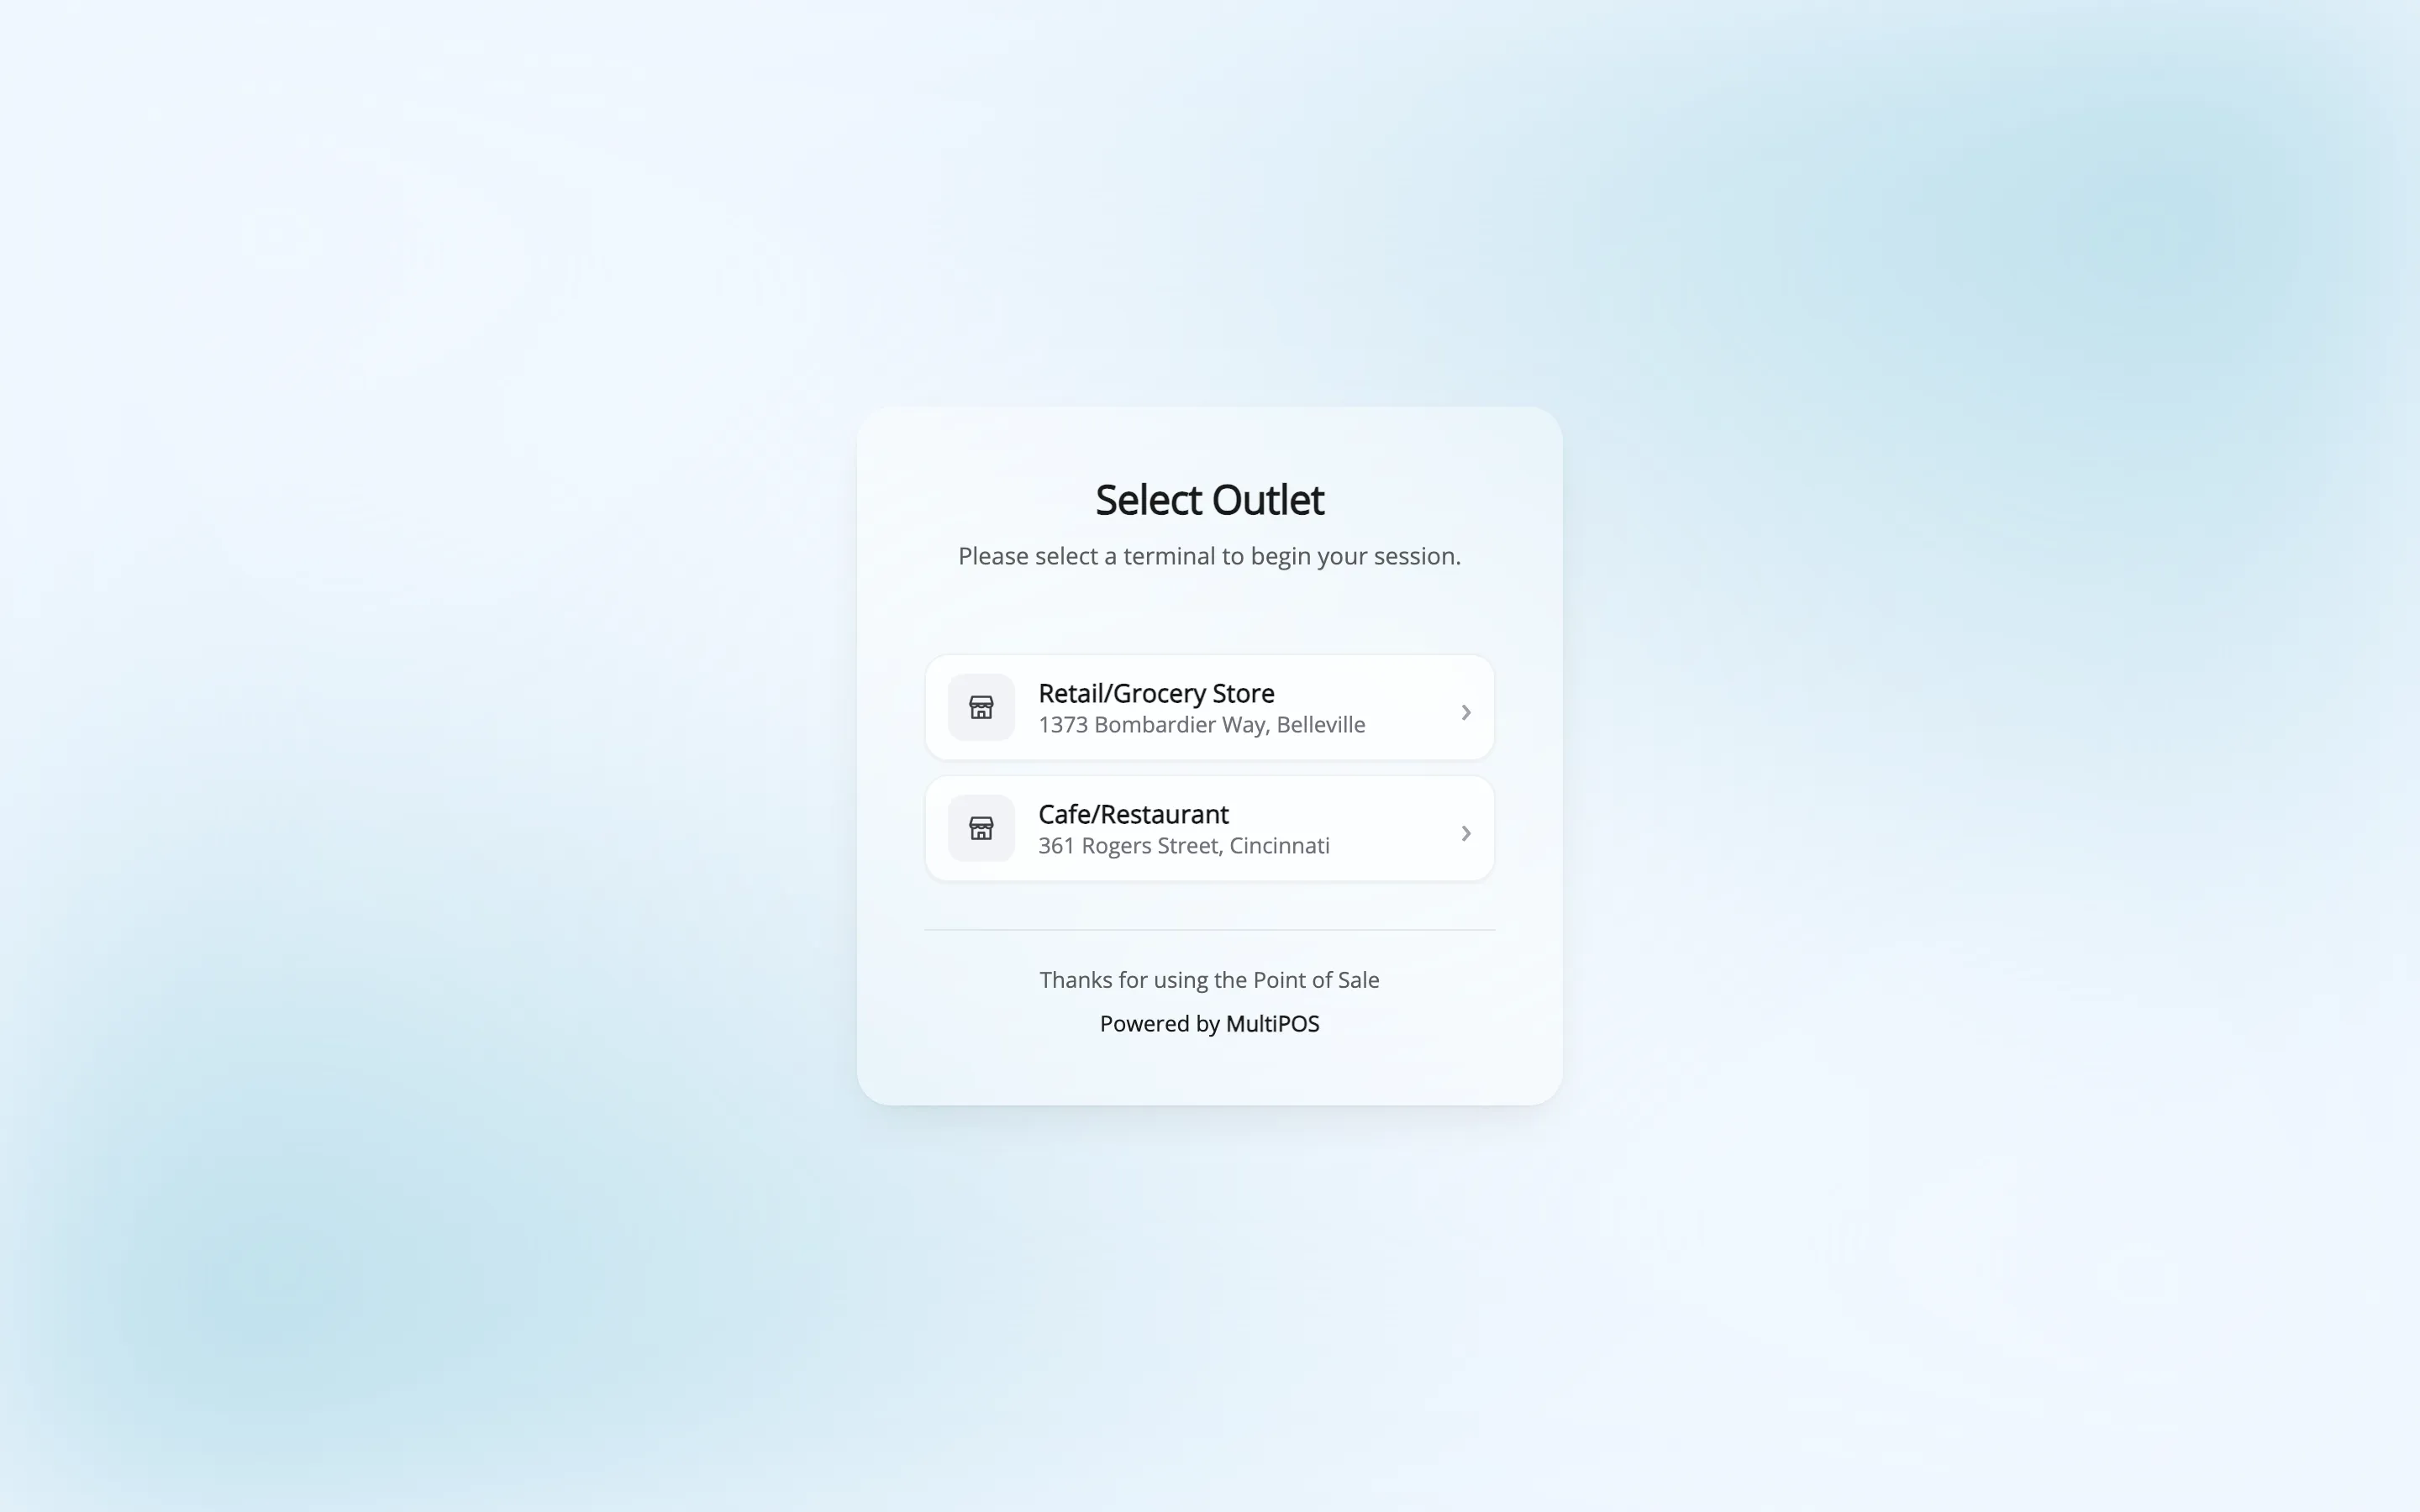
The choice is remembered in this browser, so you only do it once per device.
Step 2: Add products to the cart
Section titled “Step 2: Add products to the cart”The POS loads on the product grid.
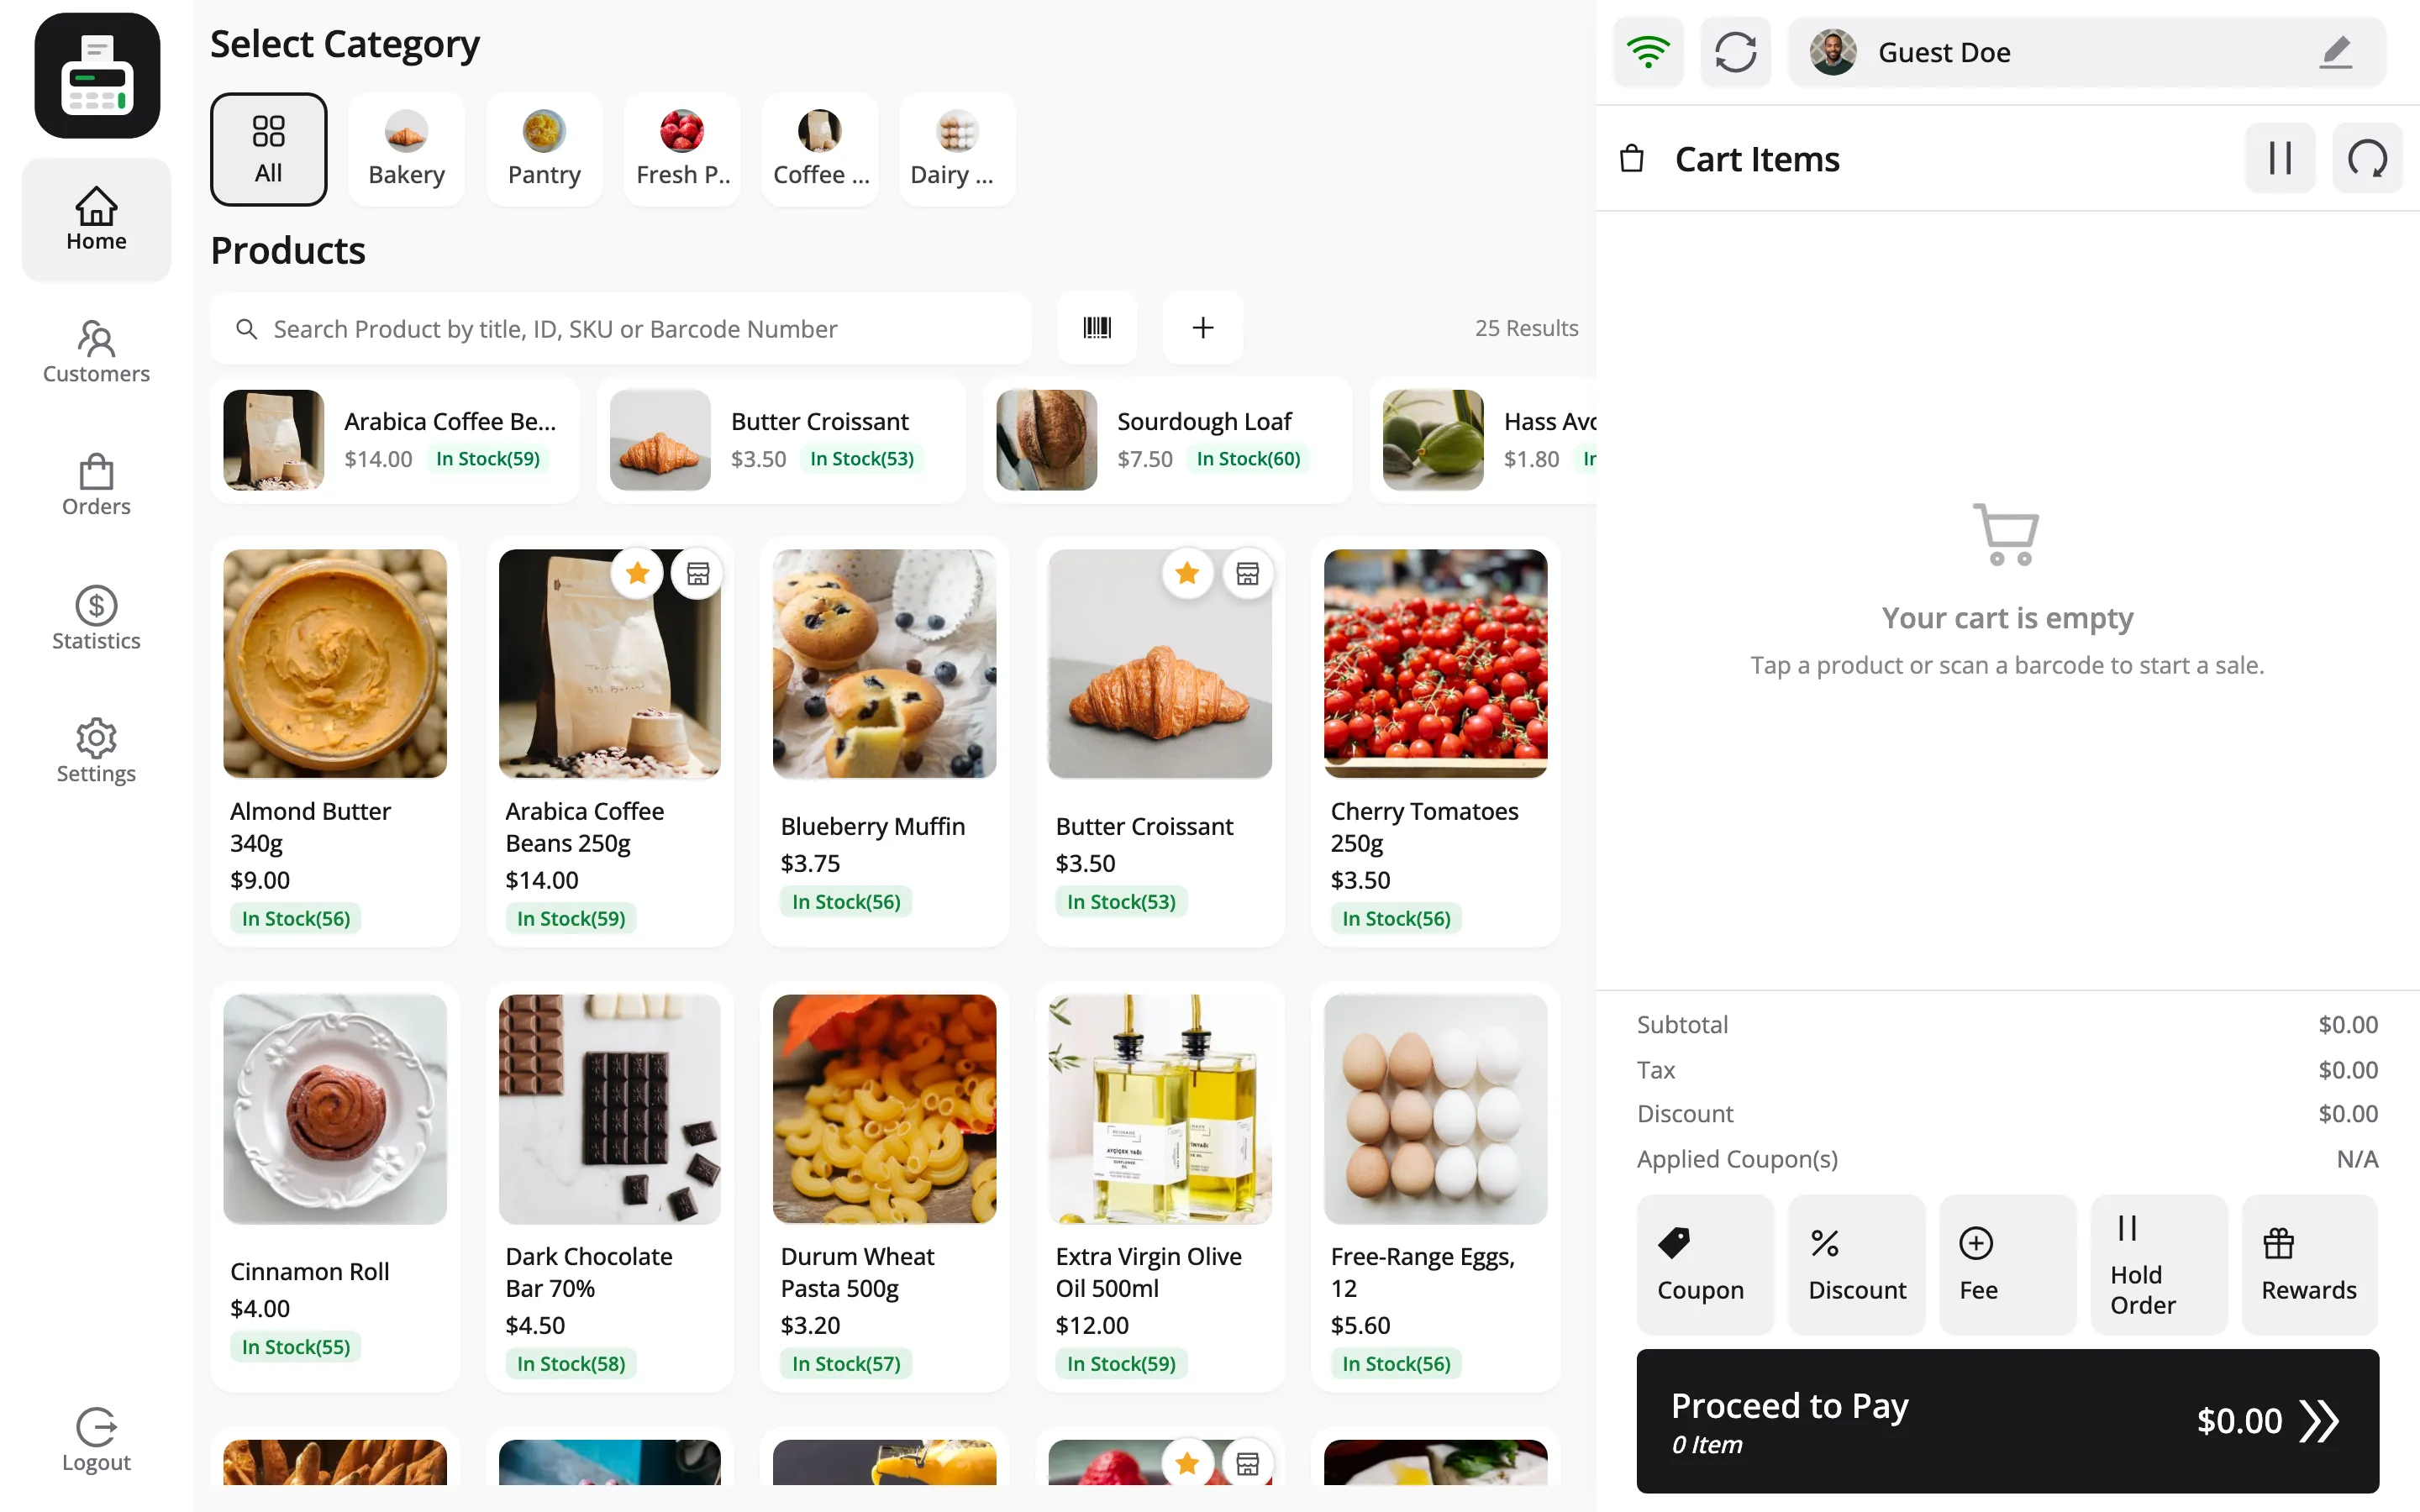
Three ways to add something:
Tap a product card. It goes straight into the cart.
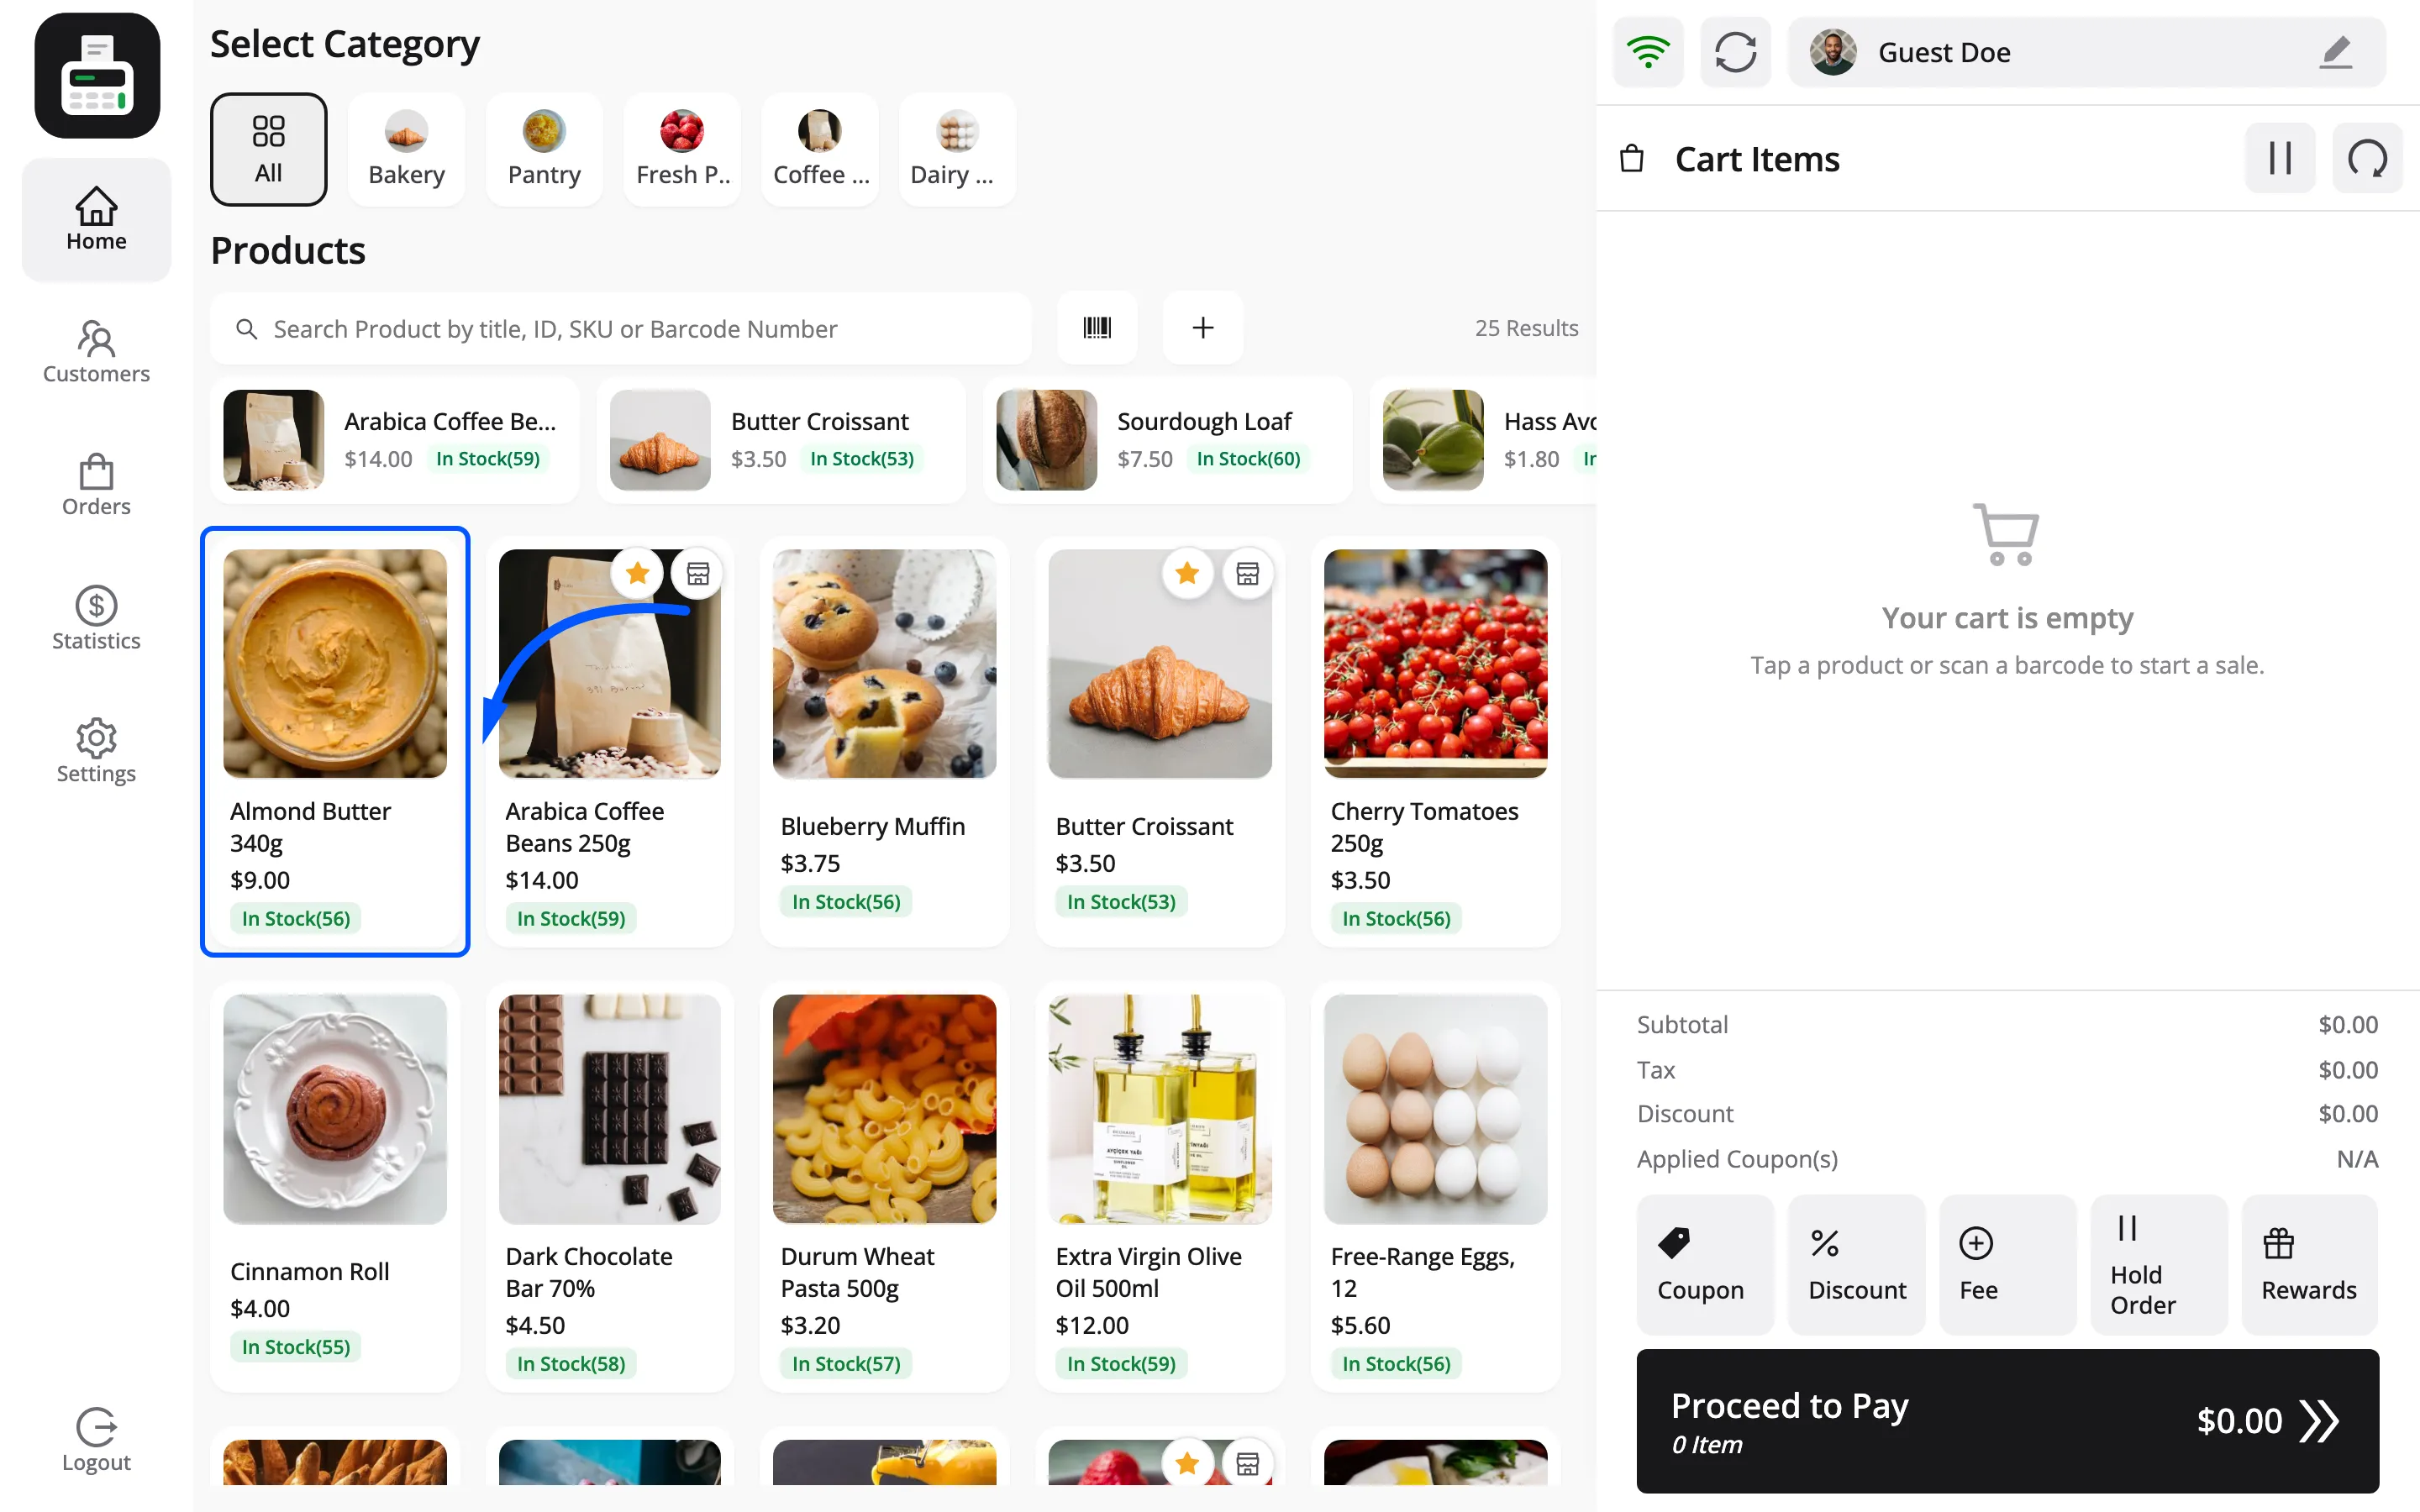
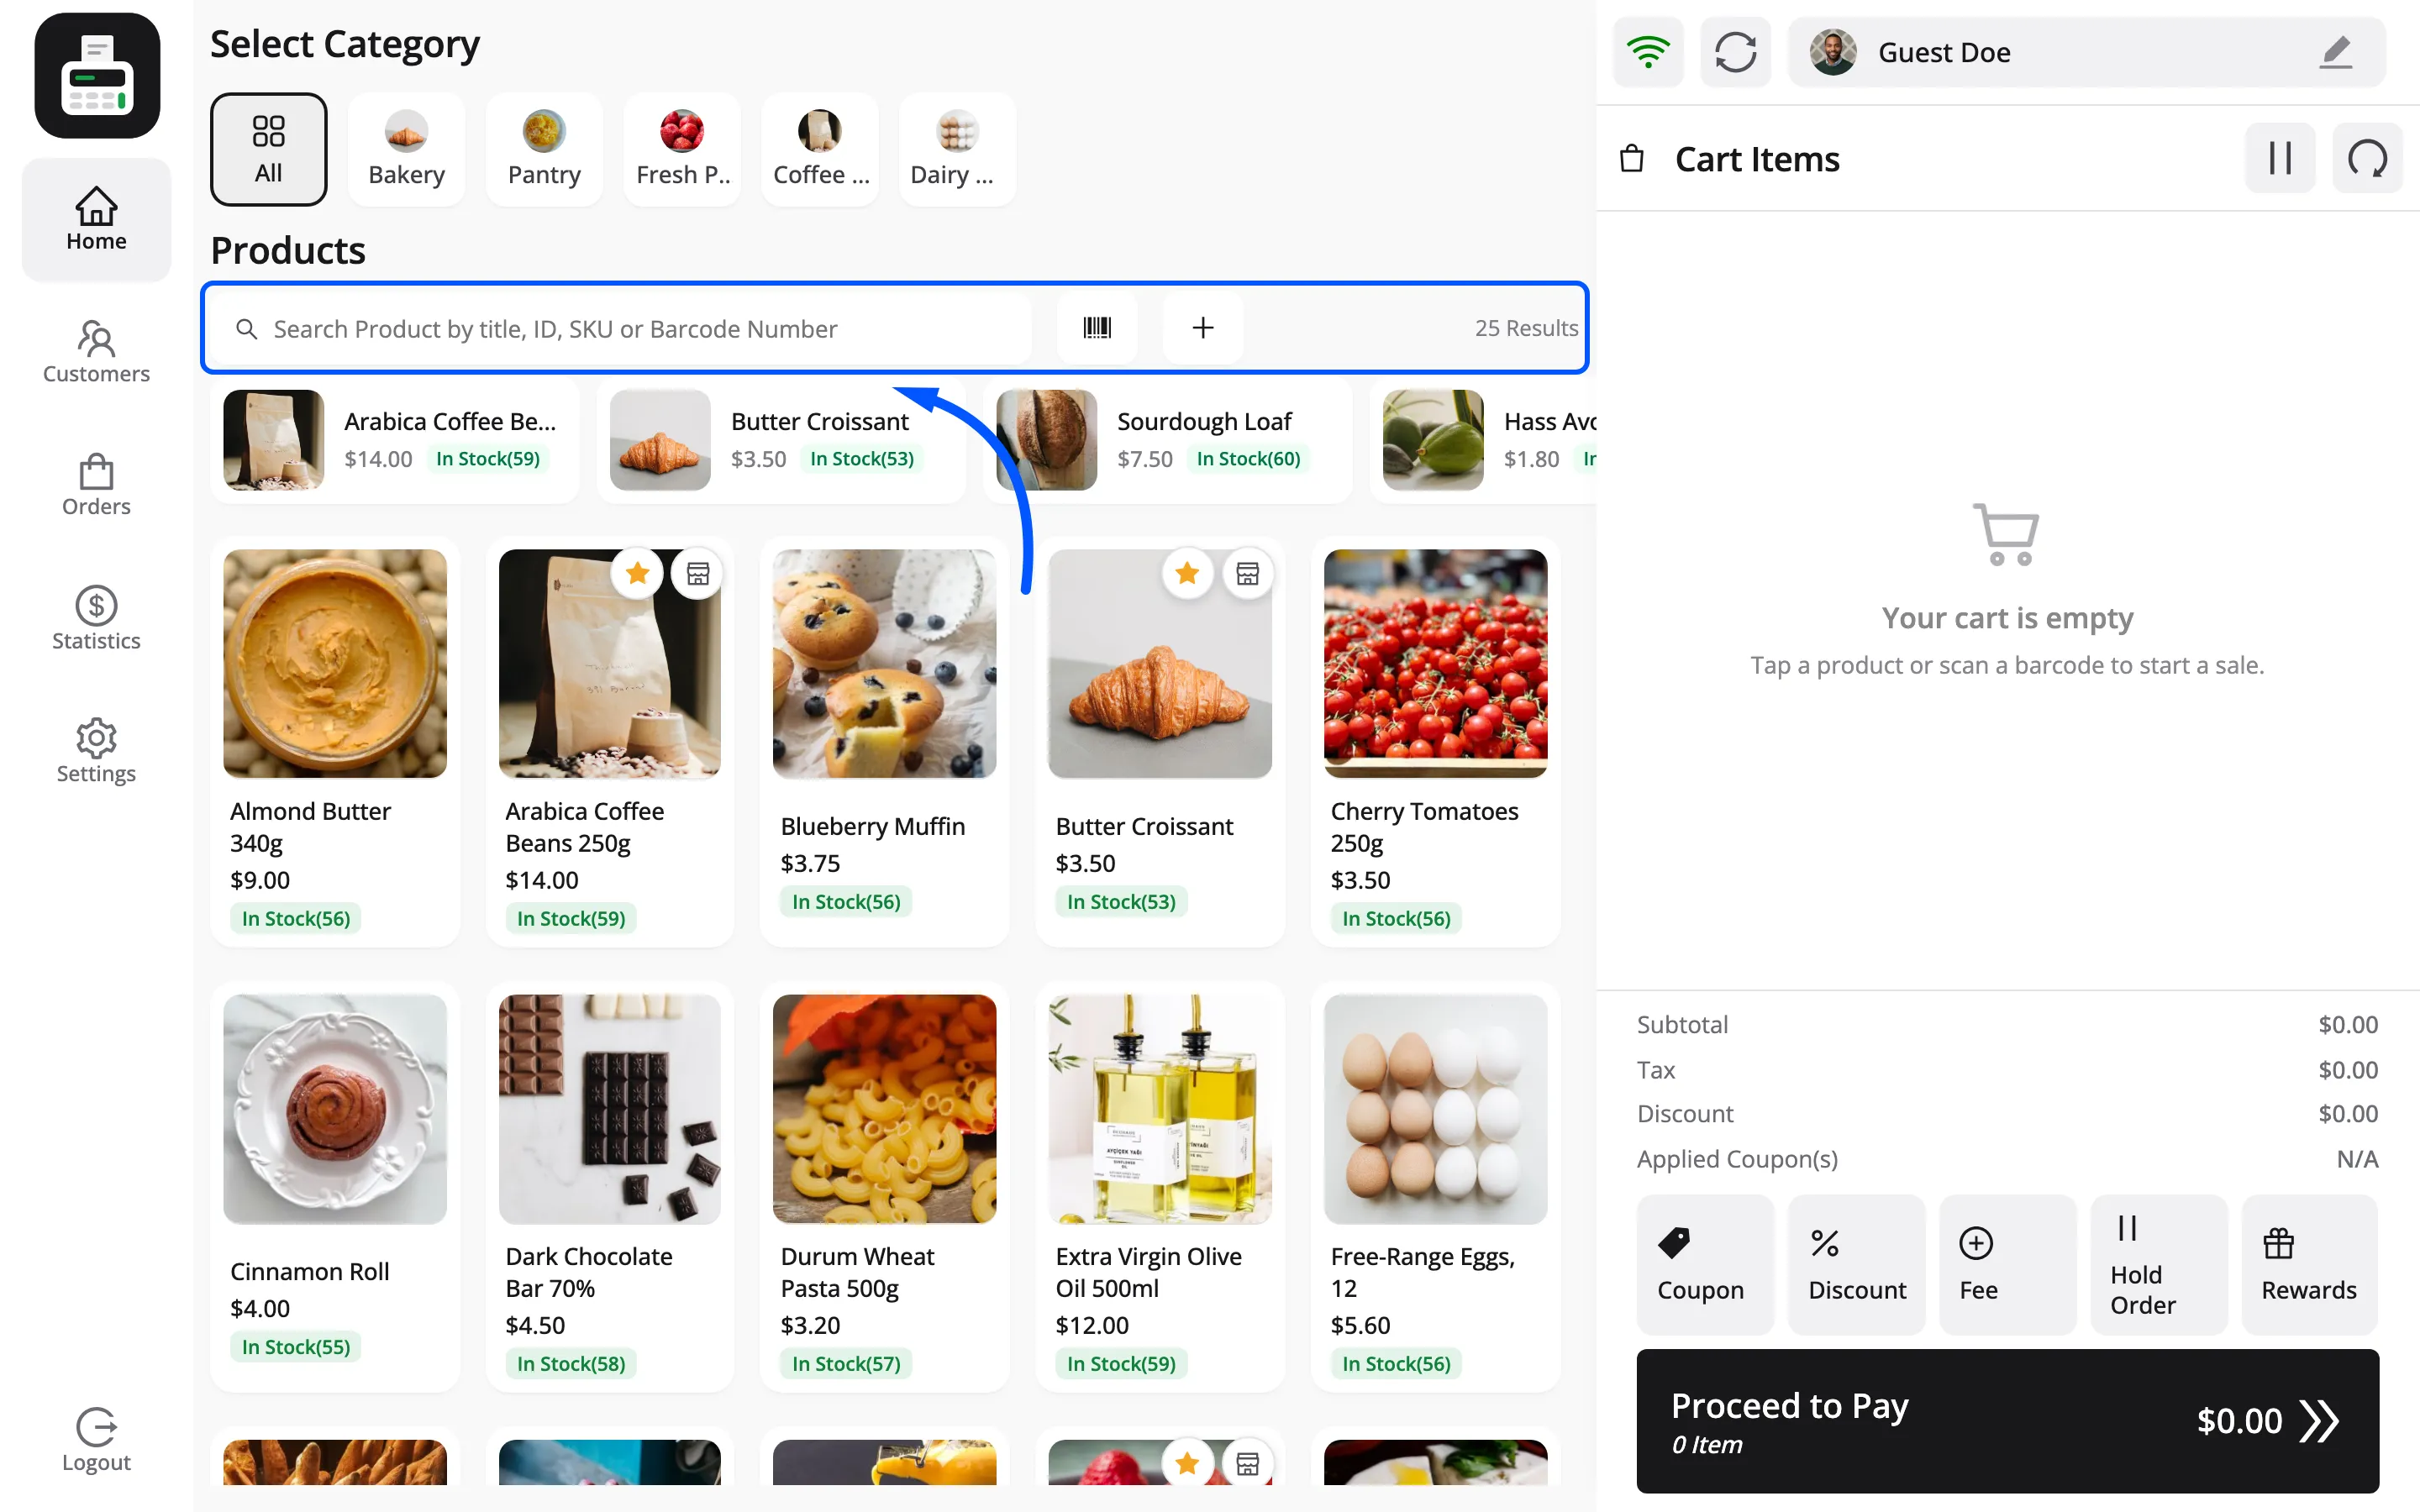
Search: The box matches title, ID, SKU and barcode number.
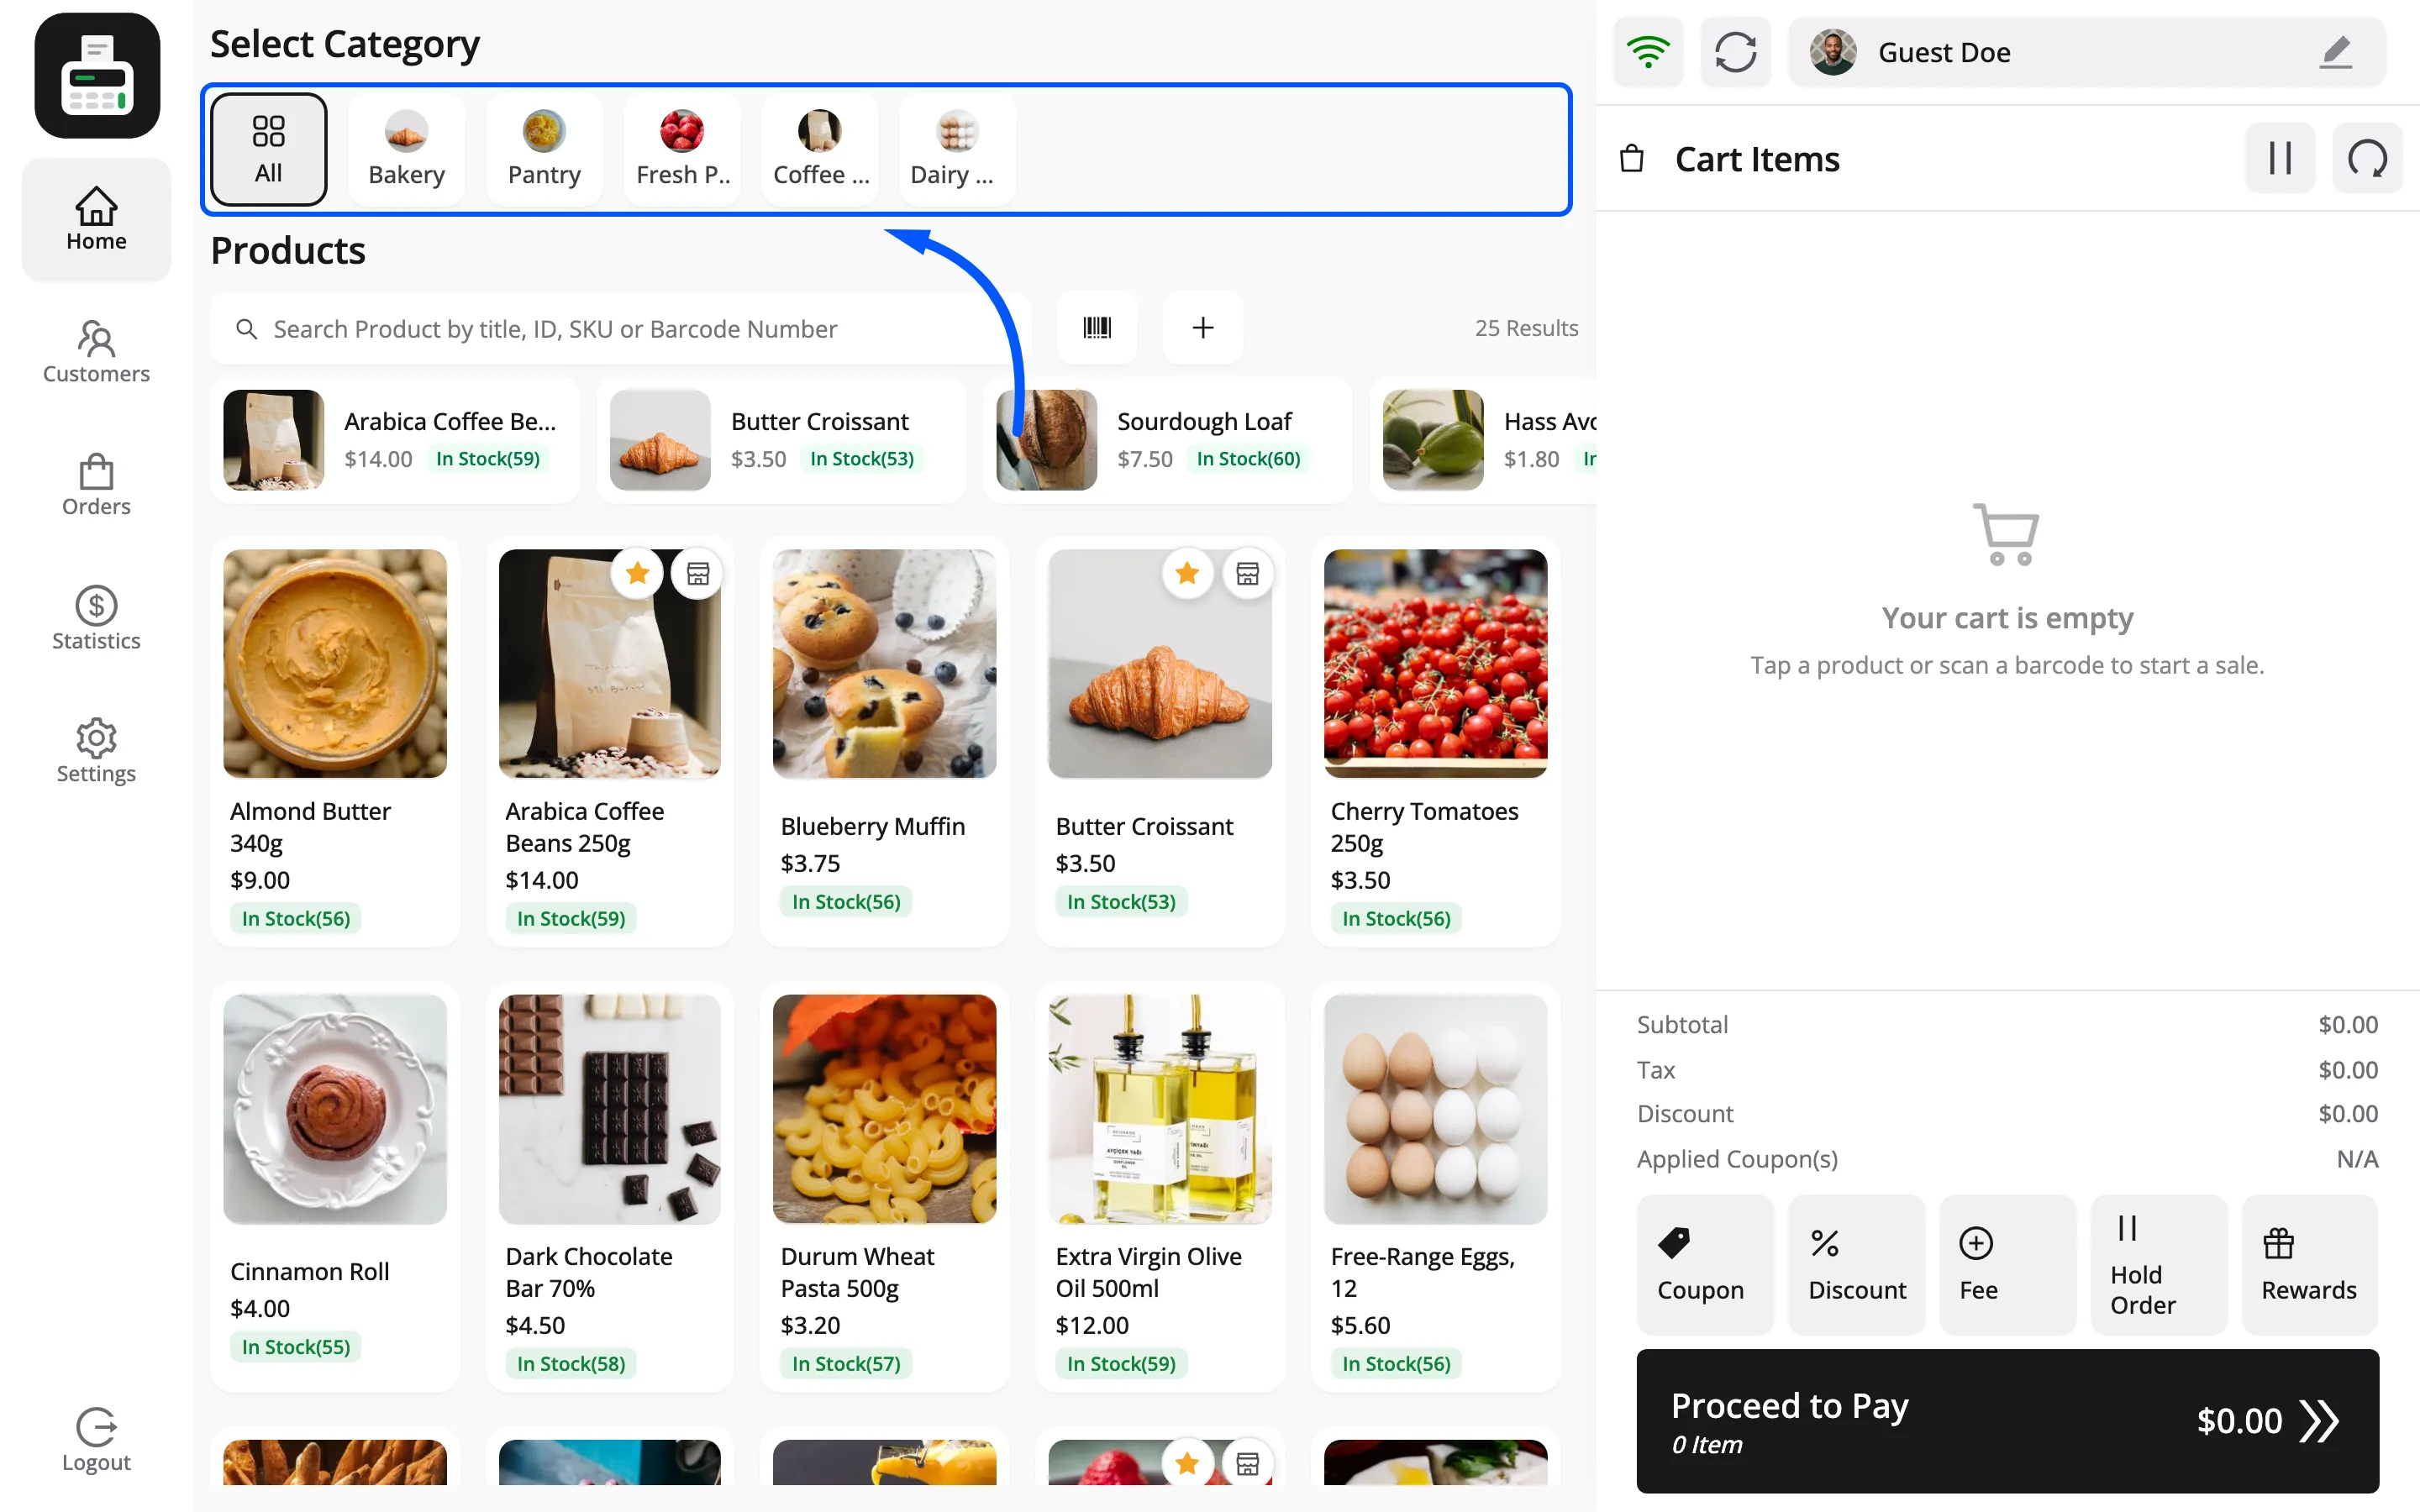
Filter by category. The row across the top narrows the grid. All brings everything back.
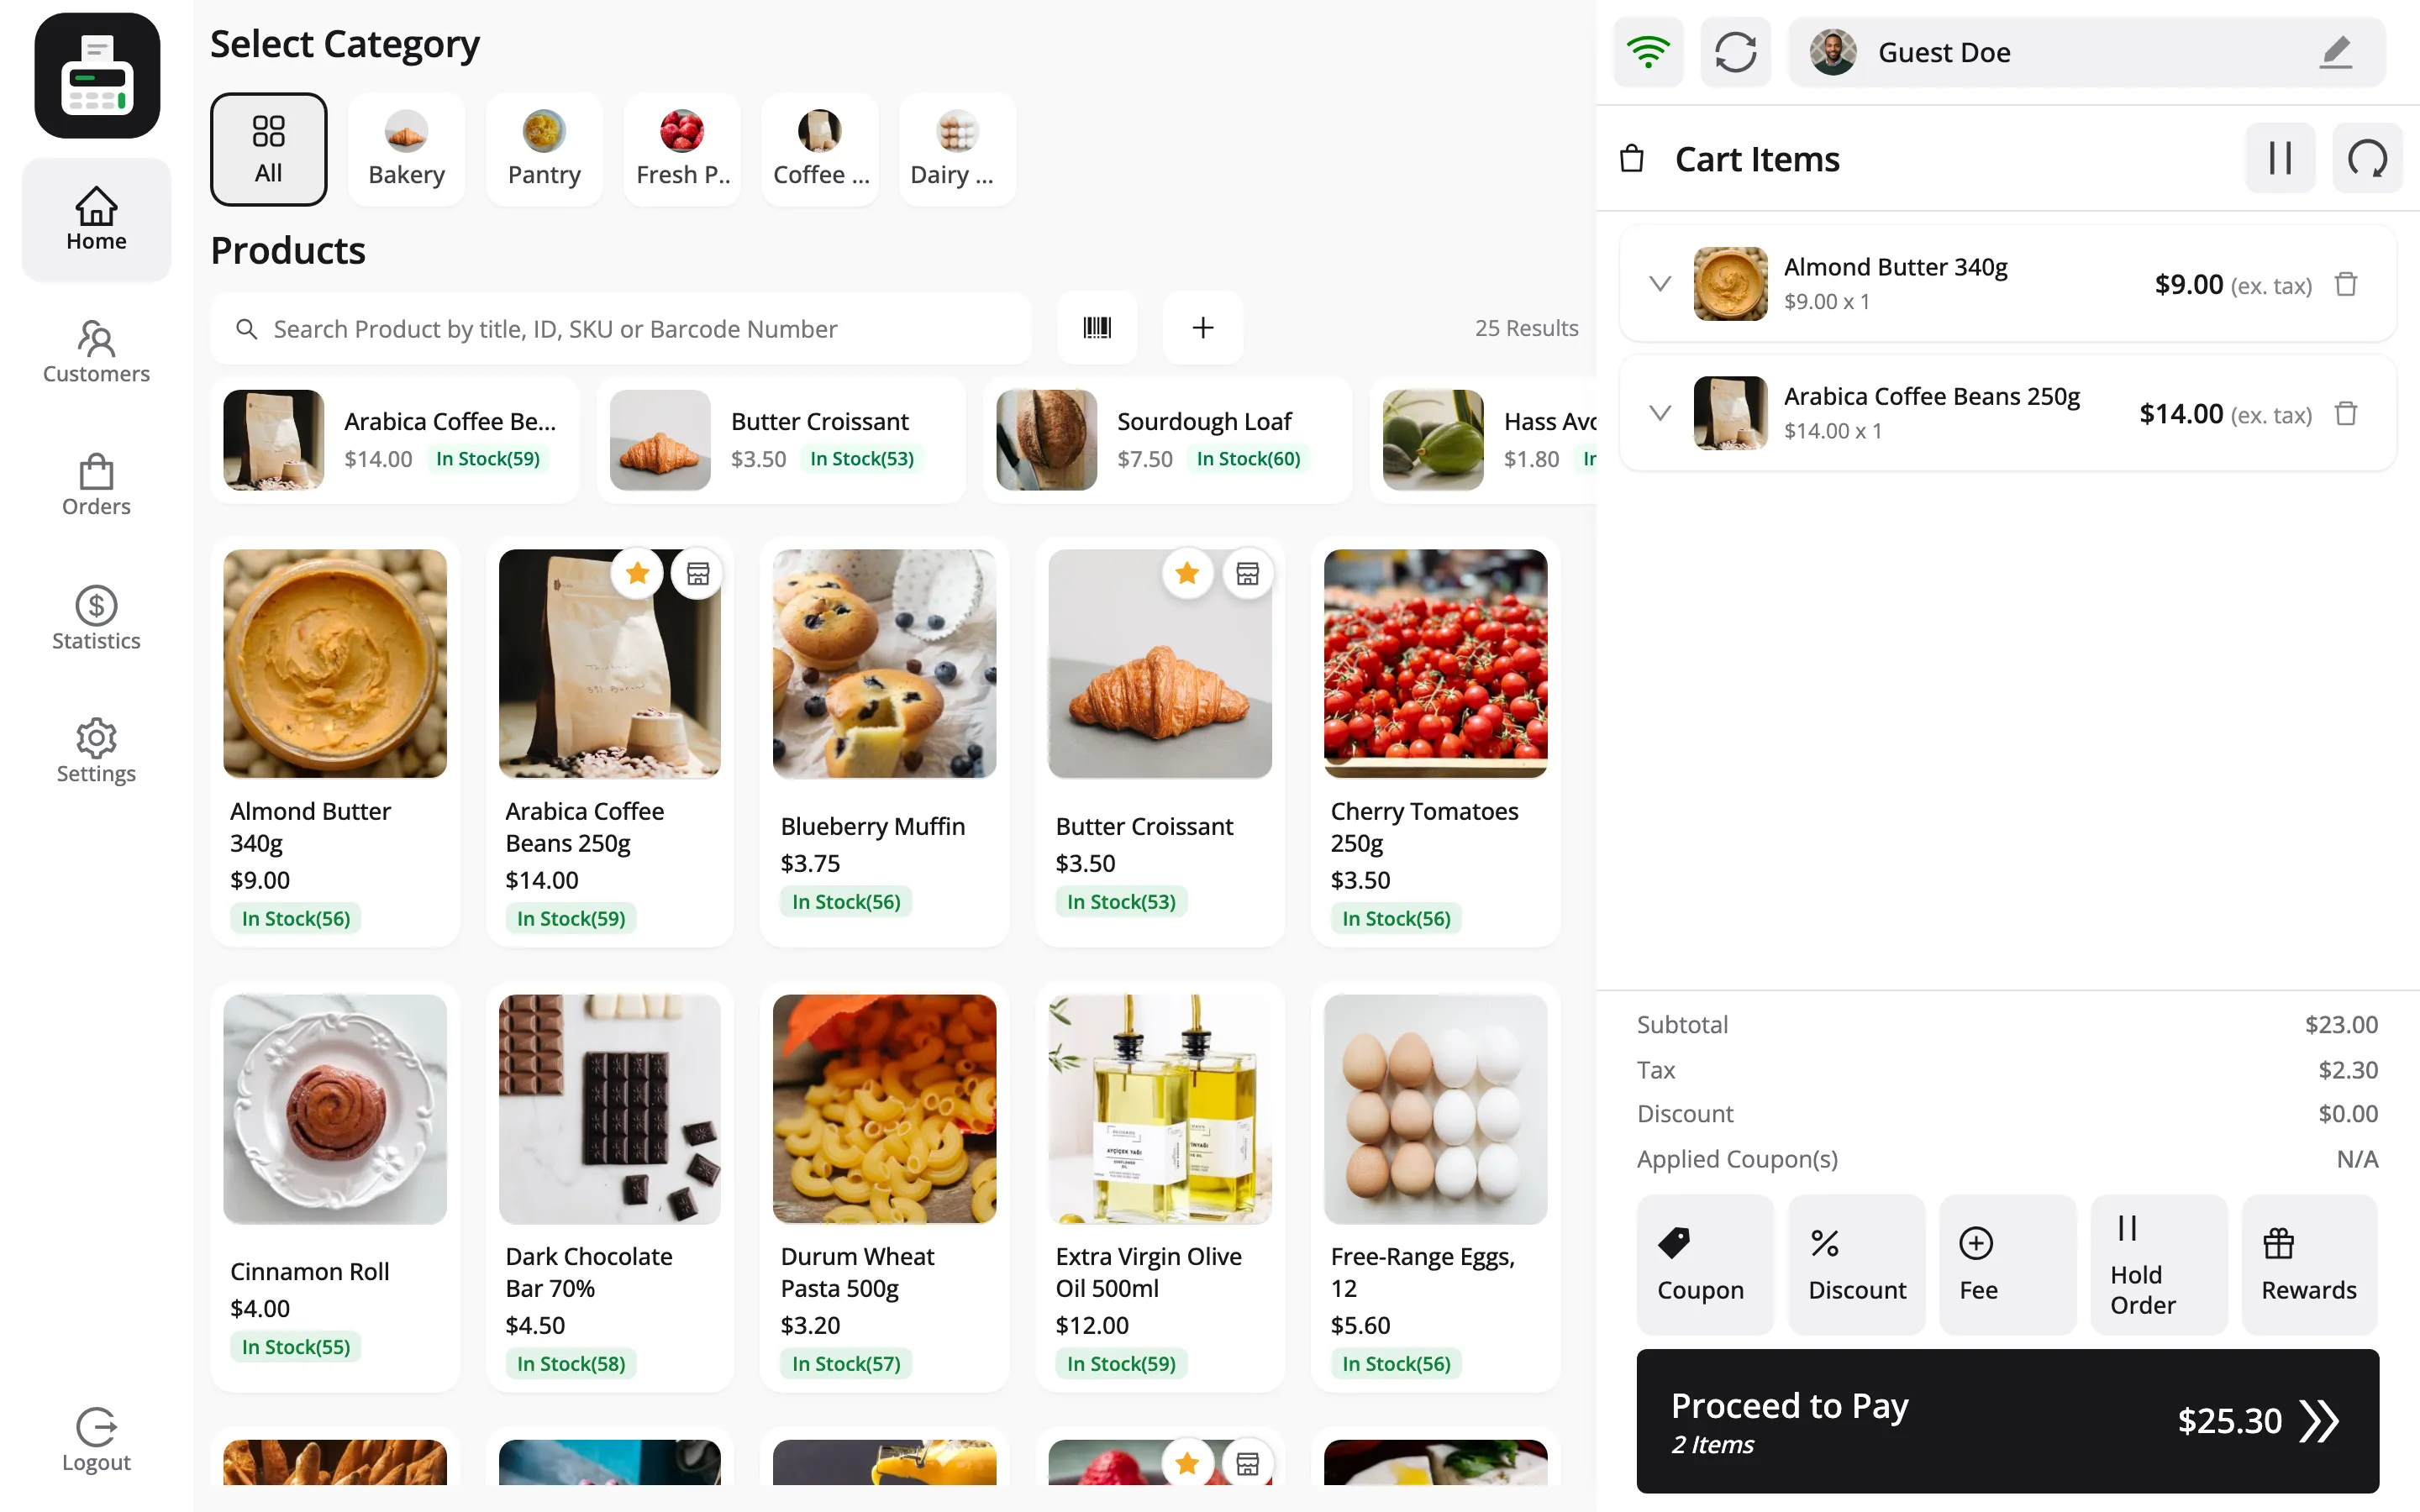
Add two or three items so the totals have something to add up.
Step 3: Adjust the cart
Section titled “Step 3: Adjust the cart”Each line carries a quantity stepper. Change the number and press the update button.
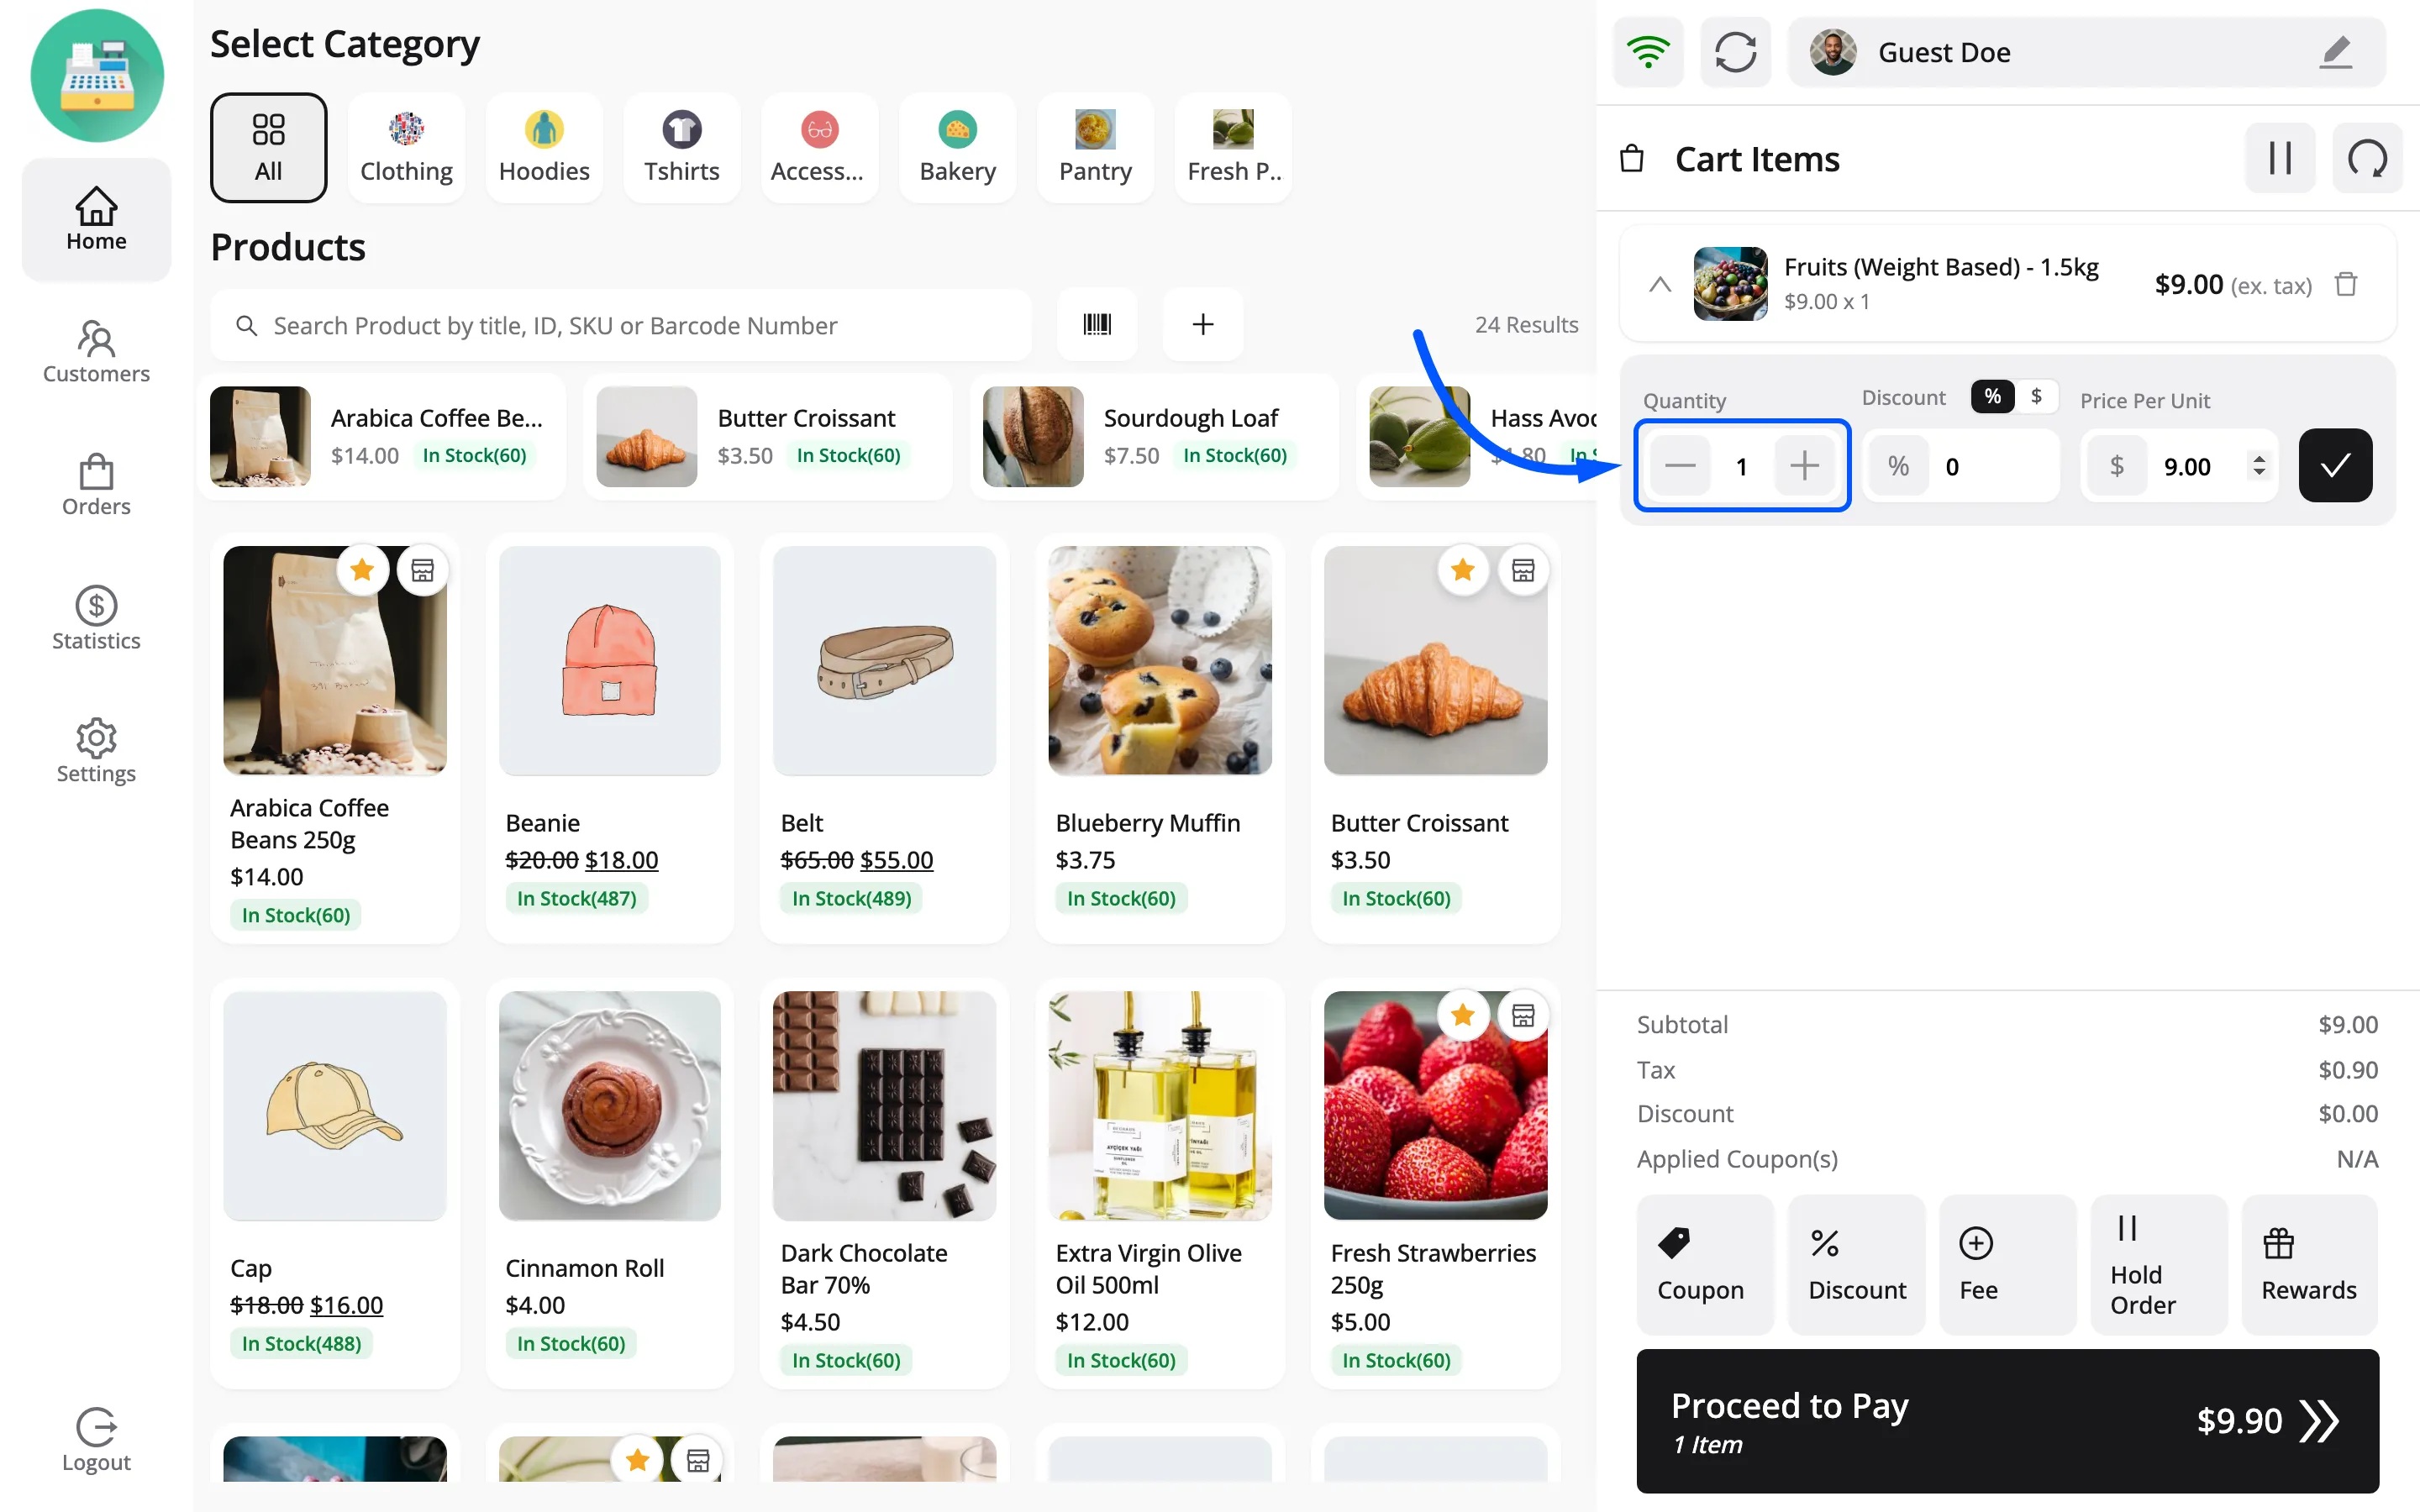
The totals under the lines update as you go.
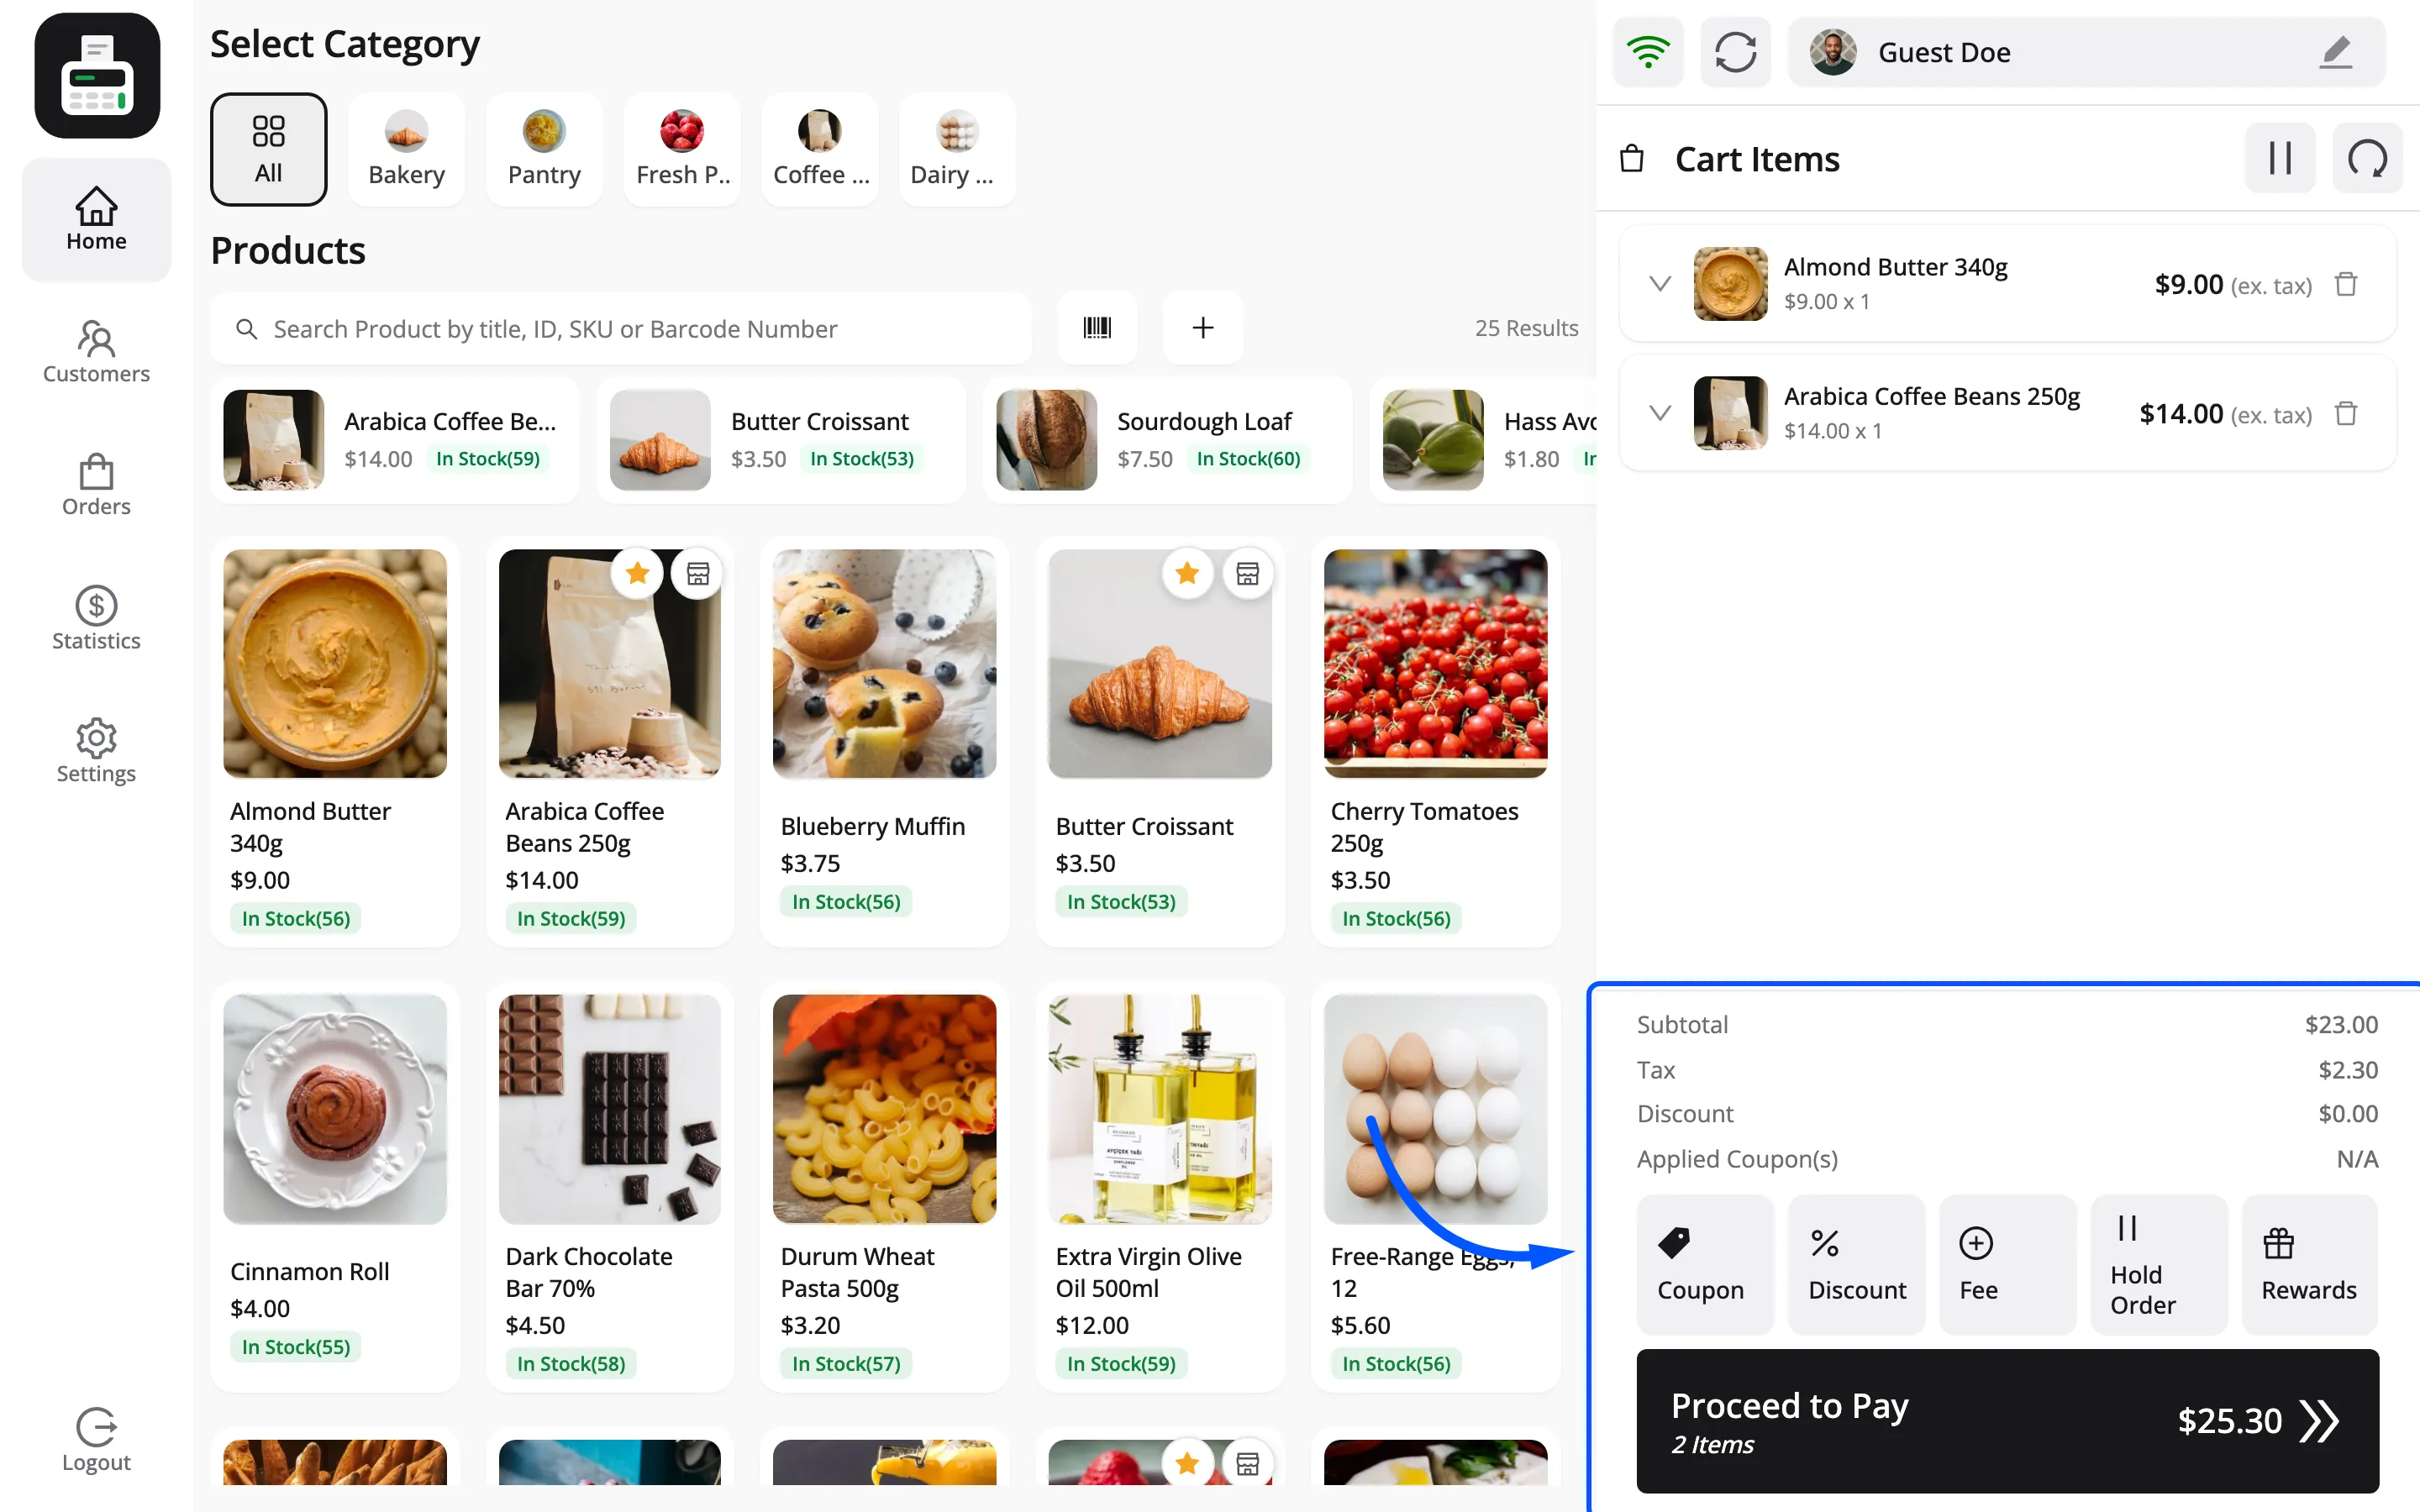
Tax is worked out from your outlet’s address, not the customer’s, because the sale happens in the shop.
Step 4: Choose a customer
Section titled “Step 4: Choose a customer”The cart header carries the current customer. It starts on your Default Guest Account, which is correct for a walk-in who wants nothing more than a receipt.
To attach a real customer, open Customers in the sidebar and press Set Customer on their row.
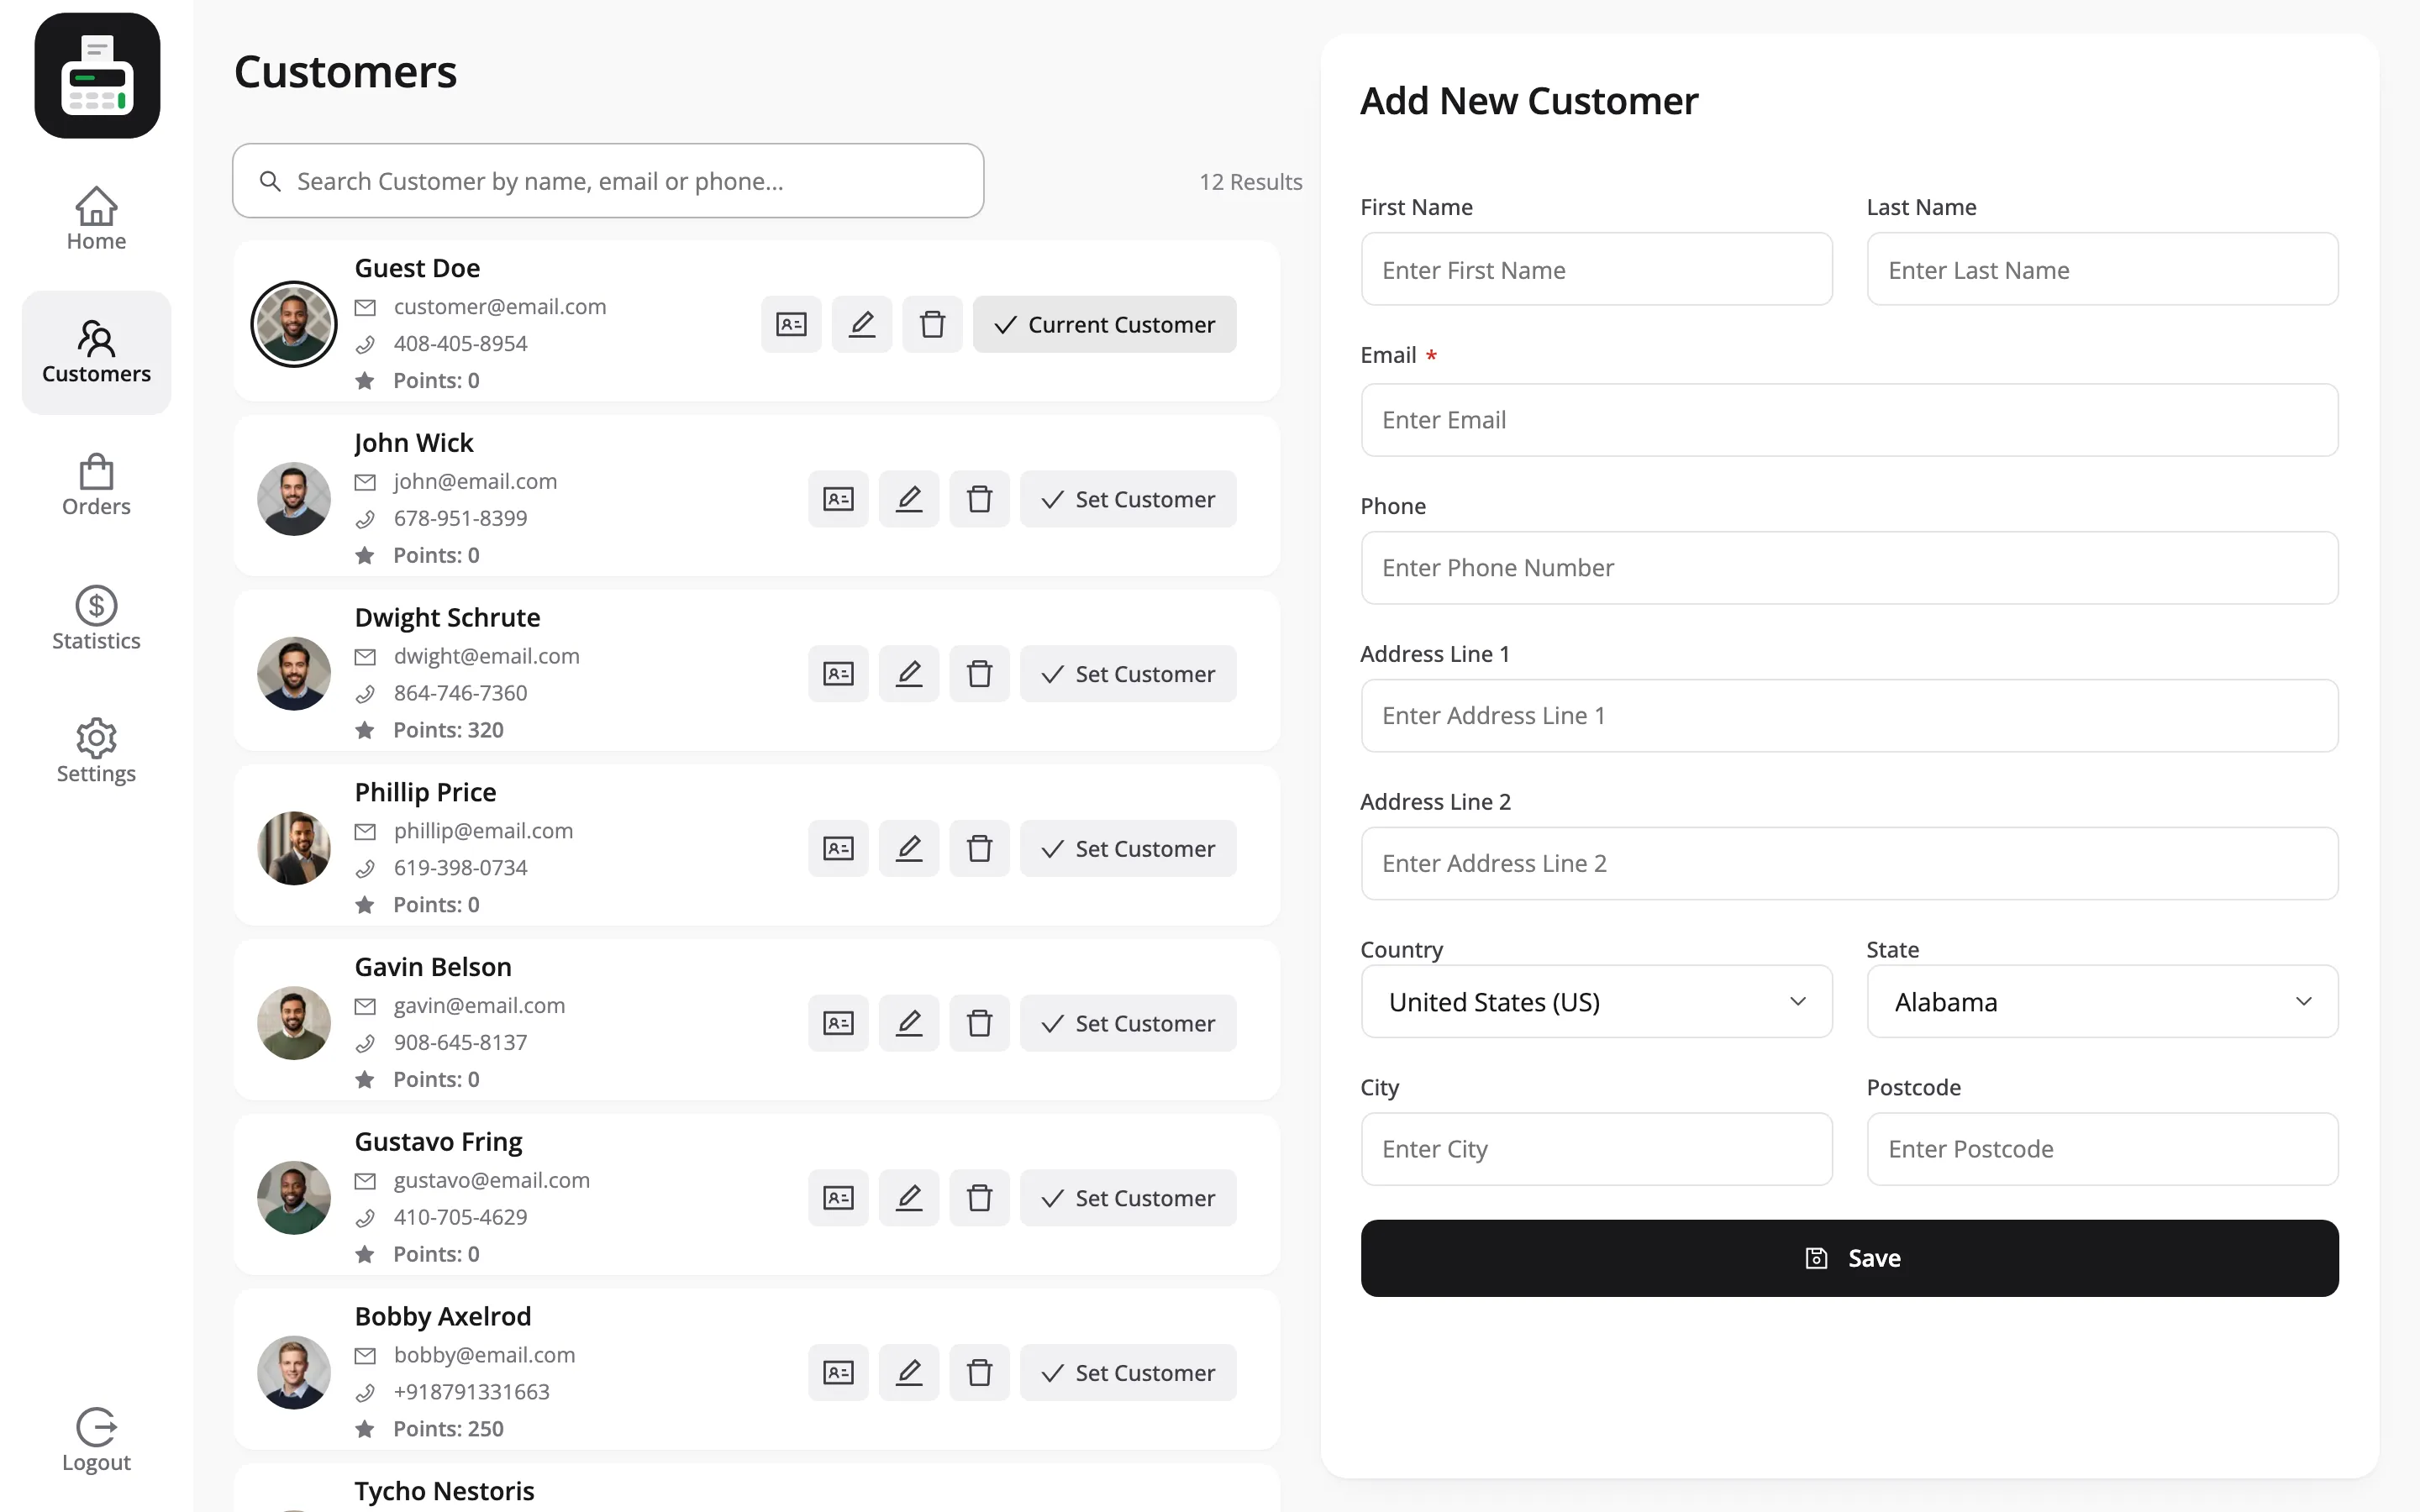
For someone new, use Add New and fill in the form.
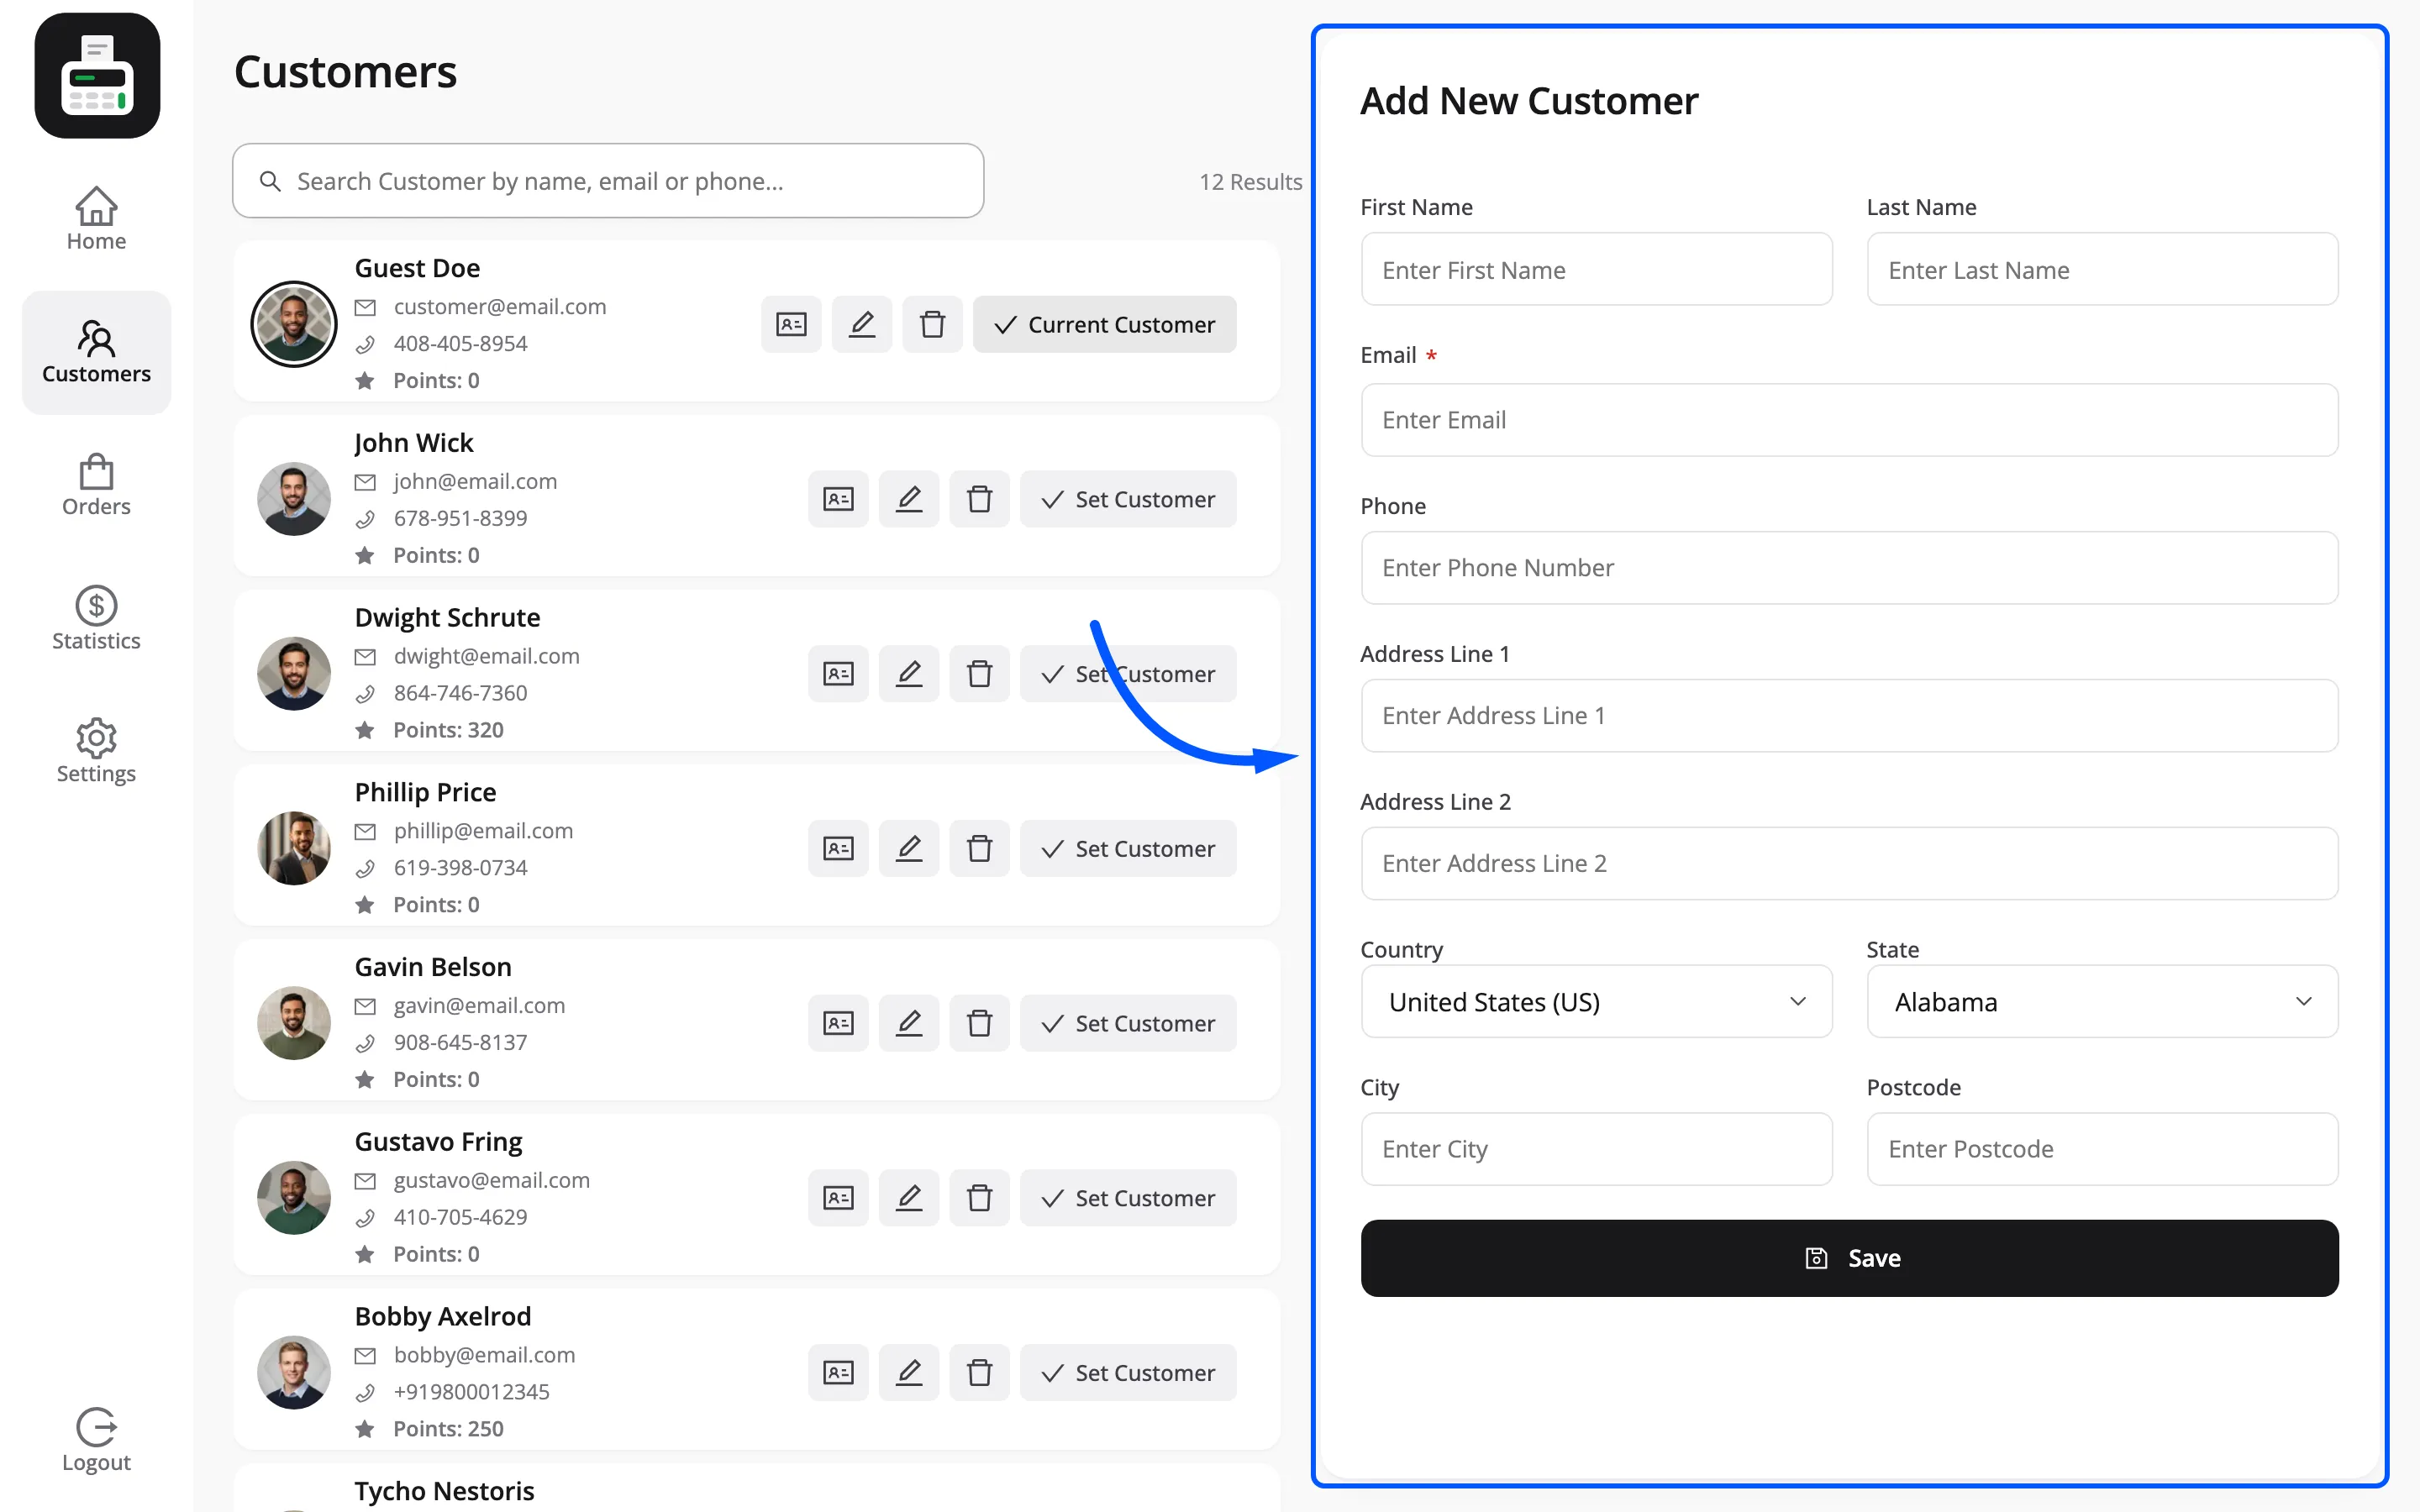
That creates a real WooCommerce customer, so their next website order lands on the same account.
Step 5: Apply a coupon
Section titled “Step 5: Apply a coupon”Optional, but worth trying once so you know where it is. Press Coupon in the cart actions.
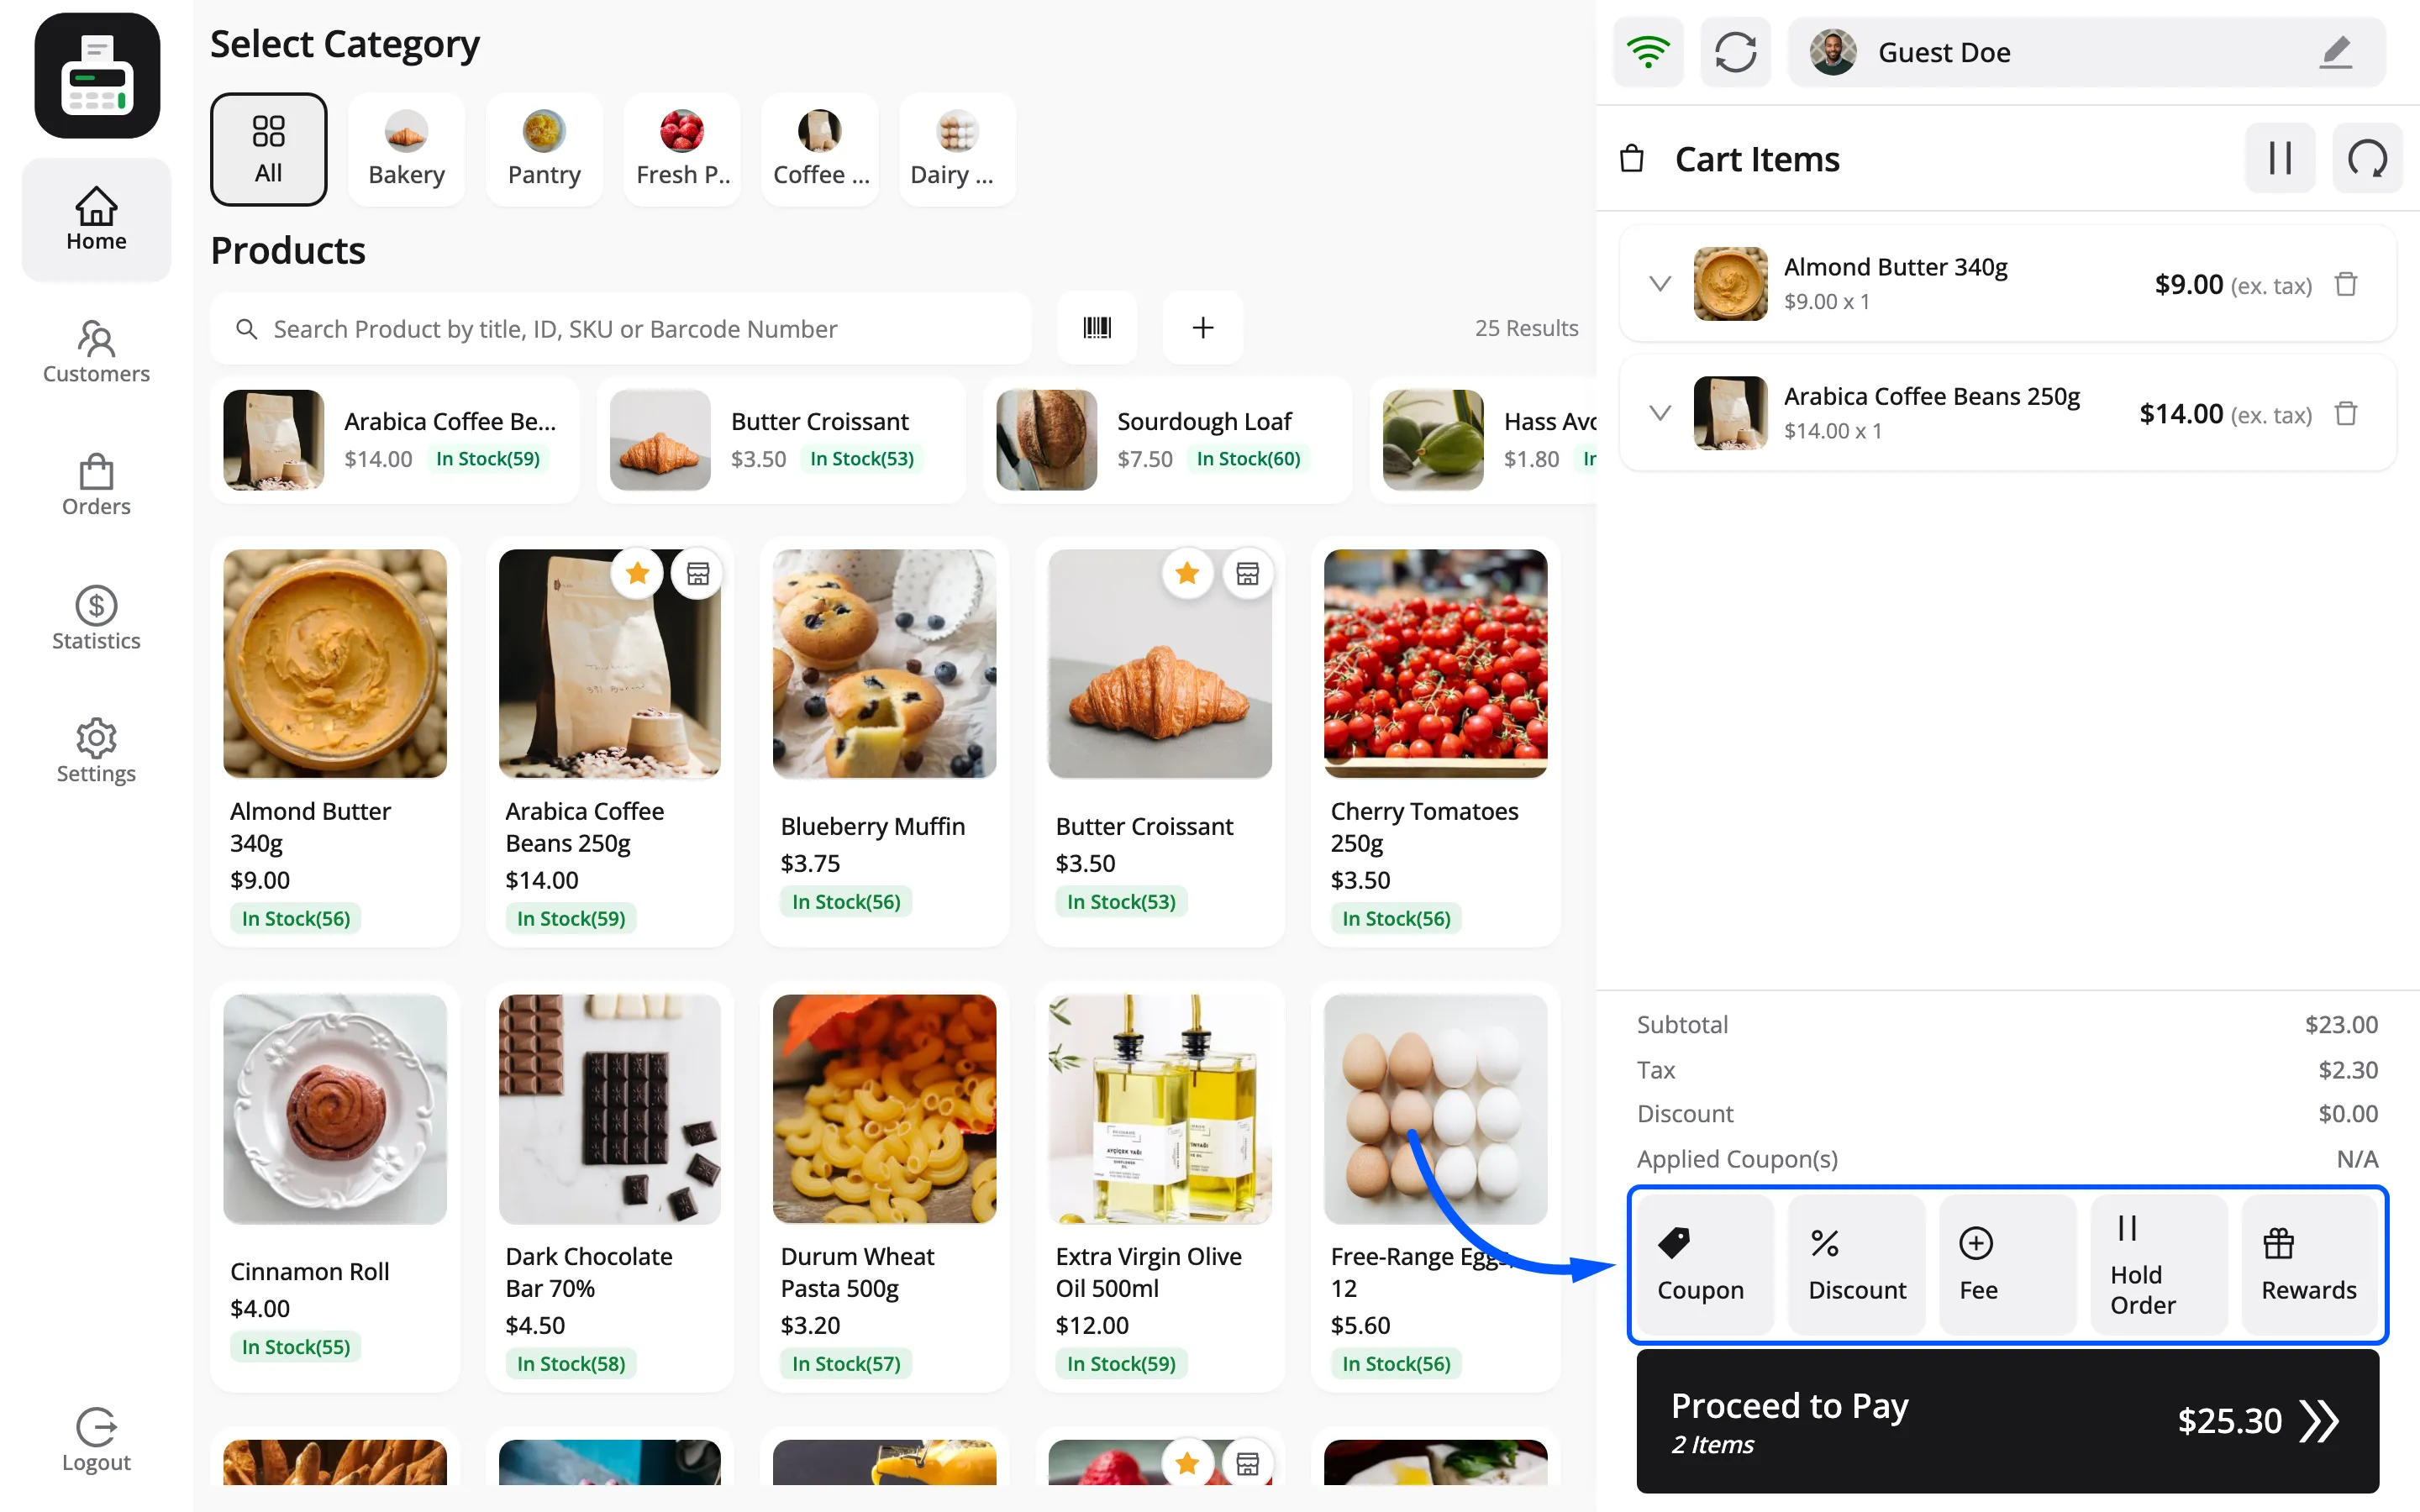
Type the code and press Enter. It shows under Applied Coupon(s) and comes off the total.
Any WooCommerce coupon works, including its usage limits and product restrictions.
Step 6: Take payment
Section titled “Step 6: Take payment”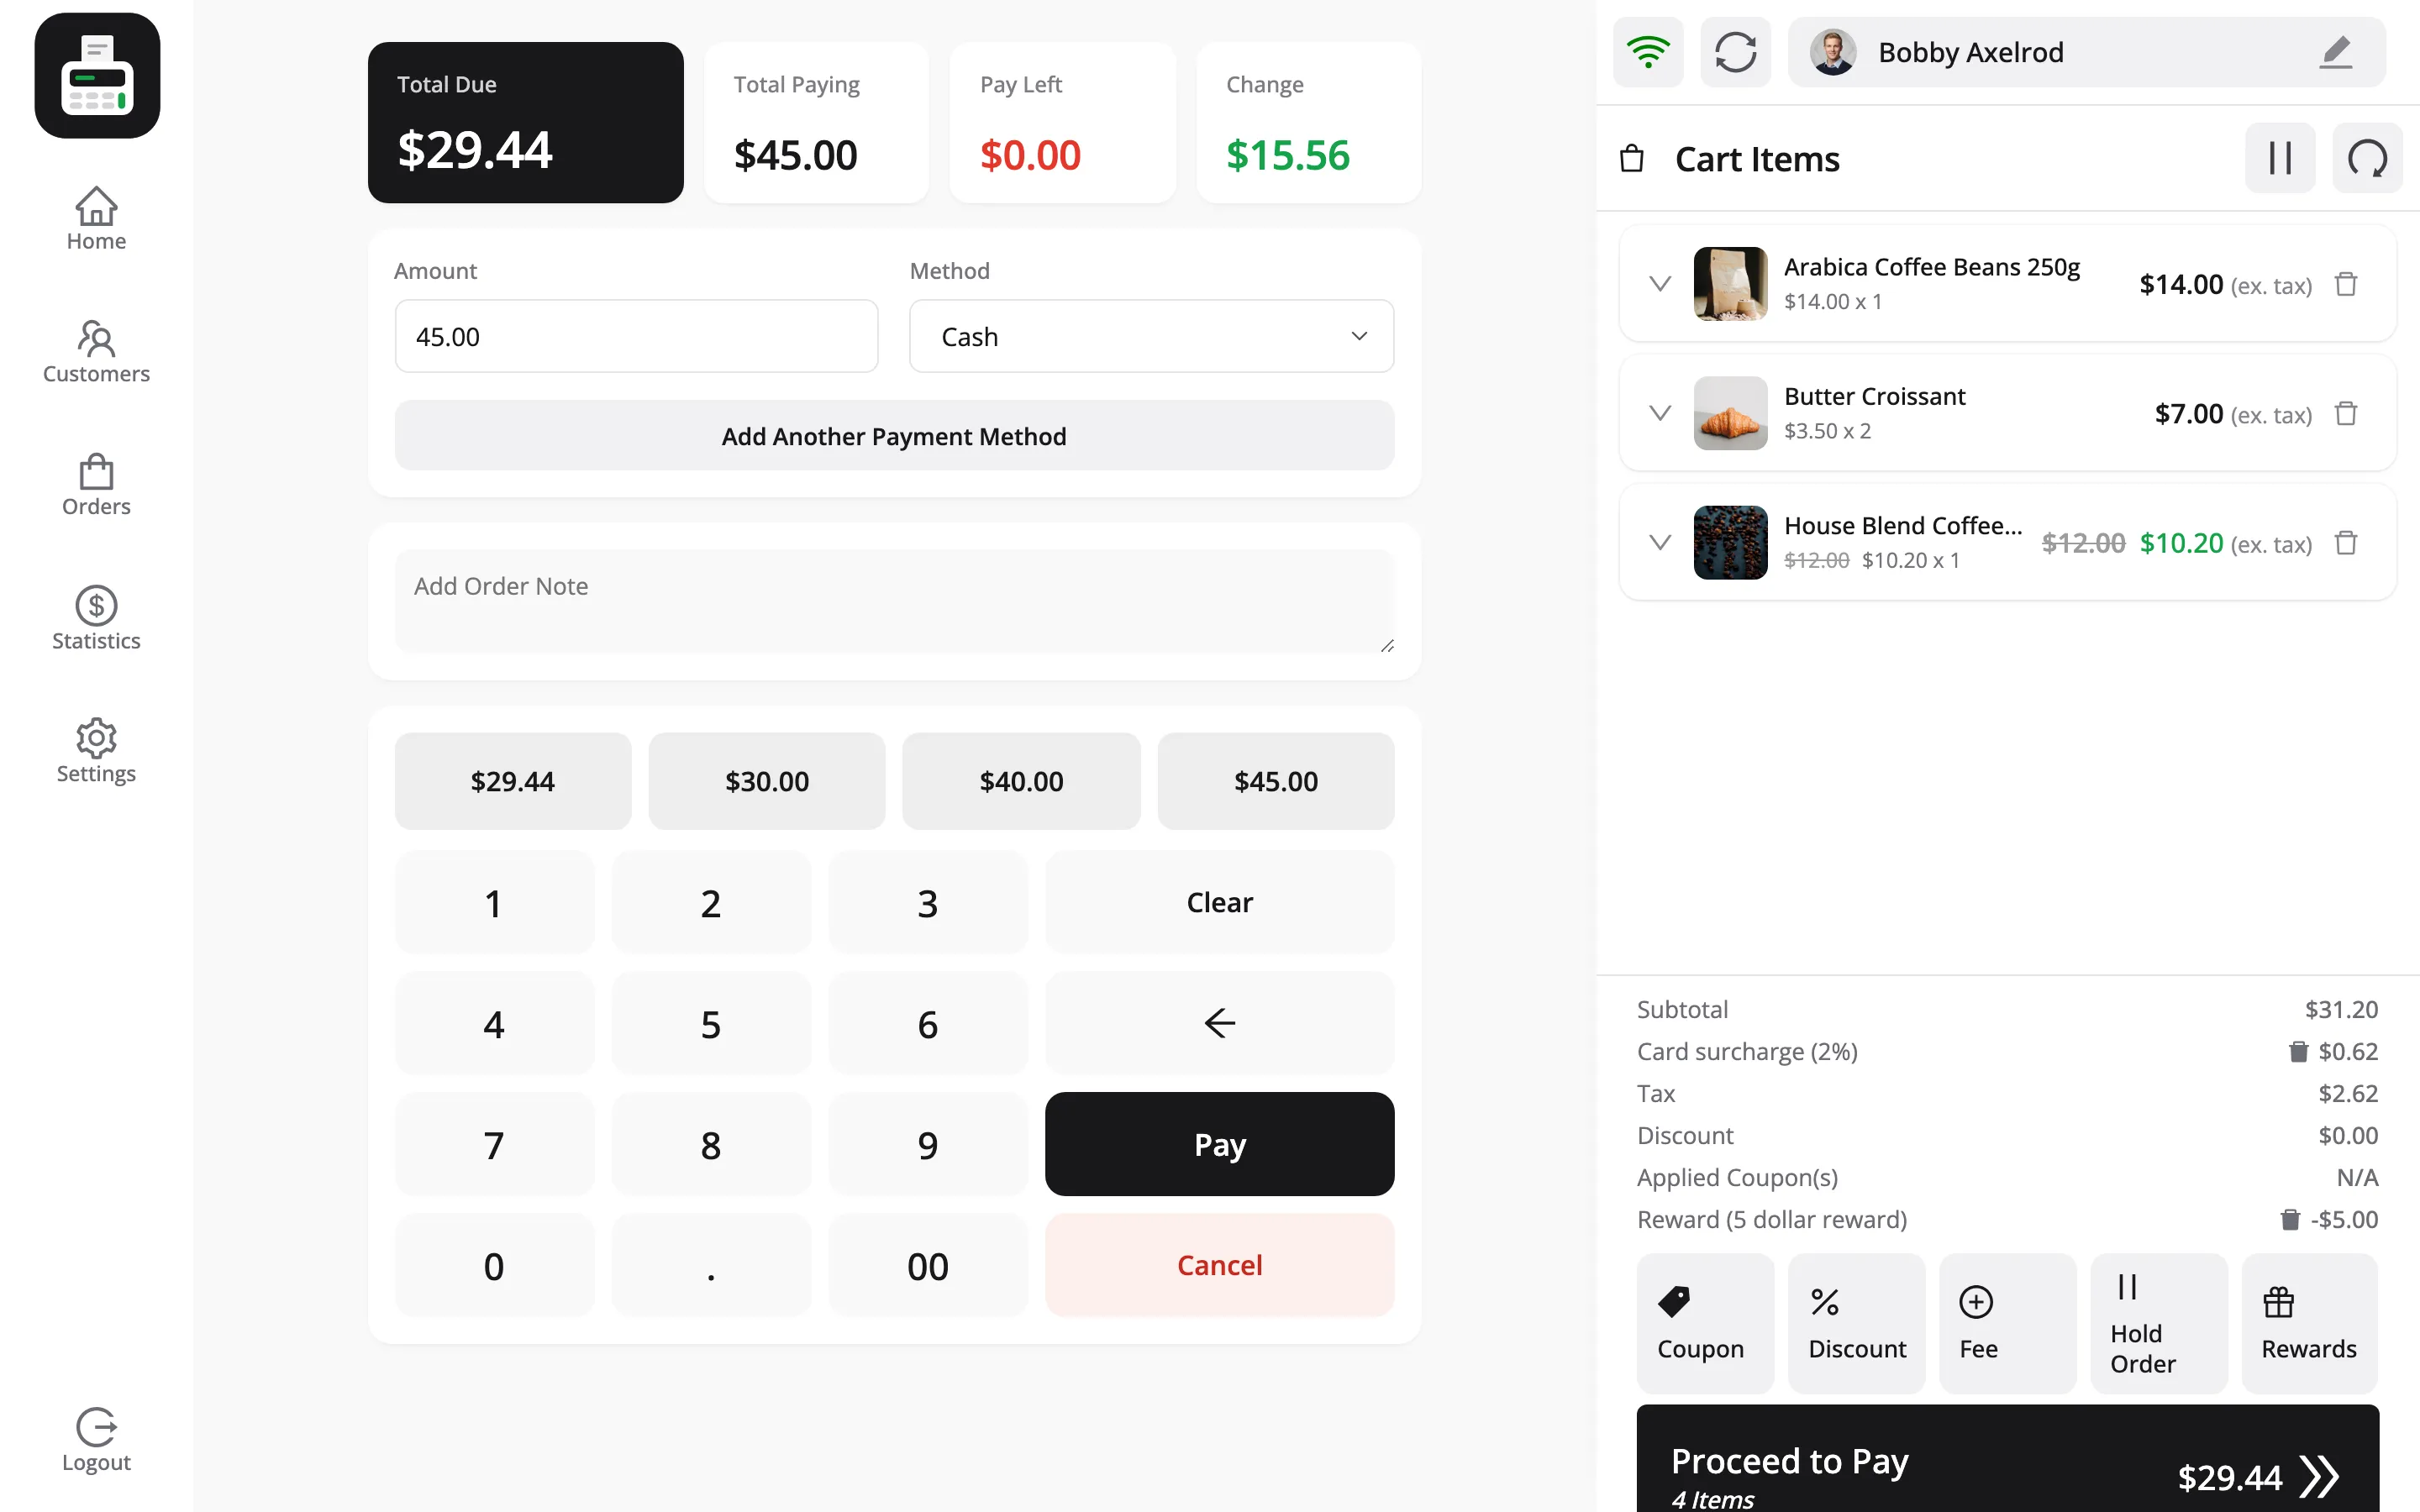
Press Proceed to Pay.
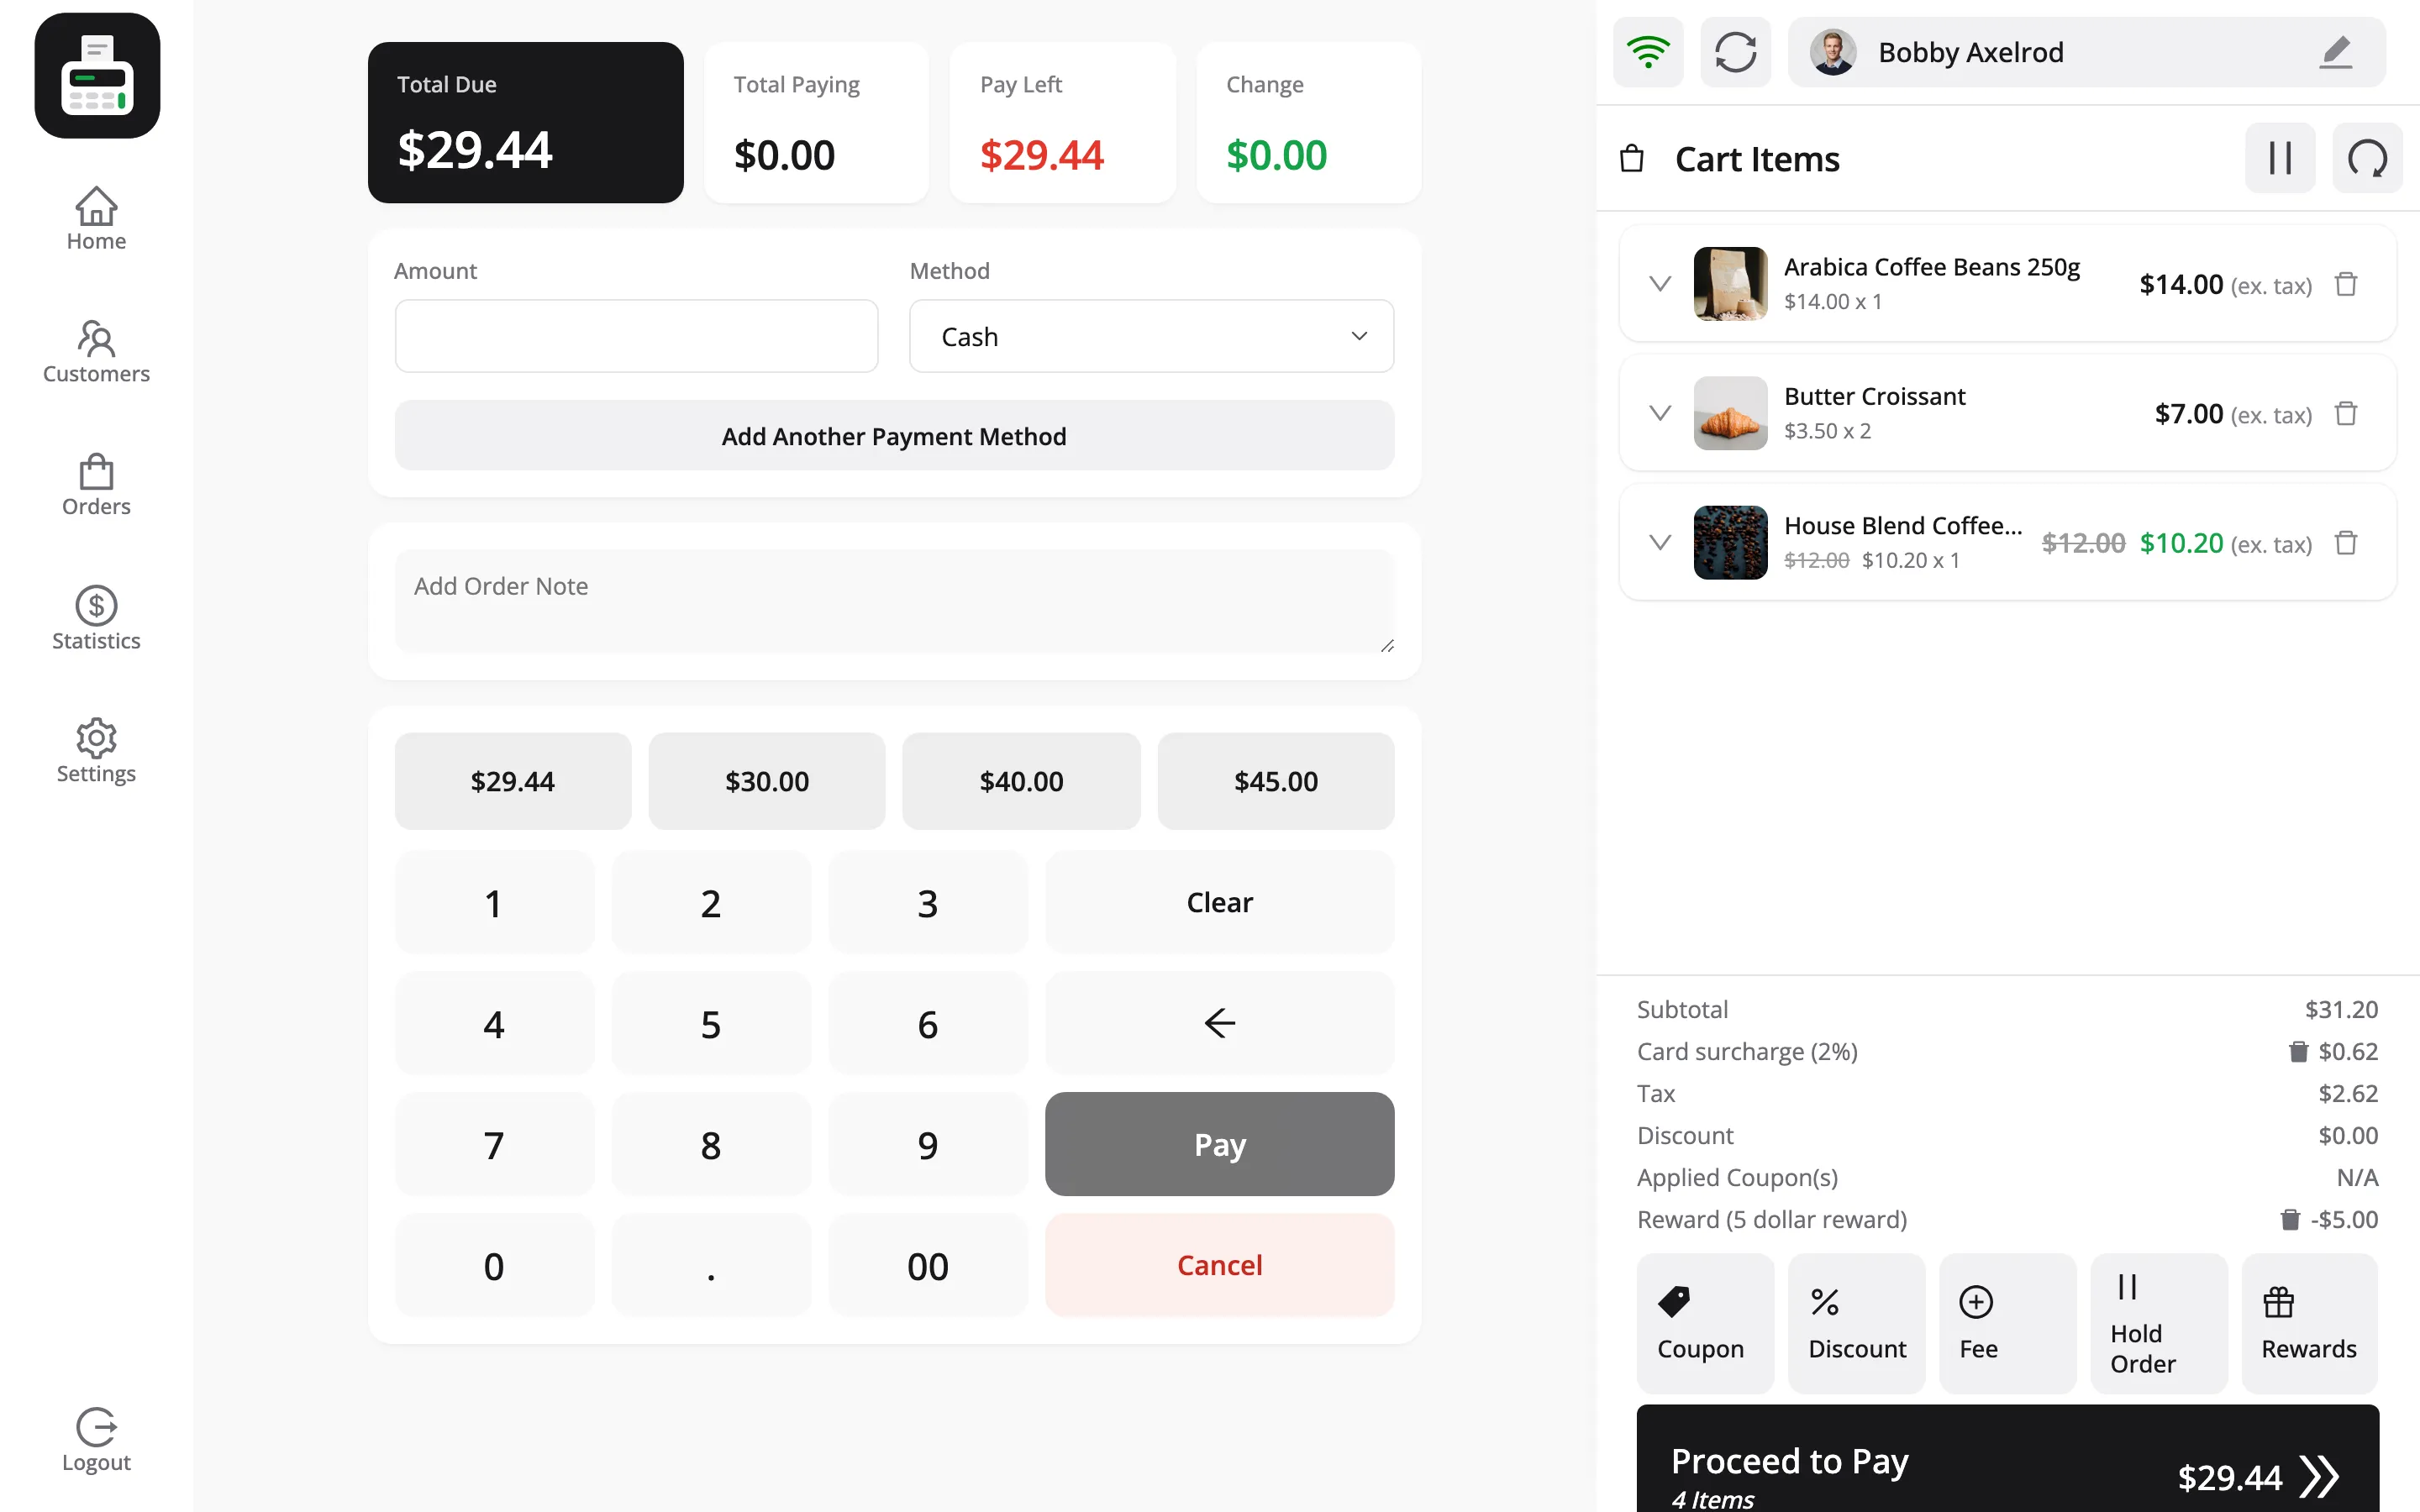
Four figures across the top: Total Due, Total Paying, Pay Left and Change.
- Pick a payment method.
- Enter what the customer handed over, using the keypad or a quick-amount button.
- Watch Change work out what you owe them back.
- Press Pay.
Handing over the exact amount leaves Change at zero, which is what a card payment always looks like.
Step 7: Print the receipt
Section titled “Step 7: Print the receipt”A Print Receipt prompt appears with the order number and its status. Press Print.
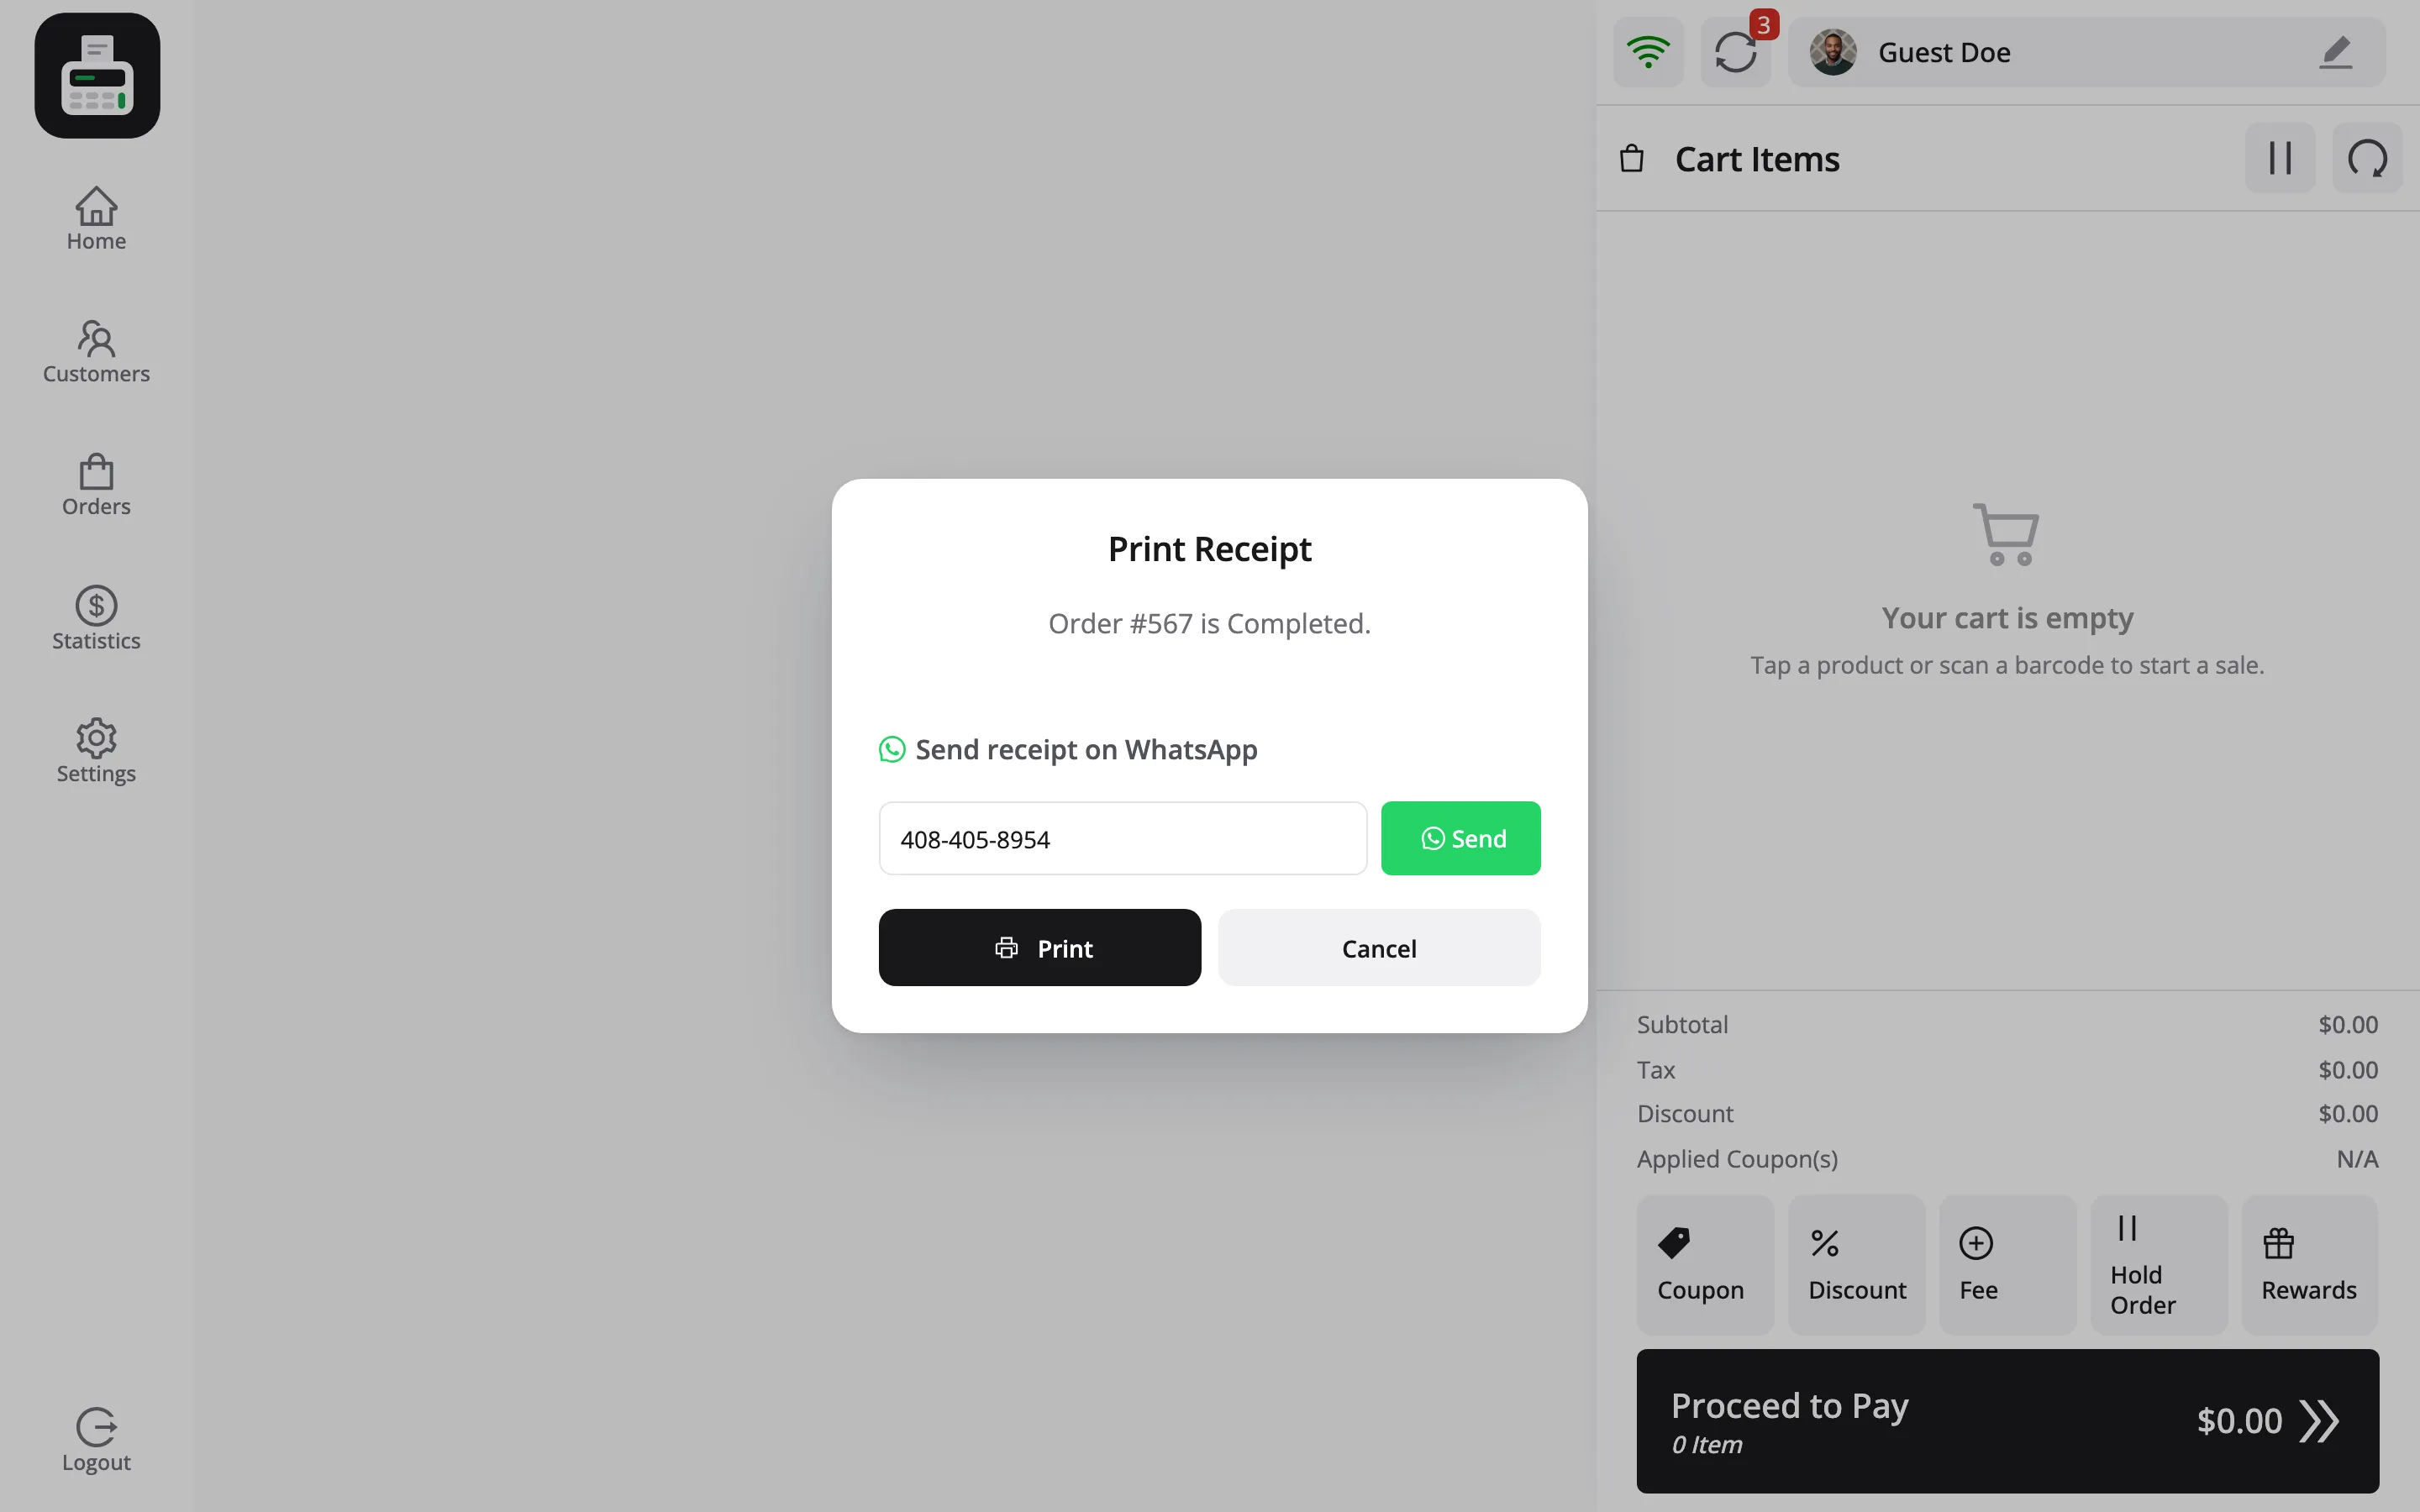
The receipt prints at the size set under Configuration → Printer.
Closing the prompt without printing does not undo anything. The order already exists.
Step 8: Check the order in WooCommerce
Section titled “Step 8: Check the order in WooCommerce”Go to WooCommerce → Orders.
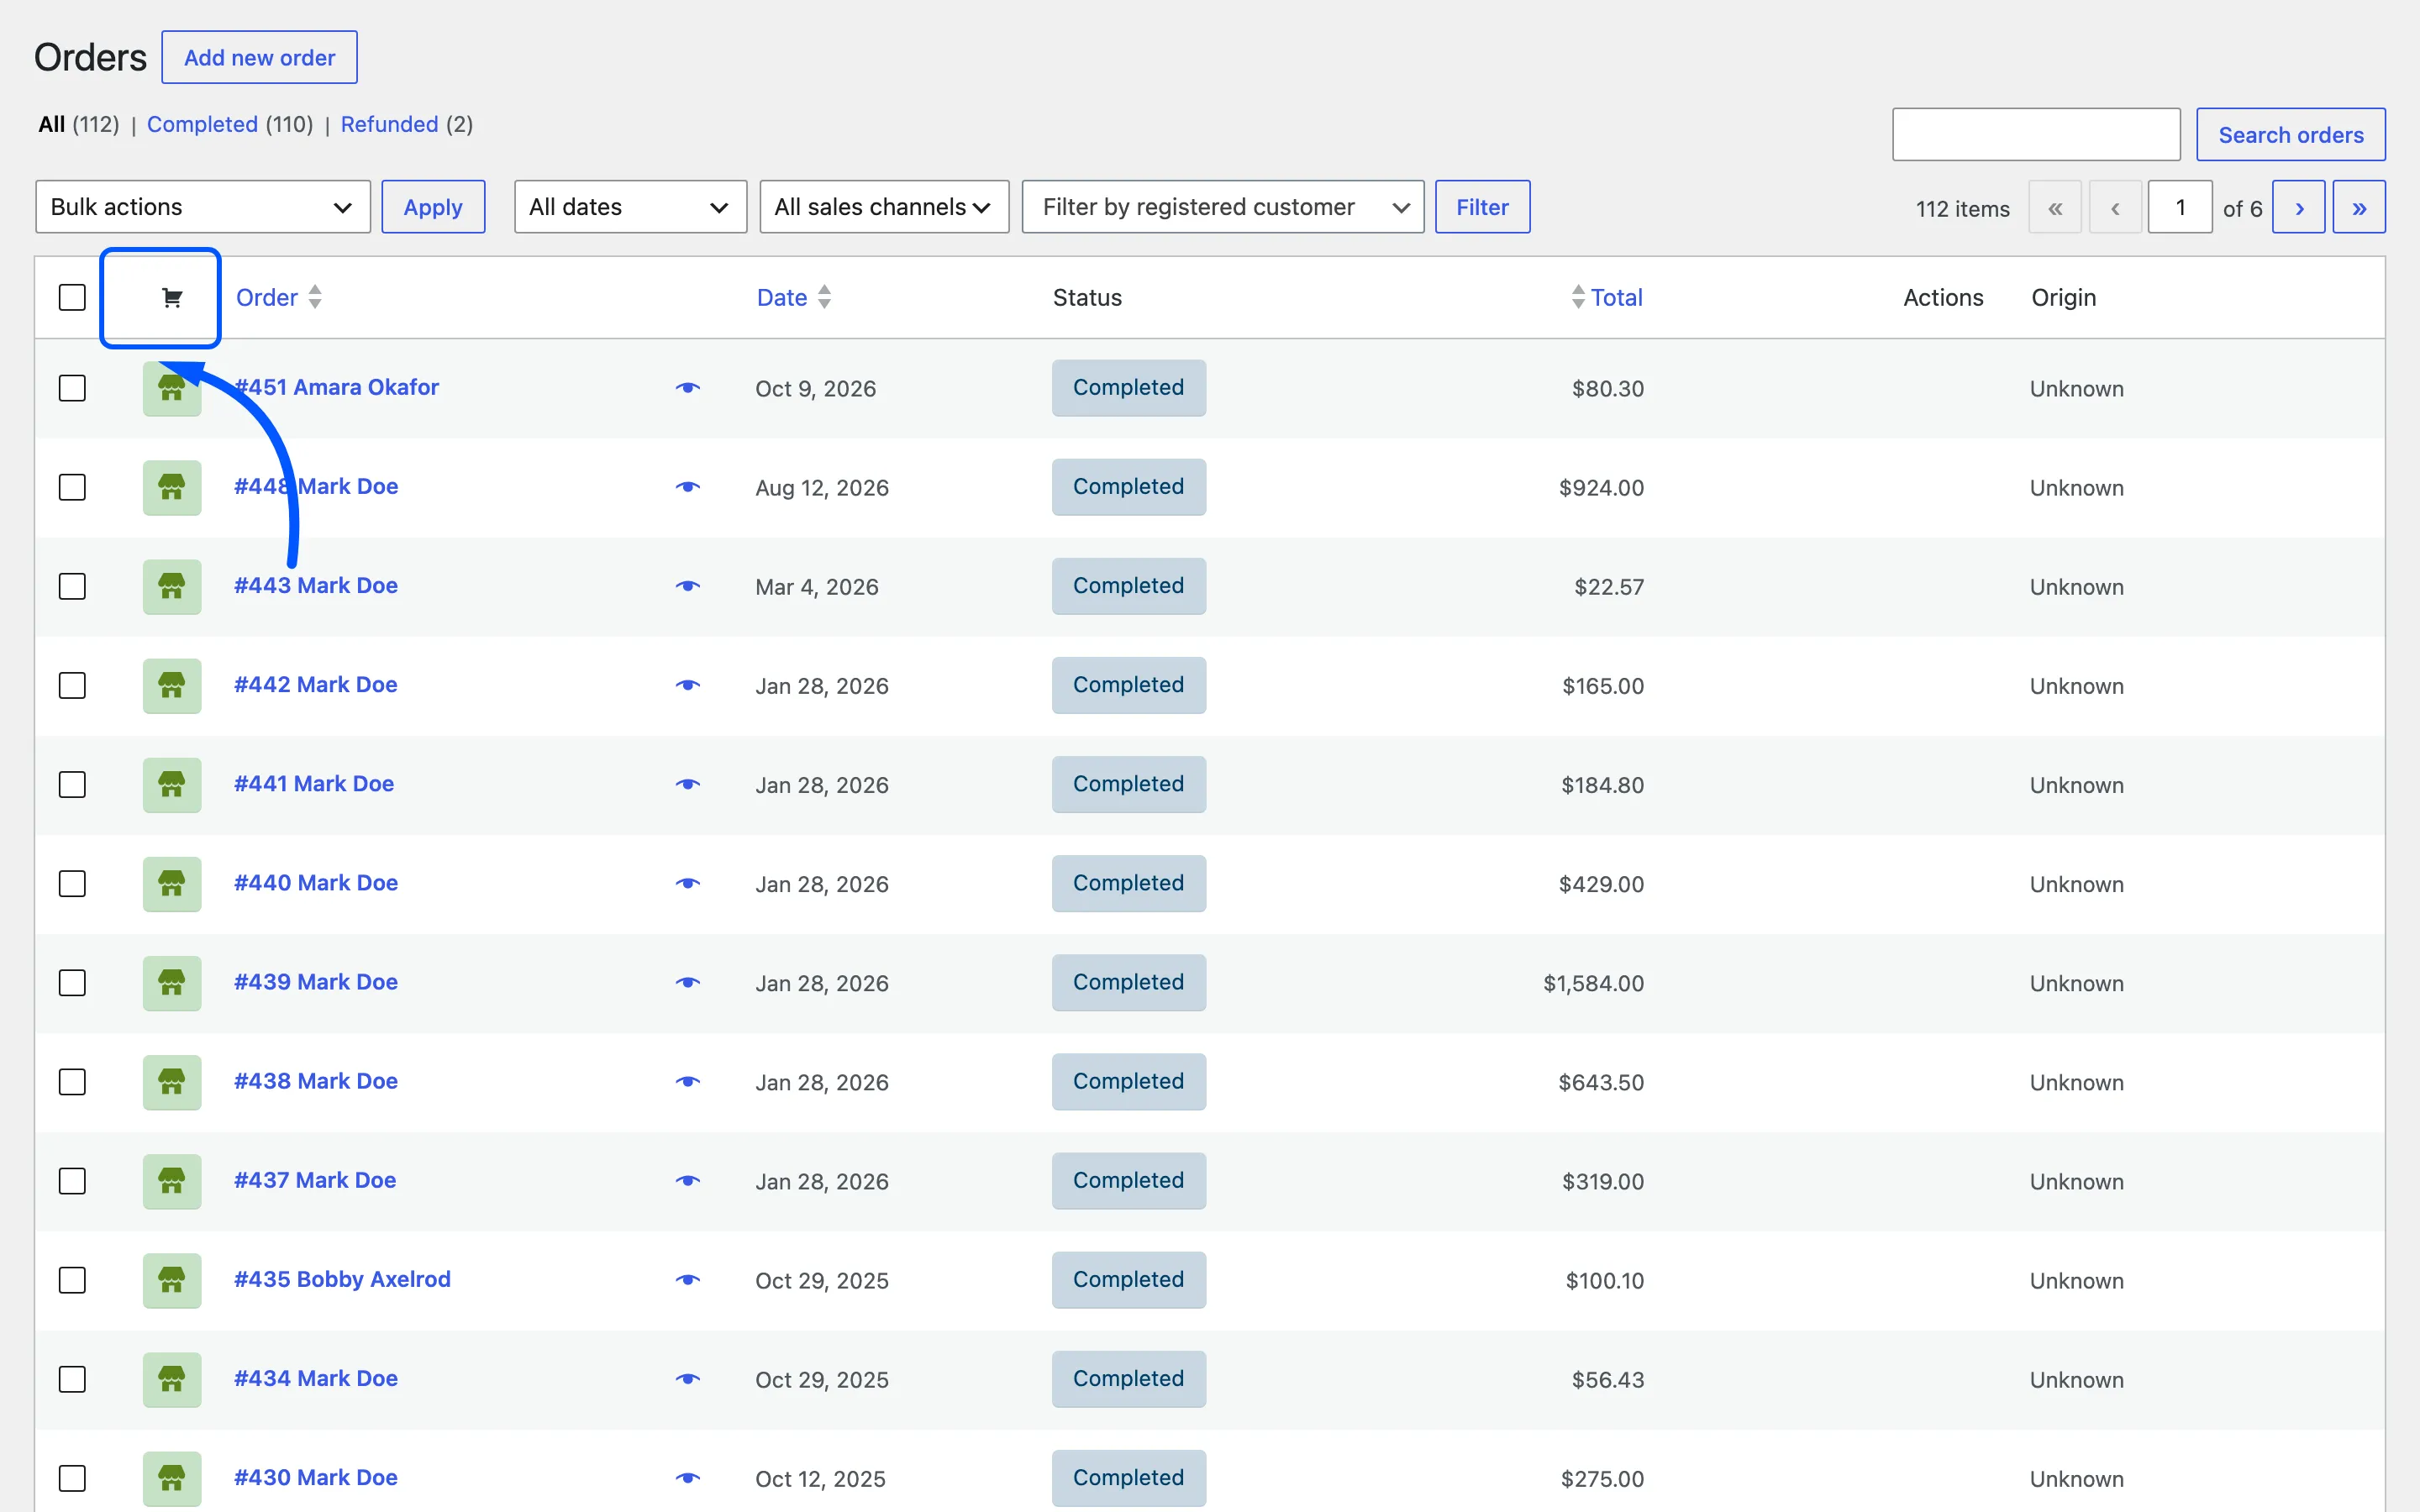
Your sale is at the top with Order Type reading POS. Open it and check three things:
- The status matches your Initial Order Status, which ships as Completed
- The billing address is your outlet’s, not the customer’s, which is correct
- The payment method is the one you chose
Then check MultiPOS → Orders and MultiPOS → Transactions.
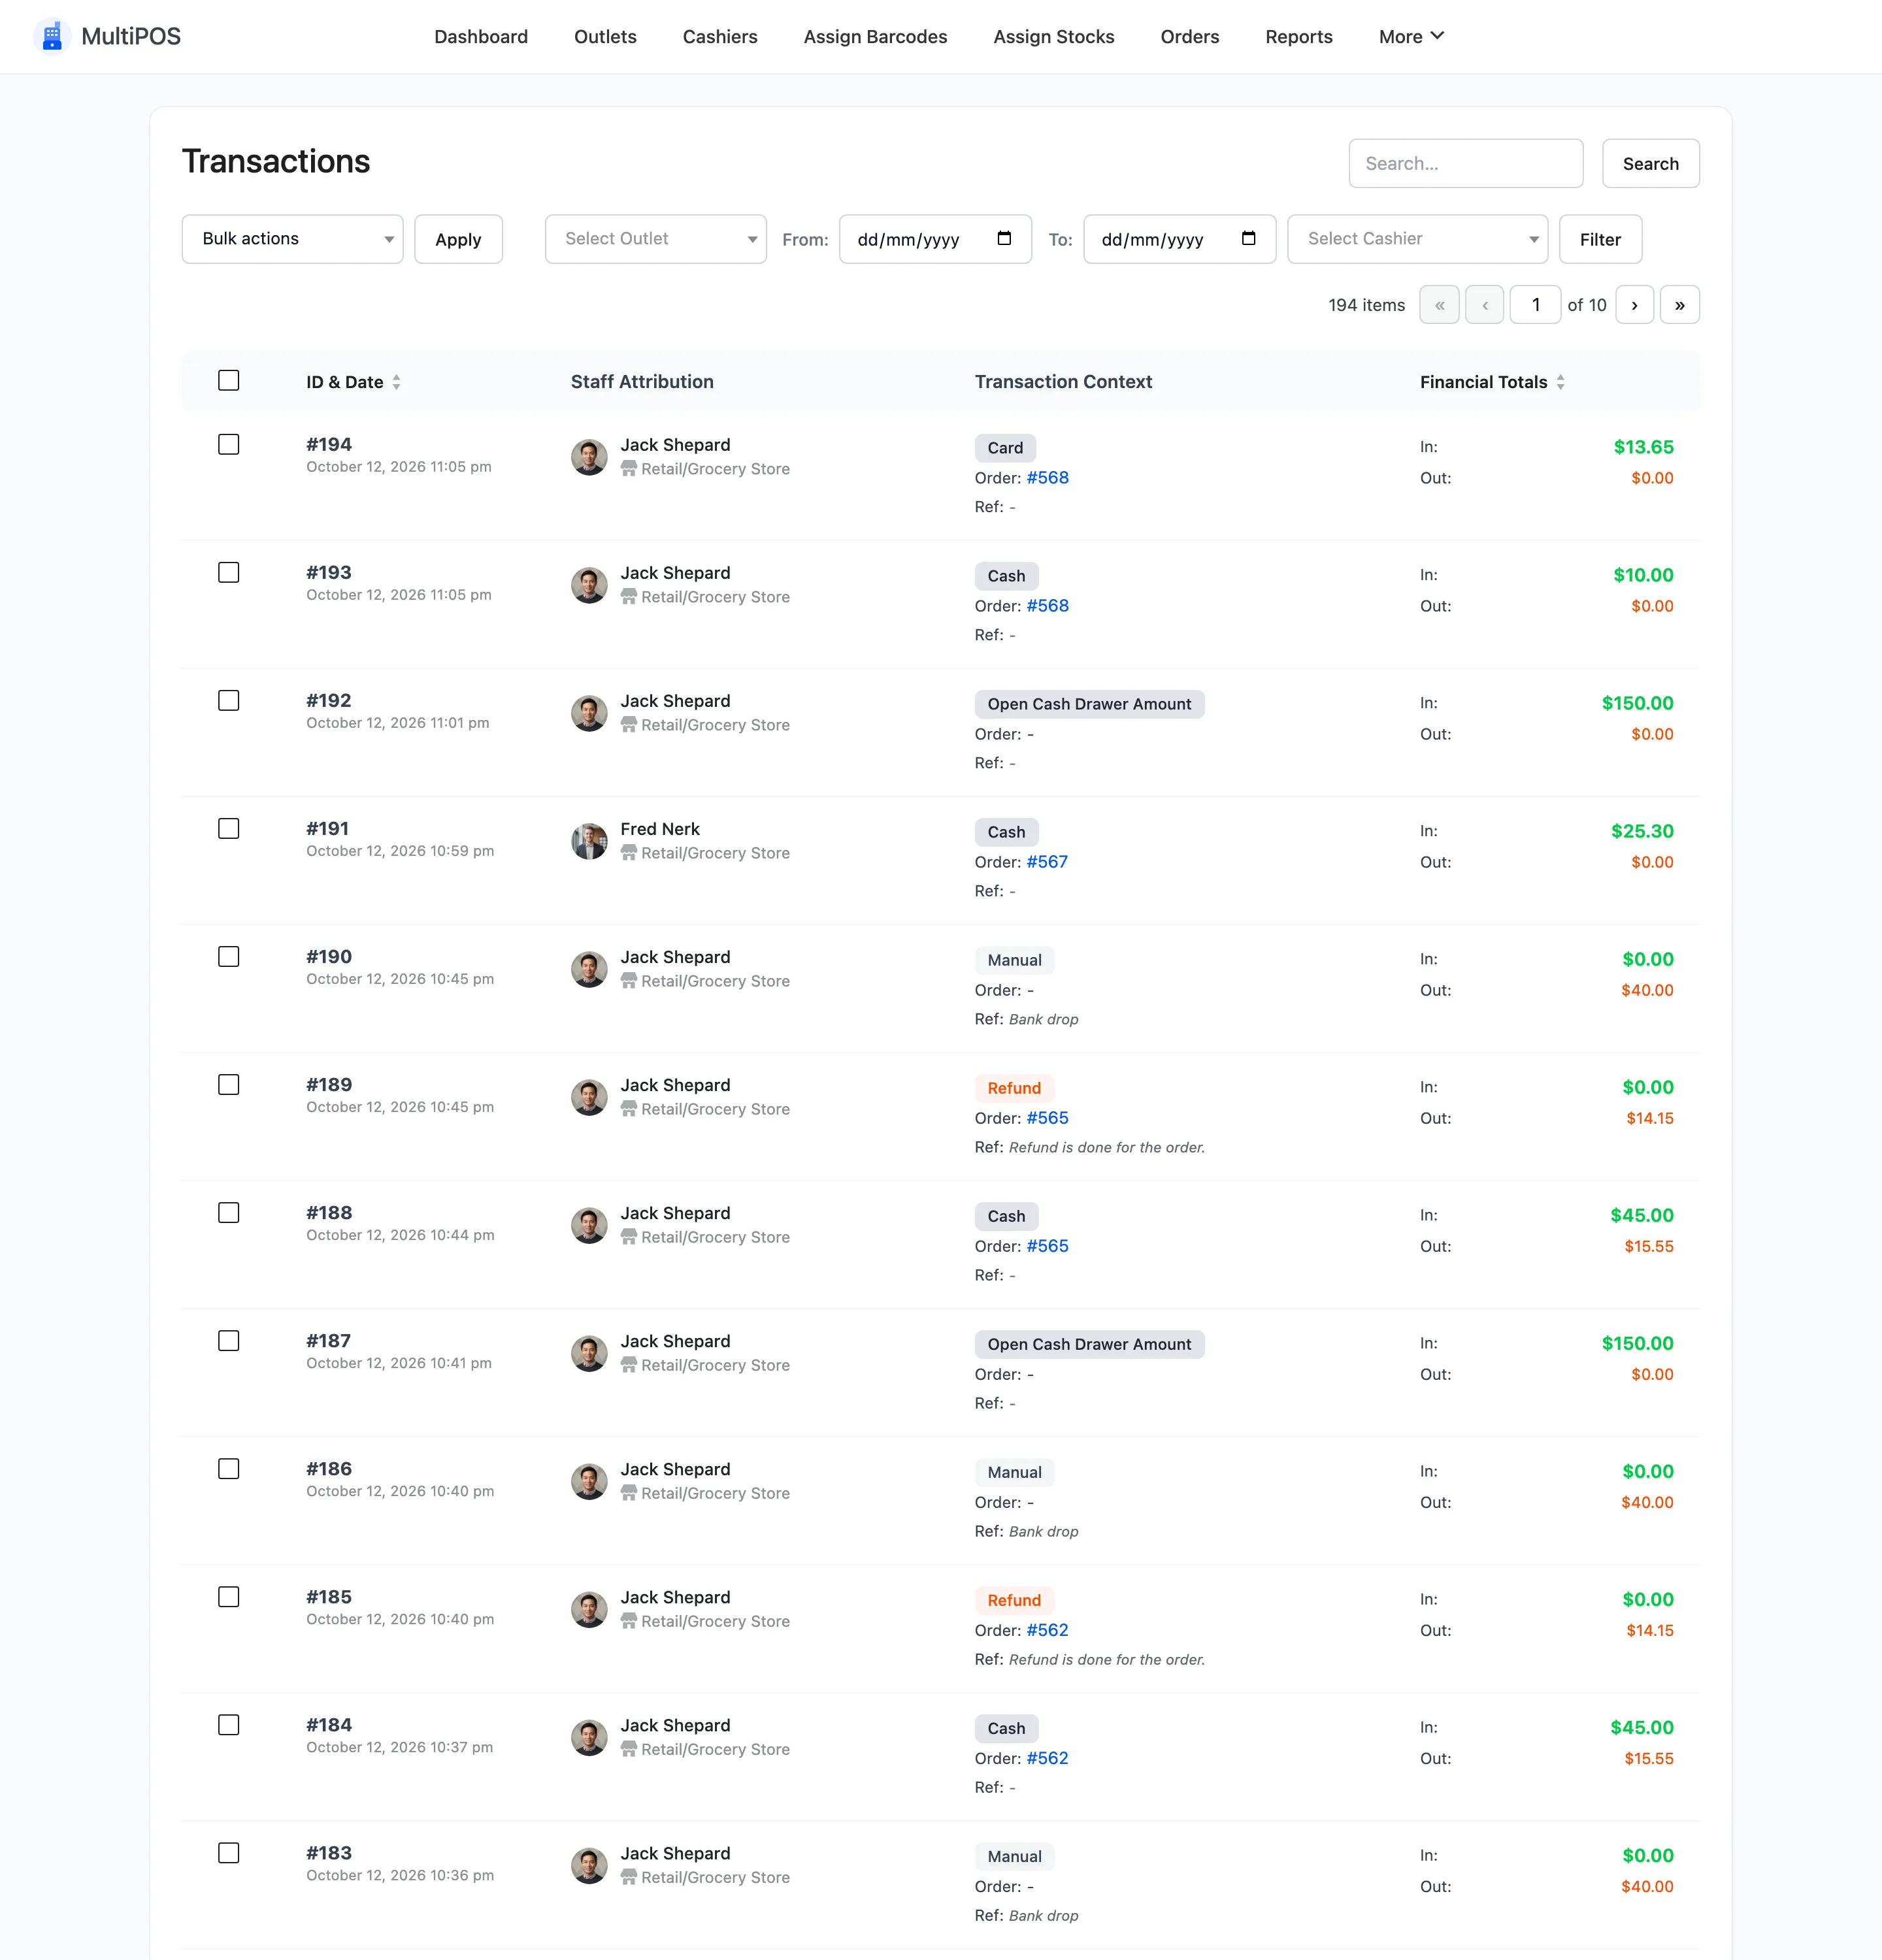
The transaction row shows In as what the customer handed over and Out as the change, and Out is only ever filled in for cash.
Clean up your test
Section titled “Clean up your test”Refund and delete the test order in WooCommerce. Delete its transaction row under MultiPOS → Transactions too, so your first real day’s figures start from zero.