

How to Print Barcode Labels
Products that arrive without a barcode need one printed. MultiPOS generates the code and lays it out for a label printer, and the whole job is getting the millimetres right.
Expect two attempts. Nobody gets label sizing right first time.
Step 1: Measure your labels
Section titled “Step 1: Measure your labels”Take a ruler to the actual label stock, not the box it came in.
You want three numbers in millimetres: the label’s width, its height, and whether it comes on a continuous roll or as separate labels.
A common size is 28 by 89 millimetres, which is what MultiPOS ships as its default.
Those are the numbers the next step types in, so measure before you open the screen.
Step 2: Set the barcode paper size
Section titled “Step 2: Set the barcode paper size”Go to DevDiggers Plugins → MultiPOS → Configuration → Printer.
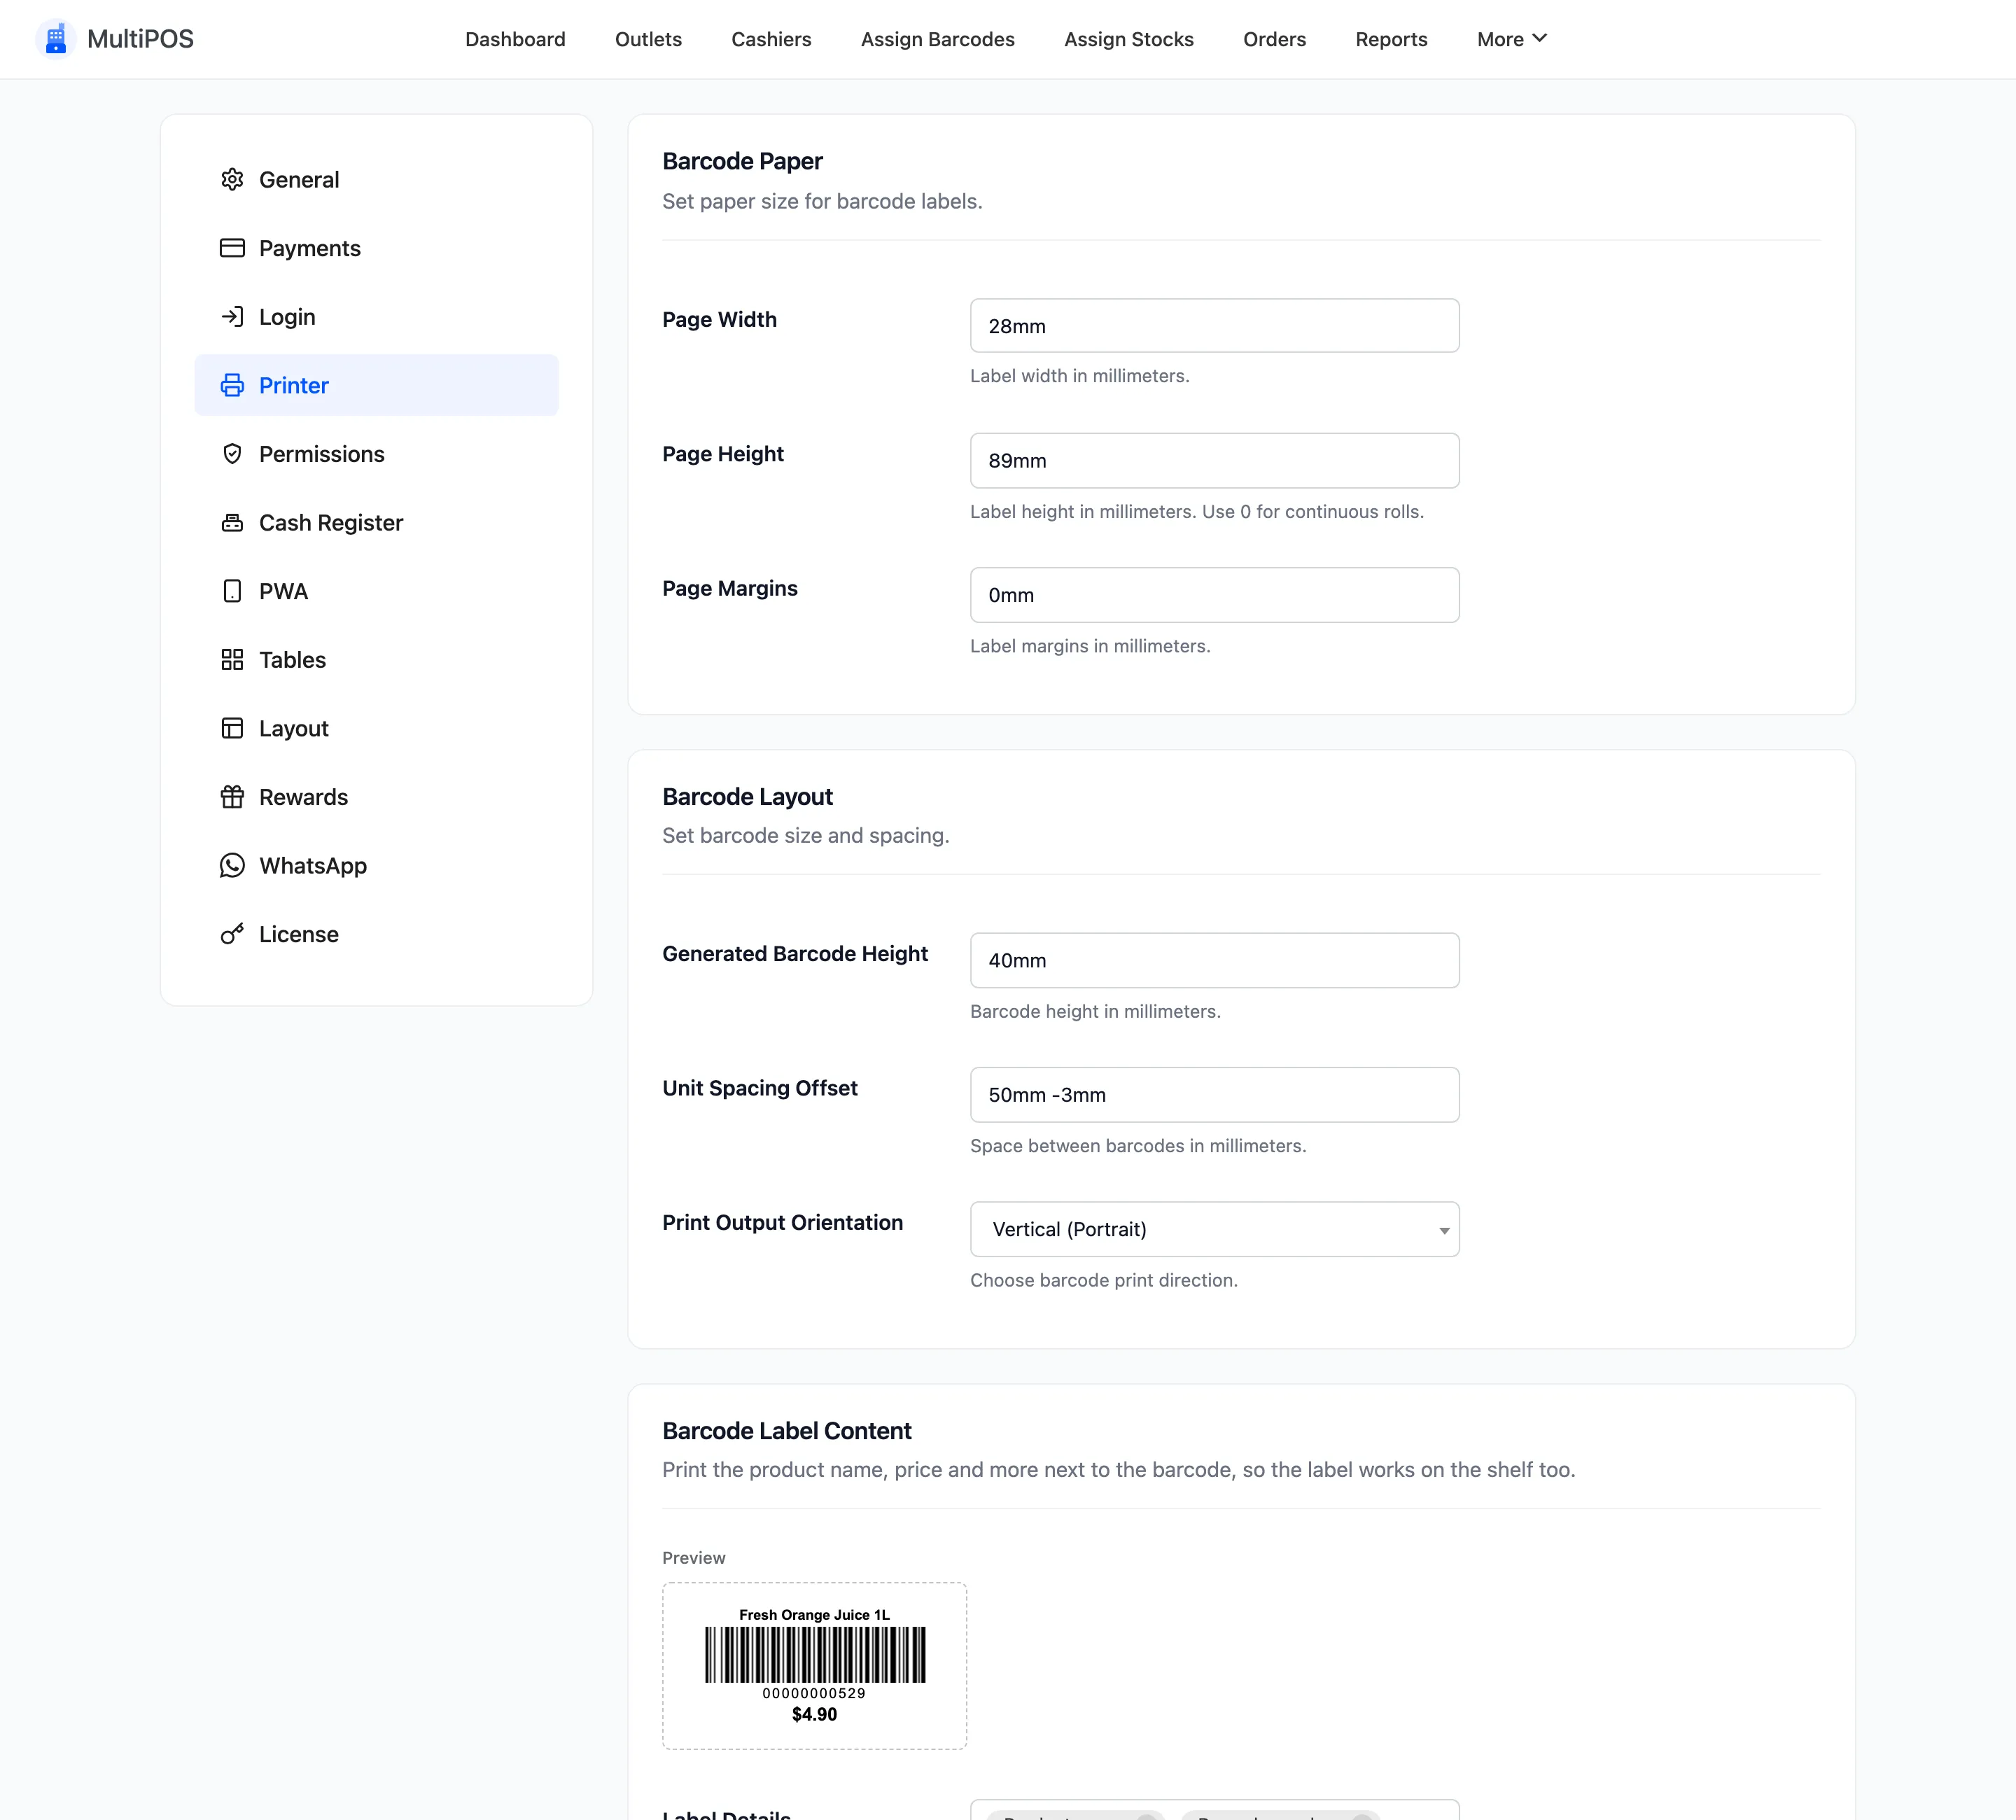
| Field | Default | Enter |
|---|---|---|
| Page Width | 28mm |
Your label’s width |
| Page Height | 89mm |
Your label’s height, or 0 for a continuous roll |
| Page Margins | 0mm |
Usually leave at zero |
Page Height of 0 tells the printer the roll is continuous, so it cuts per label rather than per
page. If your labels come out in one long strip when they should be separate, this is the field.
Step 3: Set the barcode layout
Section titled “Step 3: Set the barcode layout”
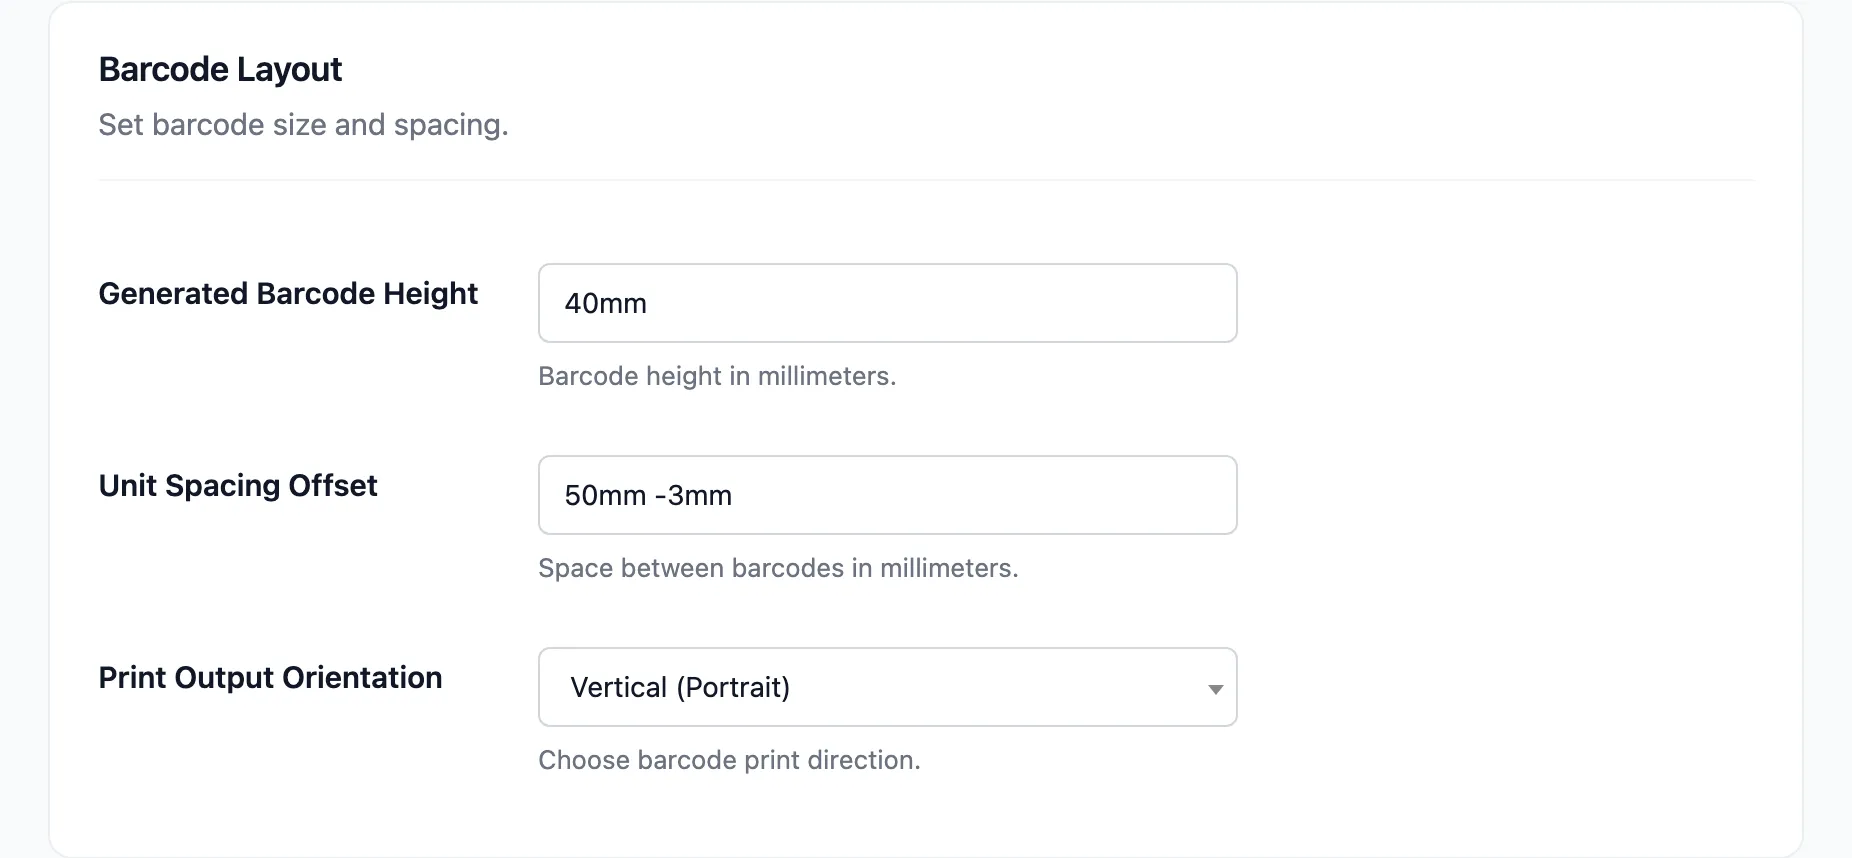
- Generated Barcode Height defaults to
40mm. That is how tall the bars print, and it has to fit inside the label with room for the number underneath. - Unit Spacing Offset defaults to
50mm -3mm. It takes two values, vertical then horizontal, and the negative figure pulls labels together sideways so a two-across sheet does not drift apart. - Print Output Orientation is Vertical (Portrait) or Horizontal (Landscape).
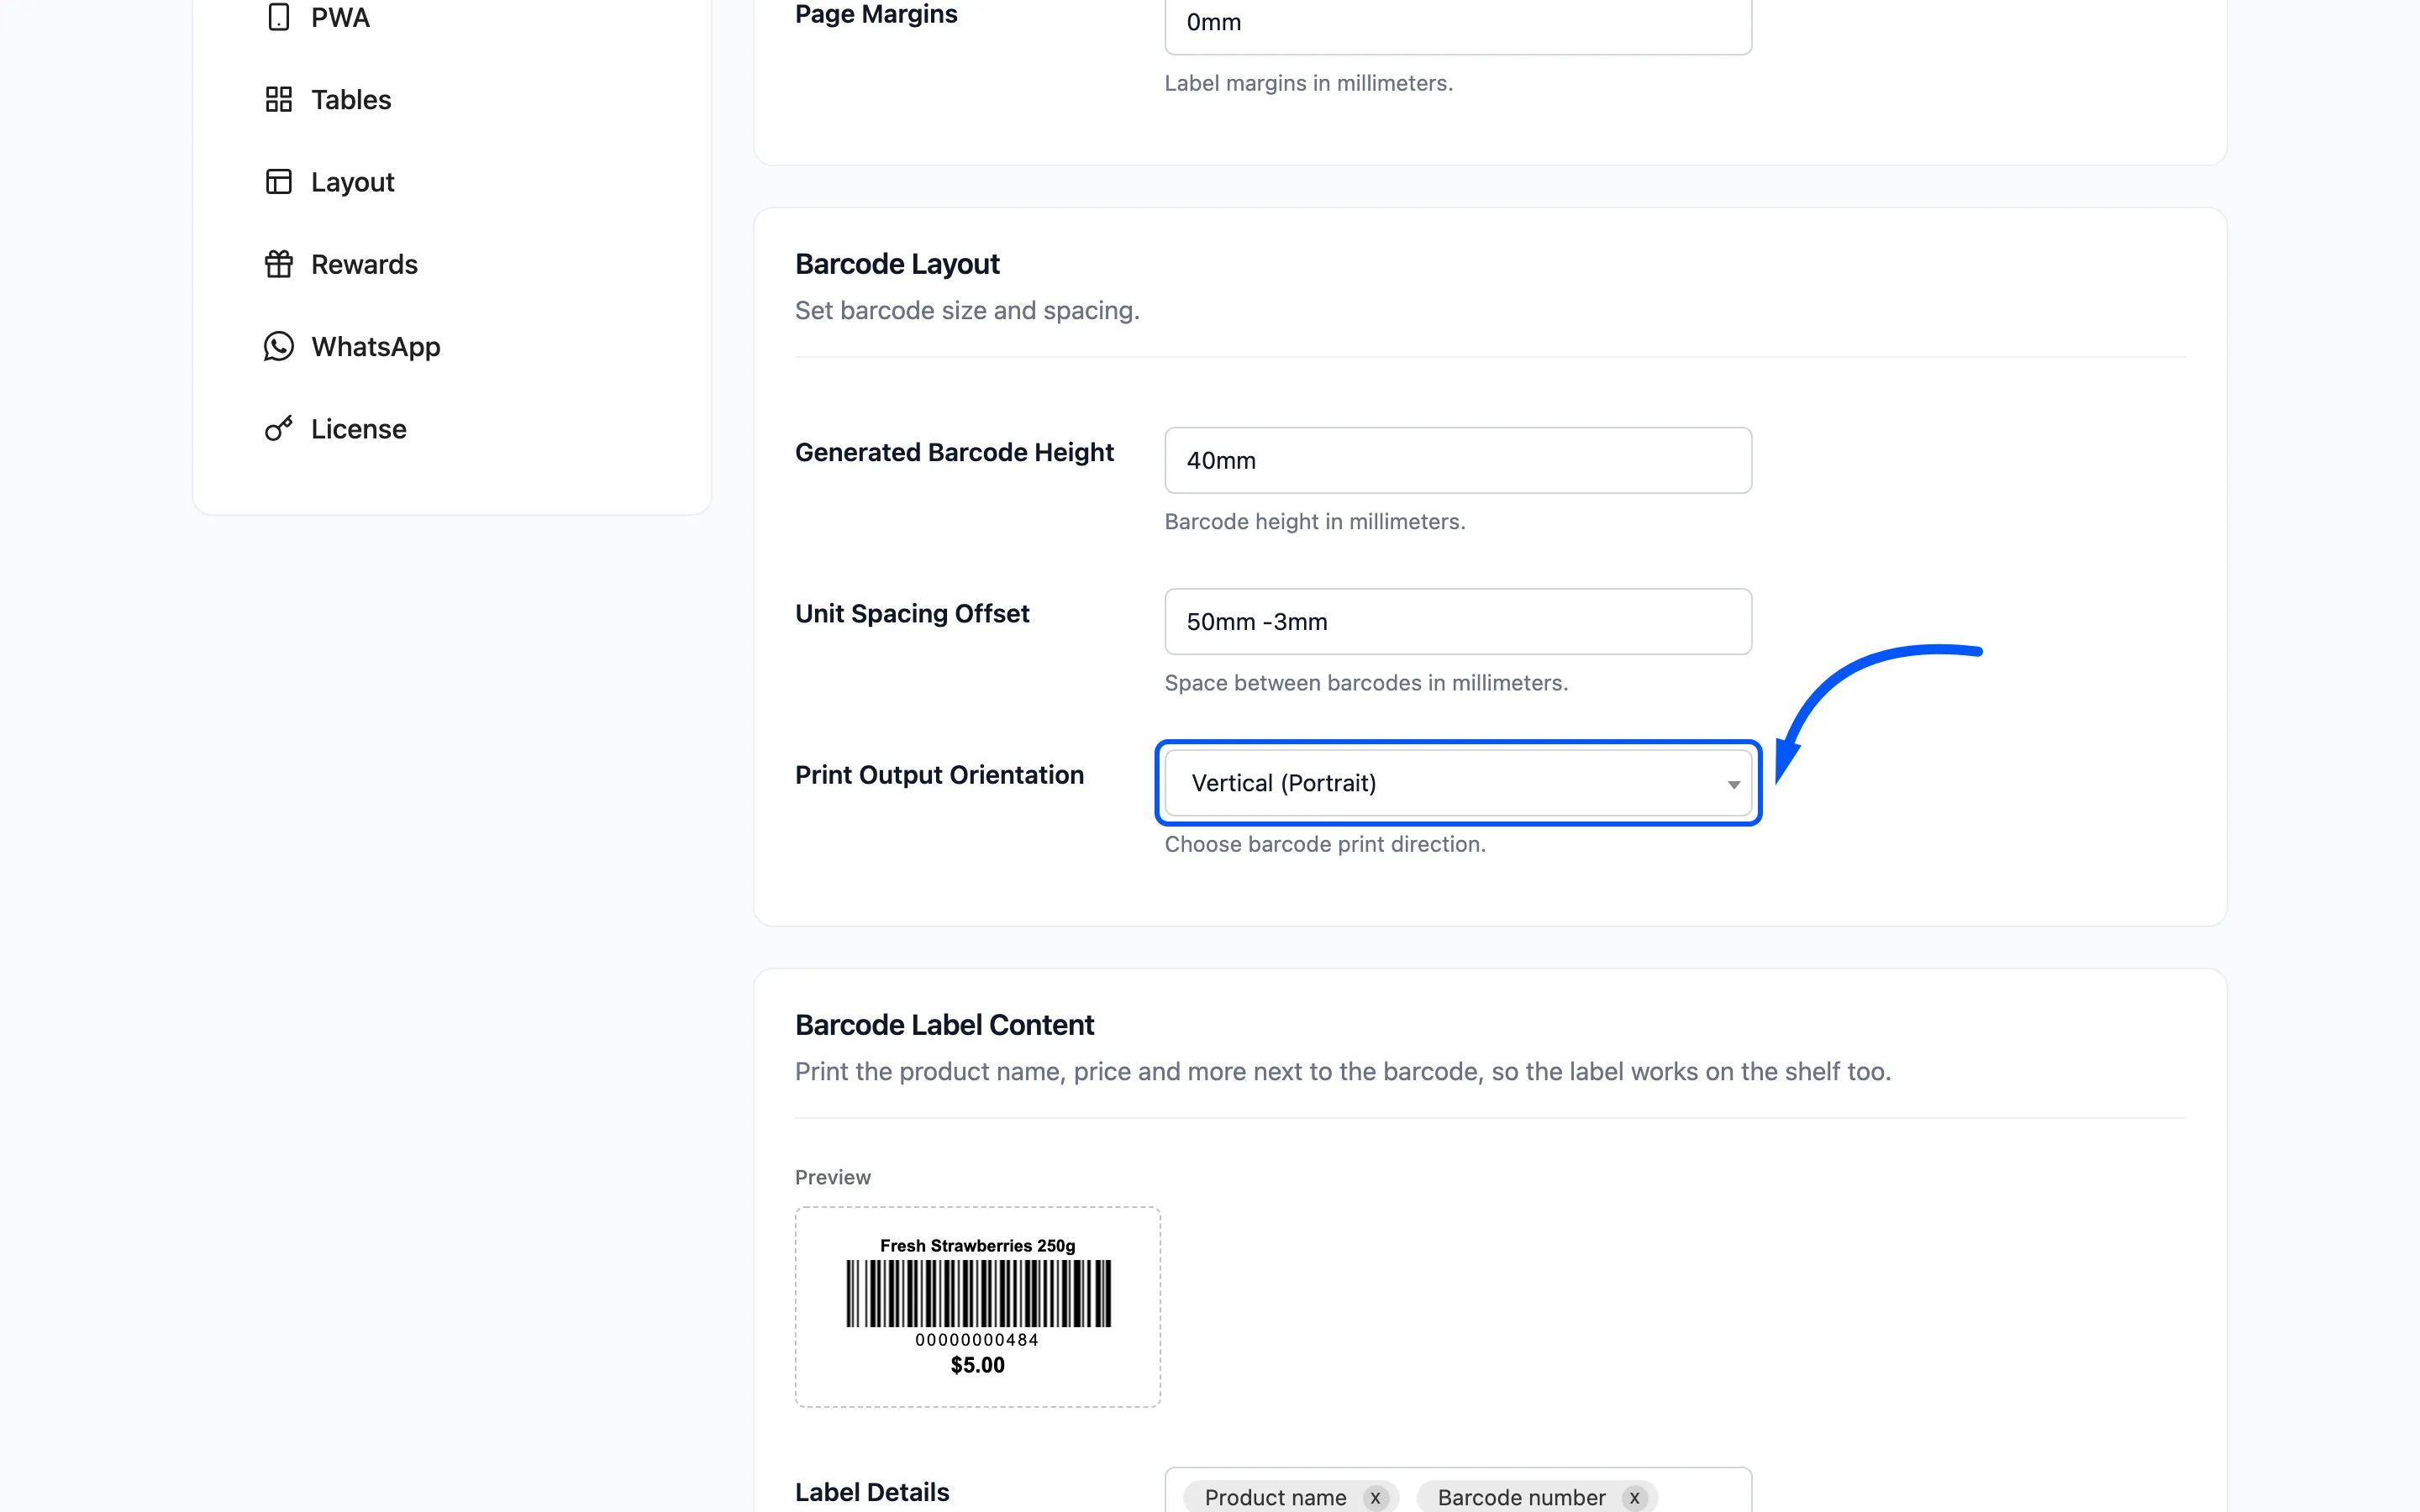
Vertical suits a roll feeding label after label. Horizontal suits an A4 sheet of labels in a laser printer.
Choose what prints beside the bars (Pro)
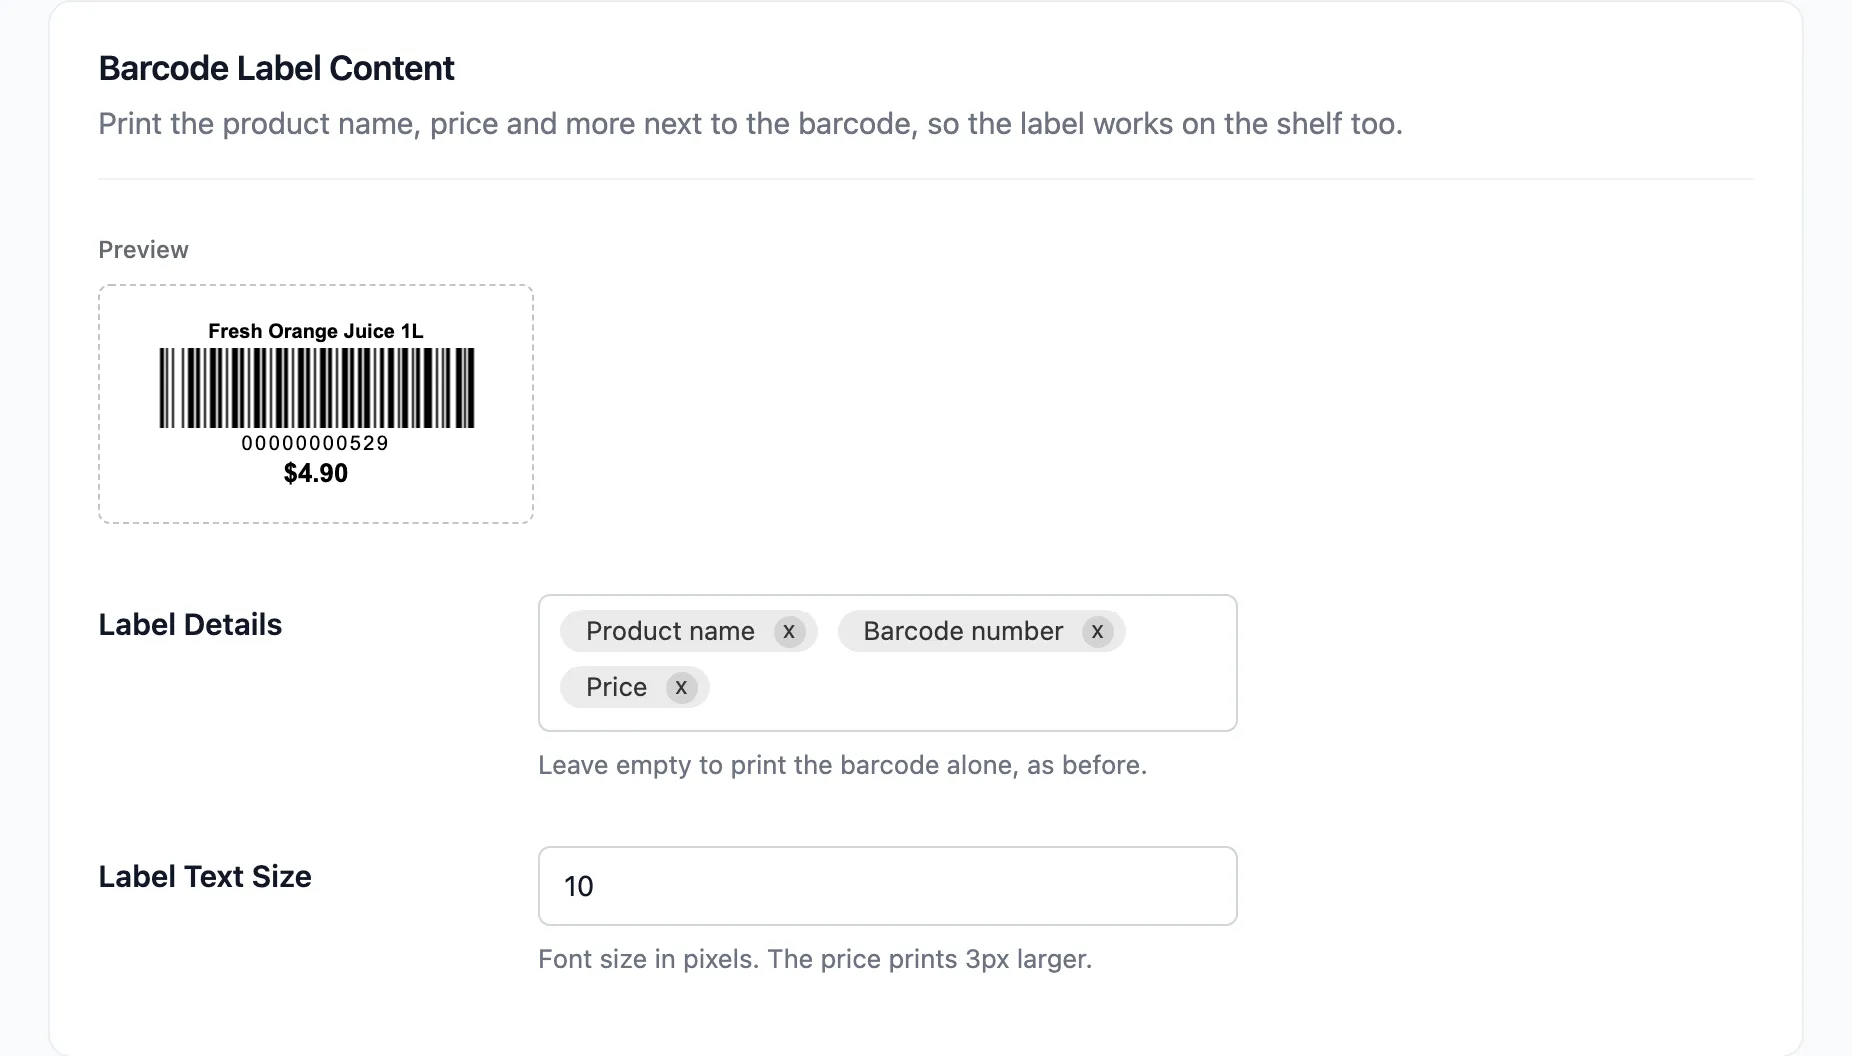
Section titled “Choose what prints beside the bars (Pro)”Barcode Label Content adds shelf details to each label. Under Label Details, pick any of Store name, Product name, Variation (size, colour), Barcode number, SKU and Price. Leave it empty and the label is the barcode alone.
Label Text Size is the font size in pixels, and the price prints 3px larger. The Preview box beside the fields redraws as you change them.
Click Save Changes.
Step 4: Print one test sheet
Section titled “Step 4: Print one test sheet”Go to DevDiggers Plugins → MultiPOS → Assign Barcodes.
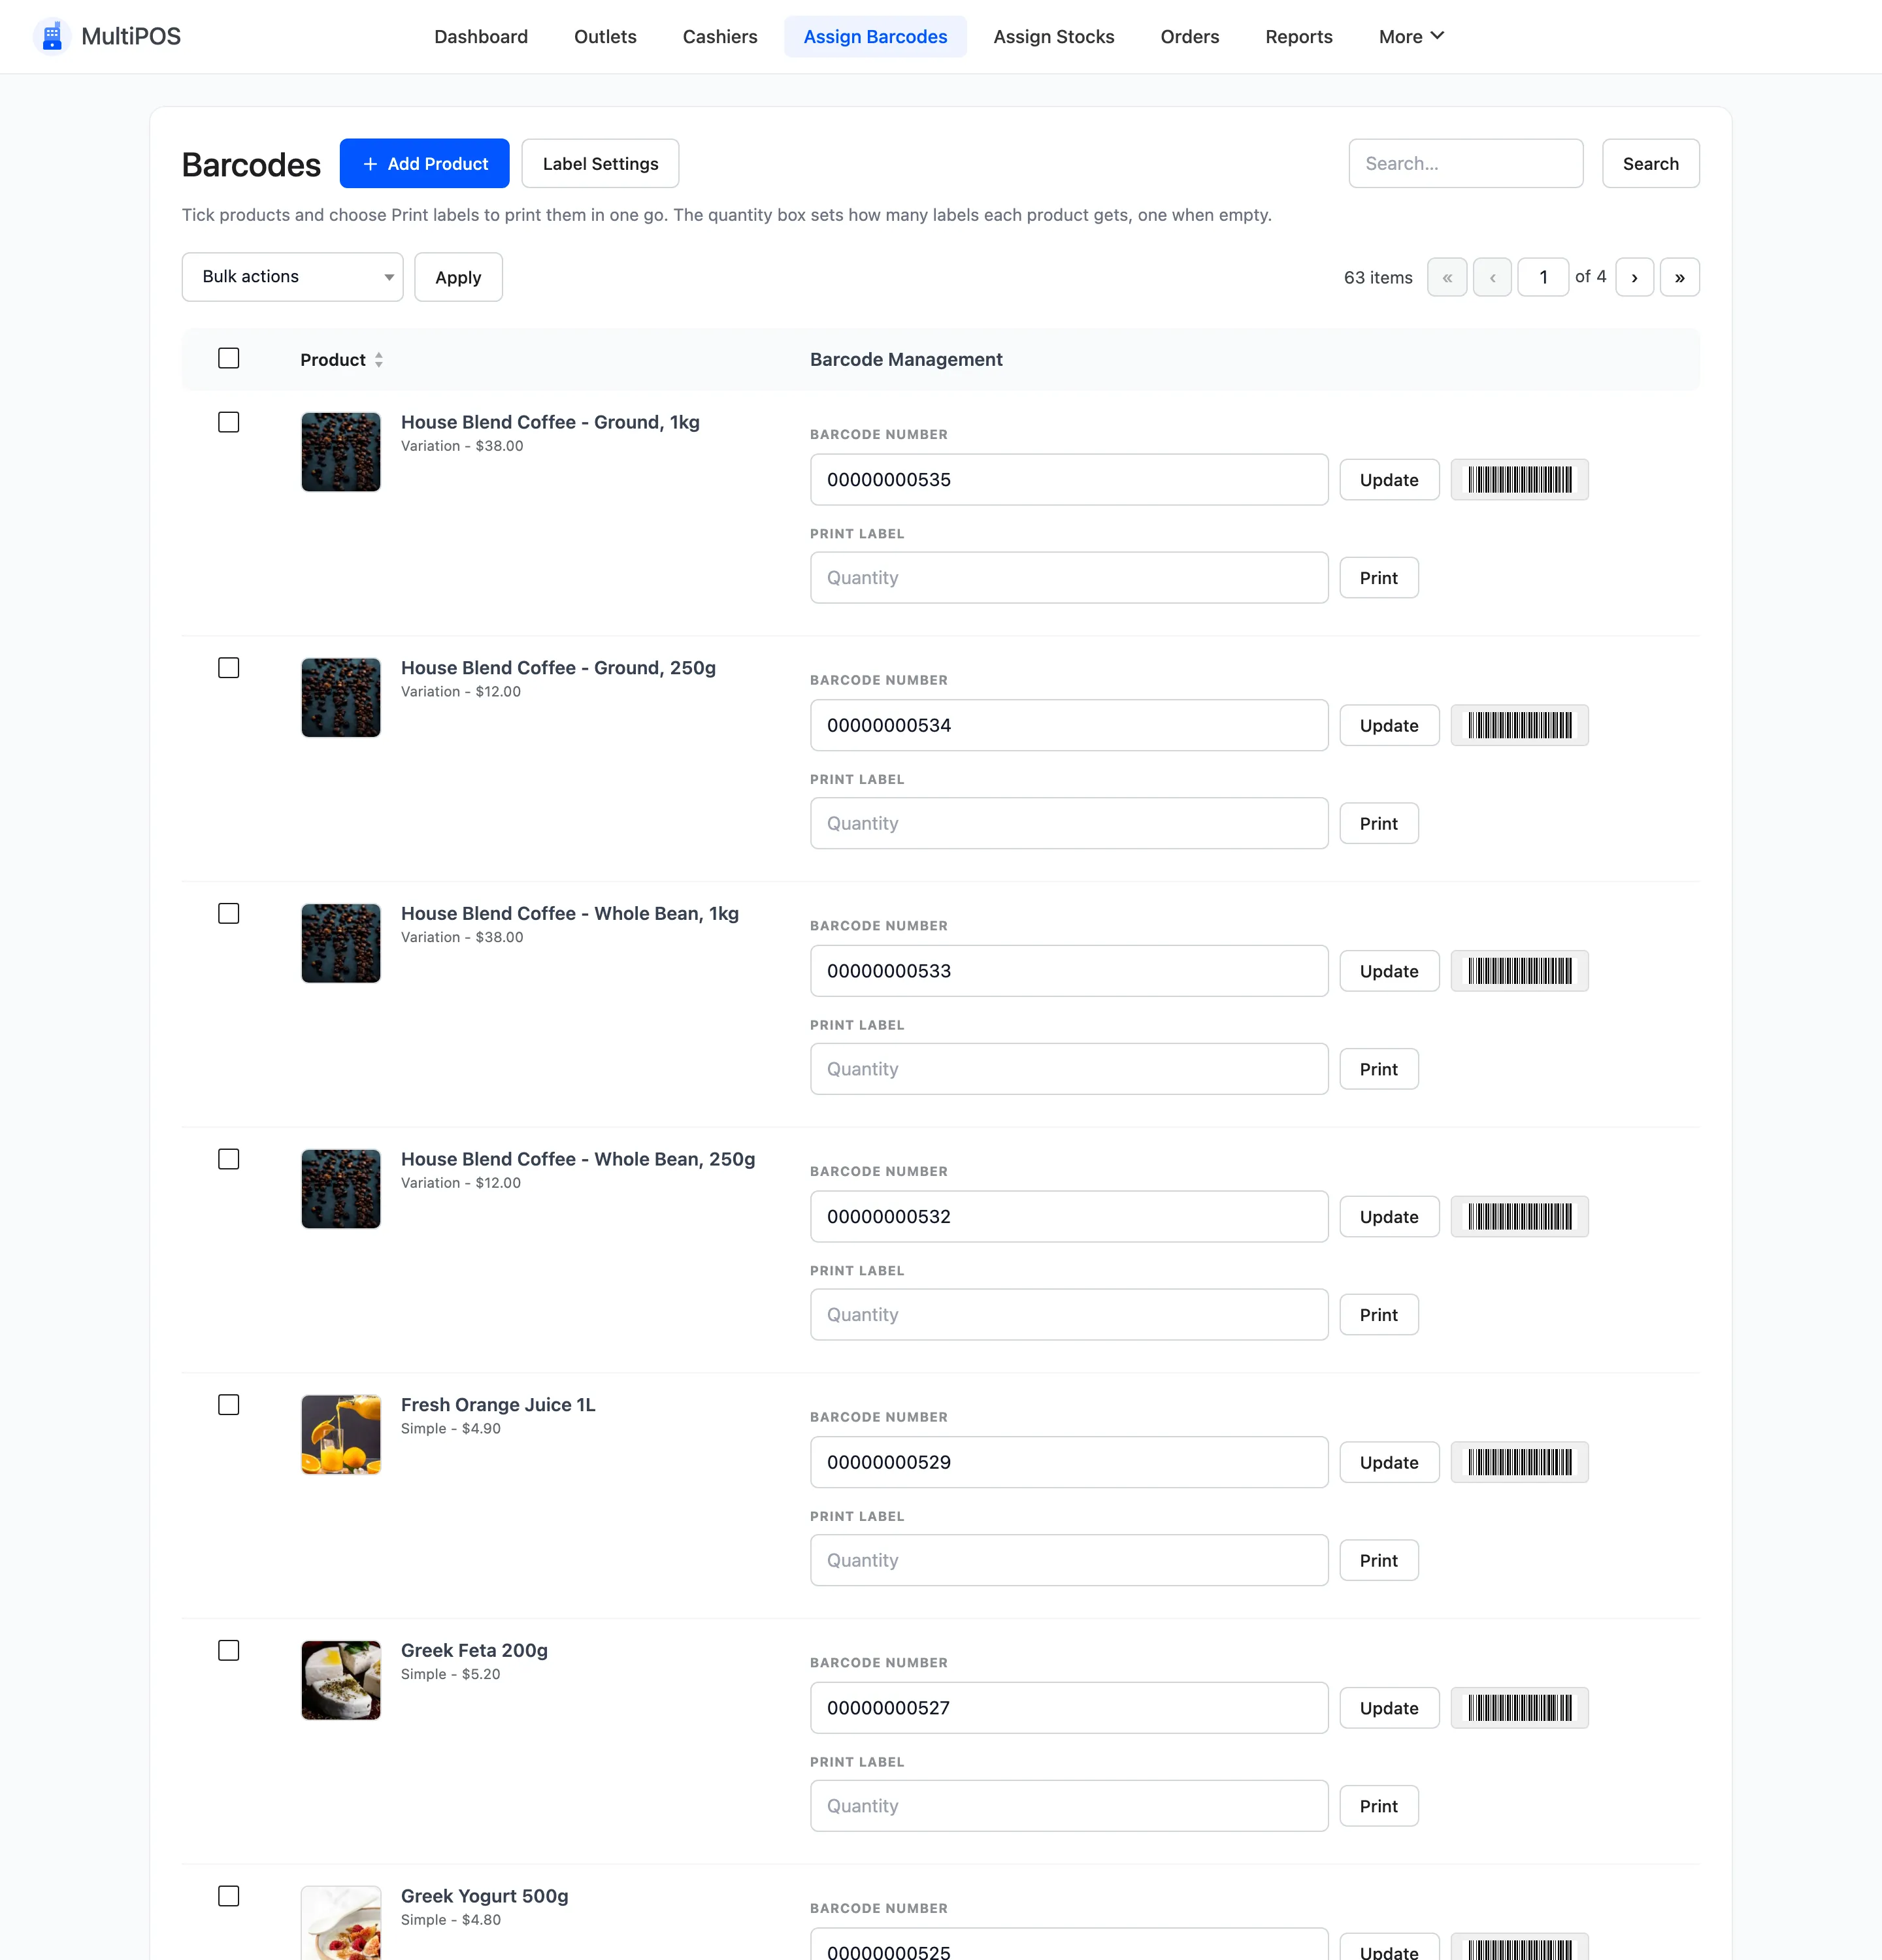
Find one product, enter a small quantity like 4 in the quantity field, and click Print.
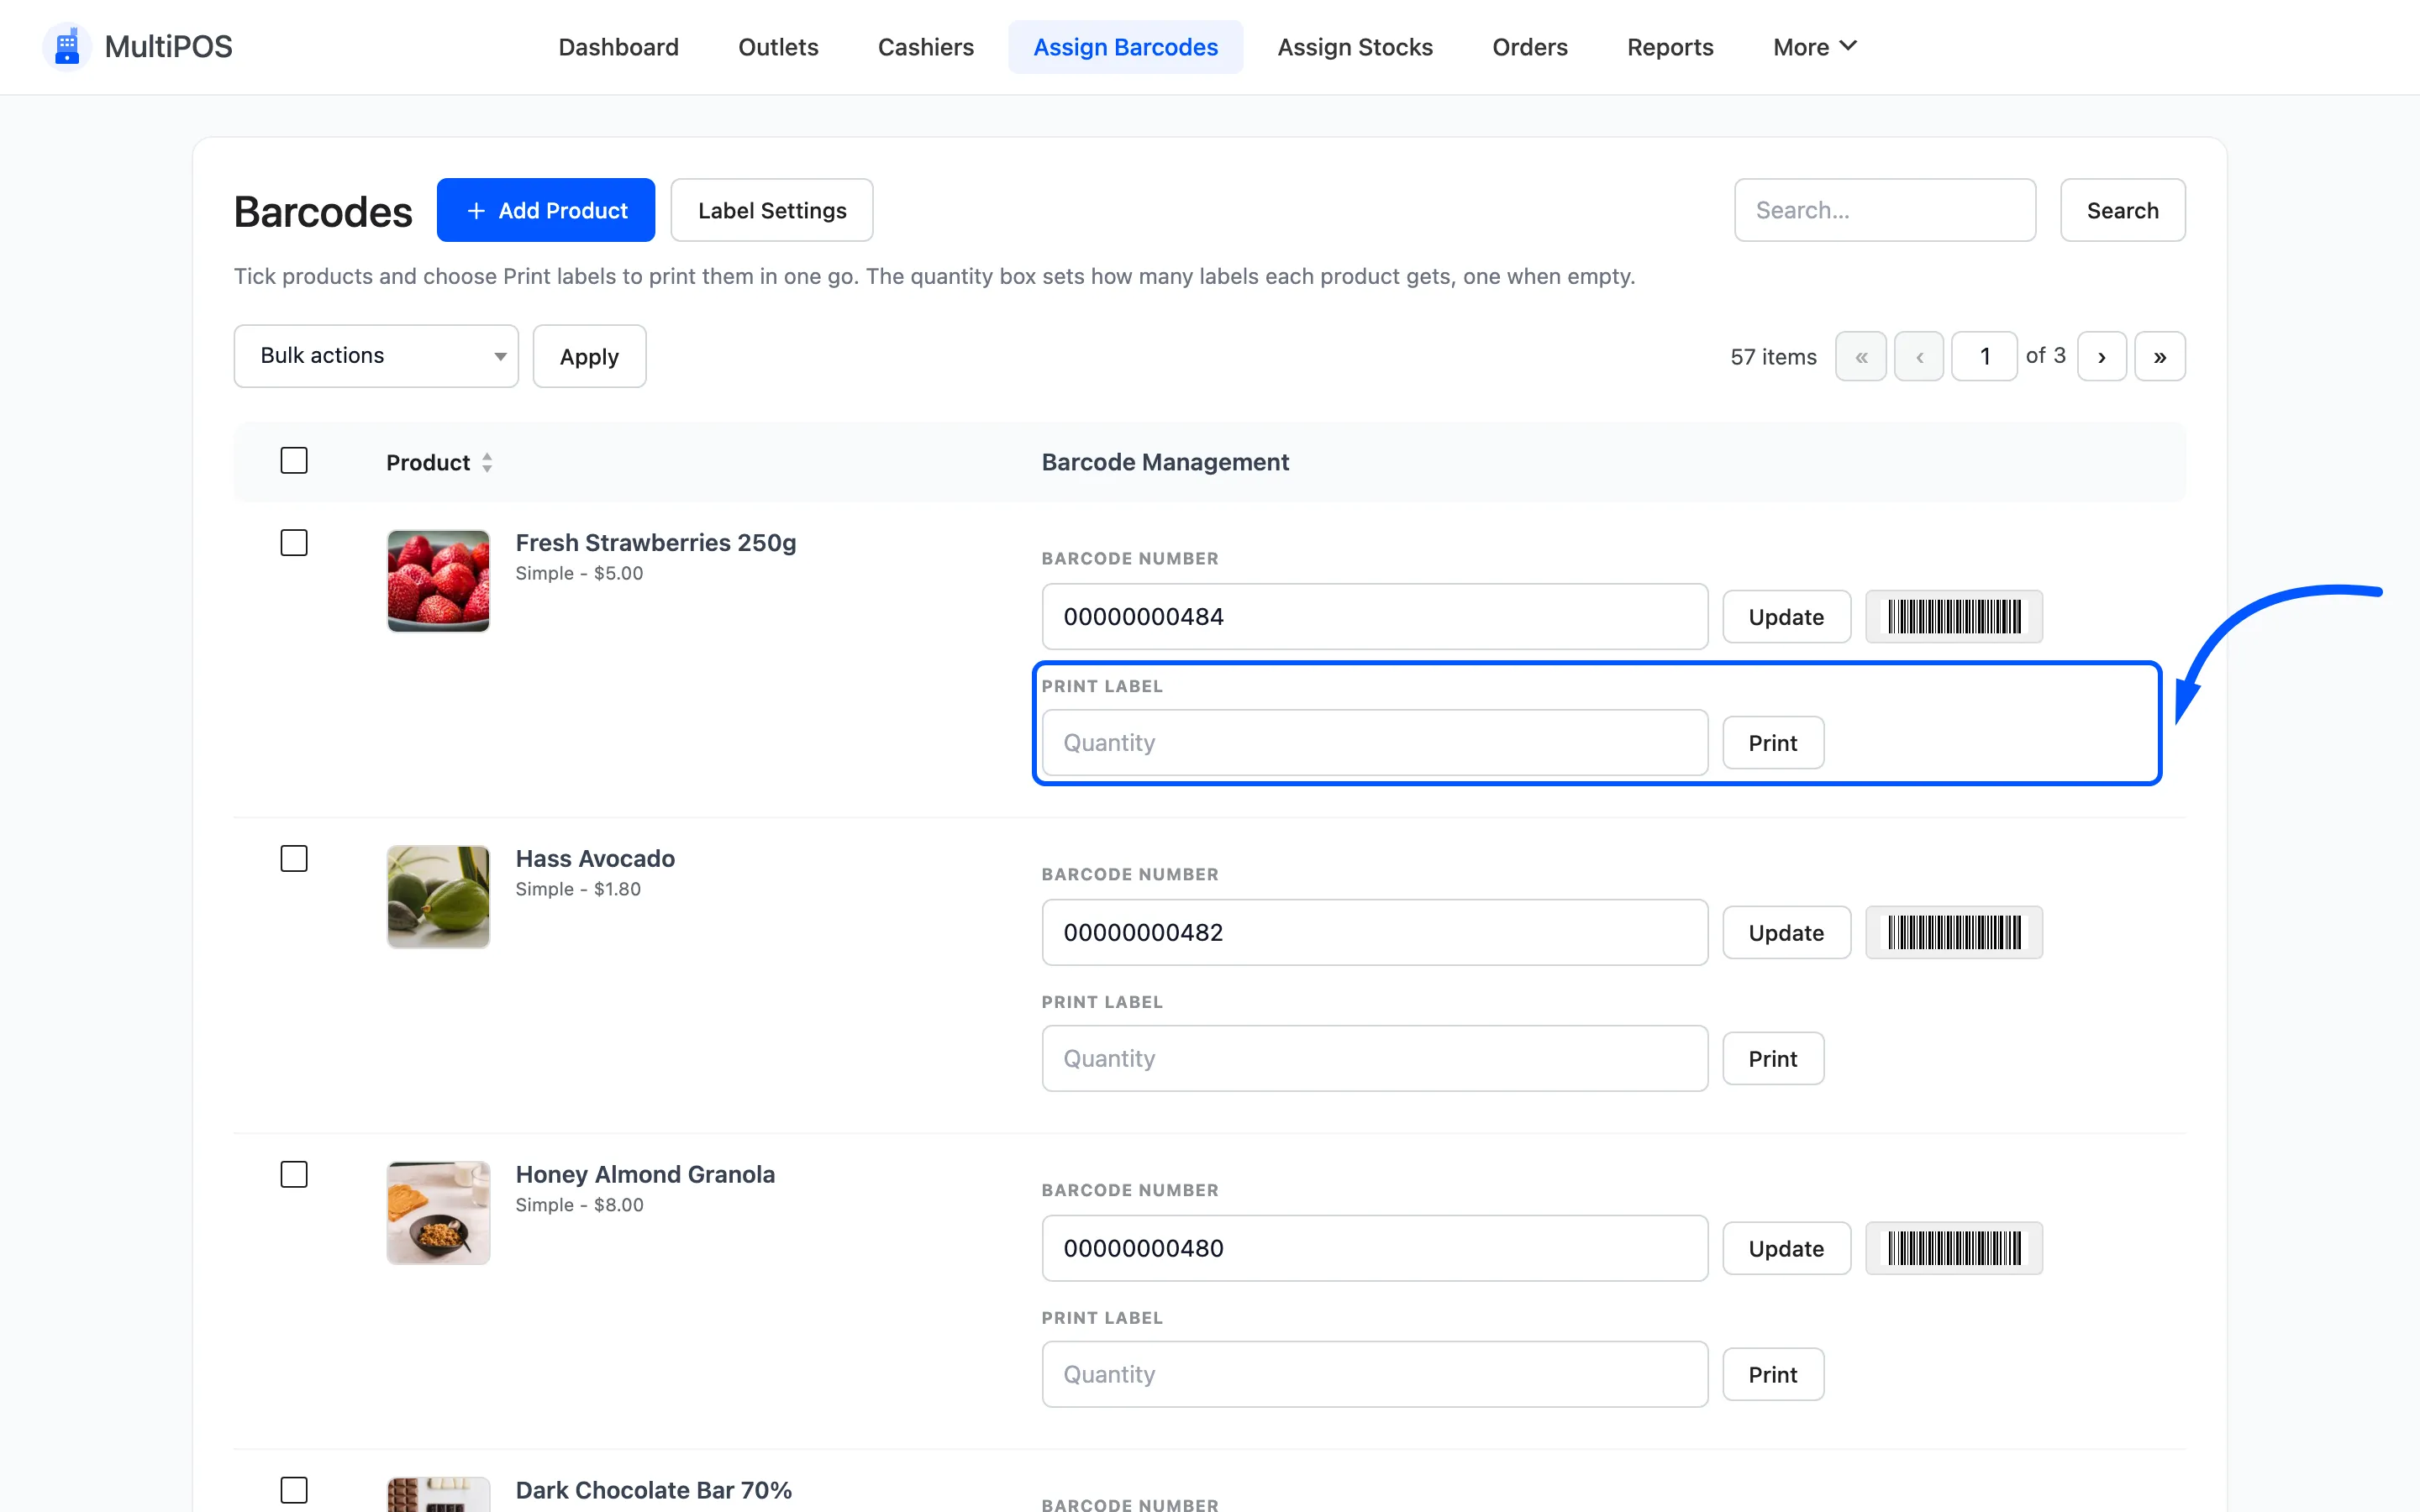
The browser print dialog opens. In it, check two things before you print:
- Margins set to None. Browser margins fight the millimetre values you just entered.
- Scale set to 100%. “Fit to page” silently resizes your barcode and it stops scanning.
Print onto plain paper first. Hold it against a real label and see where the edges land.
Step 5: Adjust and reprint
Section titled “Step 5: Adjust and reprint”Compare and correct:
| What you see | Change |
|---|---|
| Bars run off the edge | Reduce Generated Barcode Height or increase Page Width |
| Big gap between labels | Reduce the first value in Unit Spacing Offset |
| Labels overlap sideways | Make the second Unit Spacing Offset value less negative |
| The number under the bars is cut off | Reduce Generated Barcode Height |
| Everything sits too high or too low | Adjust Page Margins |
Every one of those values lives on the same screen as step 2, so a correction is one edit and one Save Changes. Then reprint from the PRINT LABEL controls on Assign Barcodes.
Reprint on paper until it lines up, then print one real label and scan it.
A barcode that prints is not the same as a barcode that scans. Test it with the actual scanner before you print a thousand.
Step 6: Print in bulk
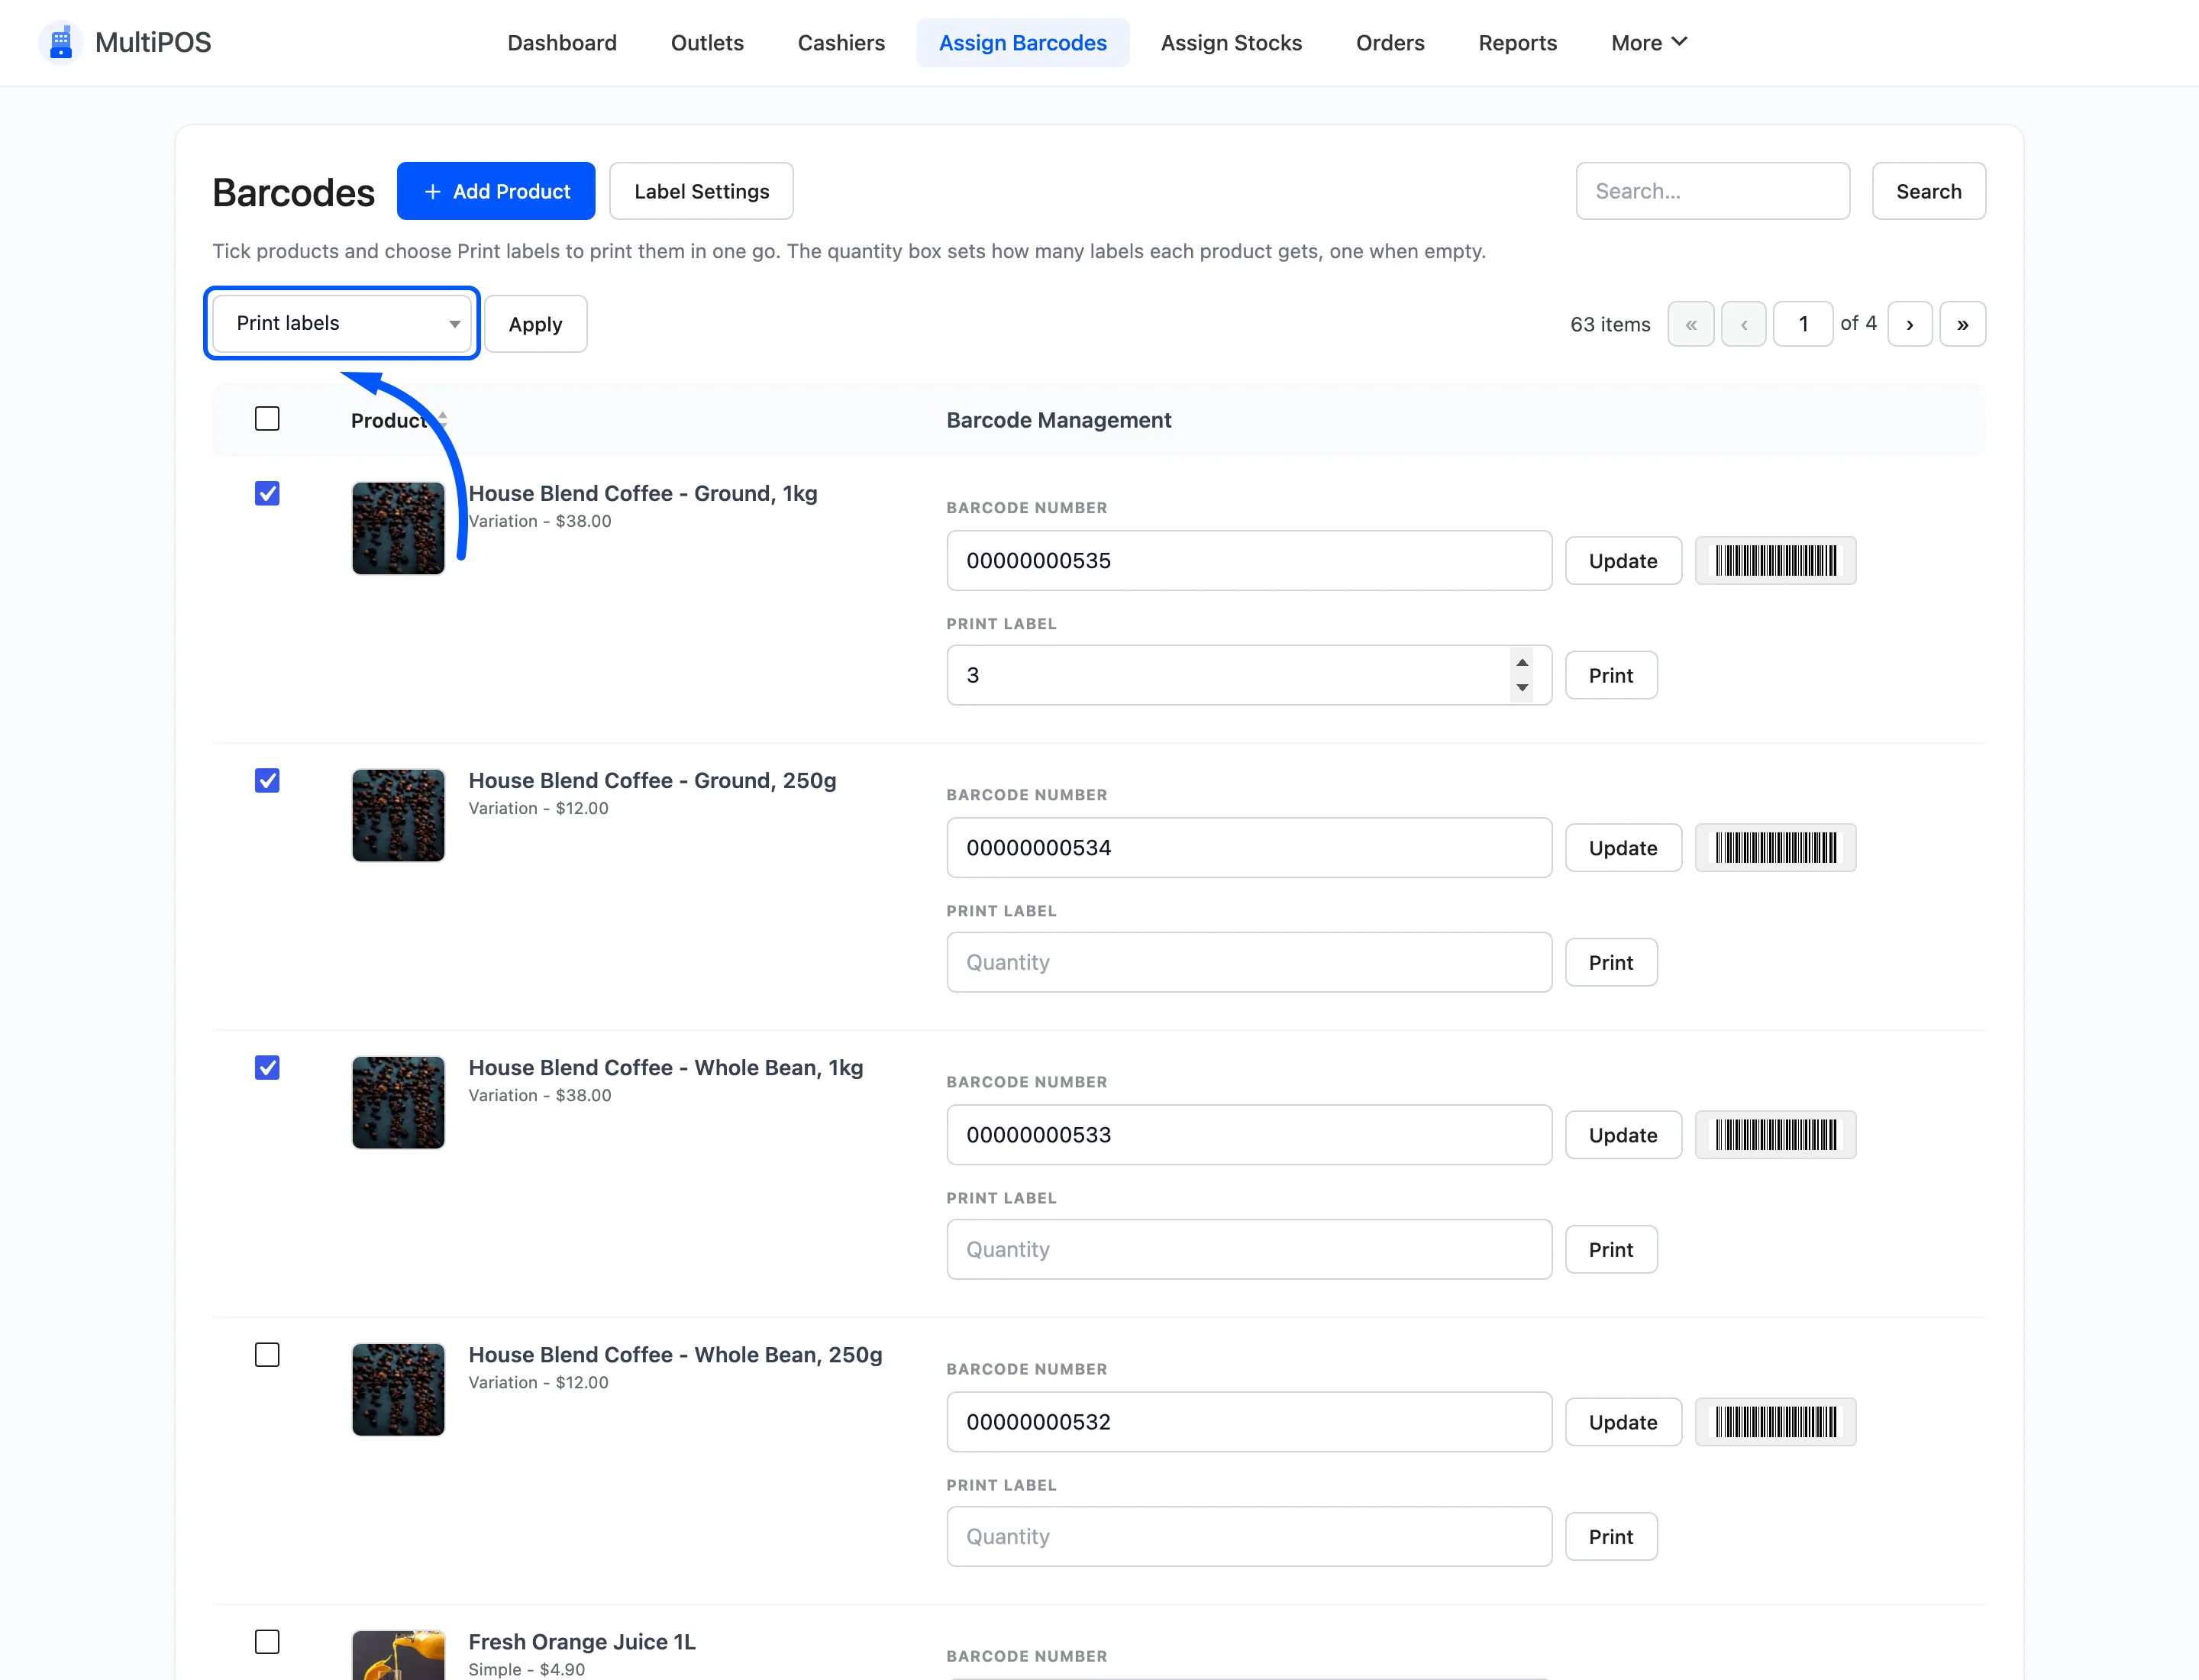
Section titled “Step 6: Print in bulk”Once one label scans, print the rest in one job. On Assign Barcodes:
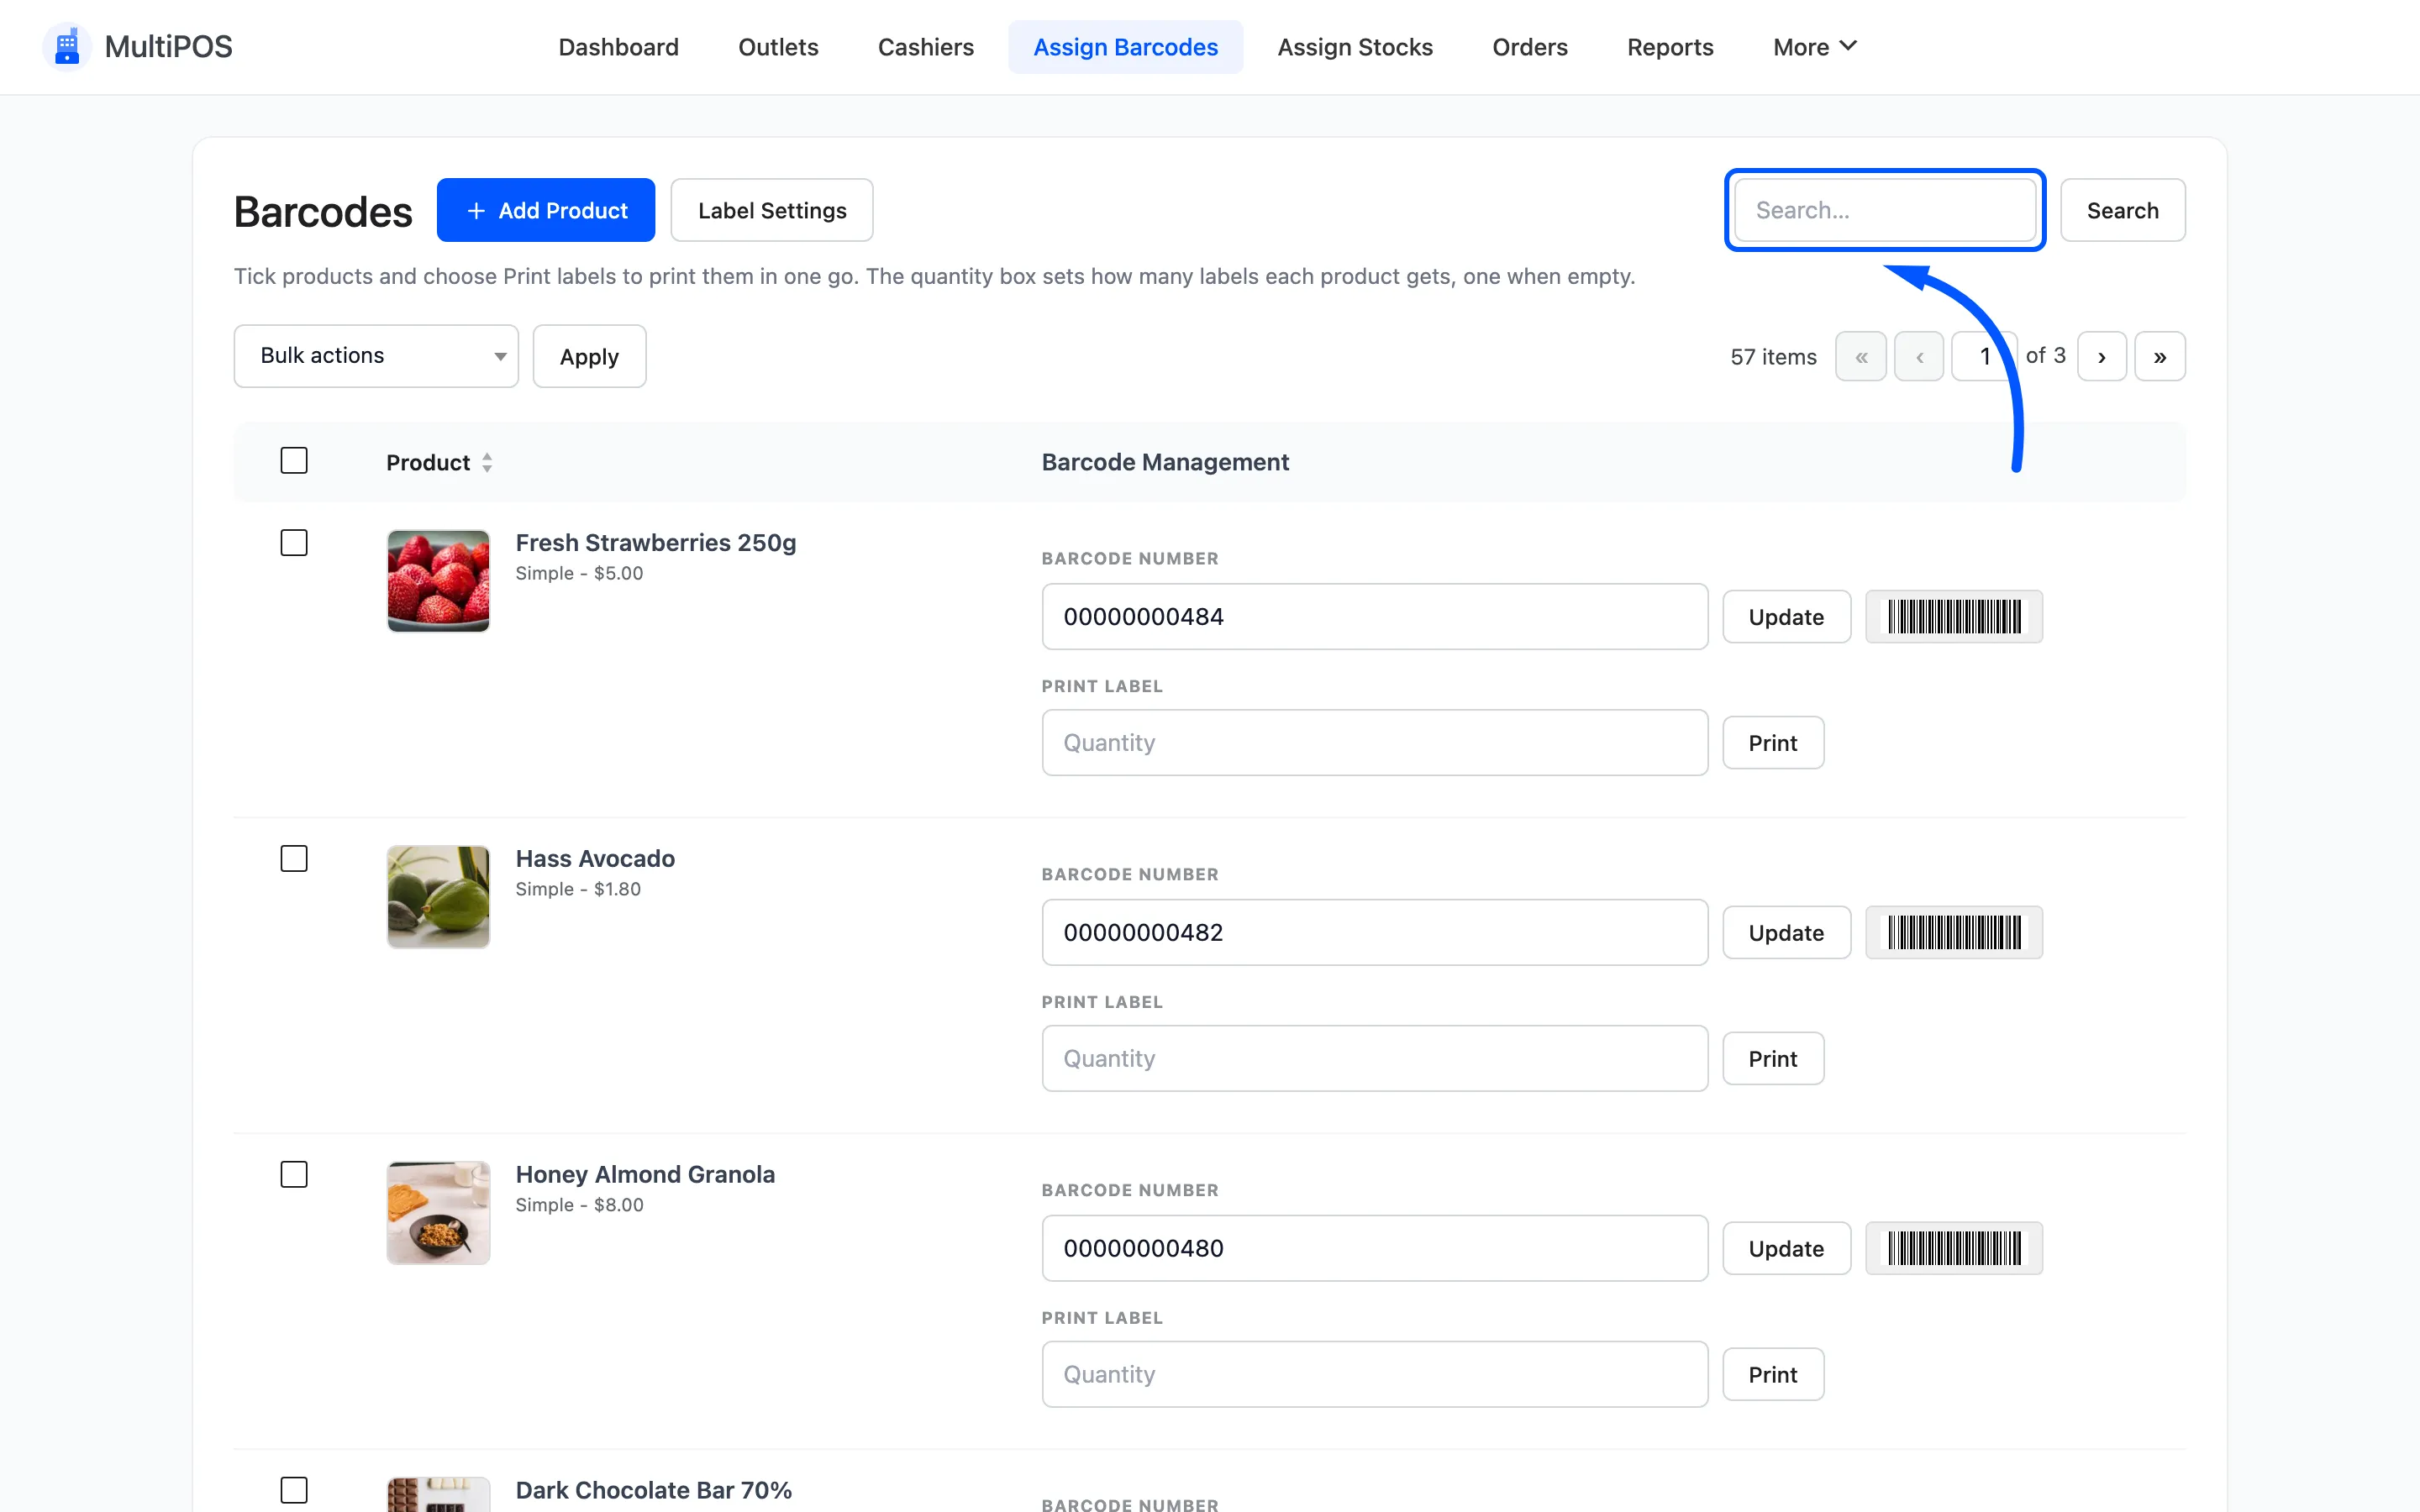
- Tick each product that needs labels.
- Type a quantity in its Print Label box. An empty box prints one label.
- Choose Print labels in the bulk action dropdown and press Apply.
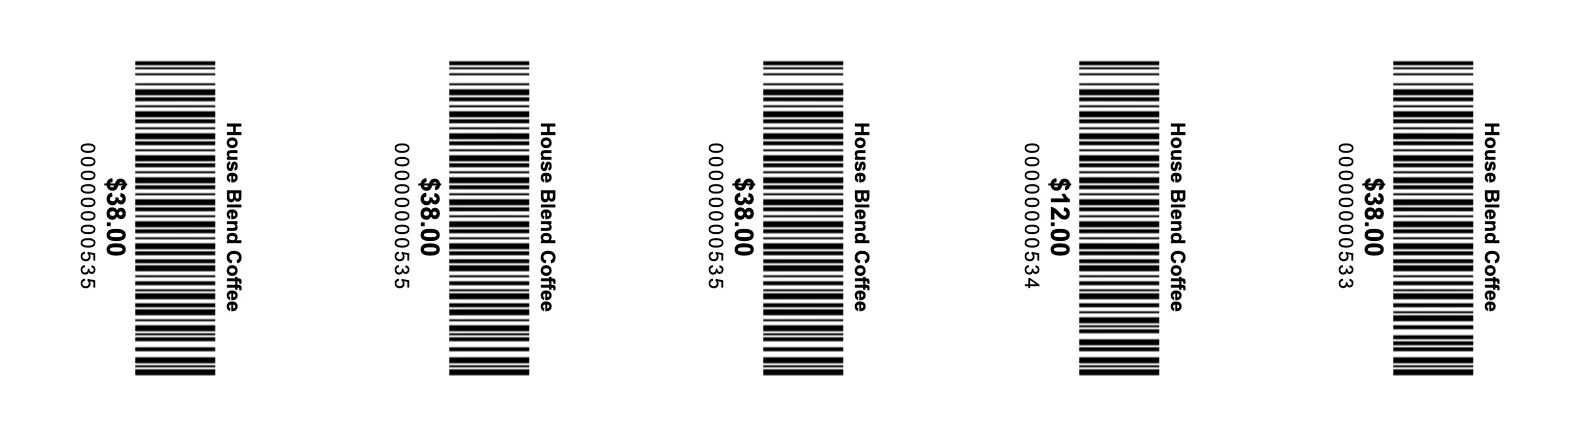
Every label prints in one sheet, in the order of the list. Three of the 1kg Ground bag, then one of each other ticked product:
Use the search box to find products rather than paging through the whole catalogue.
Print the quantity you actually have in stock, not a round number. Spare labels for a product you have since reordered at a different price cause more trouble than they save.
Which code gets printed
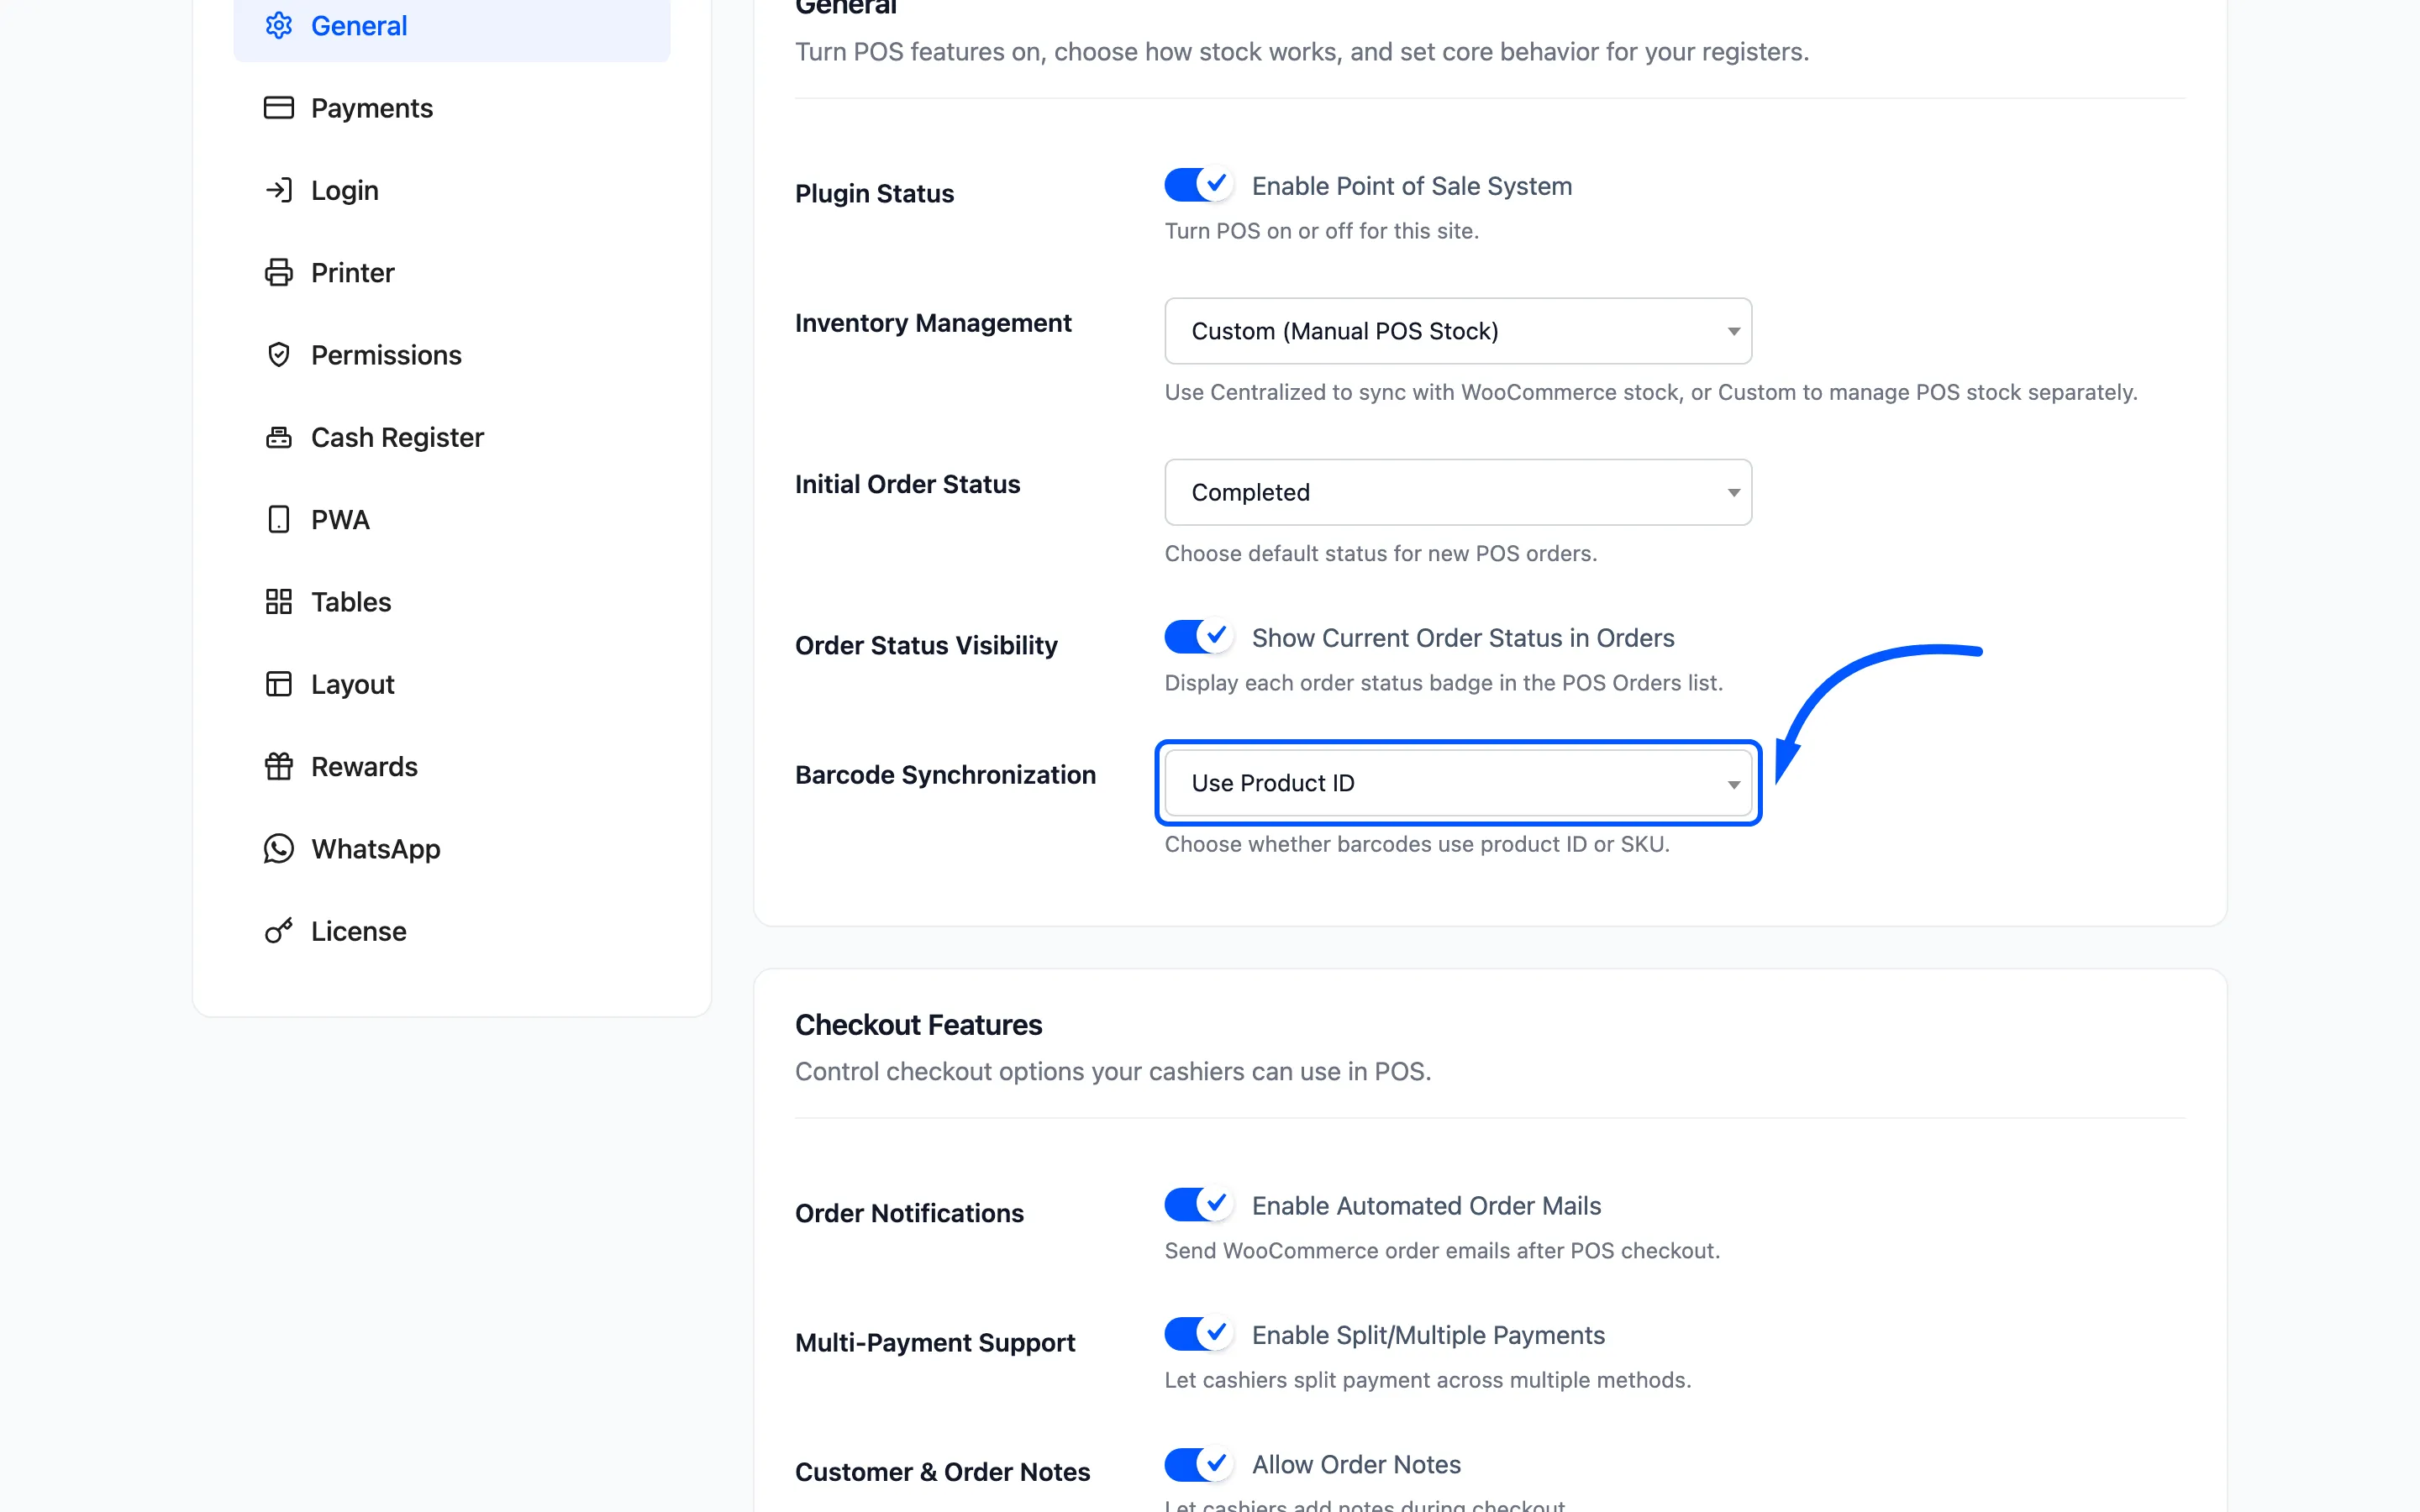
Section titled “Which code gets printed”Whatever is in that product’s barcode field. If the field is empty, the plugin generates one from the product ID or the SKU, depending on Barcode Synchronization under Configuration → General.
Where to go next
Section titled “Where to go next”- How to Scan Barcodes at Checkout
- Printer Settings for the field reference.
- Assign Barcodes