

Assign Barcodes
A barcode is what turns the POS from a menu you tap into a counter you scan. This screen is where every product gets one.
Open the screen
Section titled “Open the screen”Go to DevDiggers Plugins → MultiPOS → Assign Barcodes.
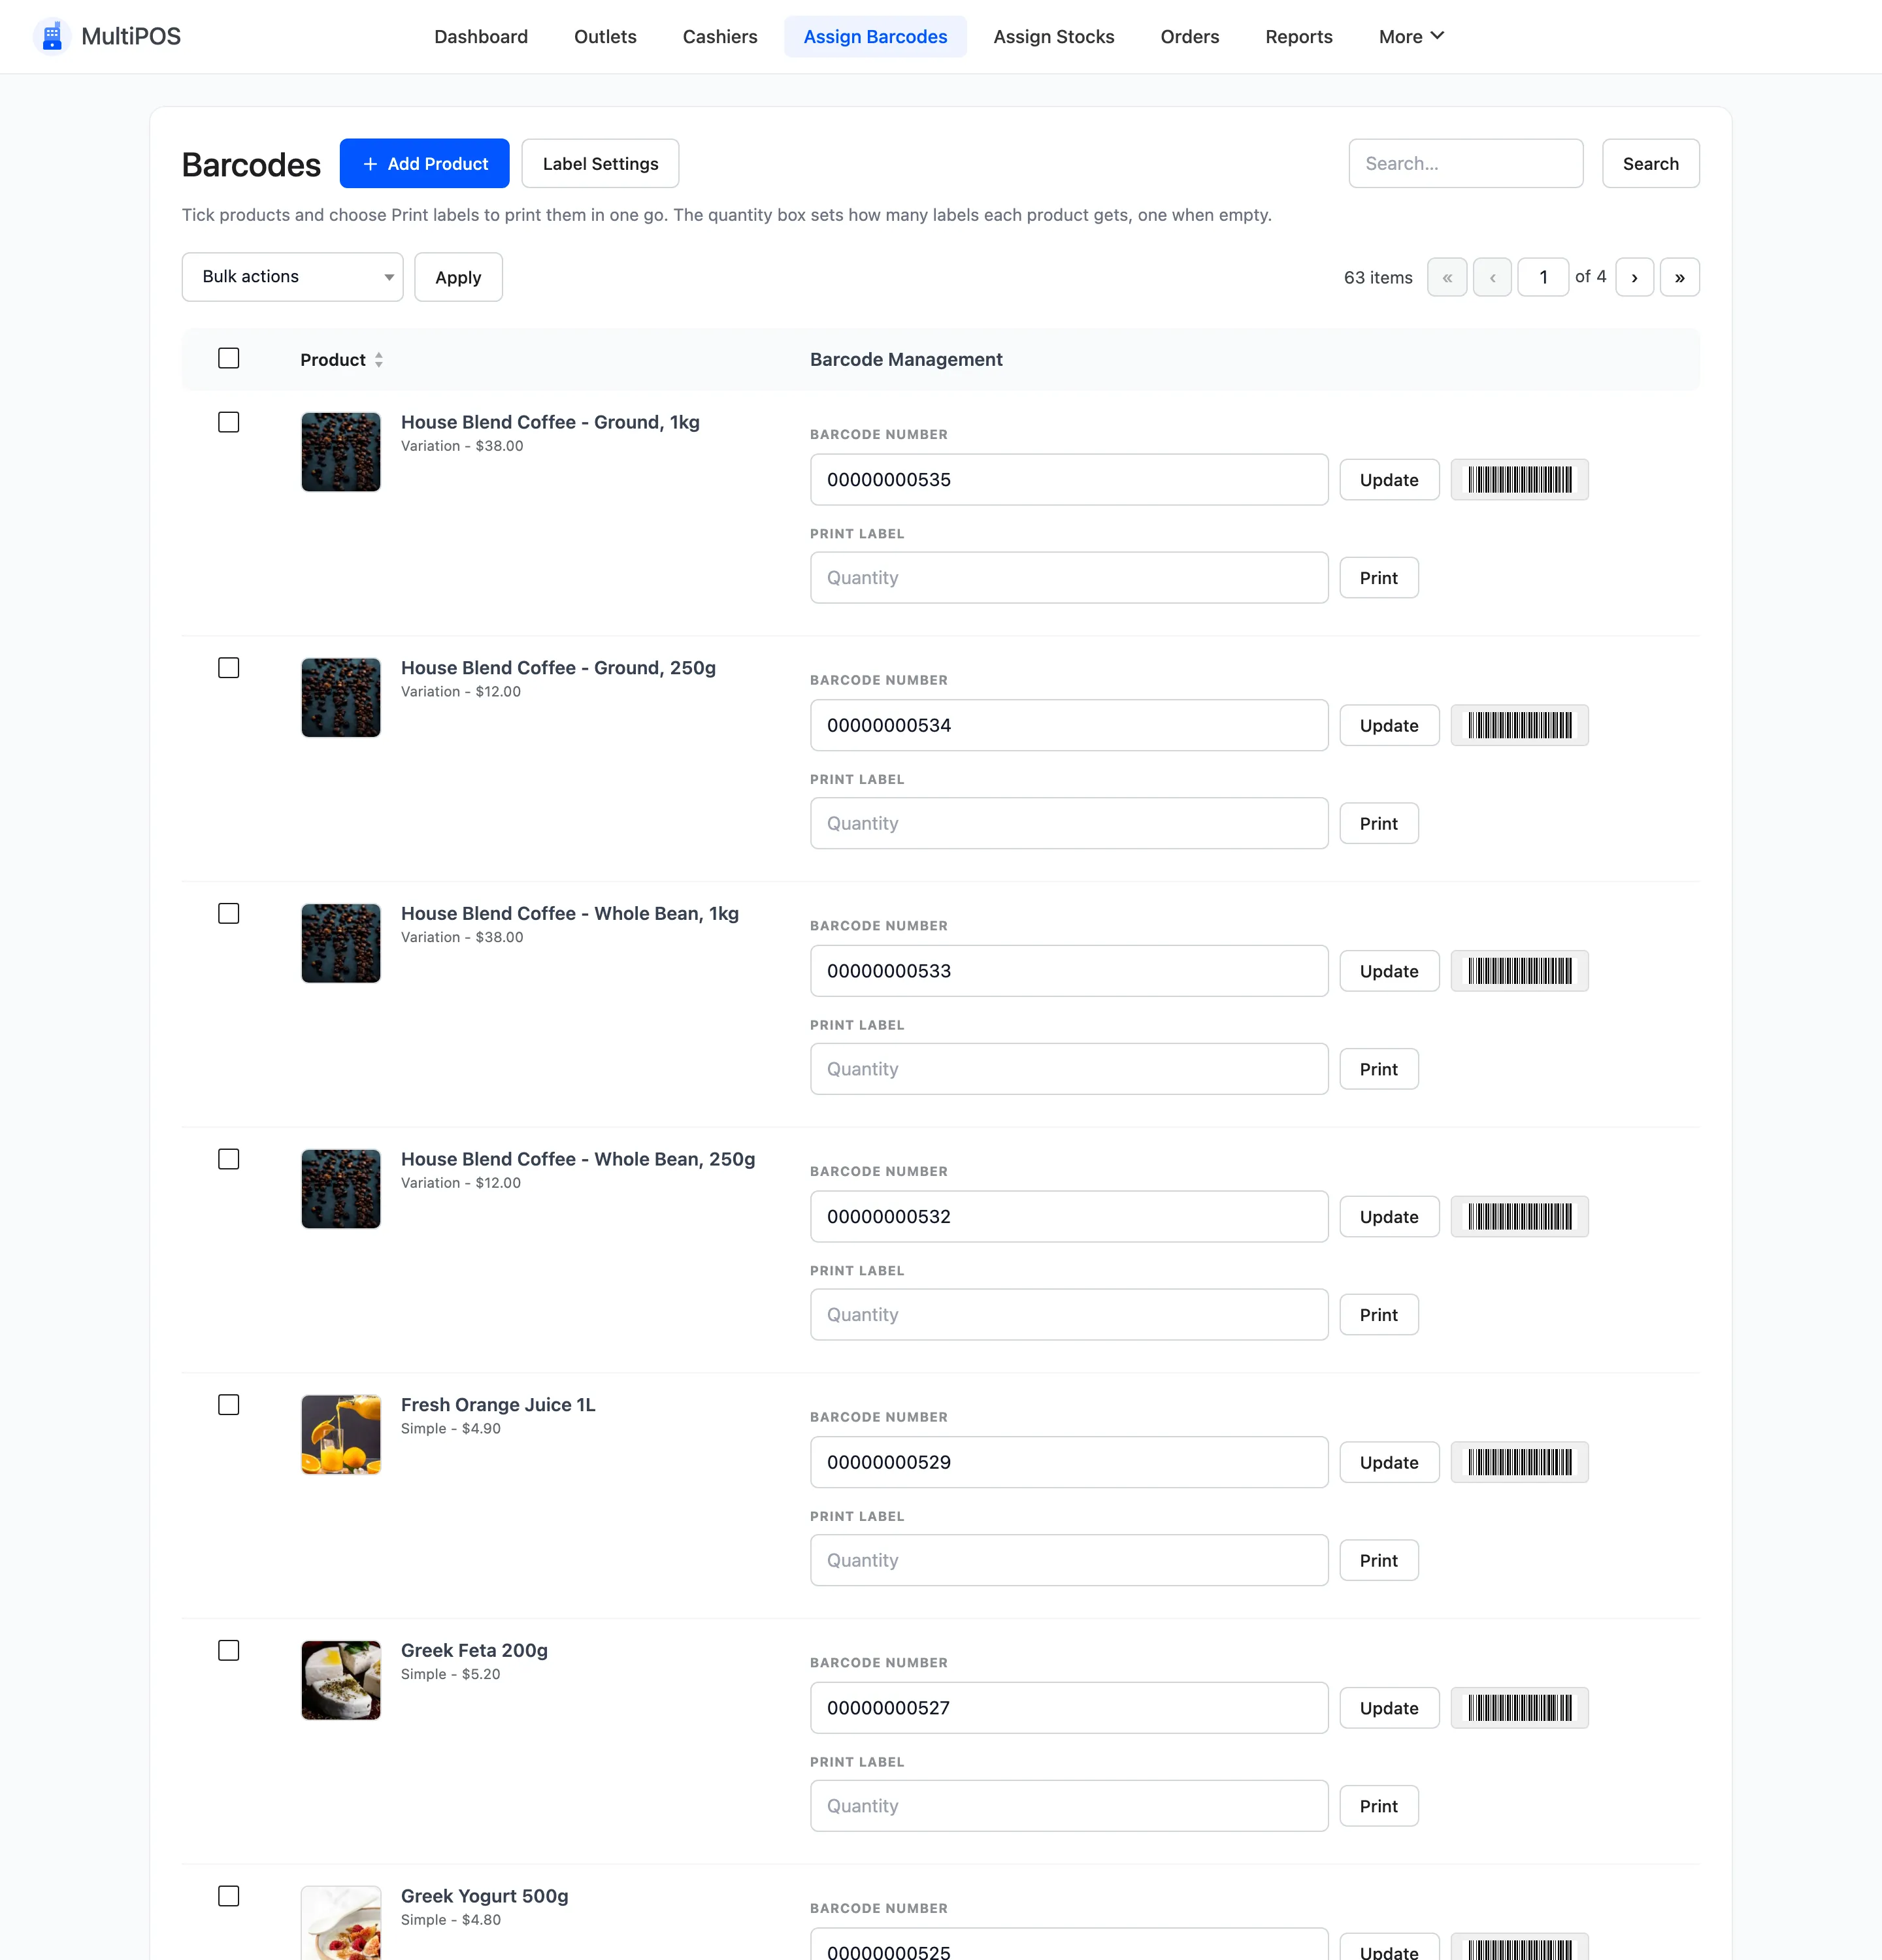
Every published product is listed, including variations.
The two columns
Section titled “The two columns”- Product shows the name, its type, its price and its current barcode, with Edit and View row actions that go to WooCommerce.
- Barcode Management carries the controls: a barcode field with an Update button, and a quantity field with a Print button.
Set a barcode
Section titled “Set a barcode”Type the code into the field and click Update.
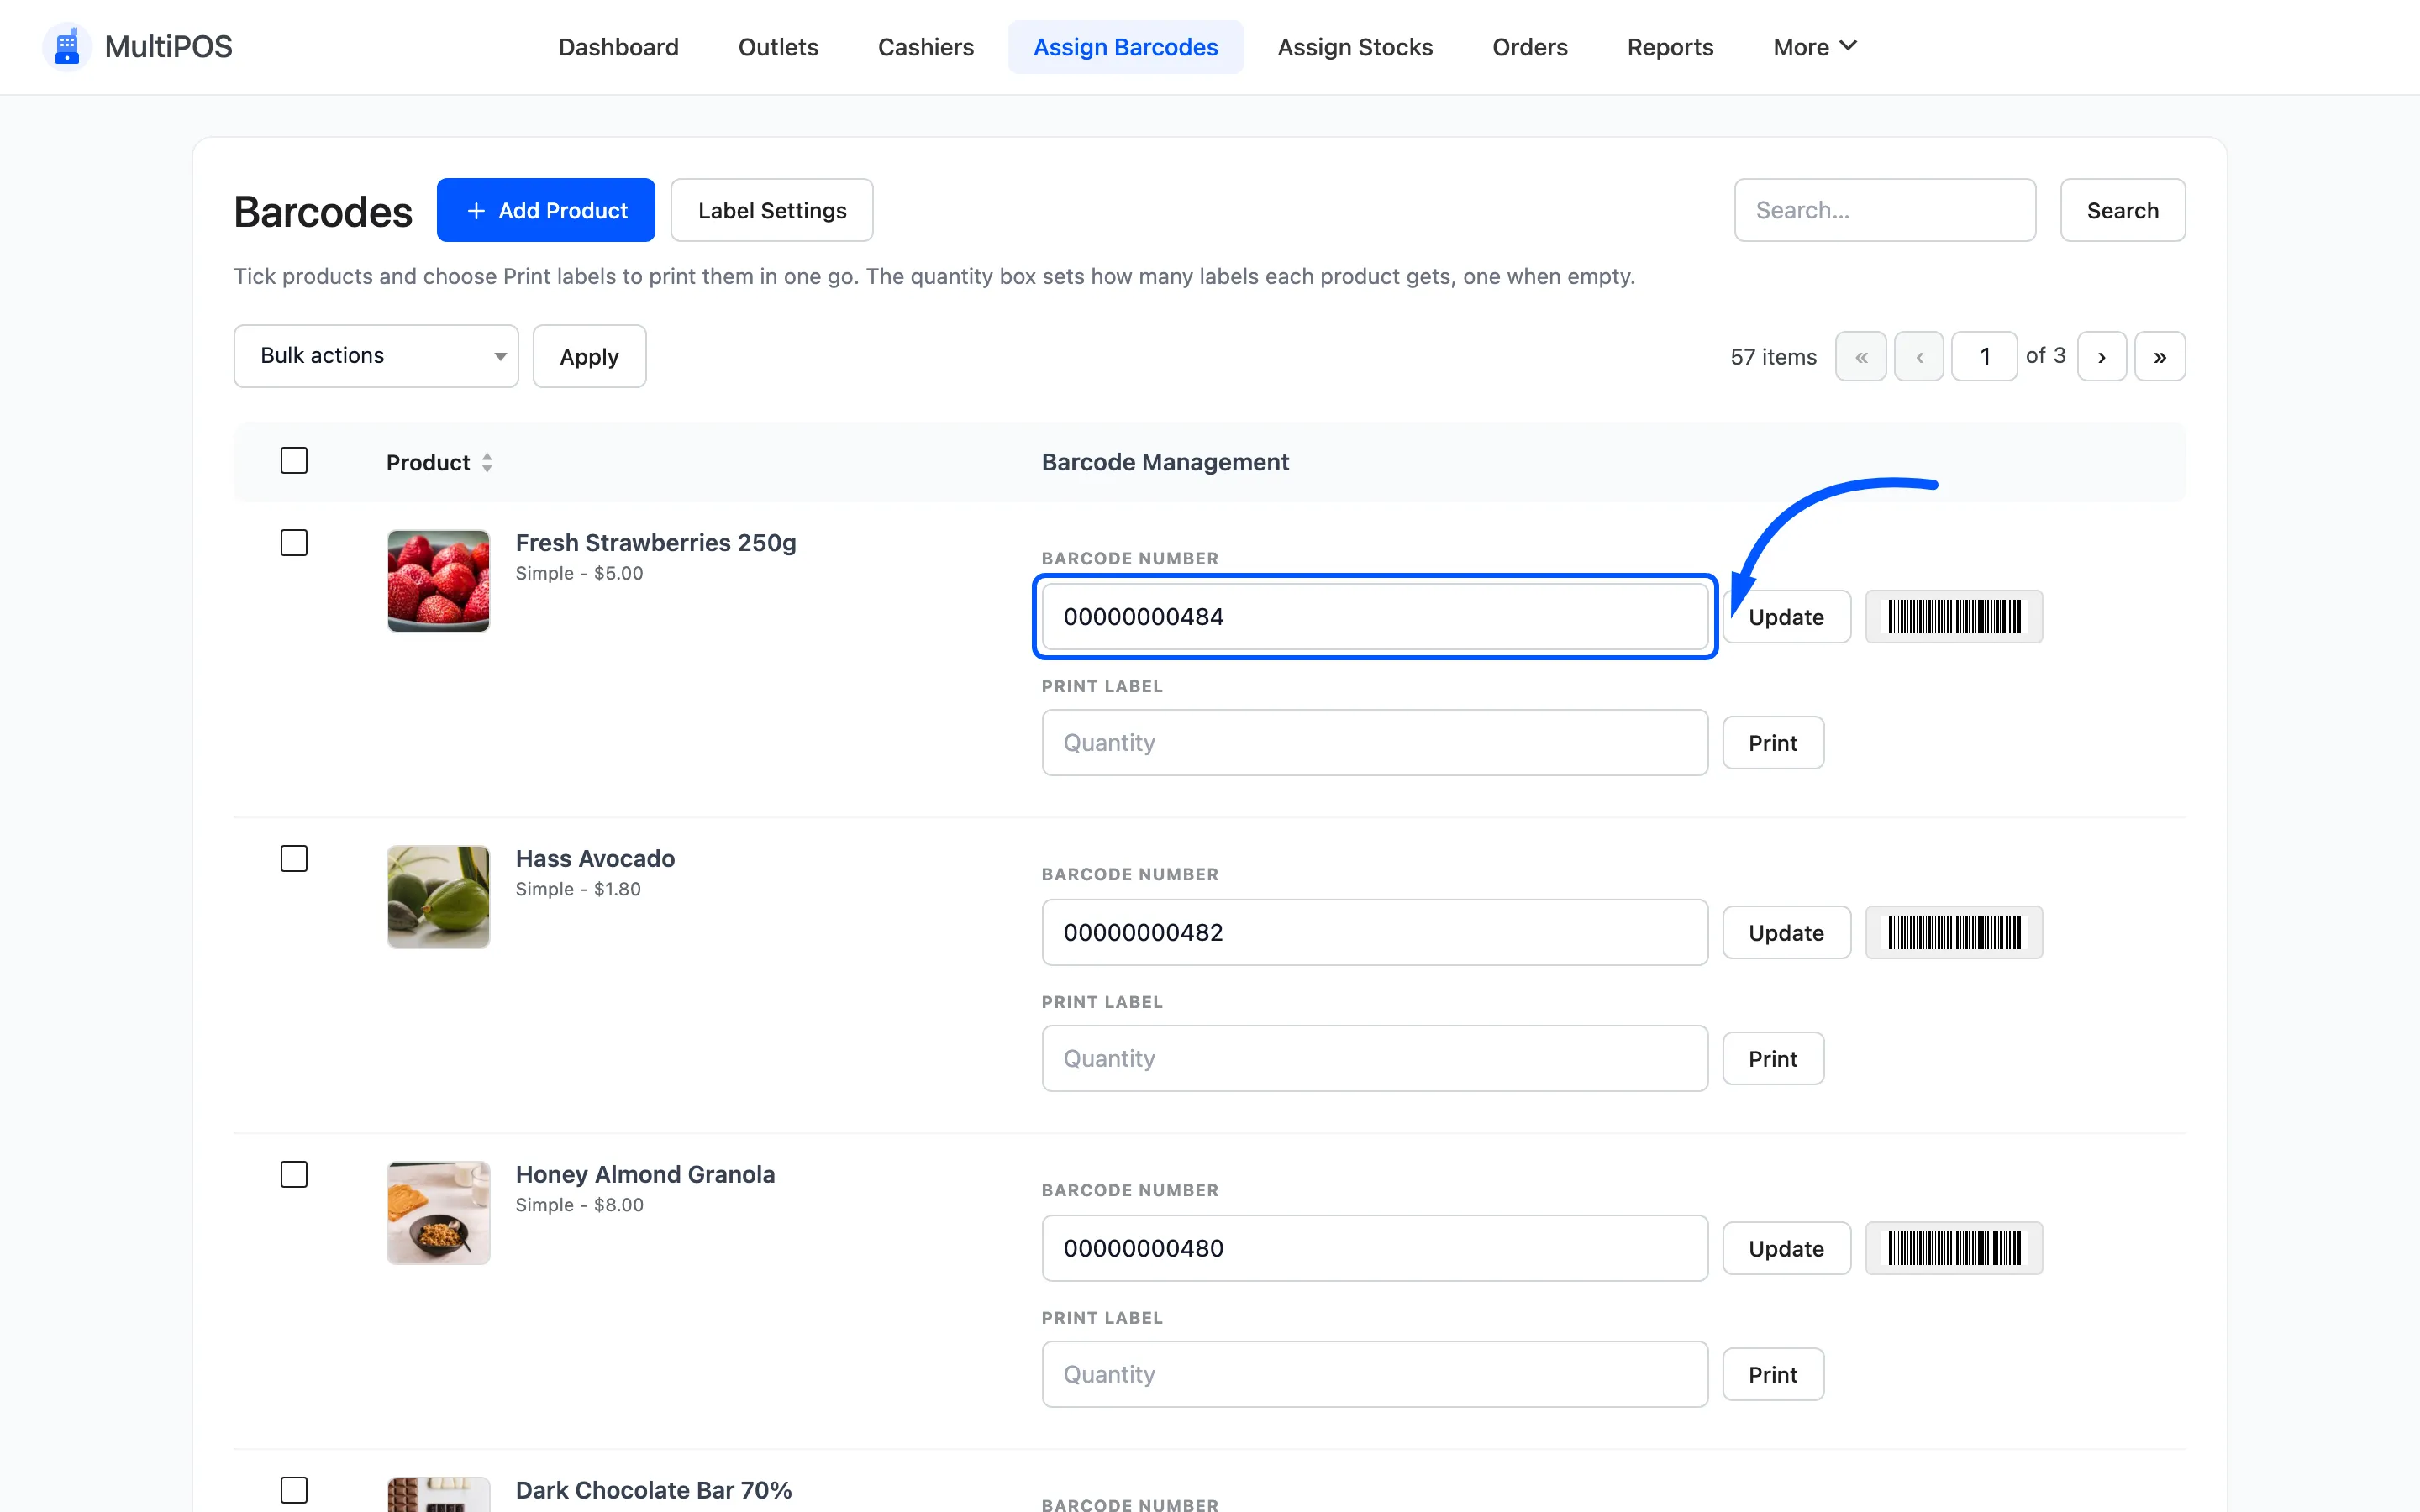
Two ways to fill it in:
- Scan the manufacturer’s barcode. Click into the field and scan the code already printed on the box. This is the right answer for anything you buy in to resell, because the code the supplier printed is the code on the shelf.
- Generate your own. Leave the field alone and the plugin builds one from the product ID or SKU. Which of the two it uses is set by Barcode Synchronization under Configuration → General.
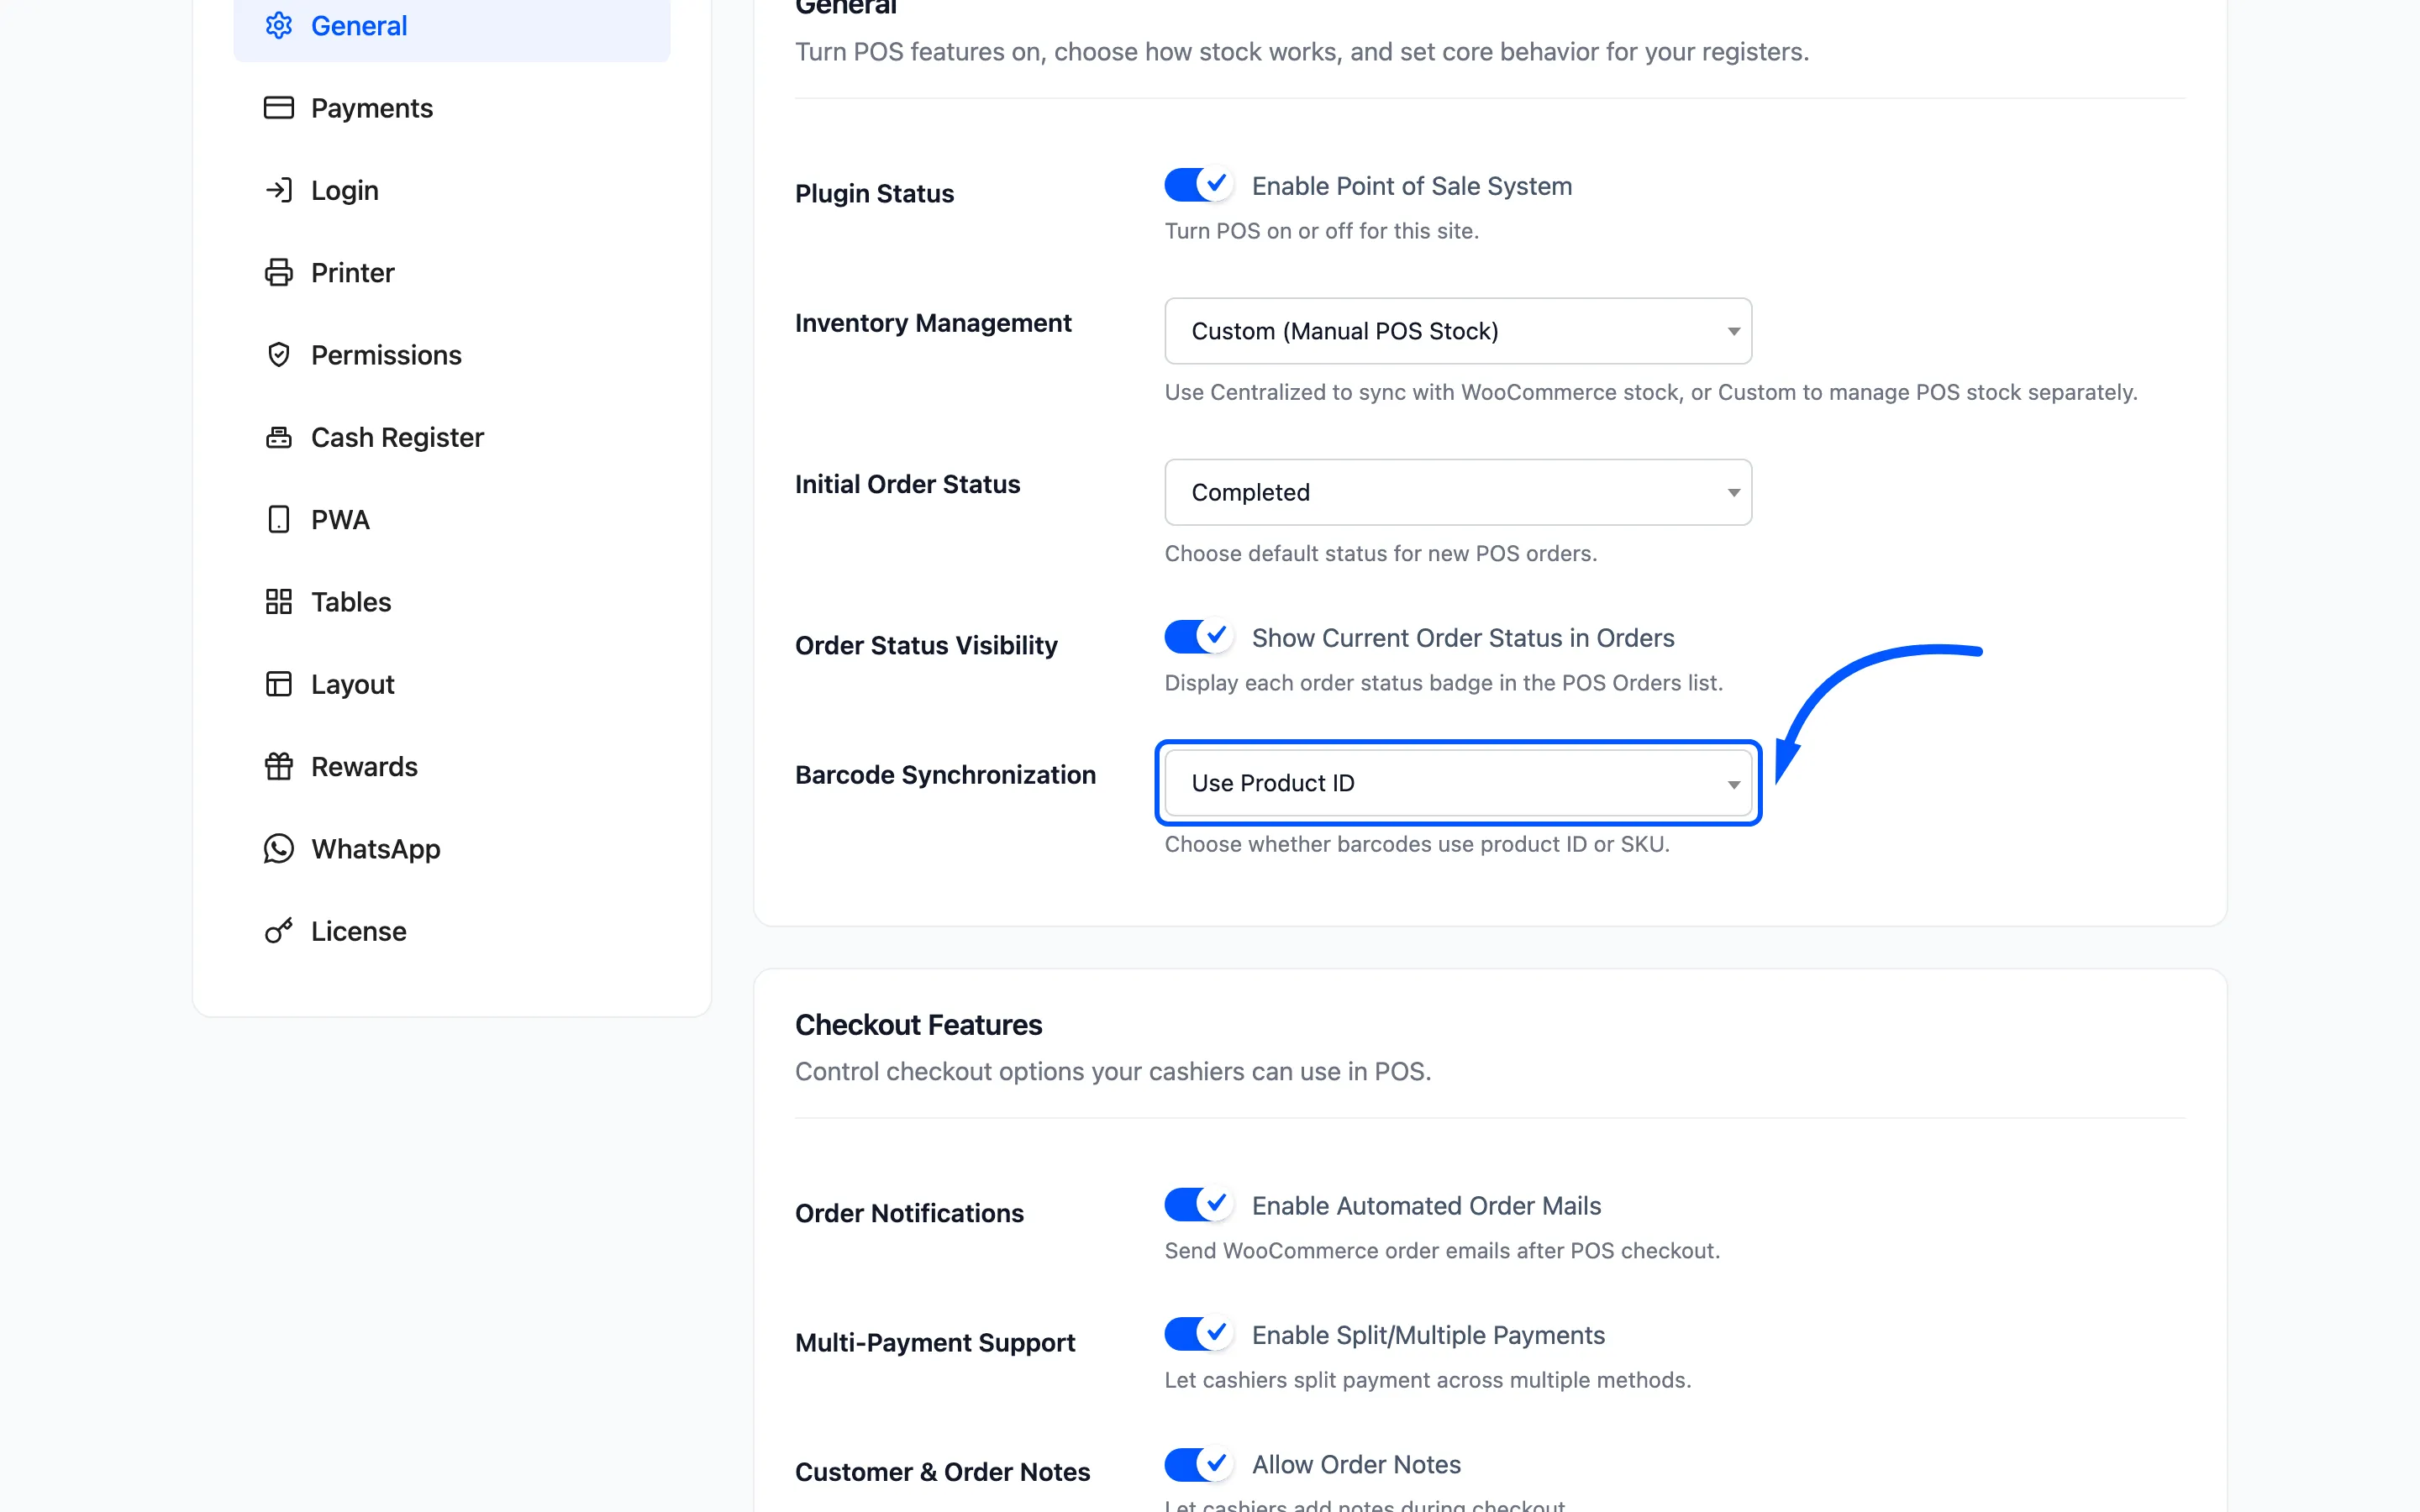
Use Product SKU if your products already carry codes. Use Product ID if you are labelling everything yourself from scratch.
Print labels
Section titled “Print labels”Enter how many labels you want in the quantity field and click Print.
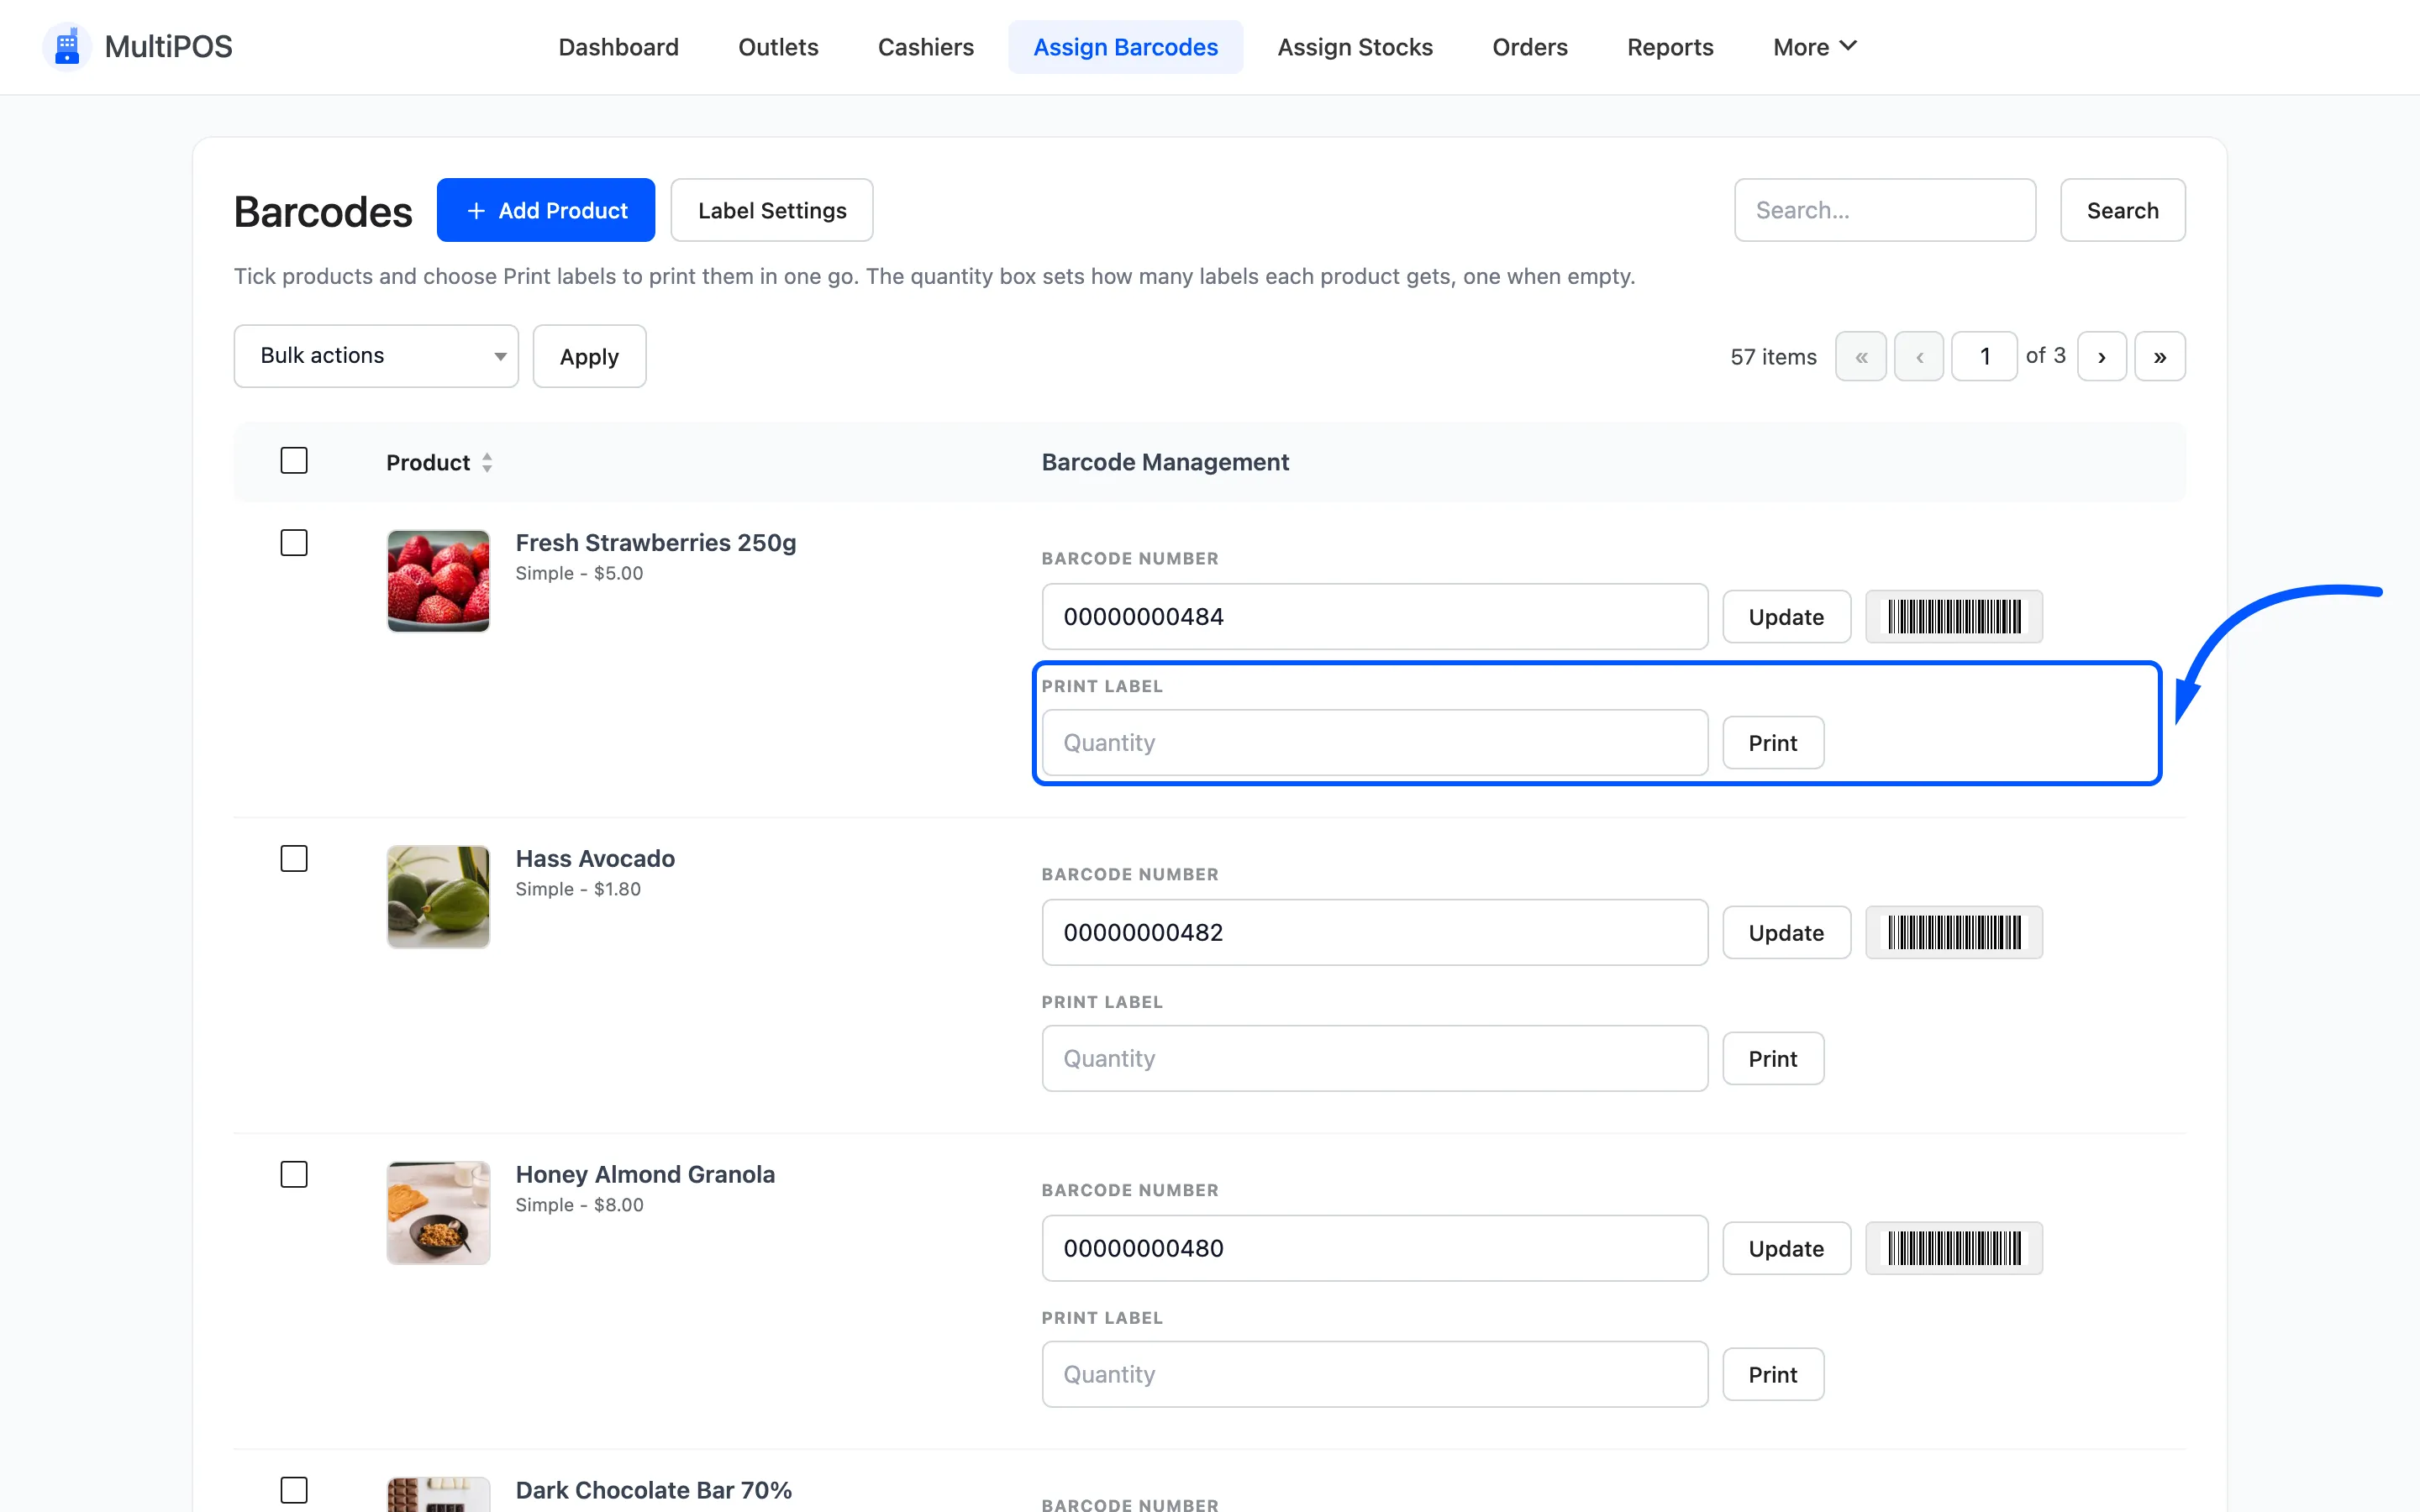
The browser print dialog opens with the labels laid out at the size set under Configuration → Printer.
Print one sheet before you print a hundred. Label sizing usually needs one correction.
Several products at once
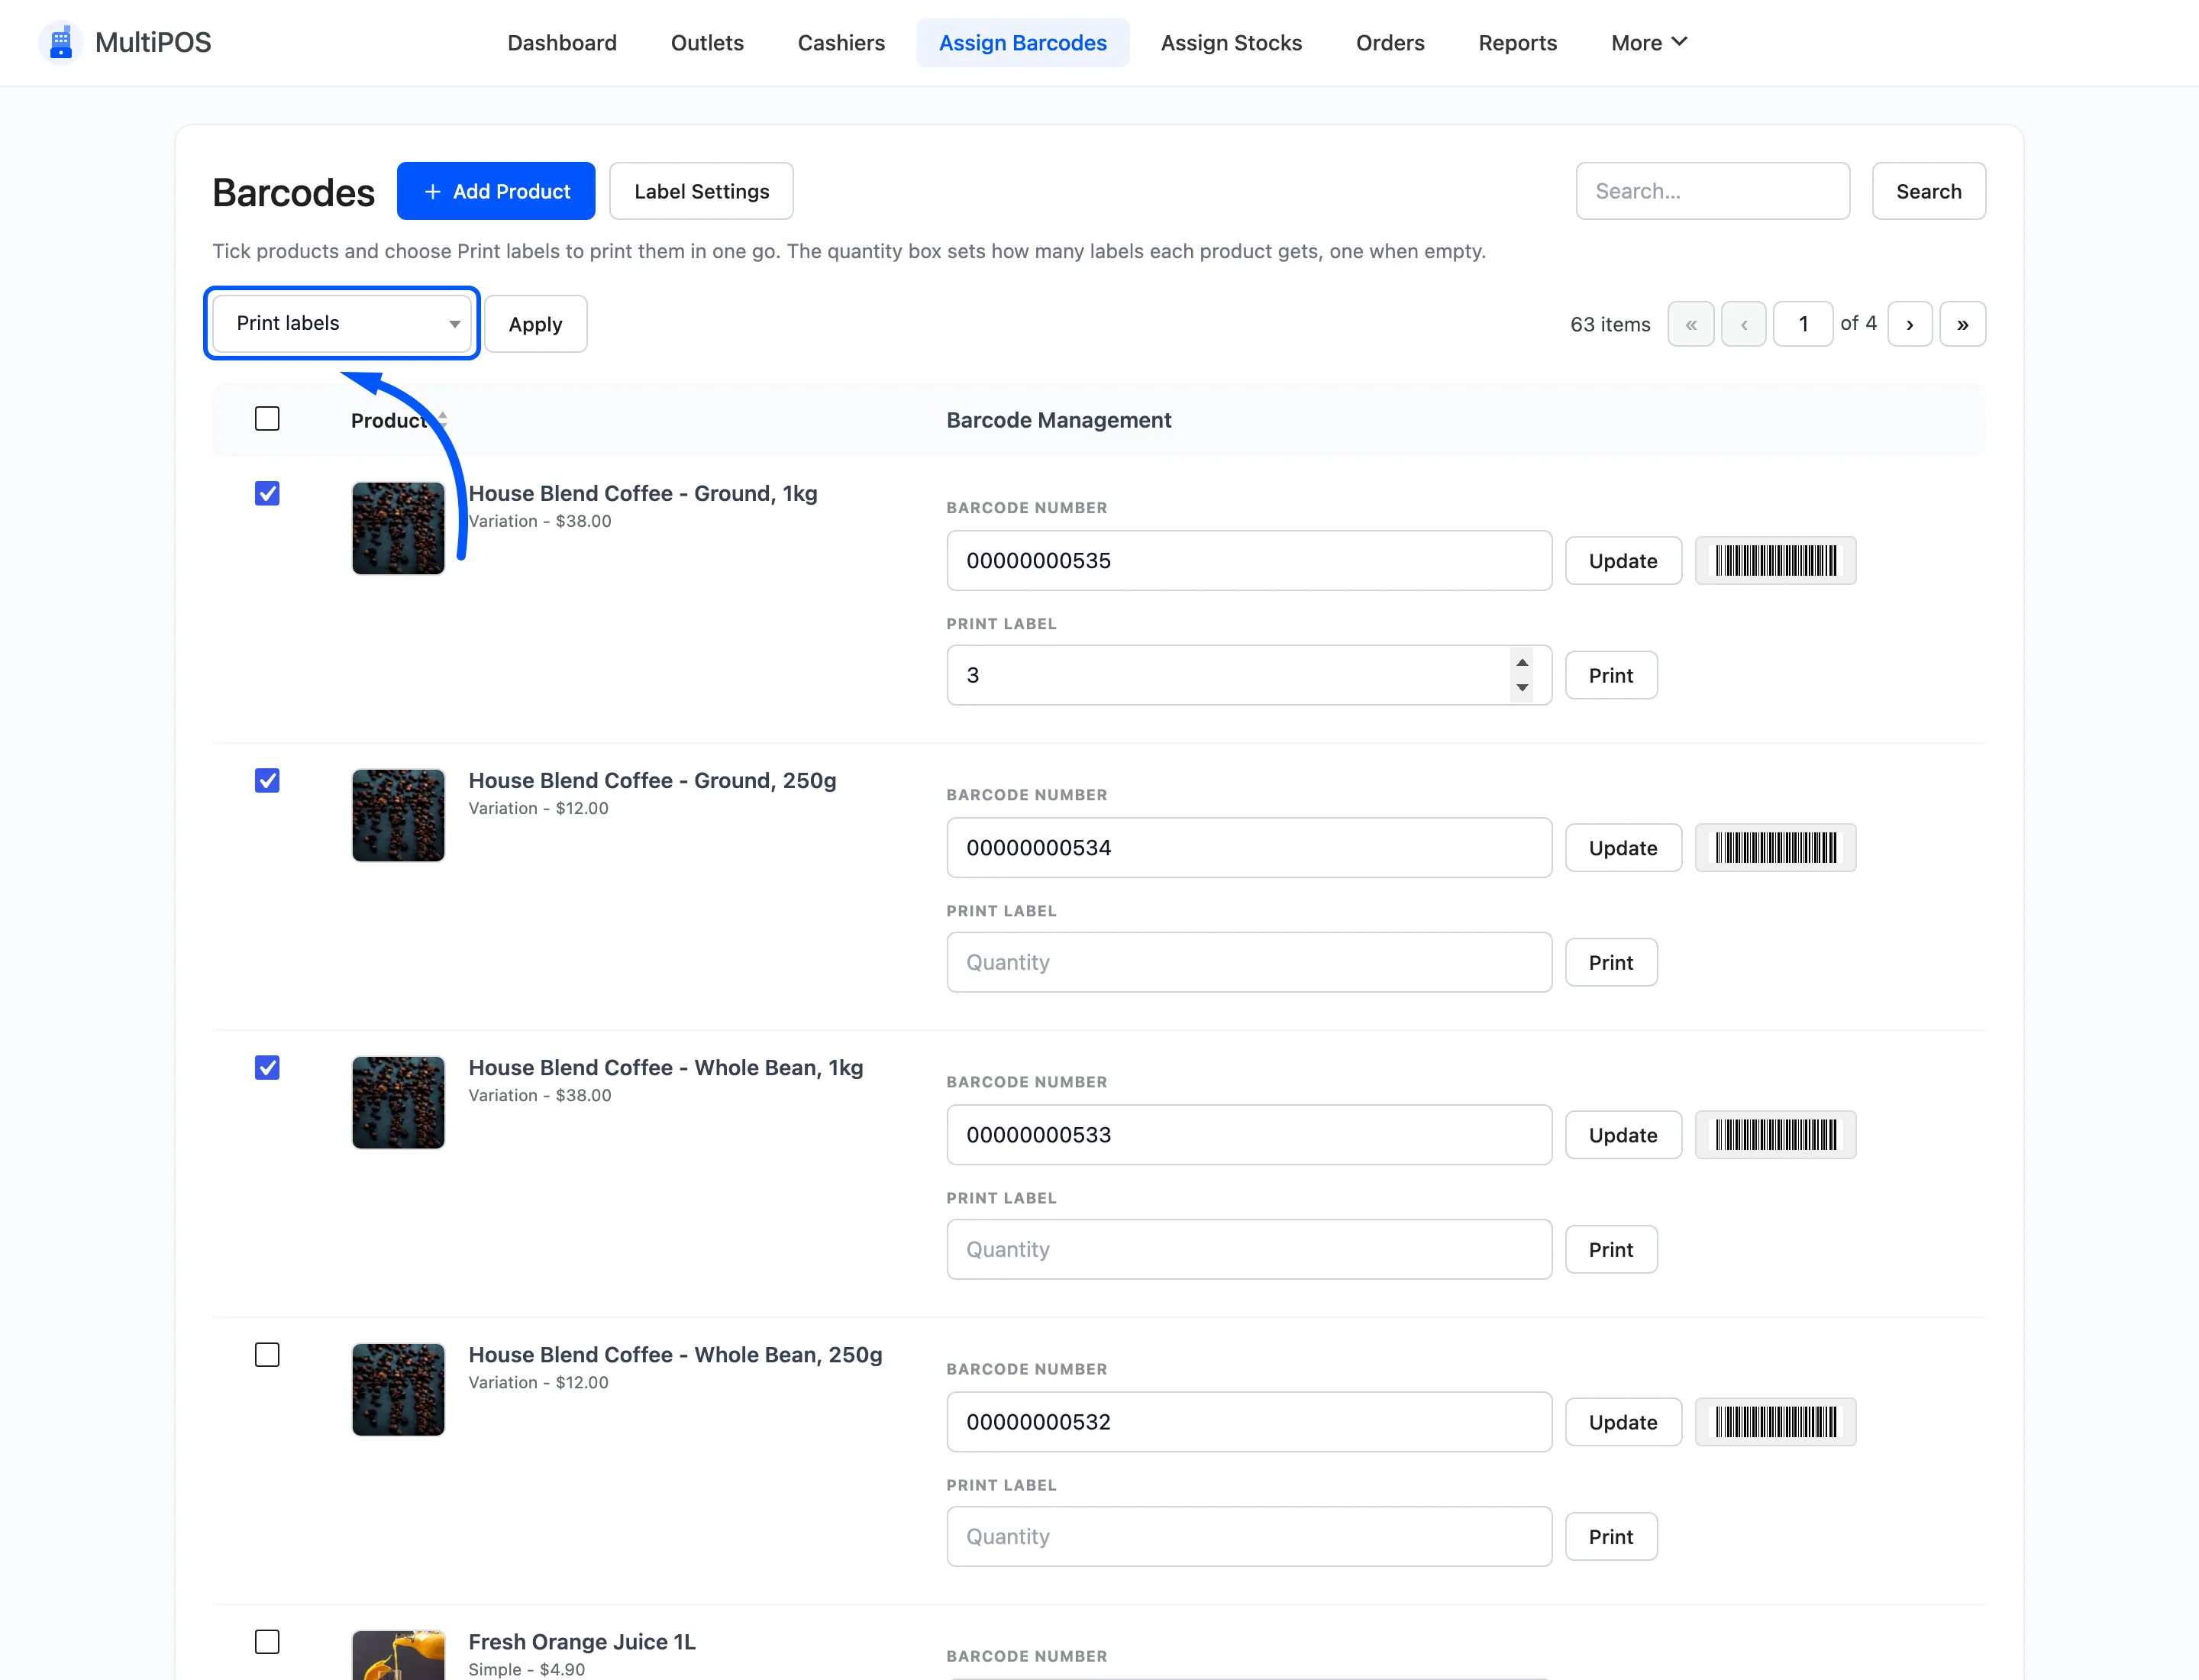
Section titled “Several products at once”Tick the products, type a quantity in each Print Label box, choose Print labels in the bulk action dropdown and press Apply. An empty quantity box prints one label. Every label comes out in one print job.
Search
Section titled “Search”The search box matches product names.
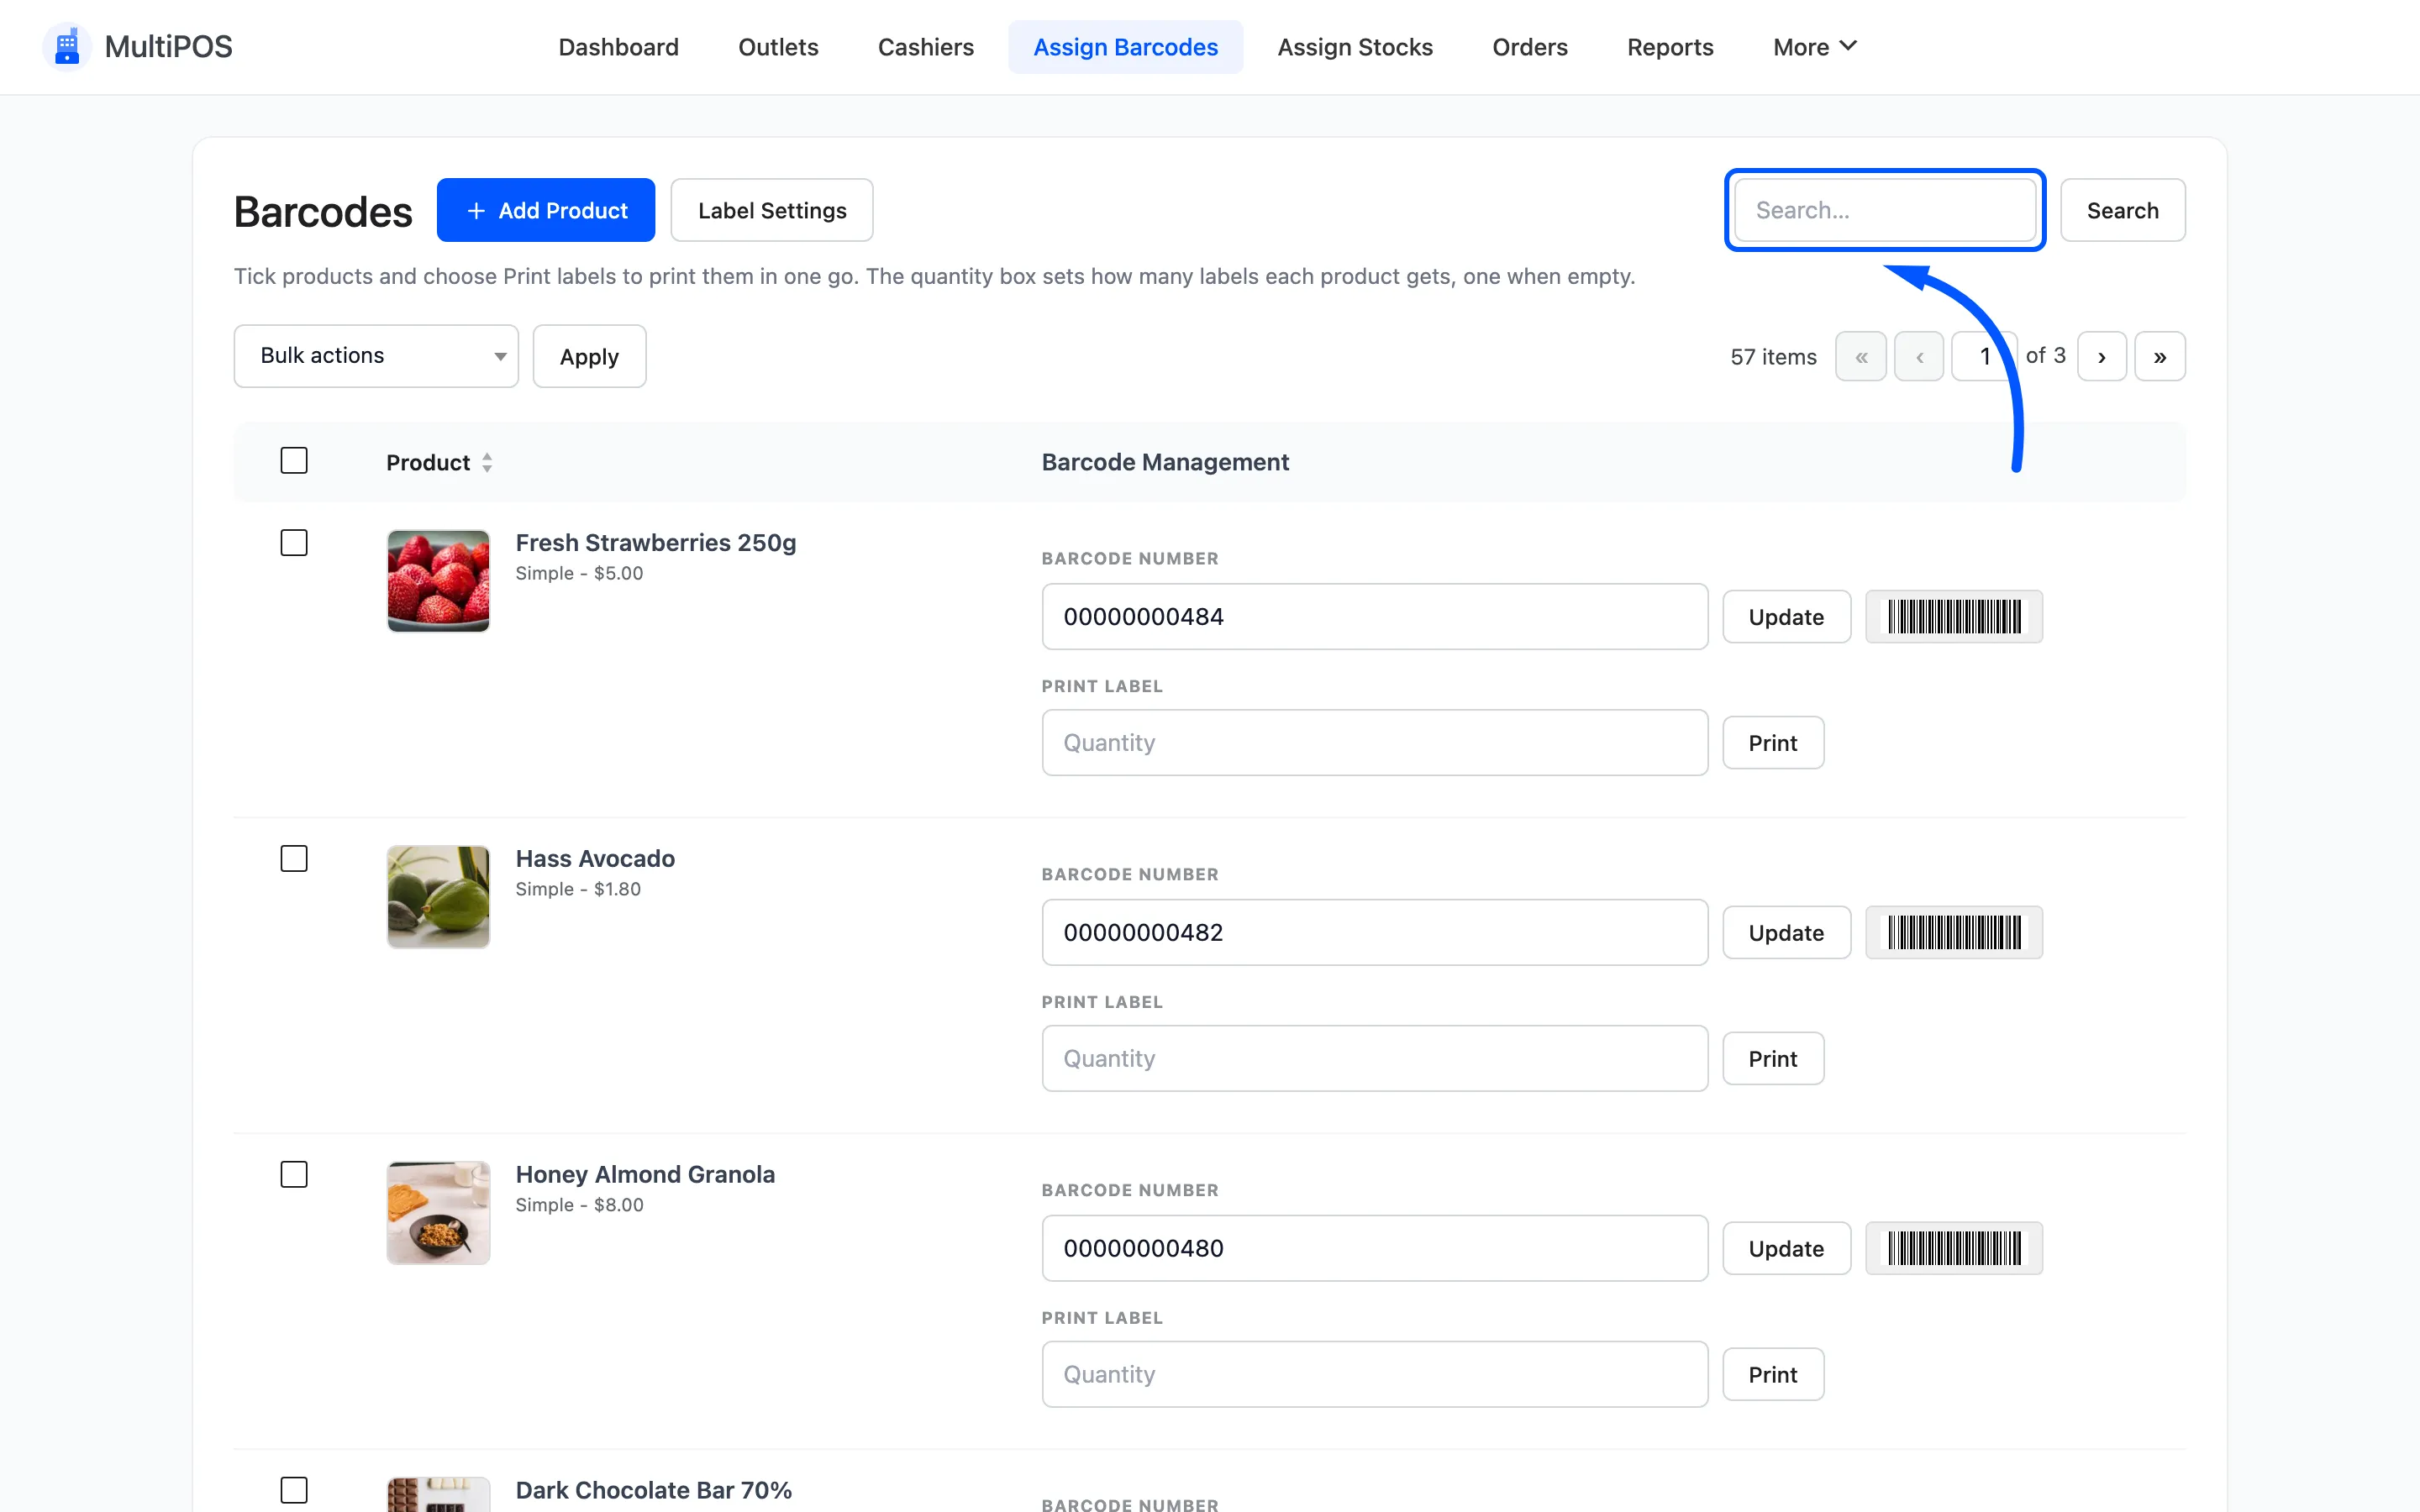
Use it rather than paging. A store with two thousand products is twenty pages deep.
Add a product
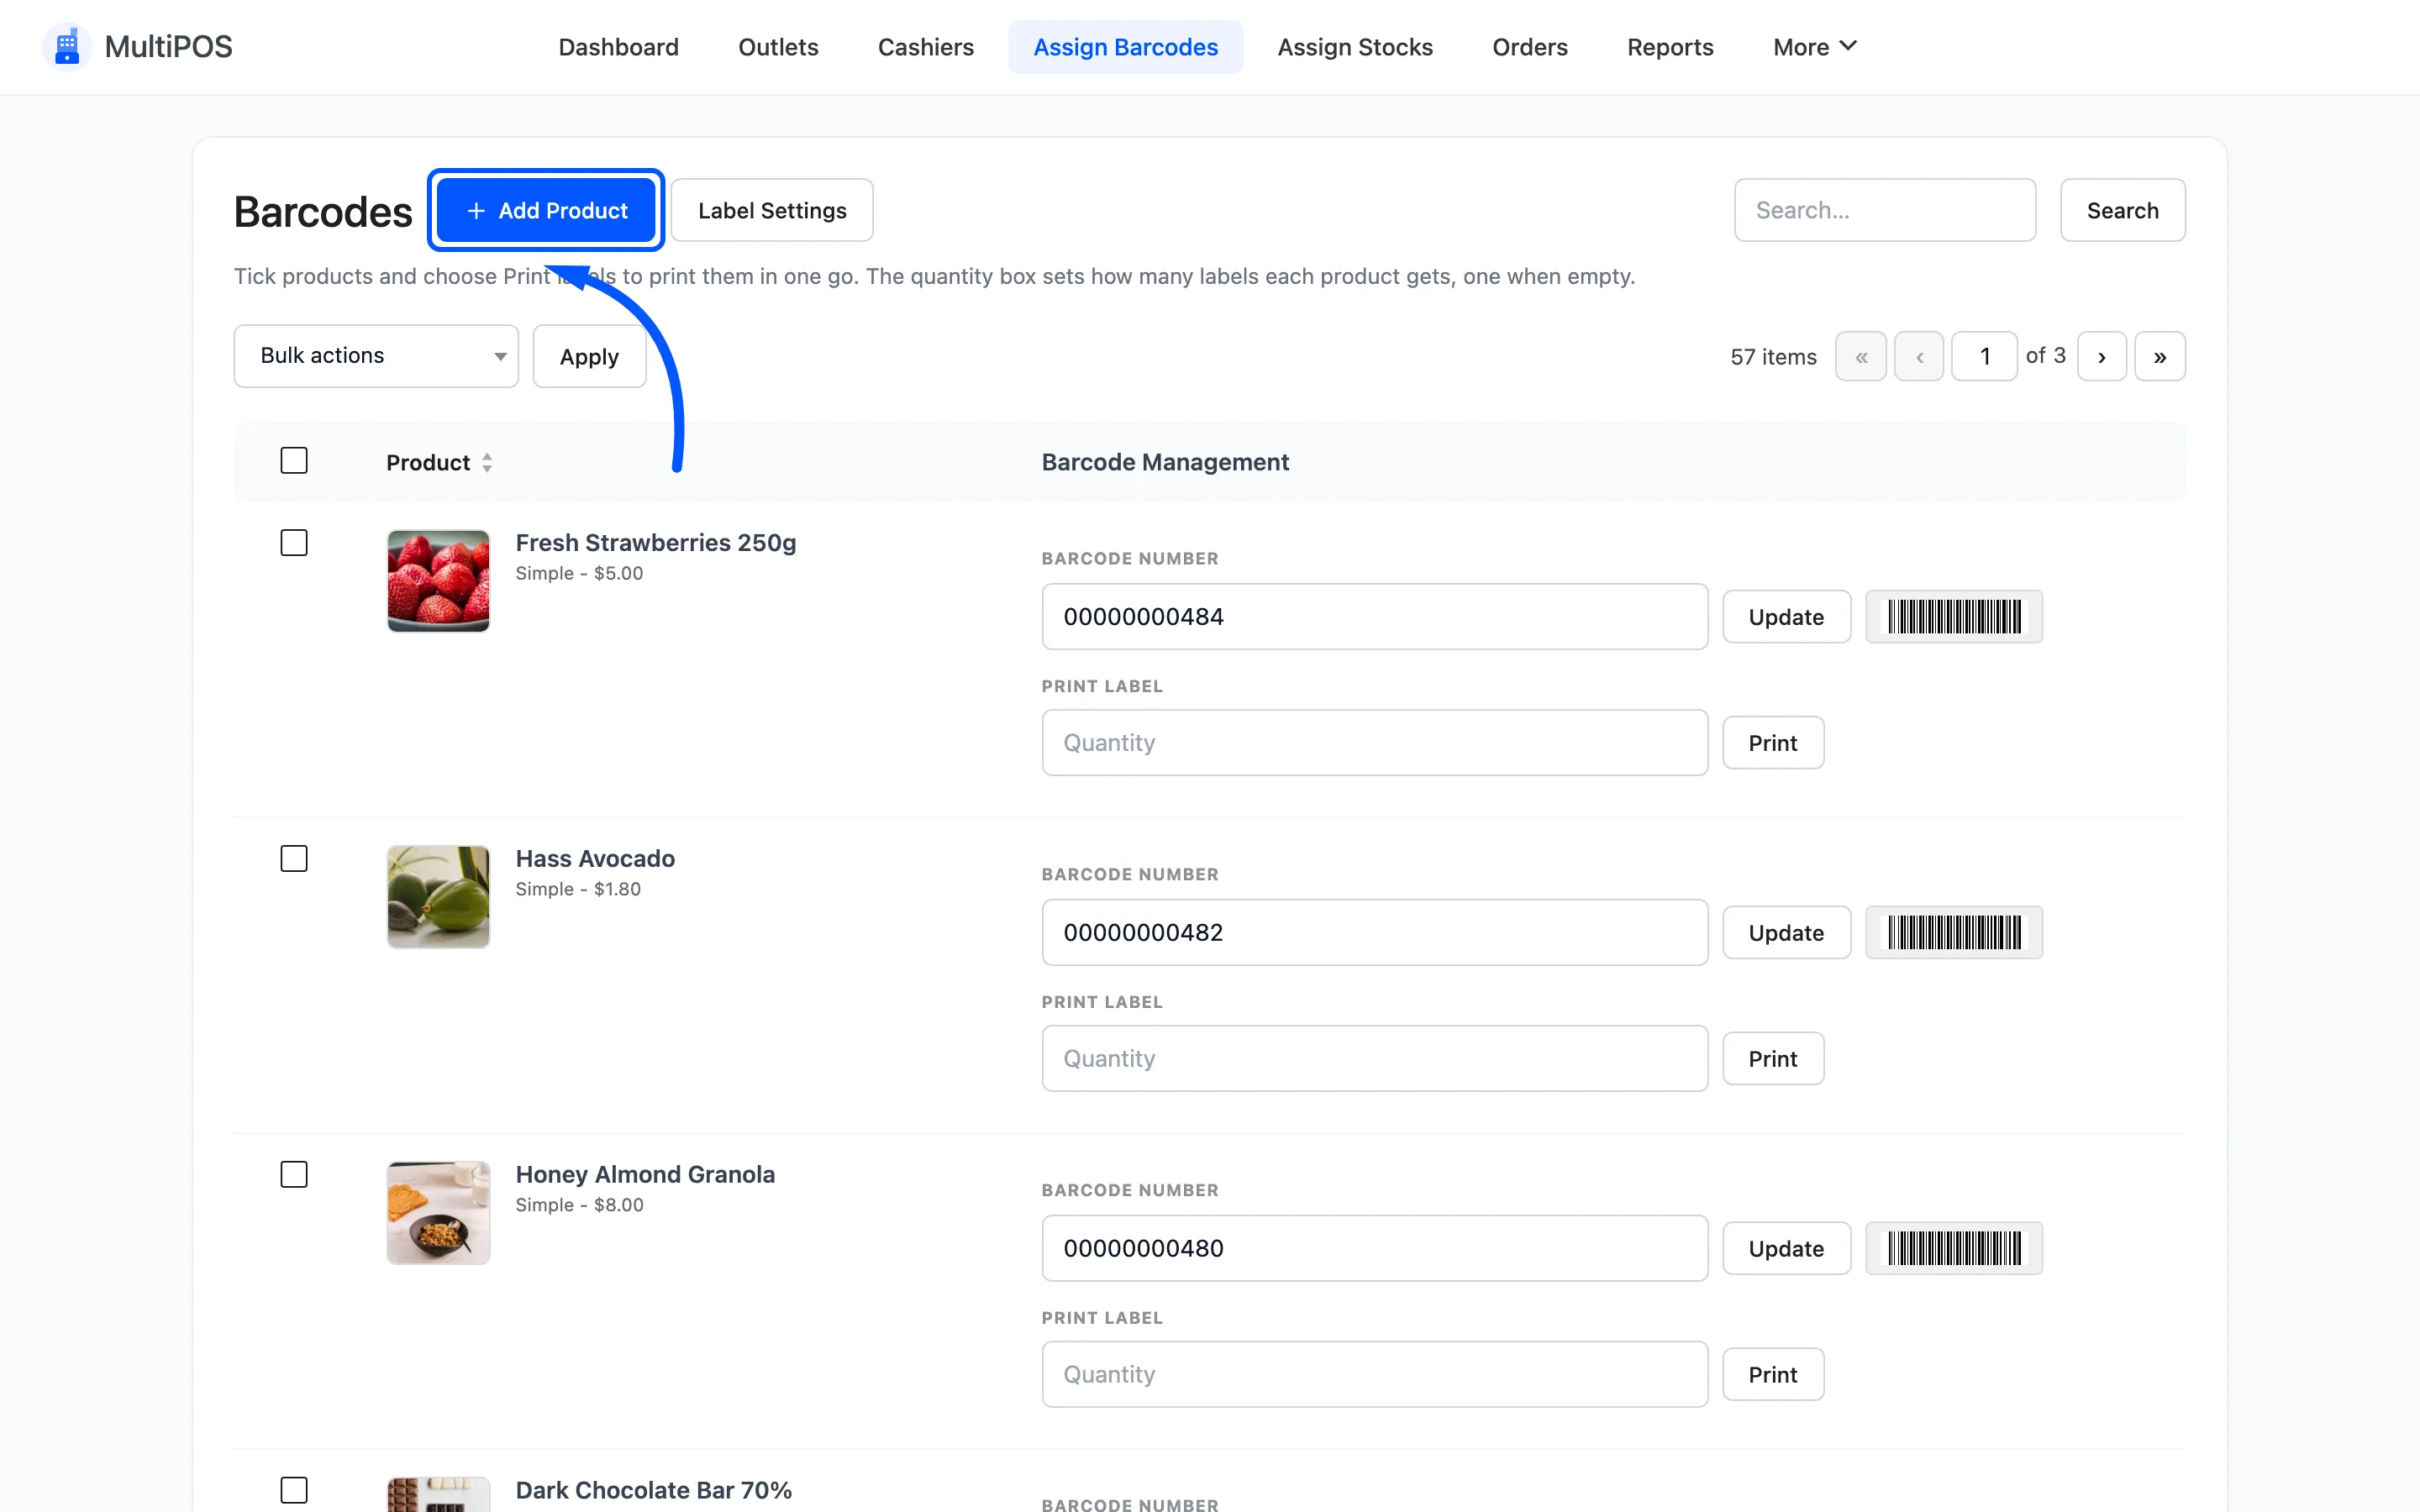
Section titled “Add a product”Add New at the top of the screen opens the WooCommerce Add New Product form. It is a shortcut, not a different form.
Scanning at the POS
Section titled “Scanning at the POS”Once a product has a barcode, a cashier can scan it two ways.
- Into the search box: The search matches title, ID, SKU and barcode number, so a scan straight into it finds the product.
- Into the barcode popup: The barcode icon beside the search box opens a dedicated Enter/Scan Barcode box that adds the product to the cart on Enter.
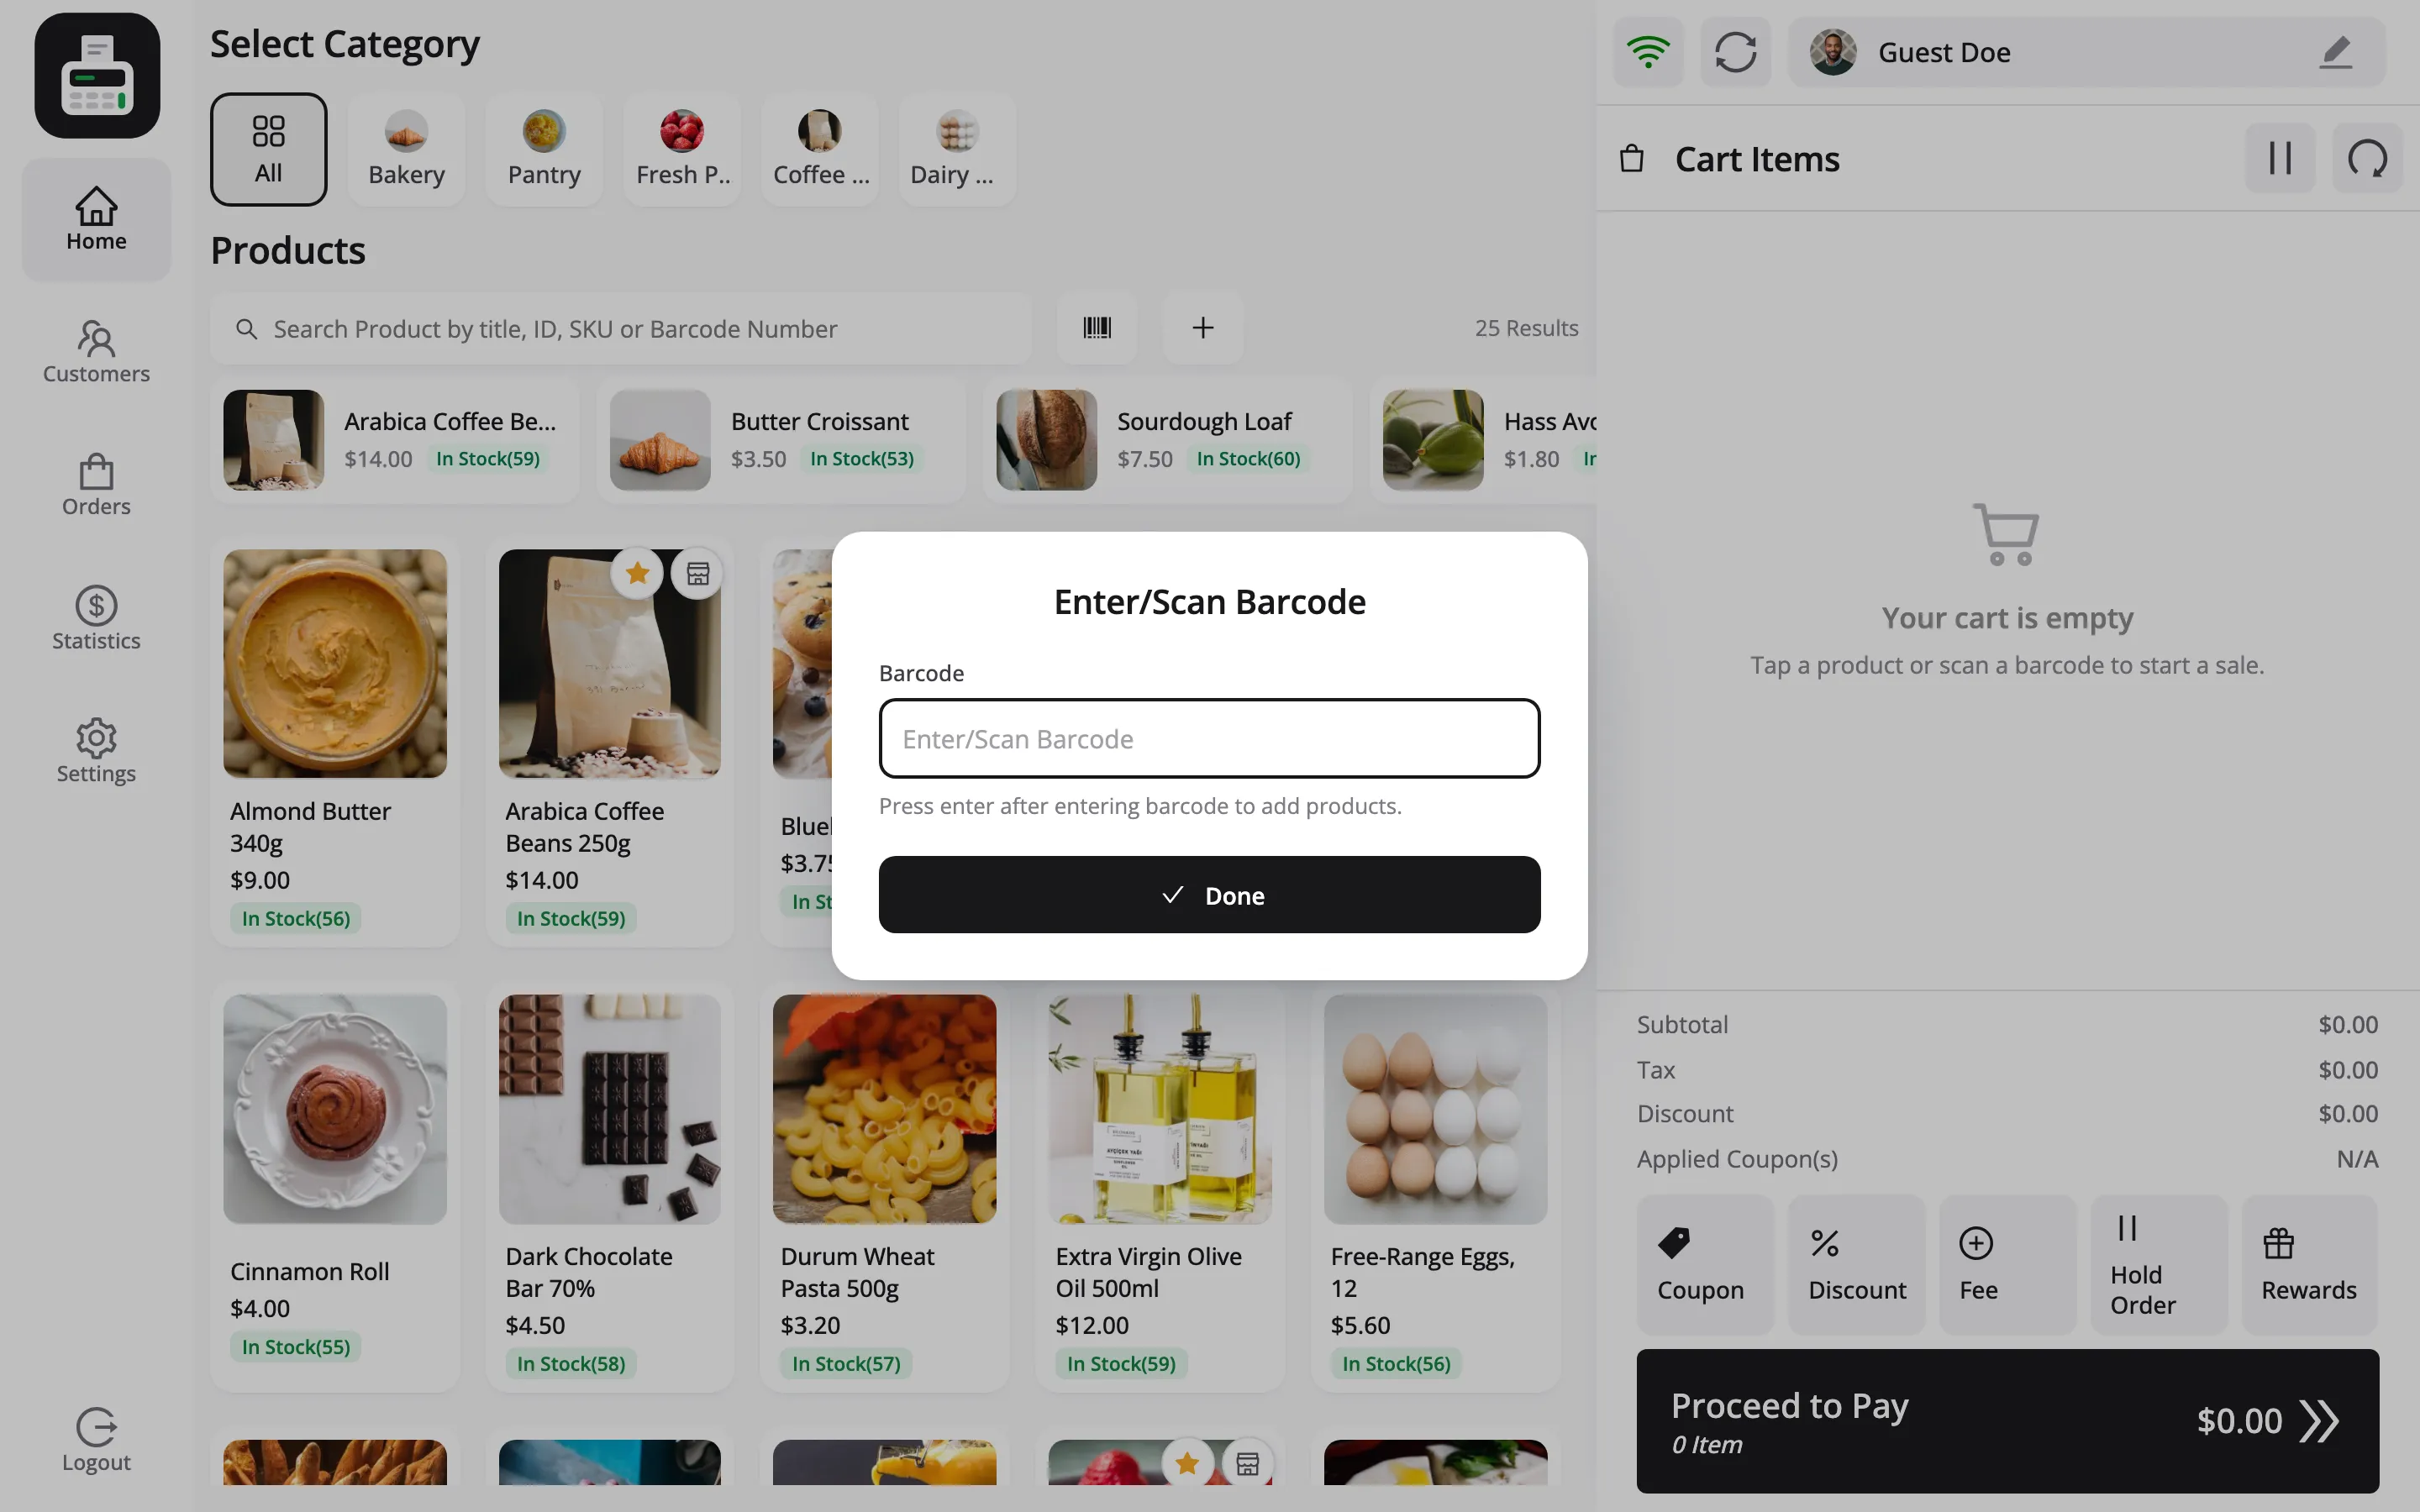
An unknown code raises a Barcode Error naming the code that was scanned, so the cashier can read it back to you.
Variations need their own codes
Section titled “Variations need their own codes”A variable product’s variations are listed separately and each takes its own barcode. That is correct: a medium blue hoodie and a large red one are different things on the shelf.
Skip them and the cashier has to find the parent and pick the variation by hand, which is slower than not scanning at all.
Where to go next
Section titled “Where to go next”- How to Print Barcode Labels
- How to Scan Barcodes at Checkout
- Printer Settings for label sizing.