

Receipt Templates
The Invoices screen holds the layout every printed receipt uses. The free version ships one, and it covers a counter sale properly.
Open the screen
Section titled “Open the screen”Go to DevDiggers Plugins → MultiPOS → Invoices.
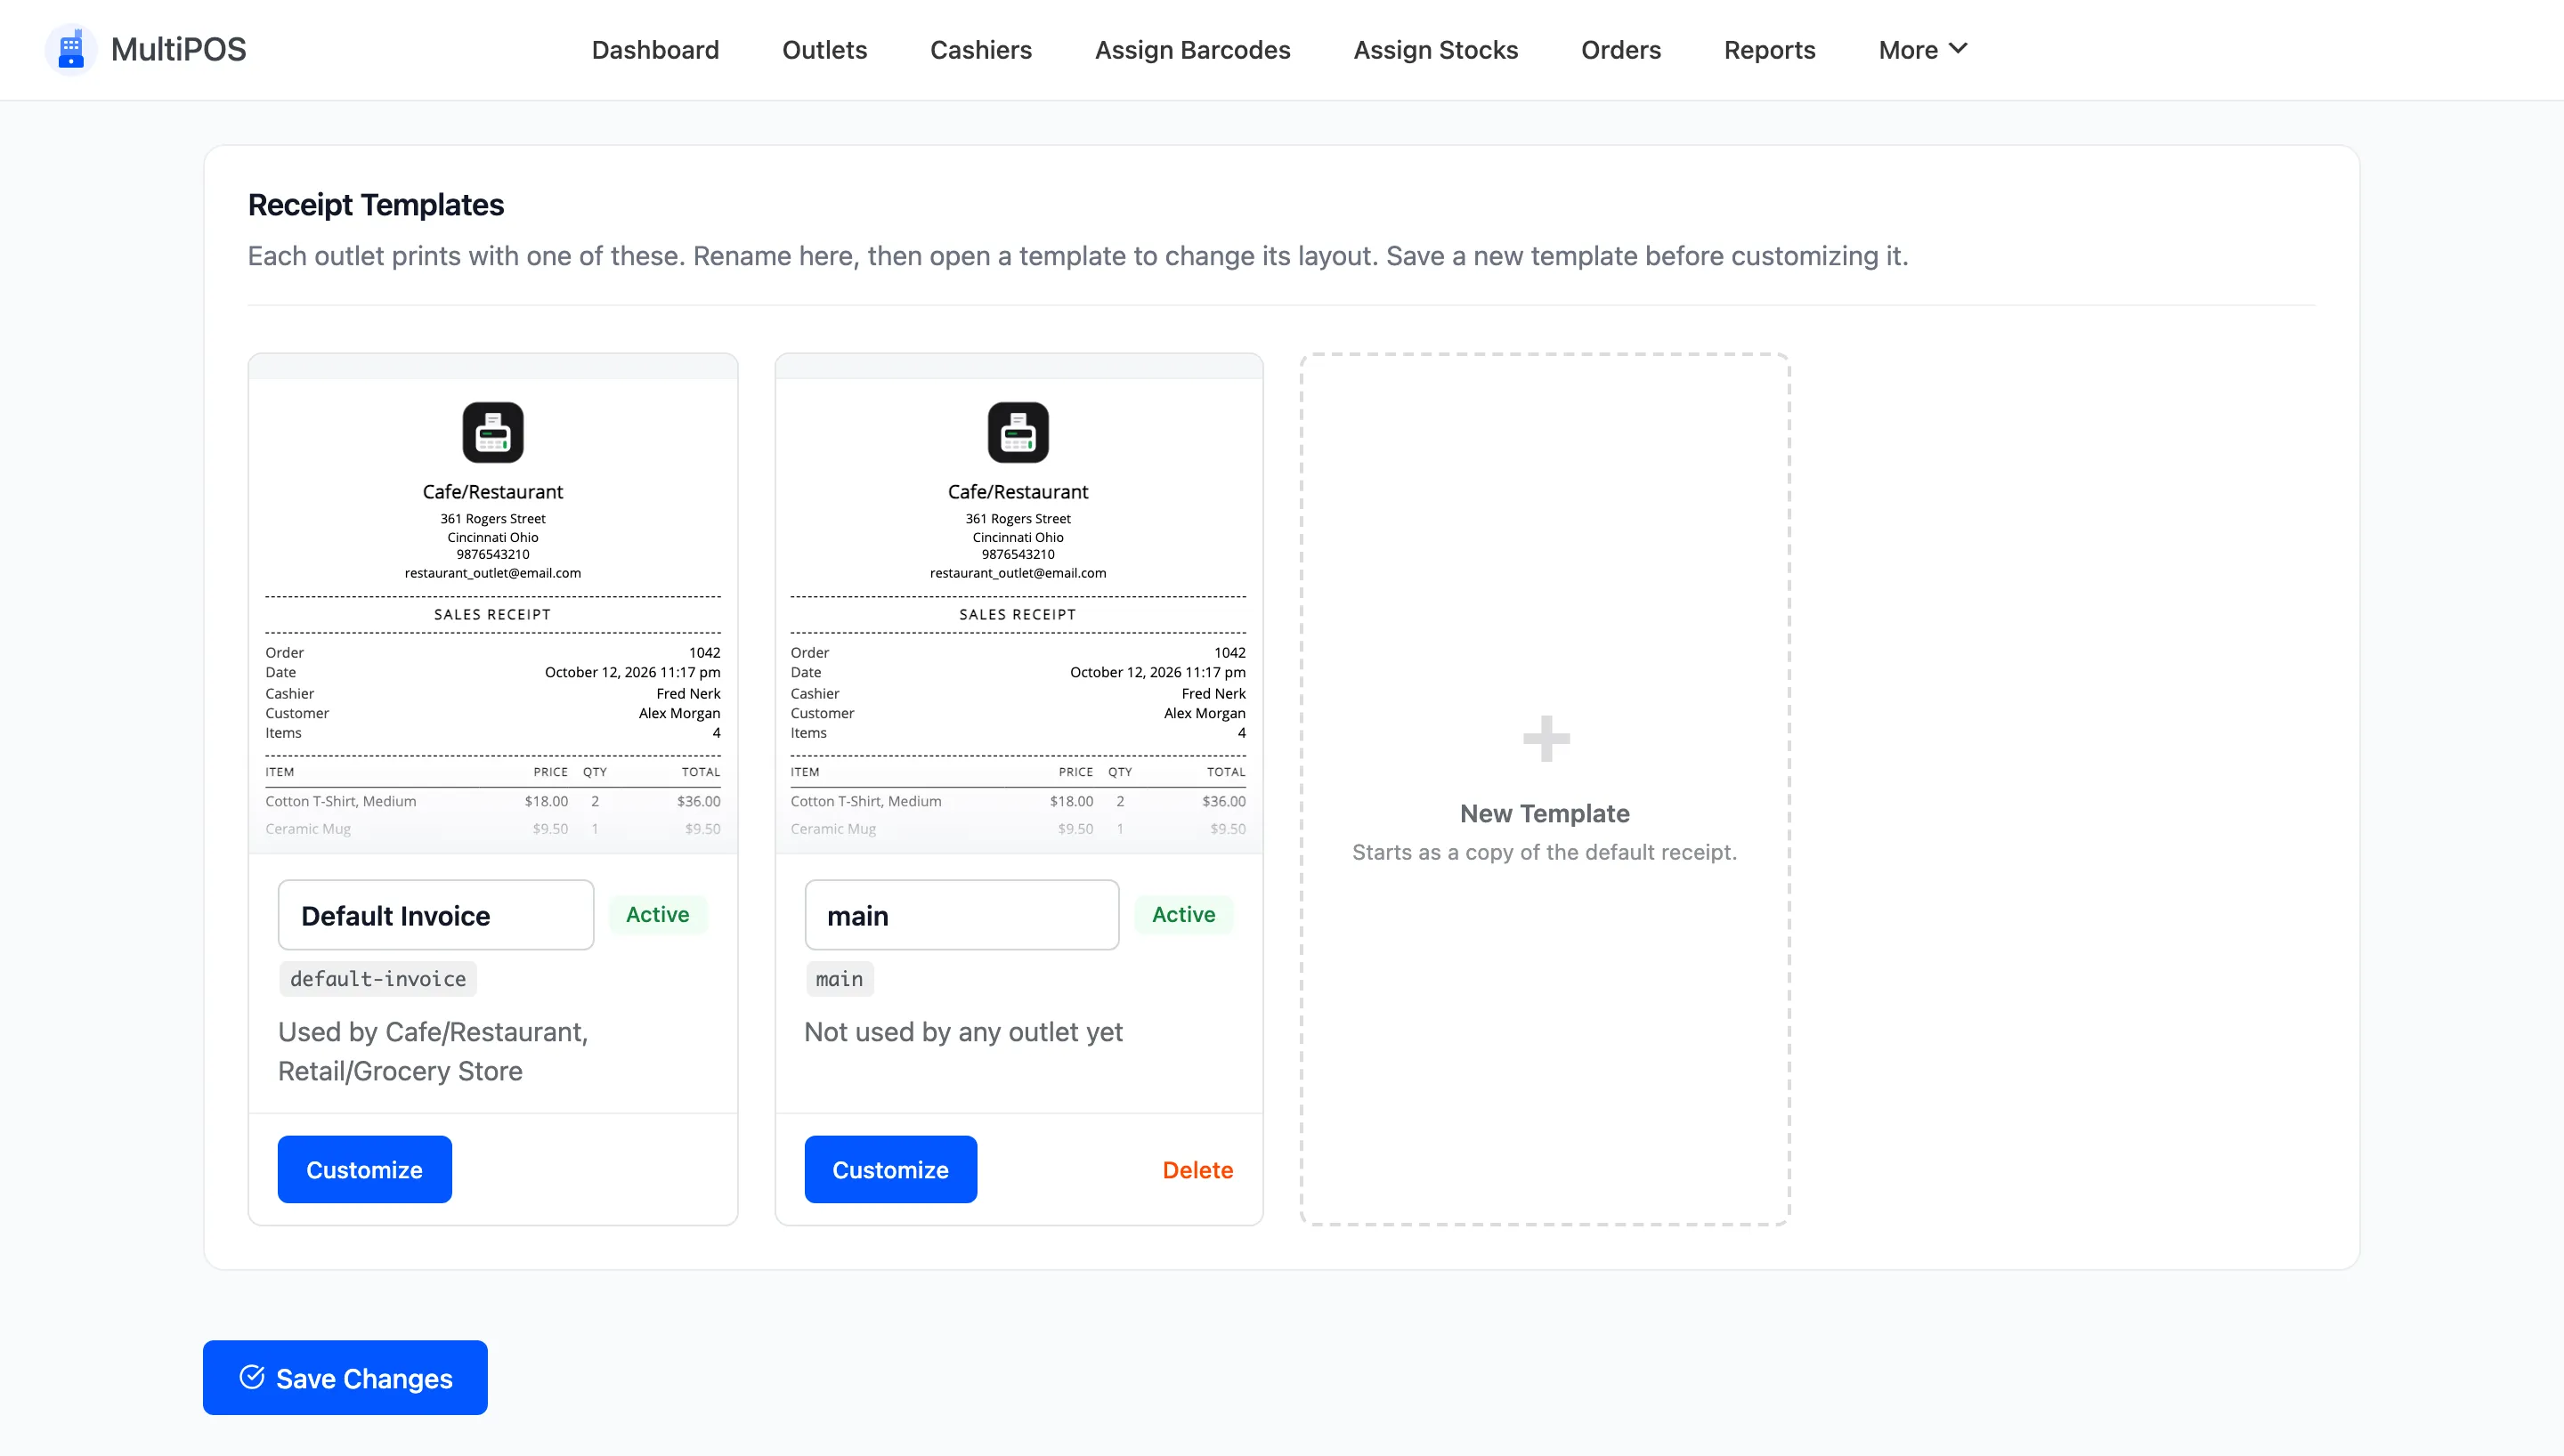
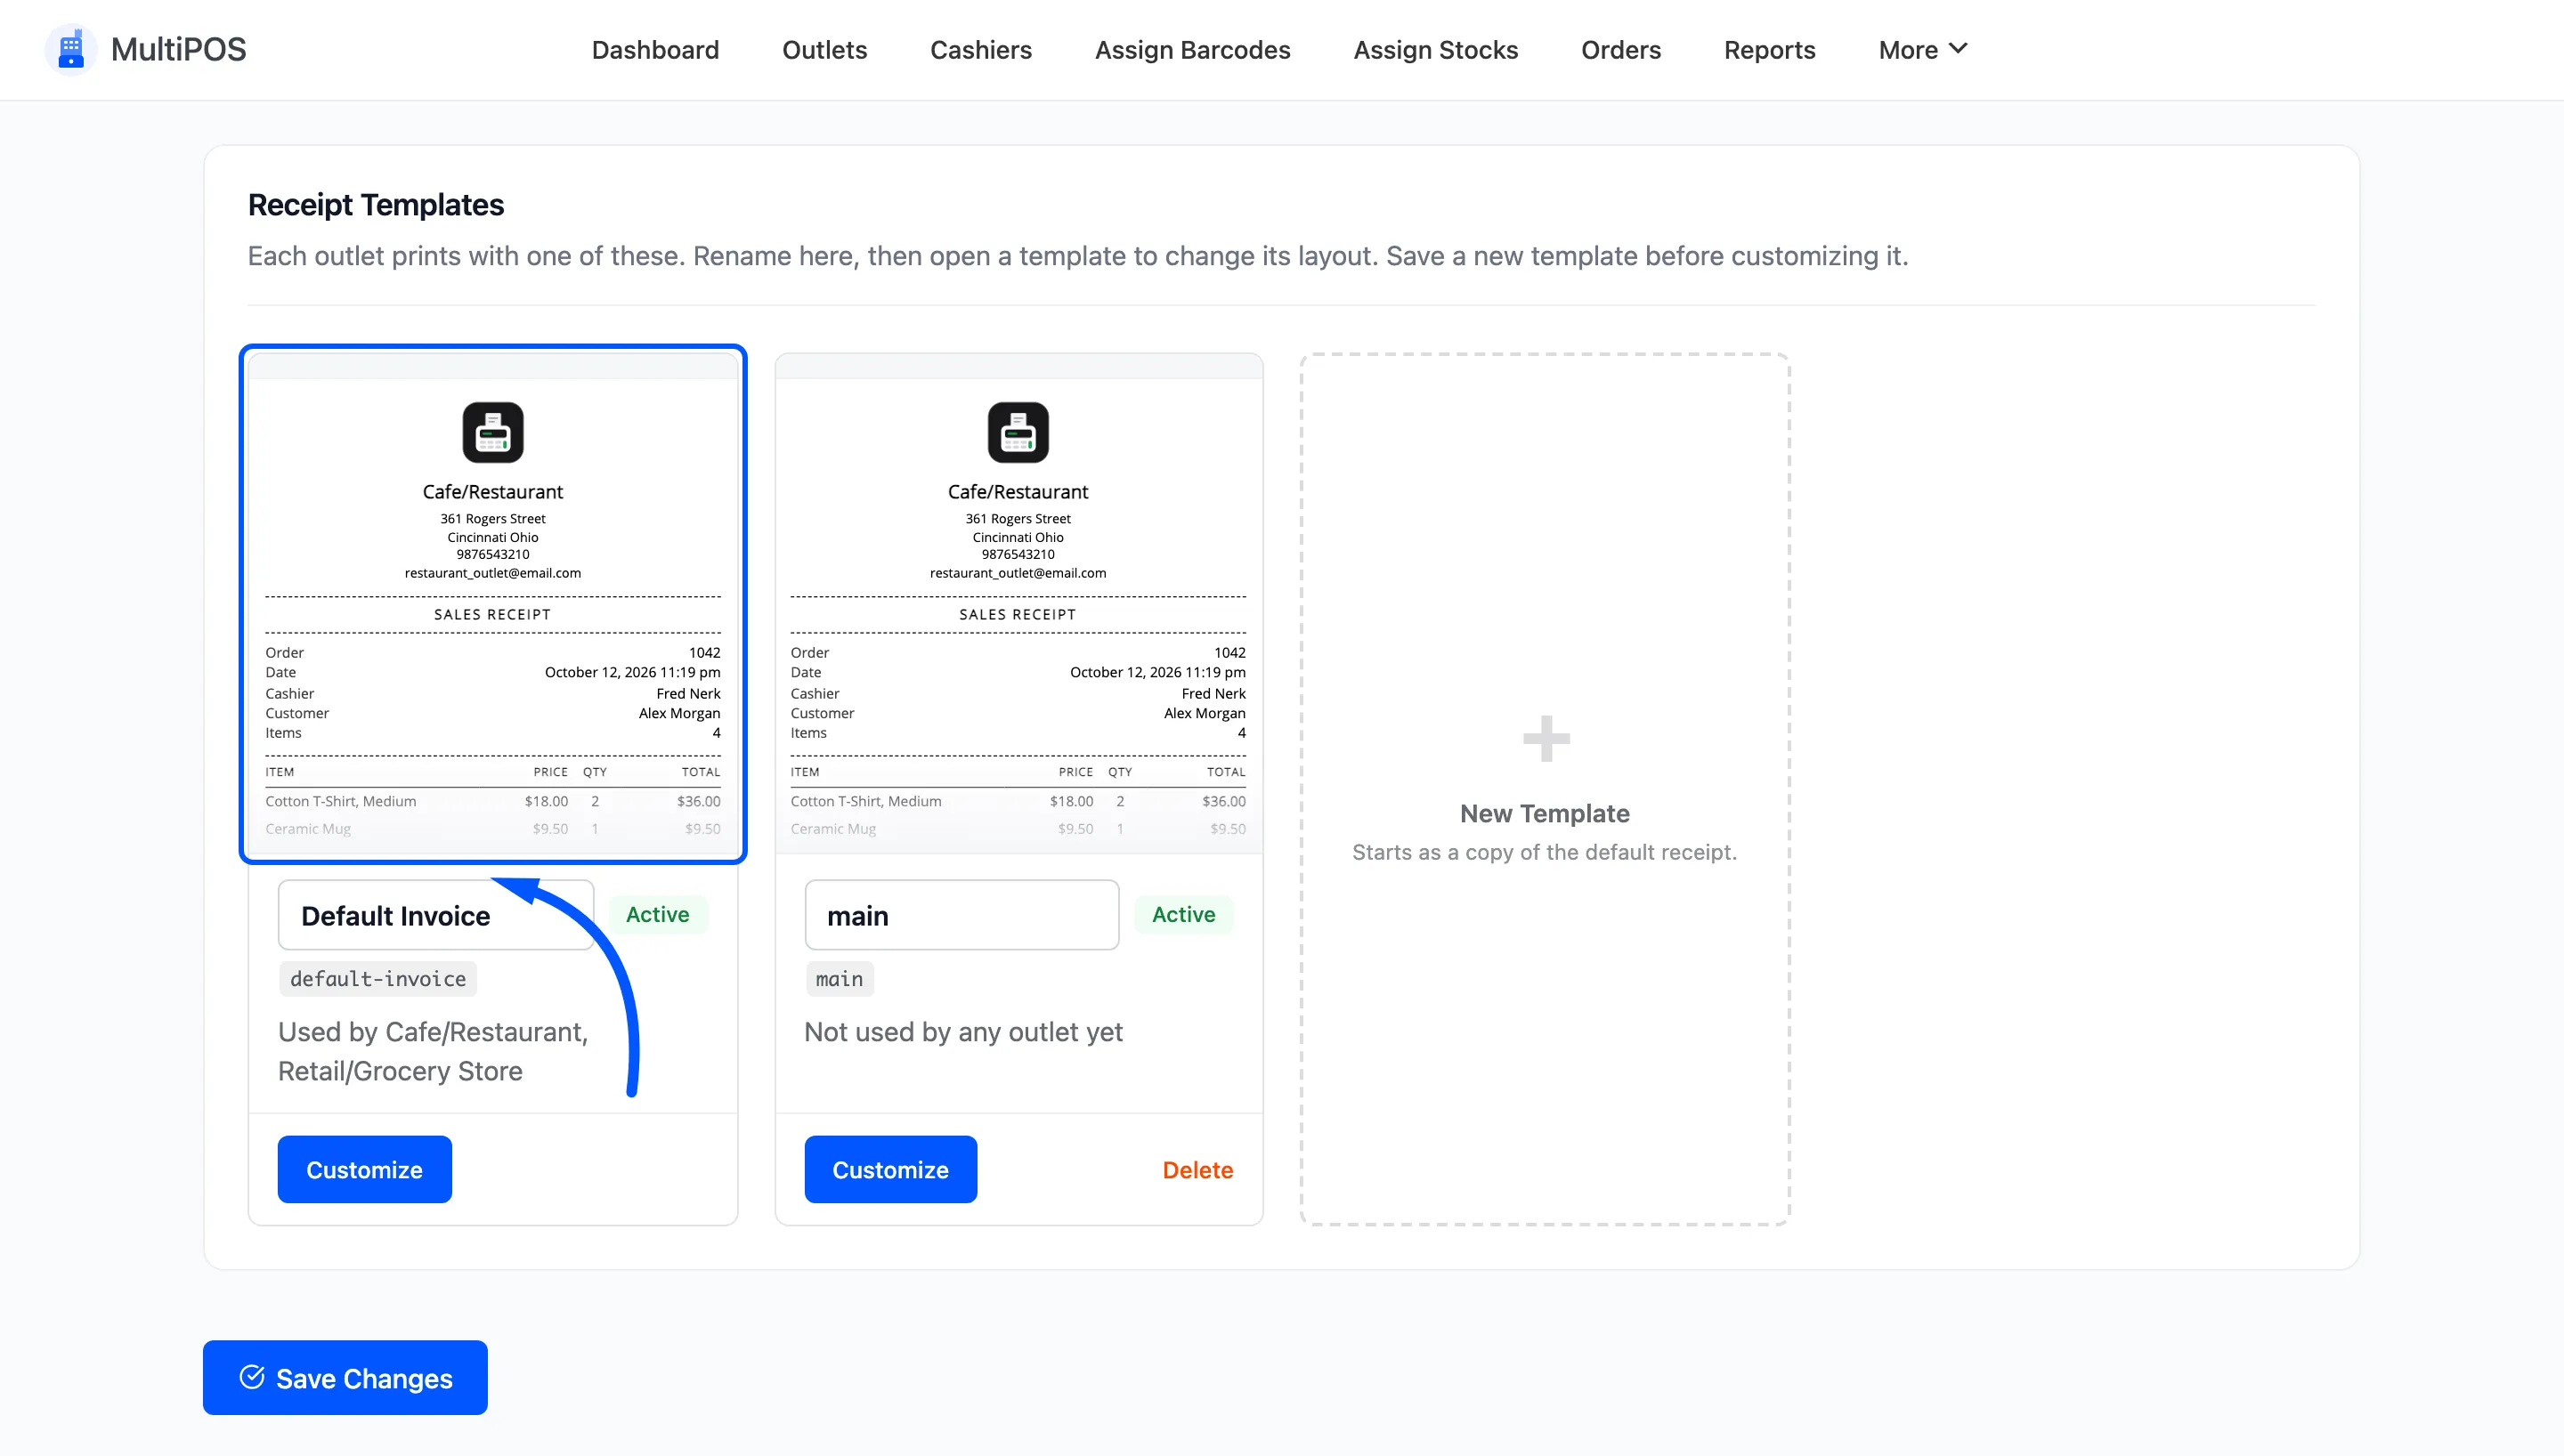
Each template is a card carrying its name, its slug and its status.
What the free version ships
Section titled “What the free version ships”One template, called Default Invoice, marked Active and read only.
It is fully translatable, so a store running WordPress in another language prints receipts in that language without touching the layout.
Its name and slug cannot be edited, which is deliberate: there is one template, so there is nothing to disambiguate.
What the receipt carries
Section titled “What the receipt carries”The default template prints:
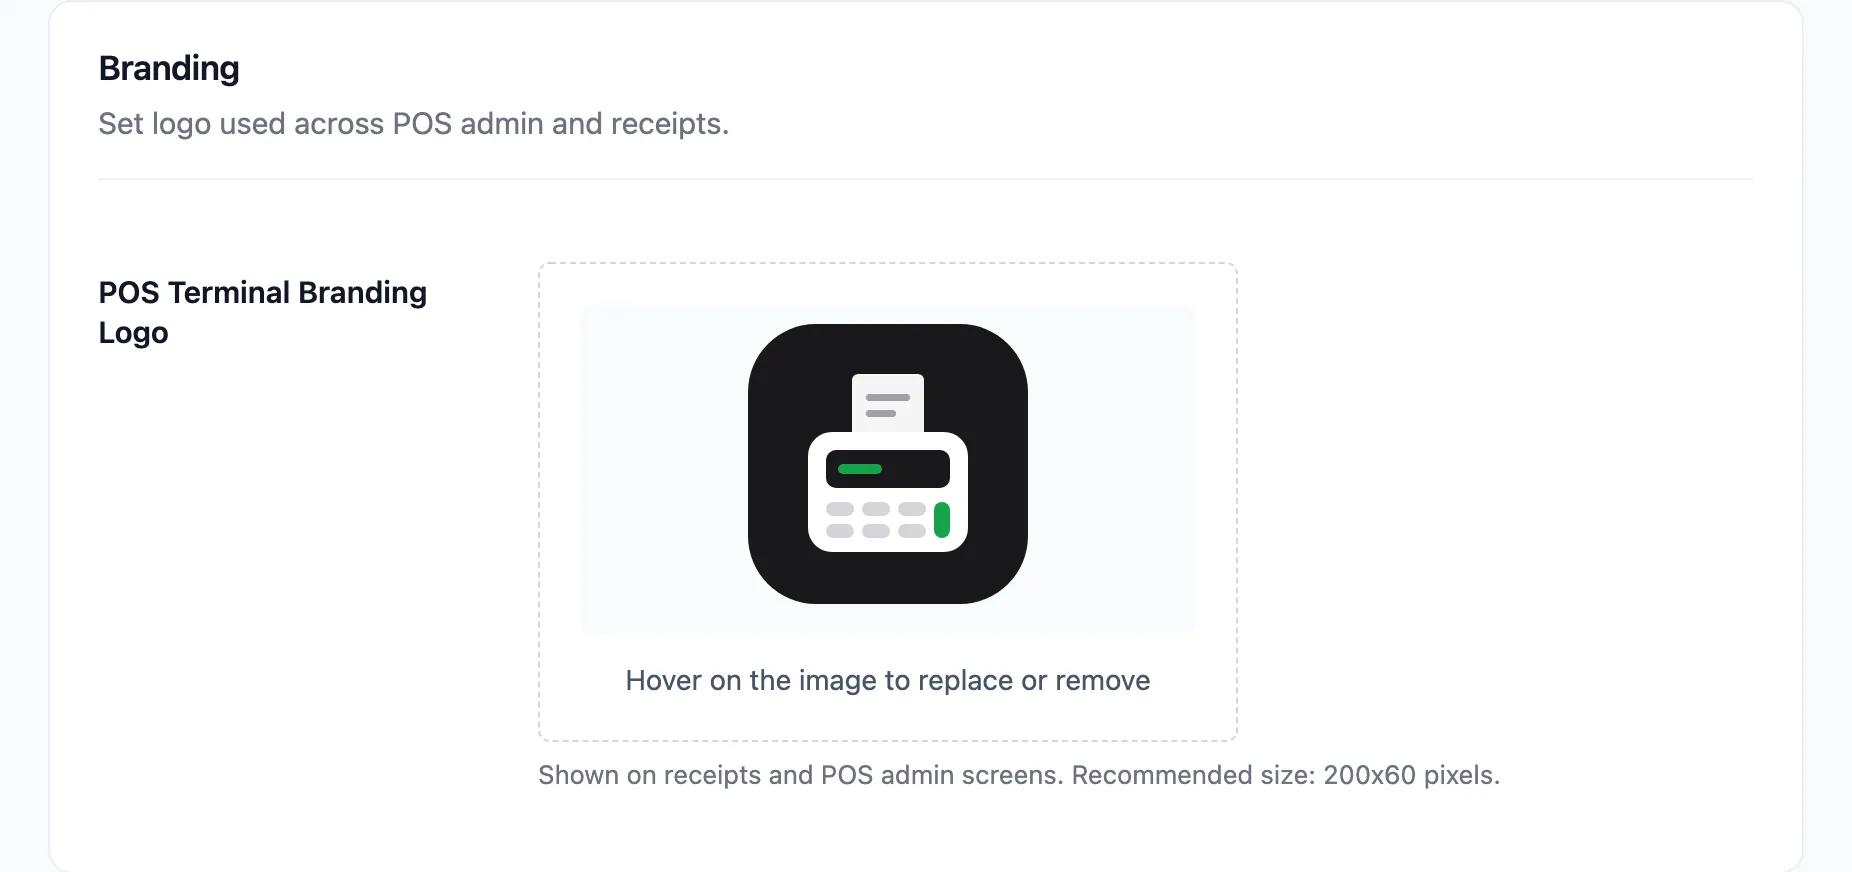
- Your POS Terminal Branding Logo from Configuration → General
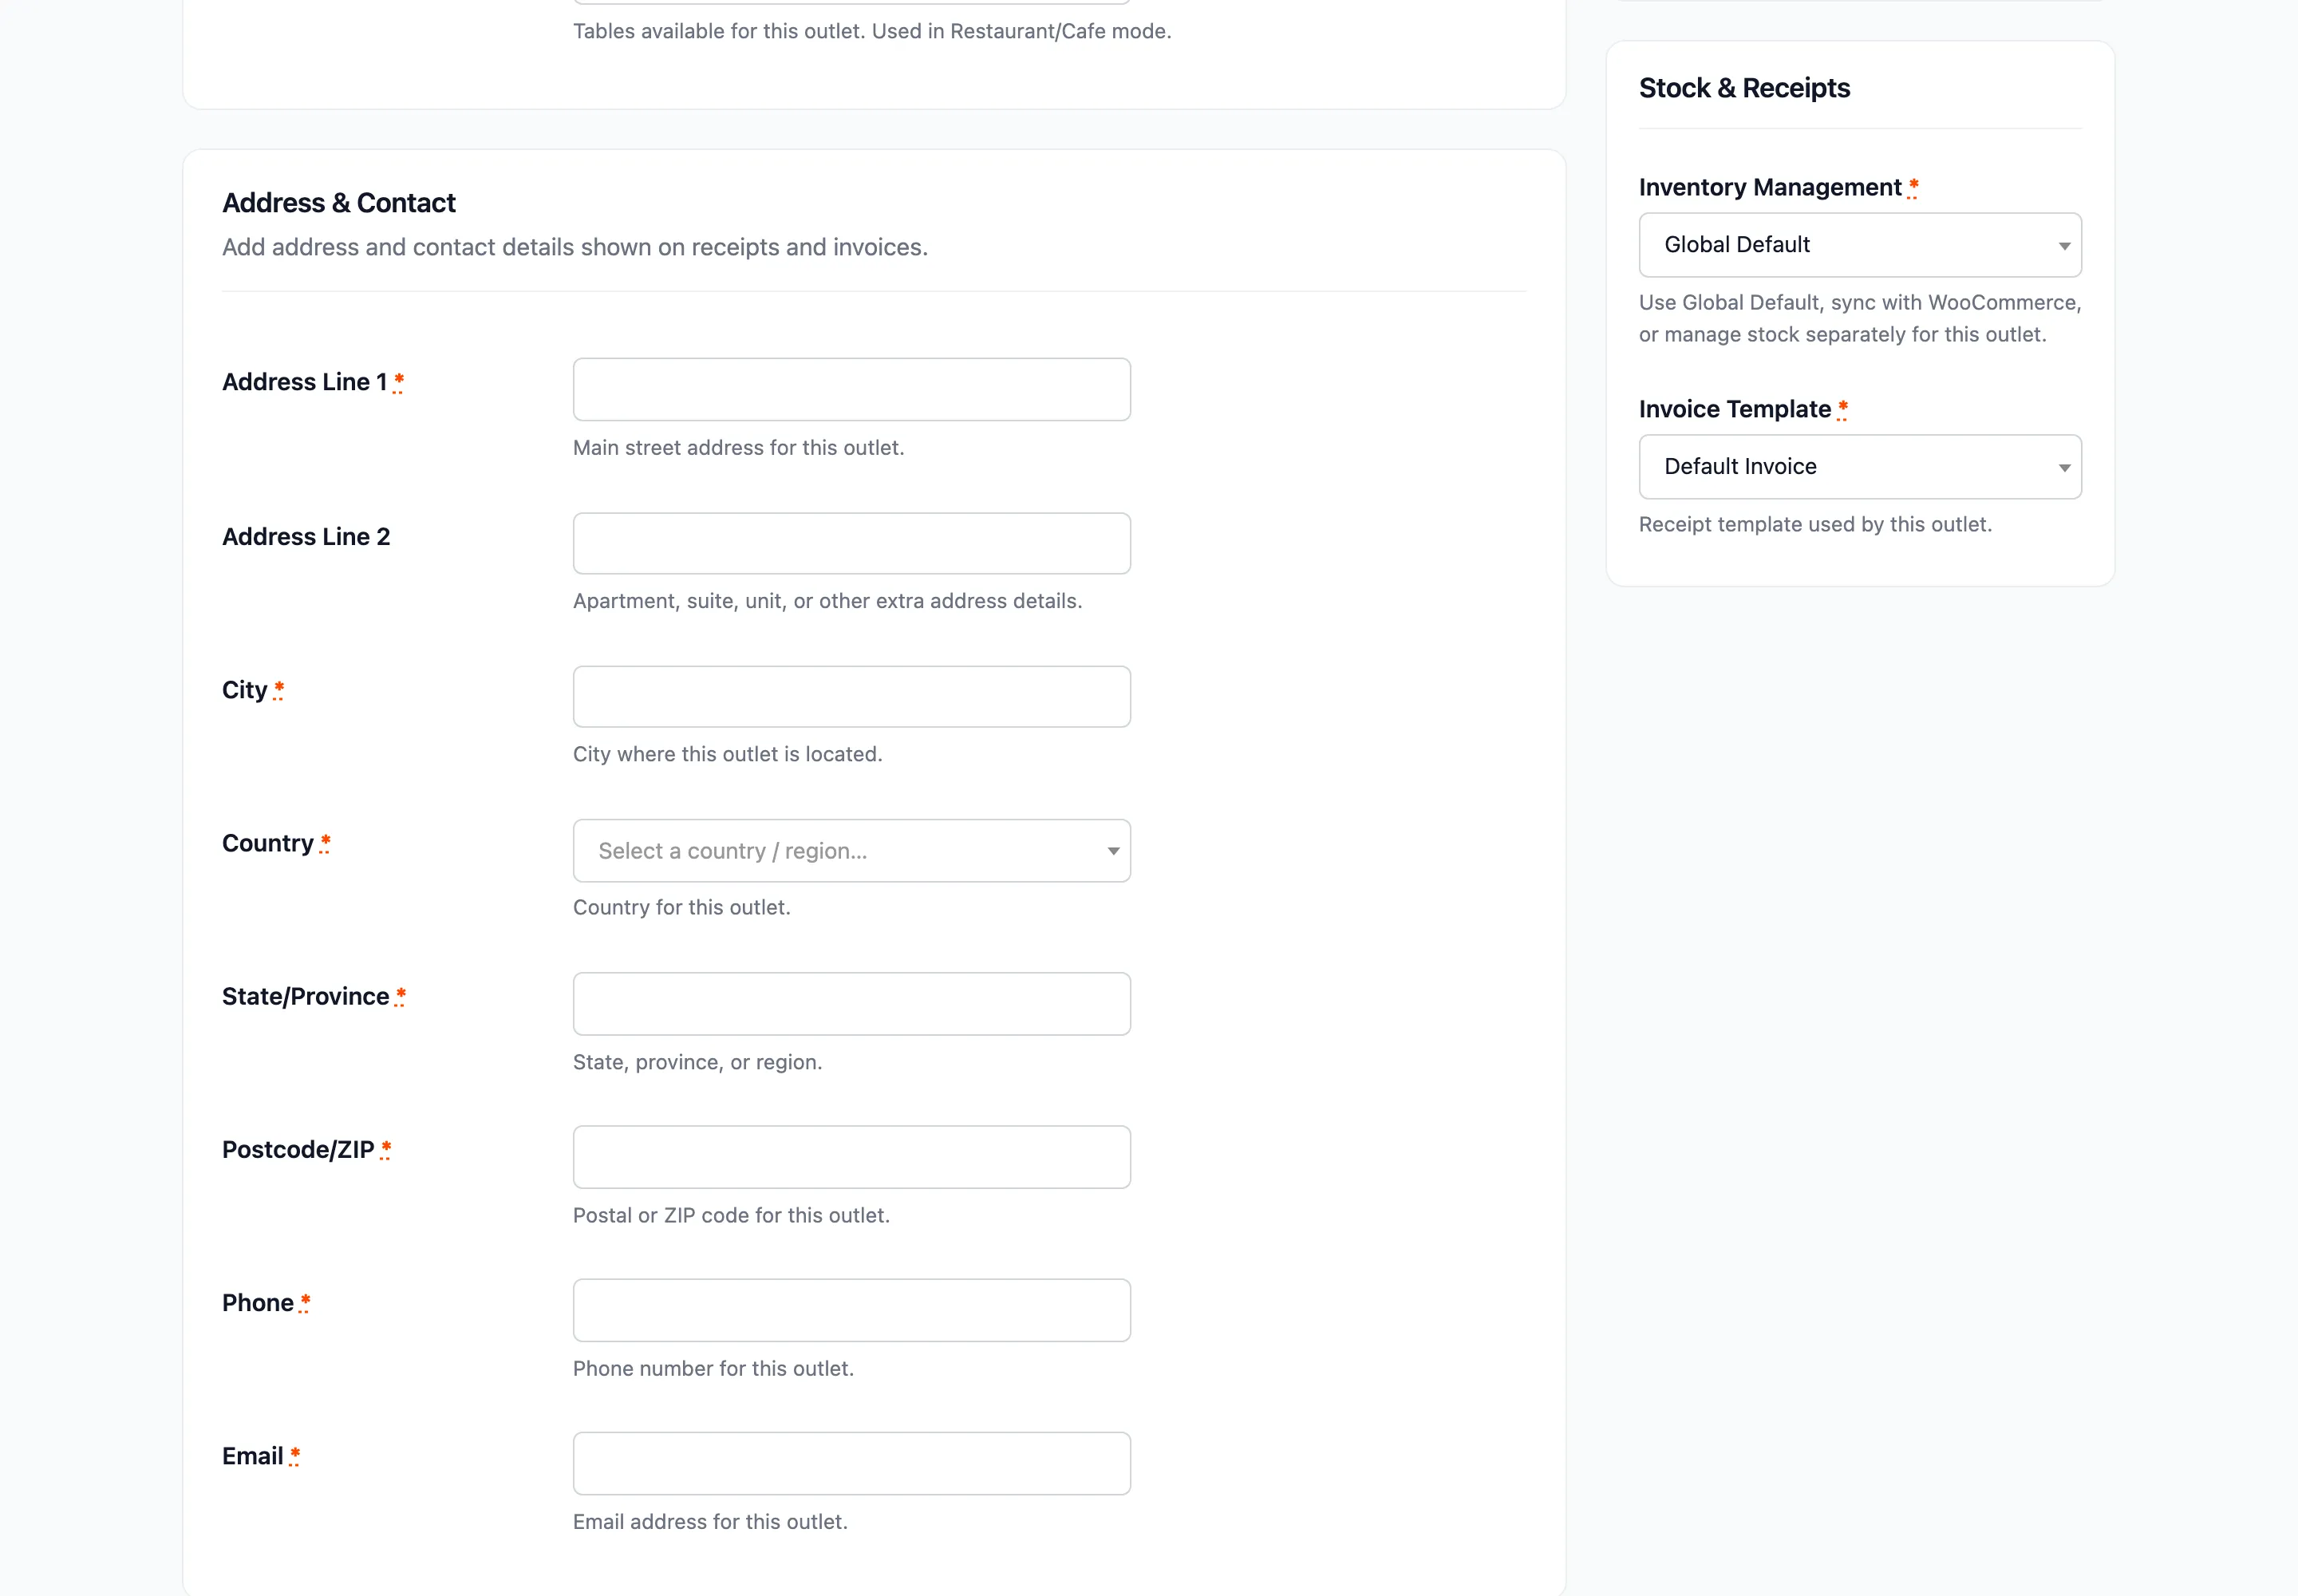
- The outlet’s name, address, phone and email
- The order number, the date and the cashier
- Every line item with its quantity and price
- Subtotal, tax, discount and total
- The payment method, the amount handed over and the change
That is what the outlet address fields are for. Get them wrong and every receipt sends customers to the wrong place when they want to return something.
Size, not content
Section titled “Size, not content”How big the receipt prints is a separate tab. Set the roll width, height and margins under Configuration → Printer.
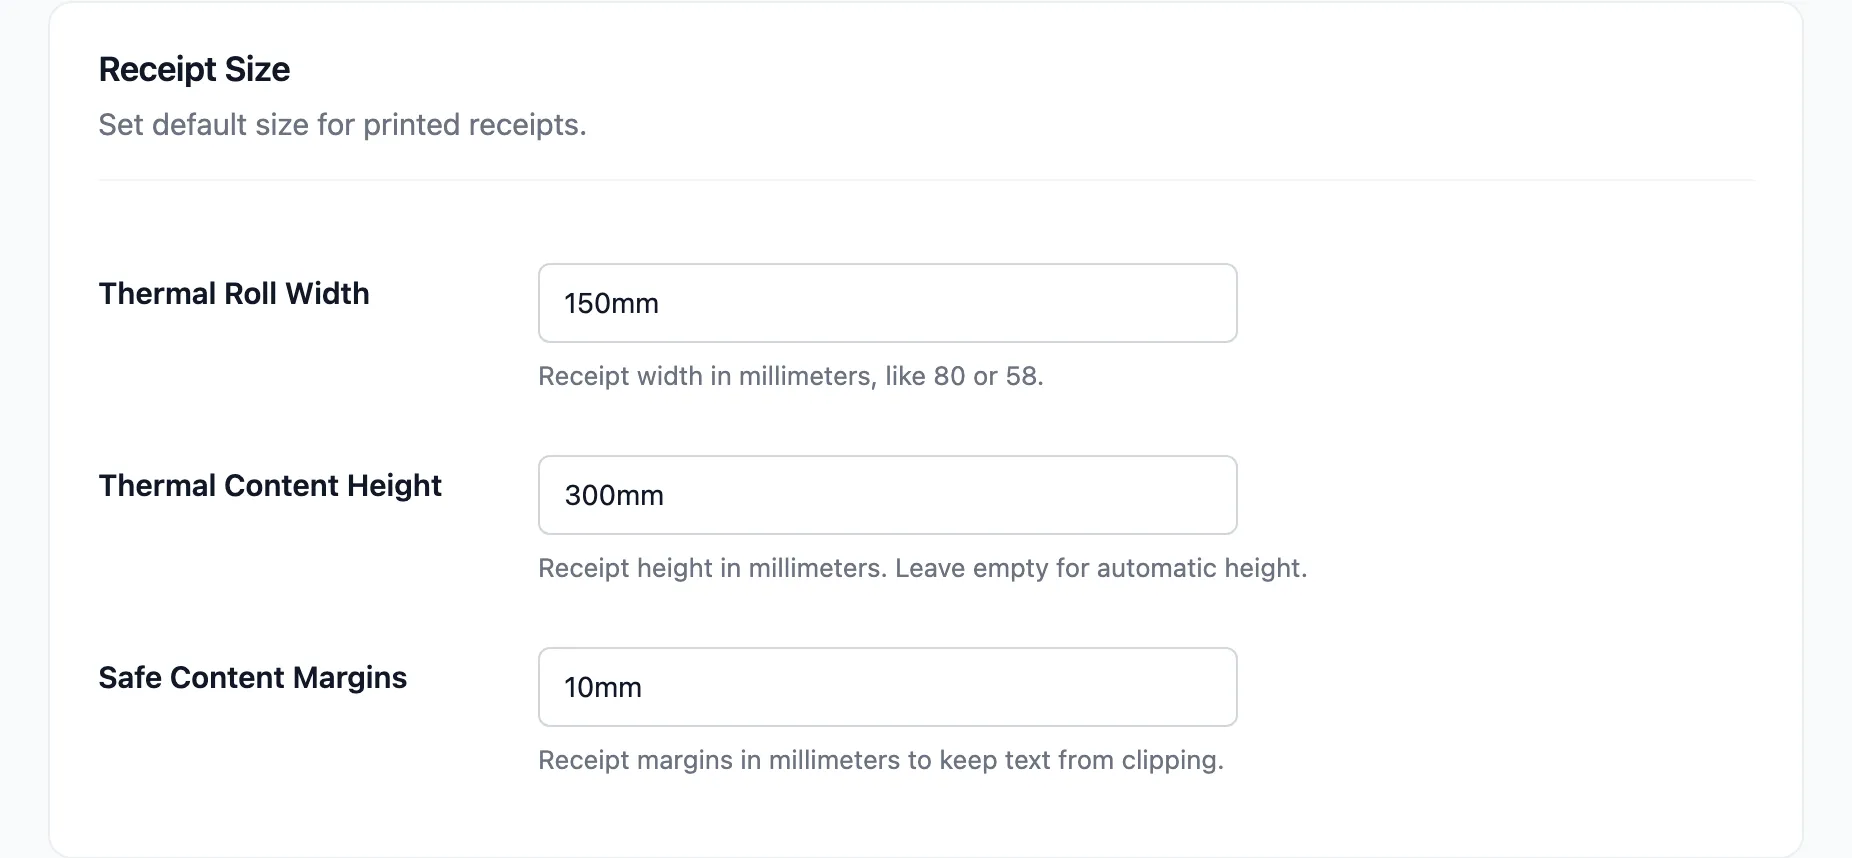
A cashier can override the three size fields for their own terminal under Settings → Outlet in the POS. That is what you want when two terminals run different printers.
Customize and Create New
Section titled “Customize and Create New”Both buttons on this screen lead to the Pro receipt composer.
The template editor
Section titled “The template editor”Customize opens Customize: Default Invoice. Every outlet using the template prints with it the next time its POS loads.
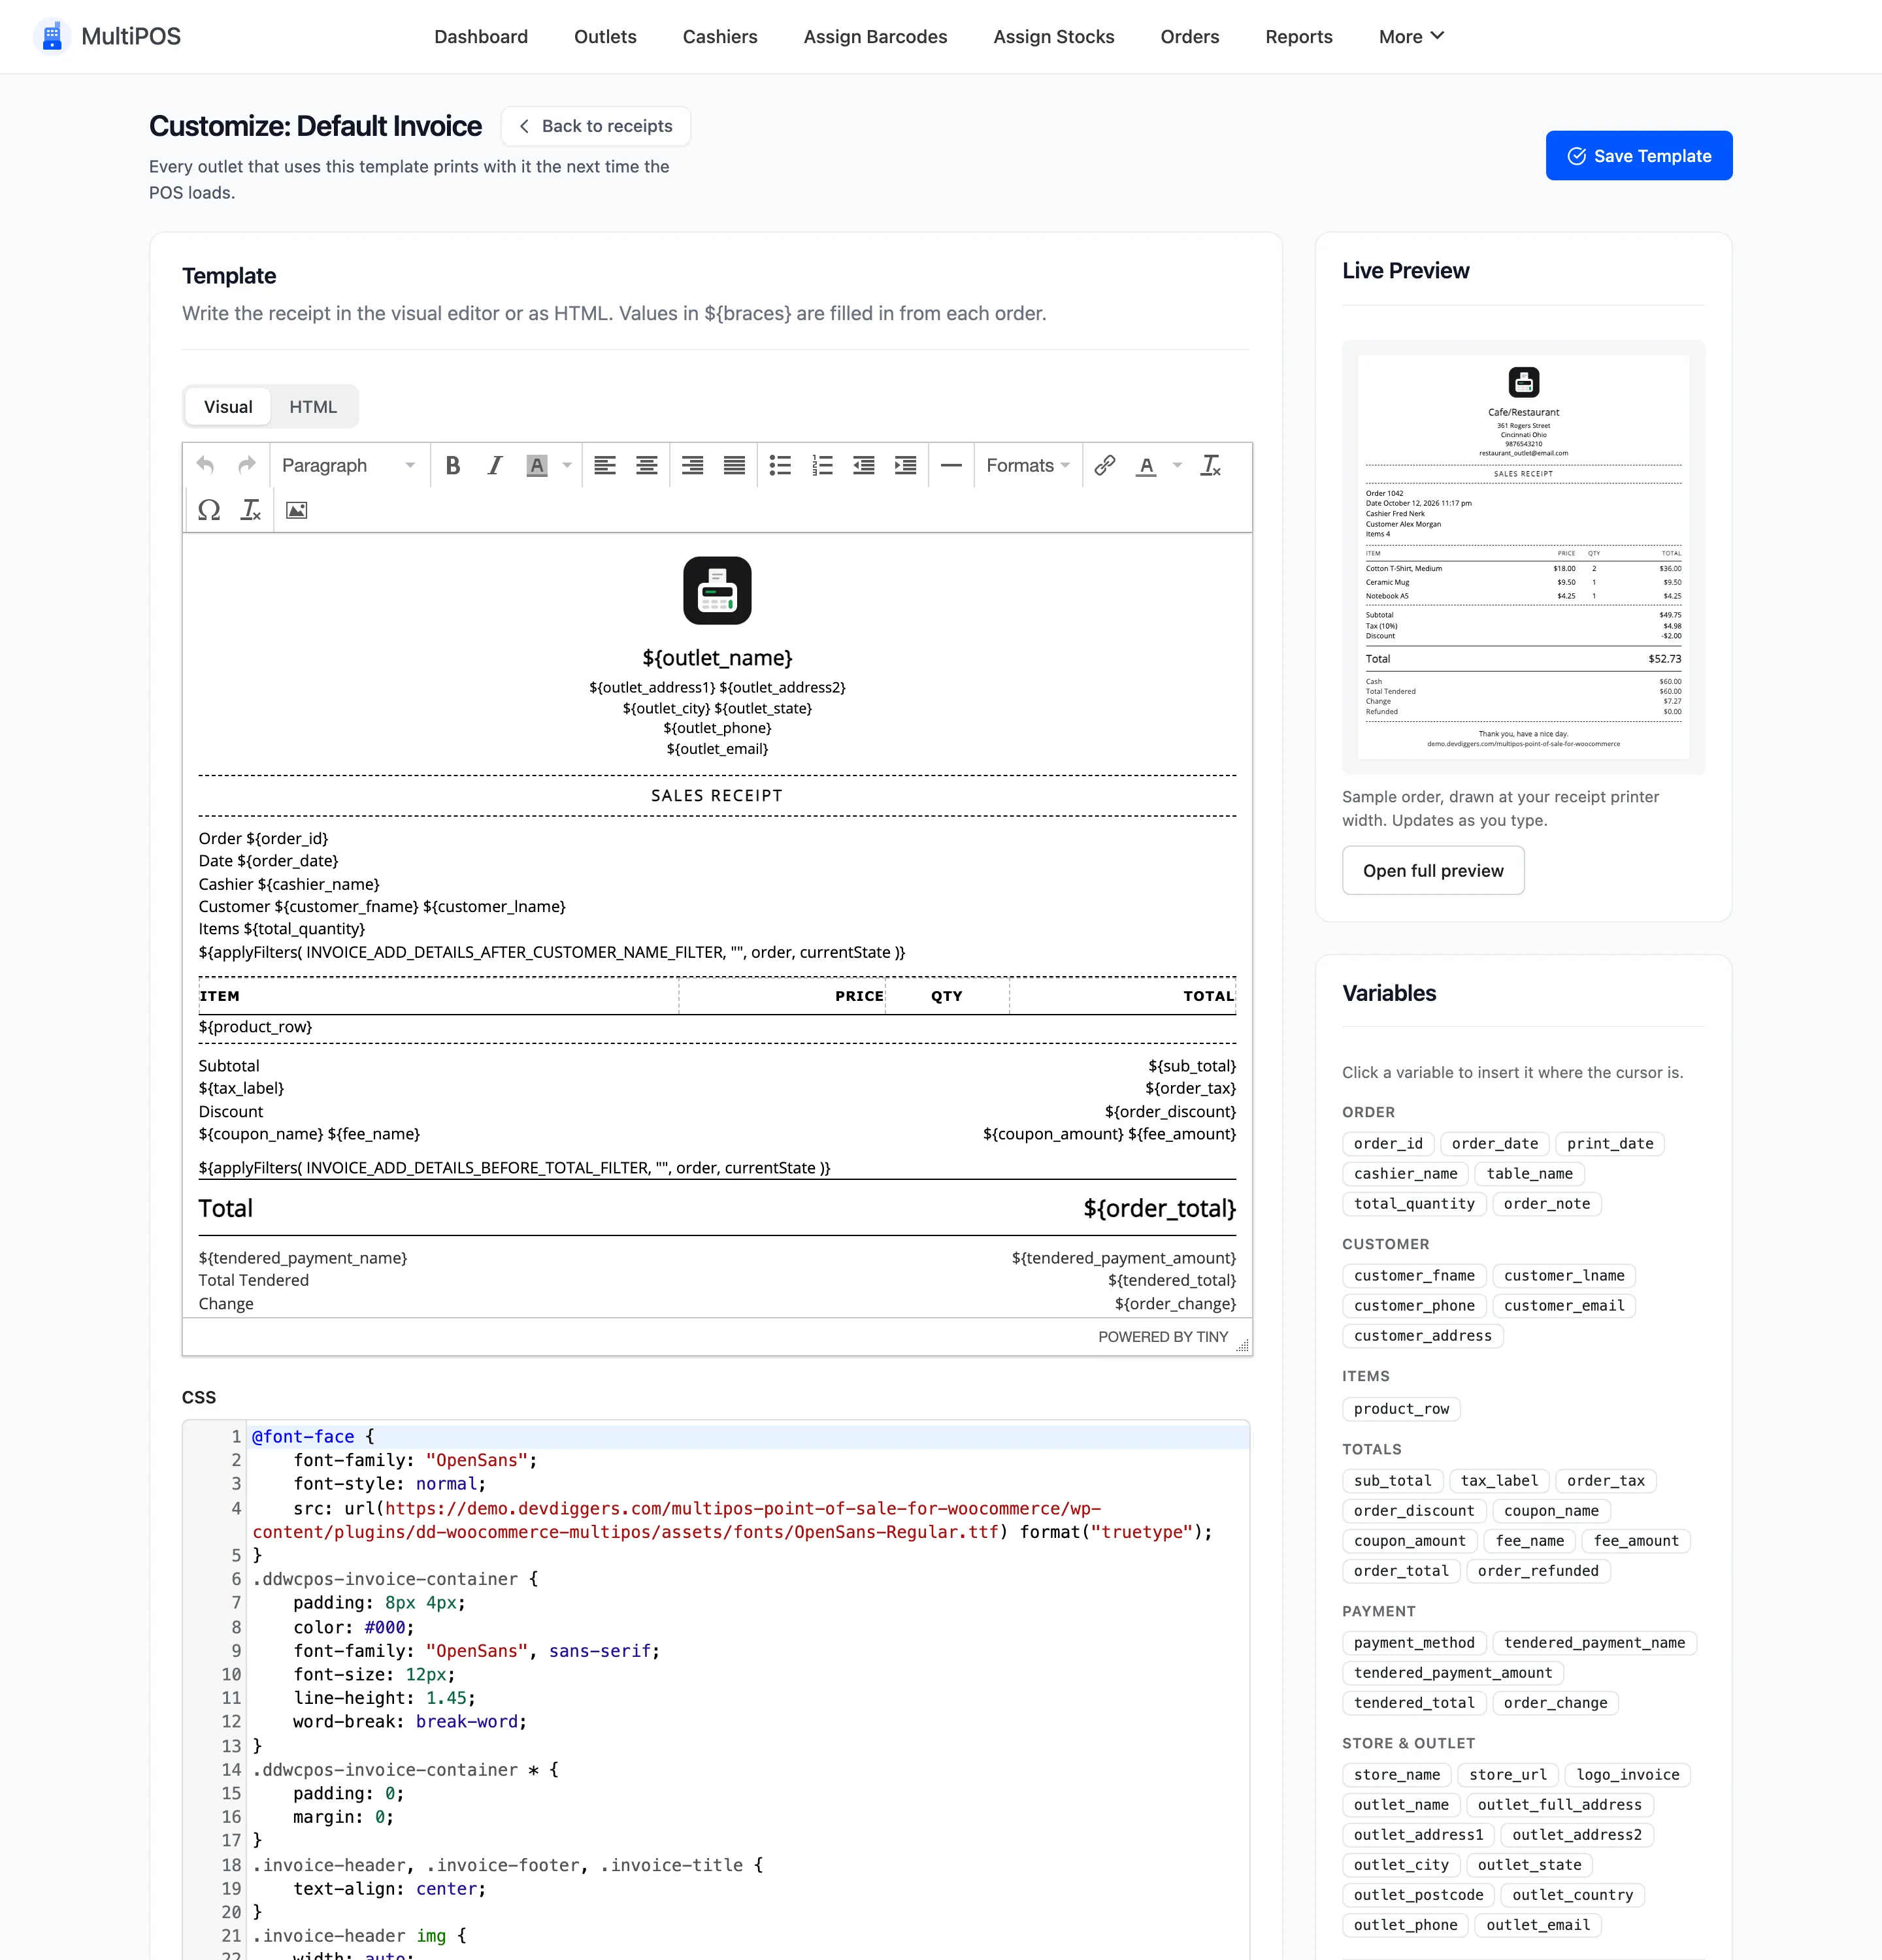
- Template: Write the receipt in the Visual editor or as HTML. Values in
${braces}are filled in from each order. - CSS: The receipt’s styles, in a code box below the template.
- Live Preview: A sample order drawn at your receipt printer’s width. It updates as you type.
- Variables: Click one to insert it at the cursor. They are grouped as Order, Customer, Items,
Totals, Payment and Store & Outlet, from
order_idandcashier_nametocustomer_phone,order_refundedandoutlet_full_address.
Press Save Template when it looks right.
Full preview
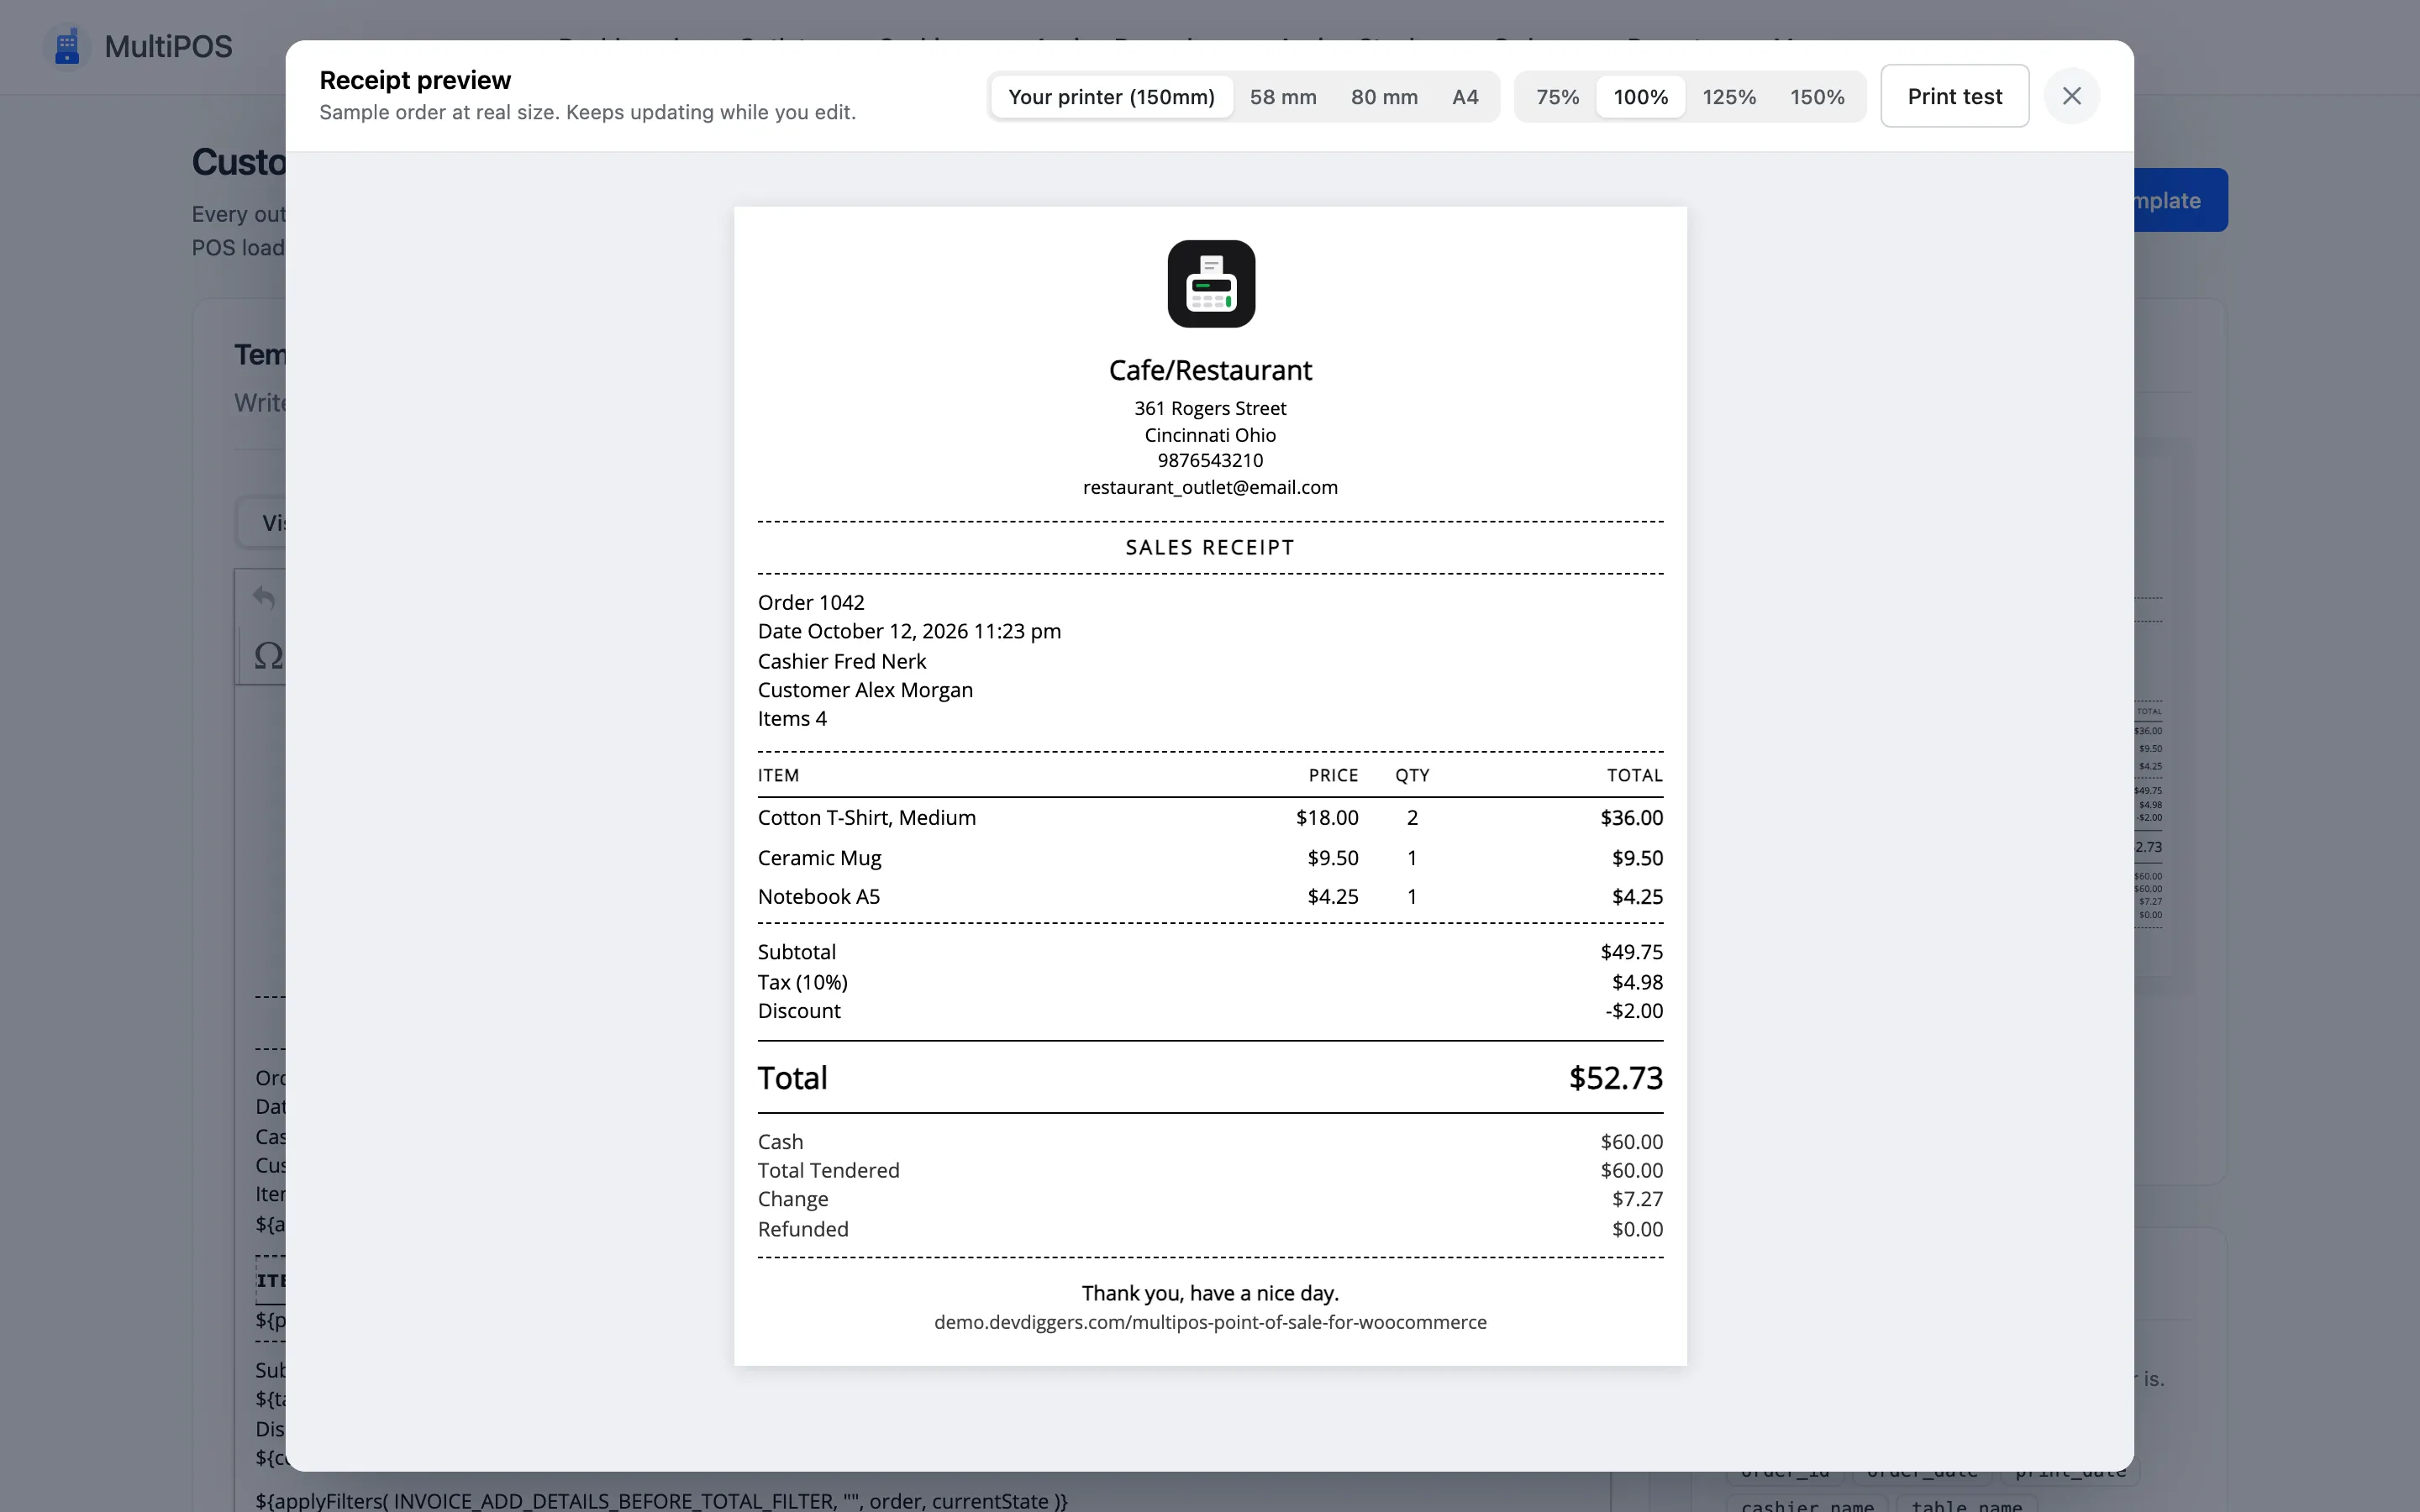
Section titled “Full preview”Open full preview shows the sample receipt at real size. The size buttons switch between Your printer, 58 mm, 80 mm and A4, and the zoom runs from 75% to 150%.
At 58 mm the same receipt wraps tighter, which is the quickest way to check a long product name.
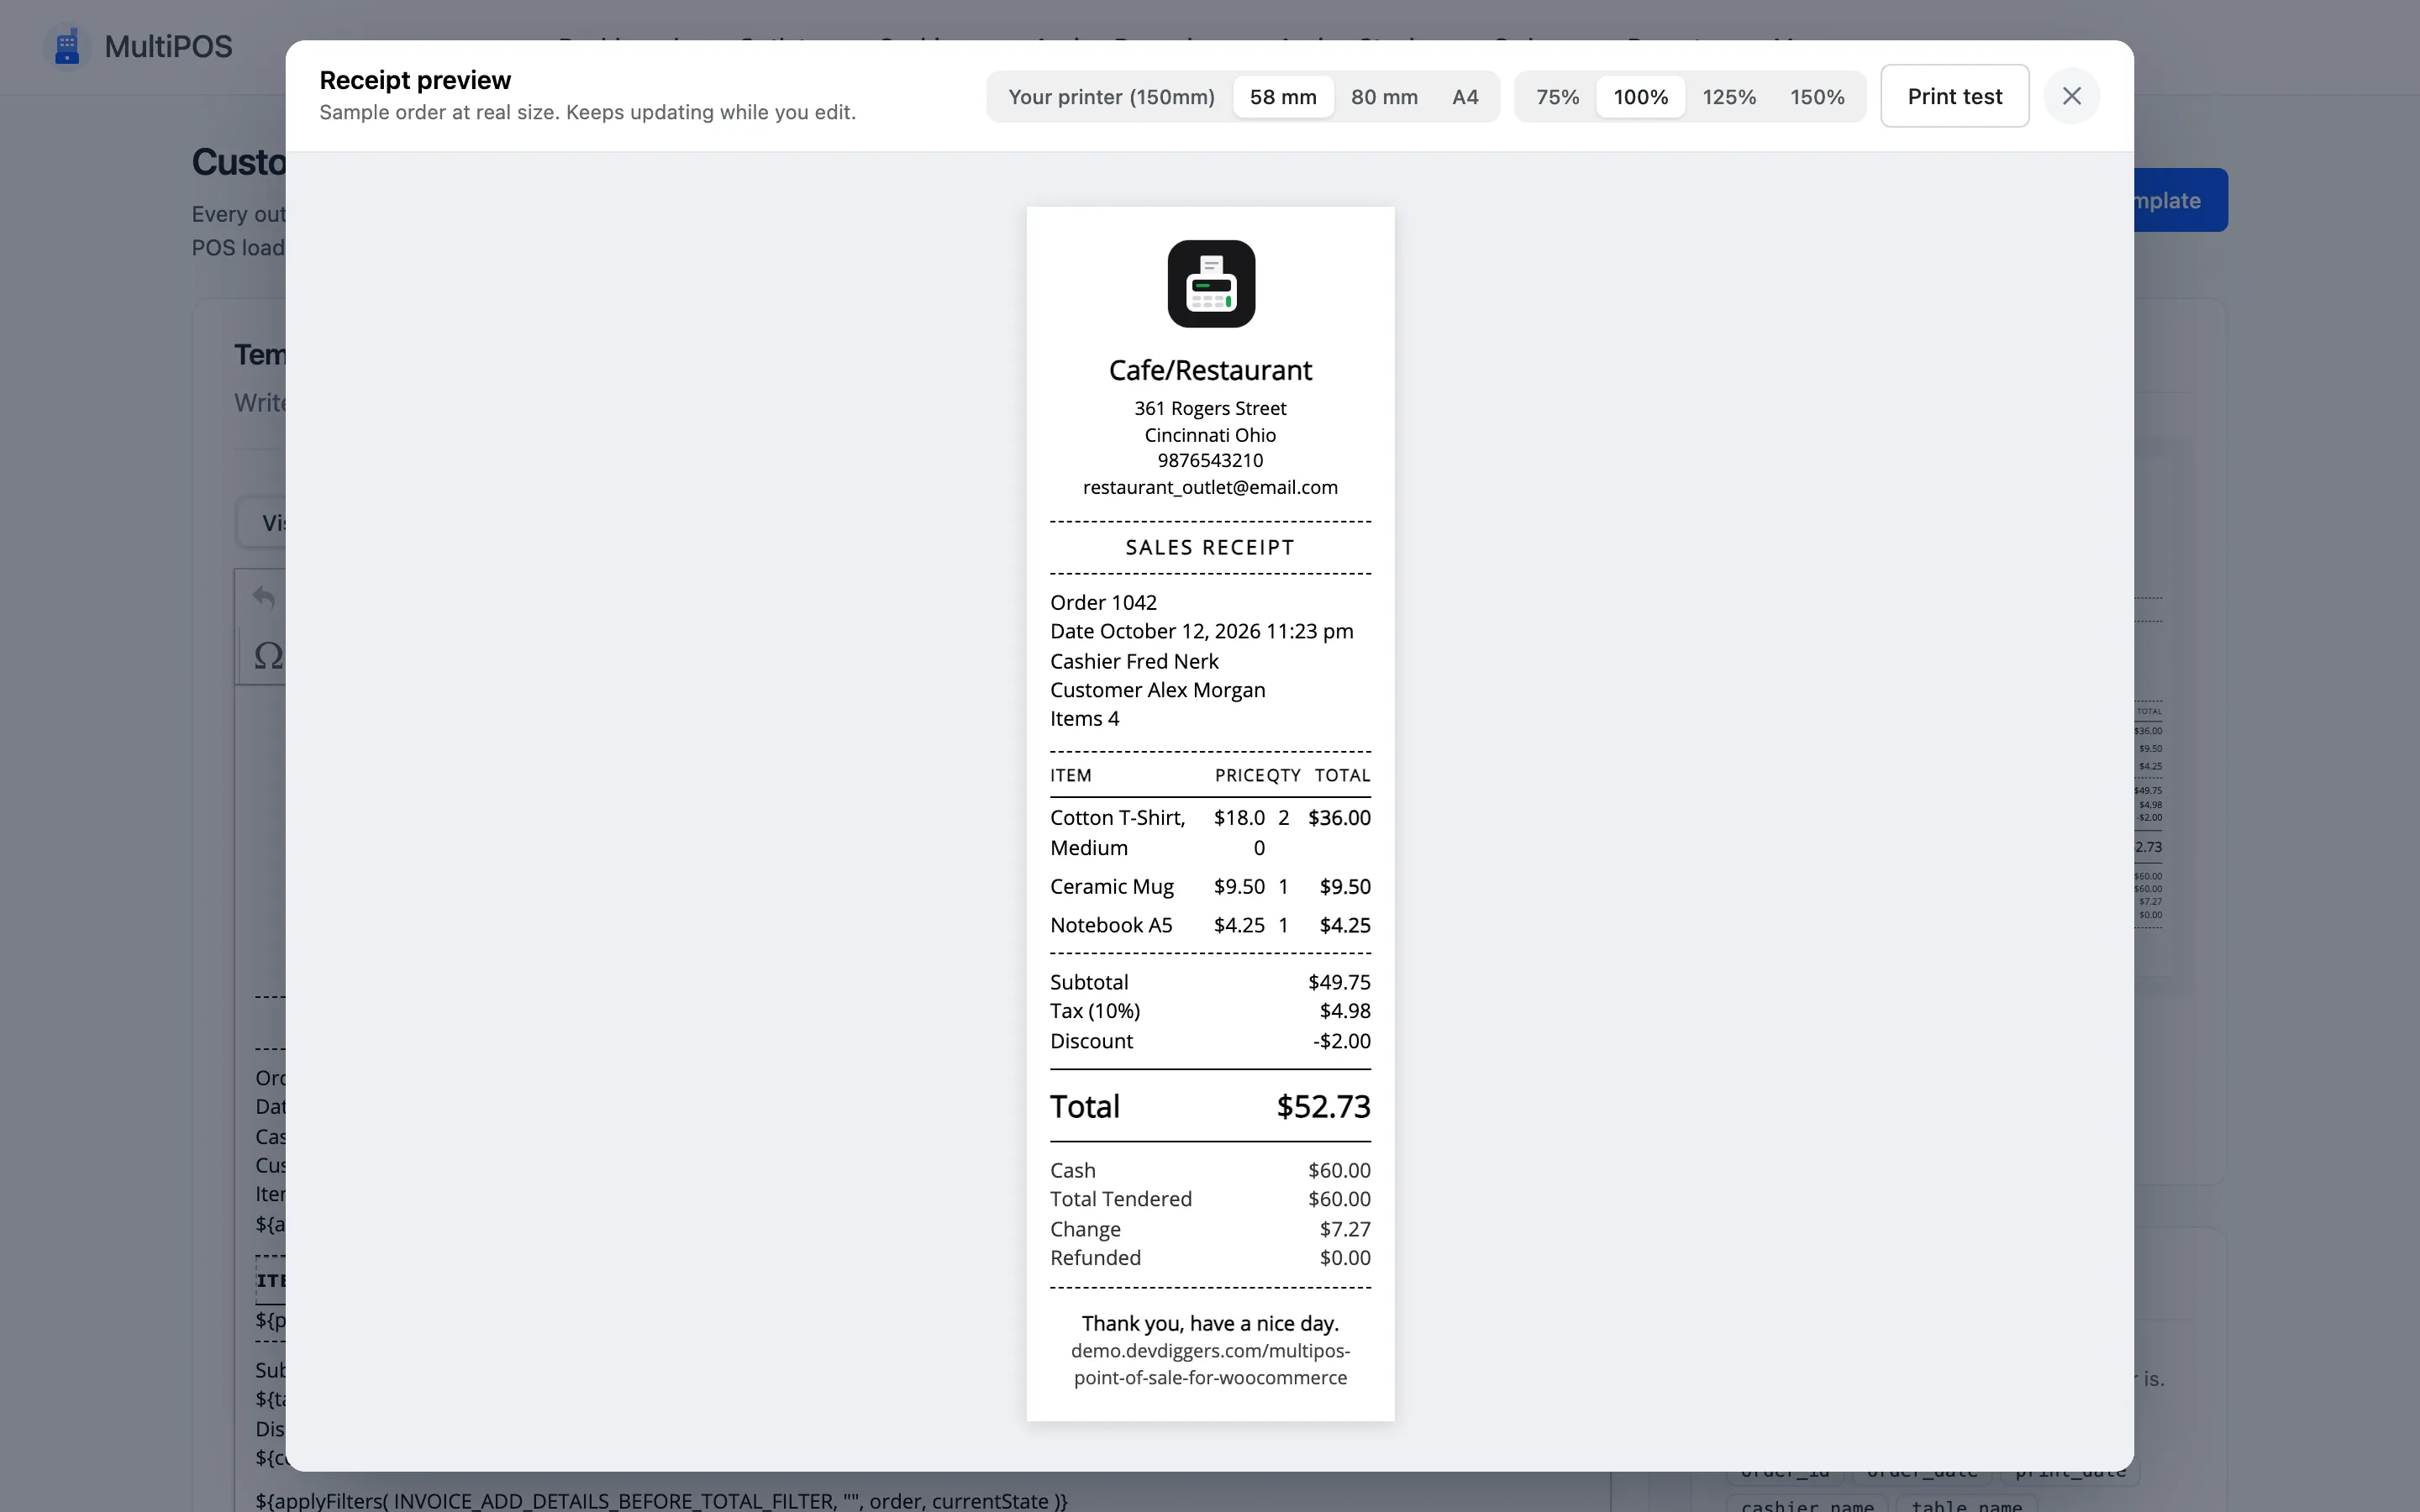
Print test sends the sample to your printer, so you can check the real paper before a customer does.
Printing a receipt
Section titled “Printing a receipt”The receipt prints from the terminal, not from here. A Print Receipt prompt appears the moment a sale finishes, with the order number and its status.
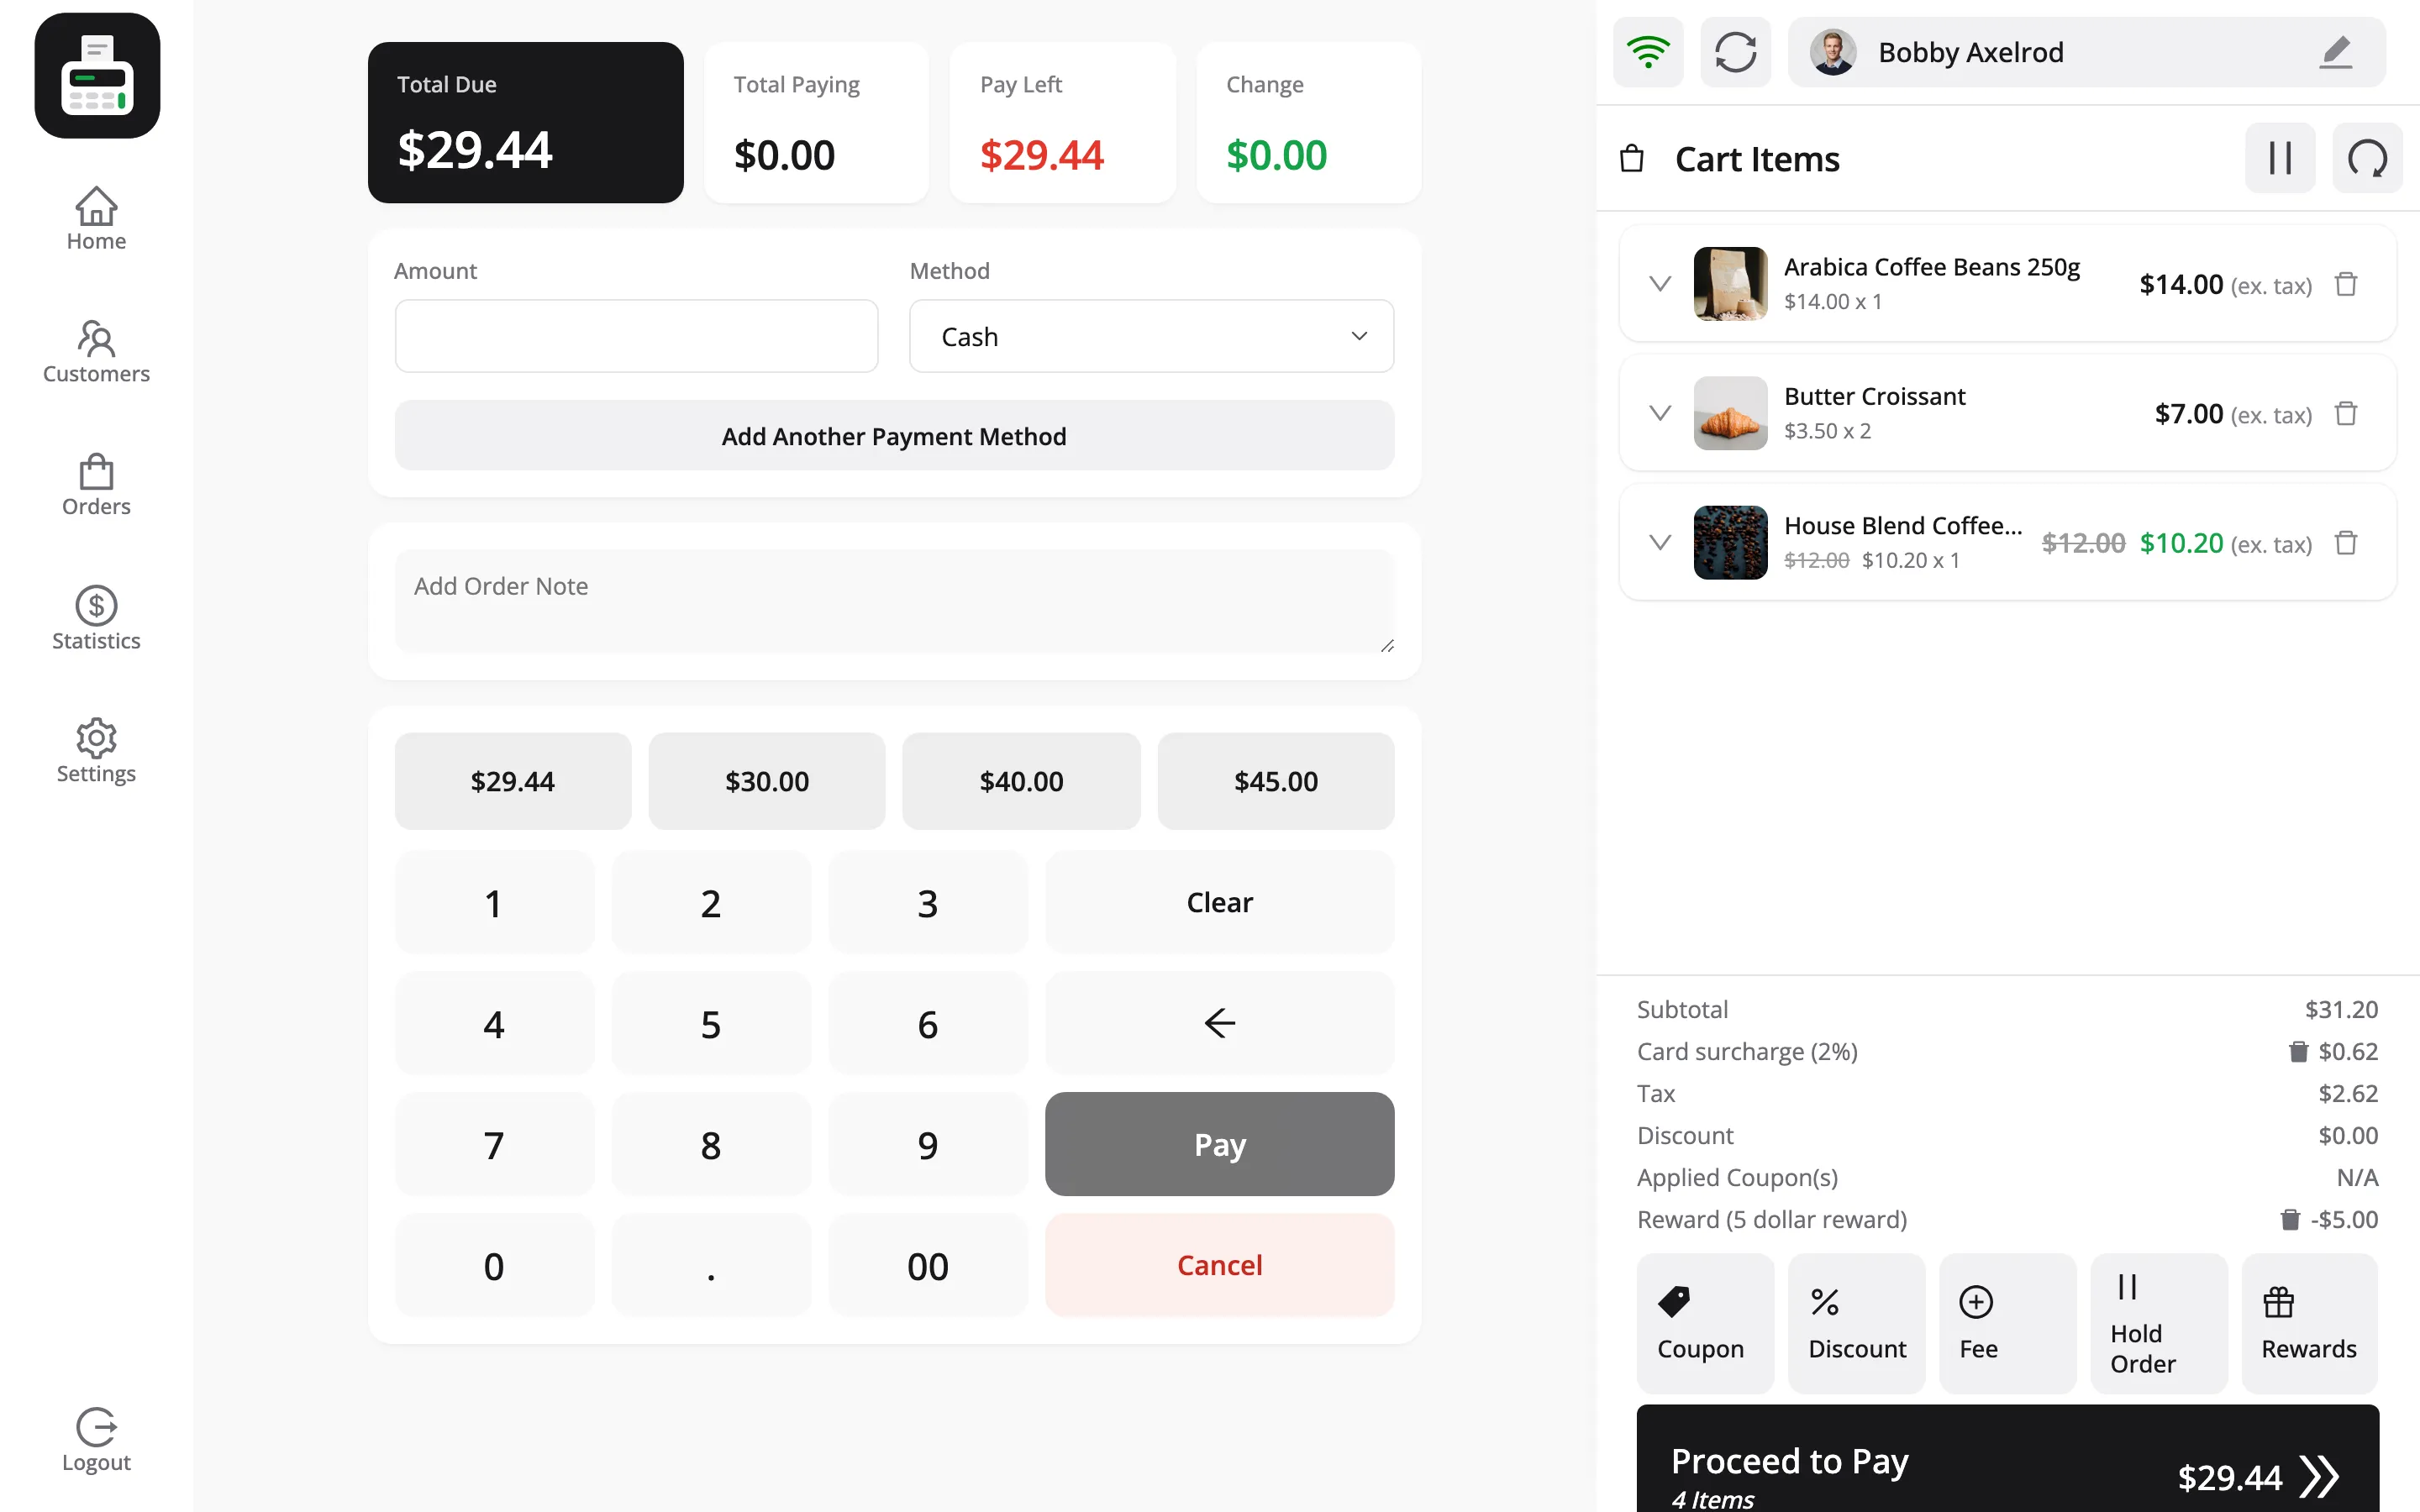
Closing that prompt without printing does not undo the sale. The order already exists, and a reprint is available from the order in the POS Orders screen.
Where to go next
Section titled “Where to go next”- How to Print a Receipt
- Printer Settings for receipt sizing.
- Outlets for the address that prints on it.