

How to Set Up Your Outlet
The POS will not open until an outlet exists. An outlet is not just a label. It decides the tax on every sale, the address on every receipt and the payment methods a cashier can take.
Do this before you add cashiers or assign barcodes.
Step 1: Define your payment methods first
Section titled “Step 1: Define your payment methods first”The outlet form asks you to pick payment methods, so they have to exist before you get there.
Go to DevDiggers Plugins → MultiPOS → Configuration → Payments.
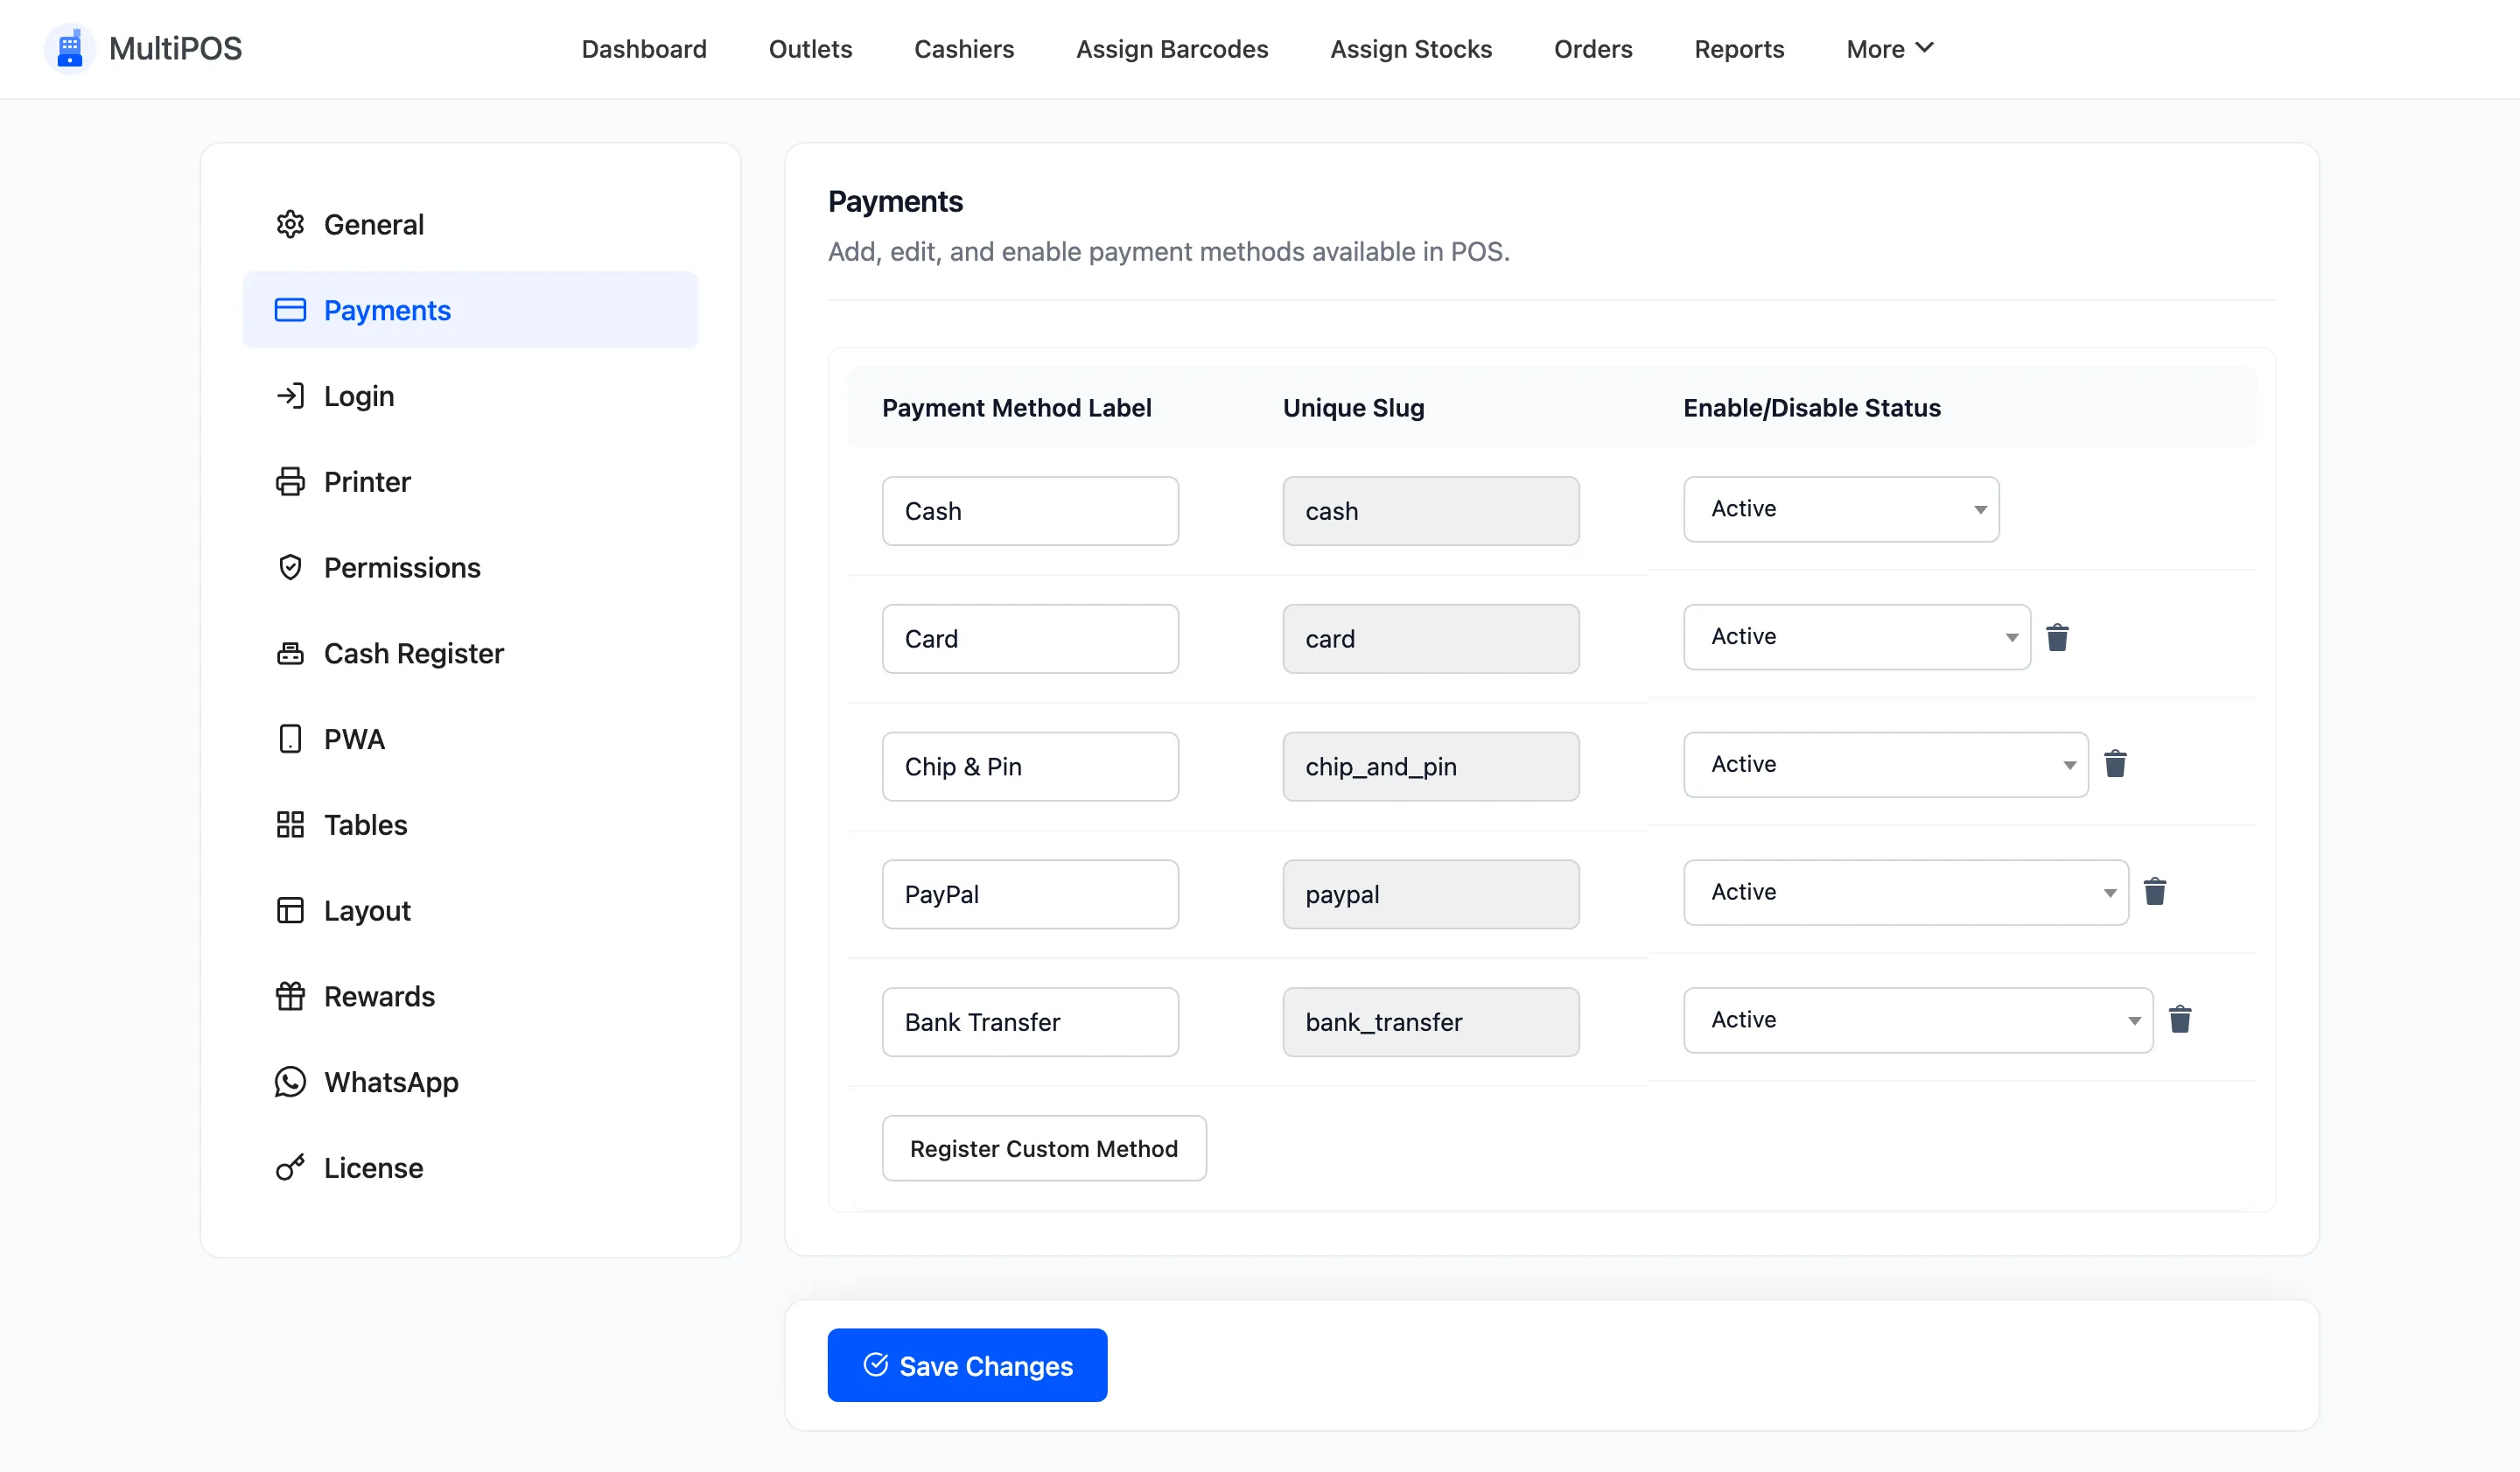
One method ships by default, Cash, and it cannot be deleted. Add the rest with the button under the table.
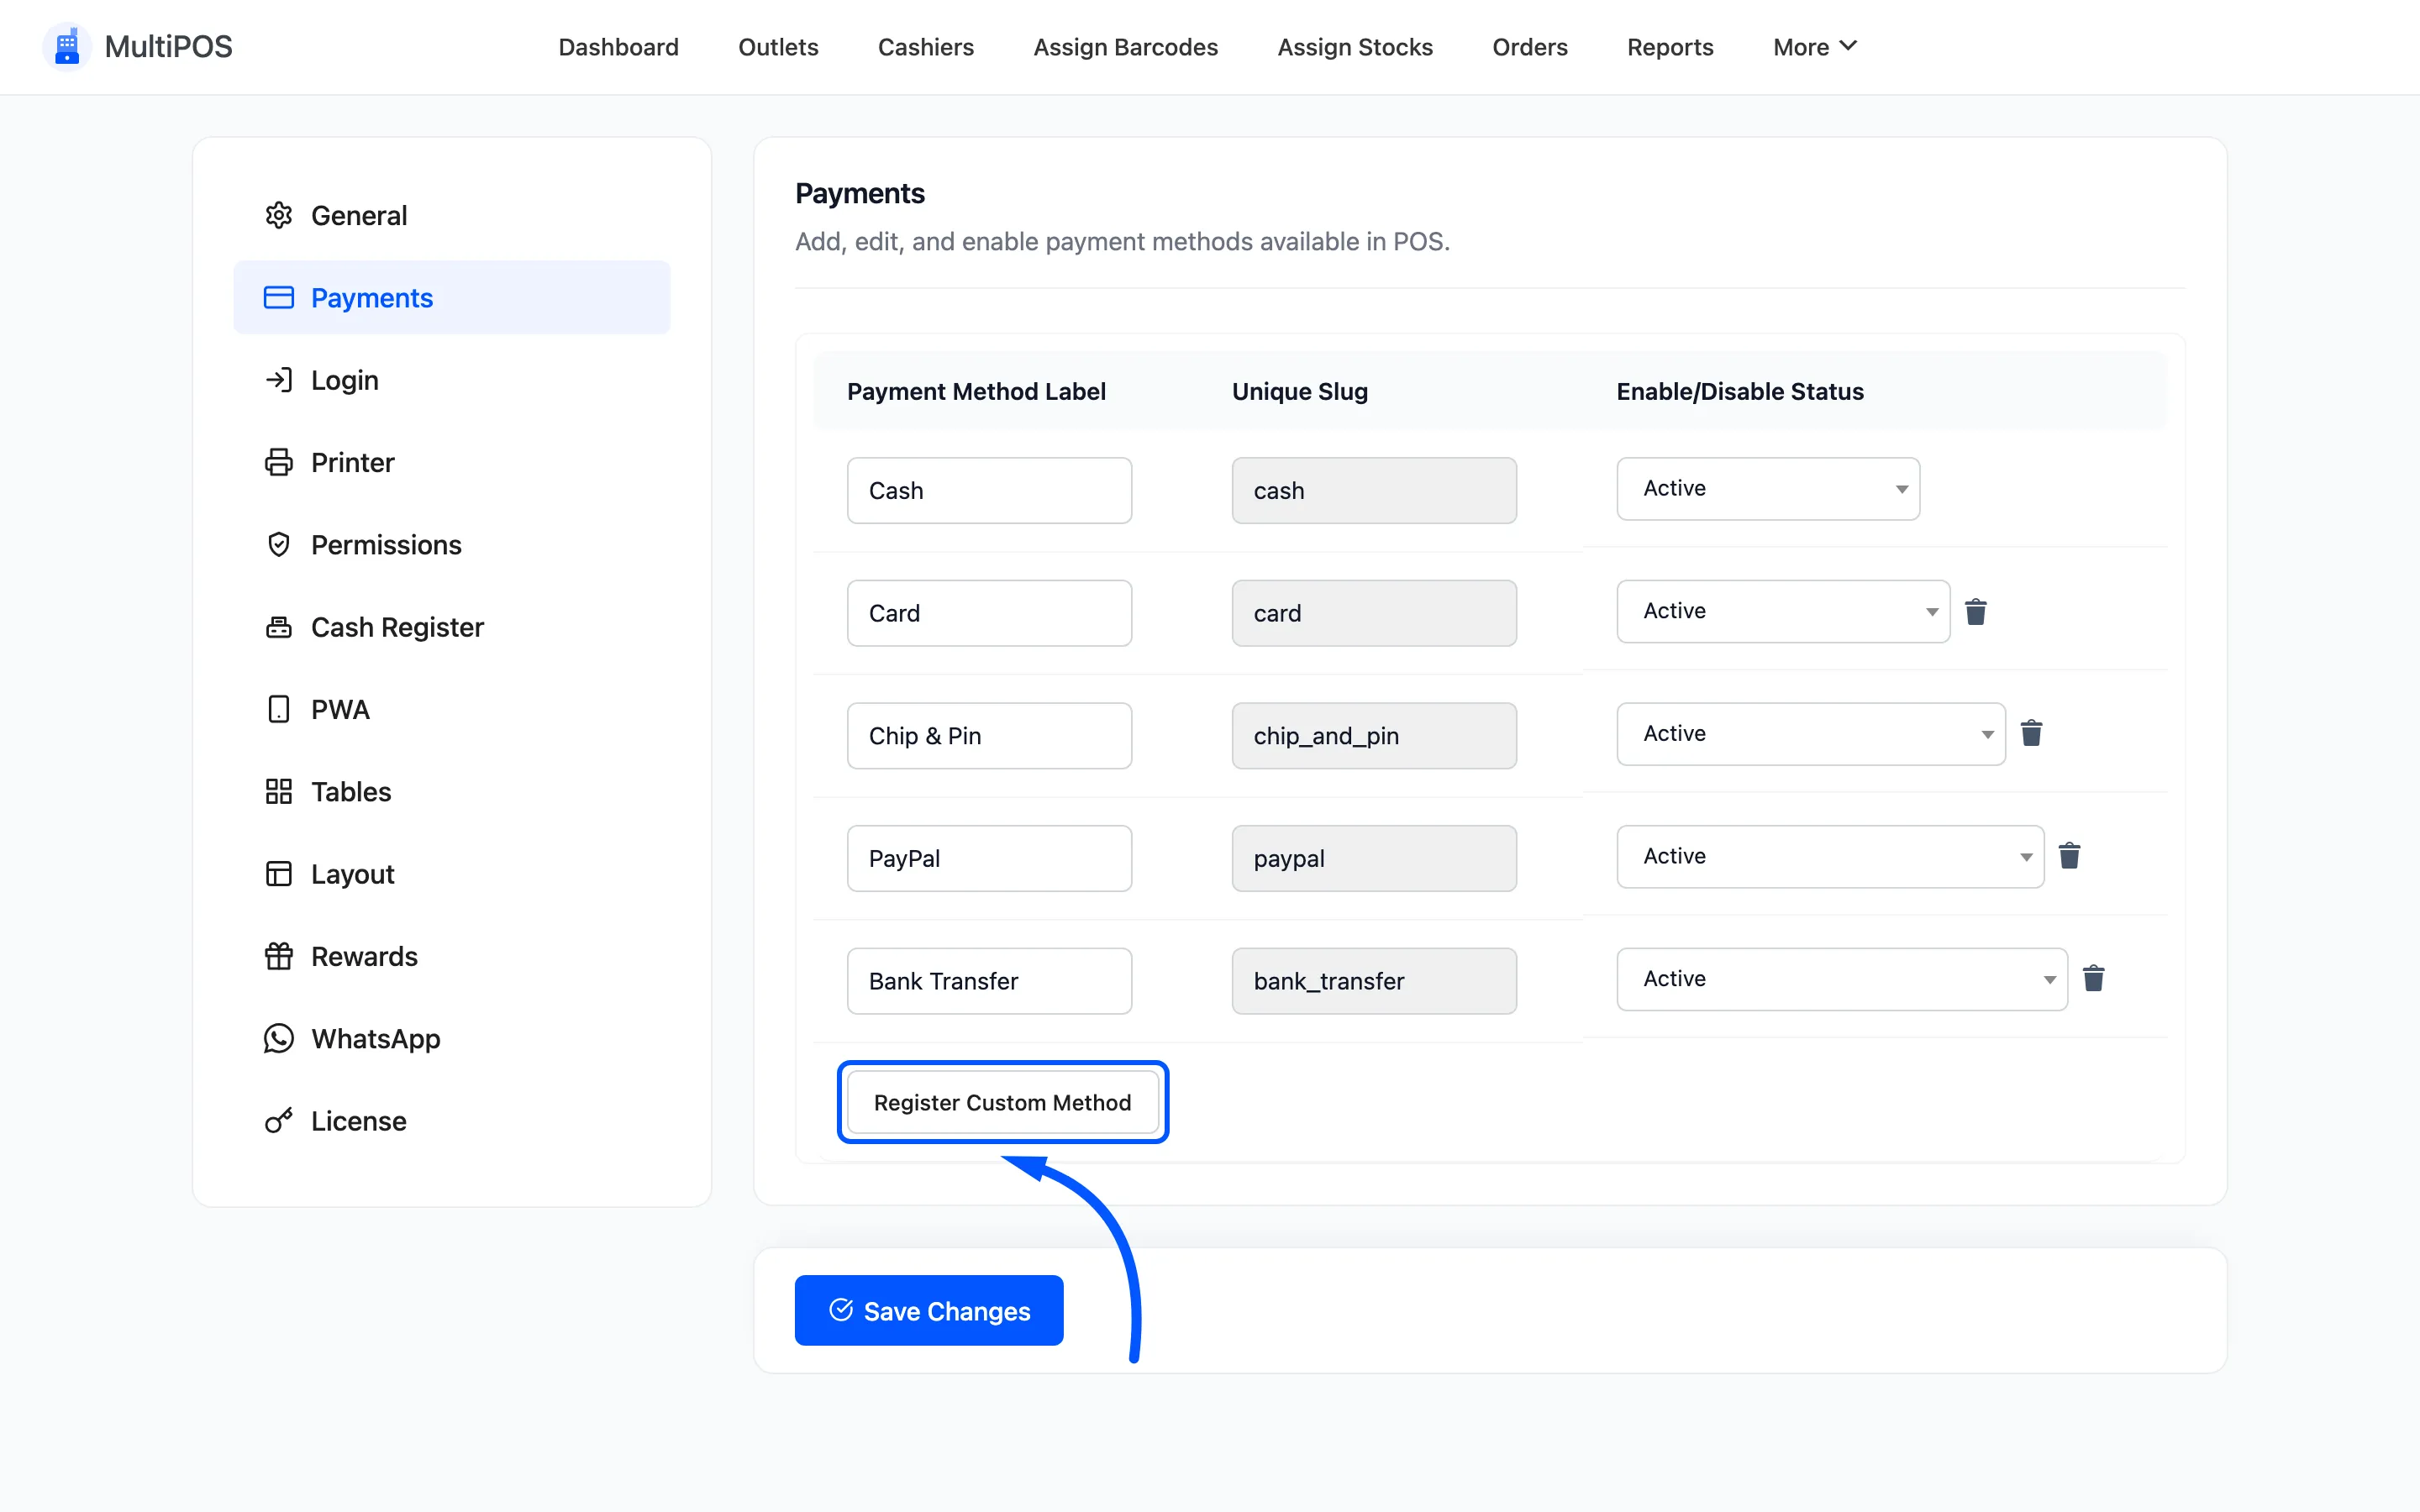
Add what you actually take at the counter: Card, Chip & Pin, Bank Transfer, Gift Card. Set each to Active and click Save Changes.
Leave the Cash method’s slug as cash. The transactions list only records change for that exact
slug, so renaming it breaks your drawer check.
Step 2: Open the outlet form
Section titled “Step 2: Open the outlet form”Go to DevDiggers Plugins → MultiPOS → Outlet.
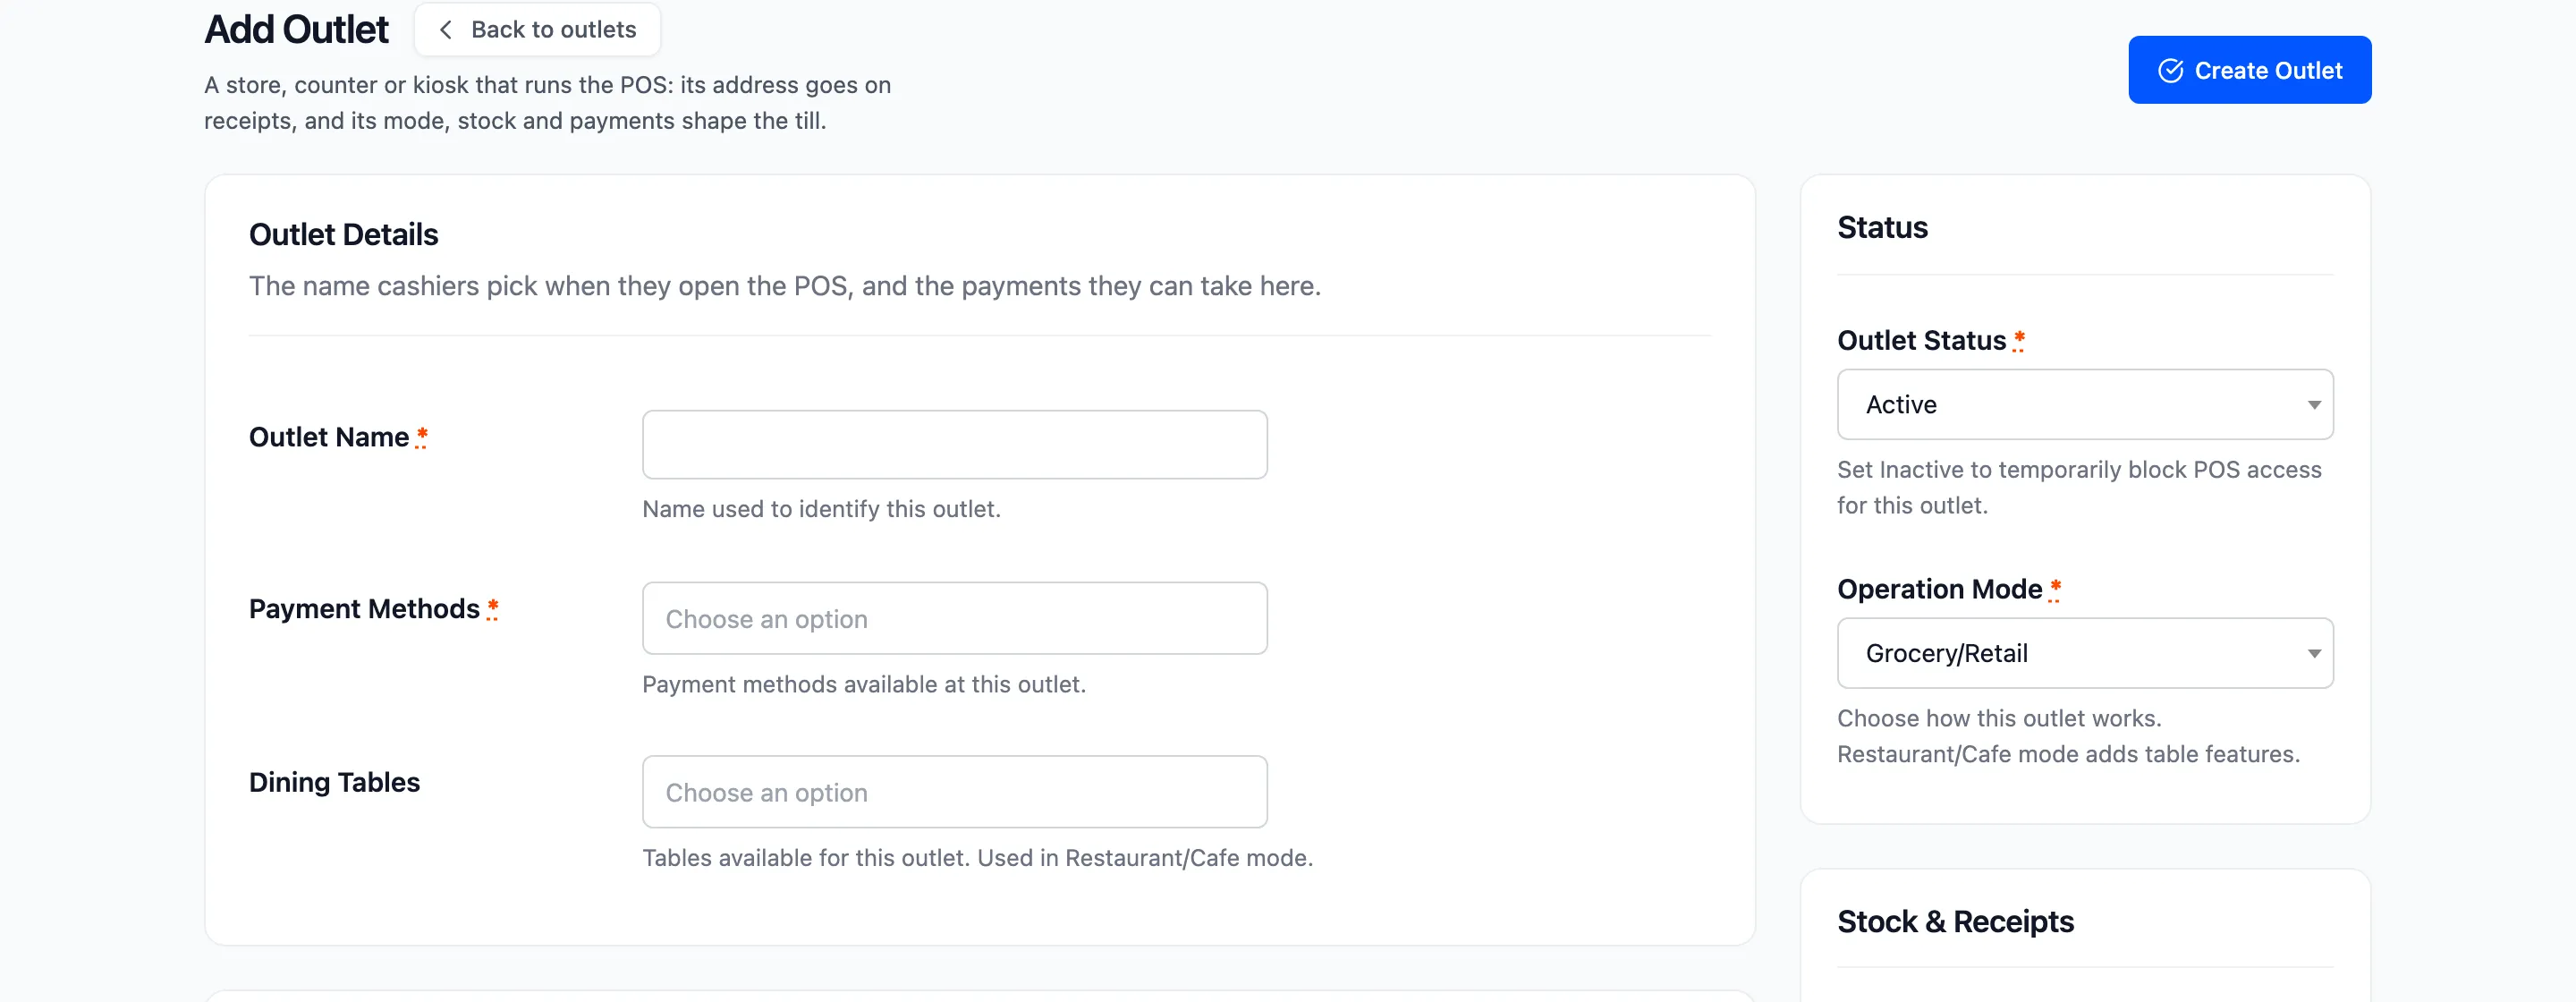
In the free version this opens the form for your one outlet. In Pro it opens a list, and you click Add New.
Step 3: Name the outlet and pick its mode
Section titled “Step 3: Name the outlet and pick its mode”Outlet Name is a label you will recognise, such as Downtown Branch or Market Stall. It
appears on the outlet picker your cashiers see.
Operation Mode is the field that changes the terminal.
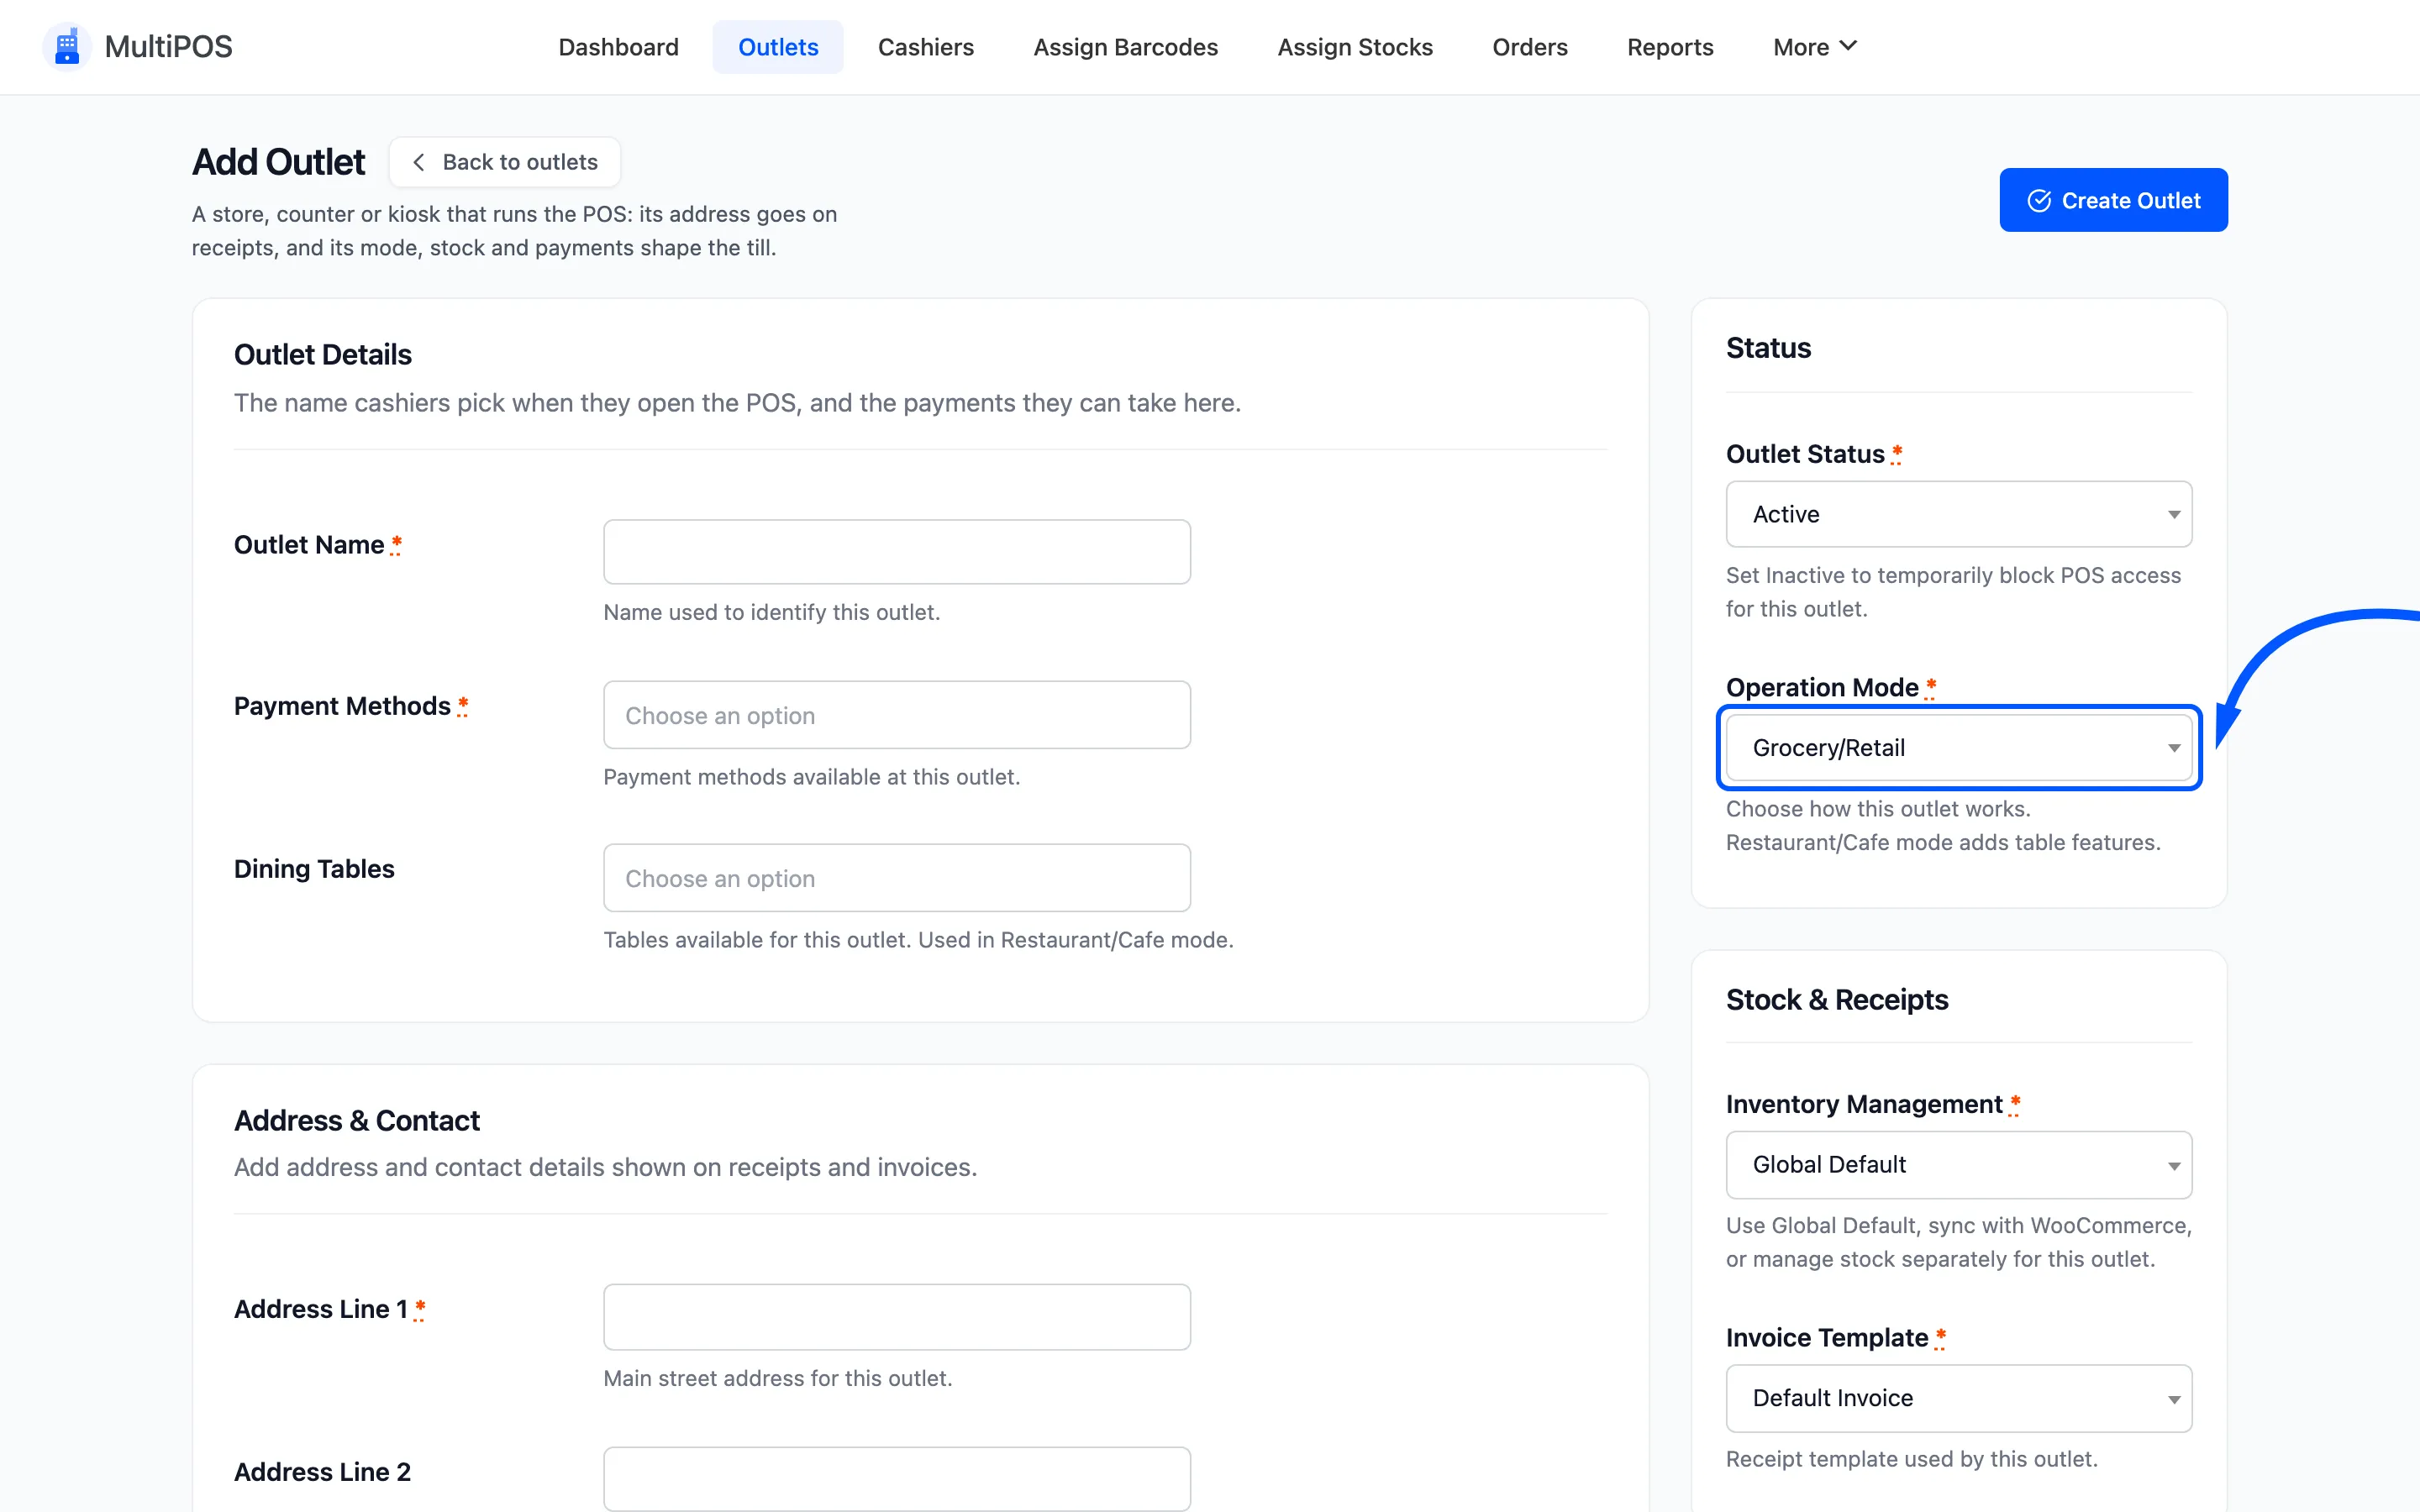
- Retail/Grocery Store gives a straight product-and-cart POS.
- Restaurant/Cafe adds three things: the Tables screen in the sidebar, a Select Table control in the cart, and a Dine in / Take Away choice.
Pick the one that matches how you sell. A shop set to Restaurant mode shows staff a floor plan they will never use.
Step 4: Enter the address and contact details
Section titled “Step 4: Enter the address and contact details”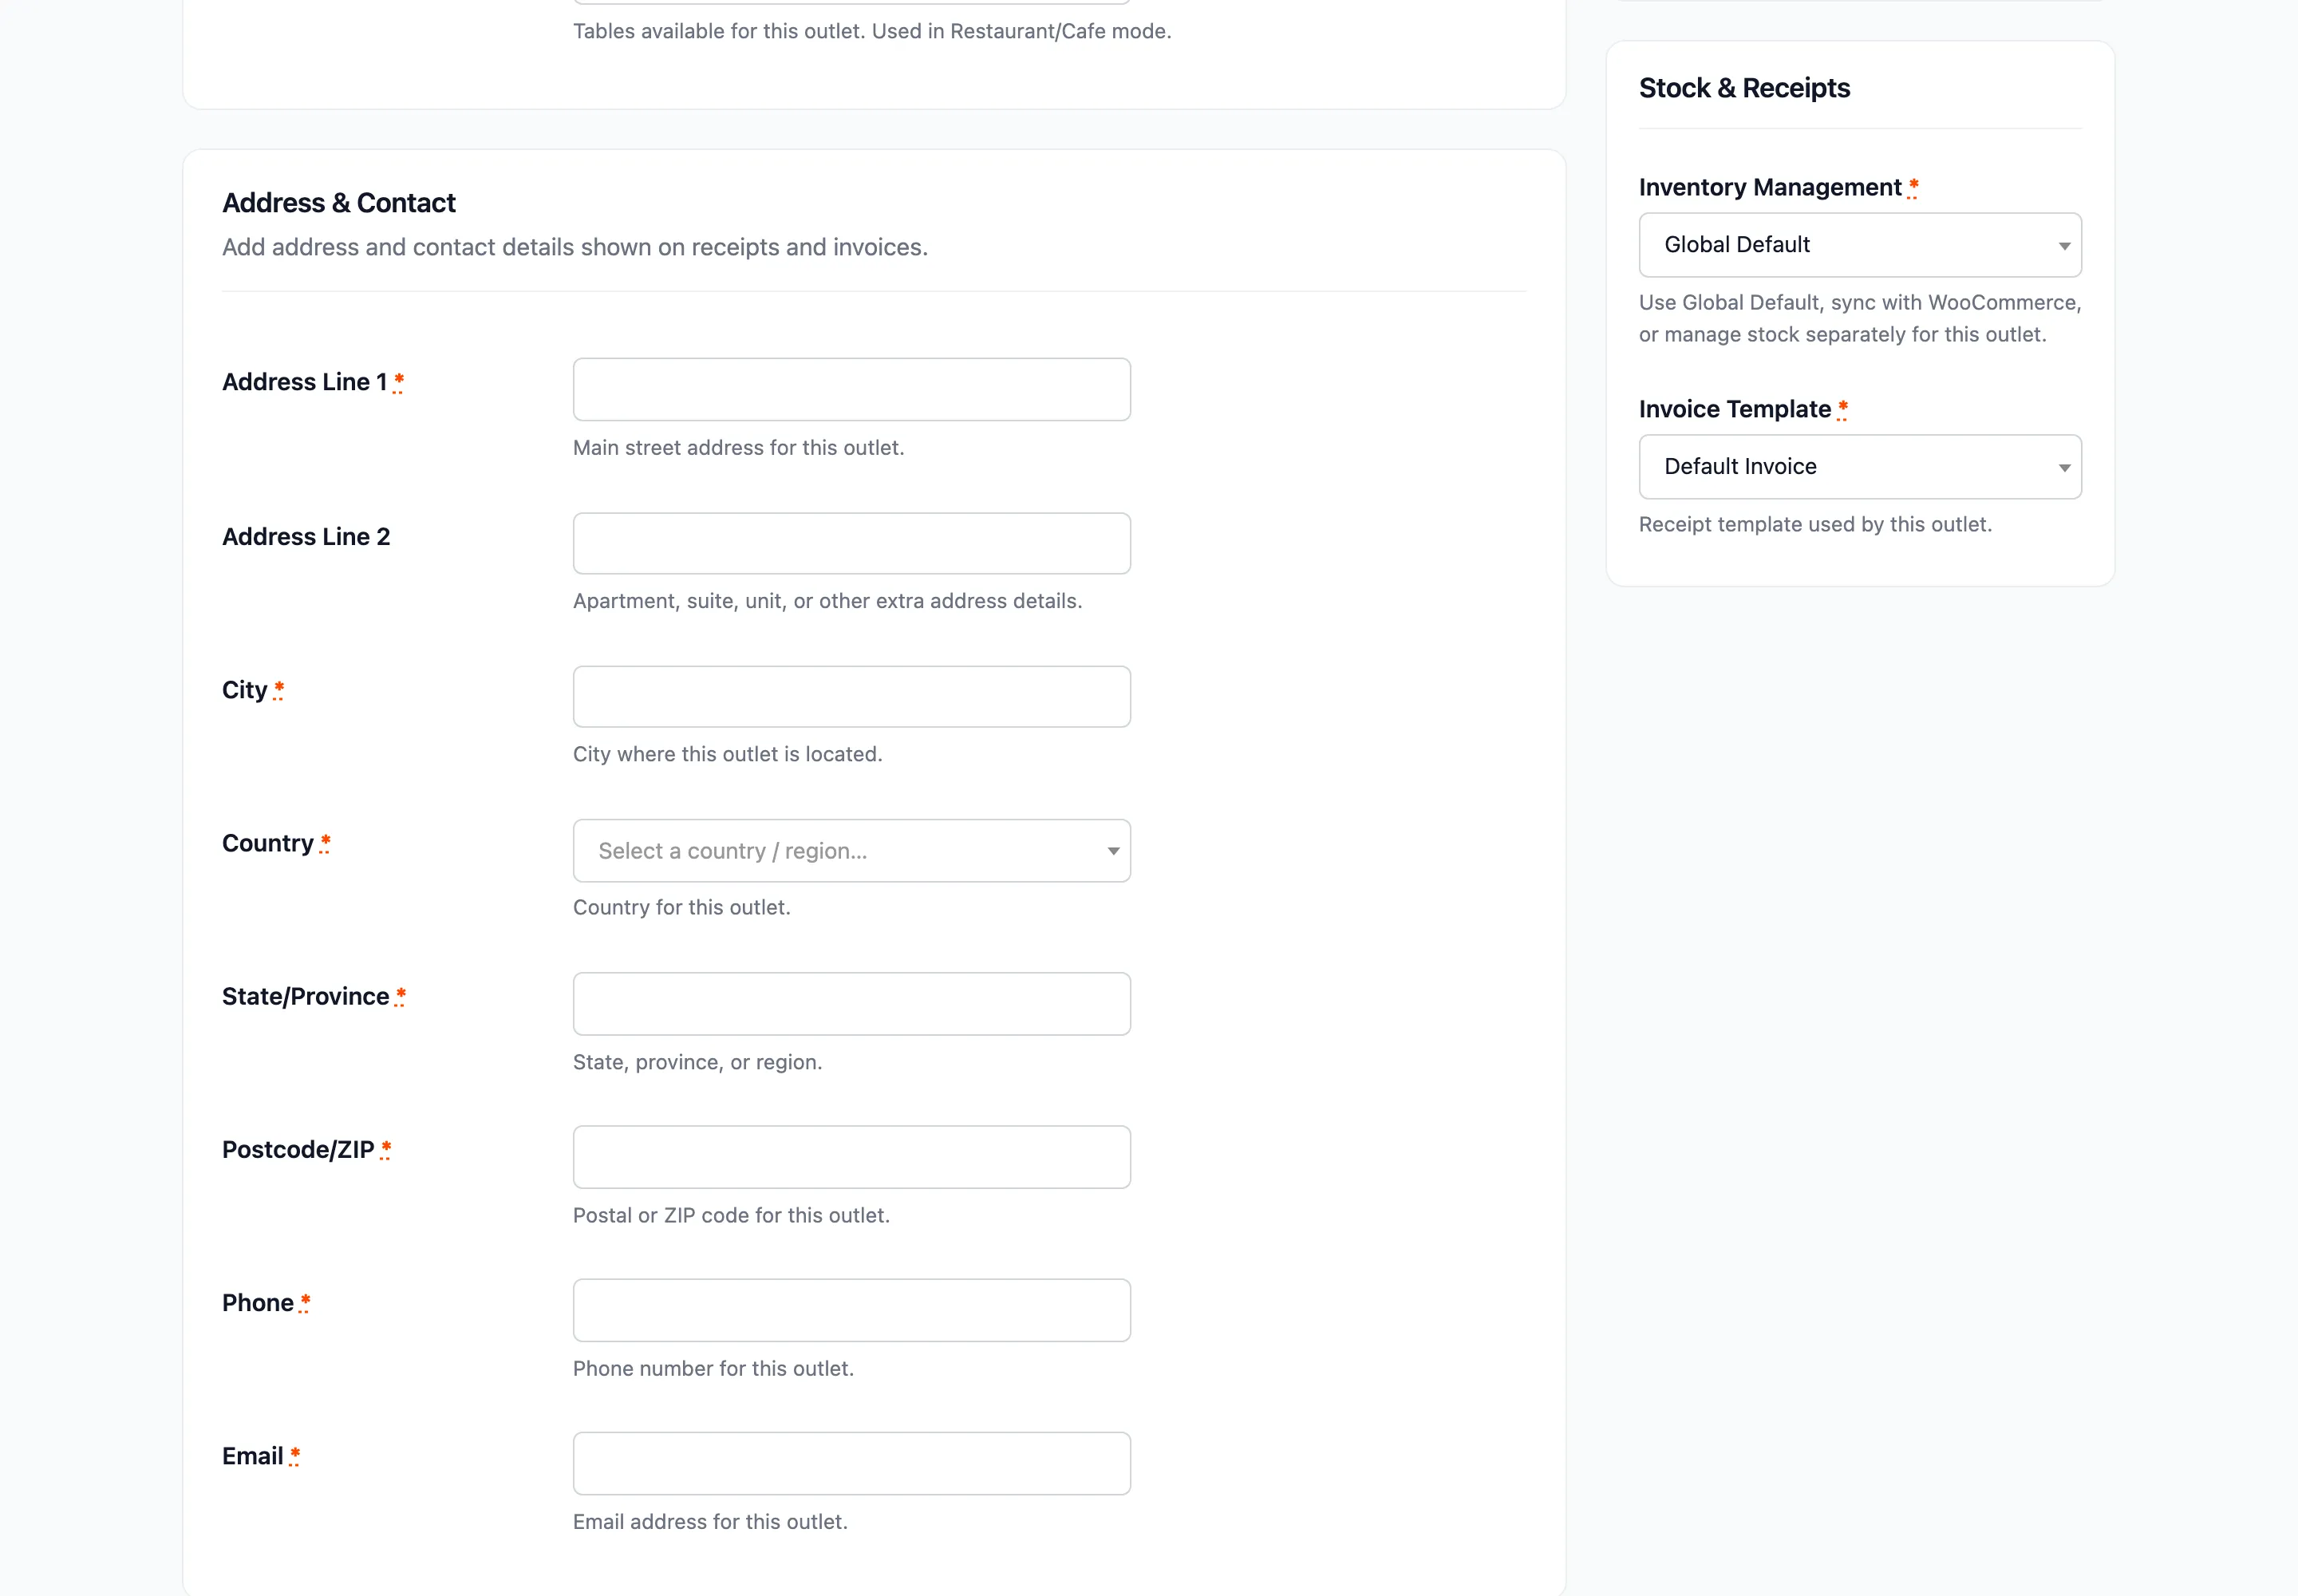
Eight fields, and everything except Address Line 2 is required.
This is the section worth slowing down for. Two things depend on it:
- Tax: MultiPOS matches your WooCommerce tax rates against the outlet’s country, state, city and postcode. A wrong postcode is a wrong tax rate on every sale until someone notices.
- Receipts: The address and phone print on every receipt. It is what a customer reads when they want to bring something back.
Enter the shop’s real trading address, not your registered office.
Step 5: Assign payment methods and set the status
Section titled “Step 5: Assign payment methods and set the status”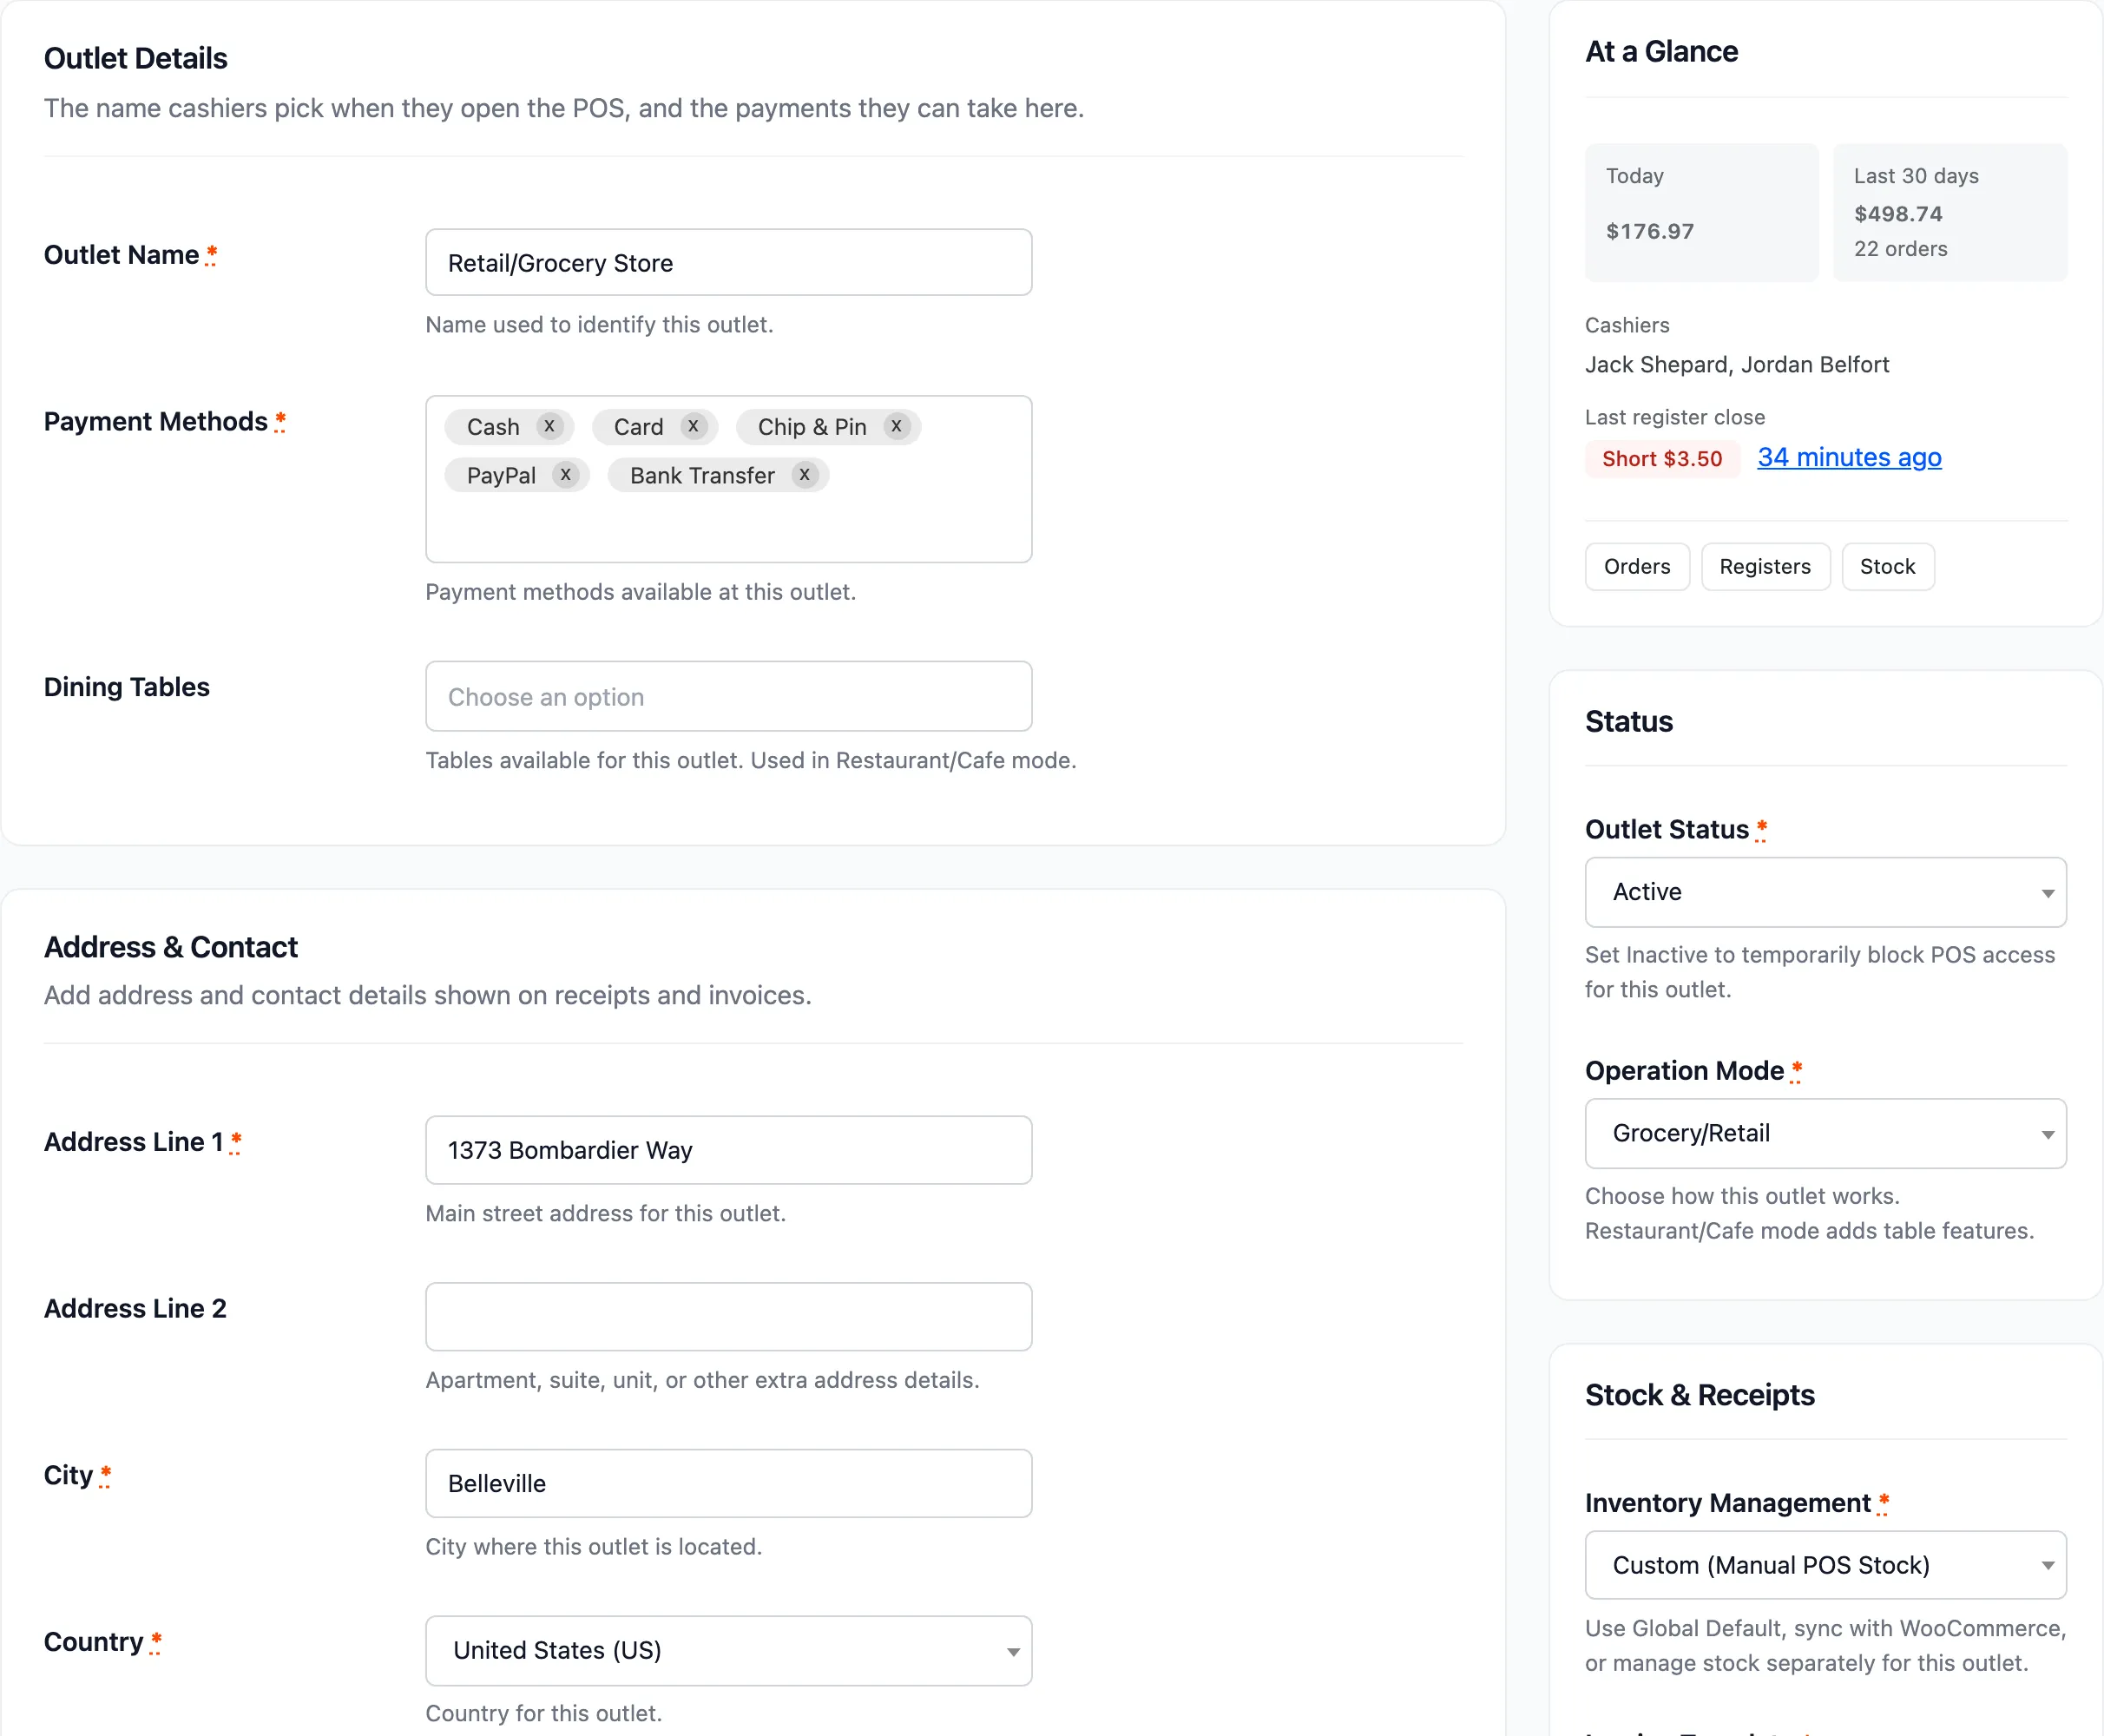
Payment Methods is a multi-select of the Active methods from step 1. At least one is required.
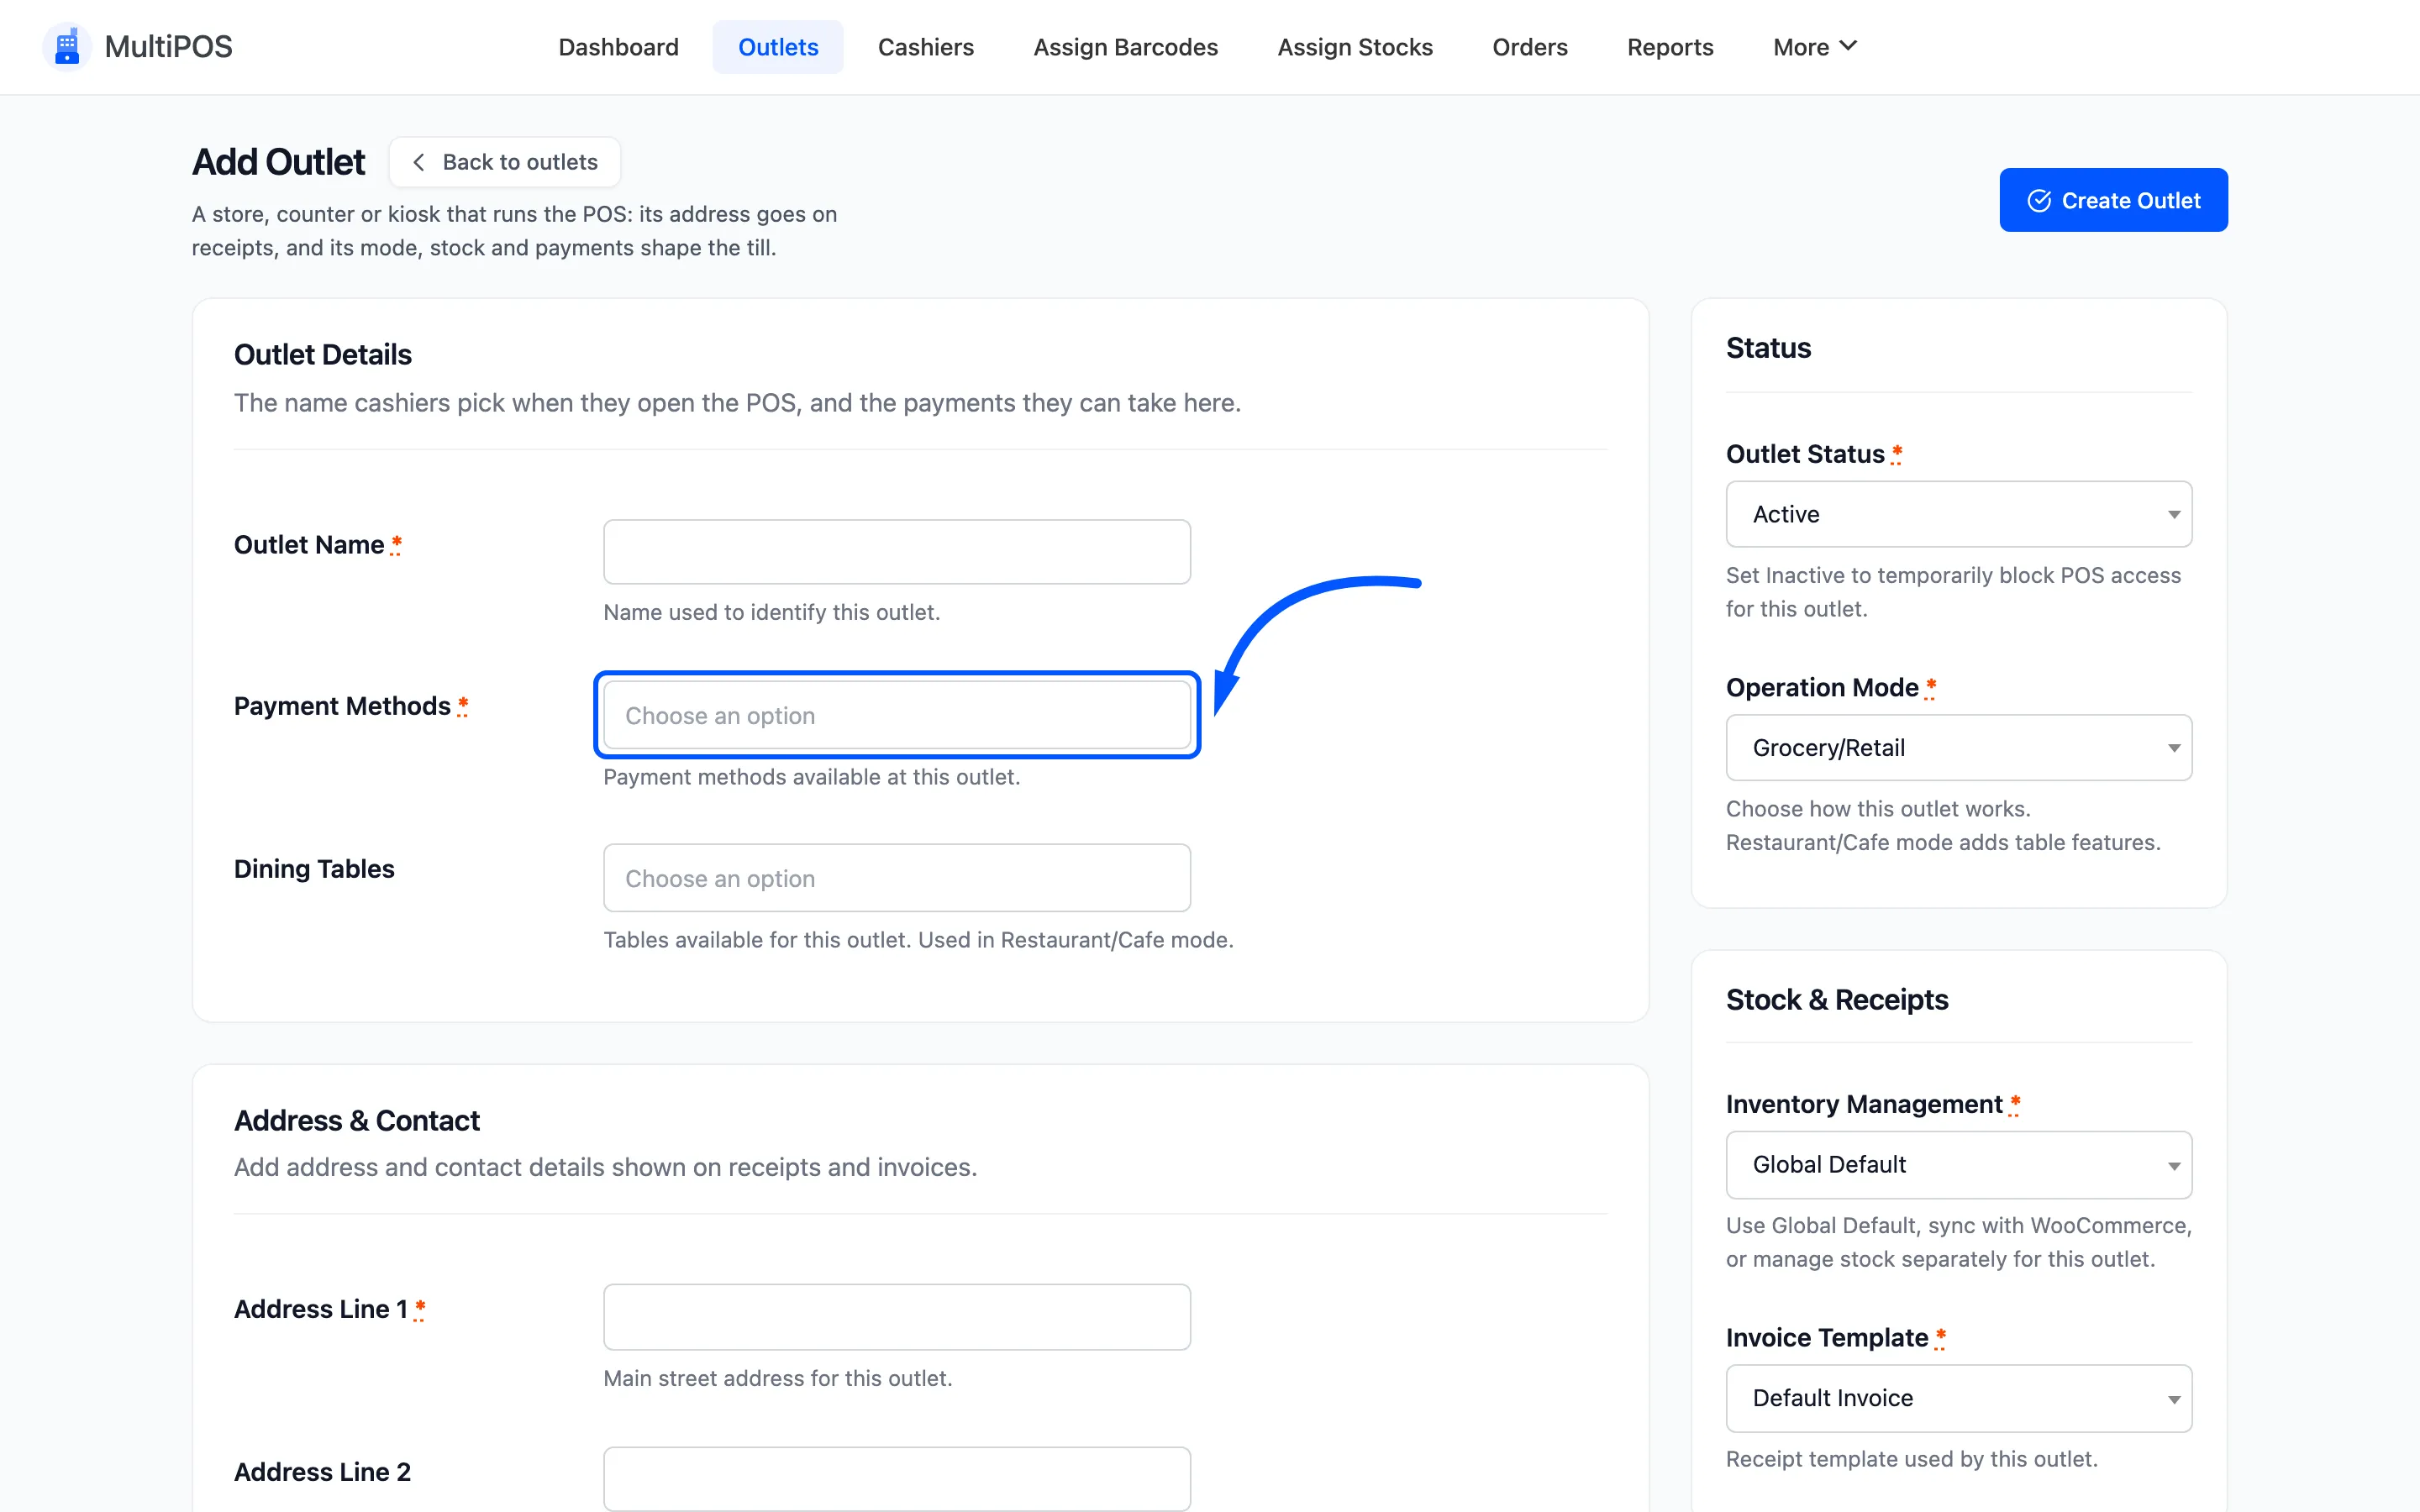
This is the step people miss. A method that is Active under Configuration but not selected here never reaches the POS. The cashier just sees a shorter list with no explanation.
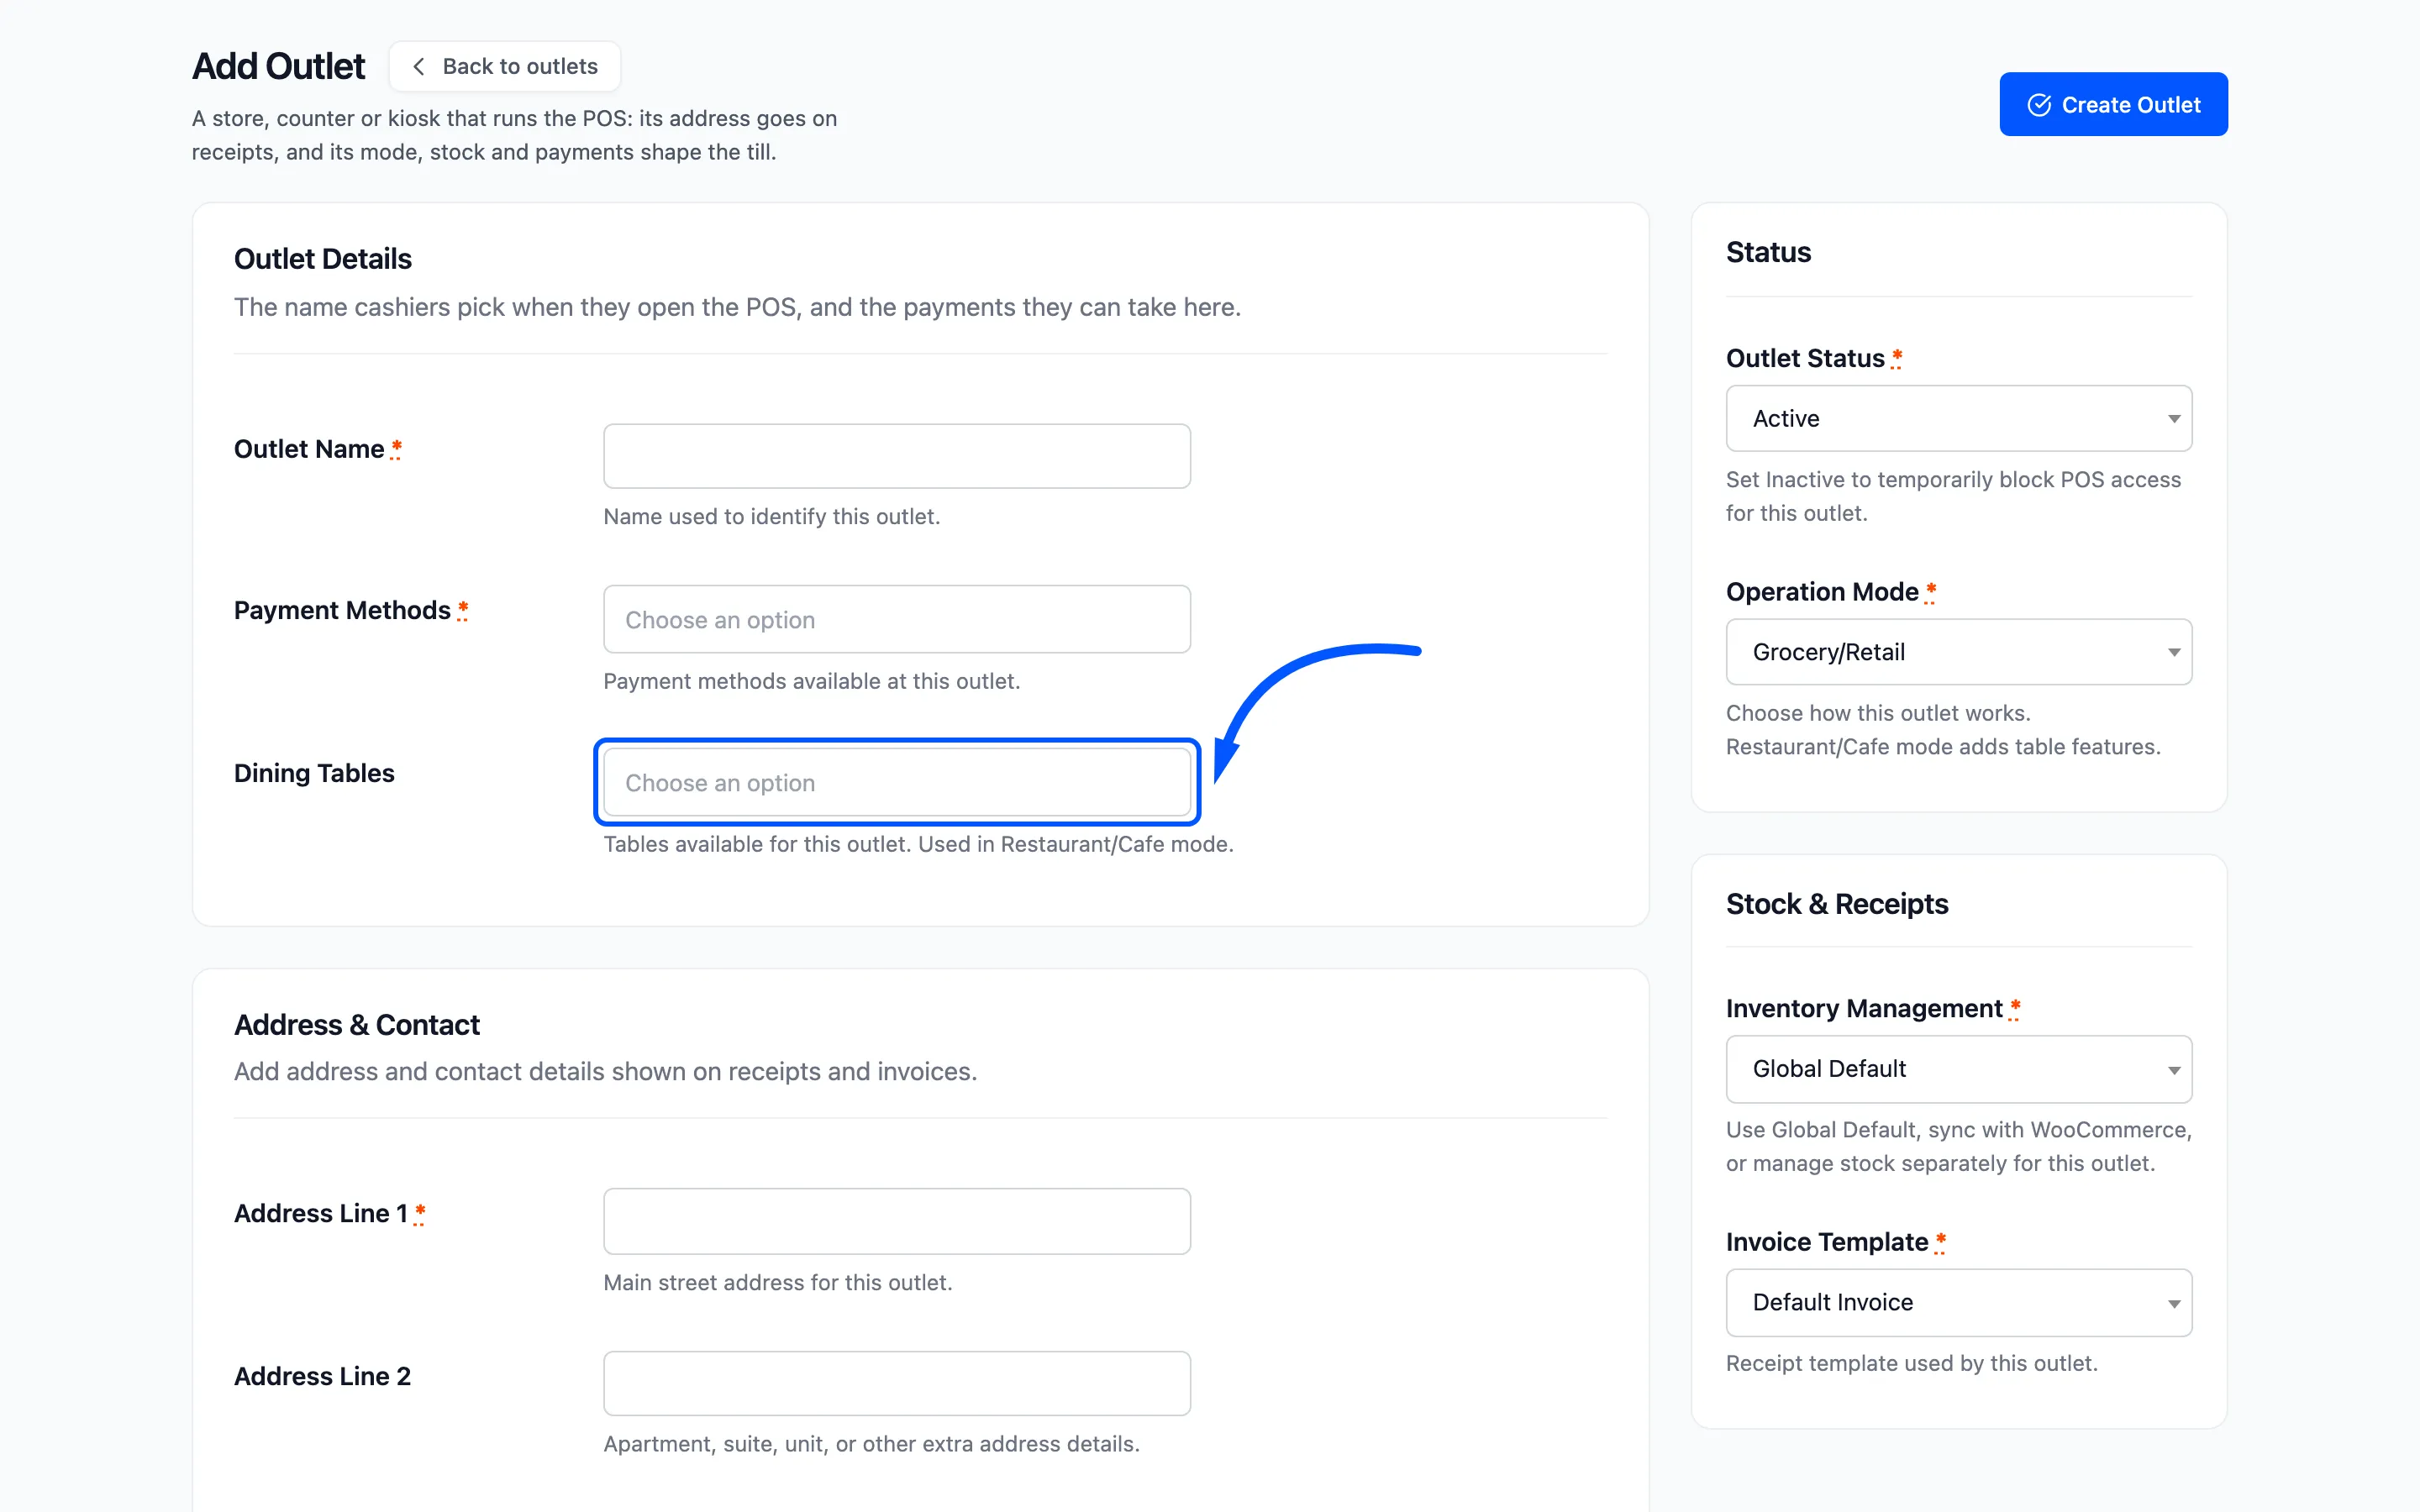
Dining Tables only matters in Restaurant/Cafe mode. Pick the tables this location has.
Outlet Status must be Active for the POS to open it.
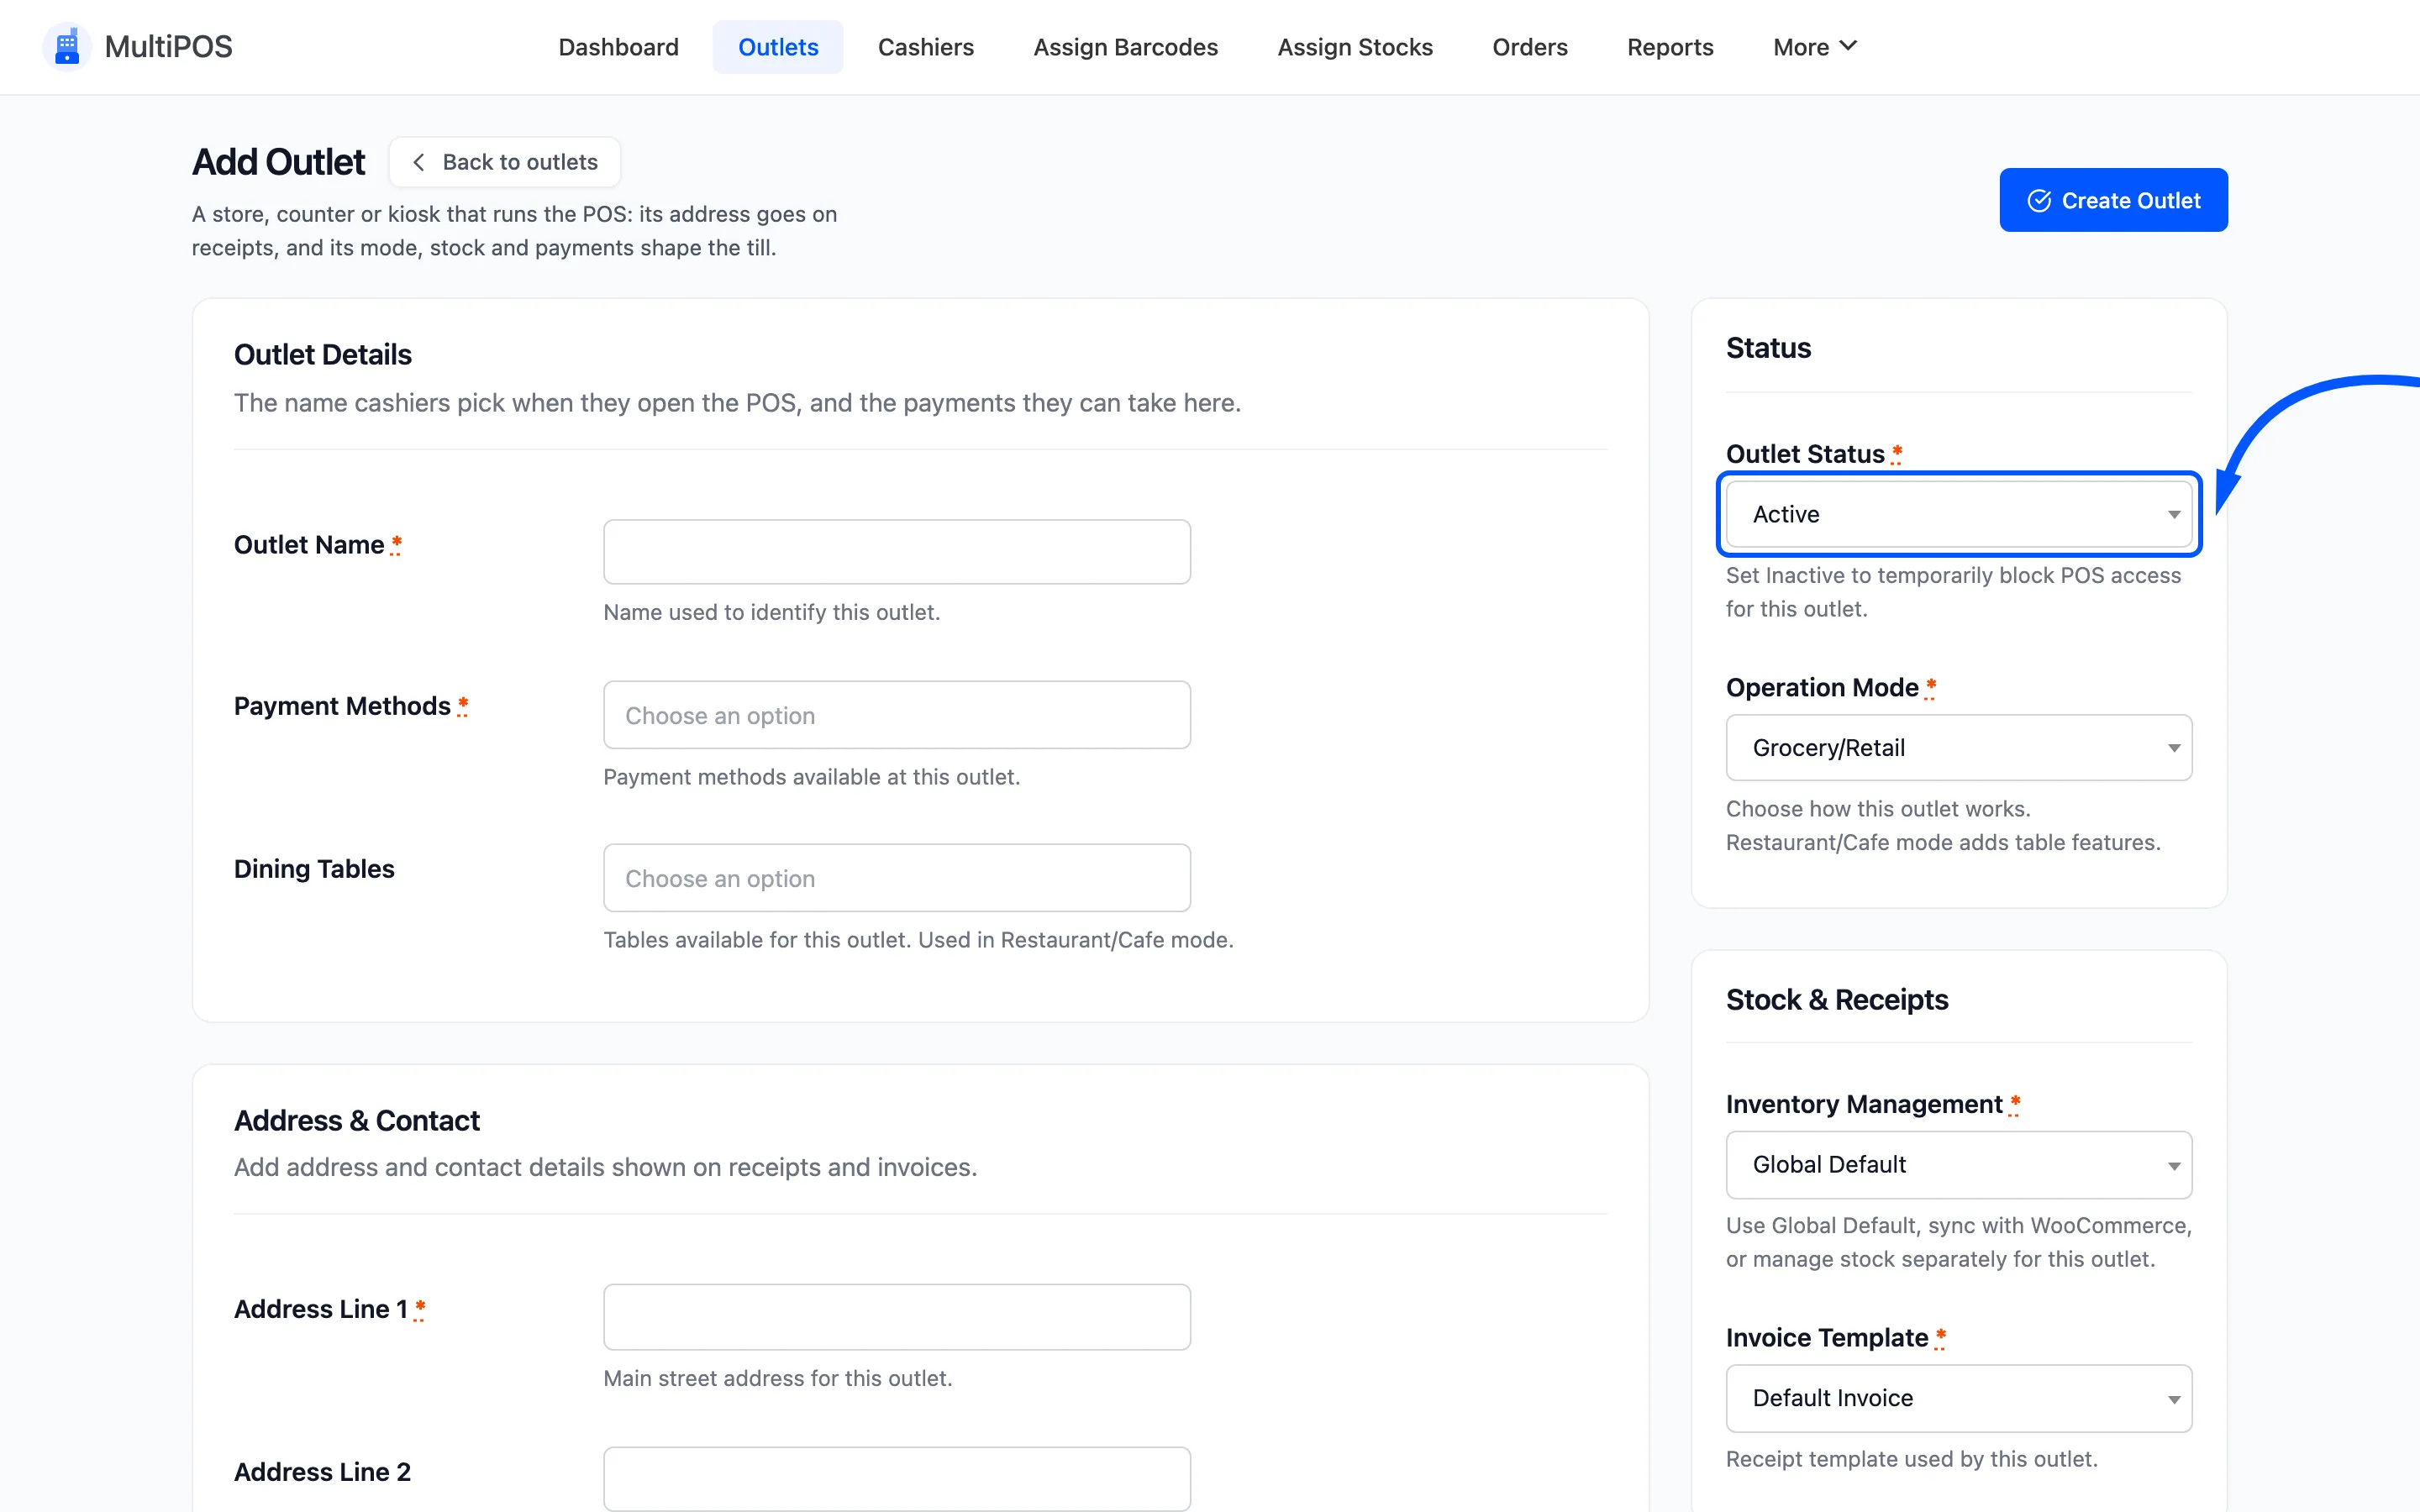
Set it to Inactive later if you close the location for a refit. Nothing is lost and orders stay where they are.
Click Save Outlet.
Step 6: Open the terminal
Section titled “Step 6: Open the terminal”The form header carries a Visit POS button. Click it.
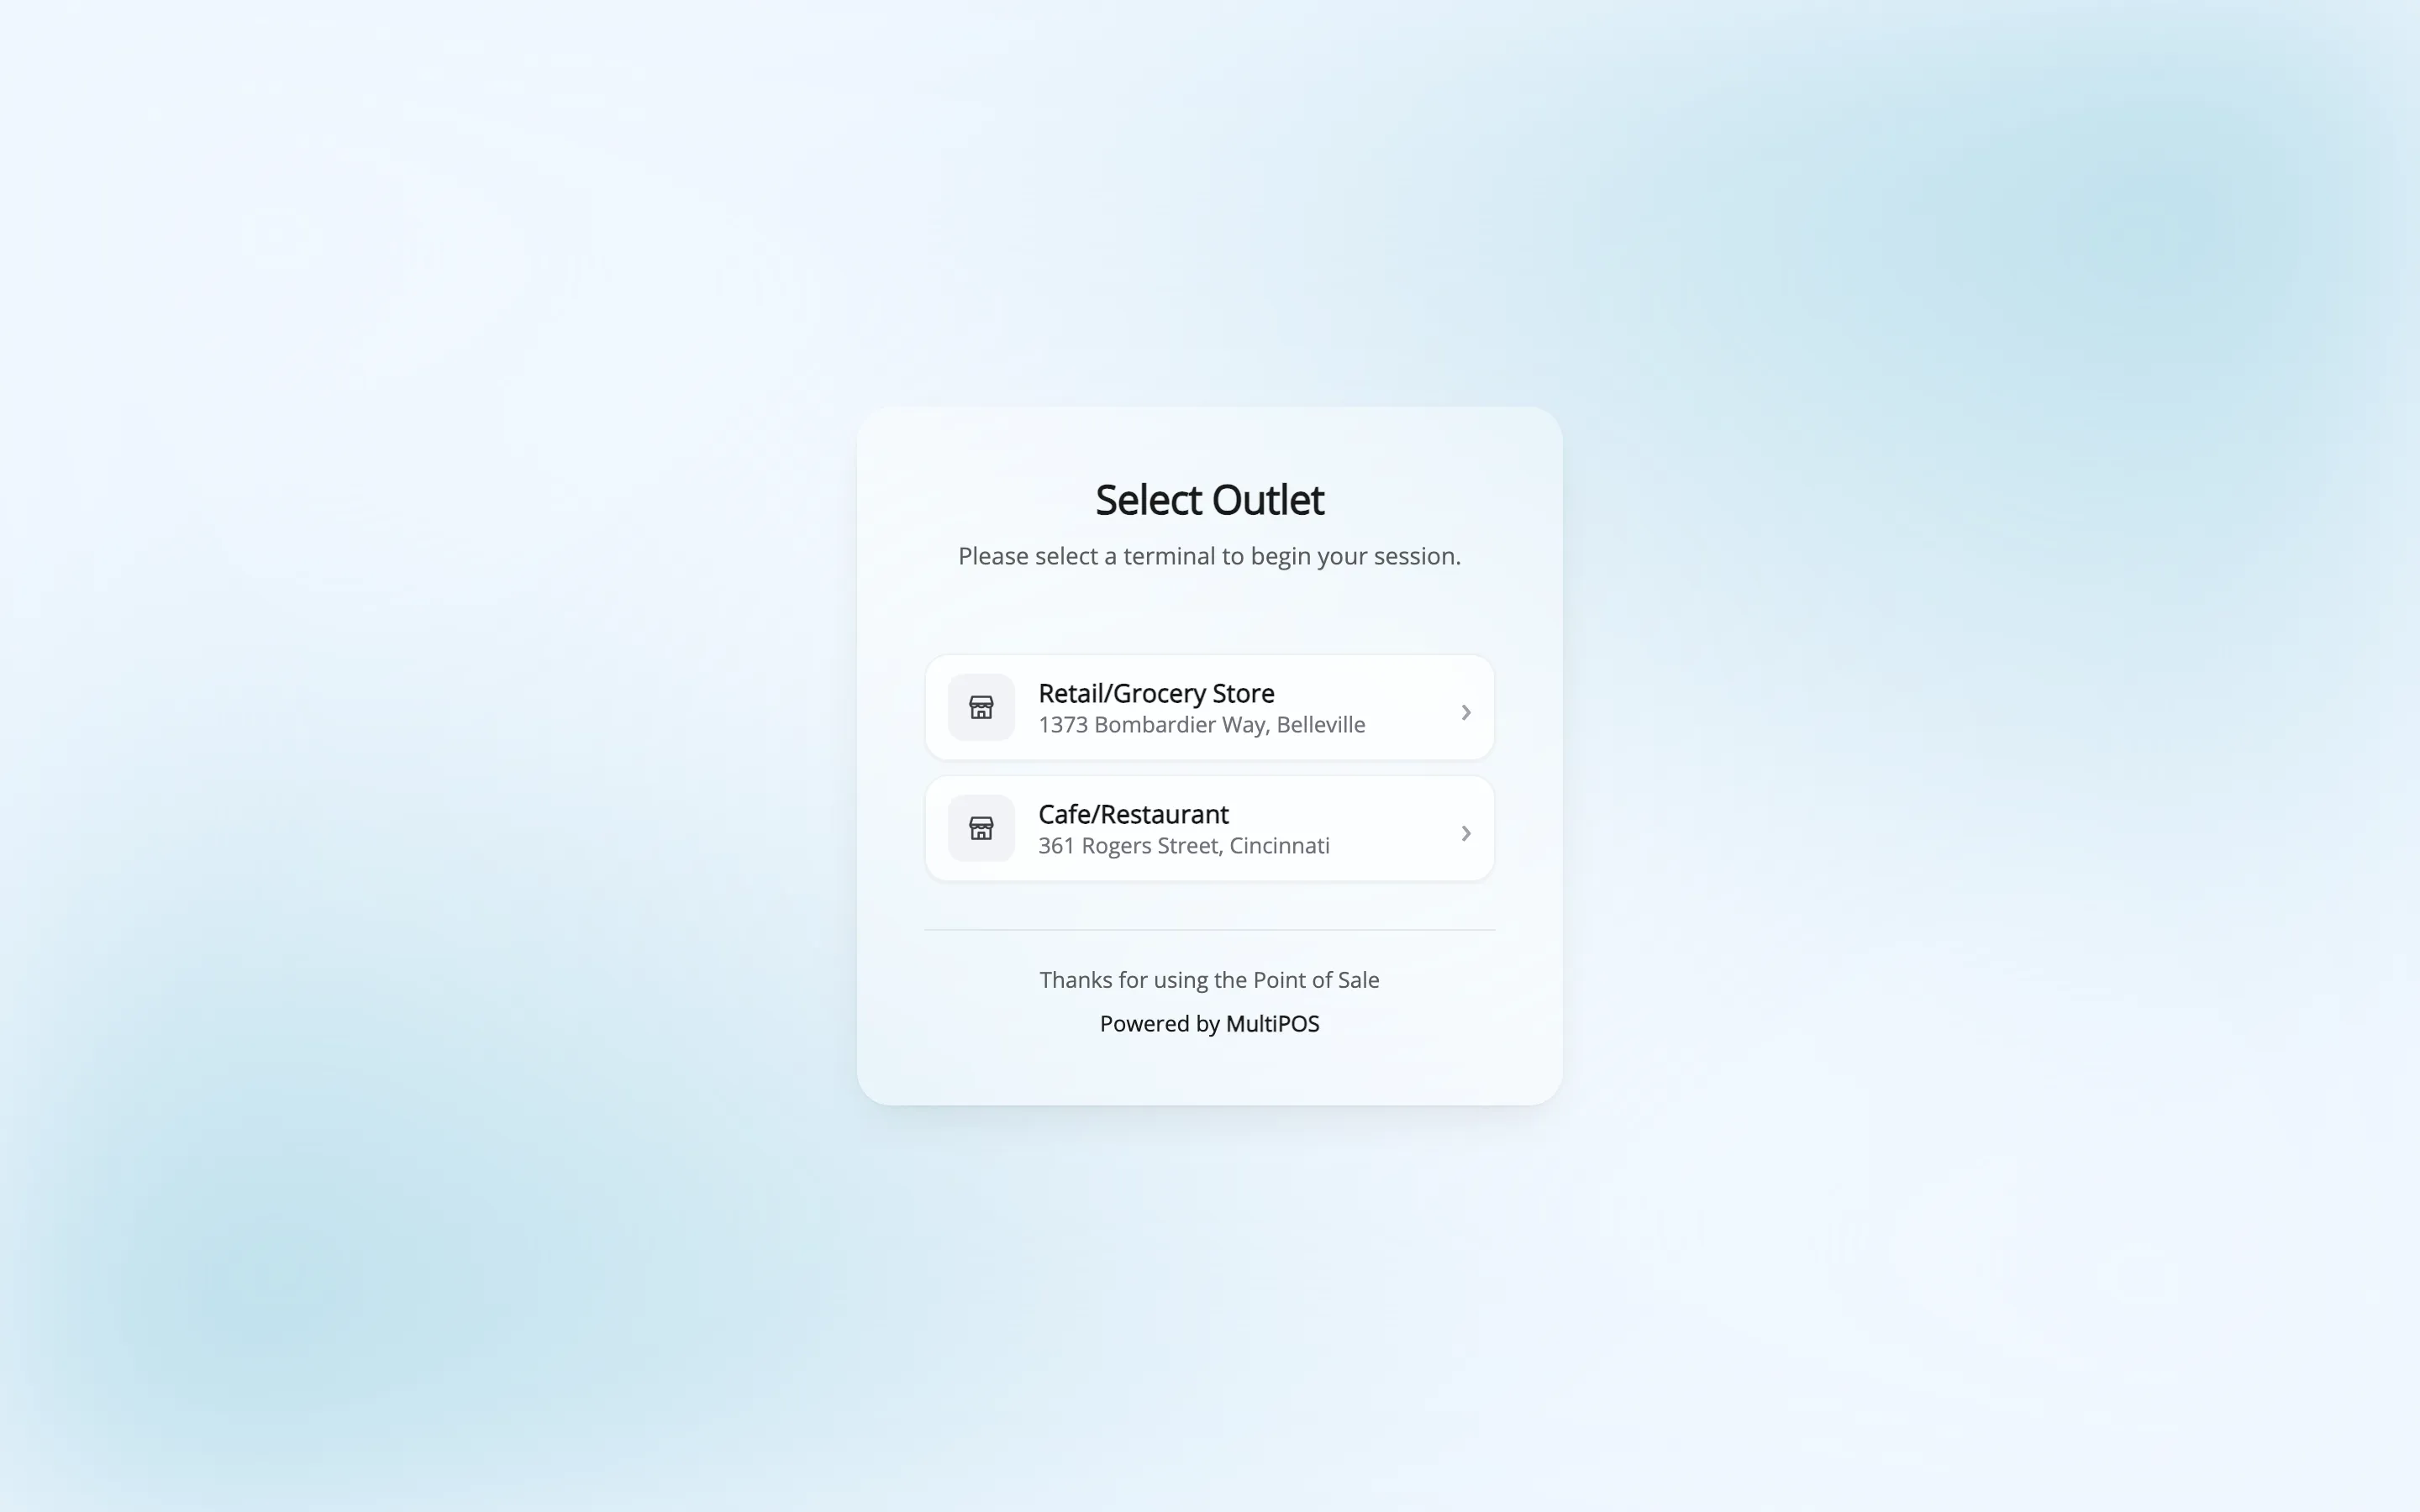
Your outlet should be on the picker. Choose it and the POS loads.
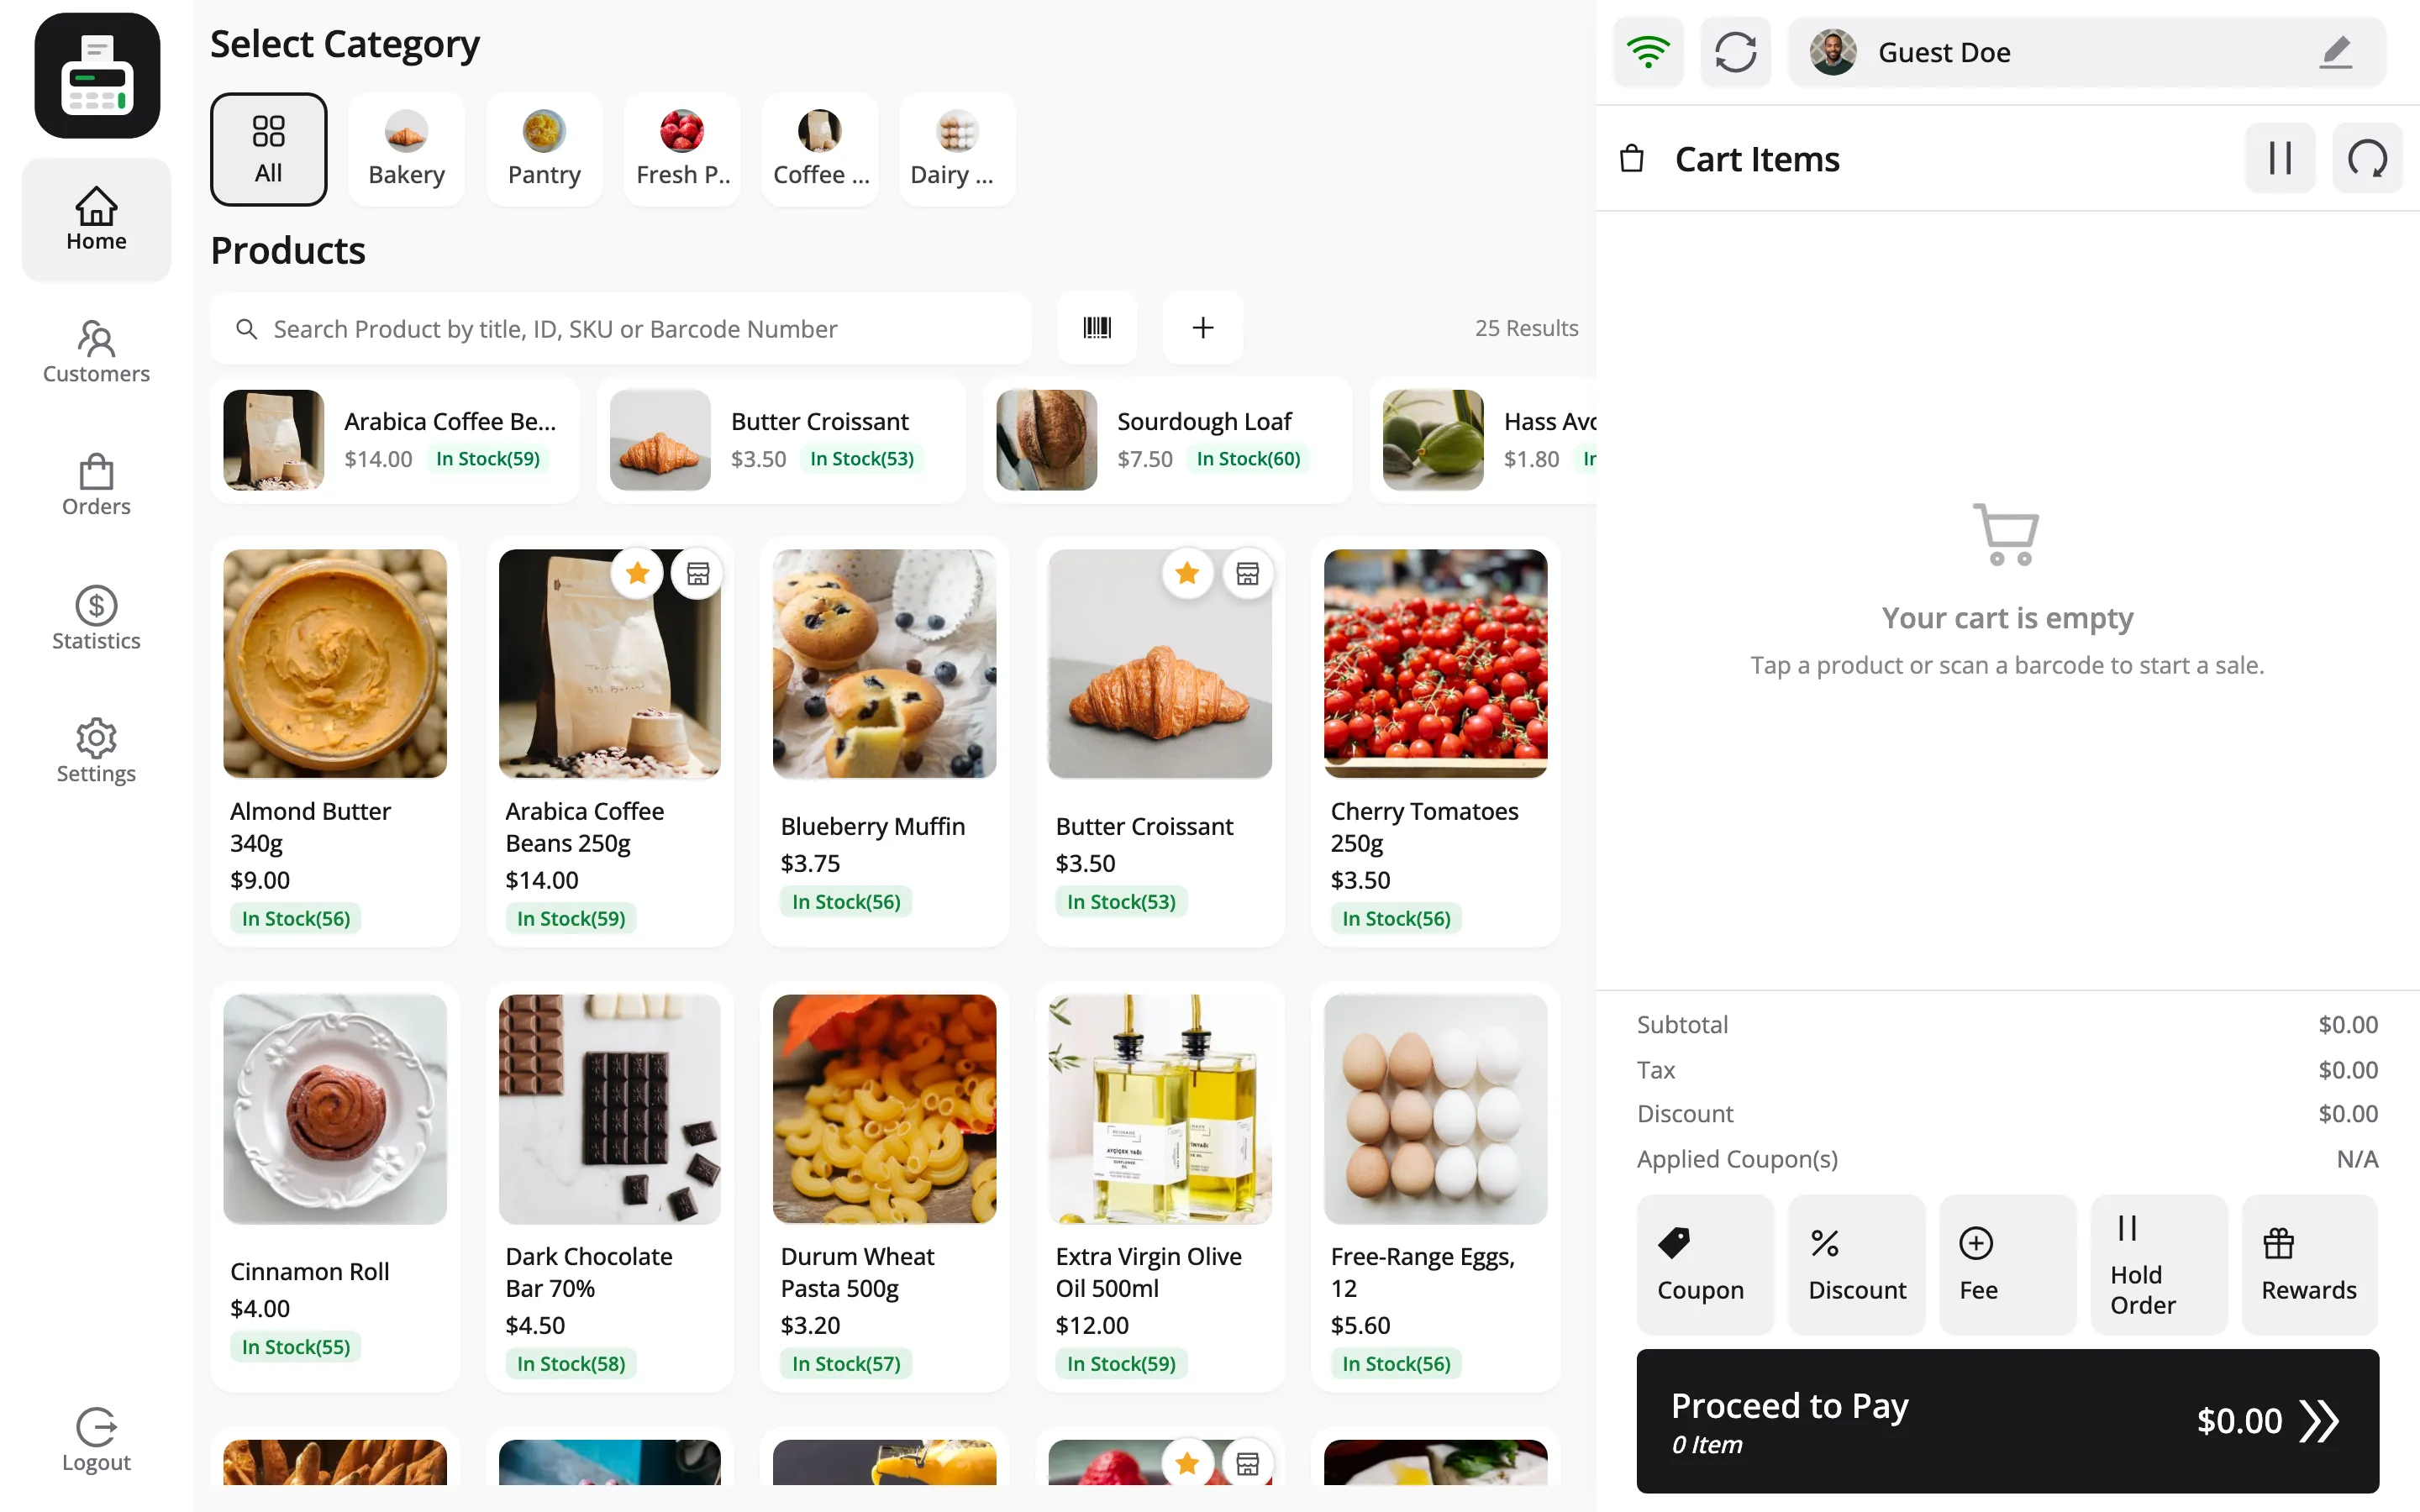
Now add a product to the cart and press Proceed to Pay. The payment methods you assigned should be the ones listed.
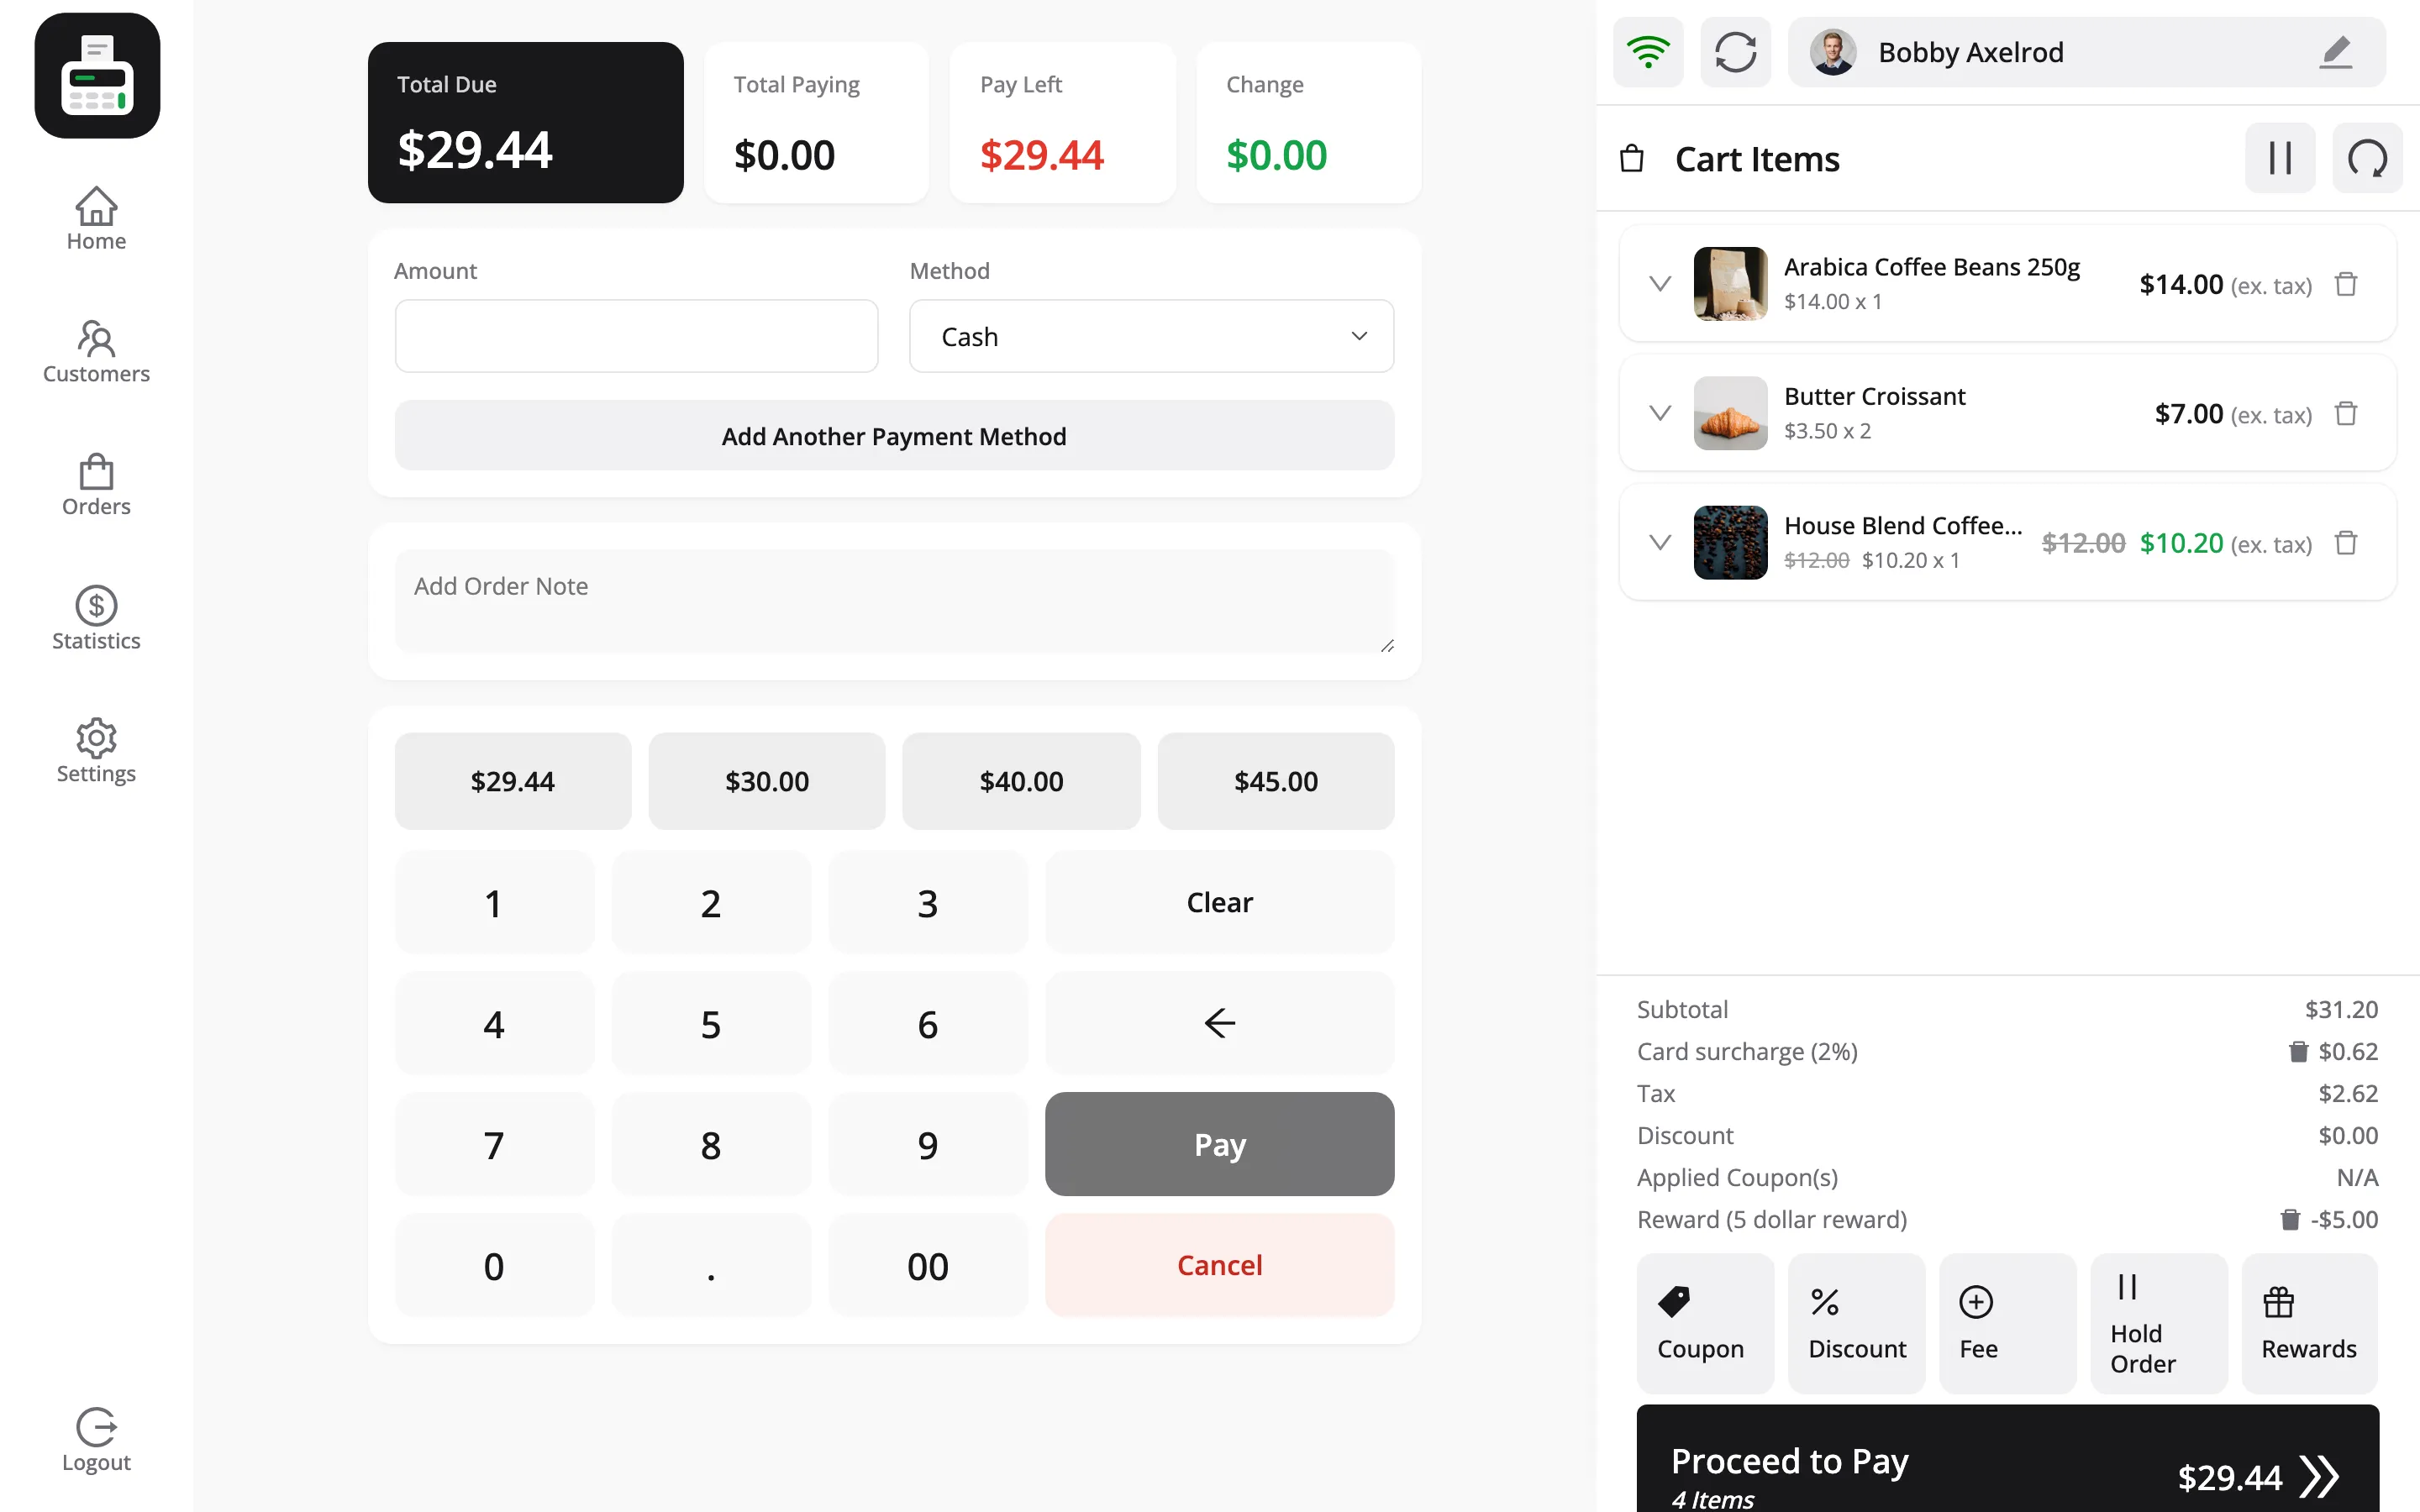
If the POS says the outlet is unavailable, check Outlet Status and Enable Point of Sale System under Configuration → General. Both have to be on.
Changing the outlet later
Section titled “Changing the outlet later”Everything on the form can be edited, and changes apply to new orders only.
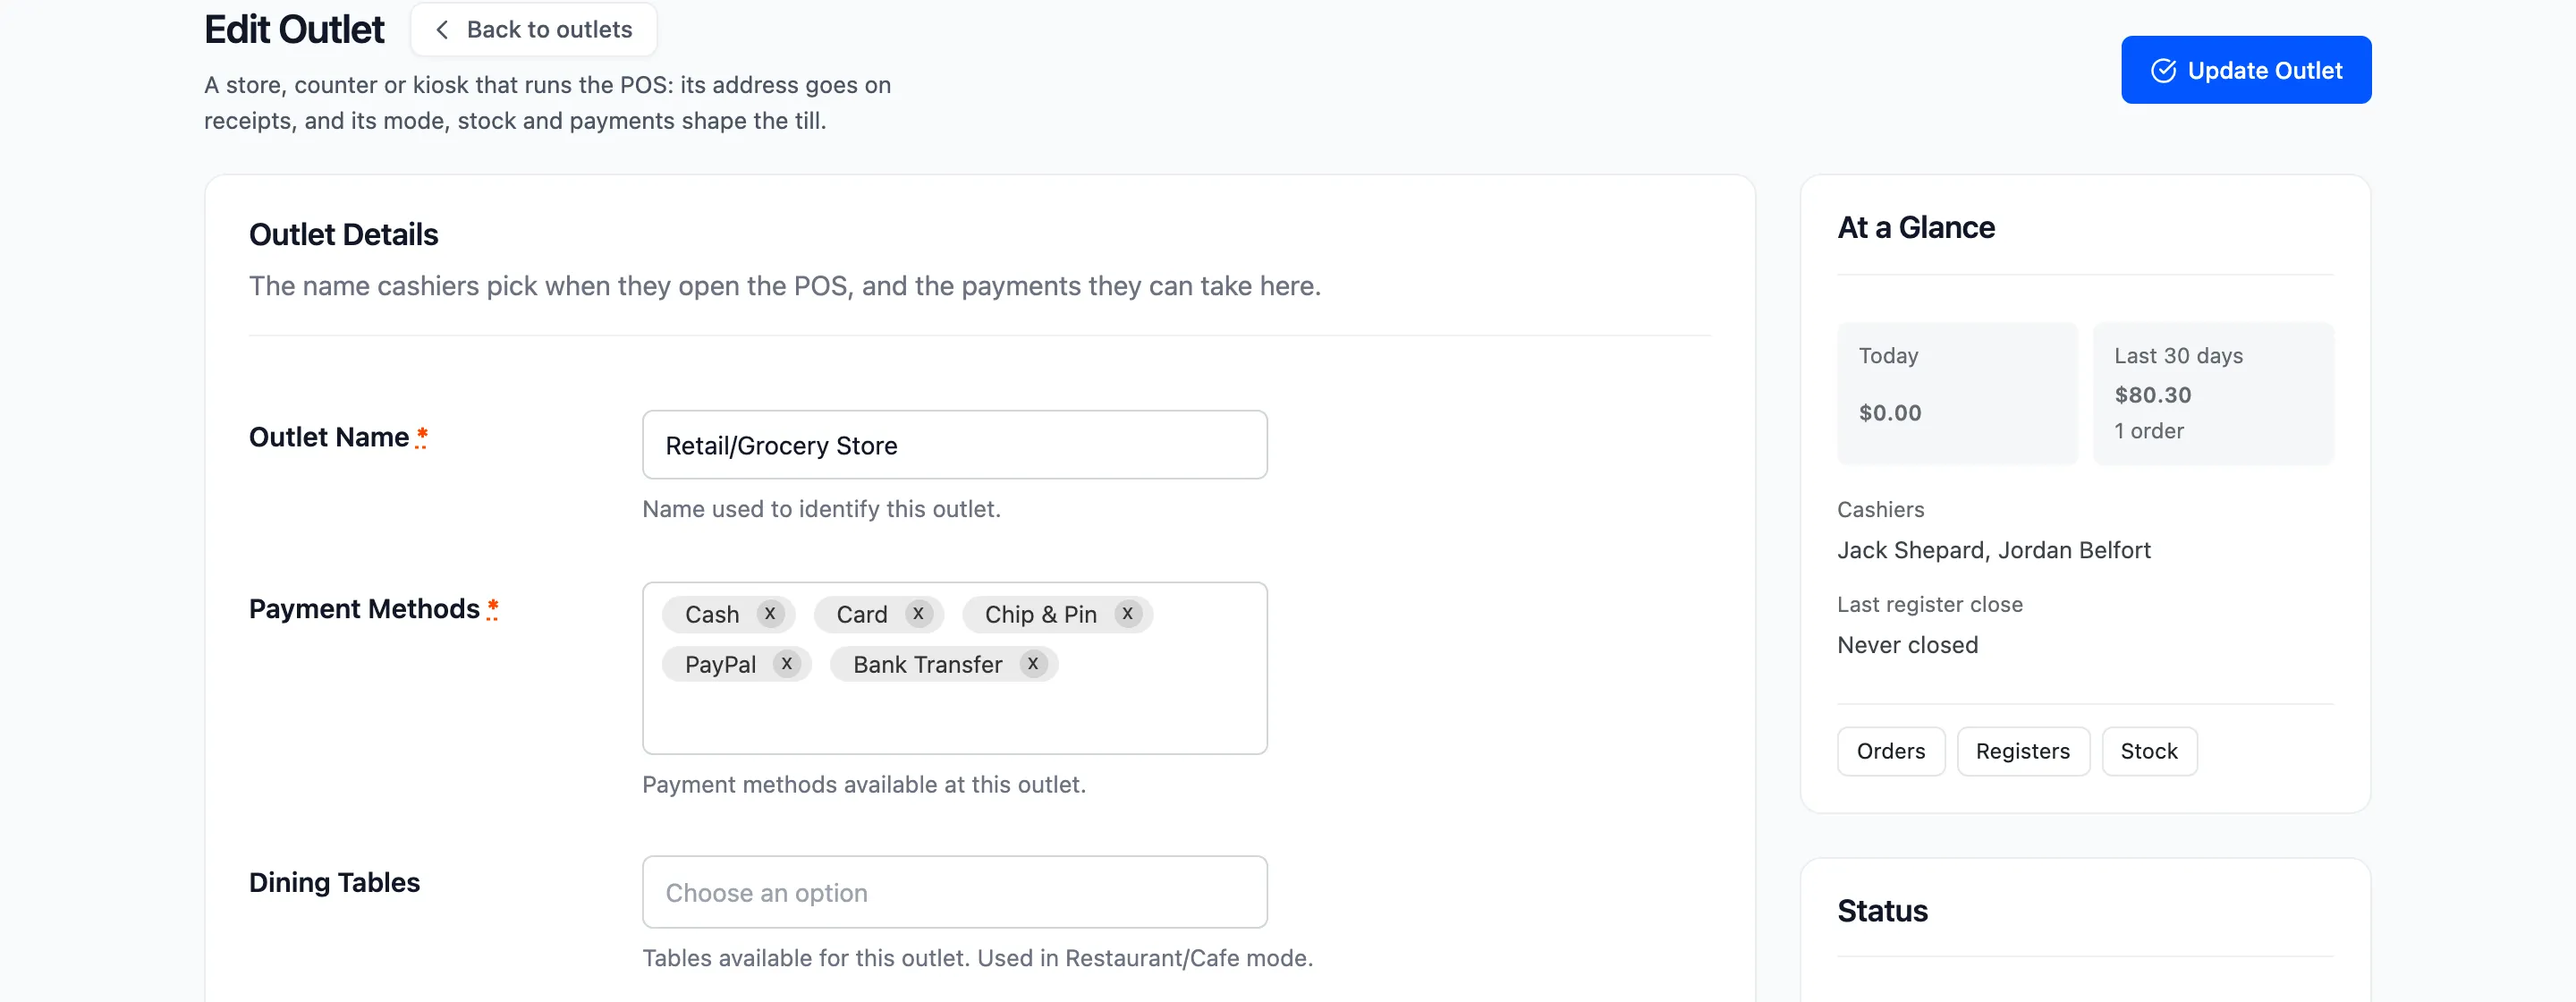
Past orders keep the address and the payment method they were created with, which is exactly what your records need.
Where to go next
Section titled “Where to go next”- How to Add a Cashier
- How to Take Your First Sale
- Outlets for the field reference.