

How to Print a Receipt
The receipt is the only thing a customer takes away from a POS sale. Getting it right is two settings and one test print.
Step 1: Set the receipt size
Section titled “Step 1: Set the receipt size”Go to DevDiggers Plugins → MultiPOS → Configuration → Printer and find the Receipt Size section.
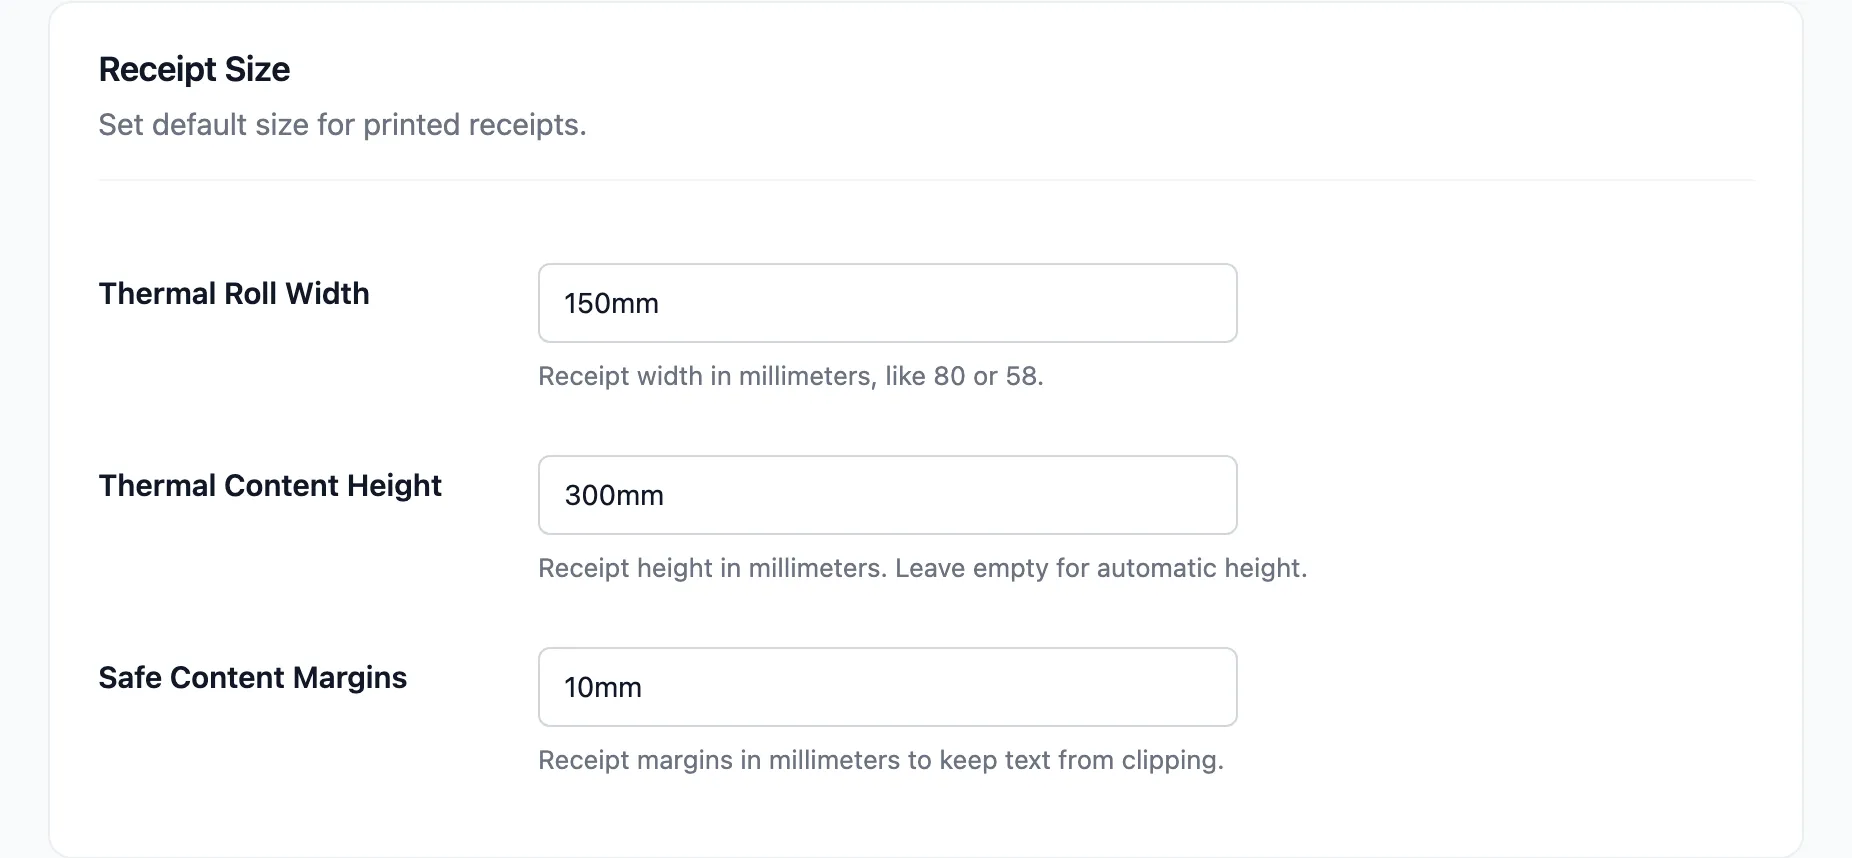
| Field | Default | Set it to |
|---|---|---|
| Thermal Roll Width | 150mm |
Your paper width, usually 80mm or 58mm |
| Thermal Content Height | 300mm |
Leave empty for automatic |
| Safe Content Margins | 10mm |
Enough to stop text clipping |
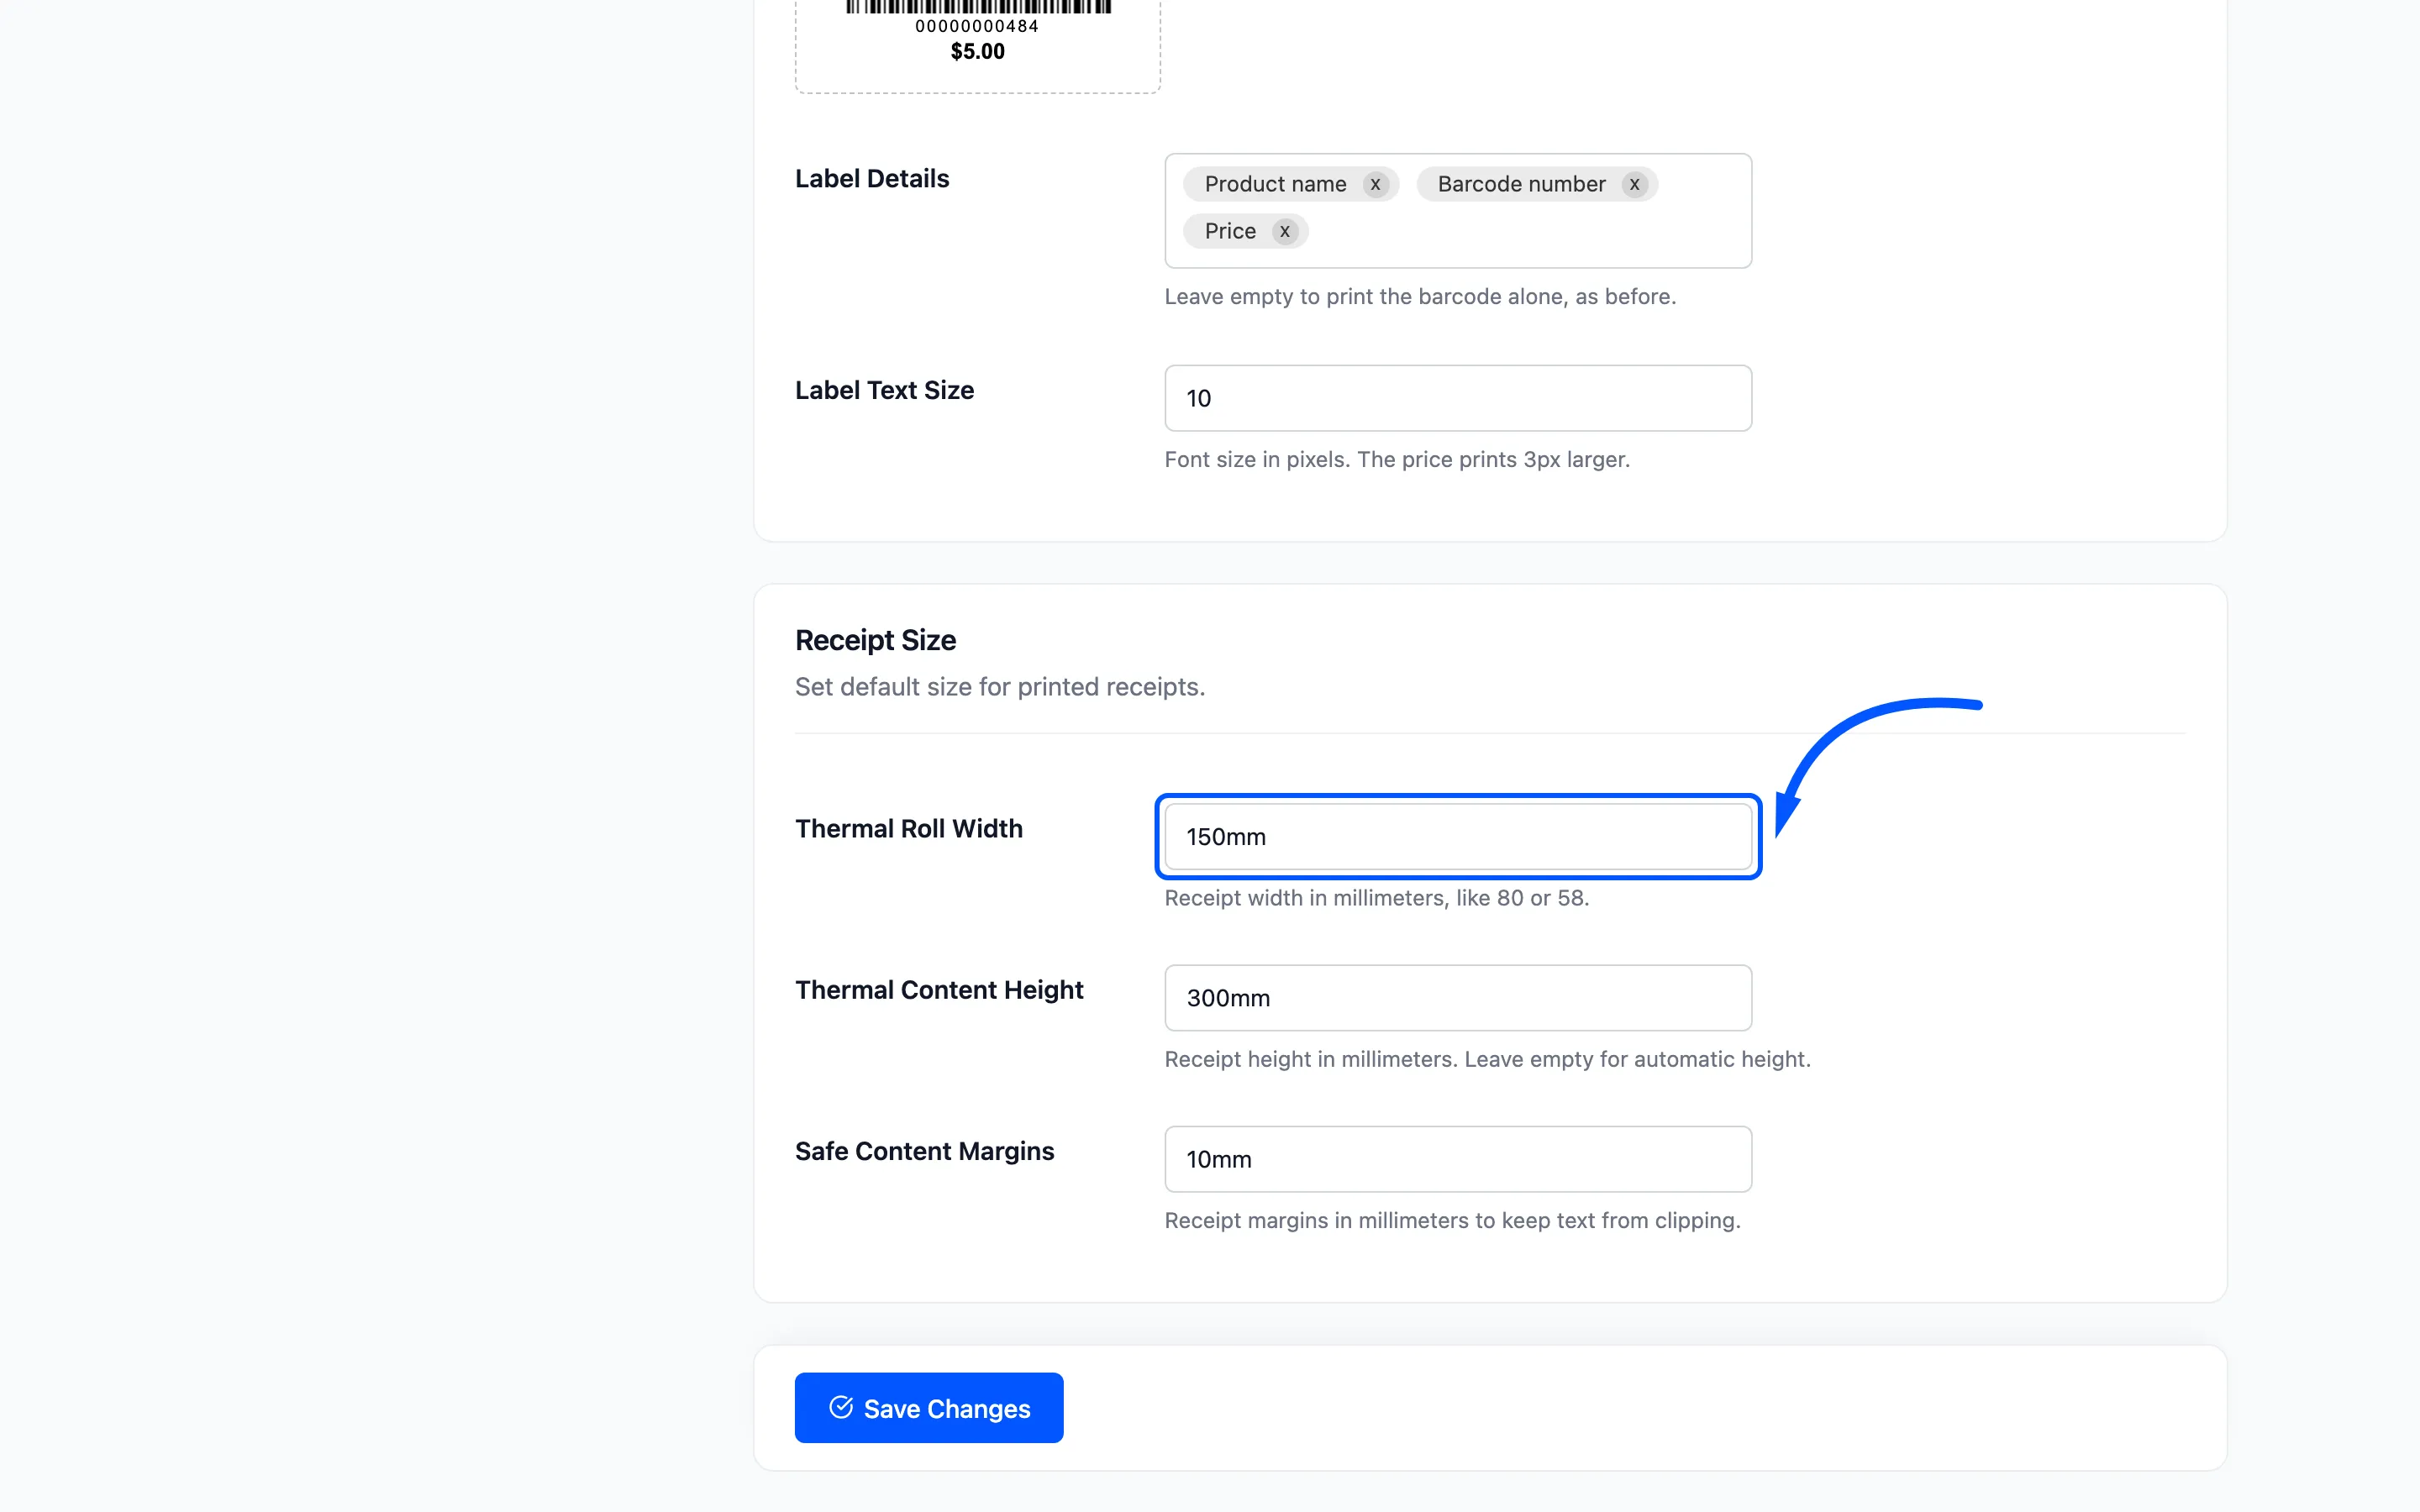
- Thermal Roll Width is the one that matters. The 150mm default suits a wide label printer, and most receipt printers take 80mm or 58mm. Measure the roll rather than guessing.
- Thermal Content Height left empty lets the receipt grow to fit. A fixed height either cuts a long order short or feeds blank paper after a short one.
Click Save Changes.
Step 2: Check the outlet address
Section titled “Step 2: Check the outlet address”The receipt prints your outlet’s name, street, city, postcode, phone and email.
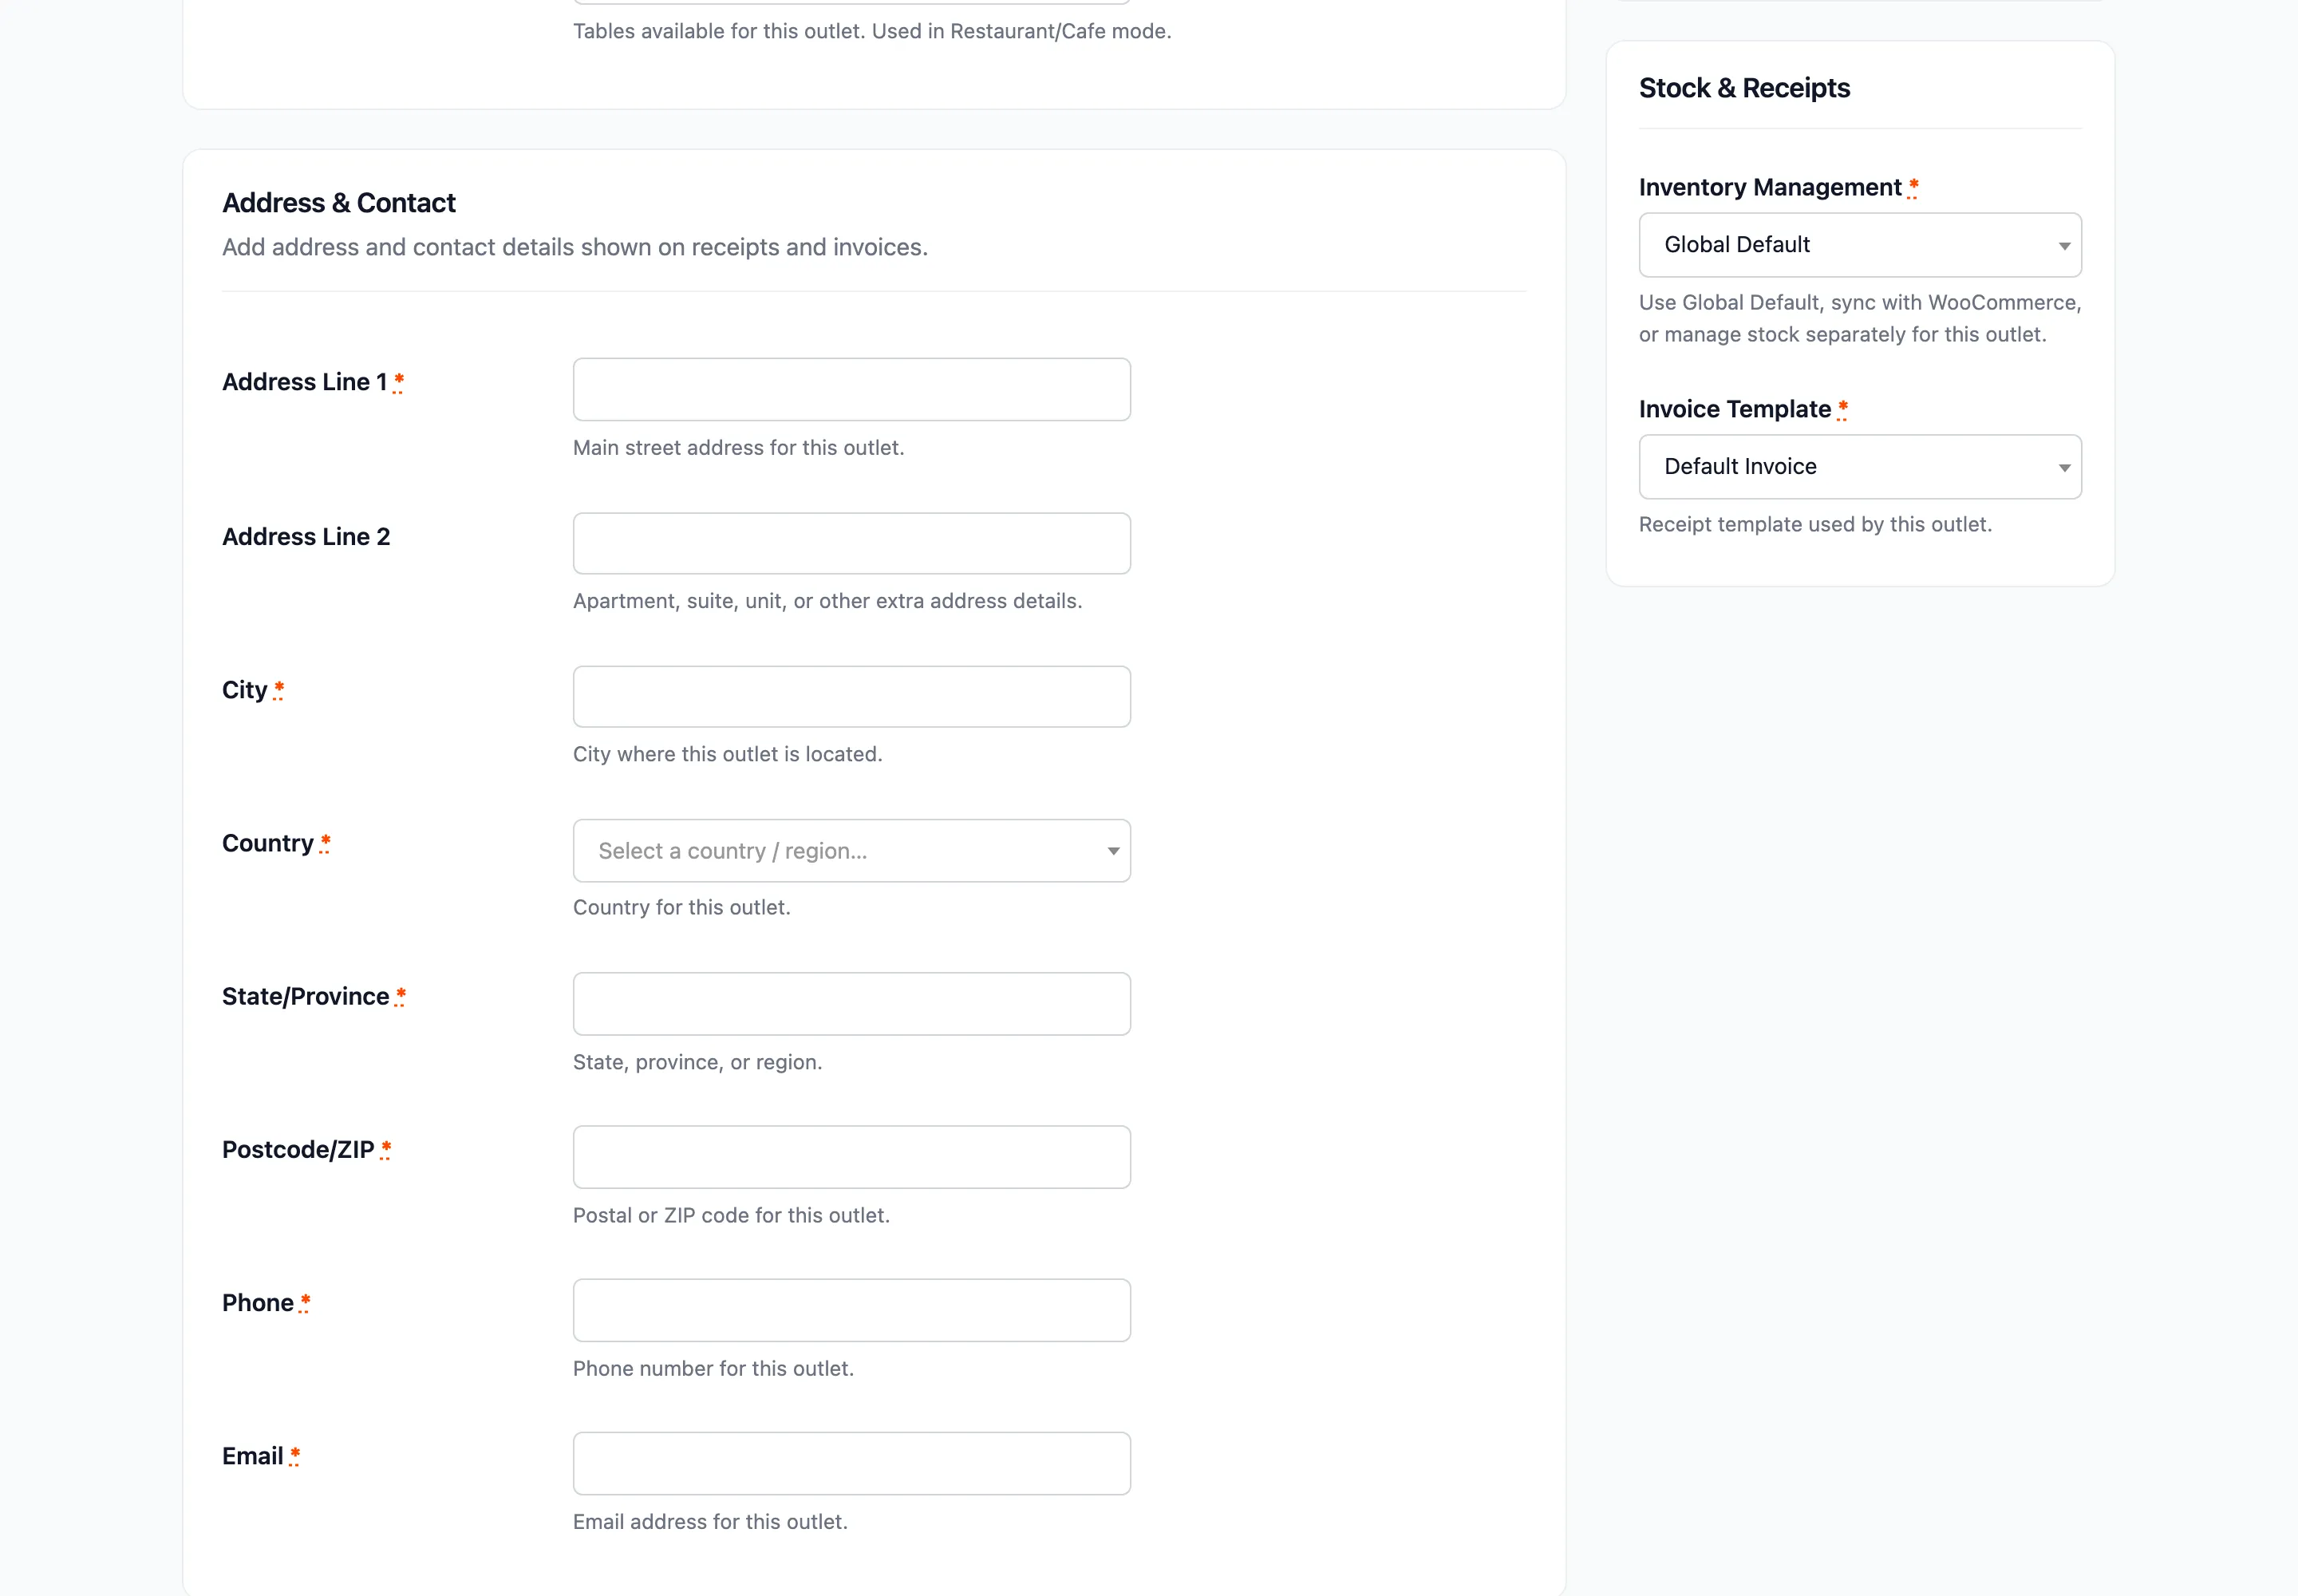
Go to MultiPOS → Outlet and read them. This is what a customer looks at when they want to bring something back. Use the trading address rather than a registered office.
Step 3: Upload your logo
Section titled “Step 3: Upload your logo”Go to Configuration → General → Branding.
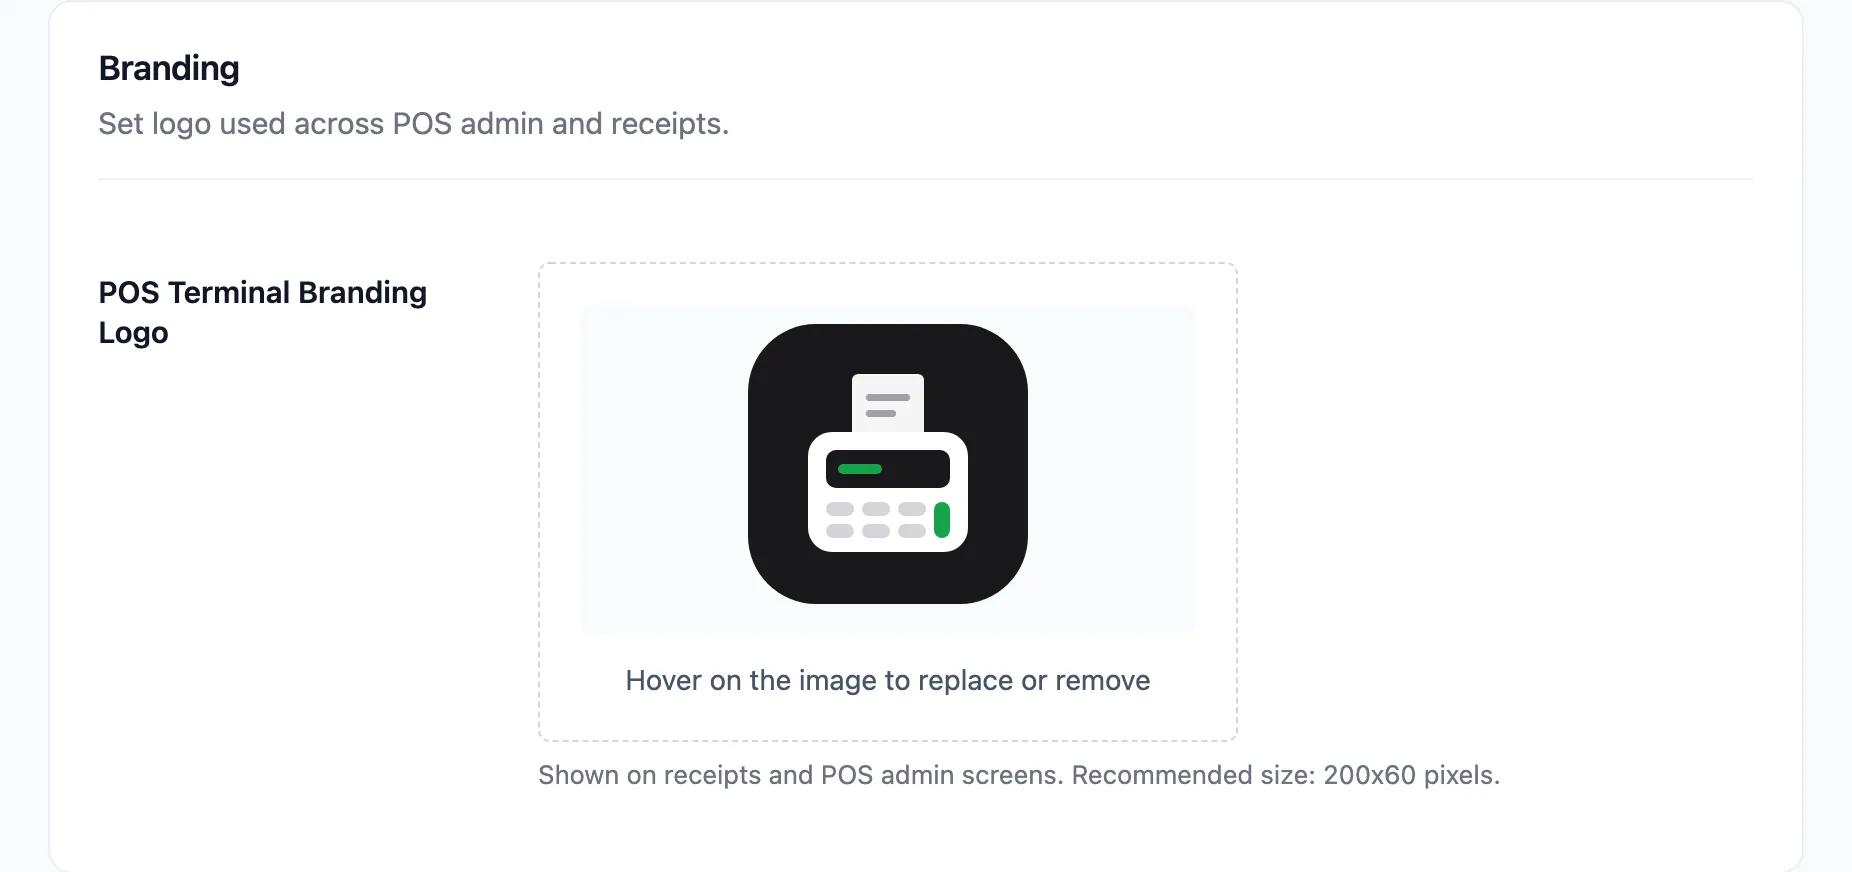
POS Terminal Branding Logo prints at the top of the receipt. The recommended size is 200 by 60 pixels.
Use a simple, high-contrast version. Thermal printers have no greyscale worth the name, so fine detail and soft gradients come out as a smudge.
Step 4: Take a sale
Section titled “Step 4: Take a sale”Open the POS, add a product, and press Proceed to Pay.
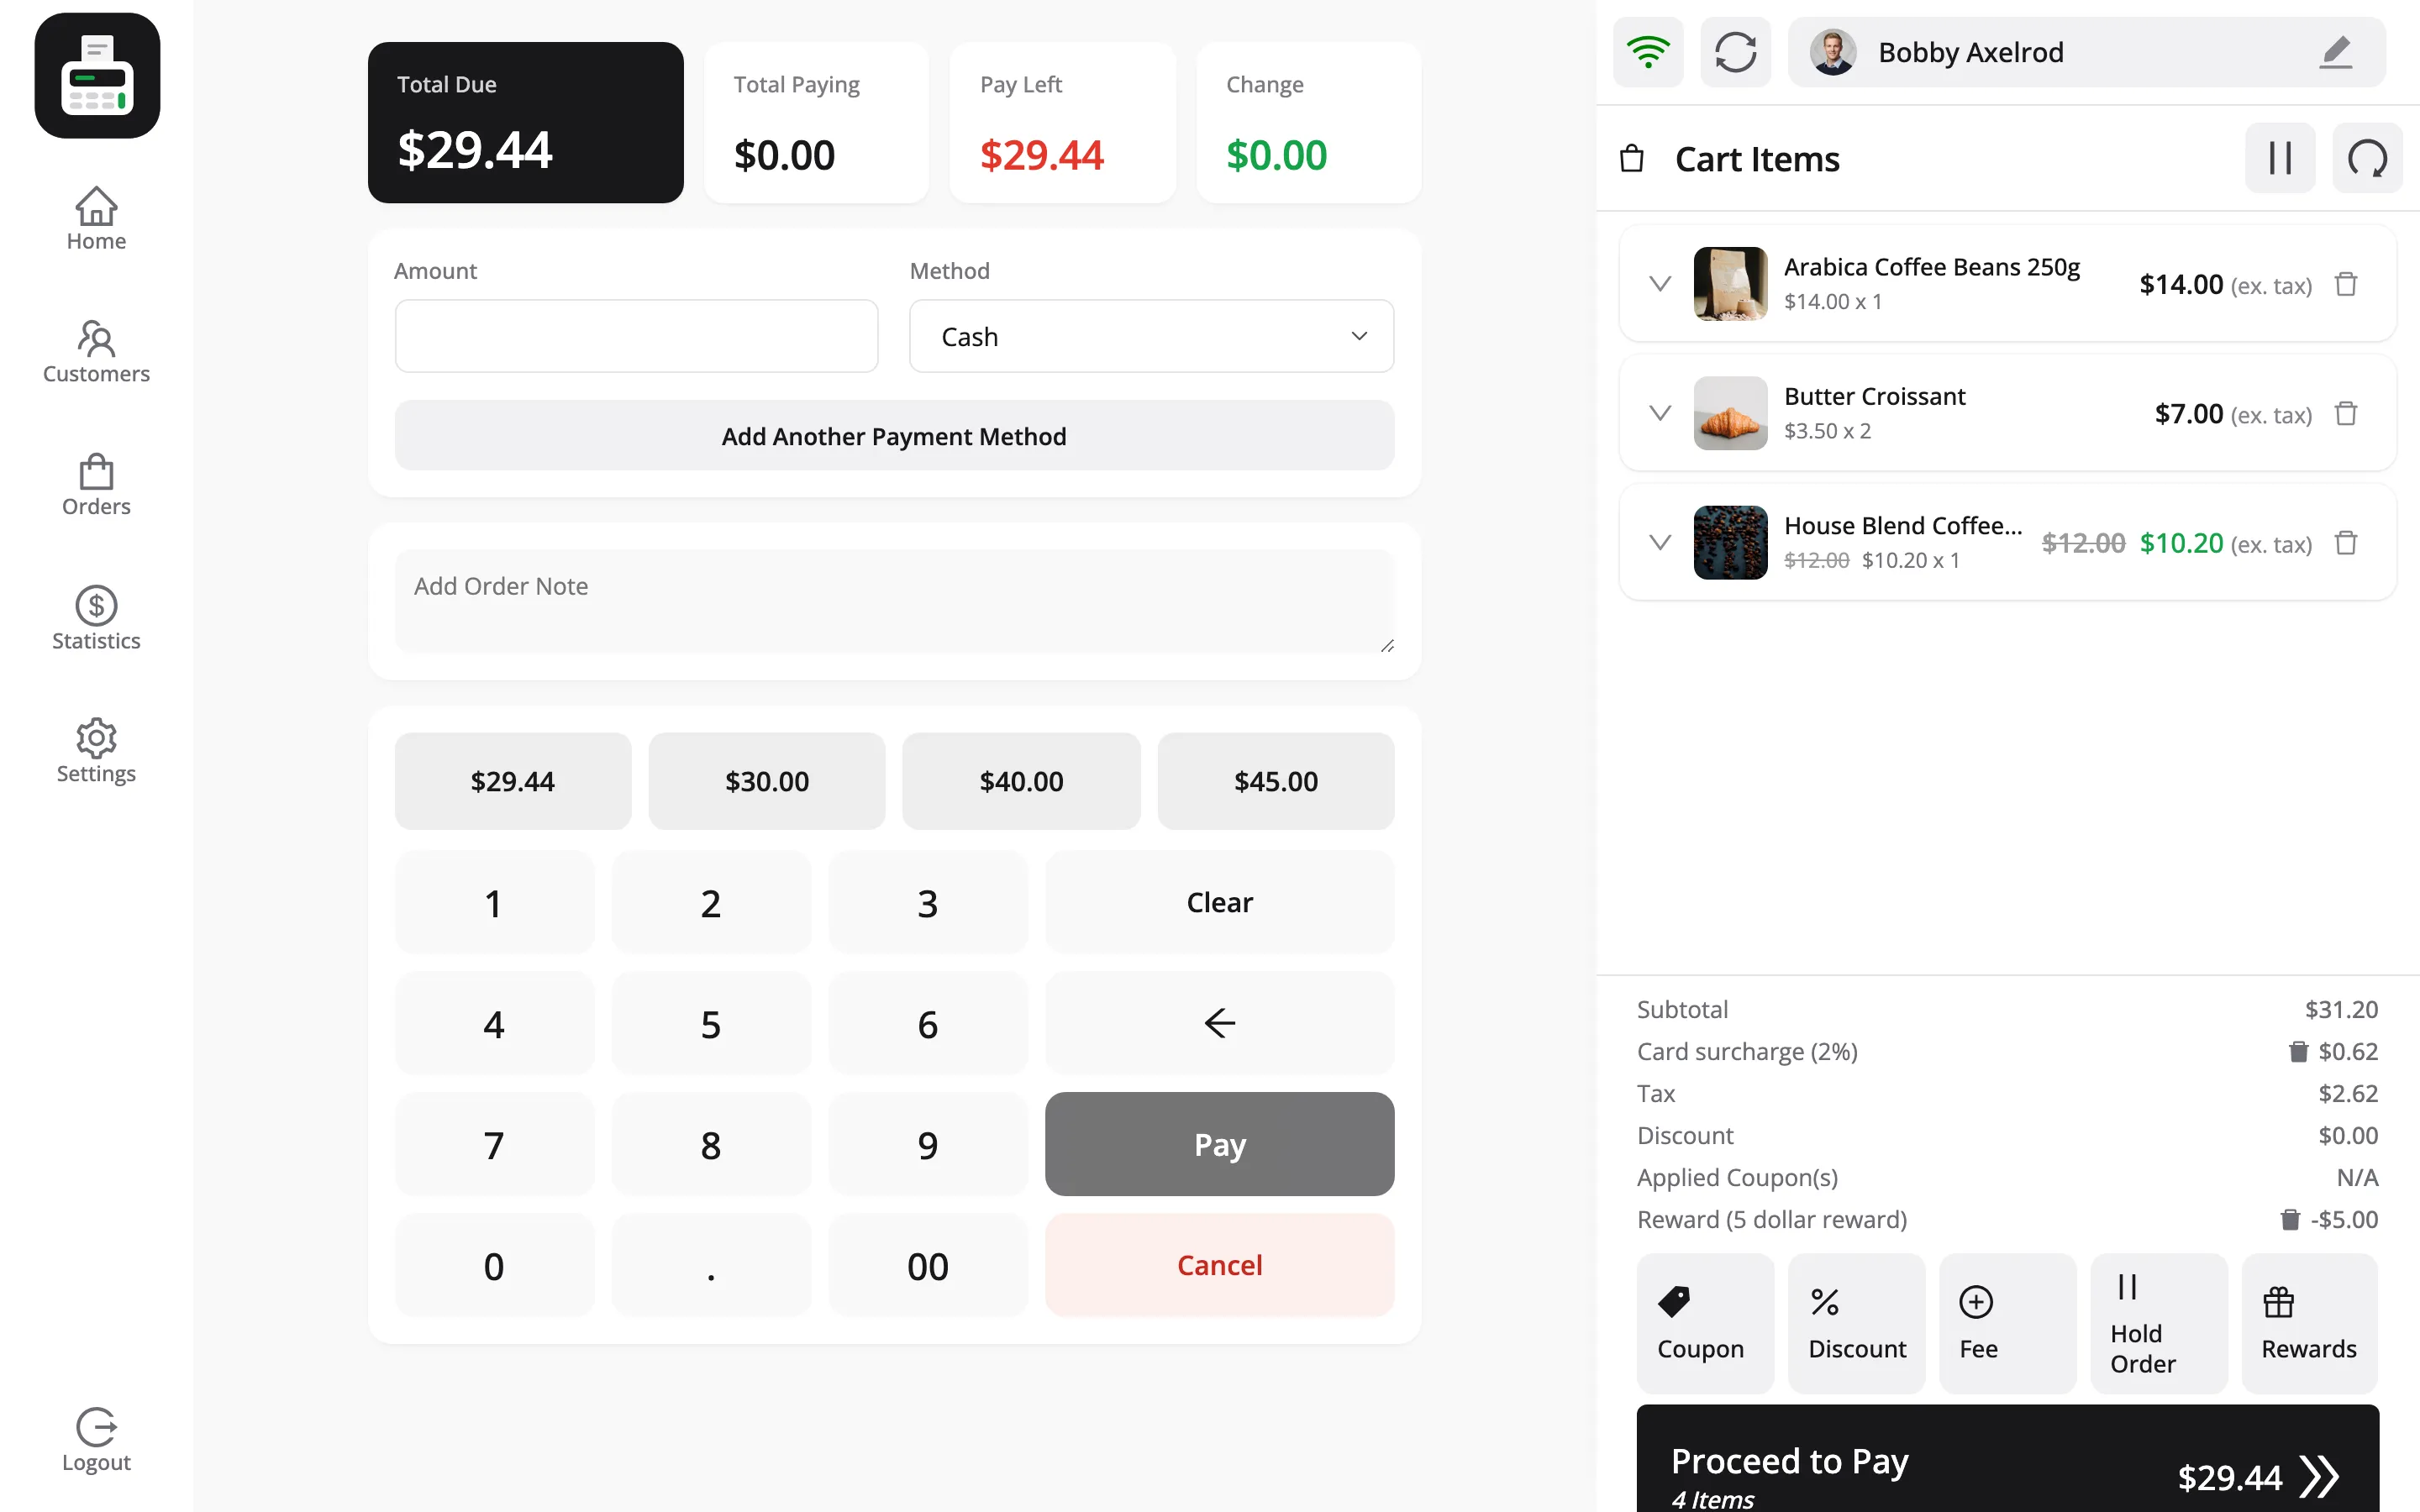
Choose a method, enter the amount handed over and press Pay.
Step 5: Print
Section titled “Step 5: Print”A Print Receipt prompt appears carrying the order number and its status. Press Print.
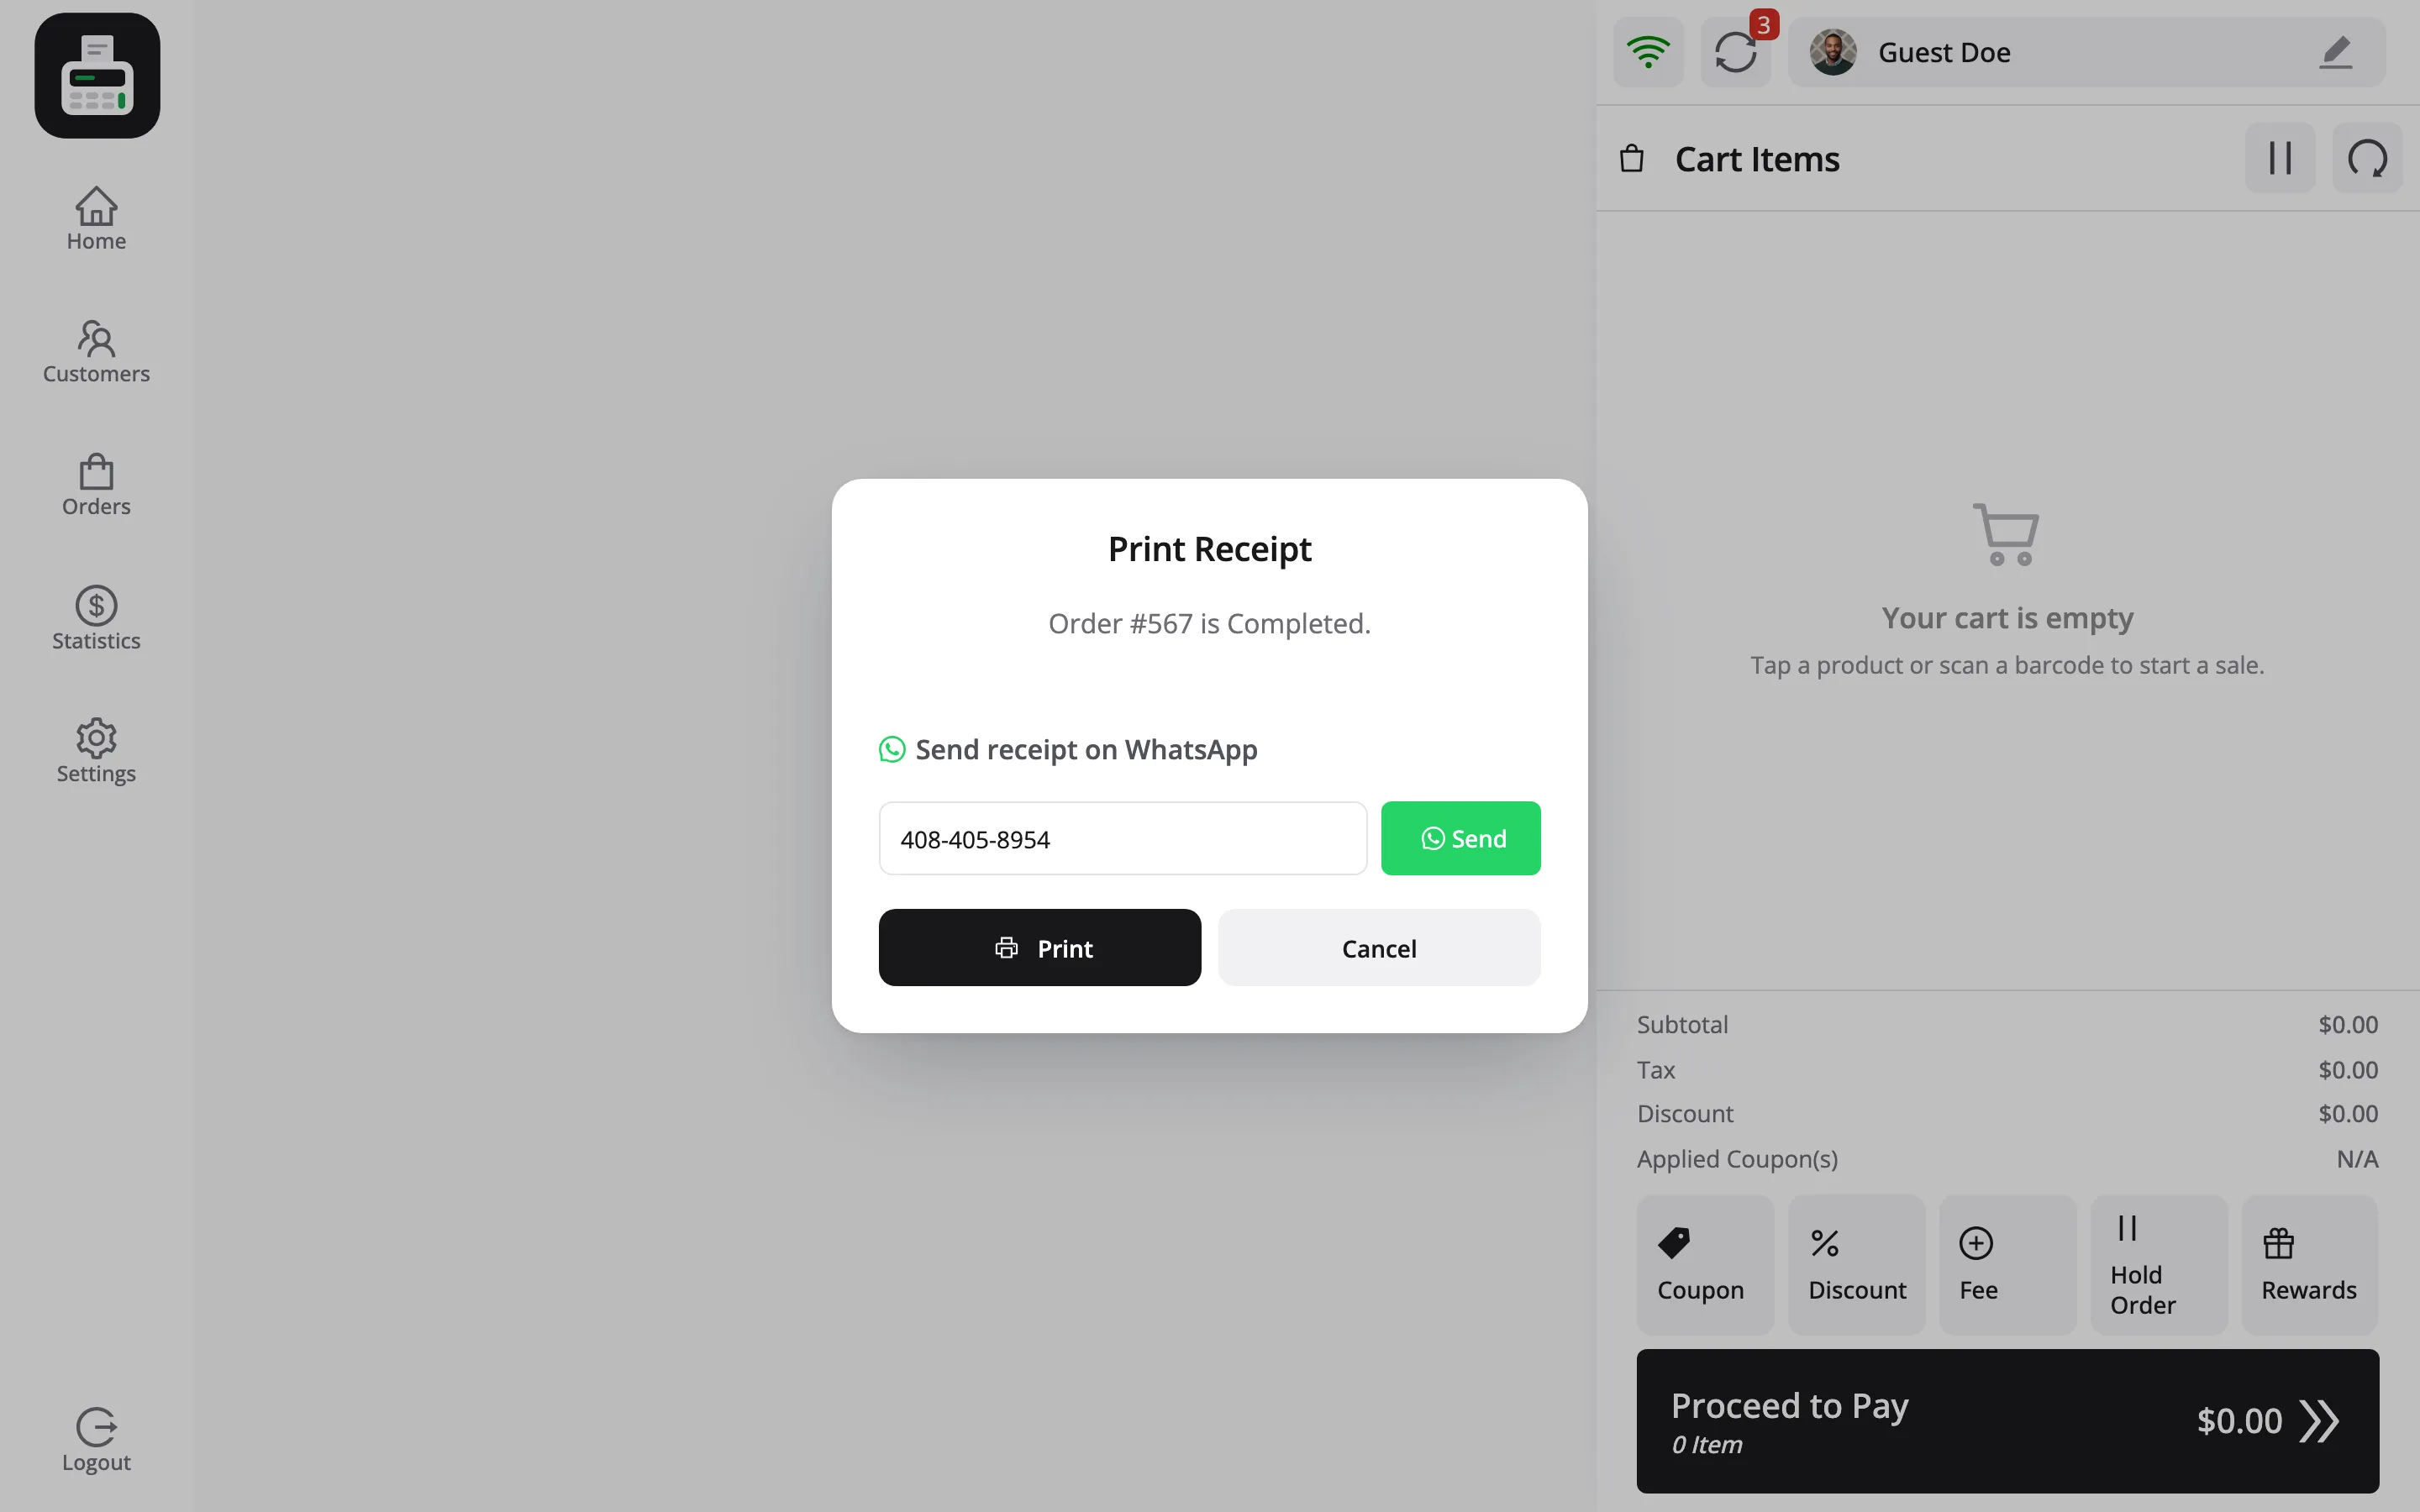
The browser print dialog opens. Two settings decide whether the receipt fits:
- Margins: None. Browser margins fight the millimetre values you set in step 1.
- Scale: 100%. “Fit to page” resizes the receipt and throws your width out.
Set both once and most browsers remember them for that printer.
What the receipt carries
Section titled “What the receipt carries”- Your logo
- The outlet’s name, address, phone and email
- The order number, date and cashier
- Every line item with quantity and price
- Subtotal, tax, discount and total
- The payment method, the amount handed over and the change
Fixing a receipt that prints wrong
Section titled “Fixing a receipt that prints wrong”- Text runs off the right edge. Thermal Roll Width is bigger than the paper. Set it to 80mm or 58mm.
- Every receipt feeds a page of blank paper. Thermal Content Height is set. Empty it.
- The edges are clipped. Increase Safe Content Margins, or check the print dialog is on Margins: None.
- The logo is a black block. The logo has a transparent or dark background. Re-export it as a high-contrast image on white.
- Nothing prints at all. The browser cannot see the printer. That is an operating system problem, not a plugin one. Print a test page from the printer’s own settings first.
Reprinting
Section titled “Reprinting”A cashier can reopen a past order from Orders in the terminal and print it again. Select the order in the Online tab, then press Print Invoice at the bottom of the detail panel.
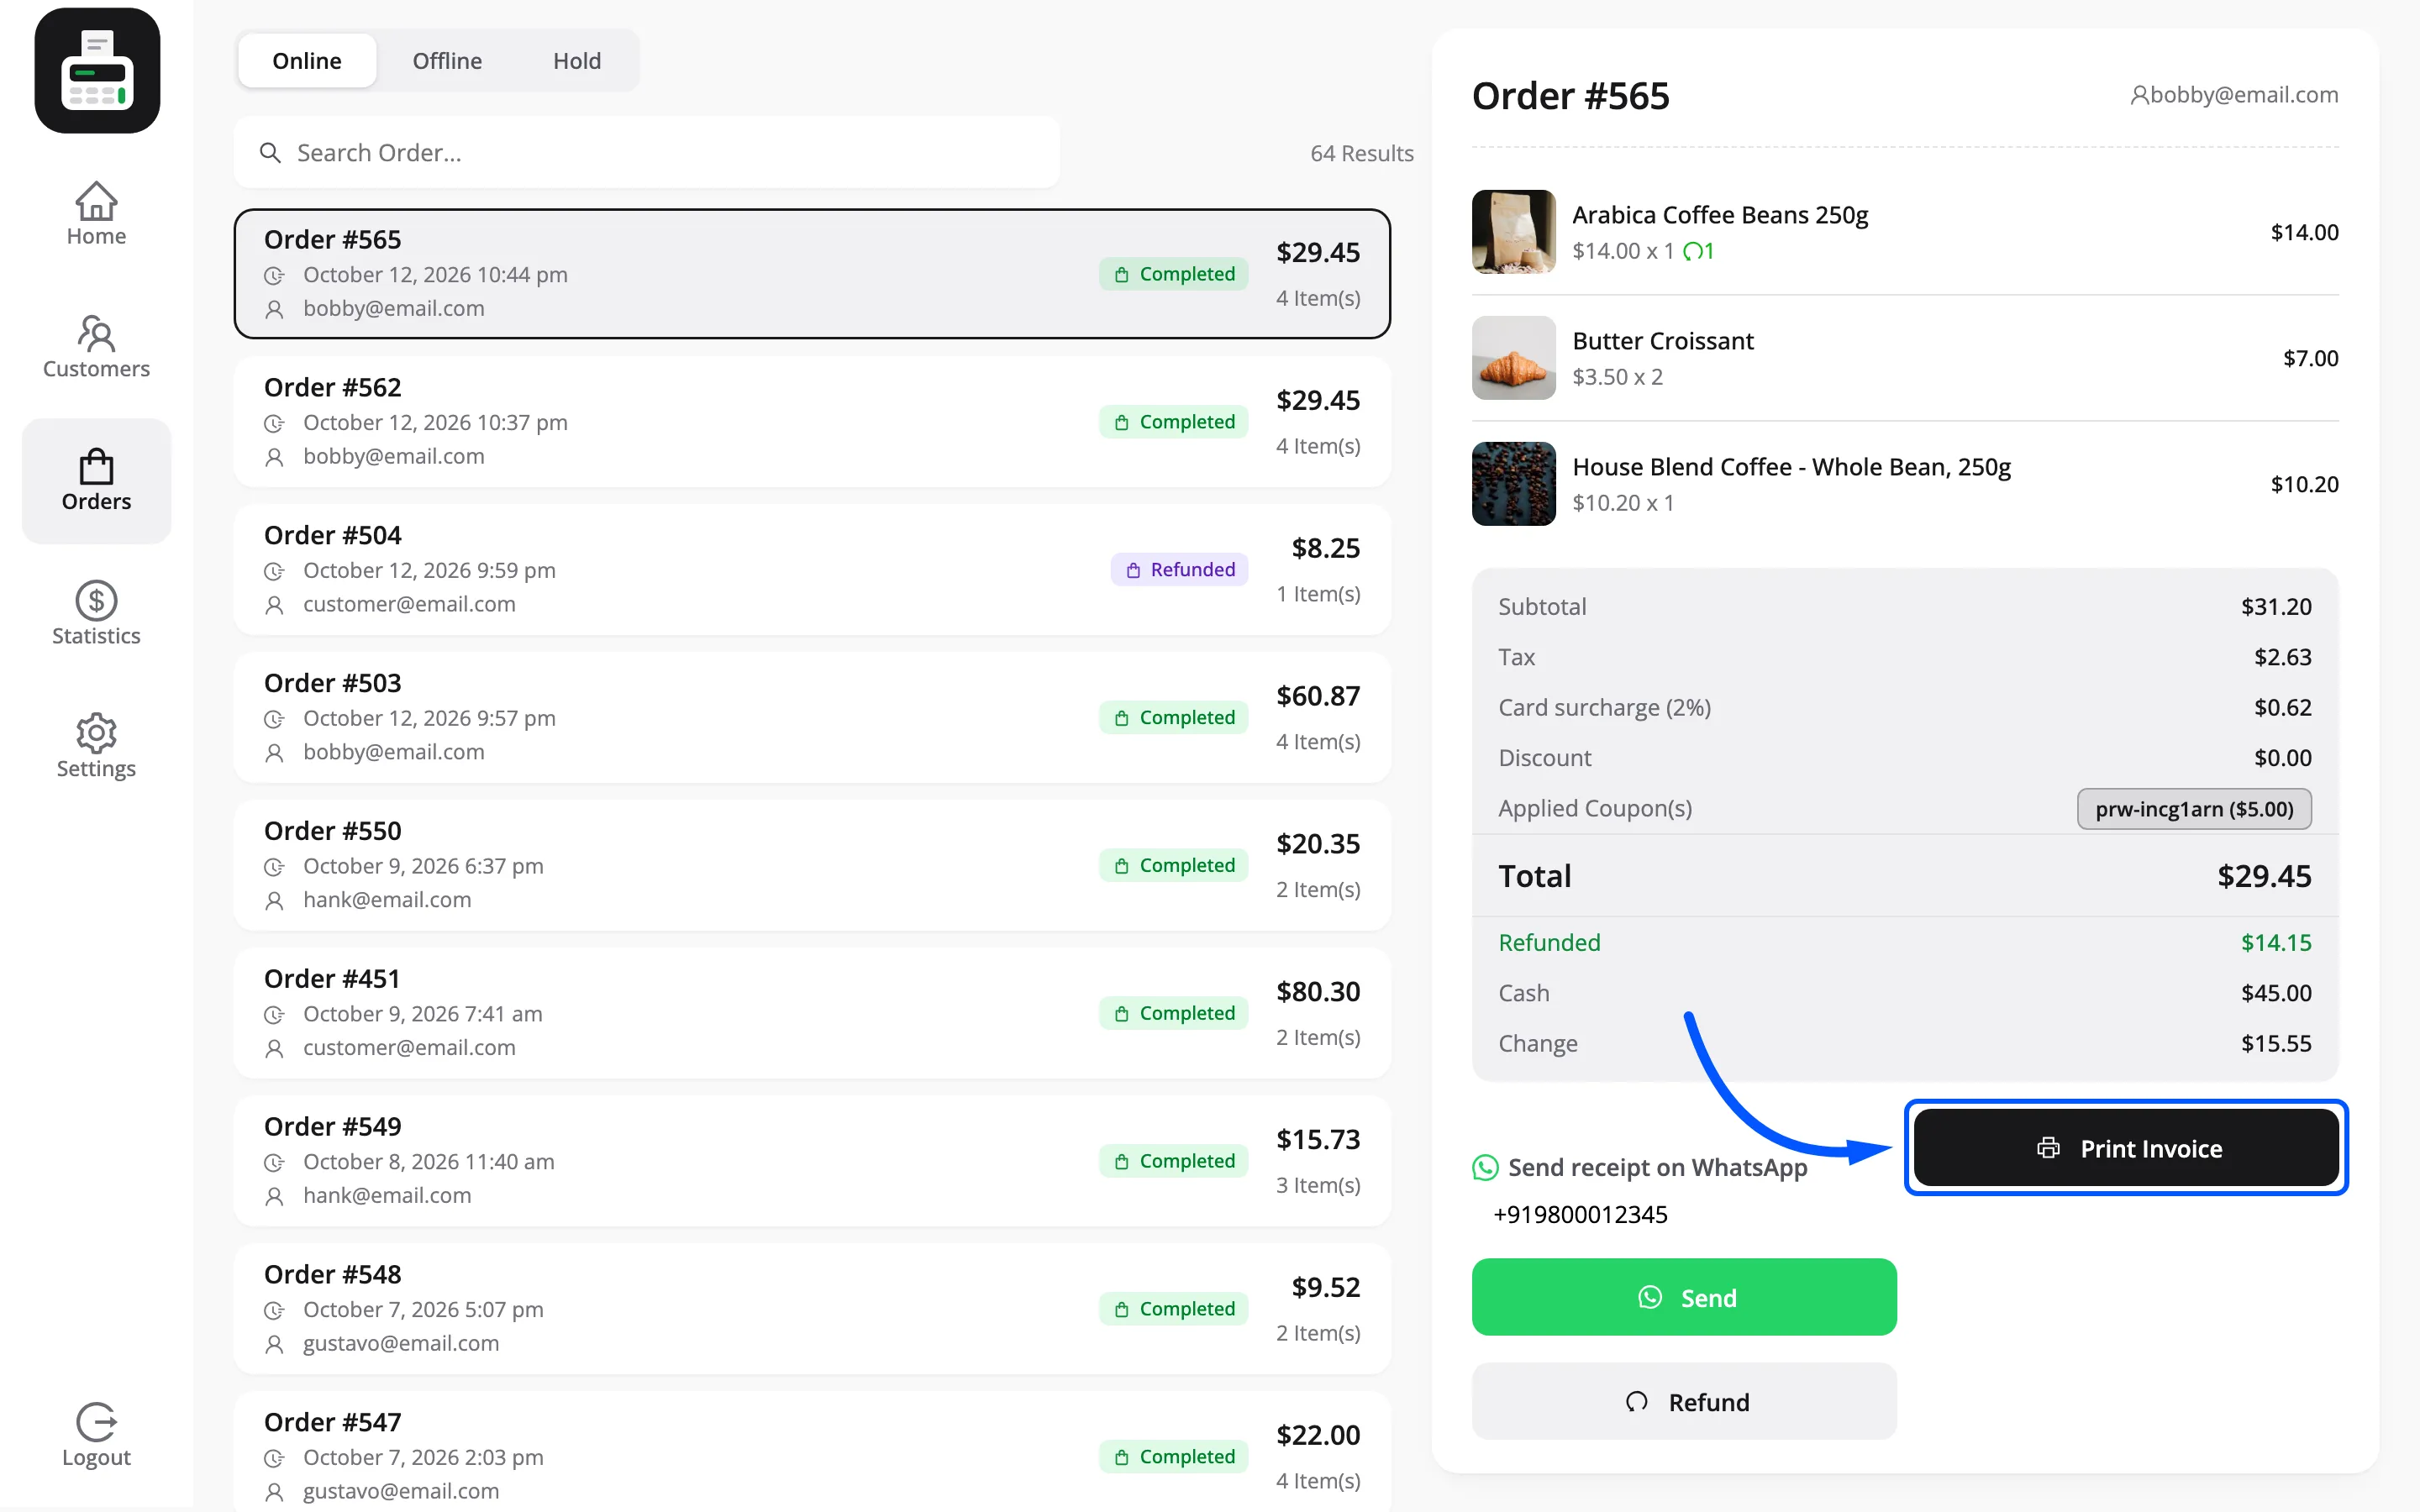
Closing the print prompt without printing never undoes a sale. The order is already created.
What the customer gets
Section titled “What the customer gets”The printed receipt carries your logo, the outlet’s name and address, the order number and date, the cashier and the customer. Under those sit every line with its unit price and quantity, then the totals down to the change given.
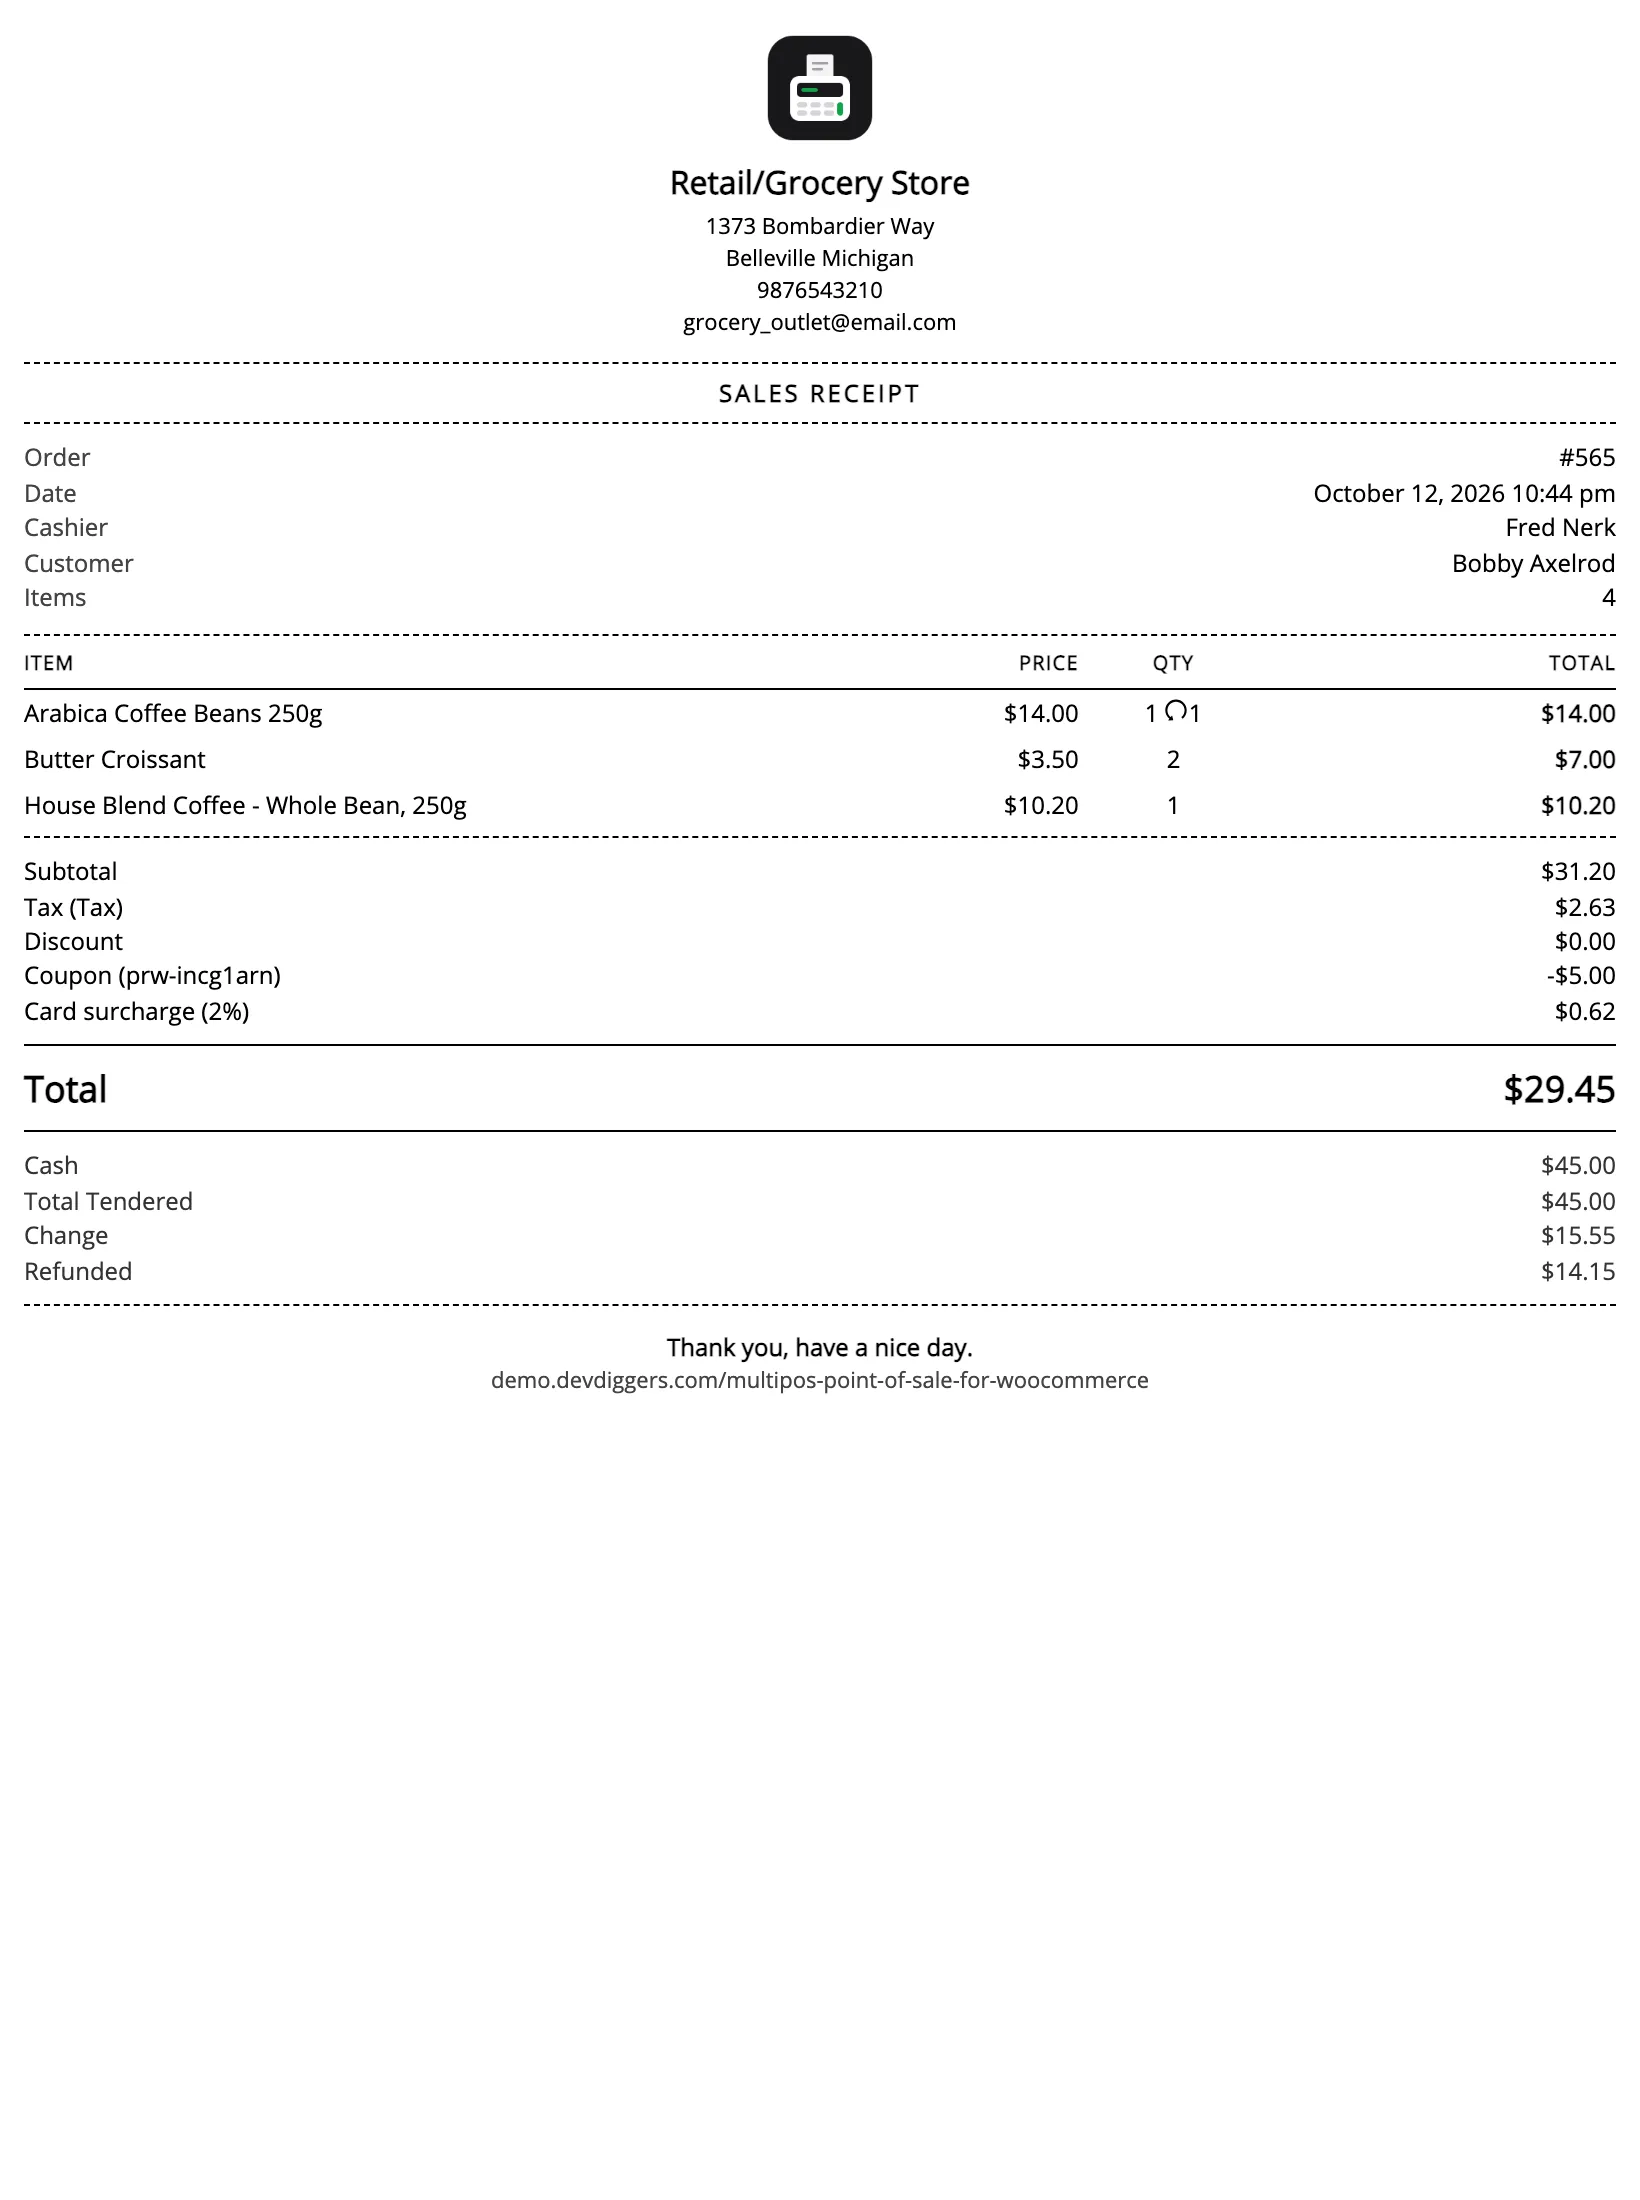
Everything on it comes from the receipt template, so a field you do not want is removed there rather than in the printer settings.
Per-terminal overrides
Section titled “Per-terminal overrides”The three size fields also live inside the terminal, under Settings → Outlet.
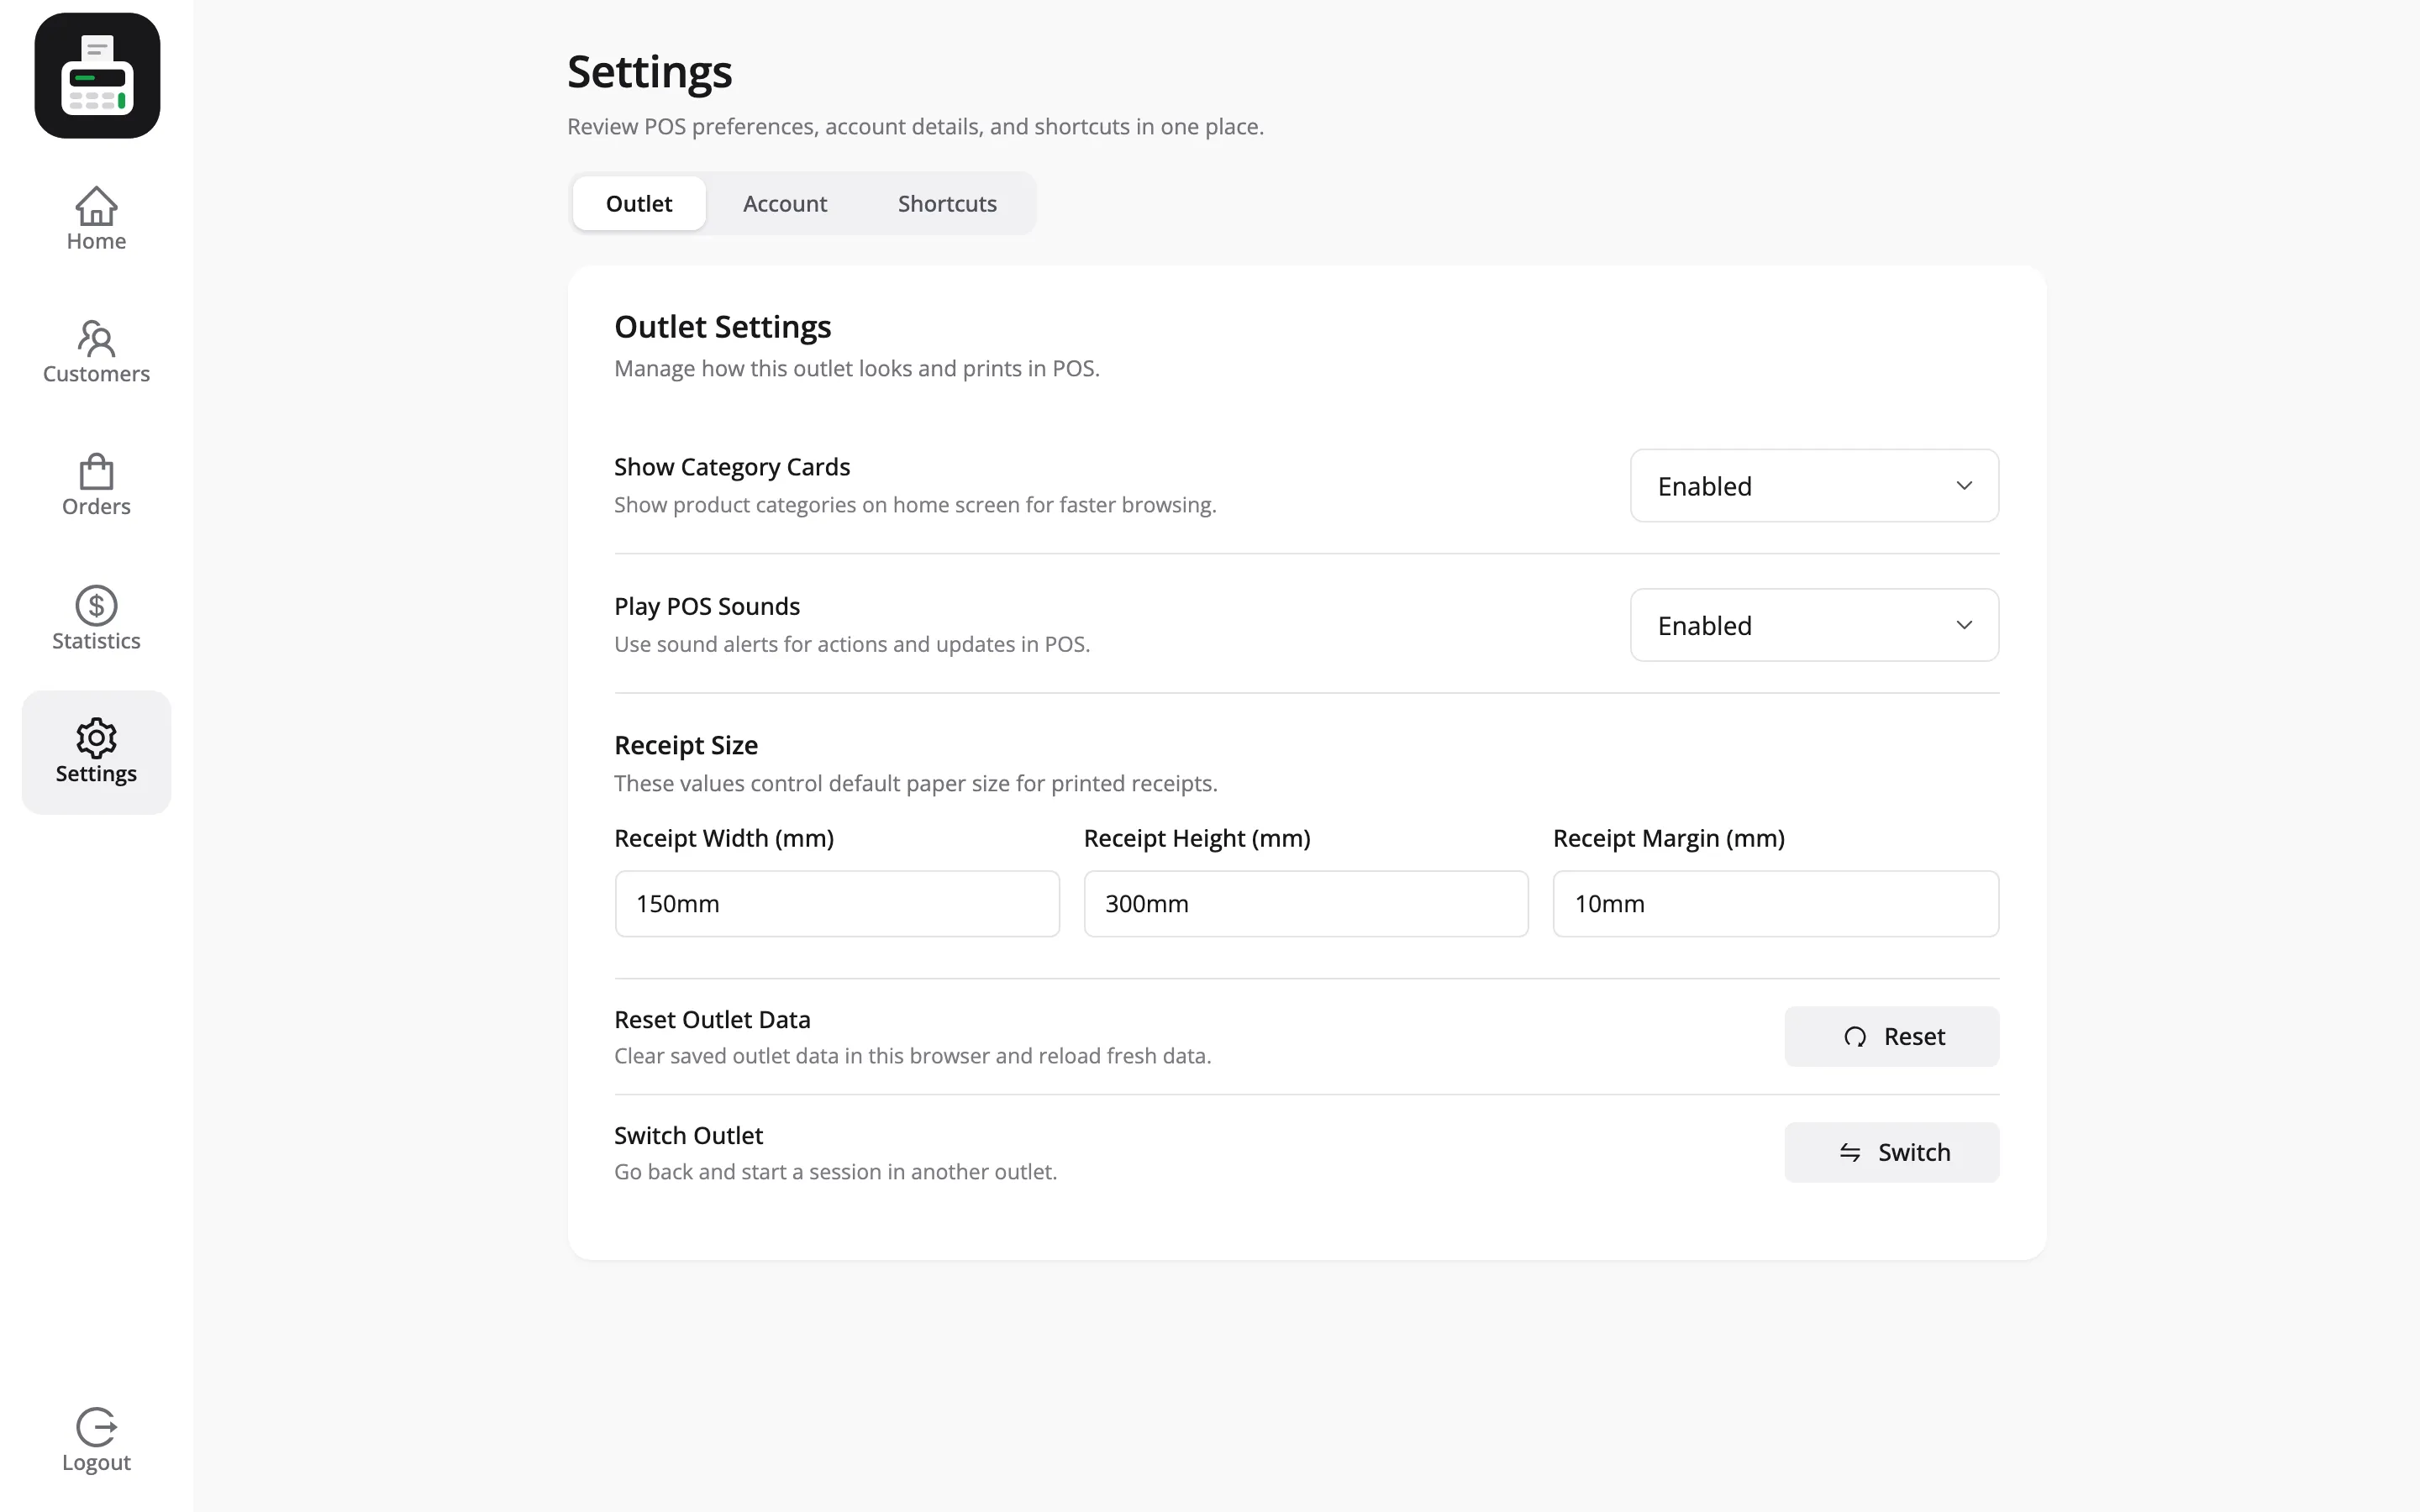
That override is per-cashier and per-browser, which is what you want when two terminals in one shop have different printers.
Where to go next
Section titled “Where to go next”- Receipt Templates for what the receipt says.
- Printer Settings for the field reference.
- How to Brand the POS Terminal