

Tables
The Tables tab is the list of dining tables in your restaurant or cafe. Cashiers attach a table to an order so the kitchen and the floor know where it goes.
Every field here is in the free version. Tables only appear at the POS when the outlet’s Operation Mode is Restaurant/Cafe.
Open the tab
Section titled “Open the tab”Go to DevDiggers Plugins → MultiPOS → Configuration → Tables.
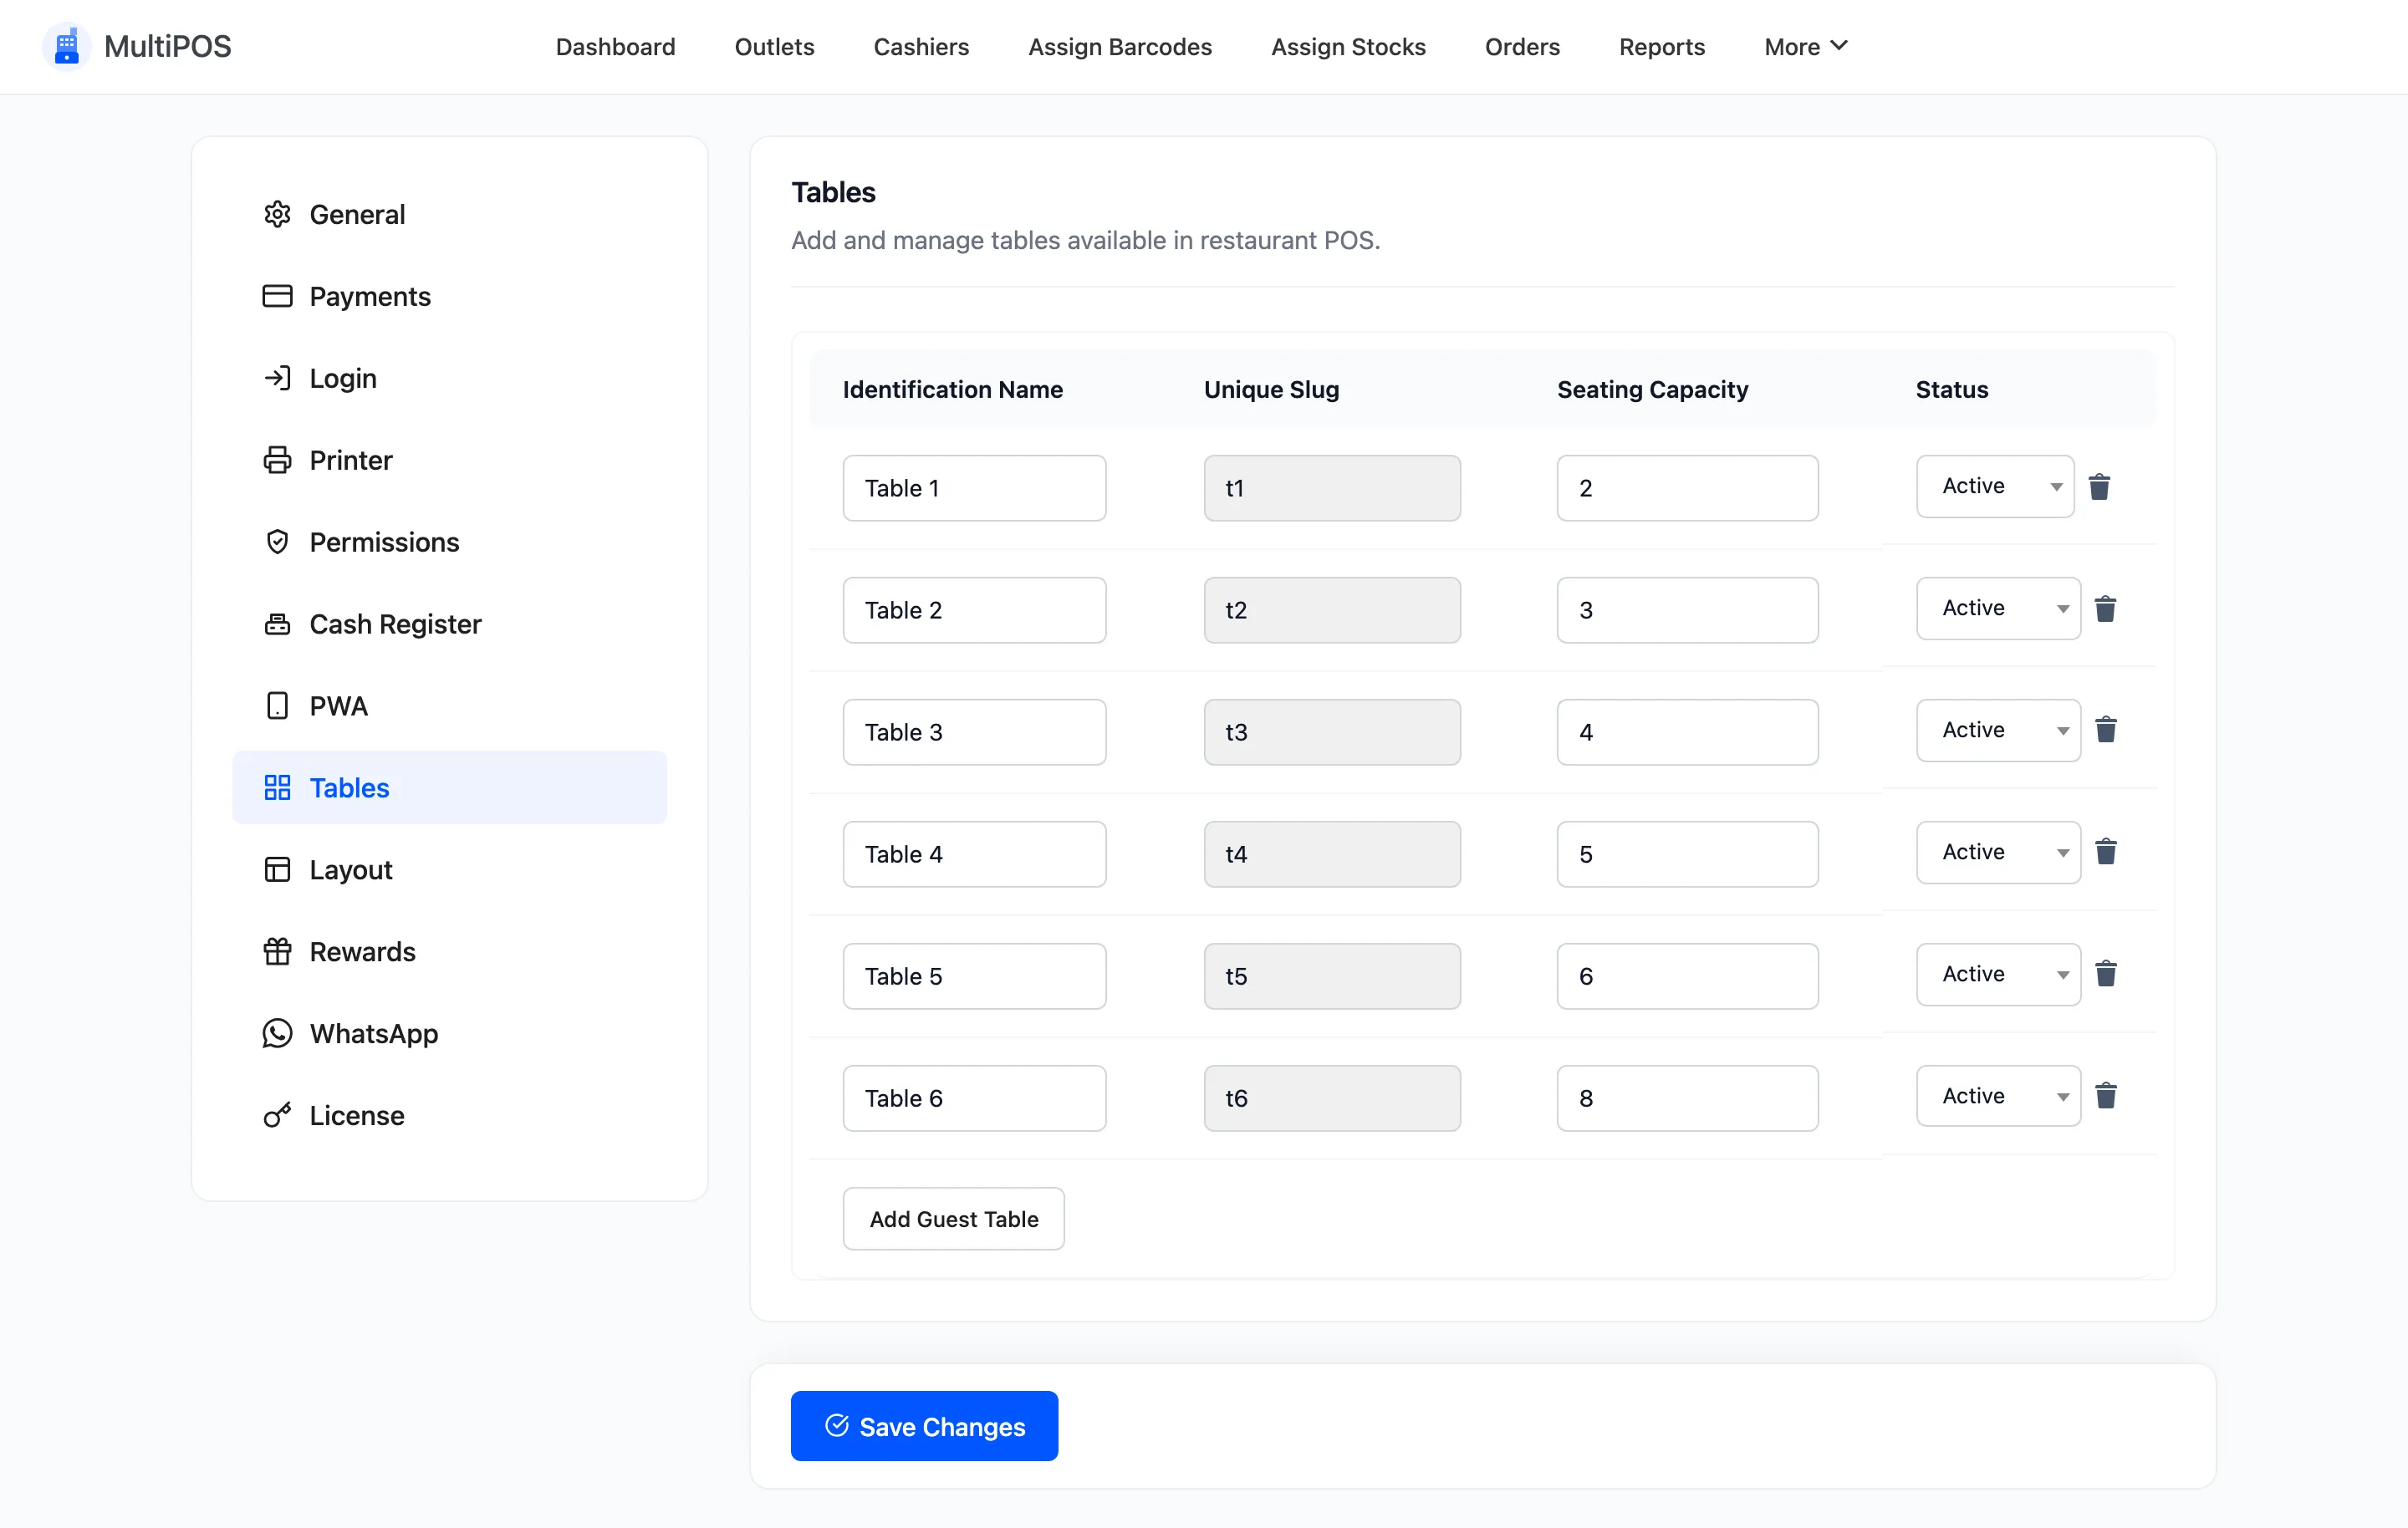
The list is empty on a new install. A grocery or retail outlet never needs it.
The four columns
Section titled “The four columns”| Column | What it is |
|---|---|
| Identification Name | What the cashier sees, such as 01 or Window 3 |
| Unique Slug | The internal key stored on the order |
| Seating Capacity | How many people the table seats |
| Status | Active or Inactive |
The slug is generated from the name when the row is created and then locked, so an existing order’s table reference never breaks.
Add a table
Section titled “Add a table”Click Add Guest Table under the list.
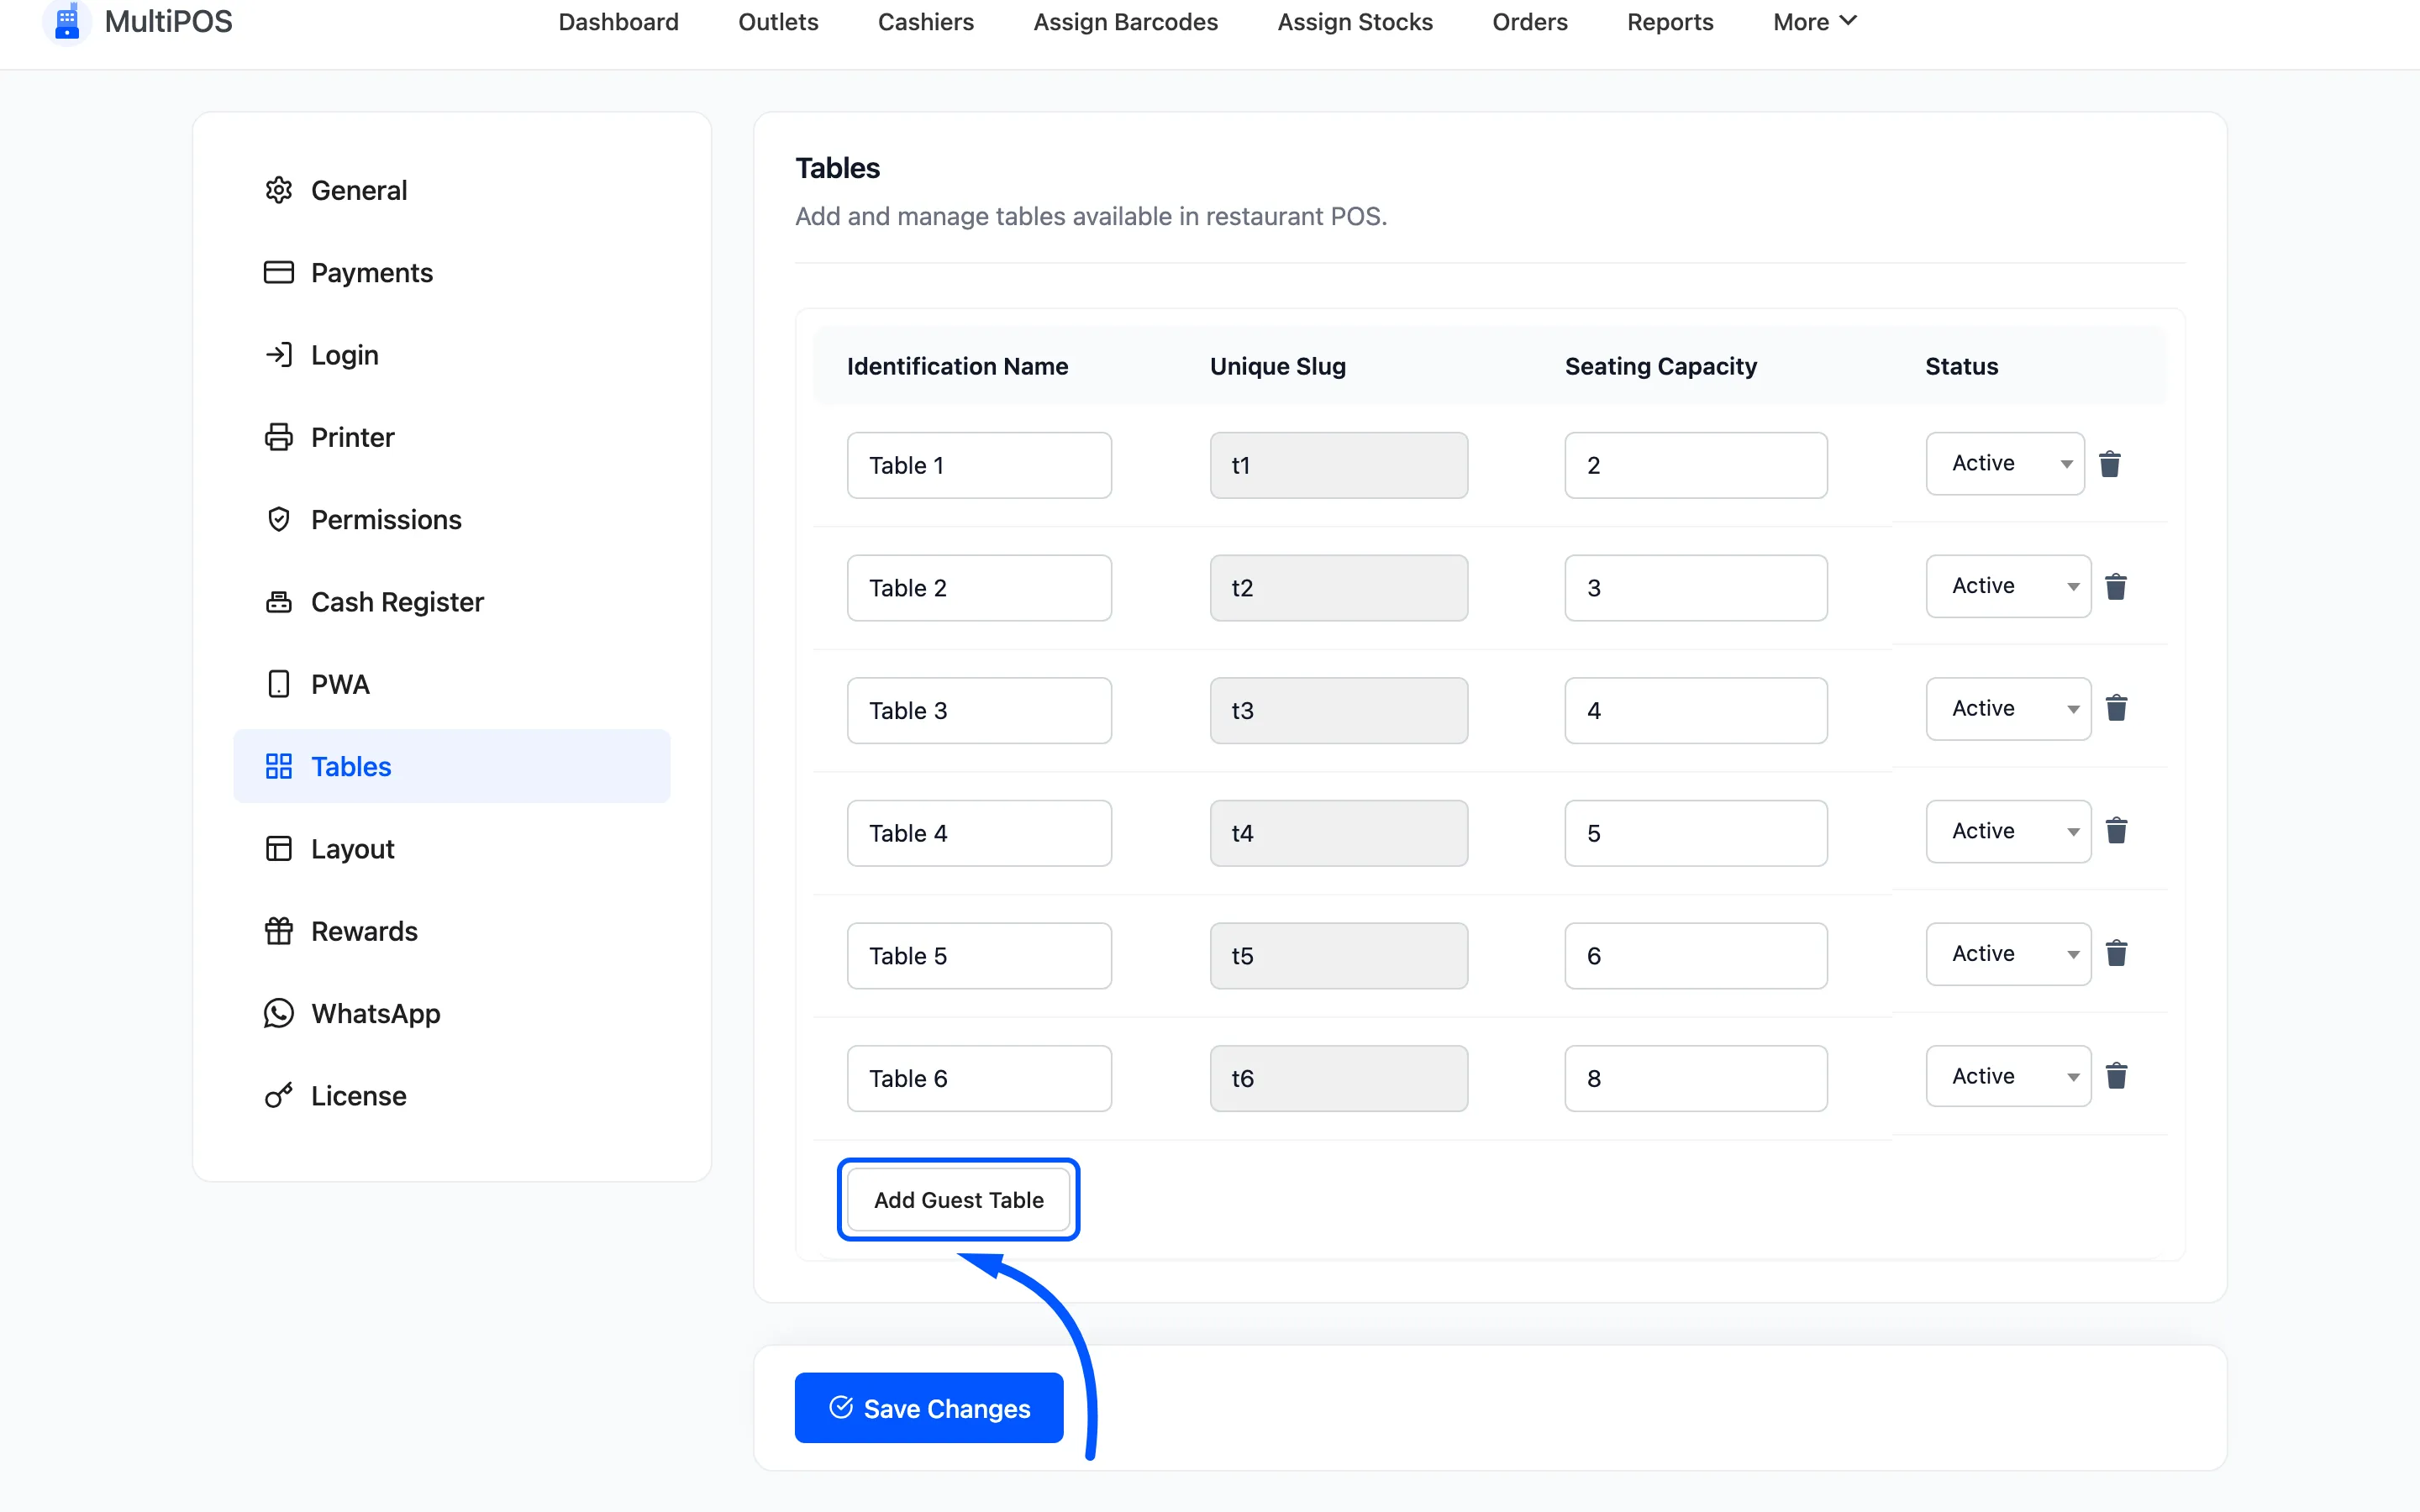
Fill in the name, the seat count and the status, then click Save Changes.
Name tables the way your staff already say them out loud. If the team calls it “the corner booth”, call it that here. A table numbered 07 that nobody calls 07 slows service down.
Seating capacity
Section titled “Seating capacity”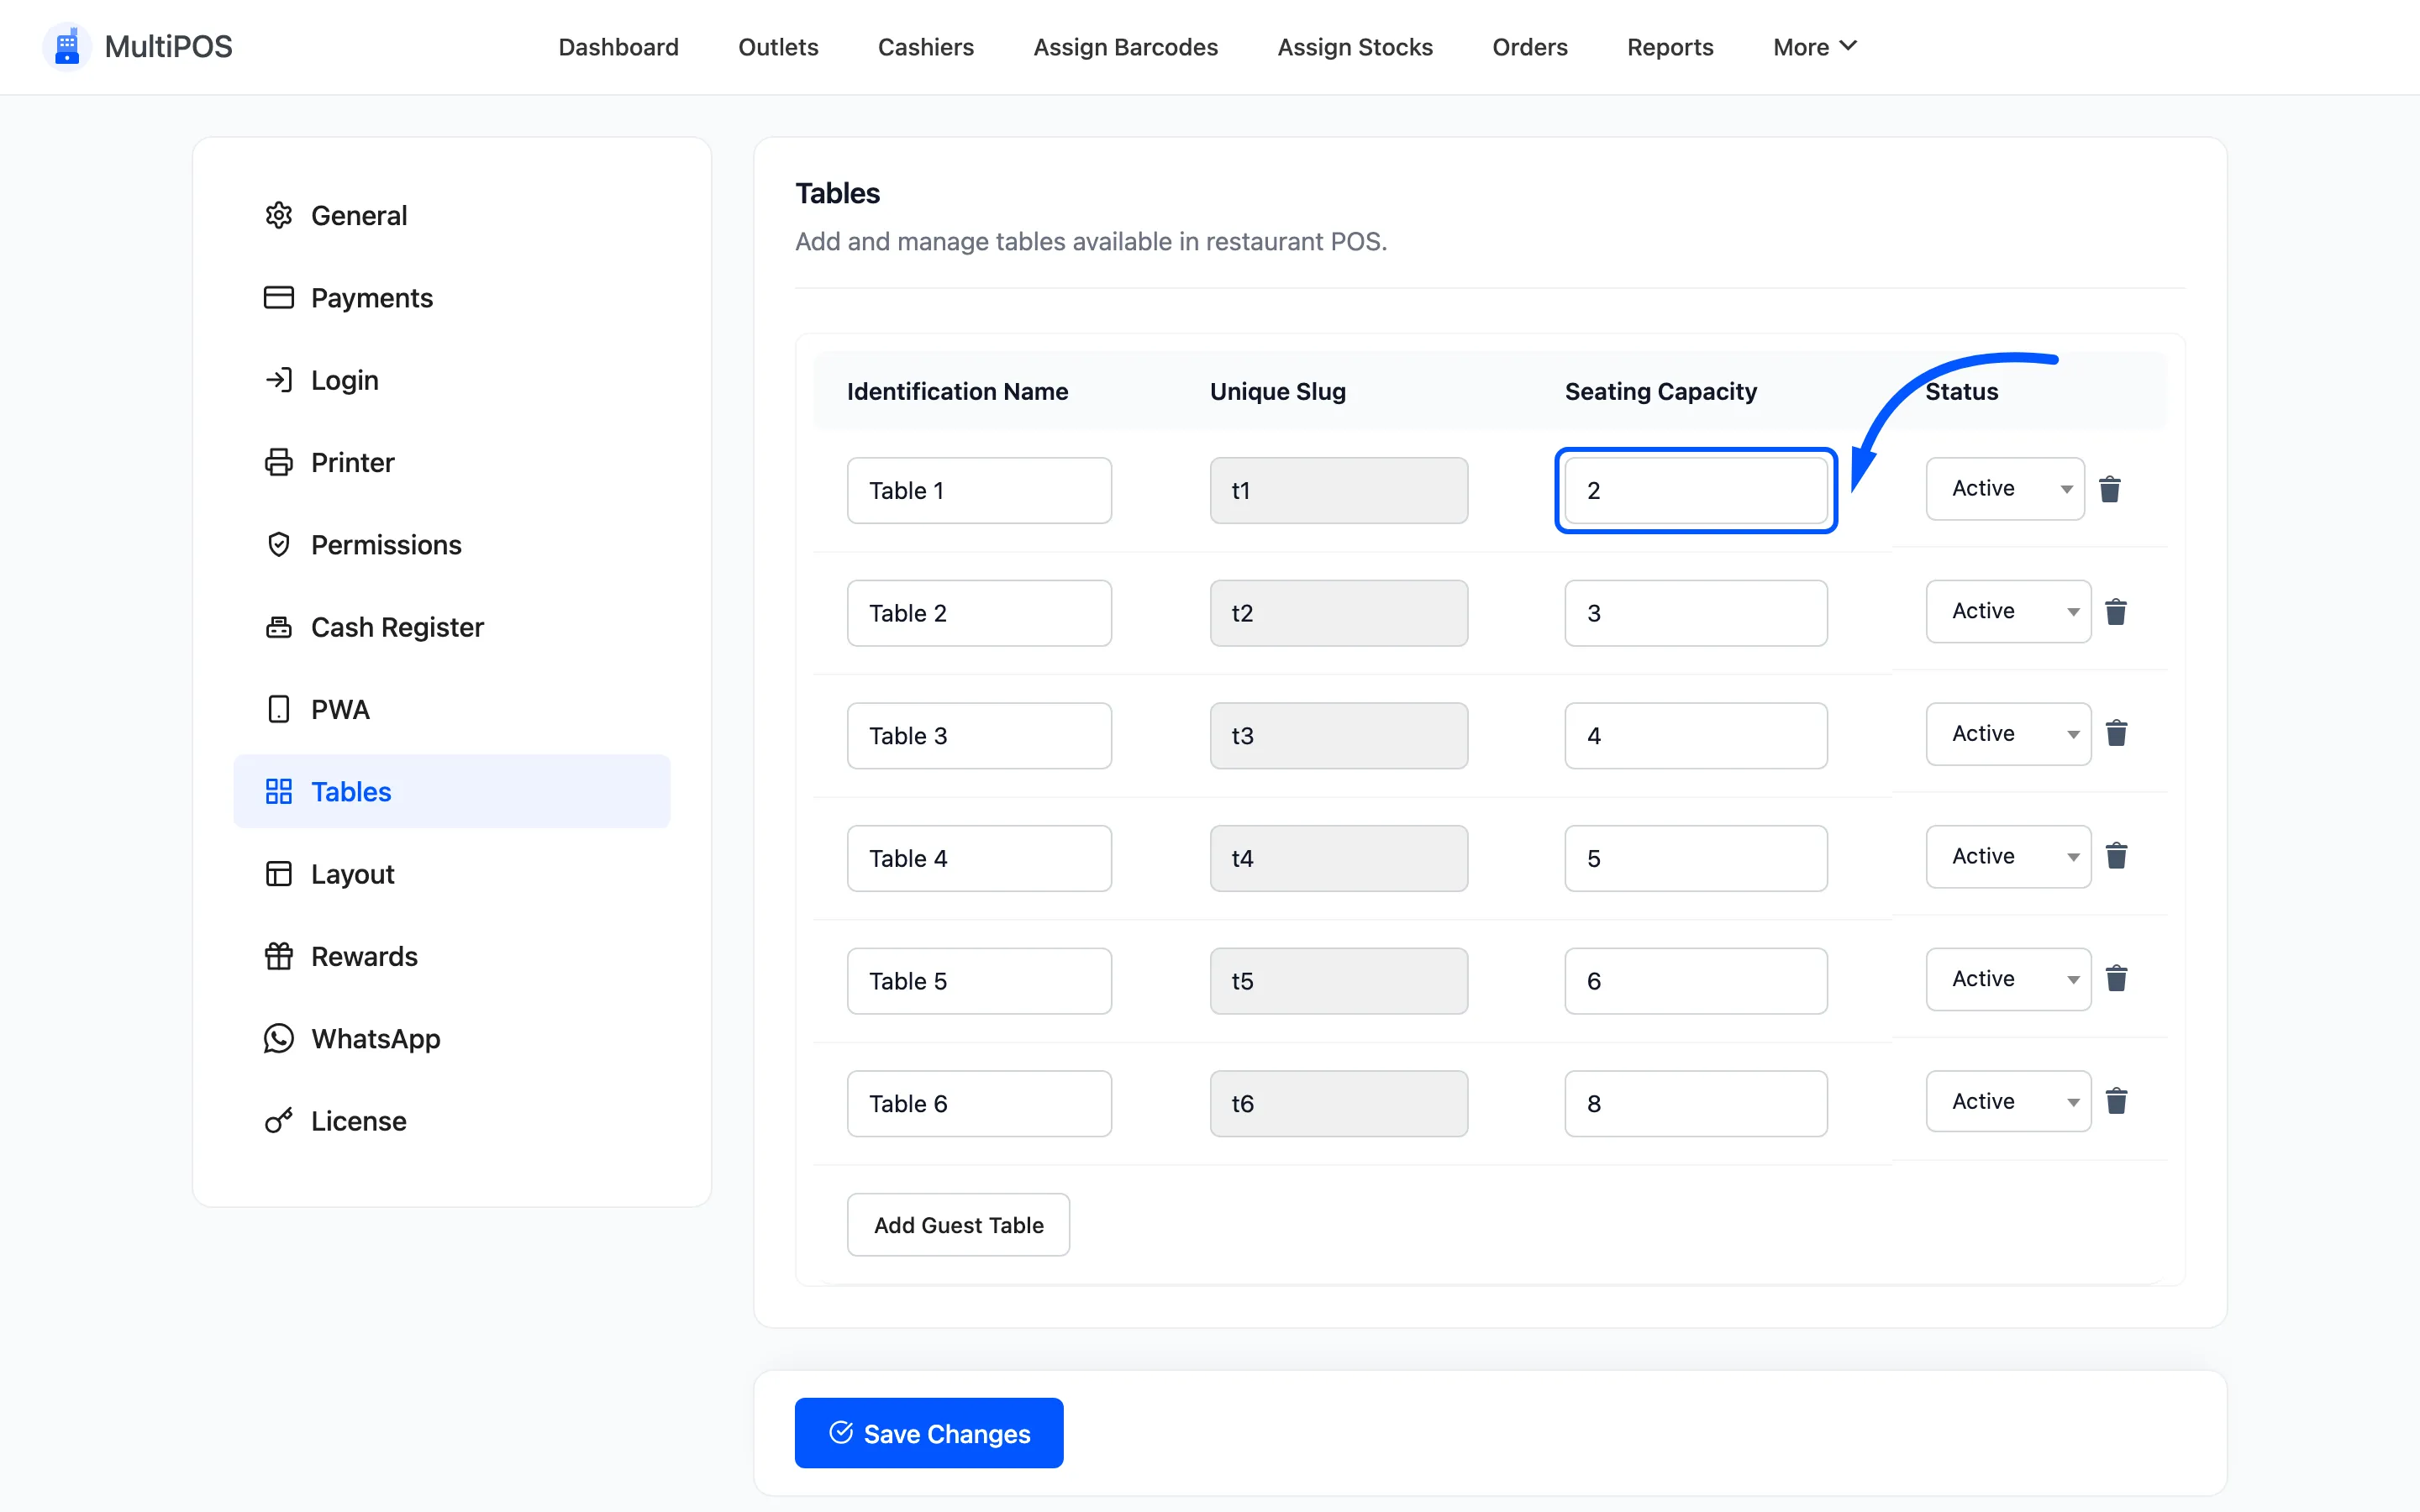
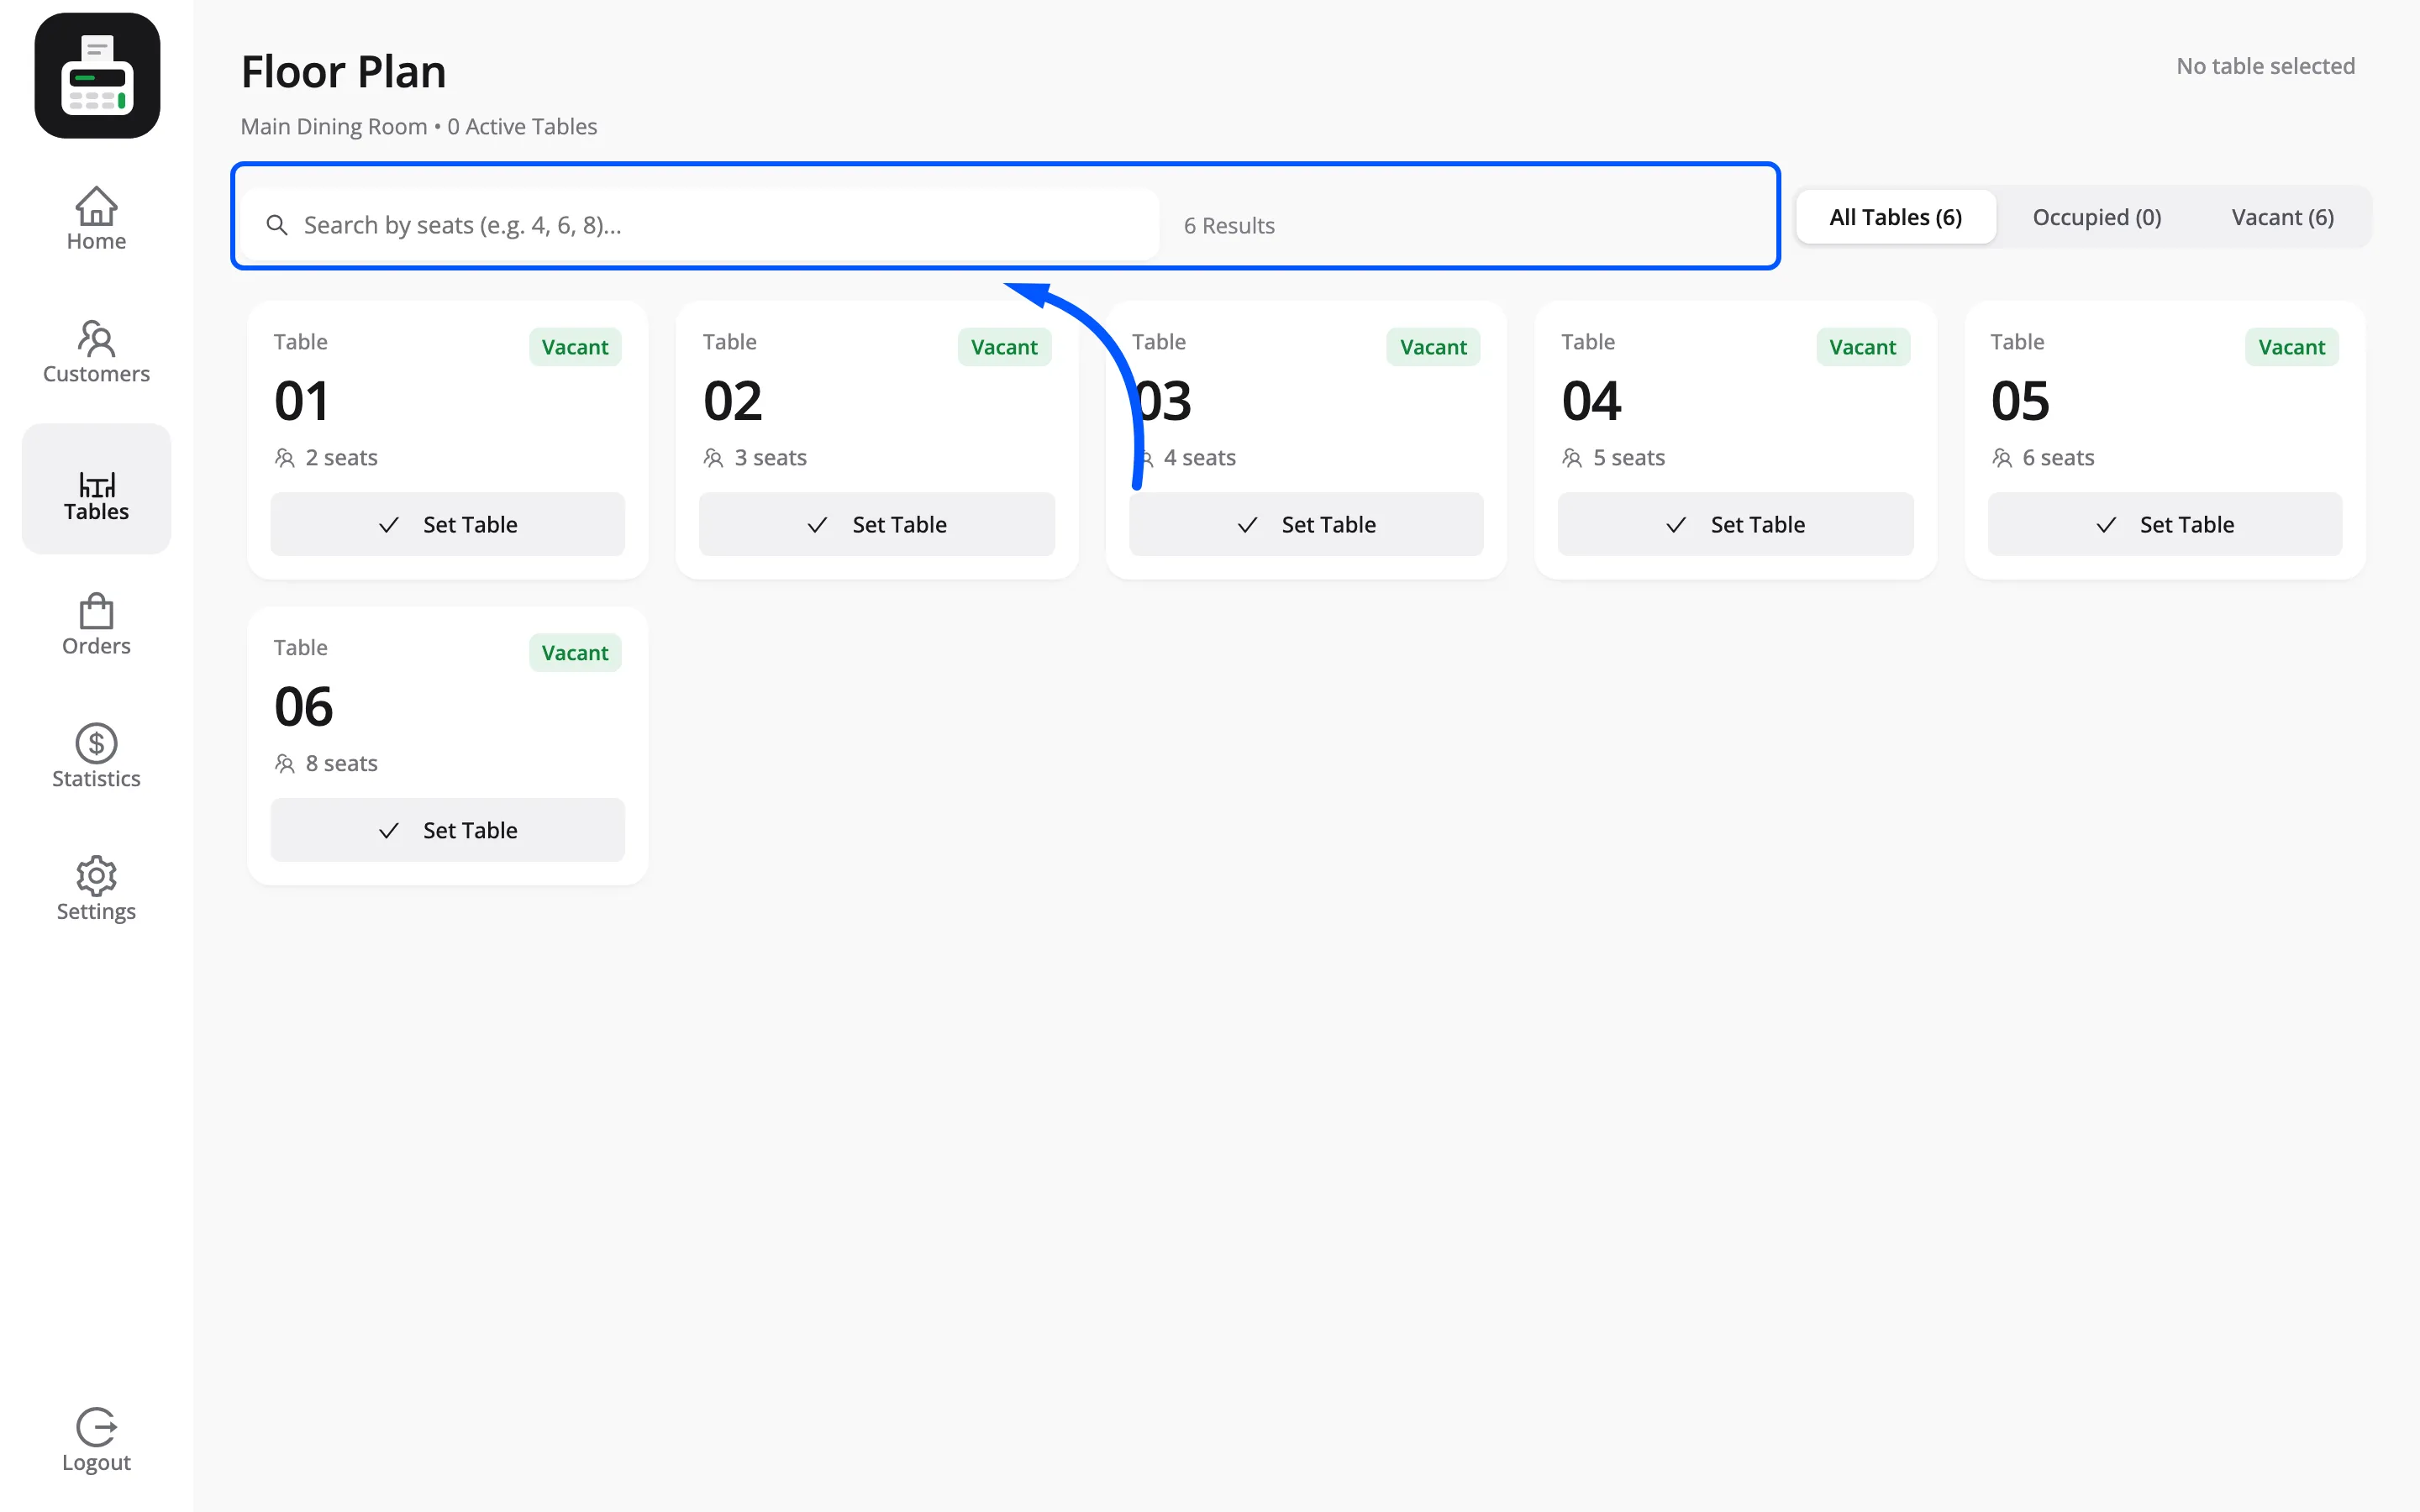
The seat count is what the terminal’s table search matches on. A cashier types 4 and gets every
four-seat table, which is how you seat a party without walking the floor.
Set it honestly. A six-seat table entered as four never shows up for the party it could take.
Switch a table off
Section titled “Switch a table off”Set its status to Inactive rather than deleting it. An inactive table disappears from the floor plan but stays on every past order that used it.
Use it for a table under repair, or a terrace that closes in winter.
Delete a table
Section titled “Delete a table”The bin icon on a row removes it. Delete only a row created by mistake.
Tables have to be assigned to the outlet
Section titled “Tables have to be assigned to the outlet”Adding a table here does not put it on the floor plan. The outlet carries its own list.
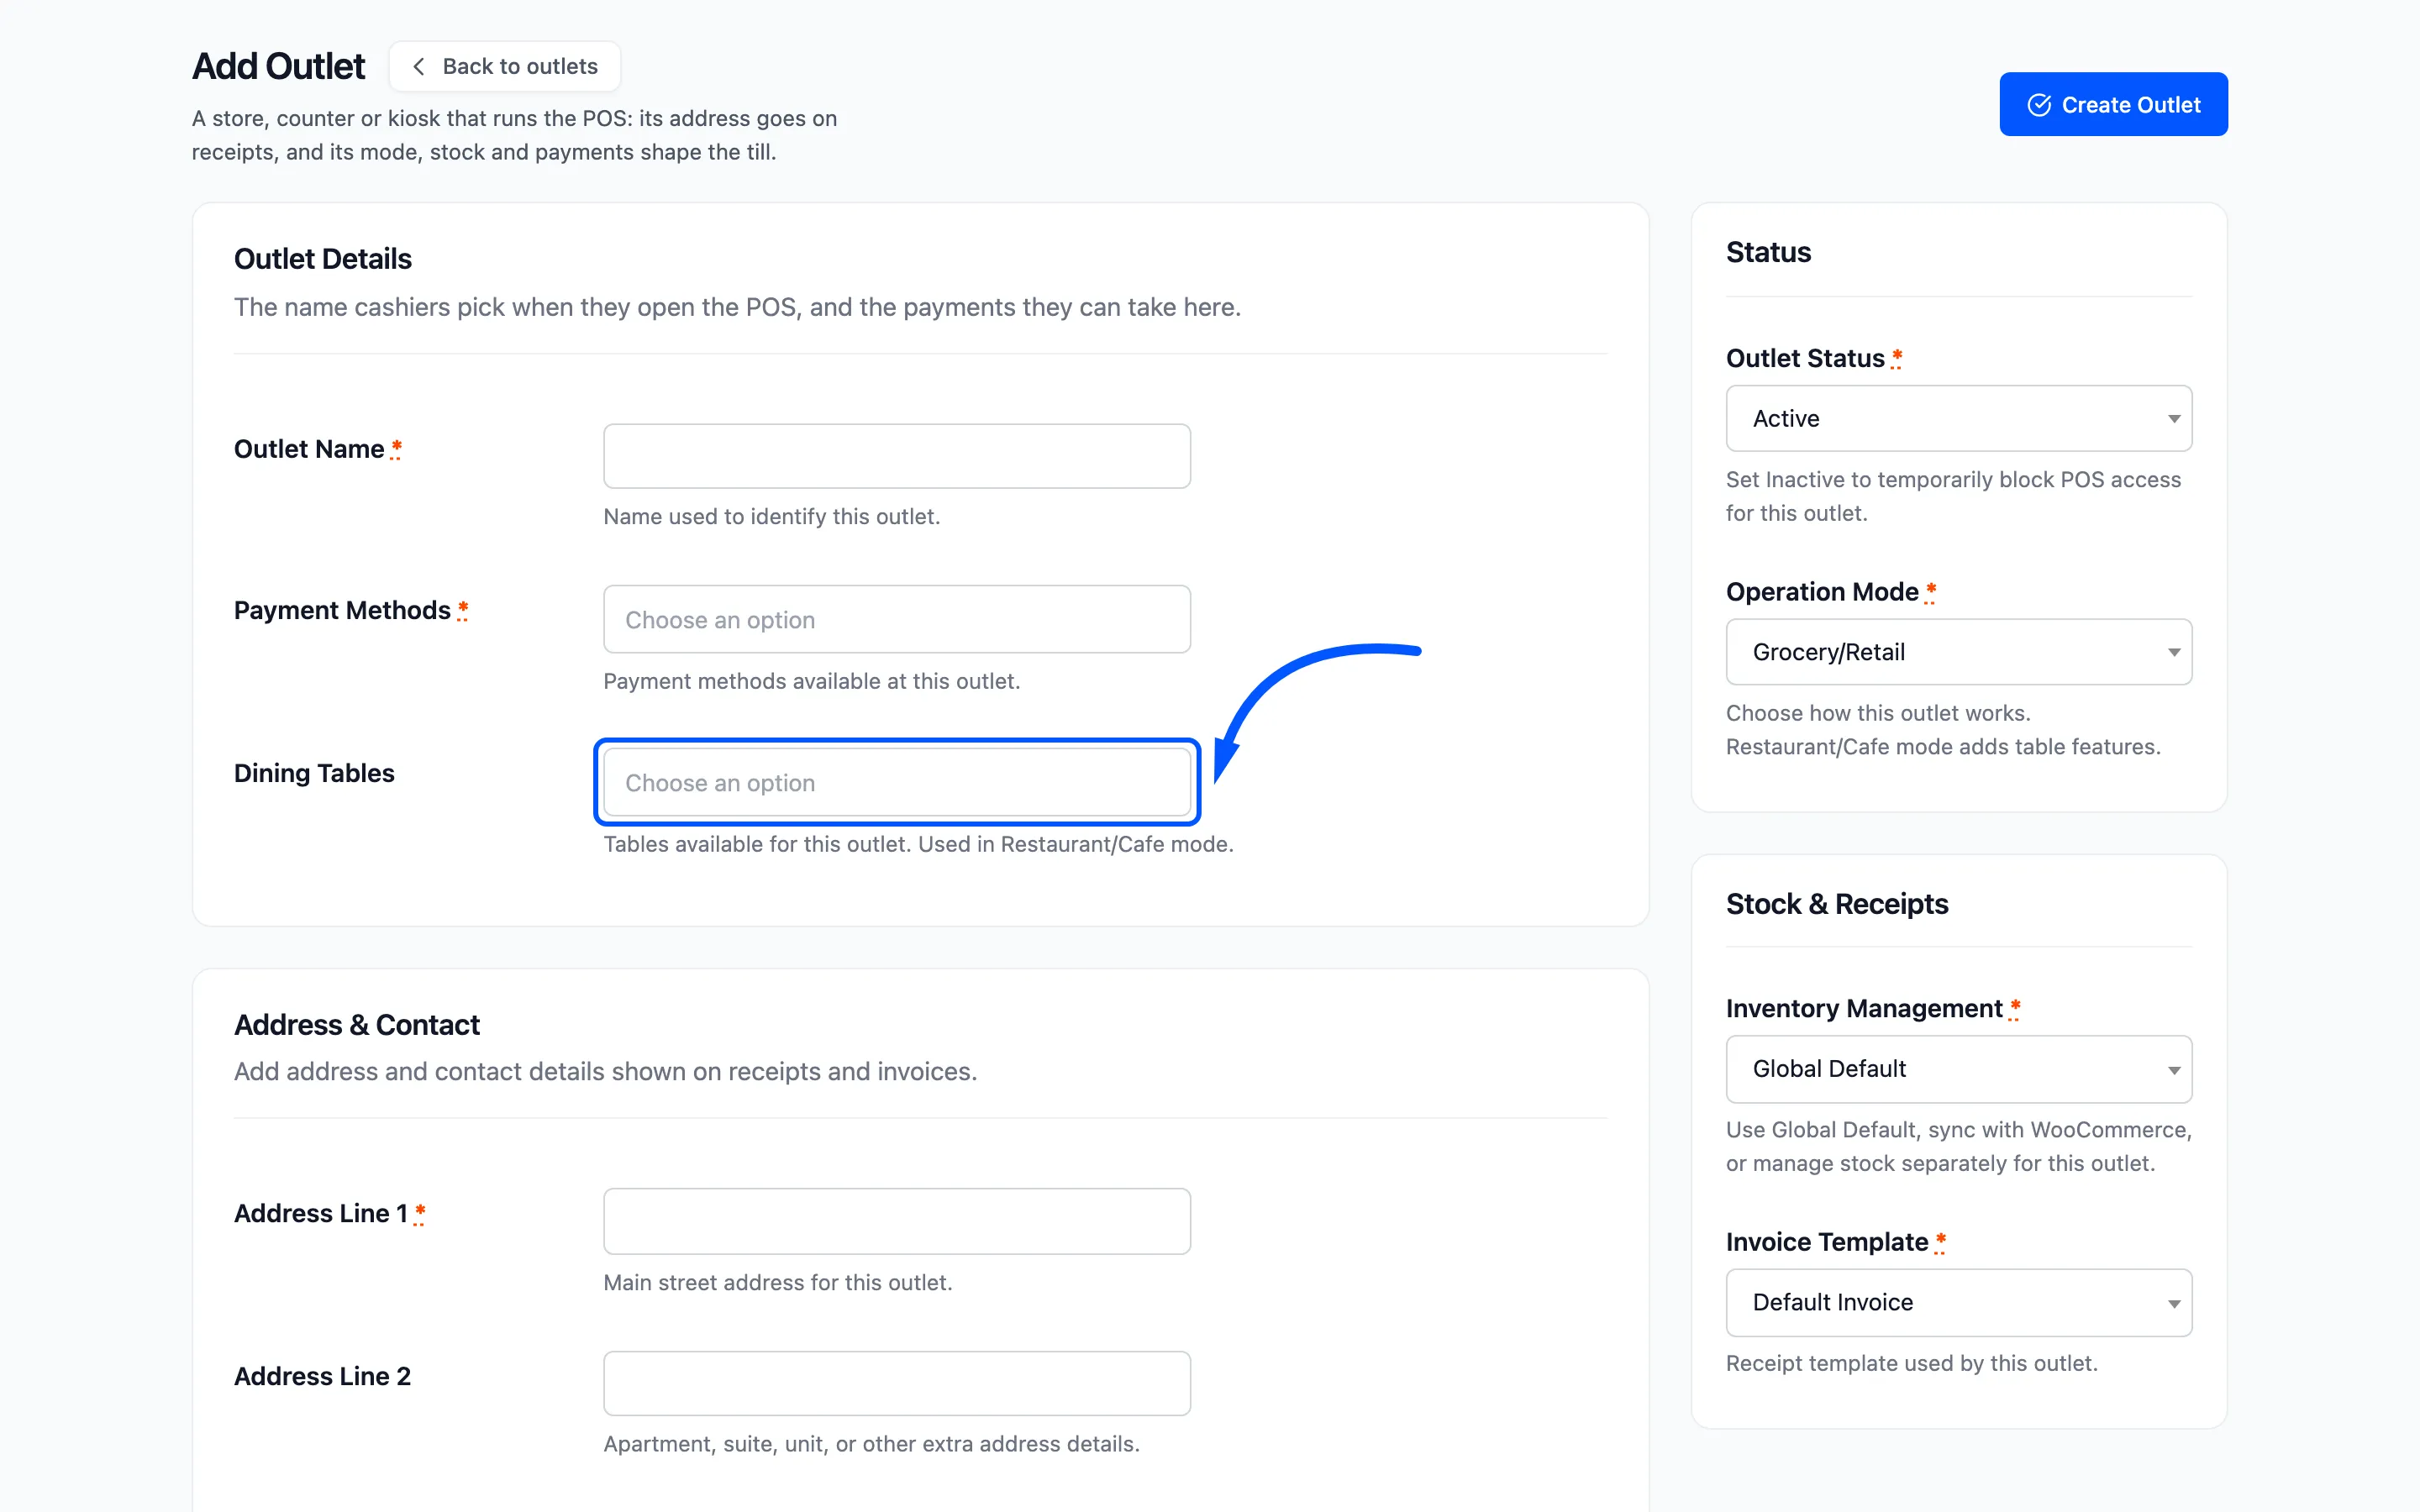
Go to MultiPOS → Outlet, set Operation Mode to Restaurant/Cafe, then pick your tables in Dining Tables. Only Active tables can be selected.
The field is ignored entirely when the mode is not Restaurant/Cafe, so a grocery outlet cannot accidentally show a floor plan.
What the cashier sees
Section titled “What the cashier sees”The Tables icon appears in the terminal sidebar, opening a floor plan.
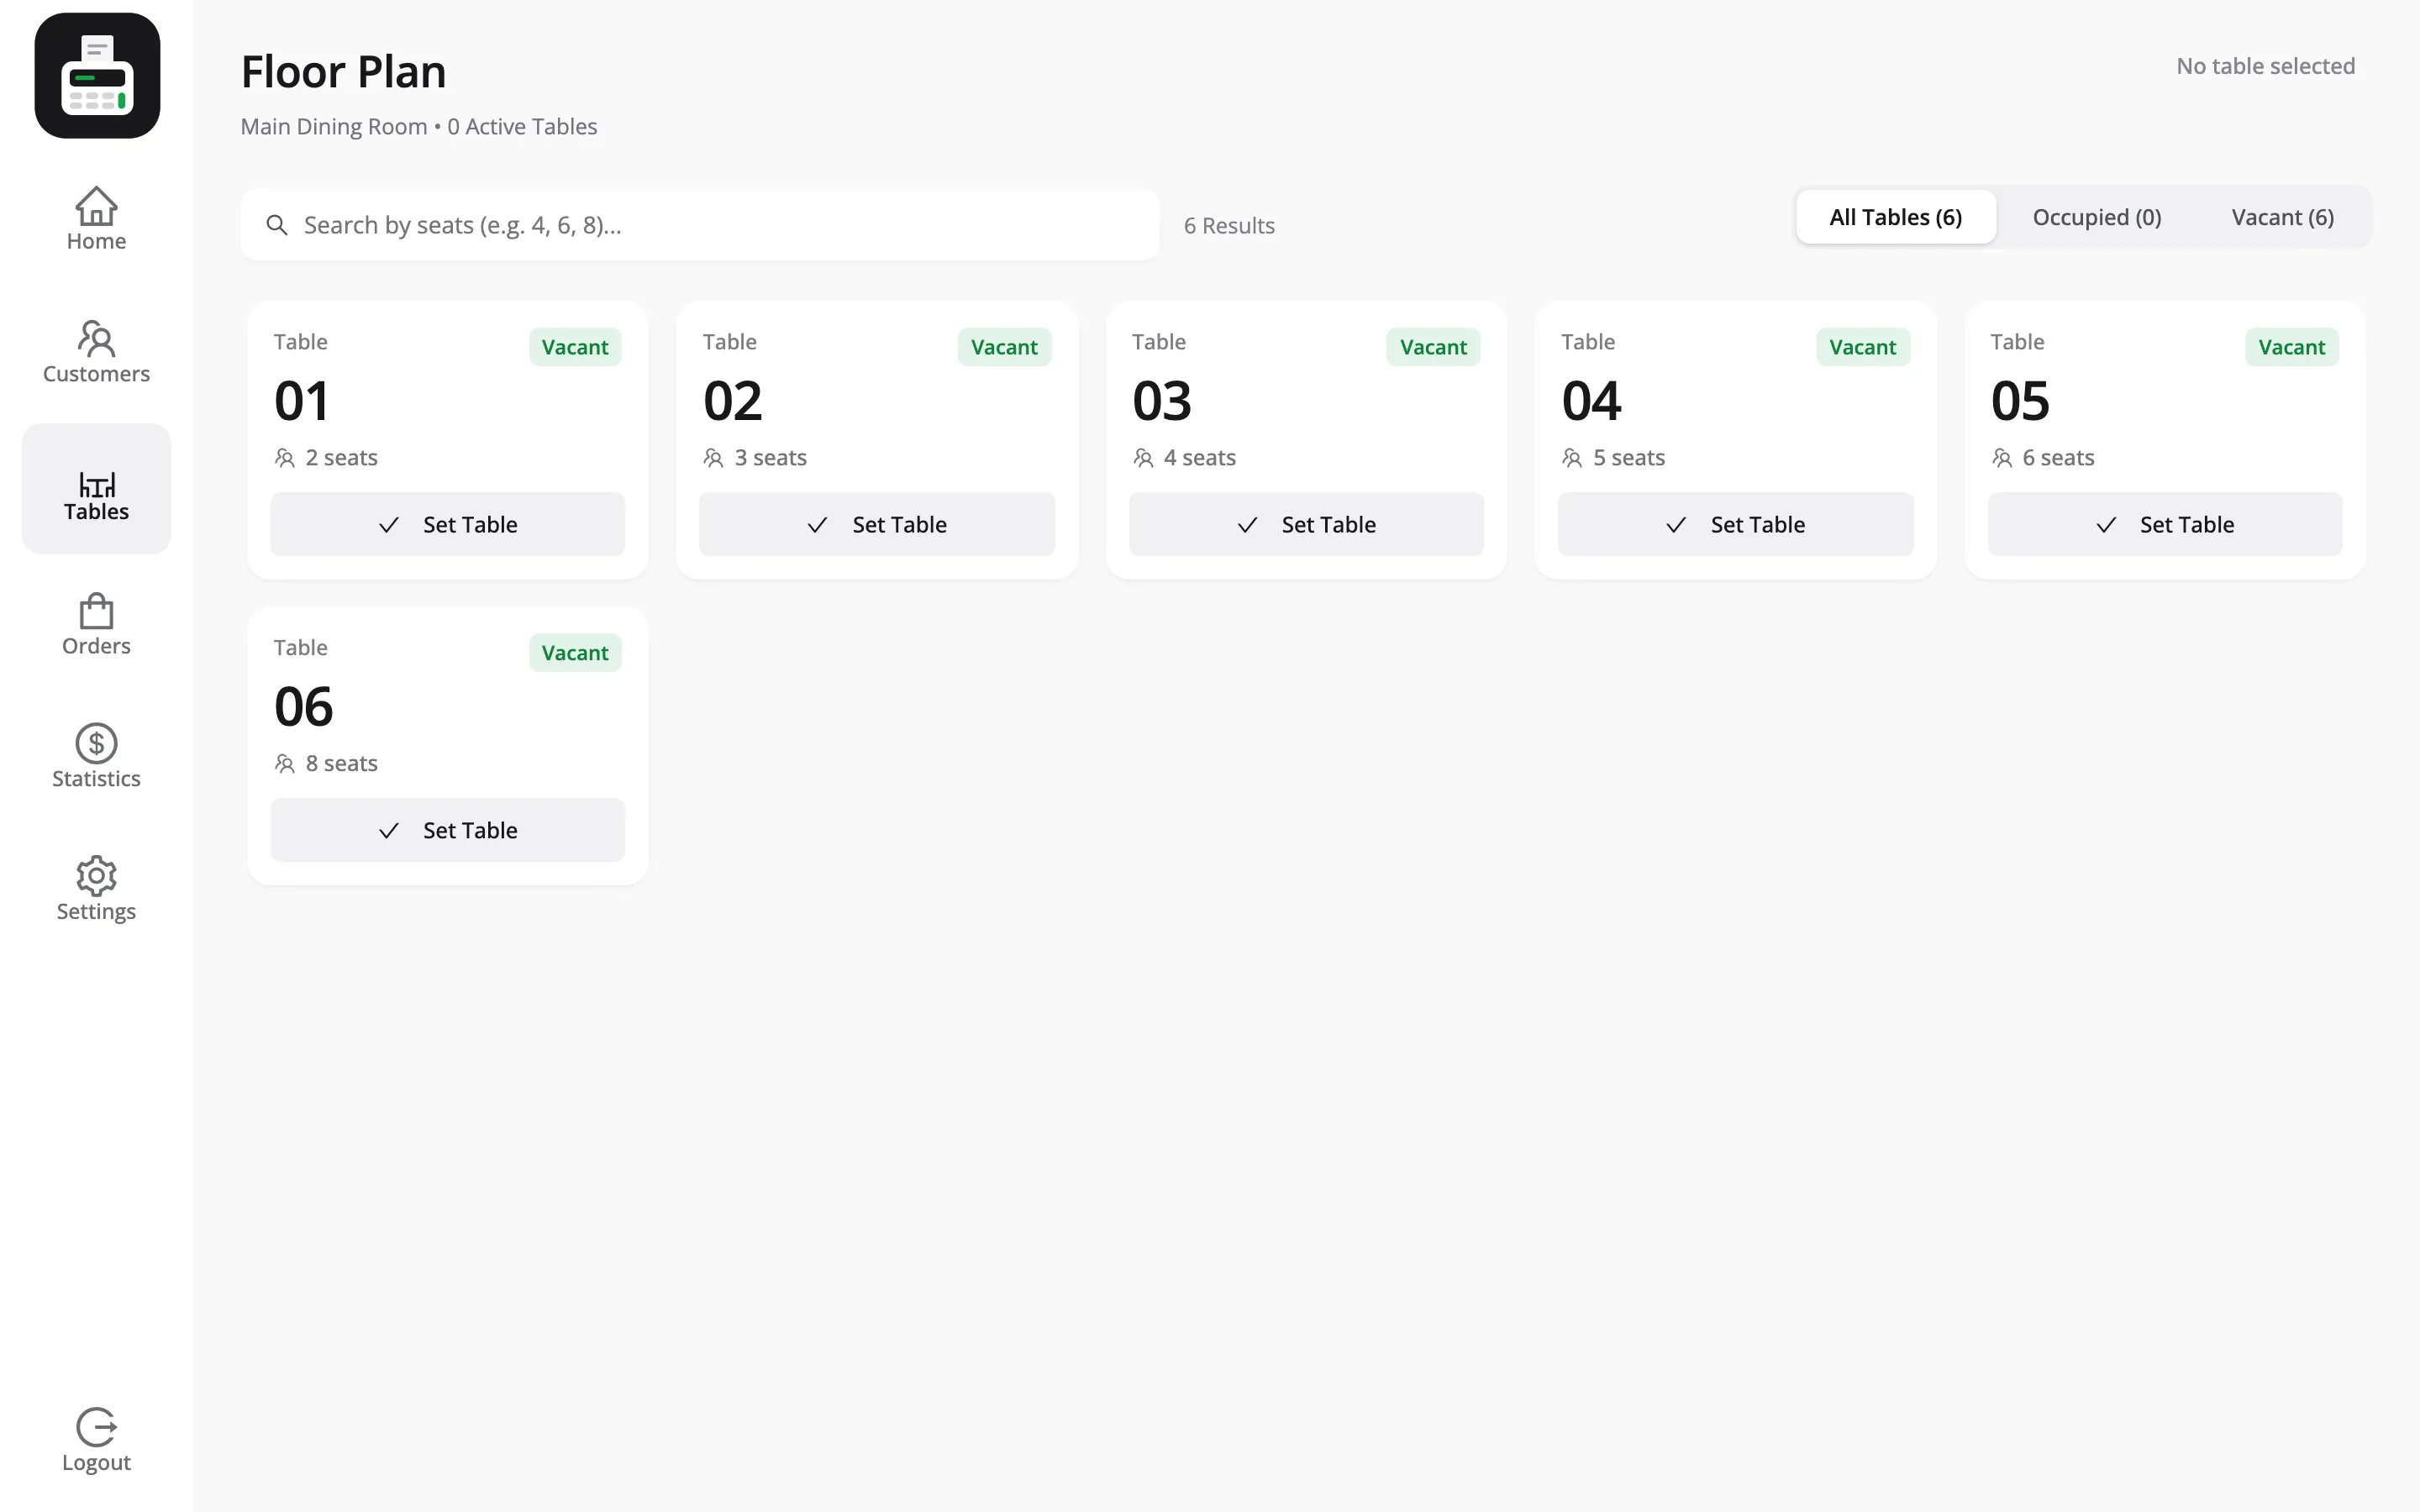
Each card shows the table and whether it is Vacant or Occupied, with the running amount on an occupied one.
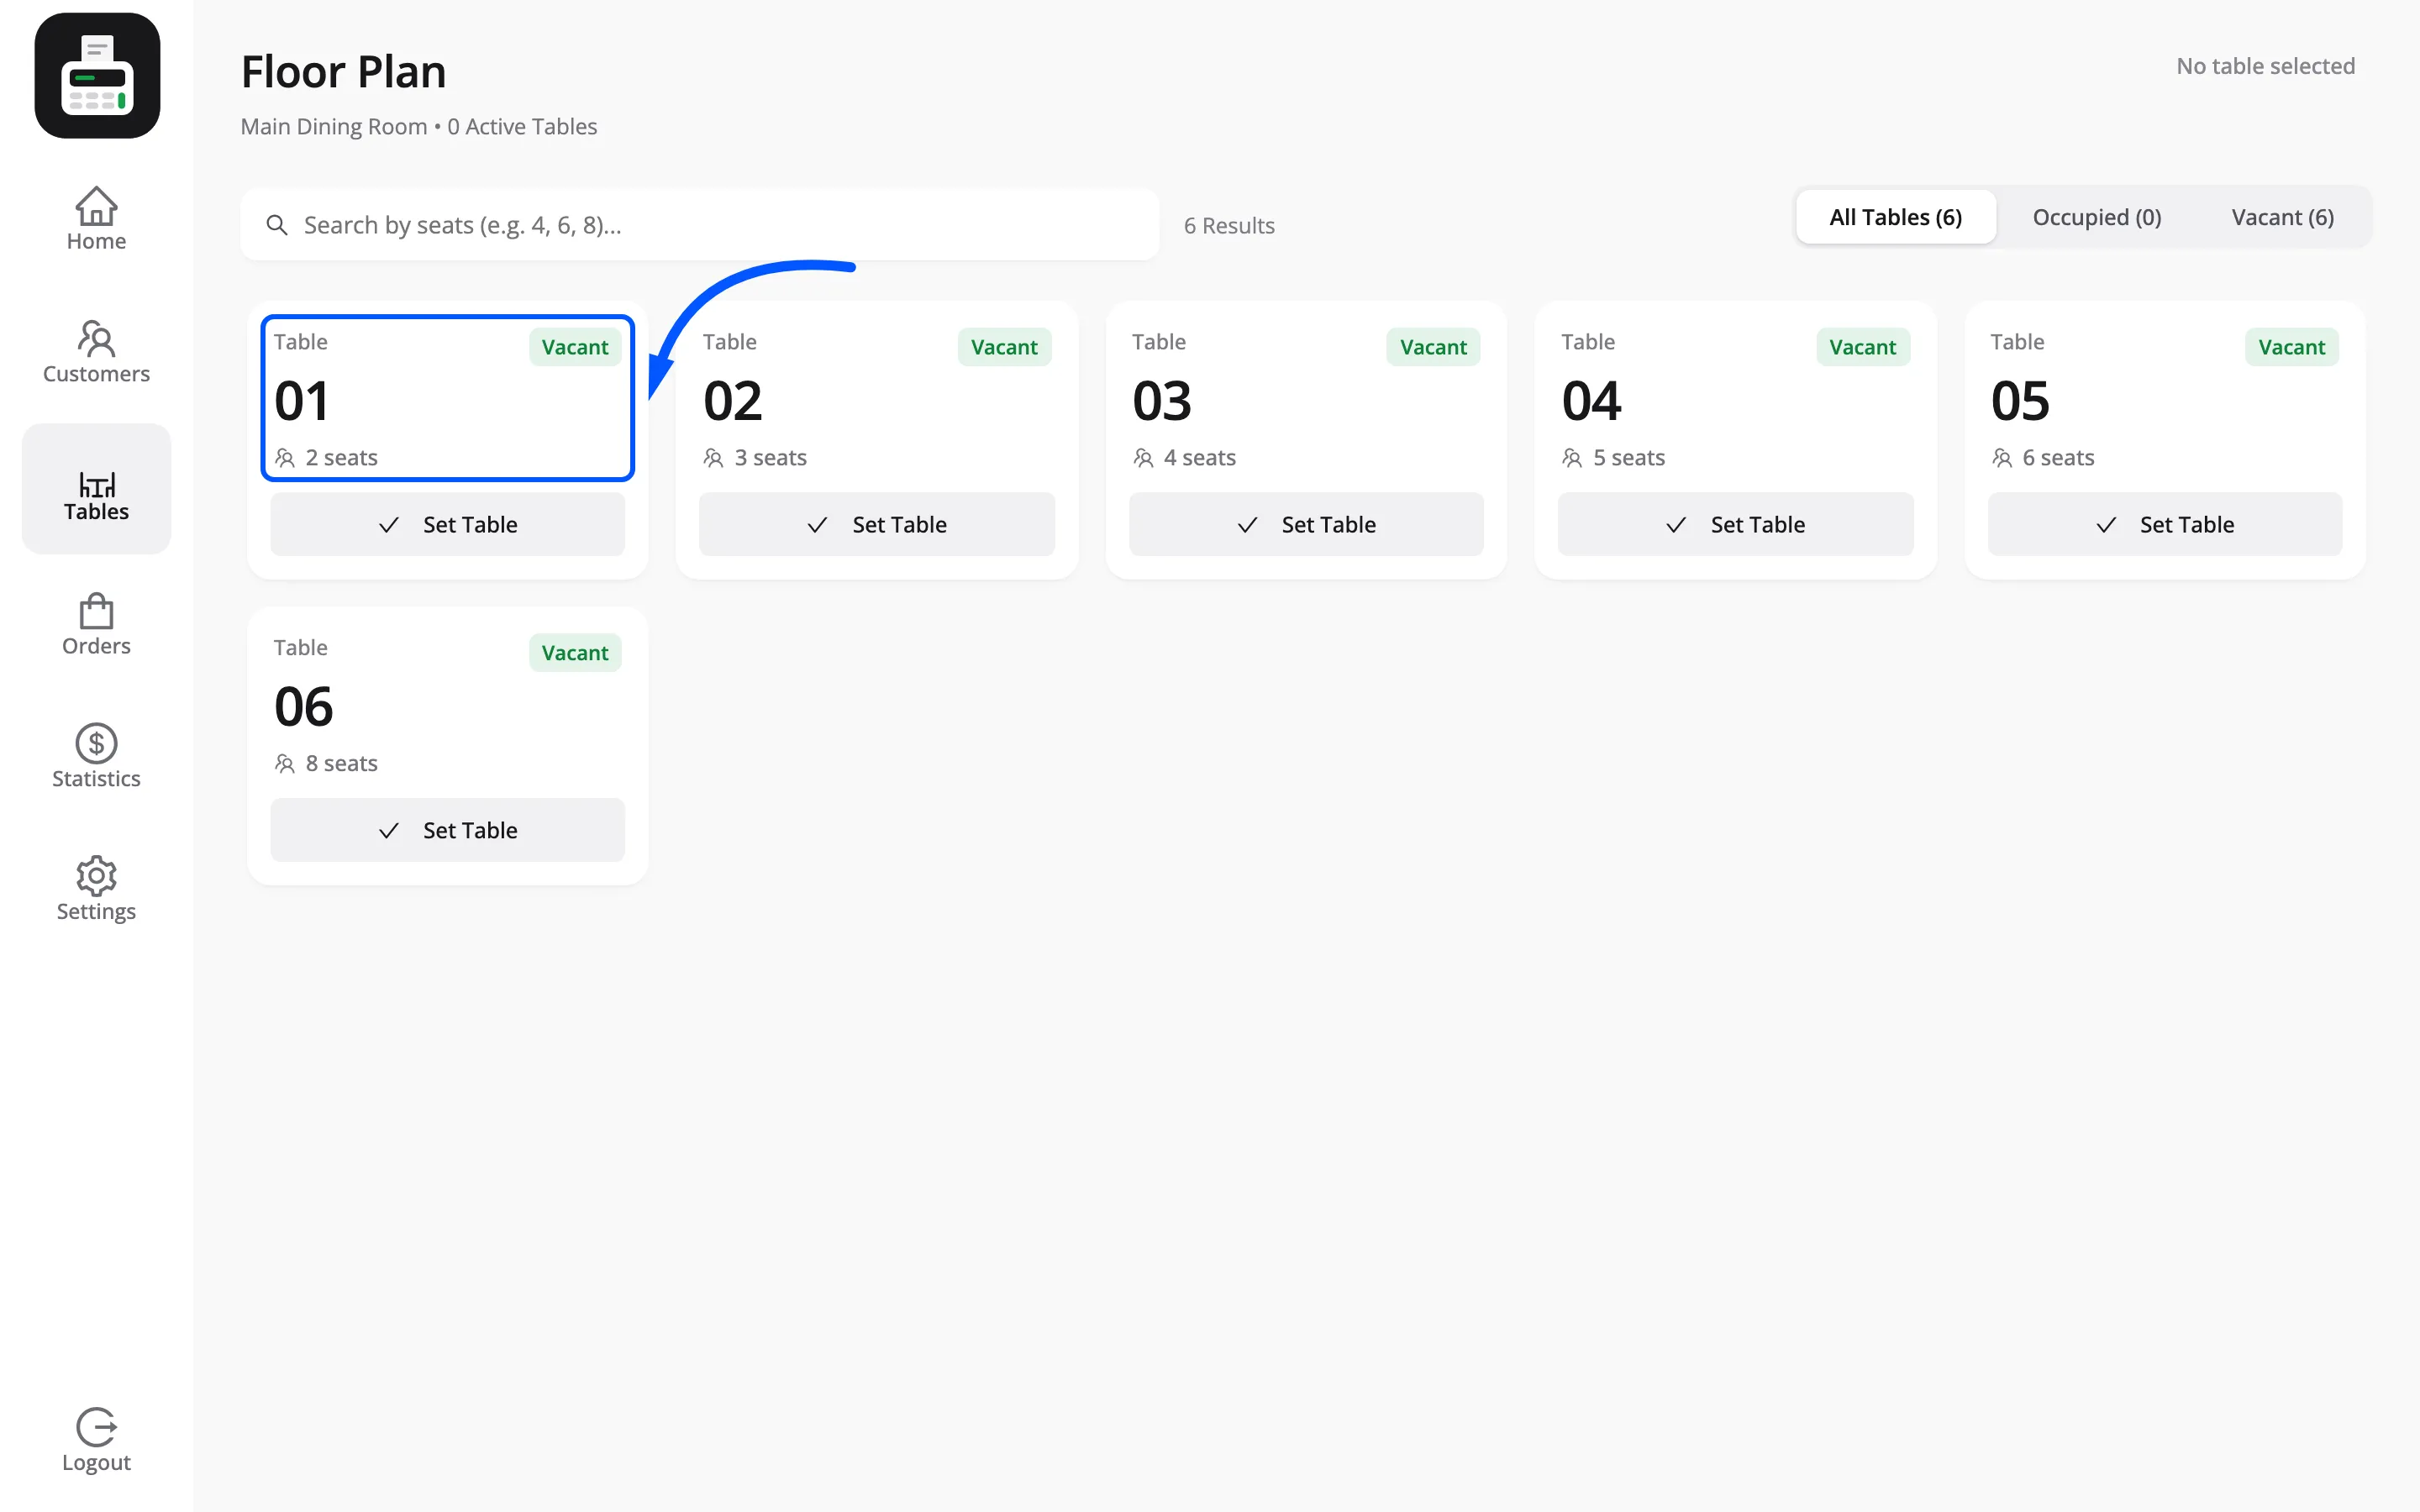
Three filters run across the top: All Tables, Occupied and Vacant, each with a count.
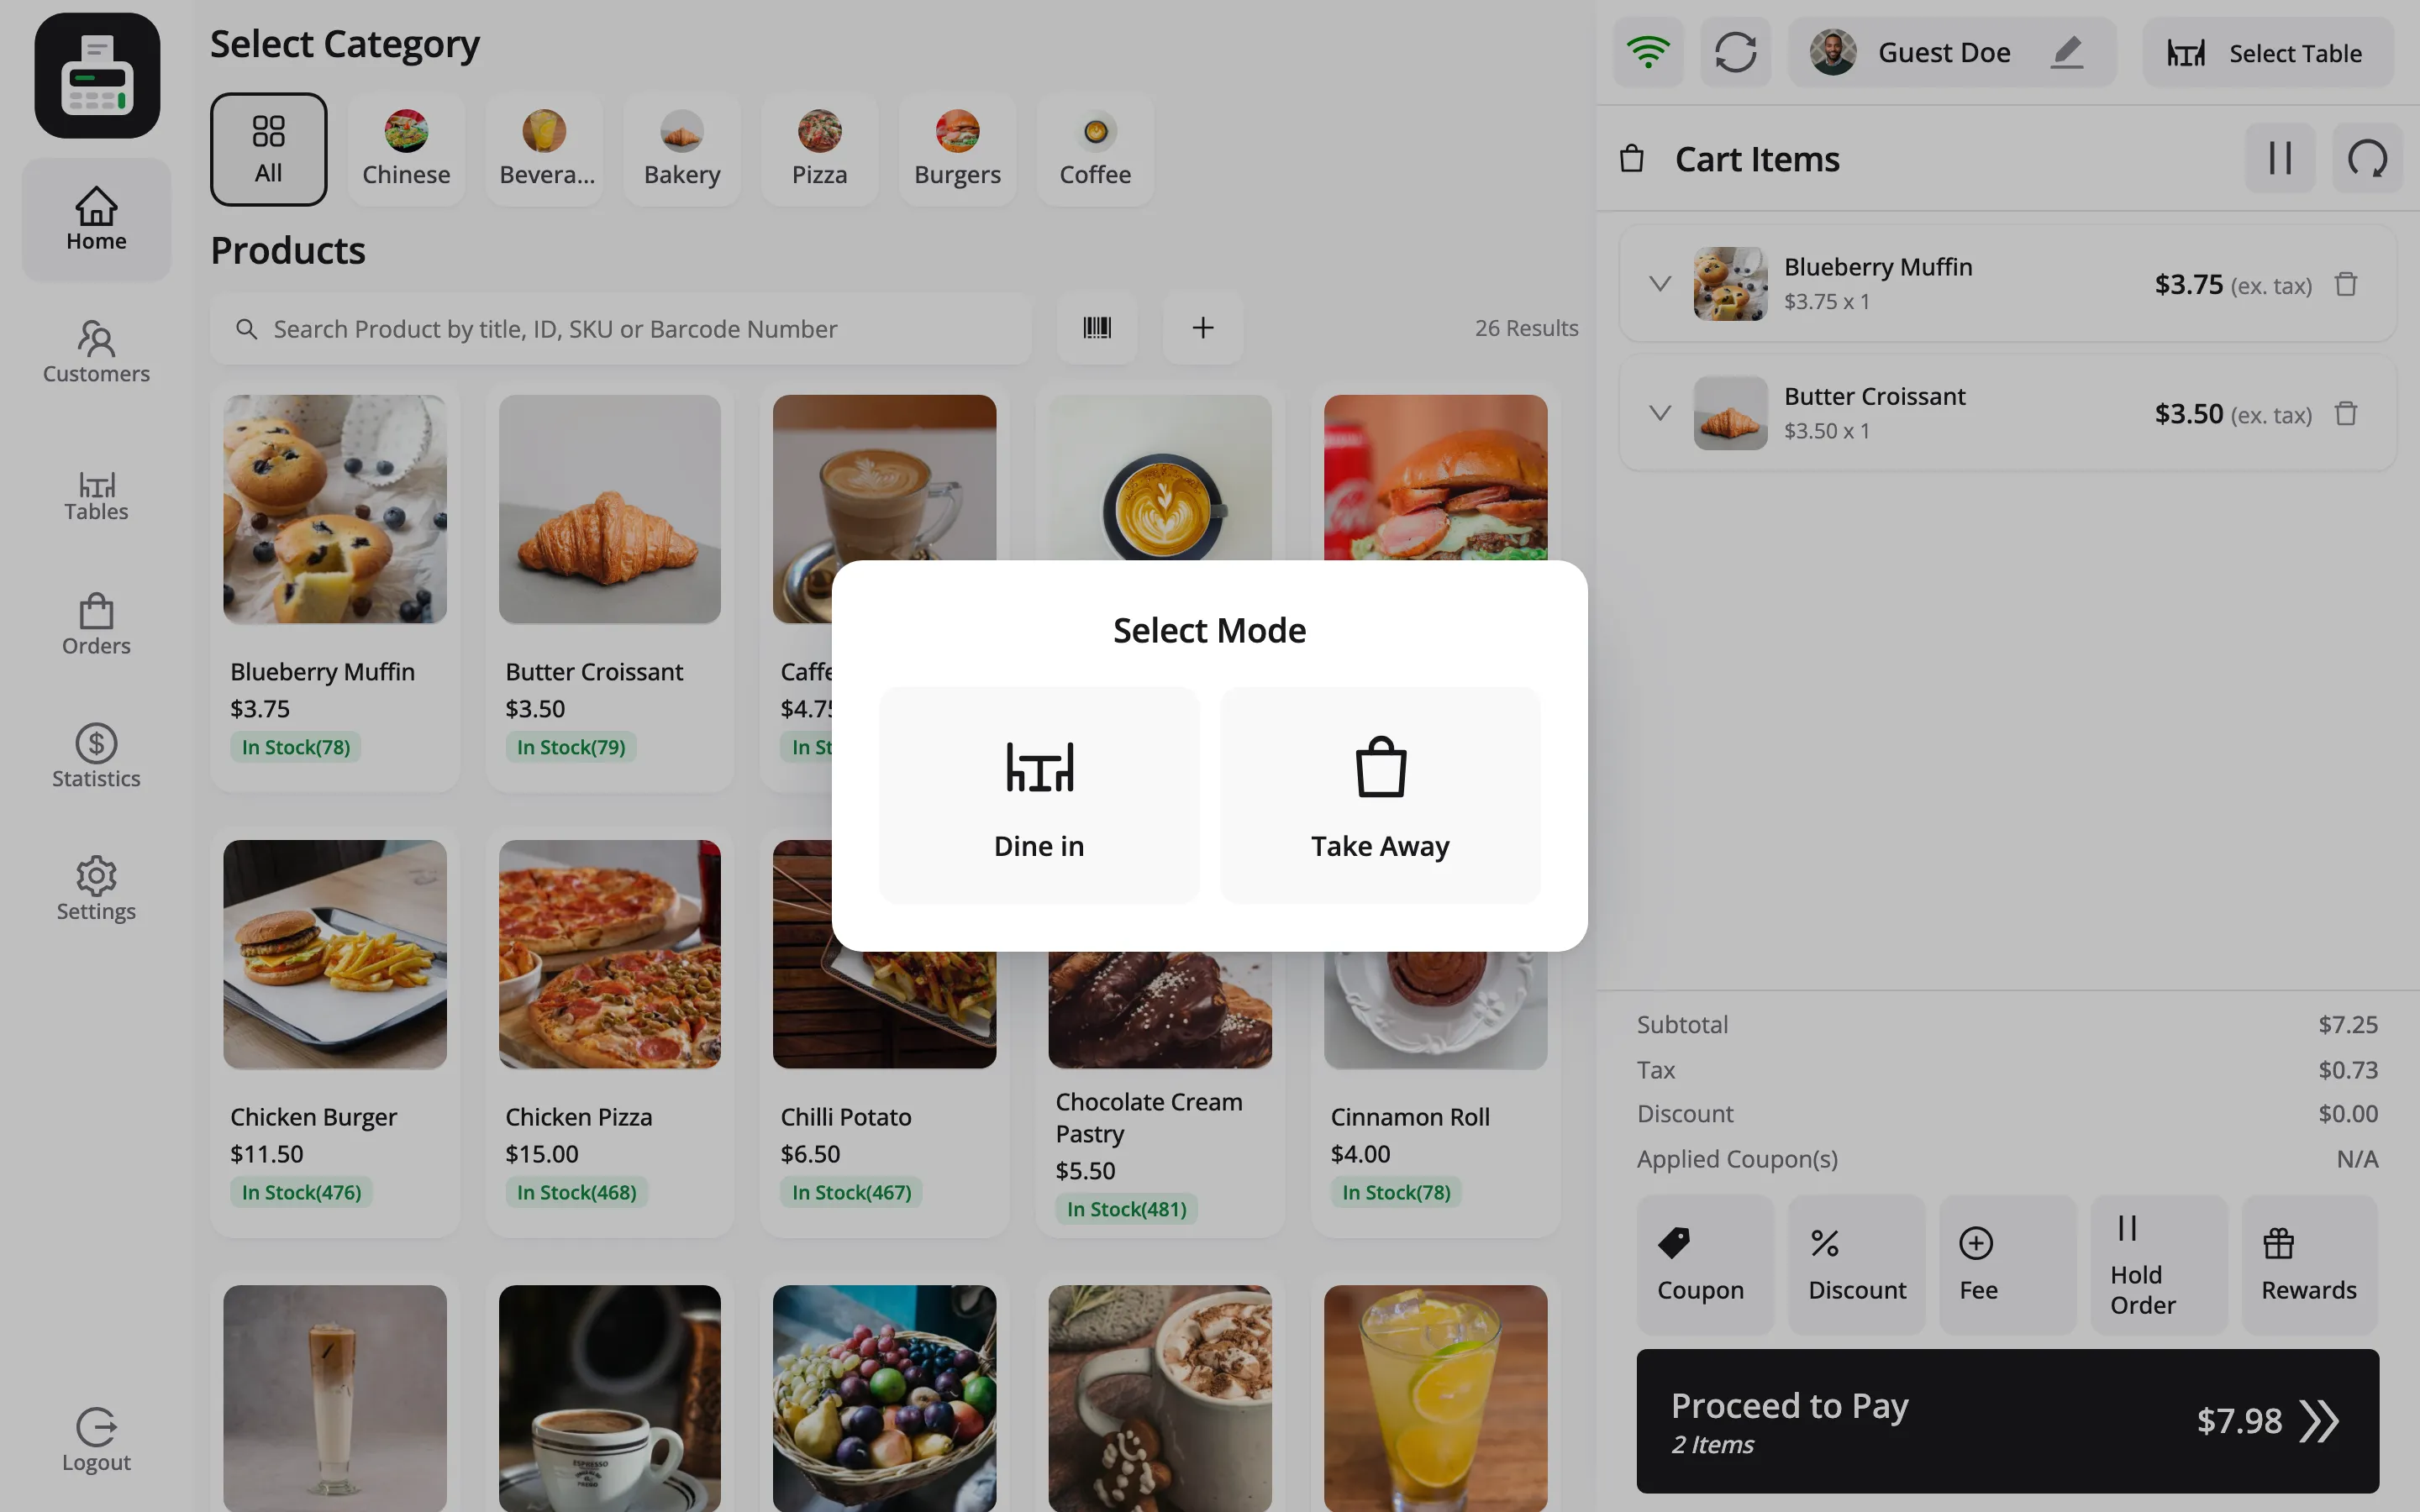
The cart header also gains a Select Table control and a Dine in / Take Away choice.
Where to go next
Section titled “Where to go next”- How to Run a Restaurant with Tables
- How to Set Up Your Outlet to switch the outlet into restaurant mode.