

How to Manage Stock Across Outlets (Pro)
One WooCommerce stock figure cannot say a product is on the shelf in one branch and sold out in another. Per-outlet stock is how you say it.
Step 1: Decide which stock model you need
Section titled “Step 1: Decide which stock model you need”- Centralized (Sync with WooCommerce) reads and writes the product’s WooCommerce stock. A counter sale and a website sale draw down the same number.
- Custom (Manual POS Stock) gives each outlet its own count, kept separately from the WooCommerce figure.
| Your setup | Pick |
|---|---|
| One shop plus a website | Centralized |
| Several branches | Custom |
| One shop, website ships from a warehouse | Custom |
| Pop-up or market stall carrying a fixed set of stock | Custom |
The whole appeal of a POS built on WooCommerce is one stock figure, so start Centralized and move only when it stops being true.
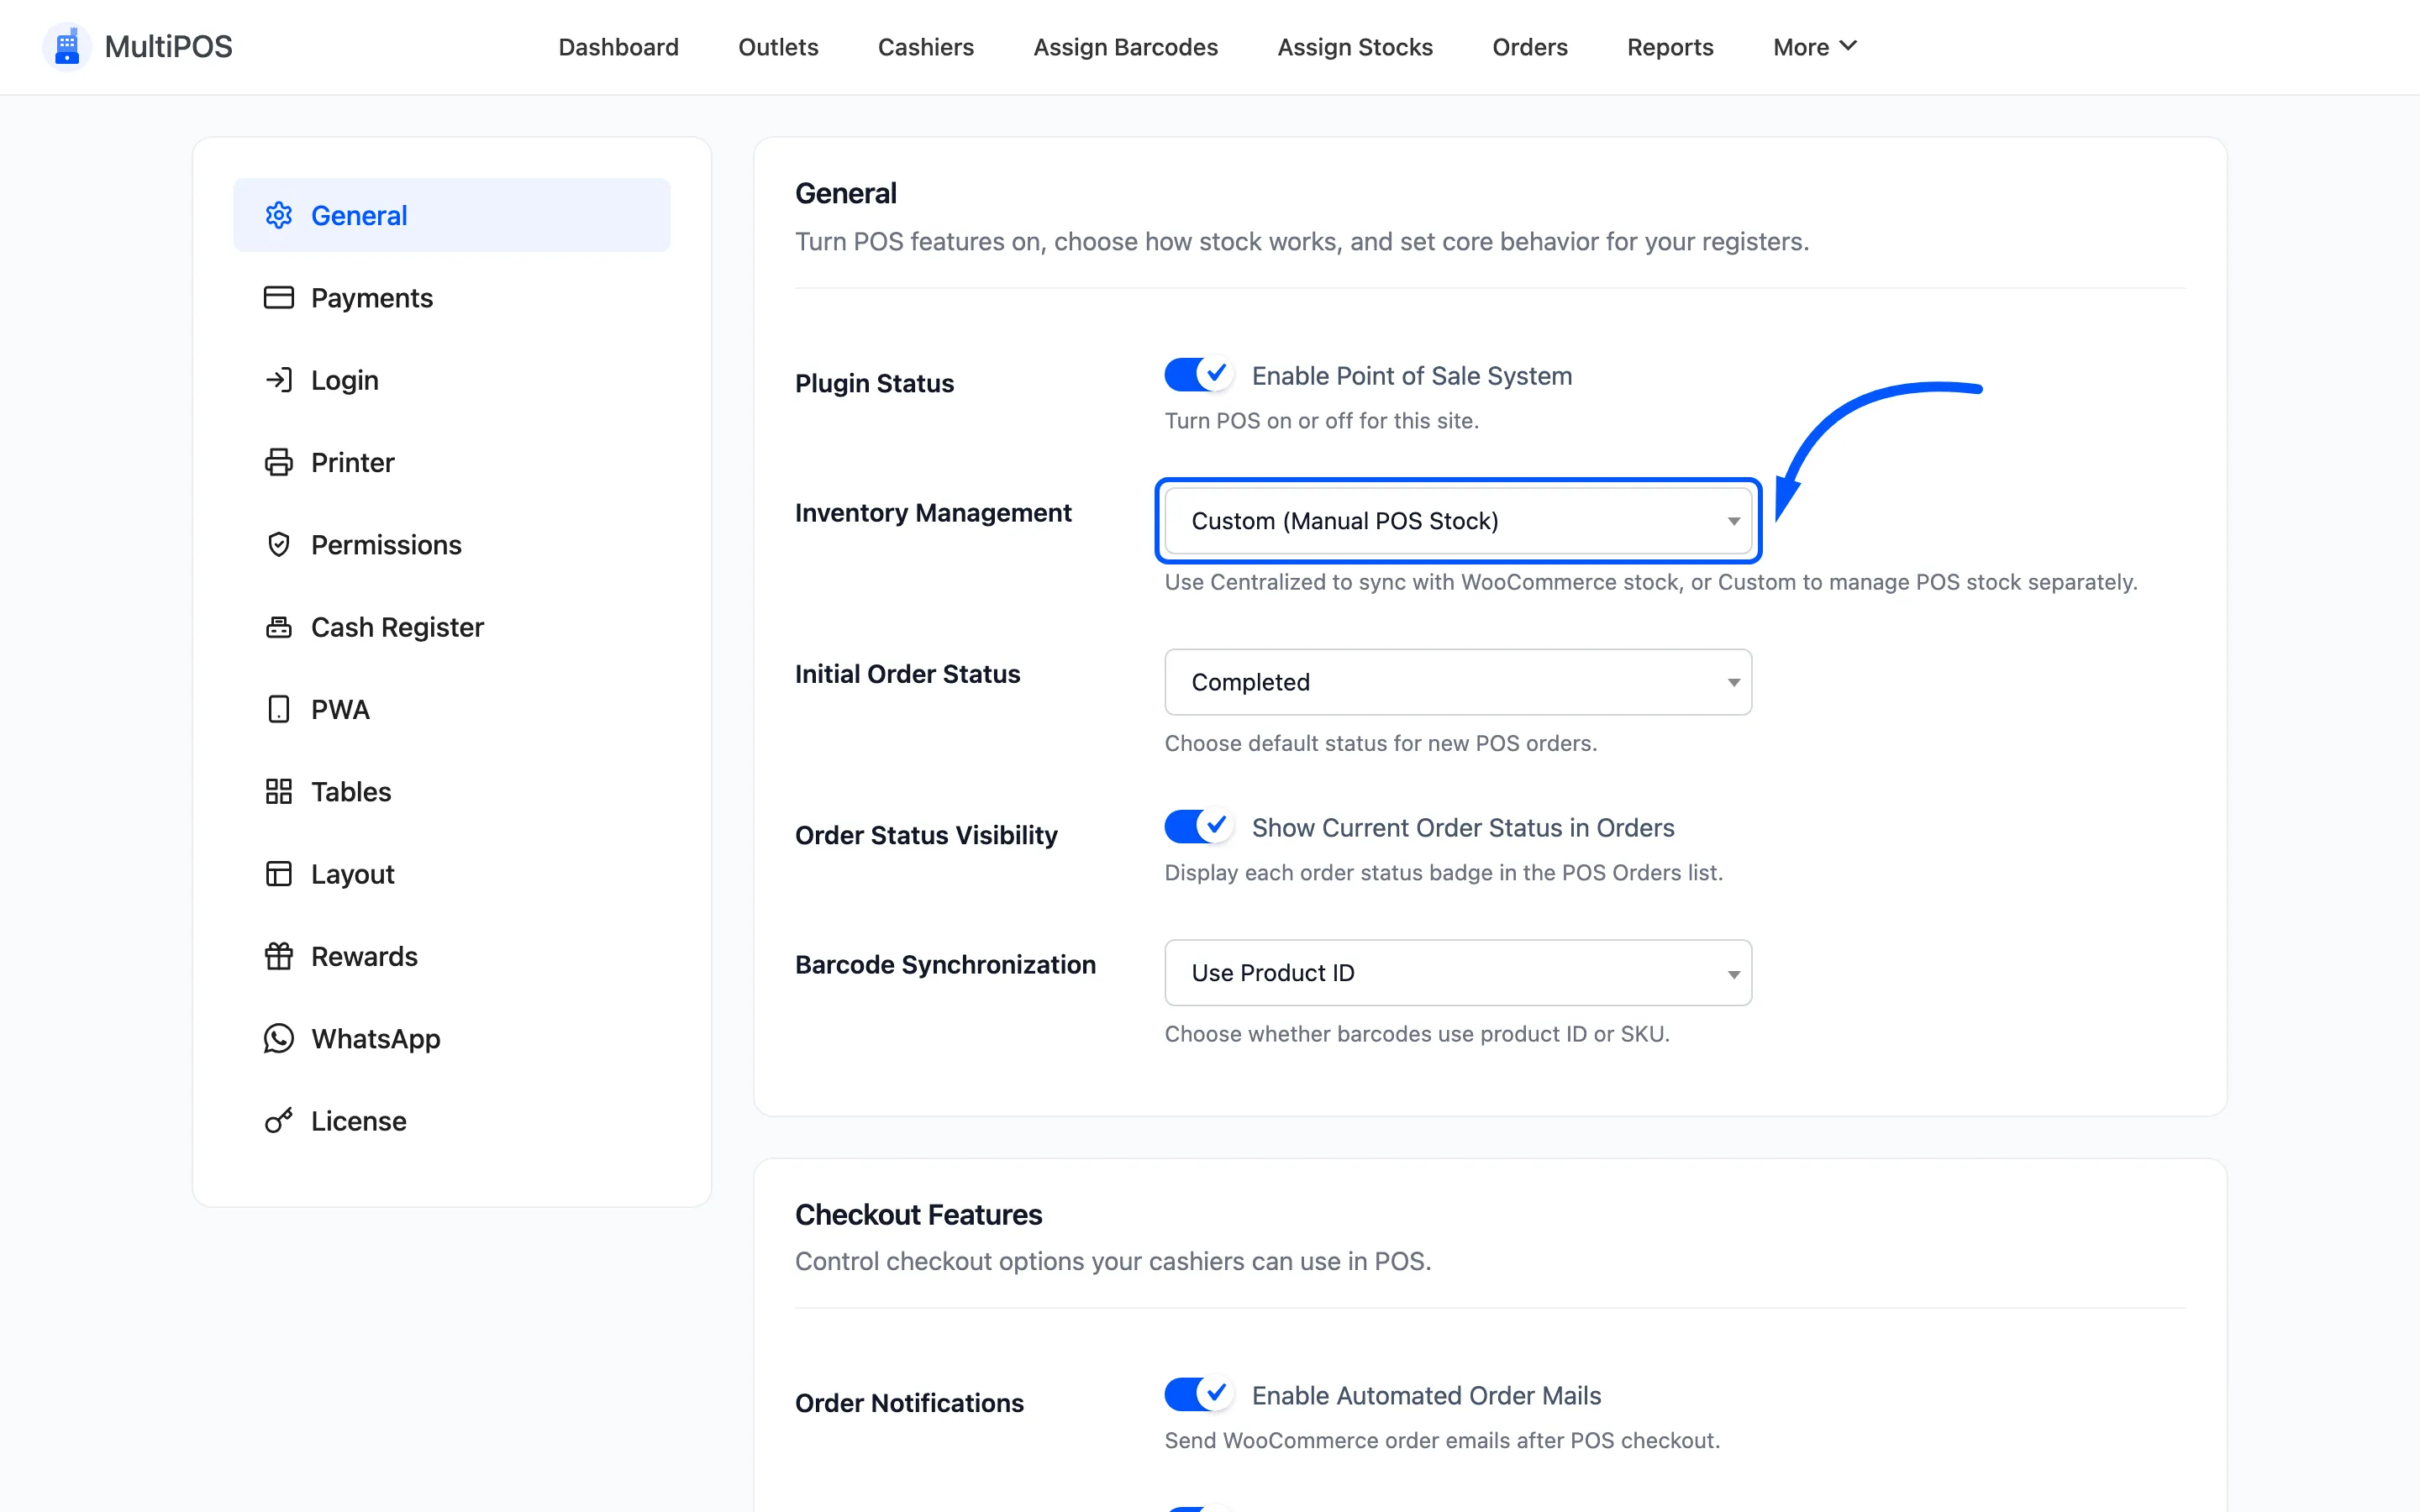
The choice is one dropdown, and it is the setting the next step opens.
Step 2: Set the inventory type
Section titled “Step 2: Set the inventory type”Go to DevDiggers Plugins → MultiPOS → Configuration → General.
Set Inventory Management and click Save Changes.
Pick one and stay with it. Switching mid-trade leaves two figures that disagree and no record of which one was right at the time.
Step 3: Open the Assign Stocks screen
Section titled “Step 3: Open the Assign Stocks screen”Go to DevDiggers Plugins → MultiPOS → Assign Stocks.
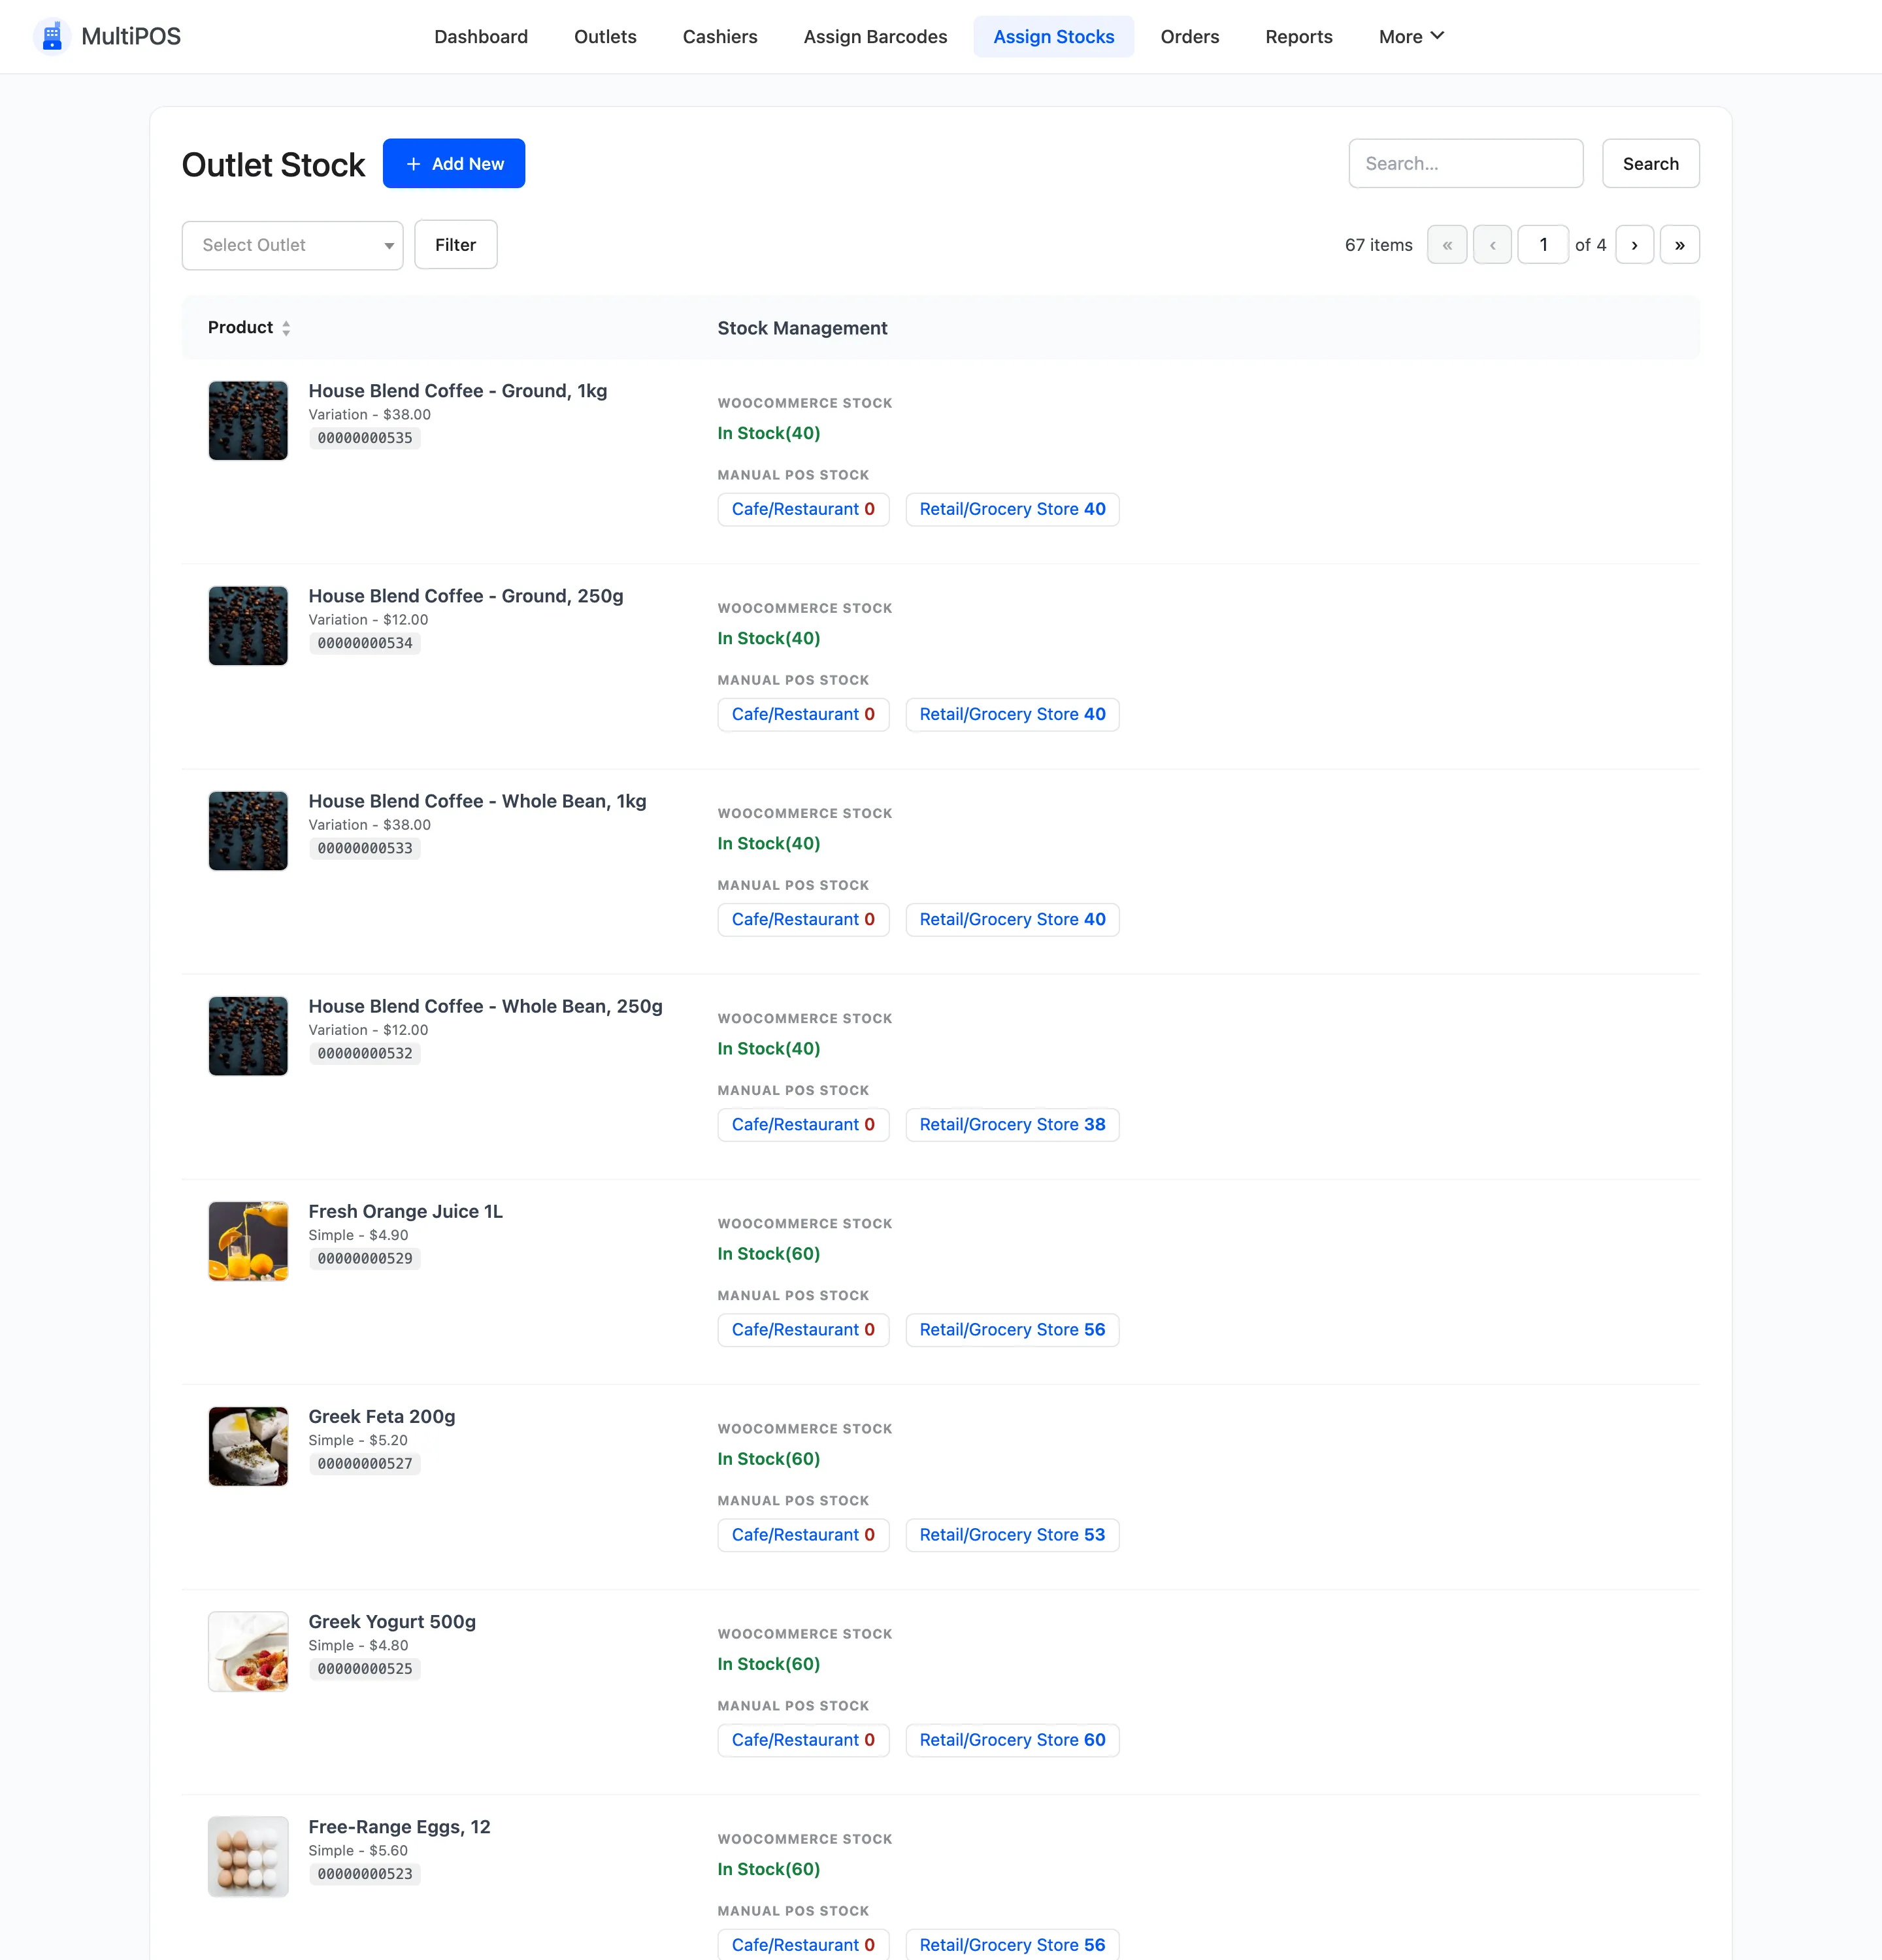
Every published product is listed, variations included.
Step 4: Choose an outlet
Section titled “Step 4: Choose an outlet”The list is per outlet, so nothing is editable until you pick one.
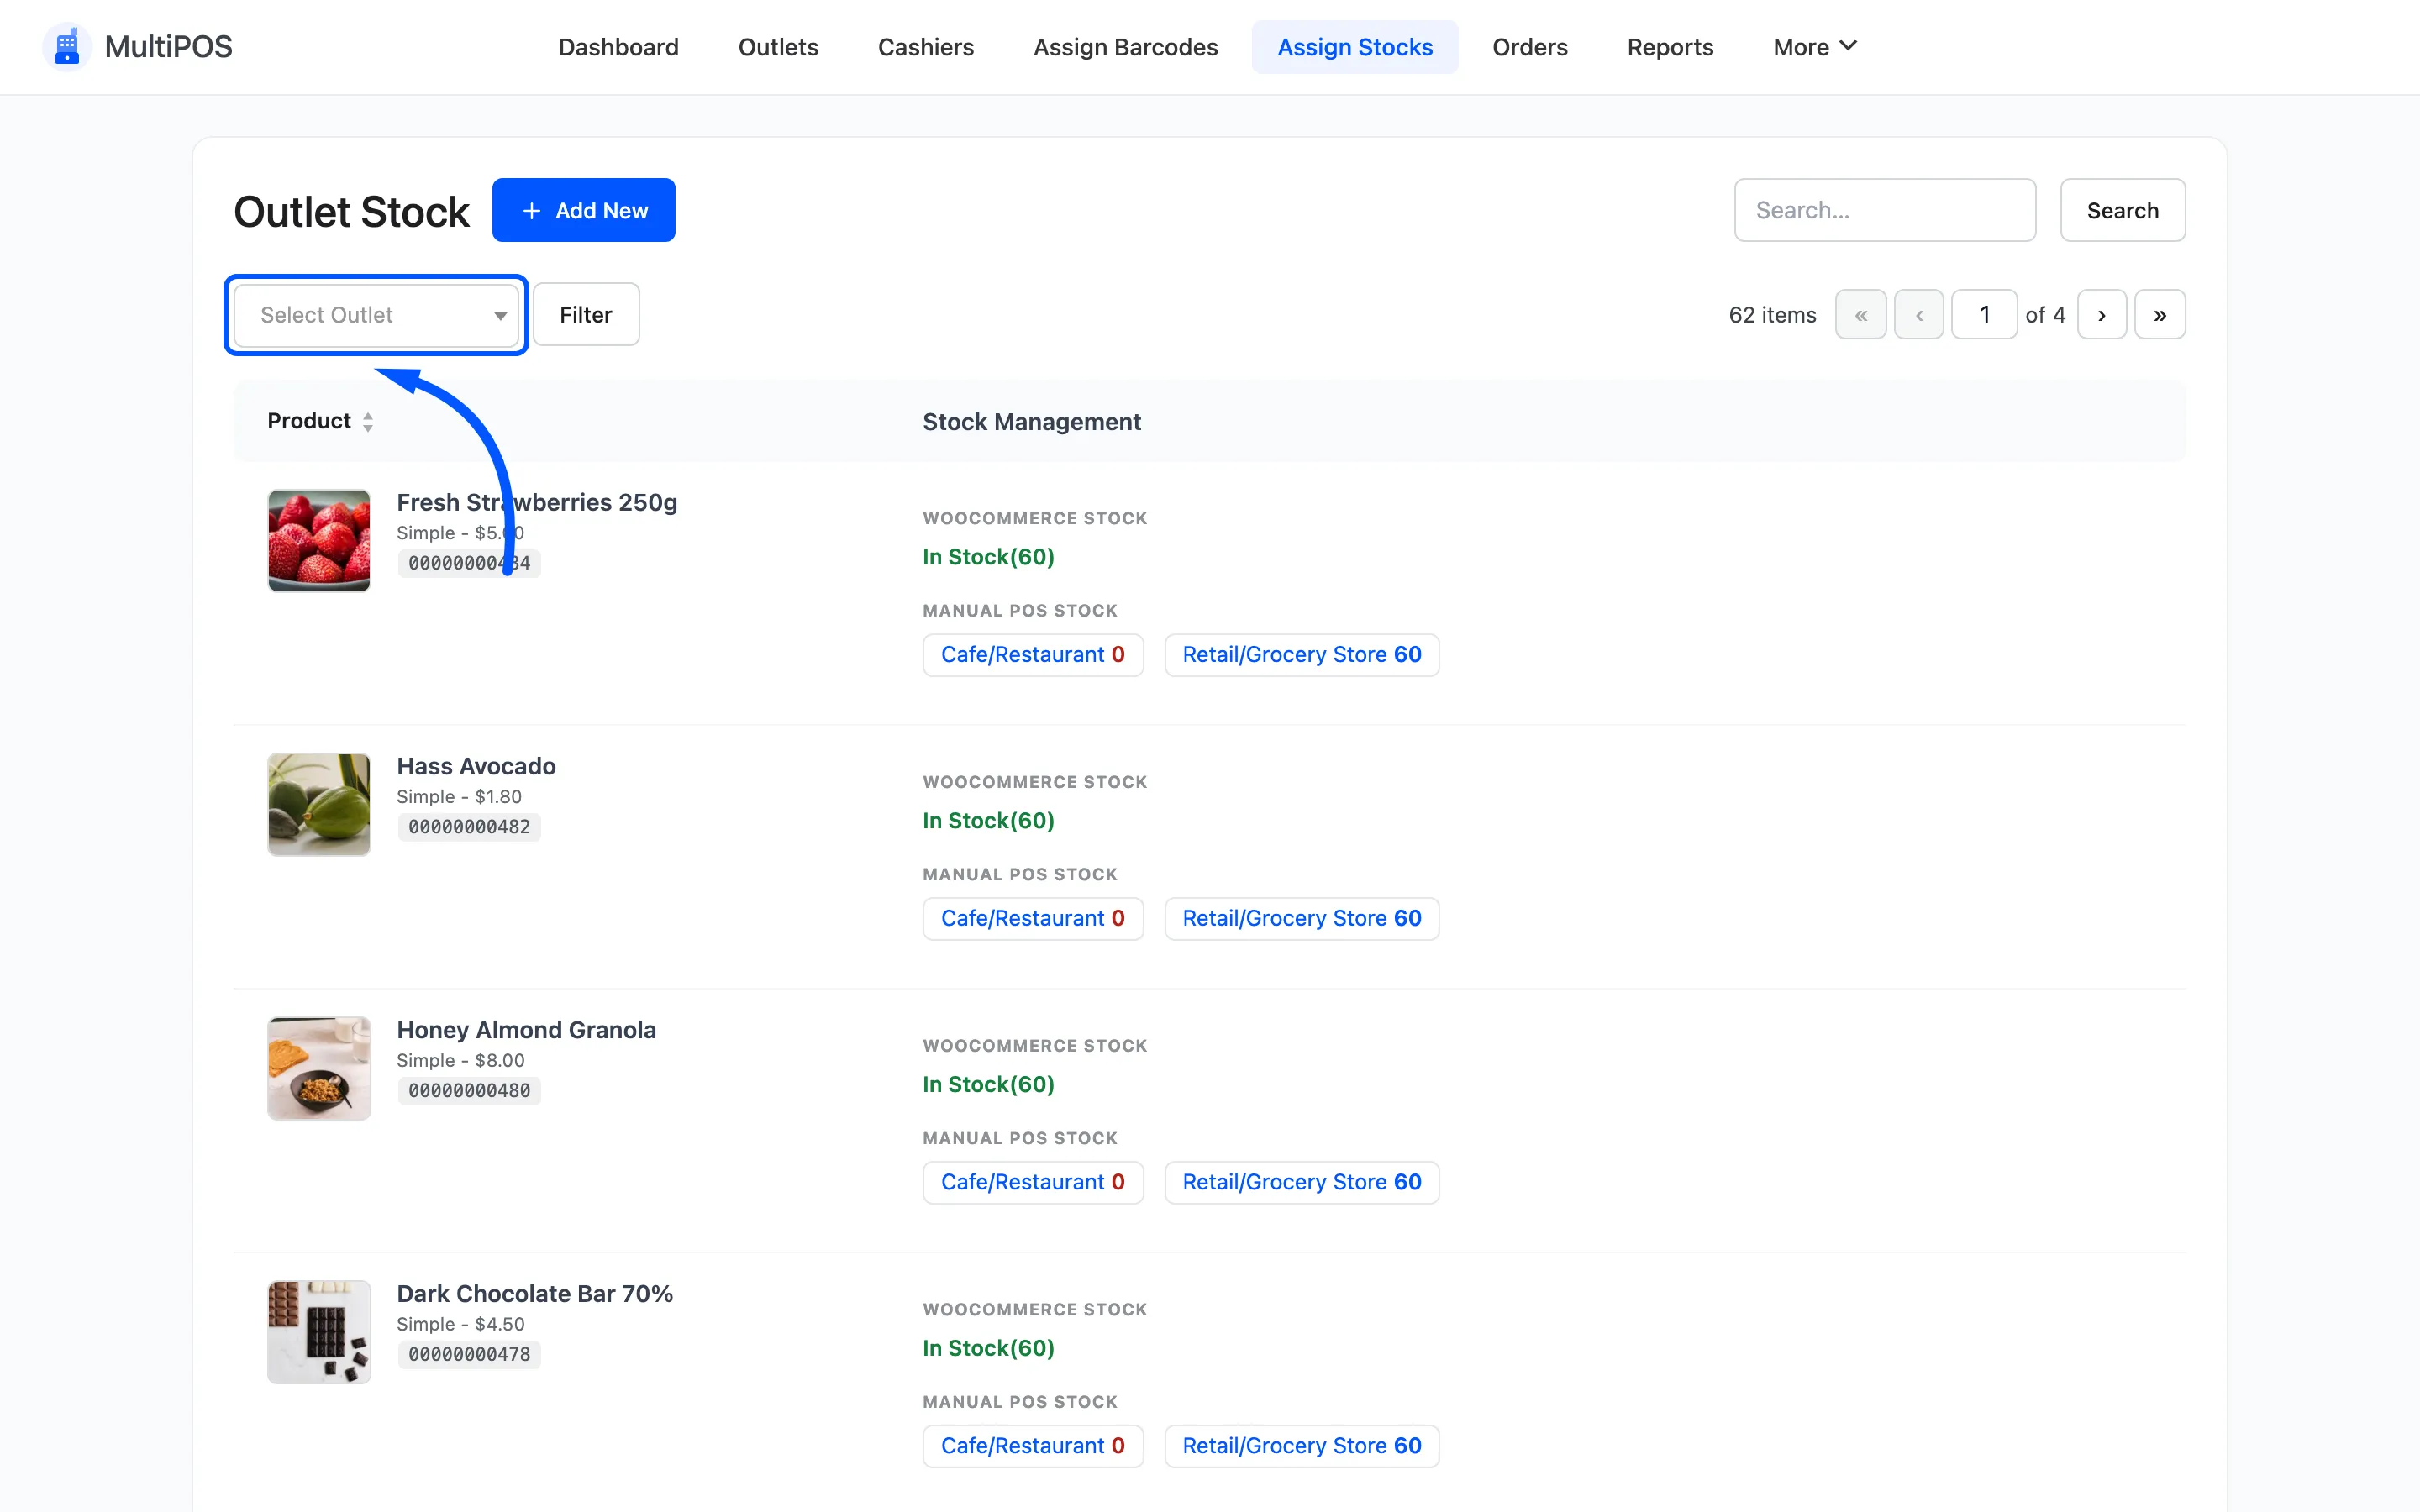
Before you do, the stock column reads Select Outlet First! on every row. That is the screen telling you it does not know which branch you mean, not an error.
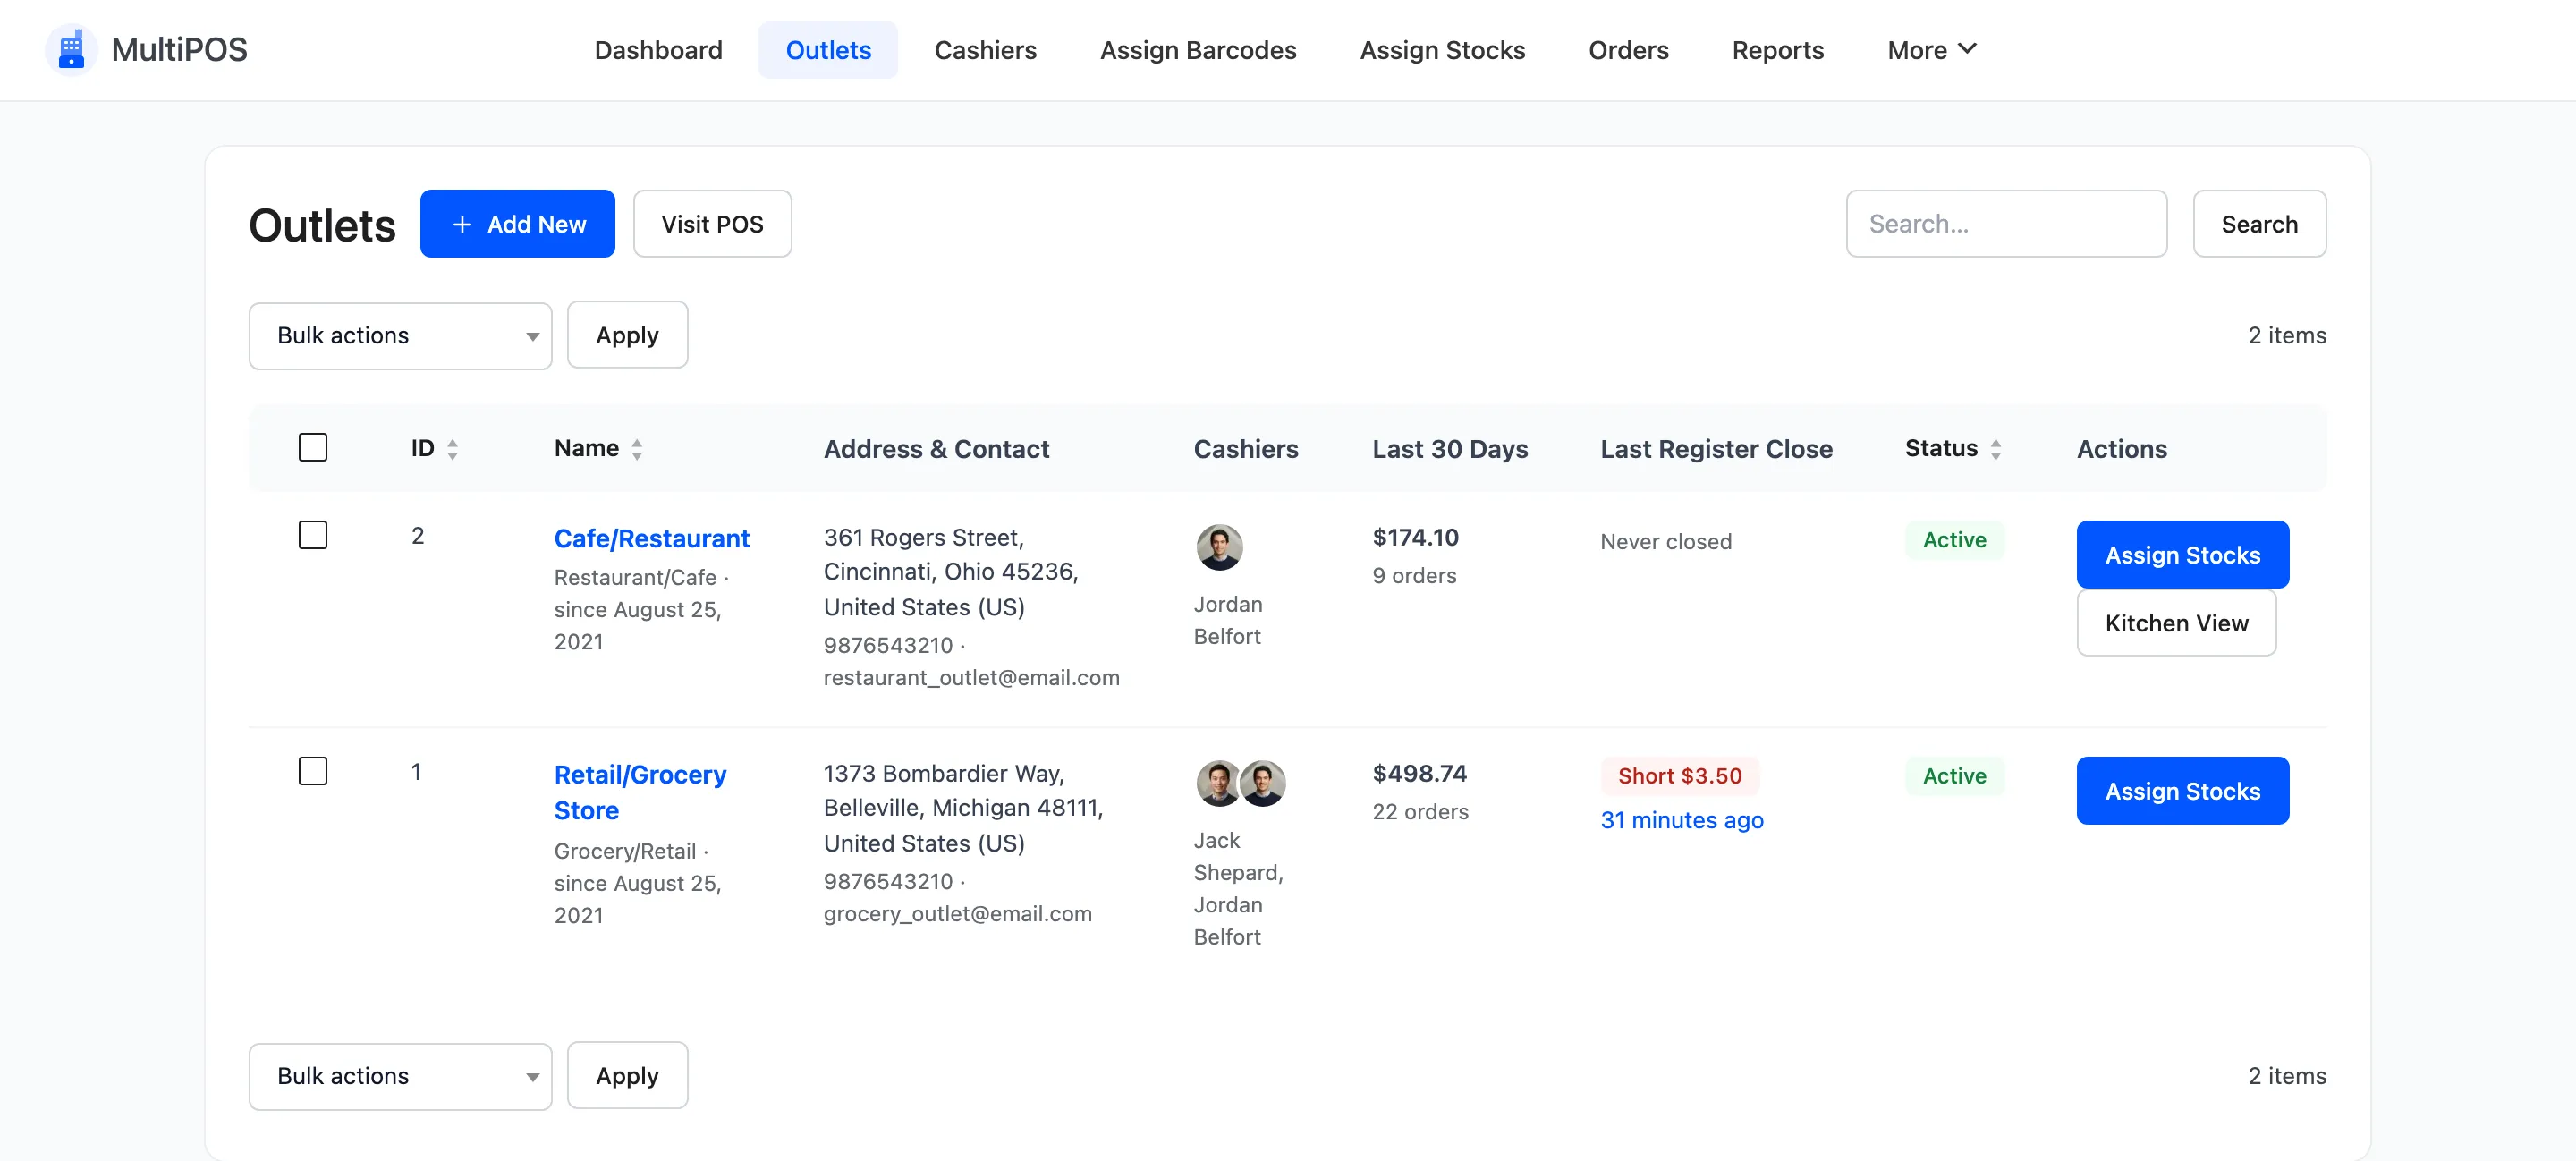
The Assign Stocks button on each row of the Outlets list jumps here with the outlet already chosen. That is the faster route when you are working branch by branch.
Step 5: Set the stock per product
Section titled “Step 5: Set the stock per product”Each row shows two figures side by side:
- WooCommerce Stock is the central figure, read only.
- Manual POS Stock is this outlet’s own count.
Seeing both together is the point. It is how you notice that the website thinks there are forty and the back room has three.
Type what is physically at that location into MANUAL POS STOCK, then press Update on that same row.
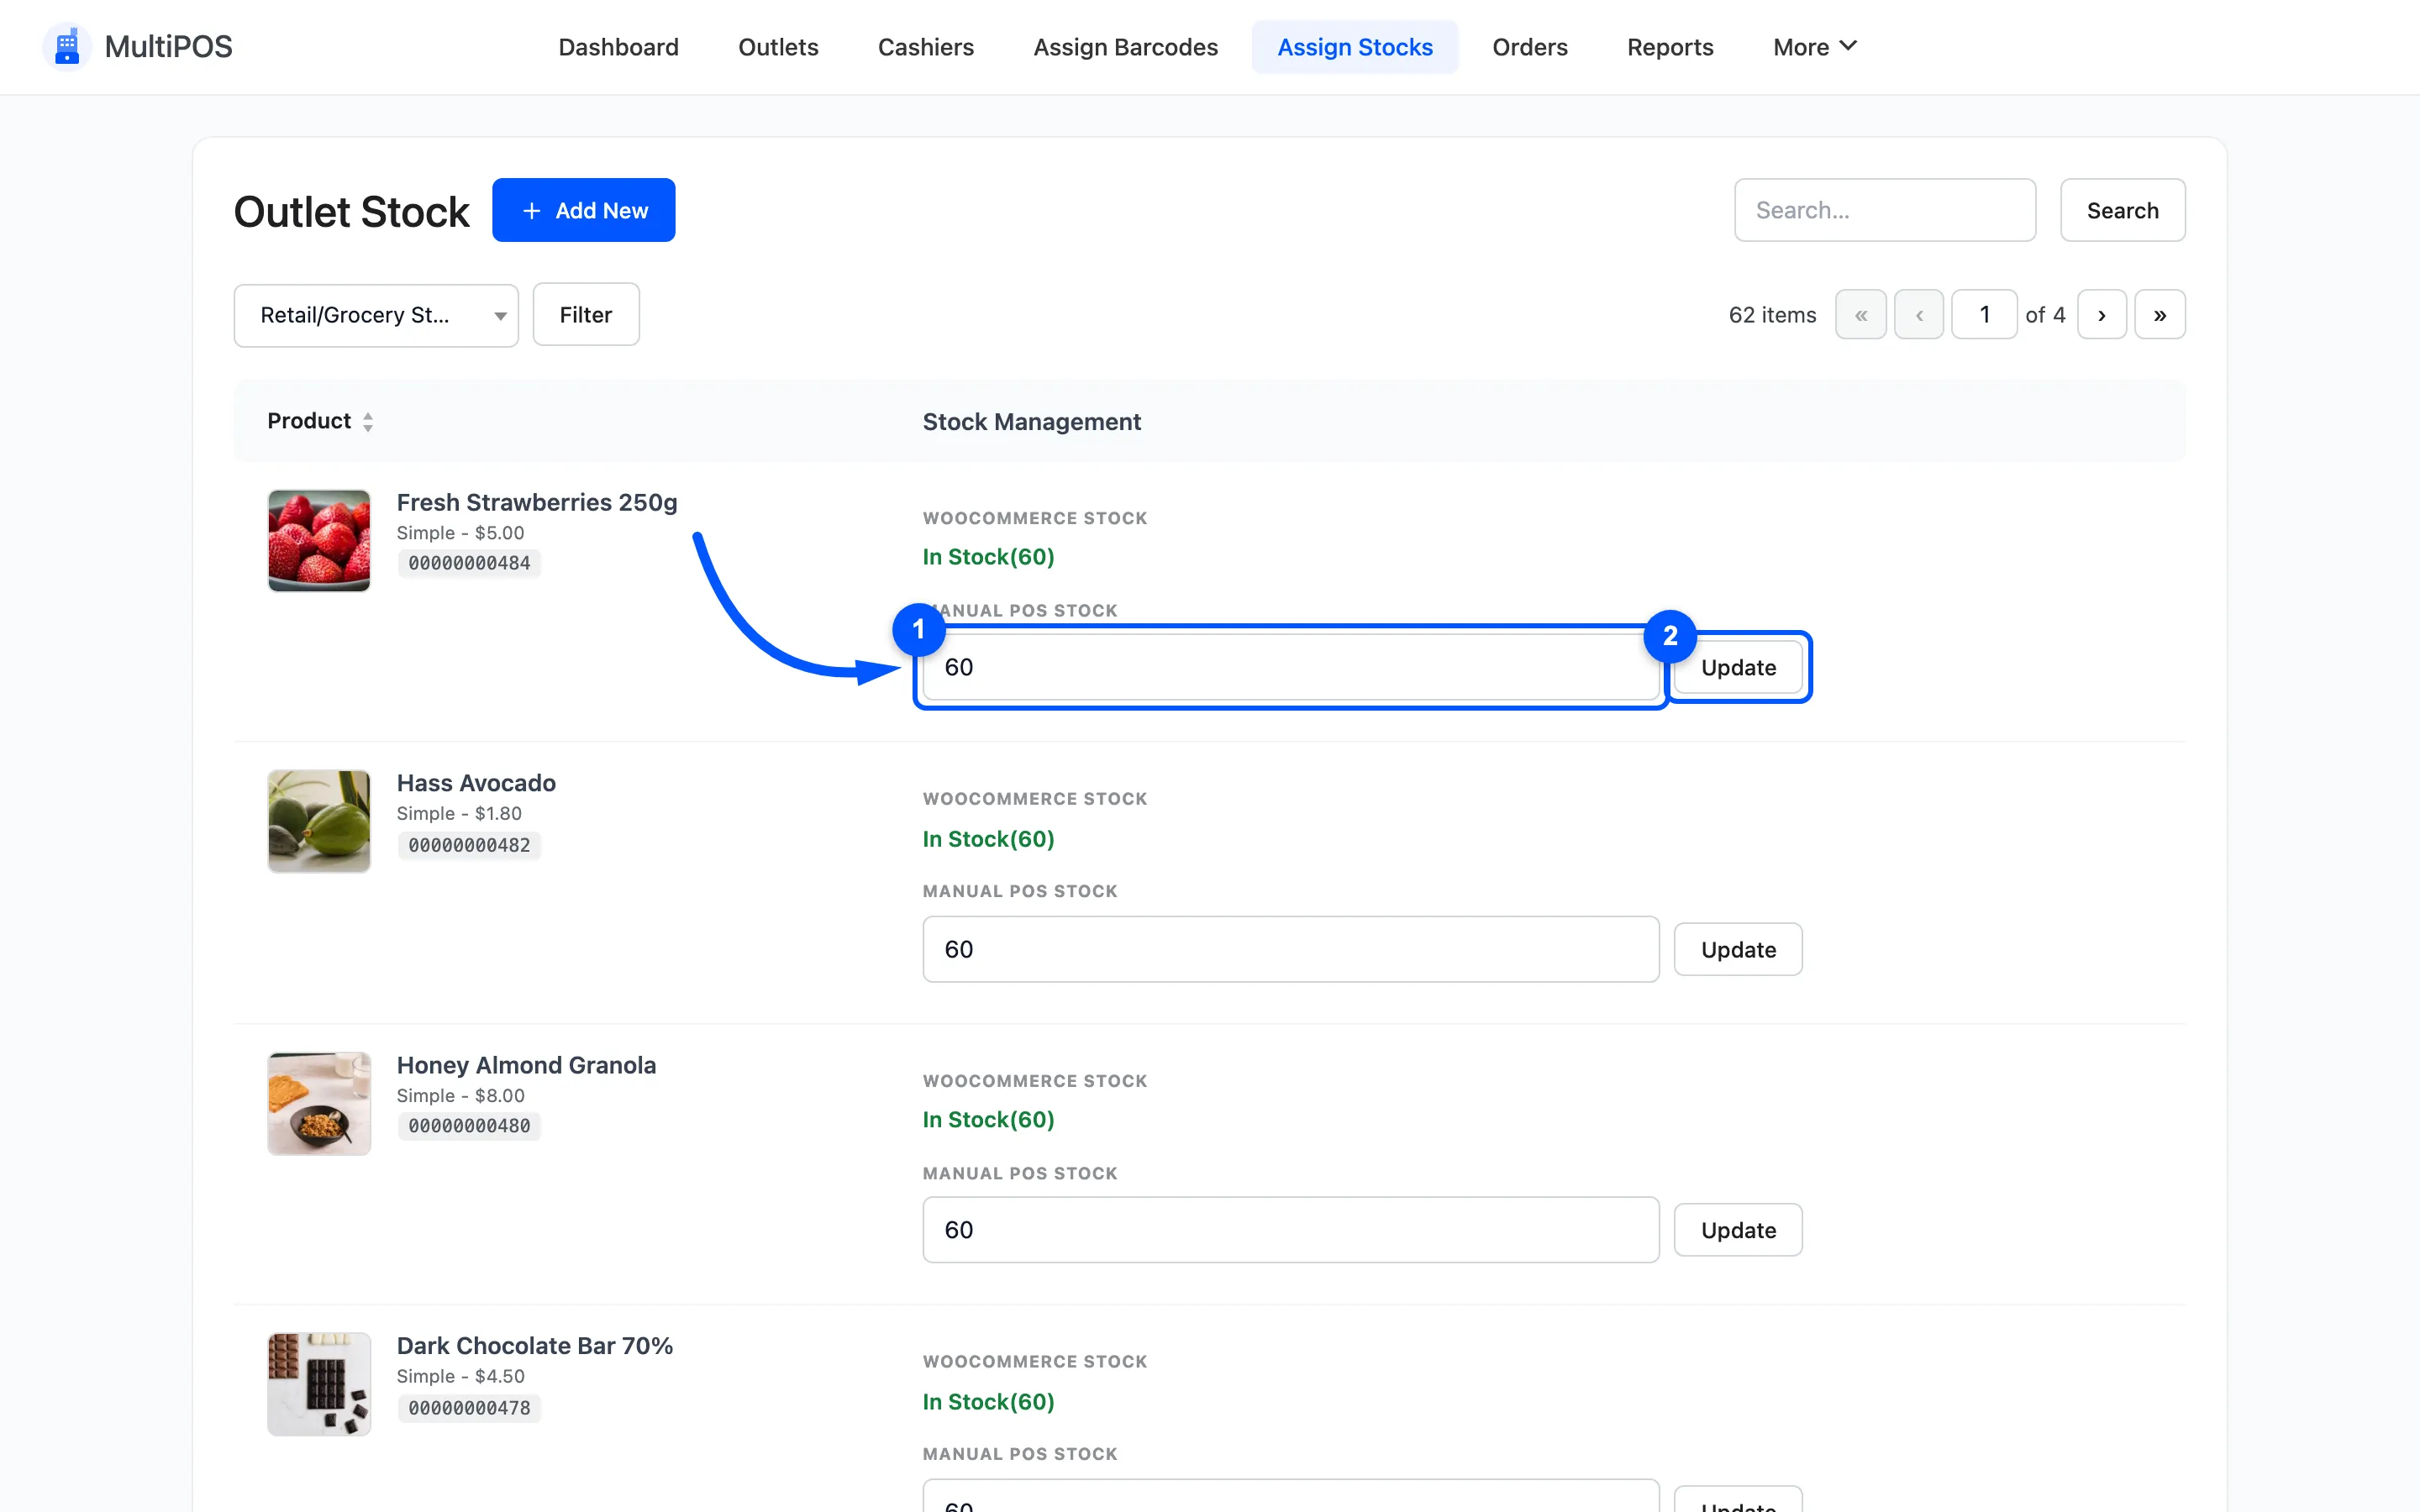
Each row saves on its own. There is no single save at the foot of the screen. A row you typed into without pressing Update keeps its old figure.
Step 6: Repeat per outlet
Section titled “Step 6: Repeat per outlet”Change the outlet filter and do it again. Stock is per location, so a product needs a figure at every branch that stocks it.
A product left at zero for an outlet does not appear at that terminal. That is correct, because the cashier cannot sell what is not there.
Bulk updates
Section titled “Bulk updates”Pro imports stock levels from a CSV, which is how you set several thousand rows without typing.
Use it after a stock count. Typing four thousand numbers by hand is how errors get in.
What the cashier sees
Section titled “What the cashier sees”Only products the open outlet has. The grid is filtered, so a cashier at the branch that sold out never sees the item and never promises it.
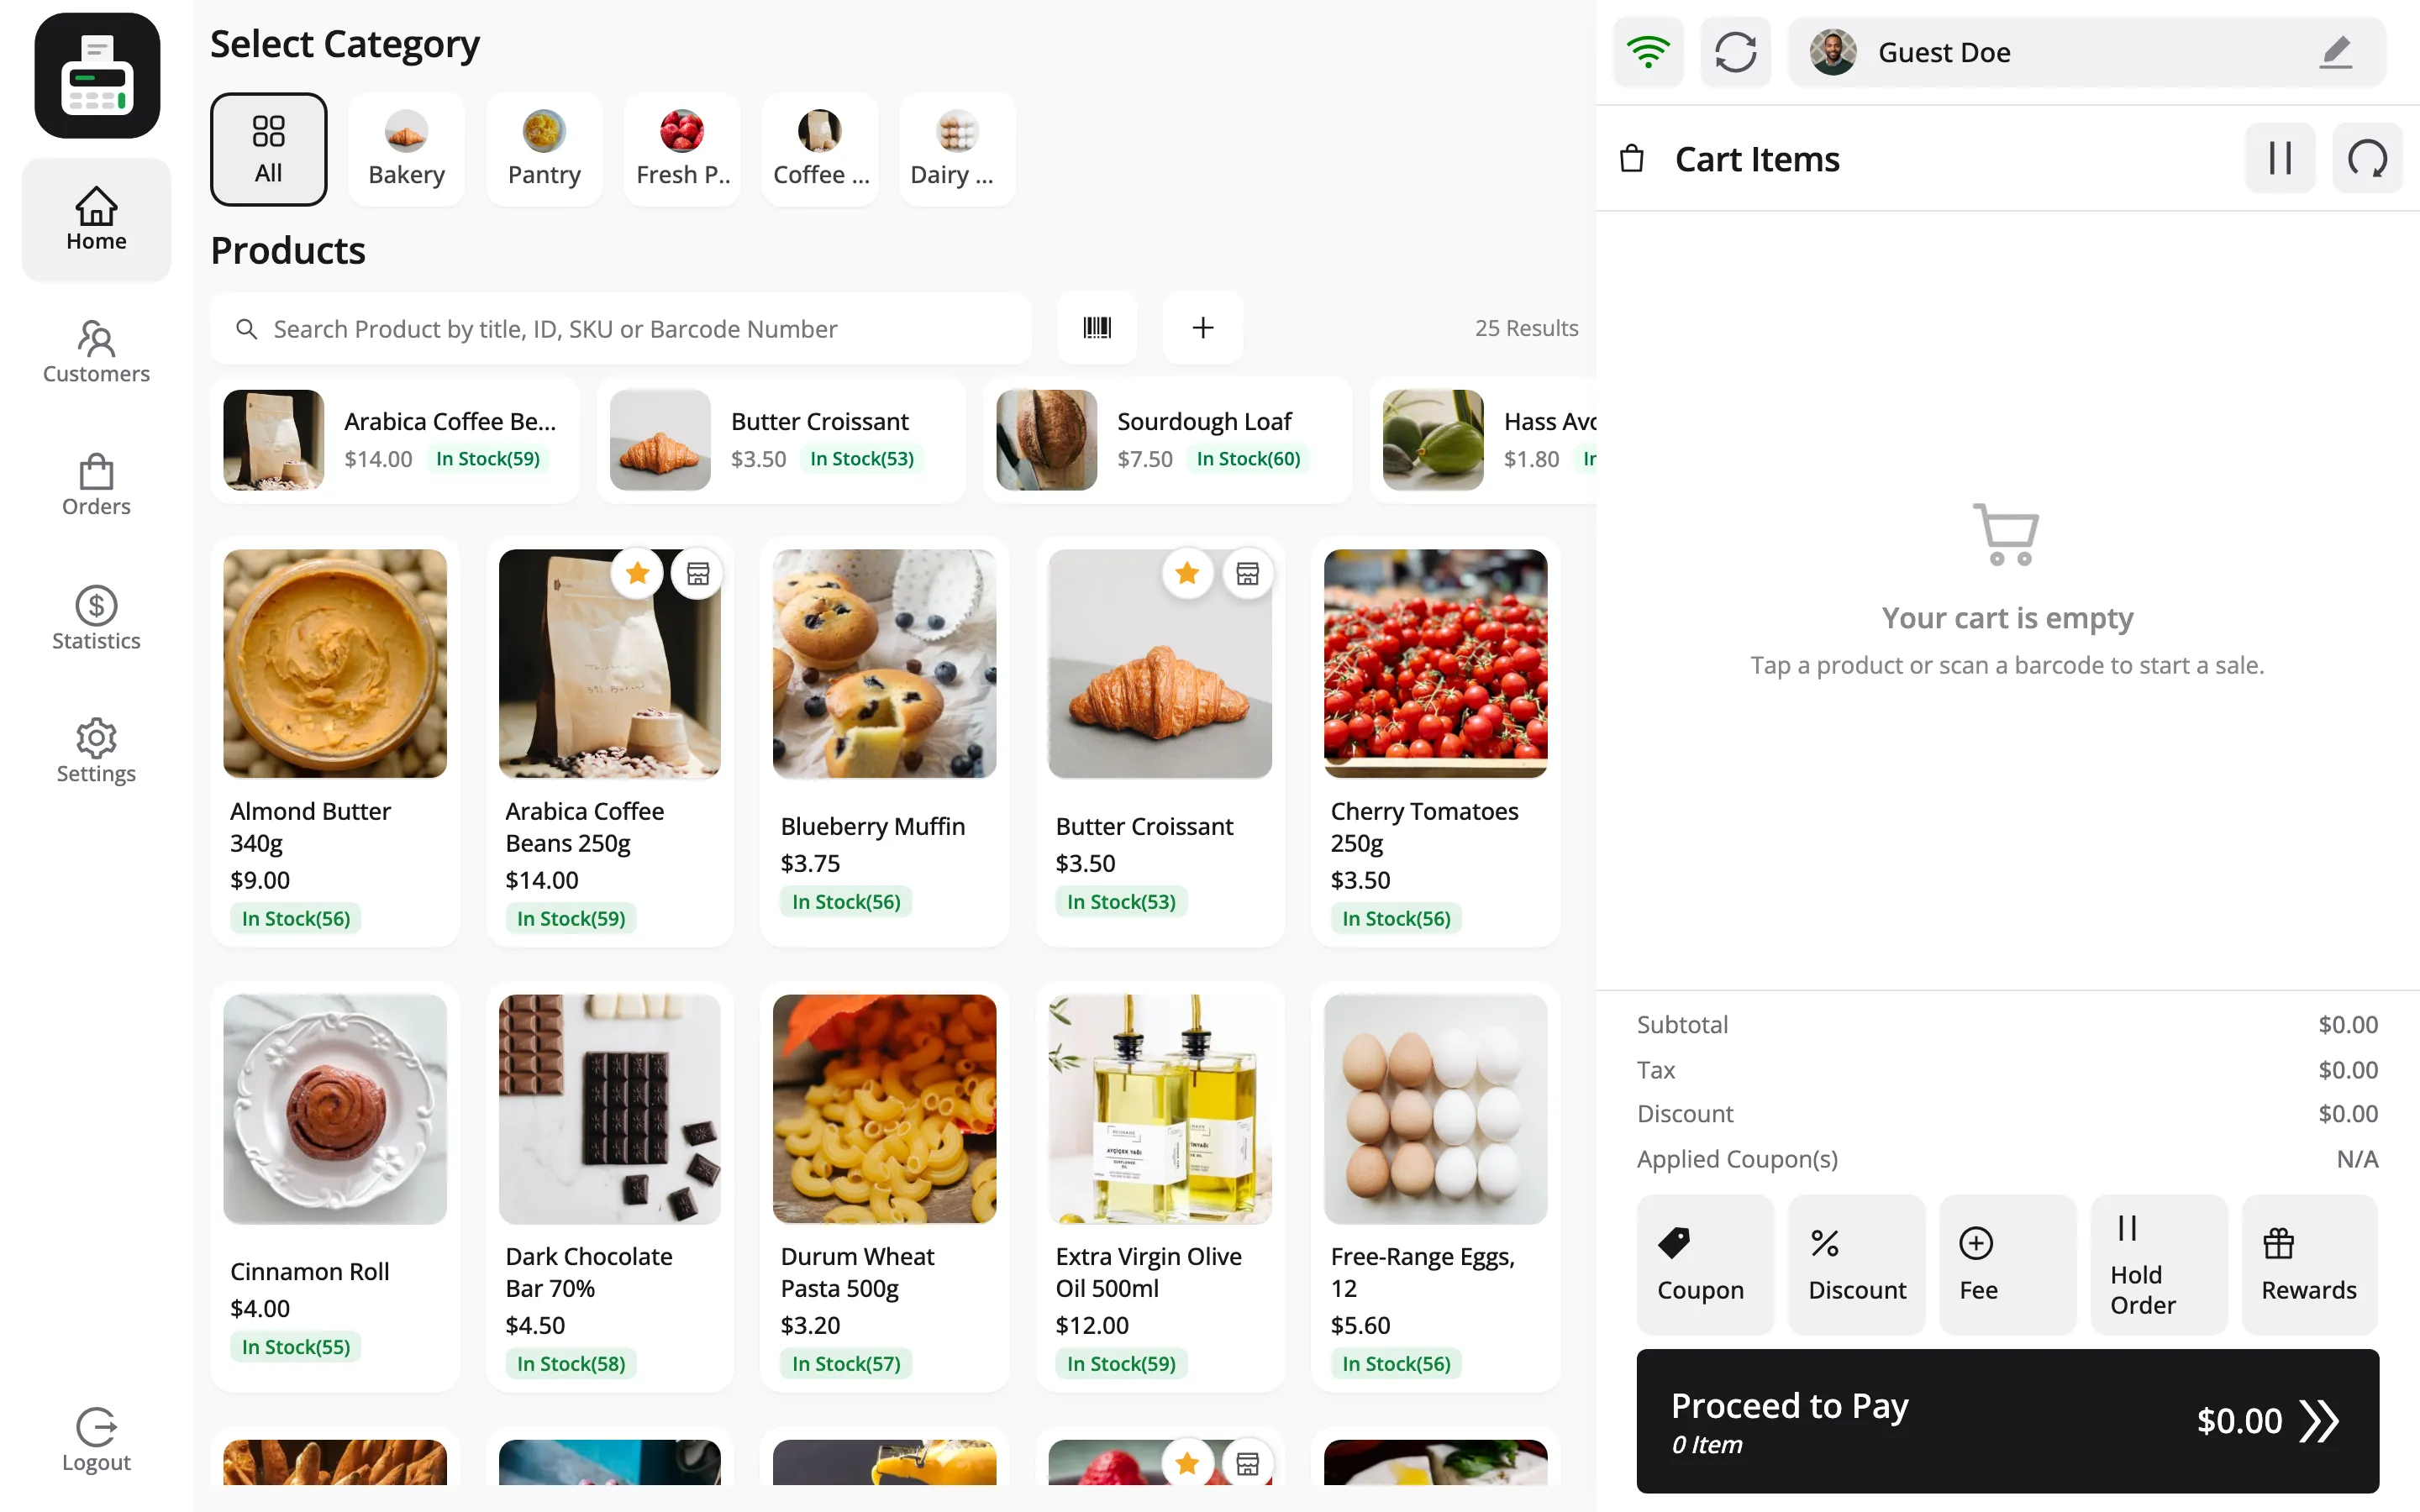
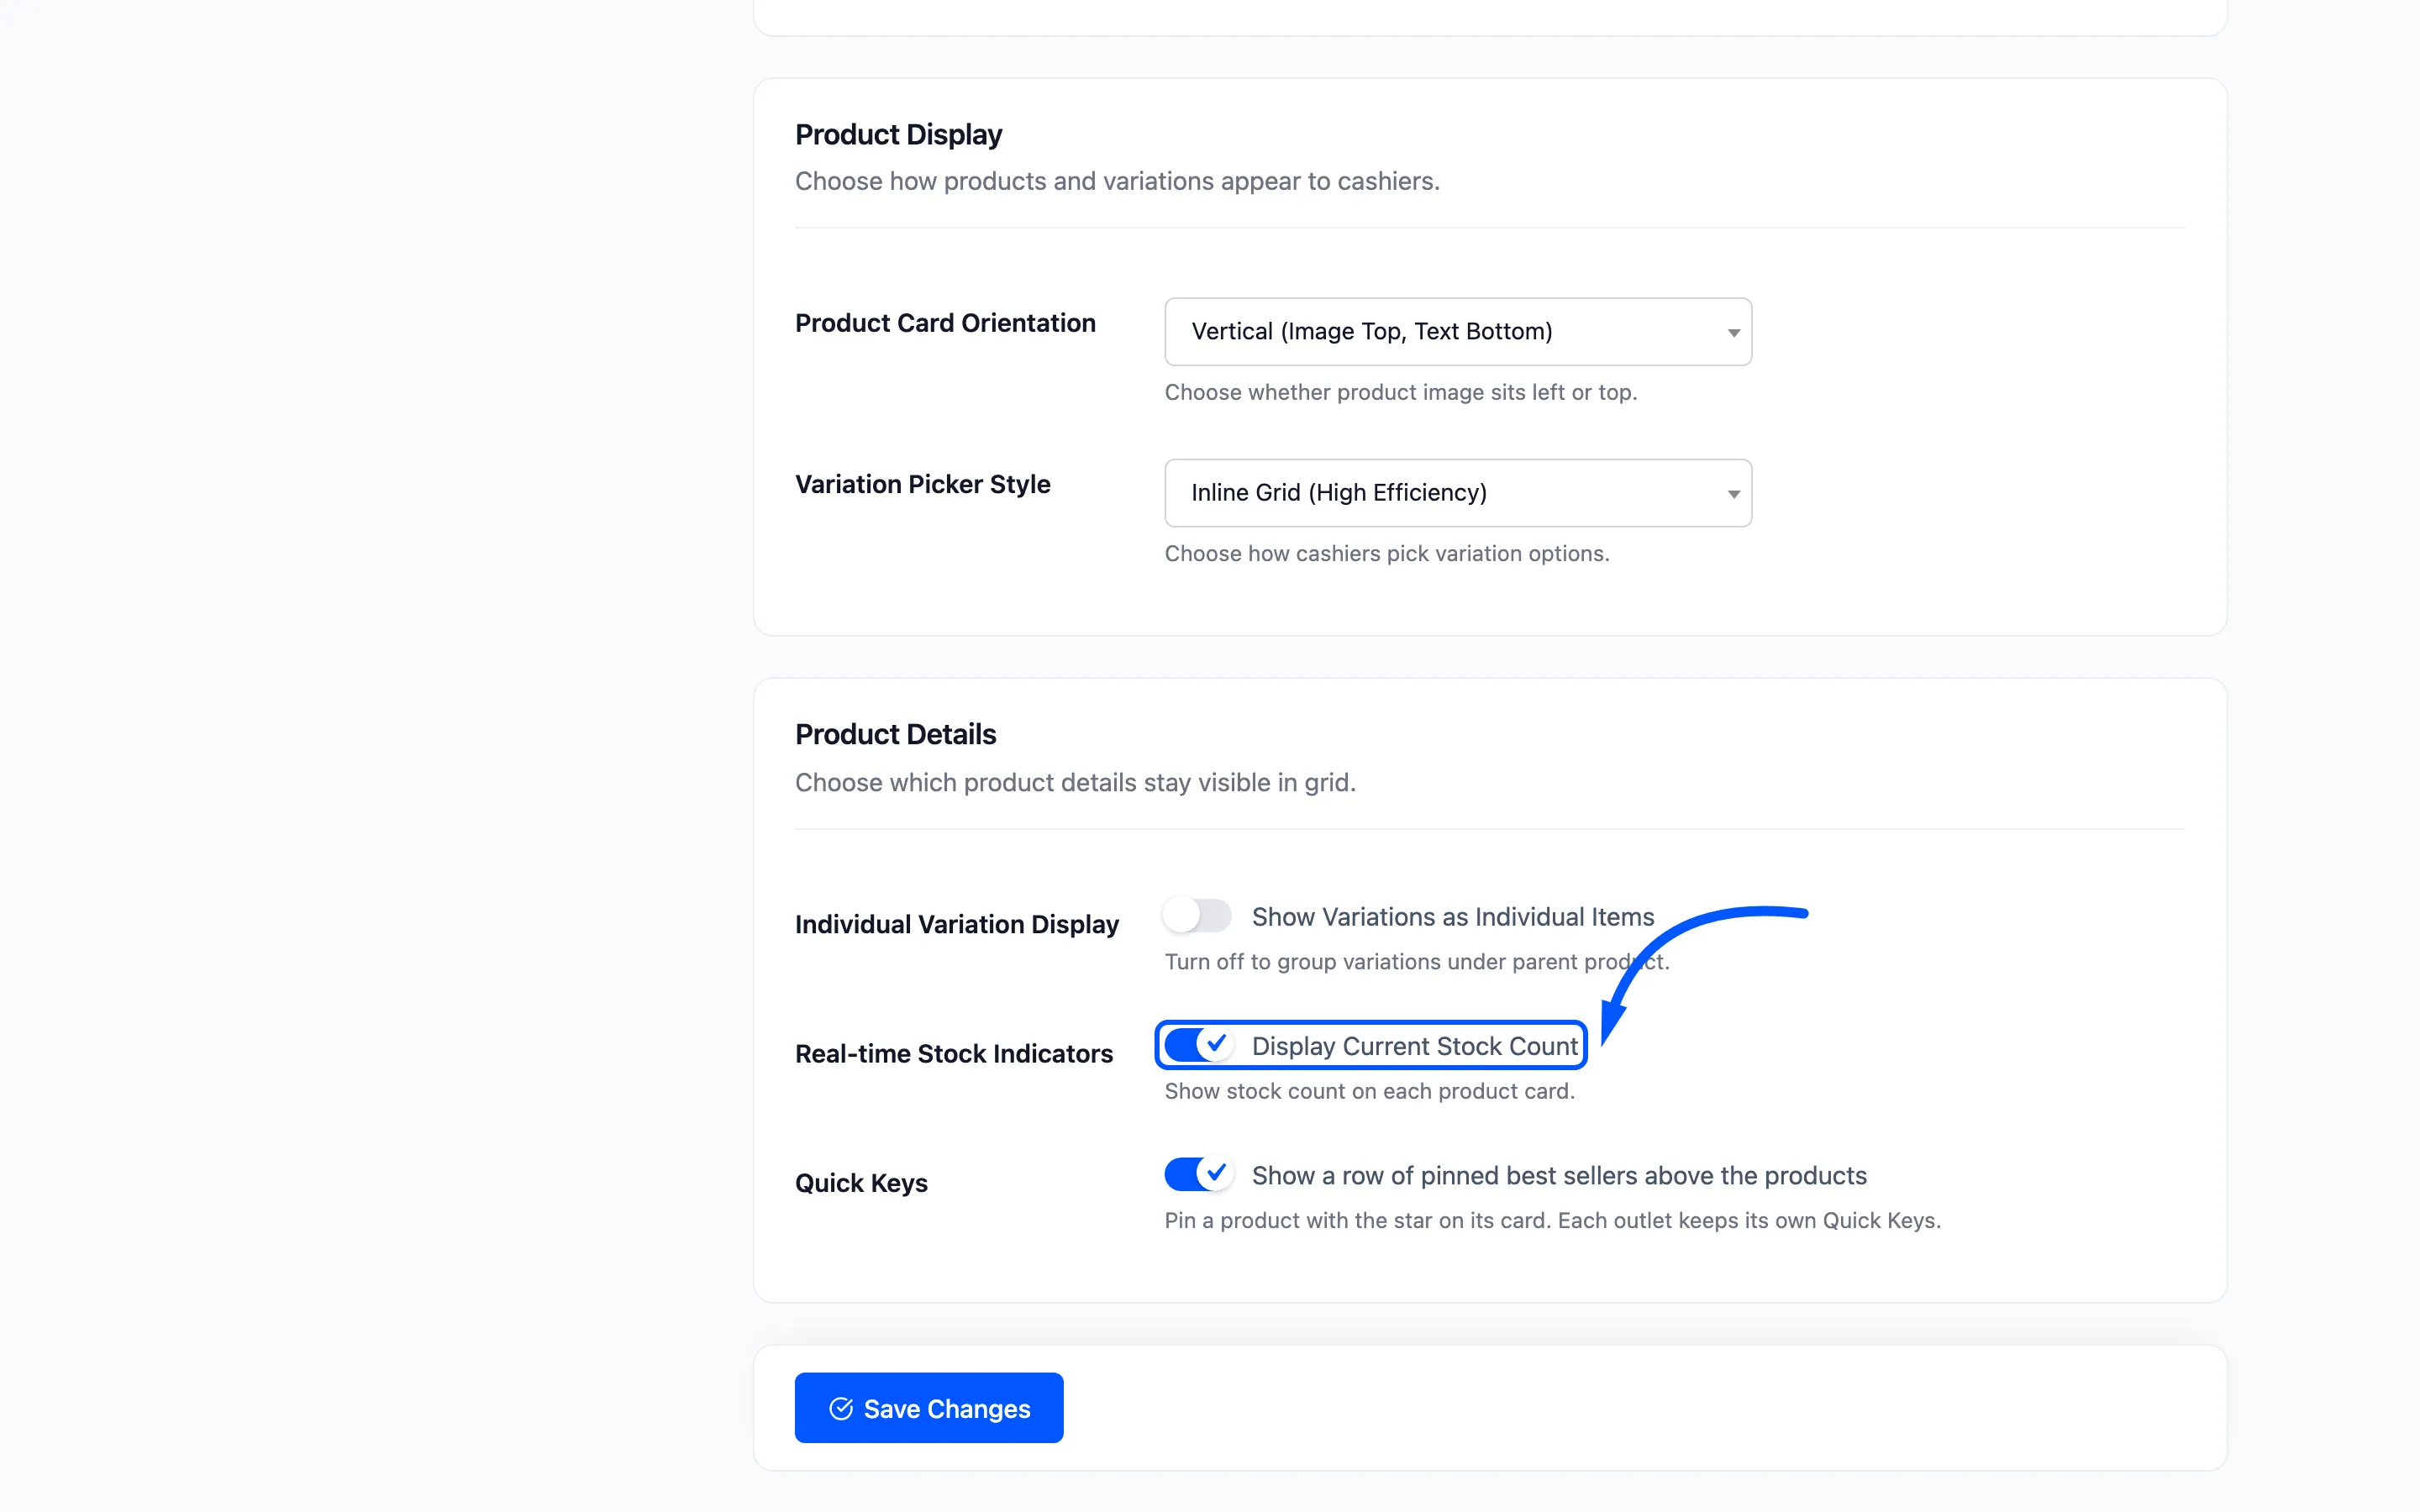
The stock count on each card is that outlet’s figure, not the central one. It shows as long as Display Current Stock Count is on under Configuration → Layout.
After a transfer between branches
Section titled “After a transfer between branches”Moving stock between locations is two edits, not one. Reduce the sending outlet, increase the receiving one.
Nothing does it for you, so it belongs in your transfer paperwork rather than in someone’s memory.
Where to go next
Section titled “Where to go next”- Assign Stocks for the screen reference.
- Outlets to create the locations.
- General Settings