

General Settings
The General tab holds the switch that turns the POS on, the status POS orders are created with, and the URL the POS answers on. Six sections, and most of what you set once and never touch again.
Open the tab
Section titled “Open the tab”Go to DevDiggers Plugins → MultiPOS → Configuration → General.
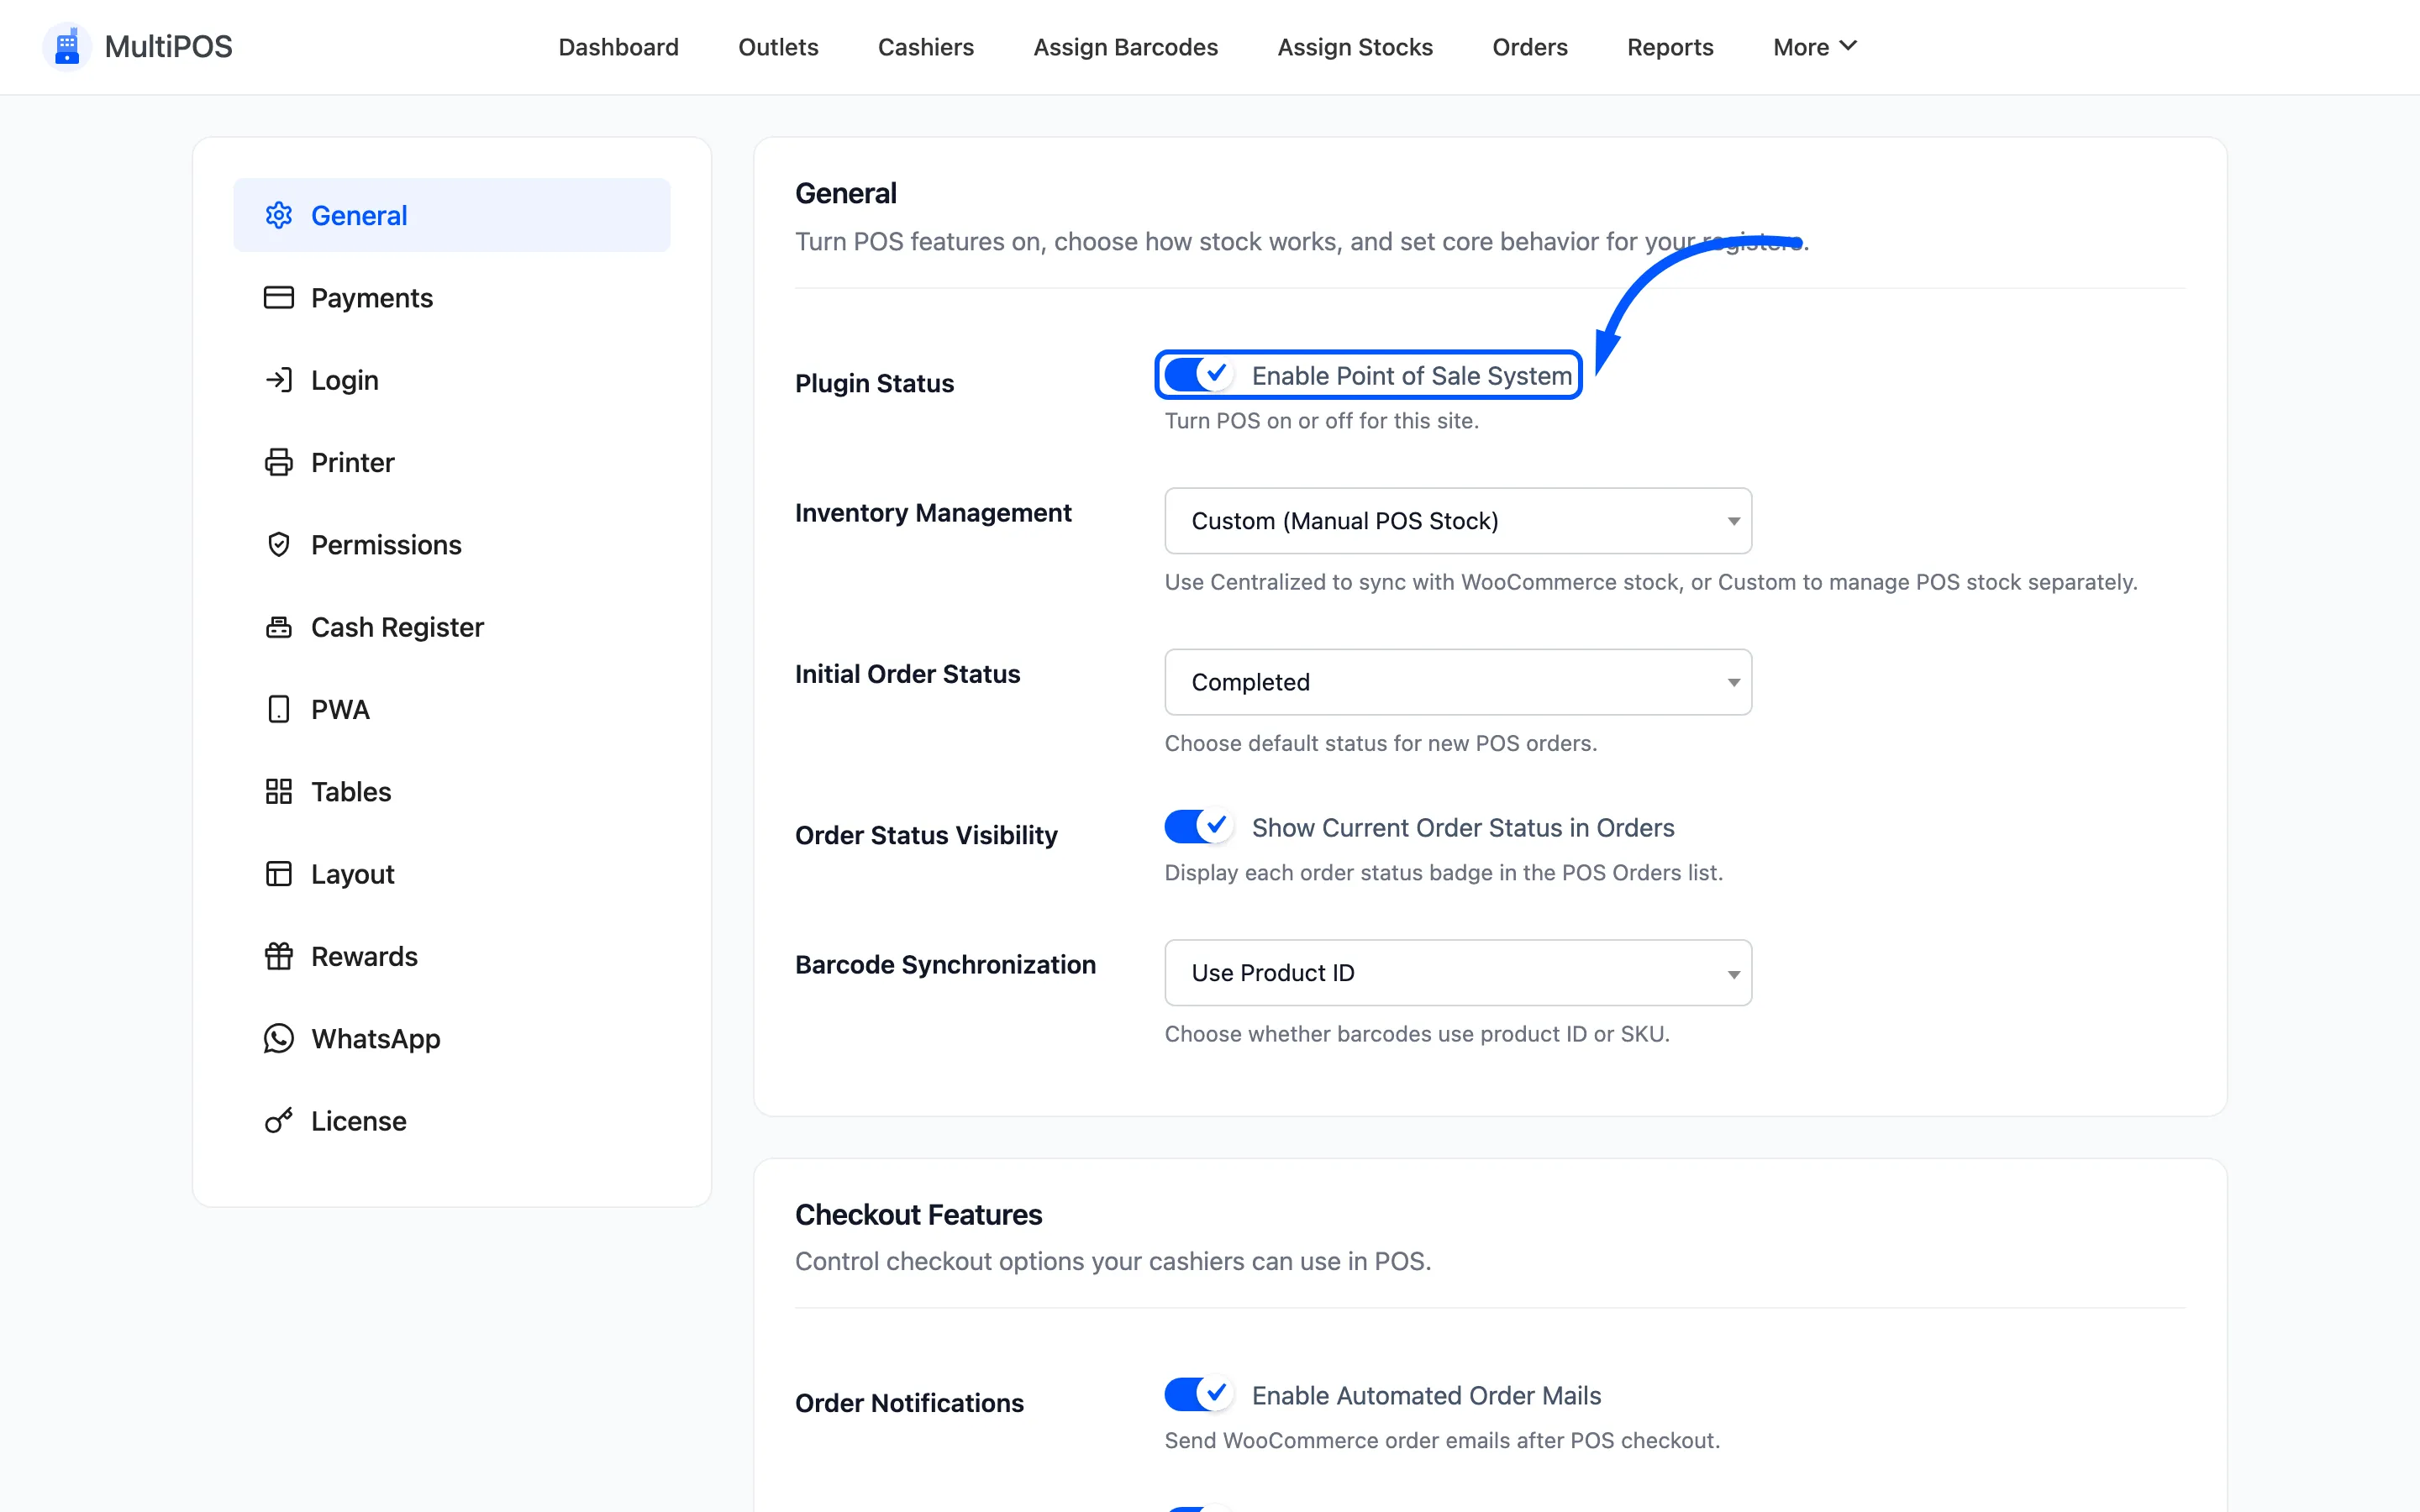
The tab list down the left is the whole Configuration screen: General, Payments, Login, Printer, Permissions, Cash Register, PWA, Tables, Layout, Rewards and WhatsApp. The Pro build adds License, where you enter your license key. In the free version, the Pro-only tabs show a preview panel instead of their fields.
General
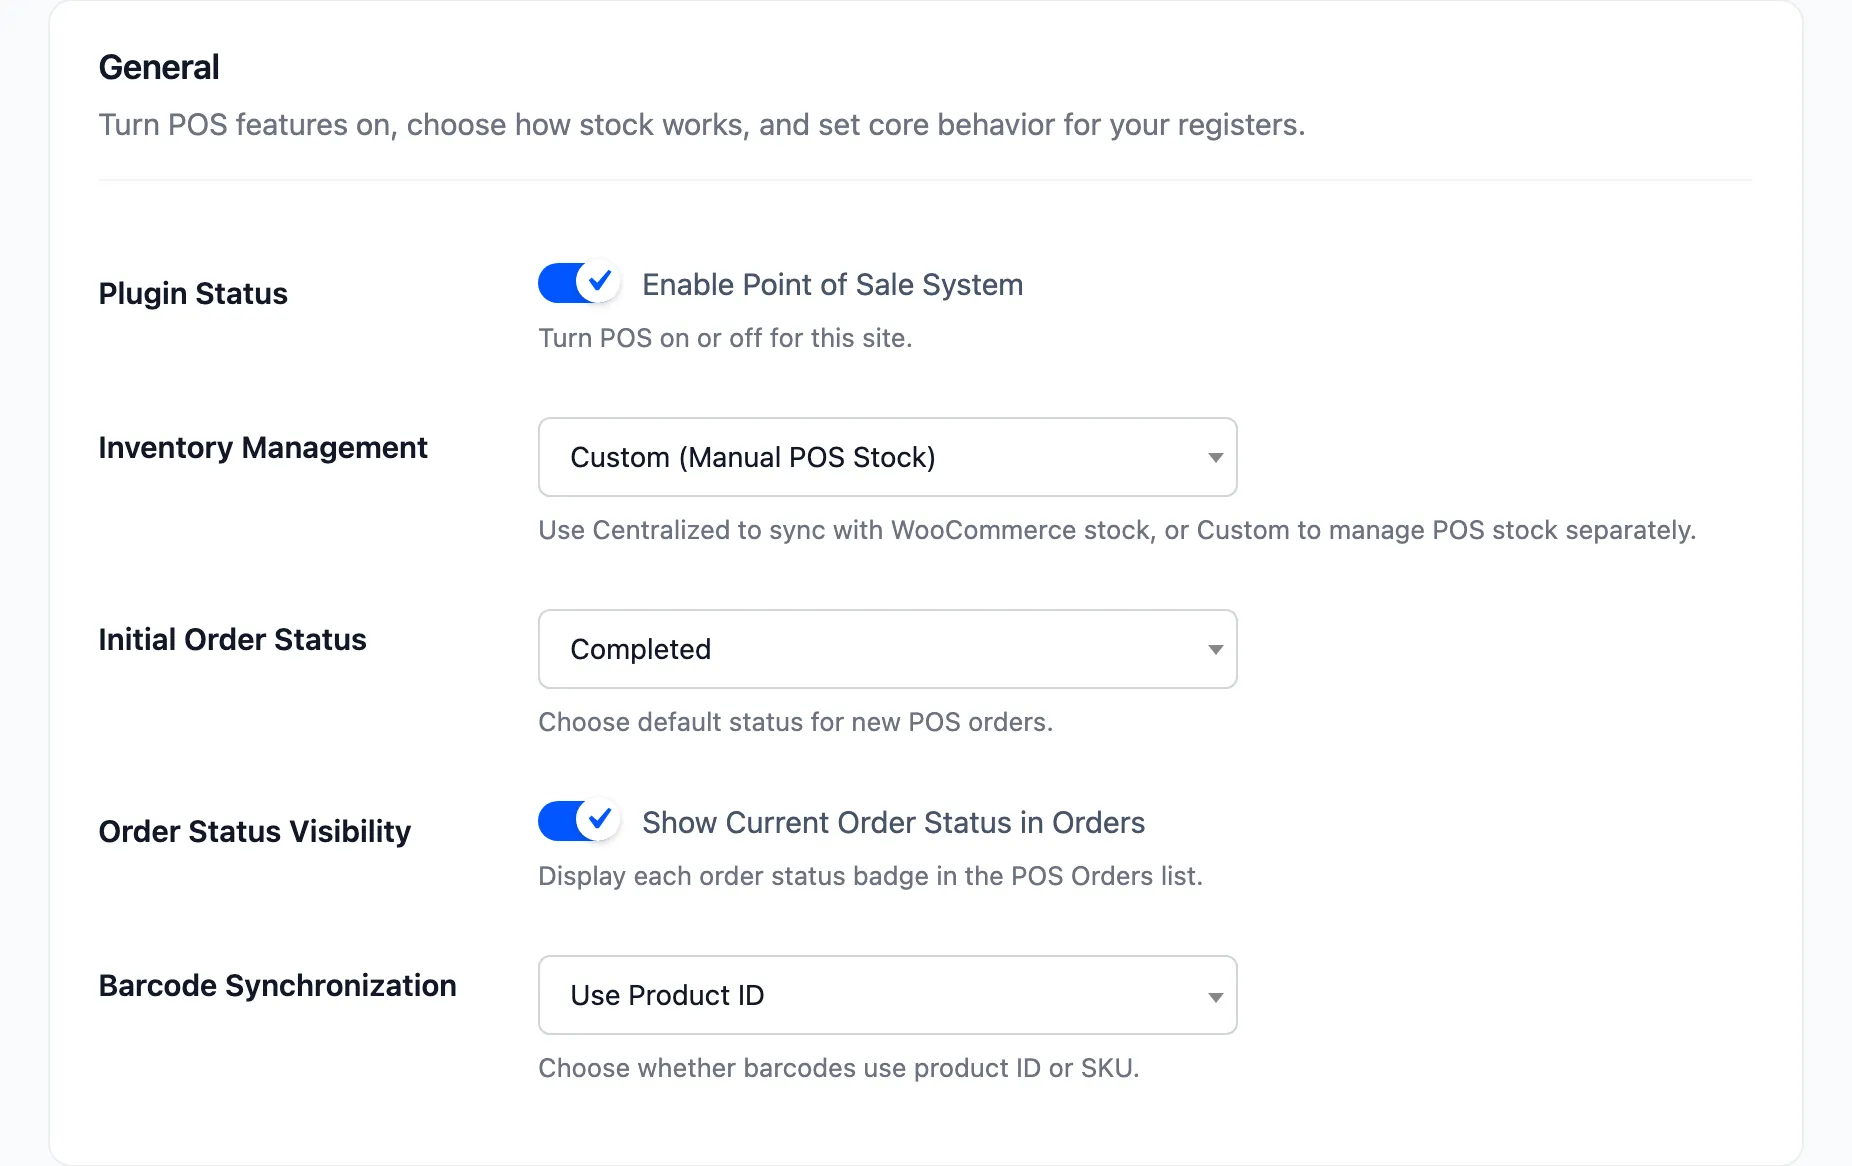
Section titled “General”Plugin Status is the master switch, labelled Enable Point of Sale System. Off by default. With it off the terminal URL does not resolve, so nothing sells.
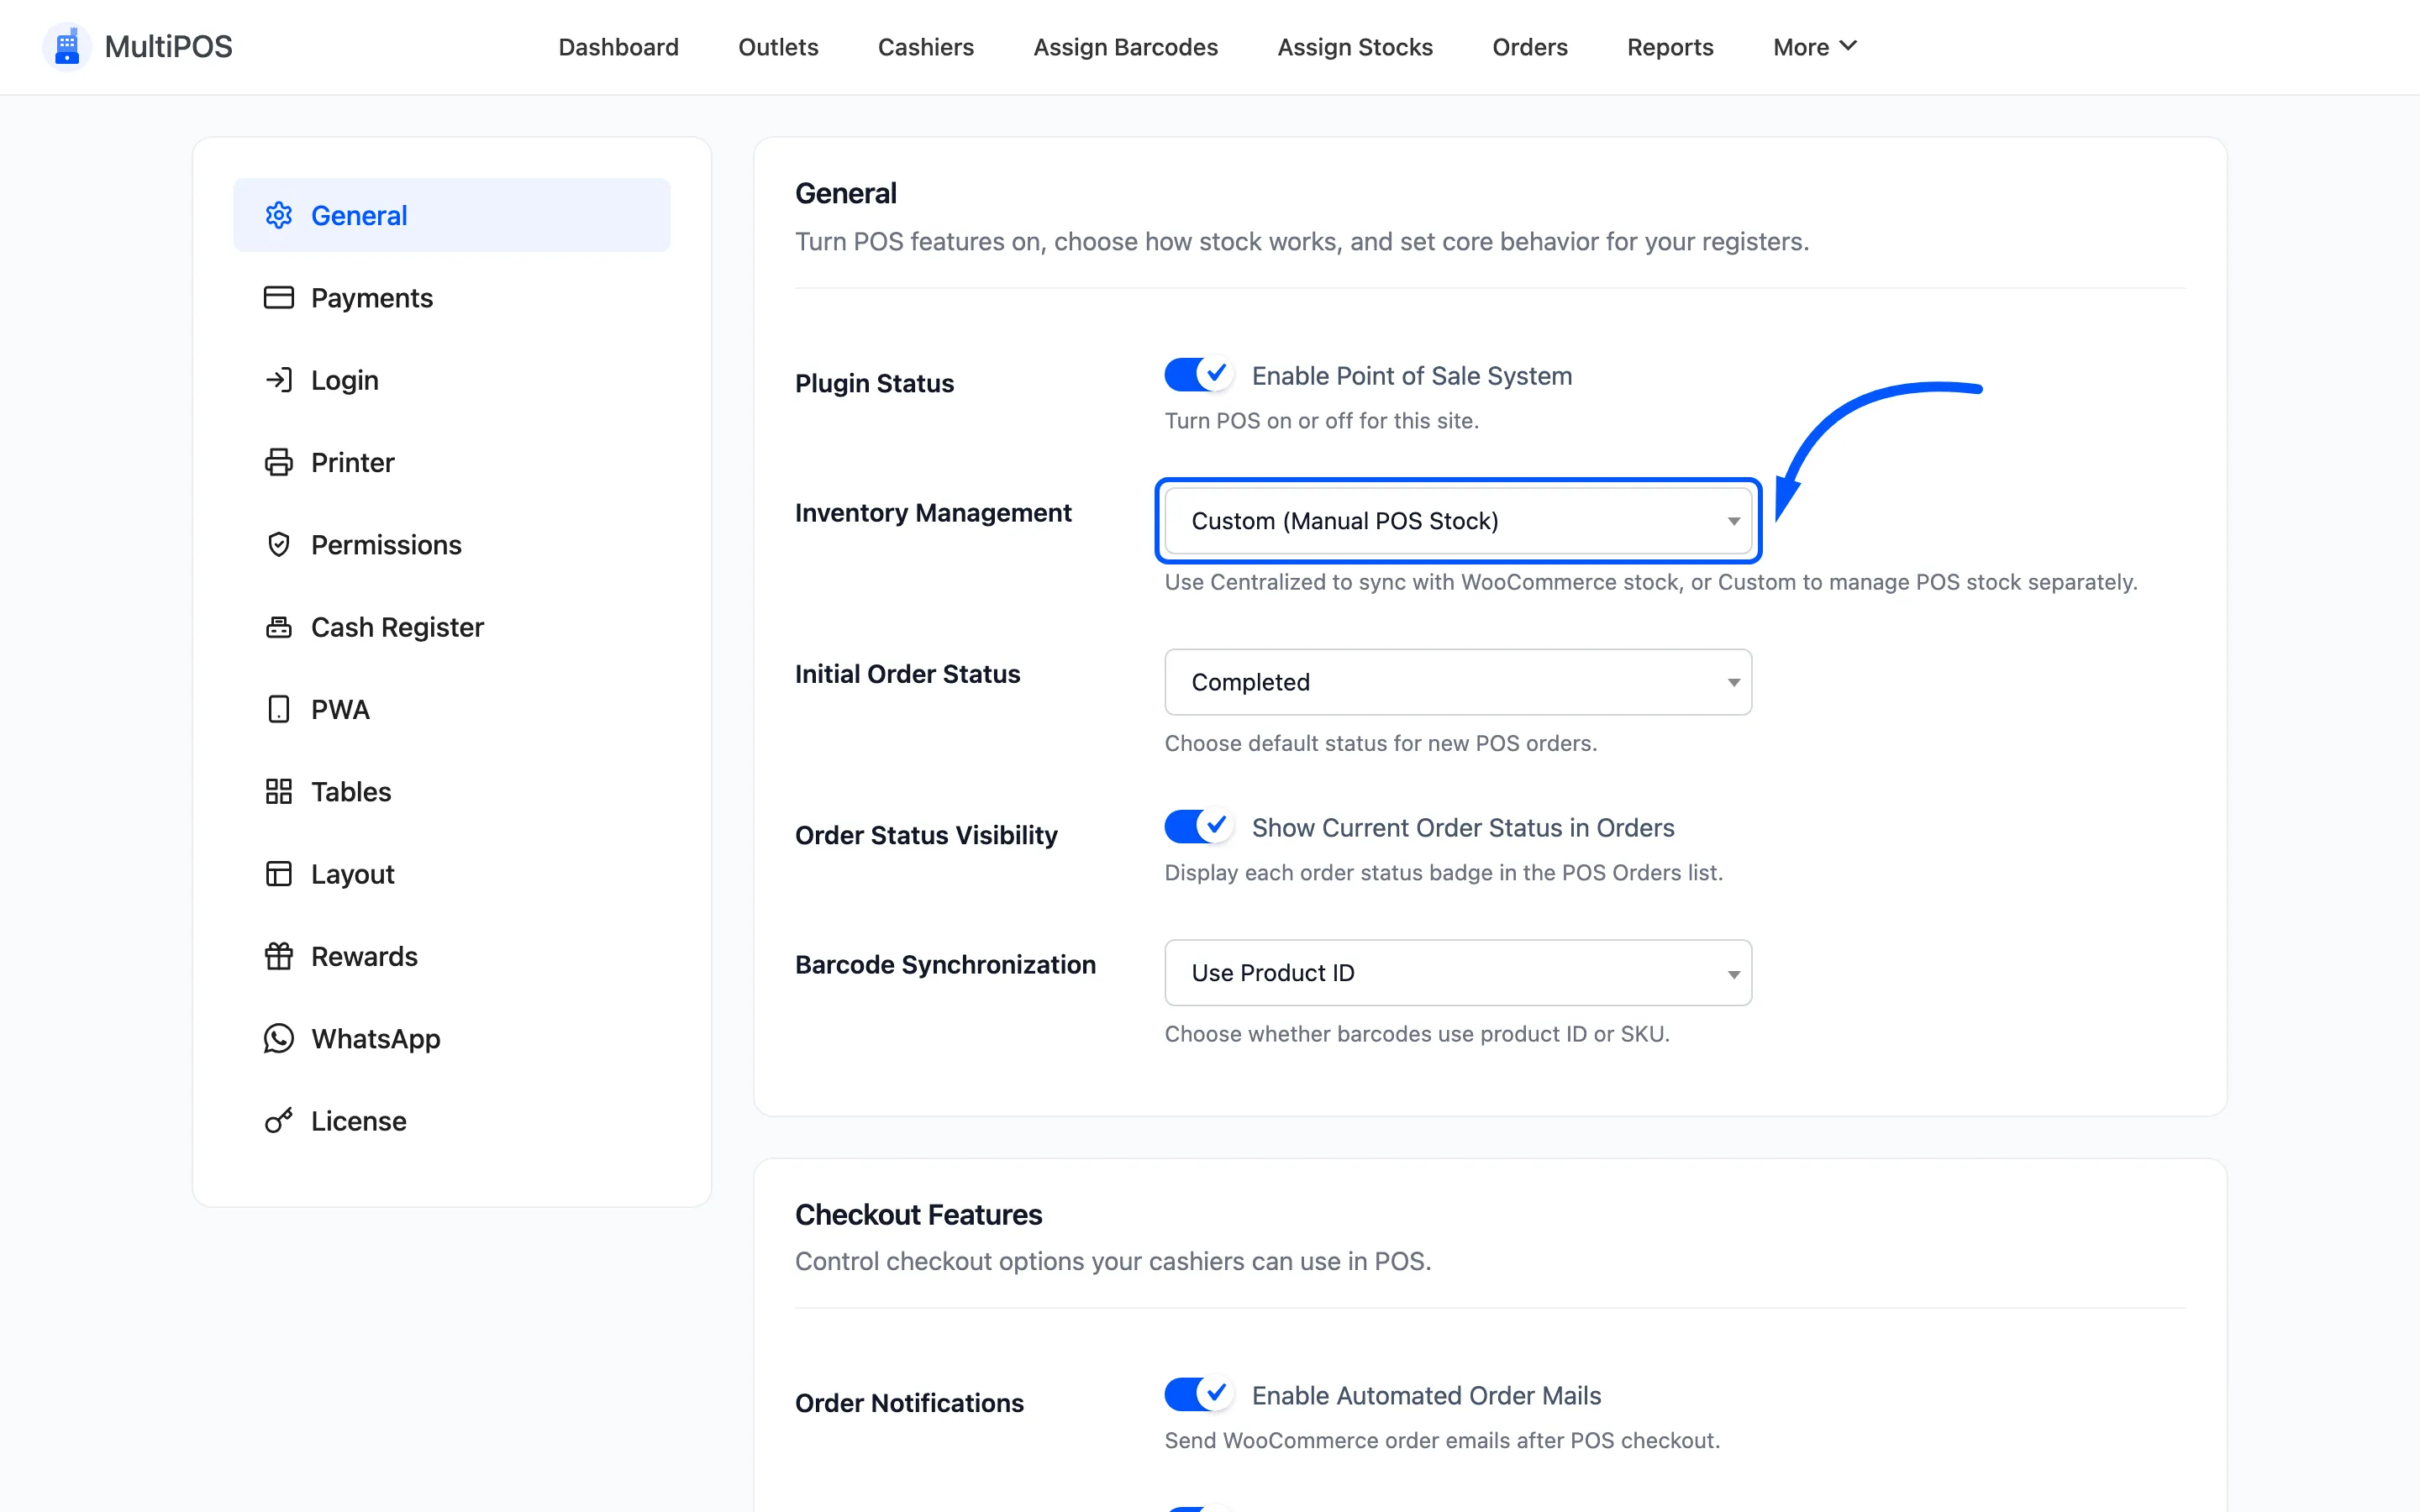
Inventory Management decides where stock comes from. Centralized (Sync with WooCommerce) reads and writes the product’s WooCommerce stock. Custom (Manual POS Stock) keeps a separate figure per outlet.
Initial Order Status is the status every POS order is created with. It defaults to Completed.
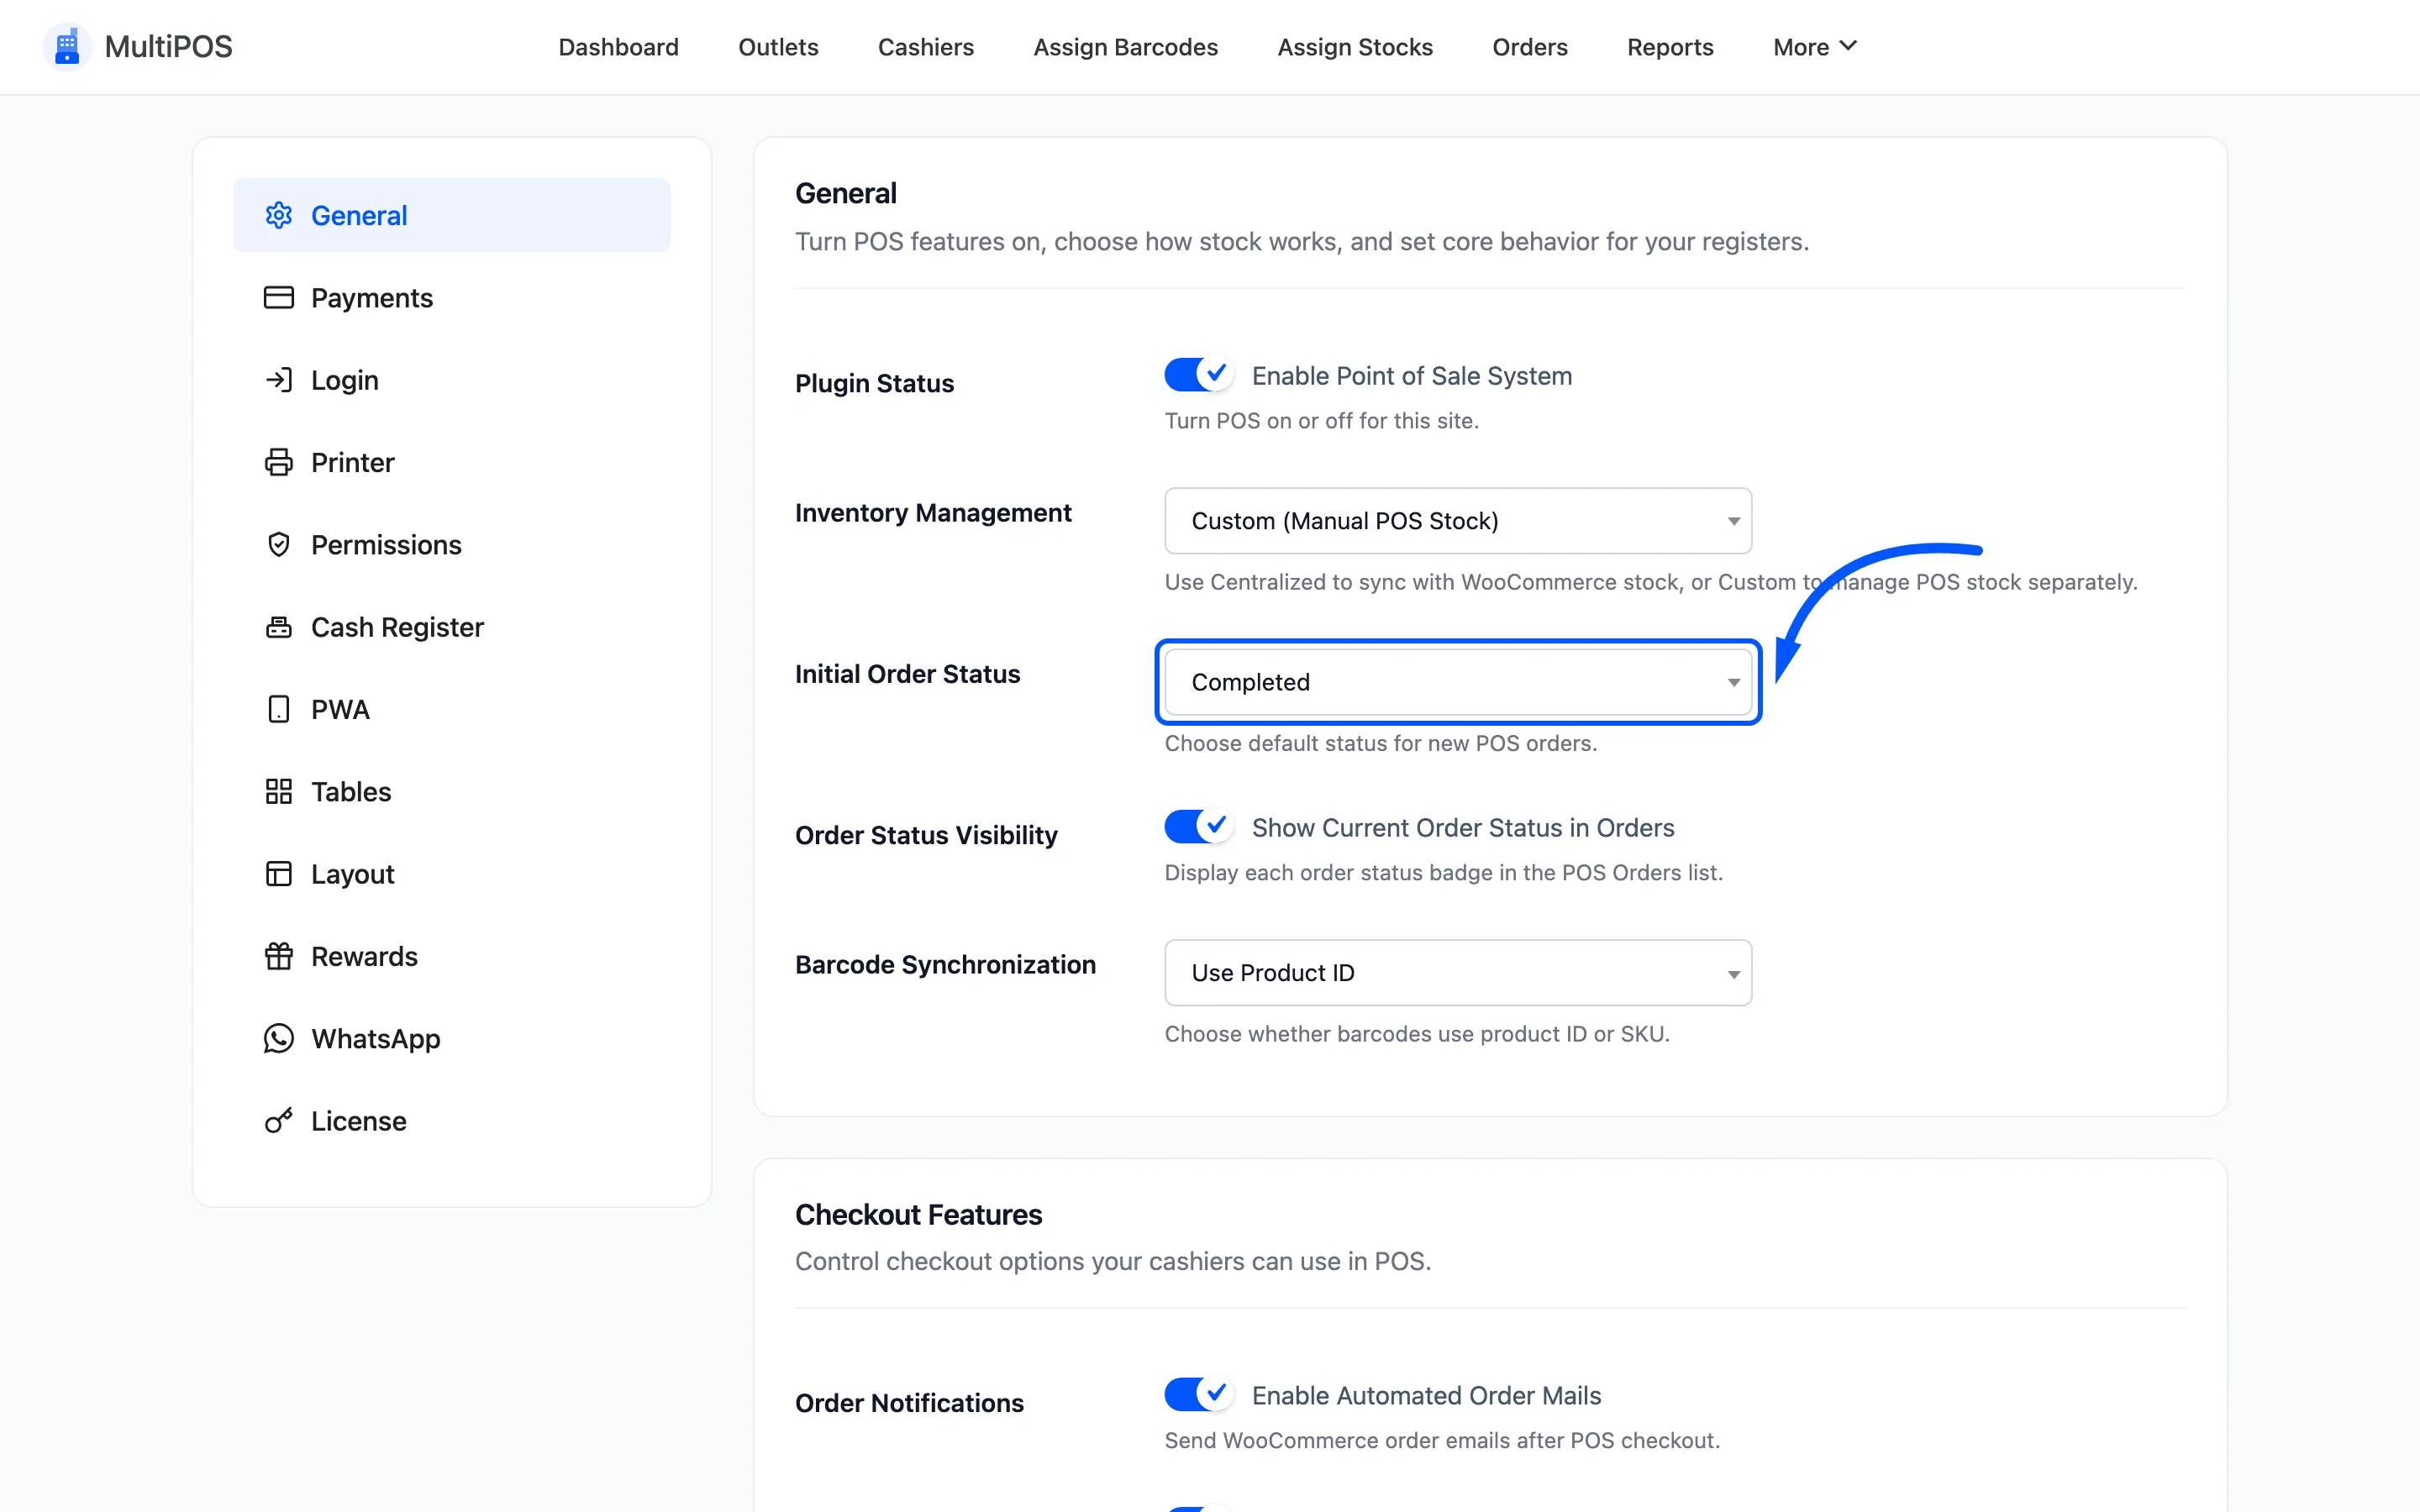
Completed suits a counter sale where the customer leaves with the goods. Choose Processing if POS orders still need packing, and On hold if you take payment later.
Order Status Visibility prints each order’s status badge in the POS Orders list. This one is Pro.
Barcode Synchronization decides what a generated barcode is built from: Use Product ID, the default, or Use Product SKU.
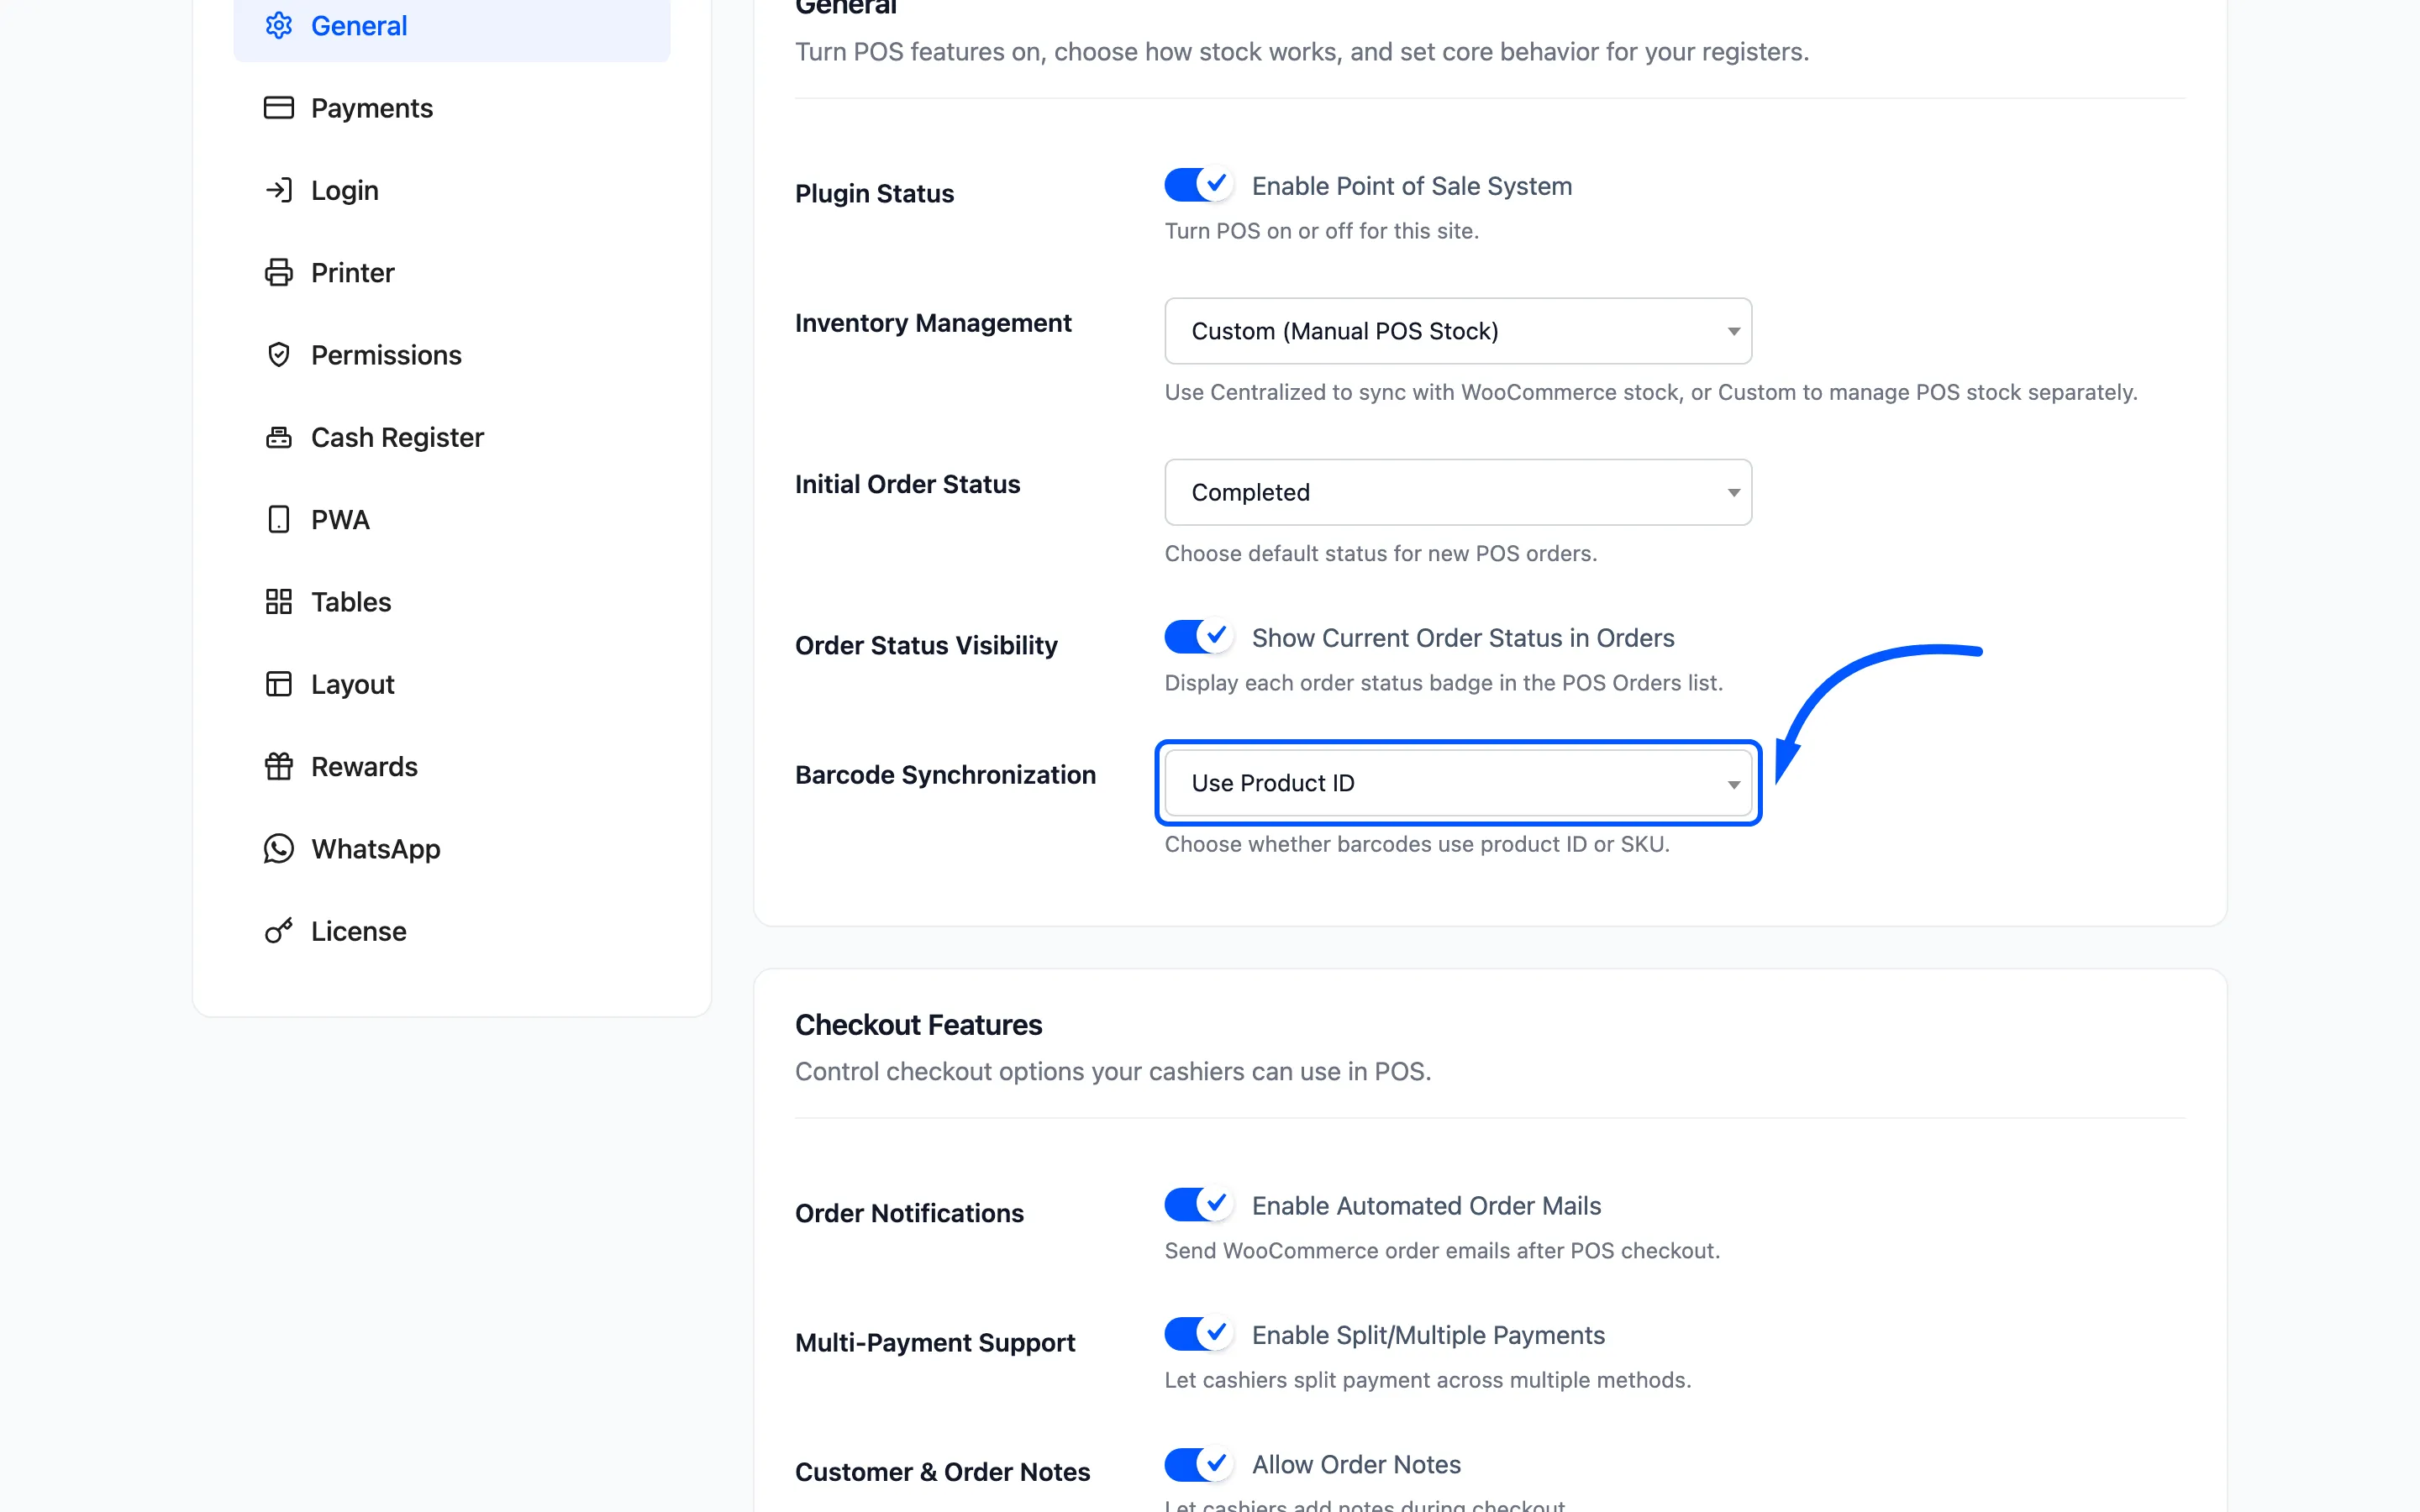
Pick SKU if your products already carry the codes printed on your supplier’s packaging. Pick Product ID if you are generating and printing your own labels from scratch.
Checkout Features
Section titled “Checkout Features”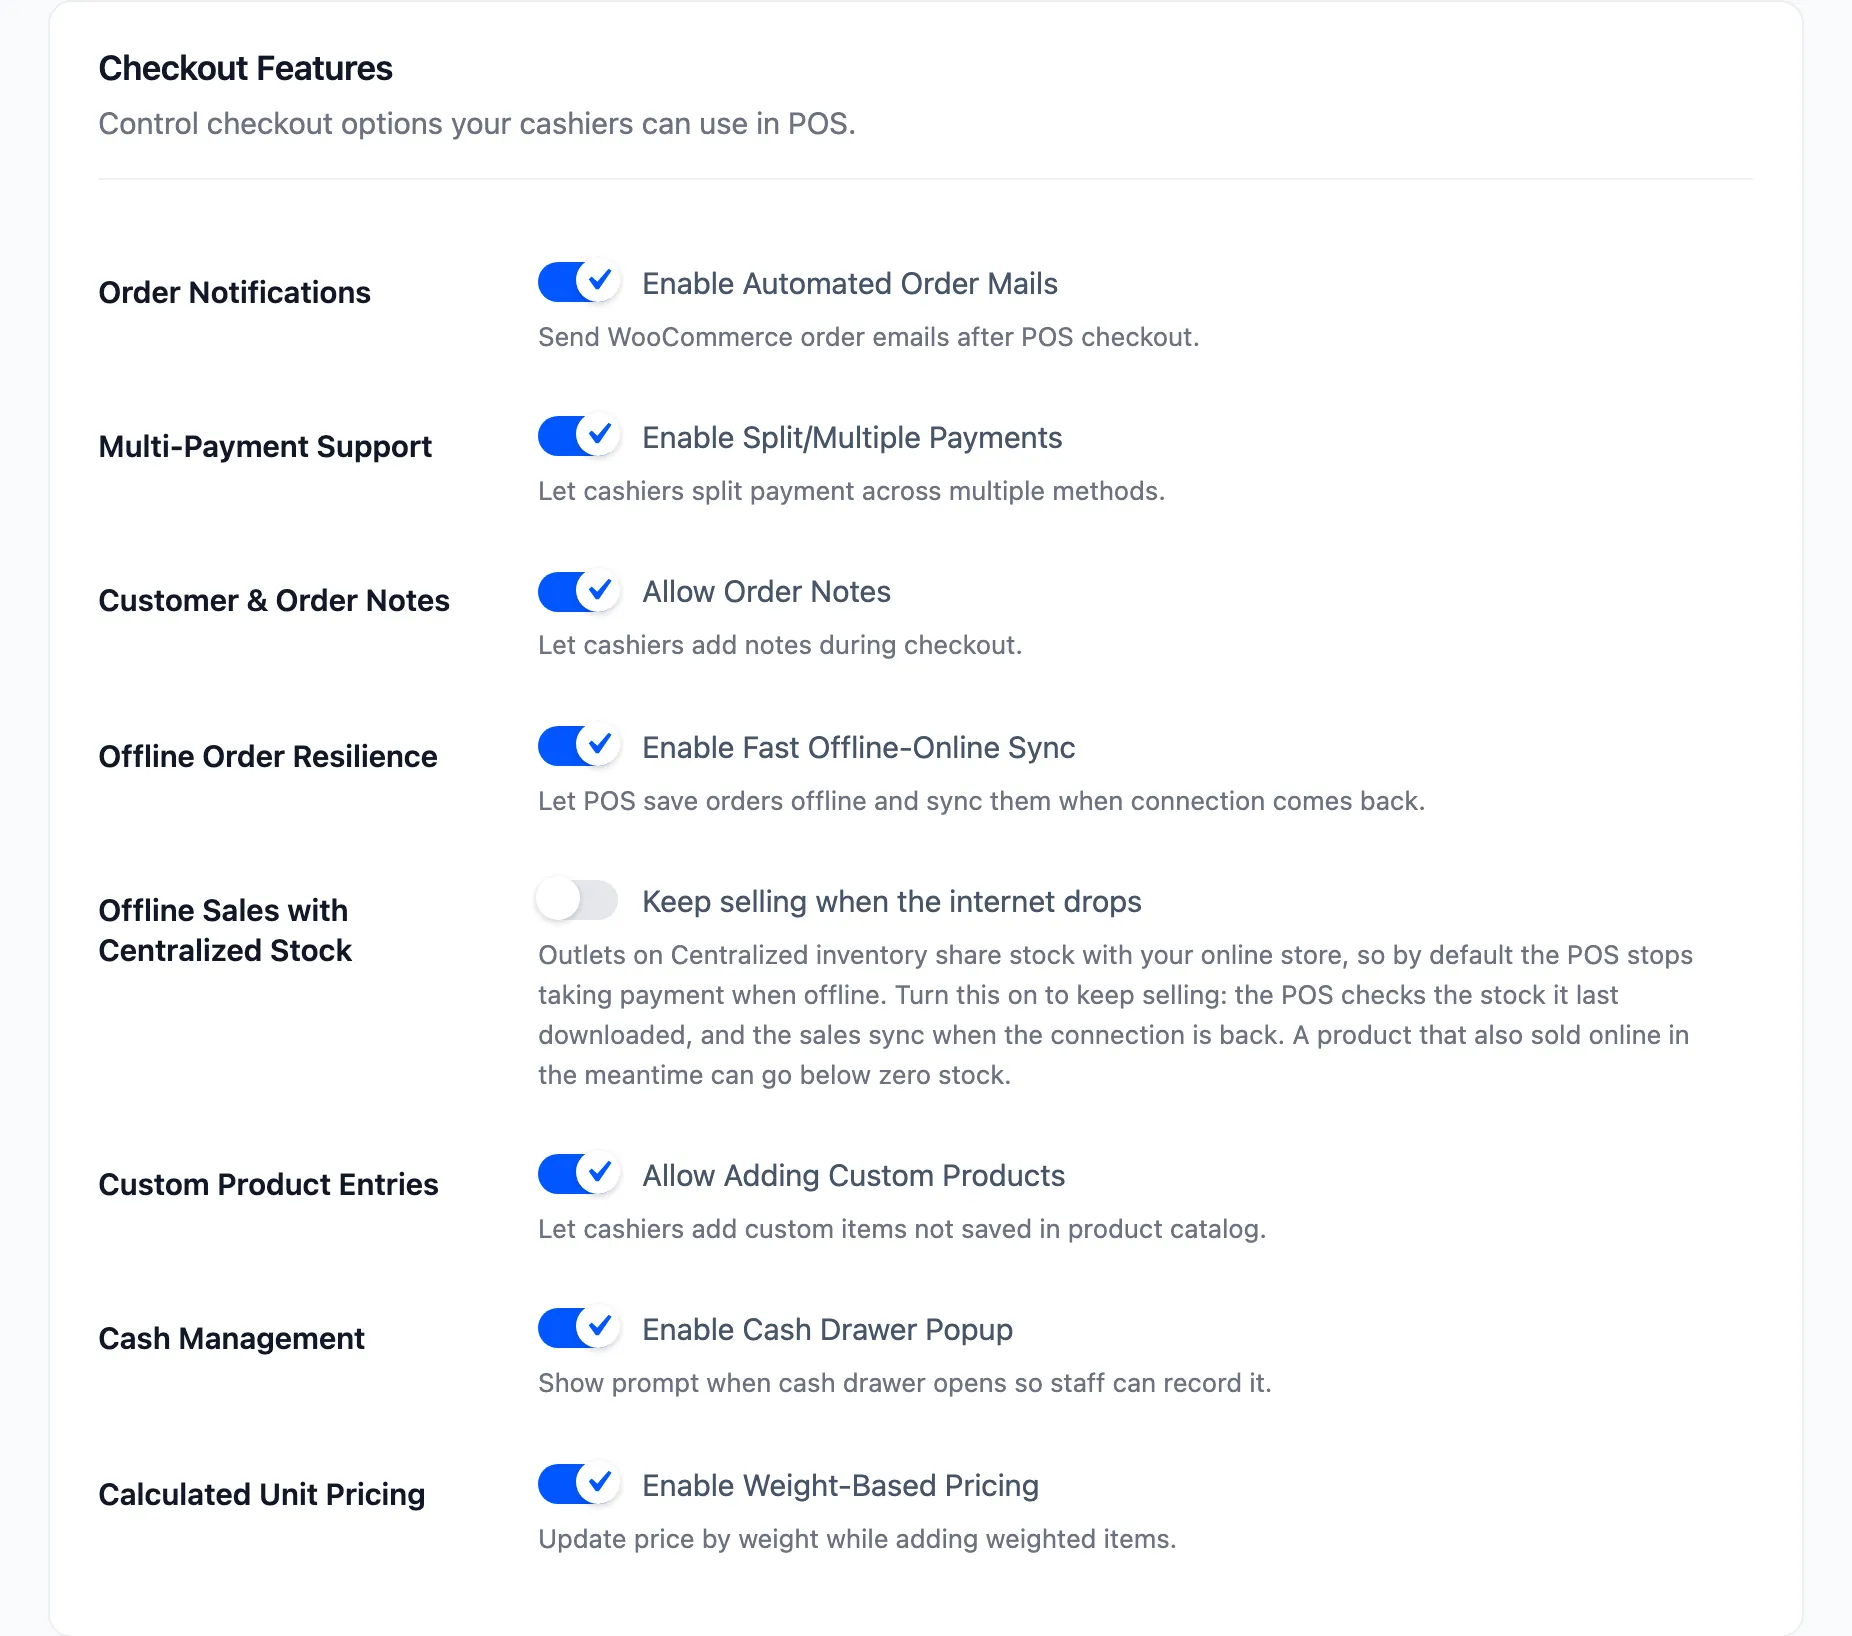
Order Notifications, labelled Enable Automated Order Mails, sends the usual WooCommerce order emails after a POS checkout. Off by default, and free.
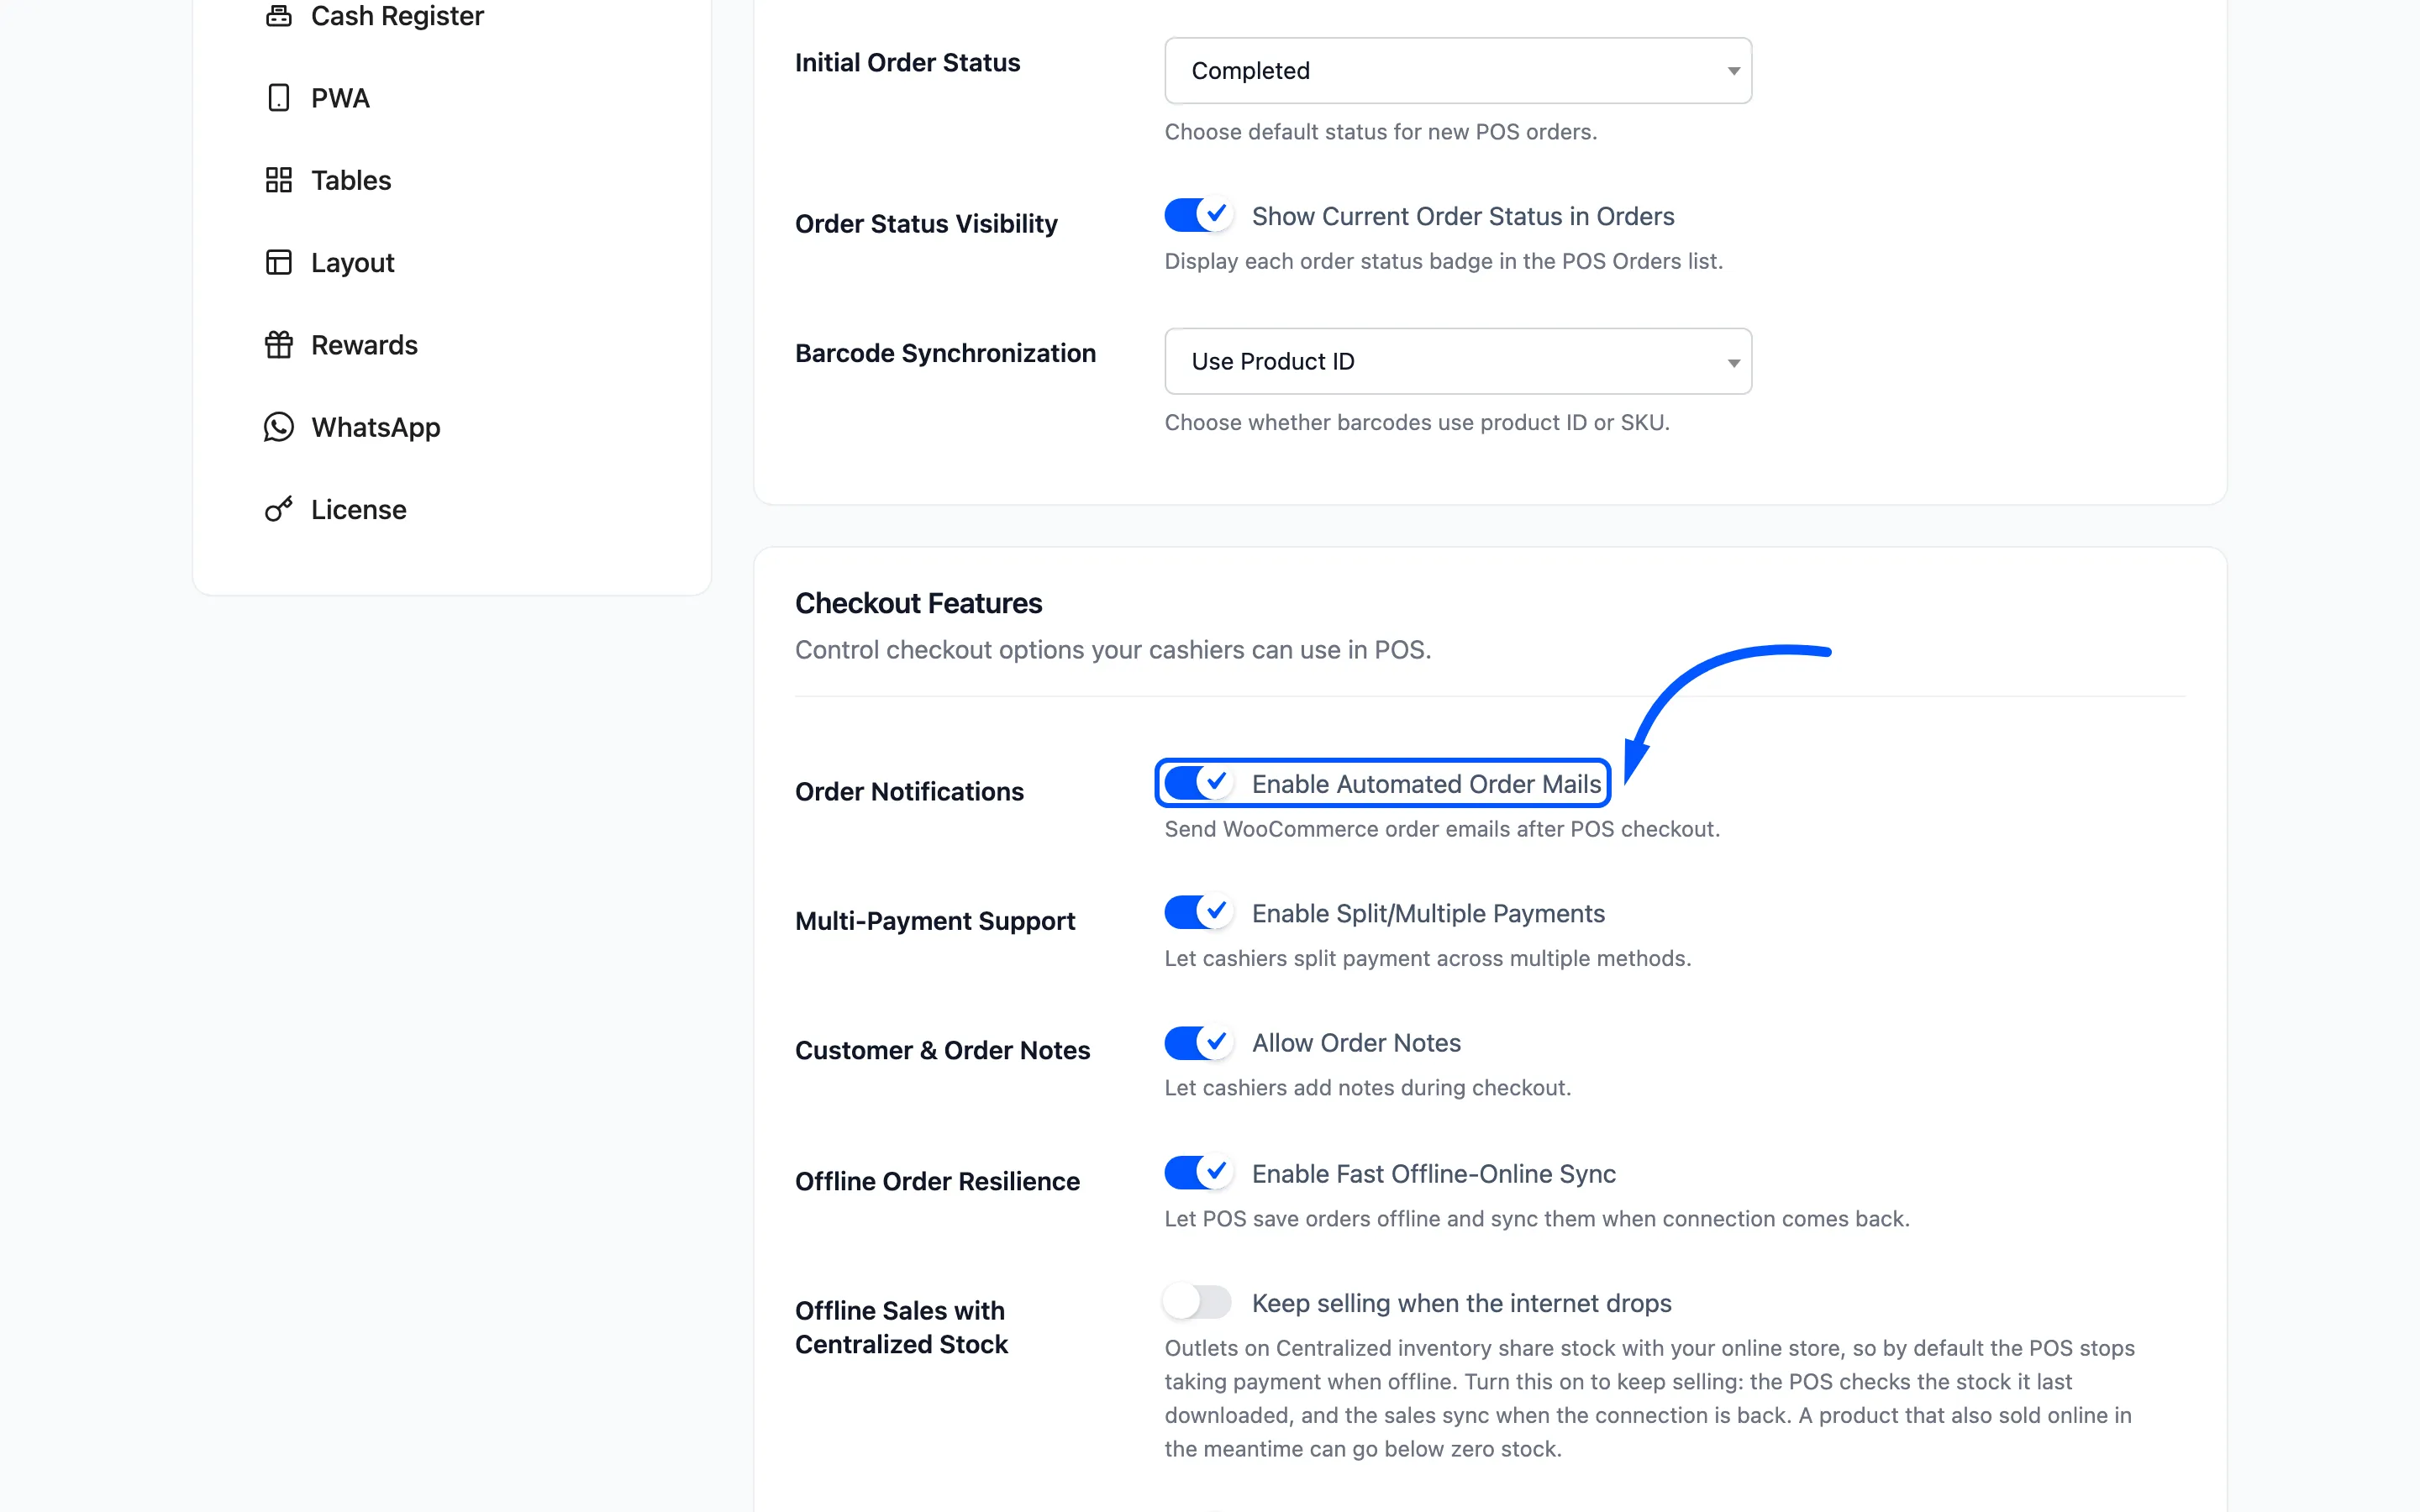
Leave it off for a counter. The customer has the printed receipt in their hand.
The rest of this section is Pro:
| Field | What it adds |
|---|---|
| Multi-Payment Support | Split one order across several payment methods |
| Customer & Order Notes | A note field at checkout |
| Offline Order Resilience | Take orders offline and sync them when the connection returns |
| Offline Sales with Centralized Stock | Keep selling offline at an outlet on Centralized inventory |
| Custom Product Entries | Sell an item that is not in the catalogue |
| Cash Management | Ask for the opening drawer amount at the start of a shift |
| Calculated Unit Pricing | Price by weight while adding an item |
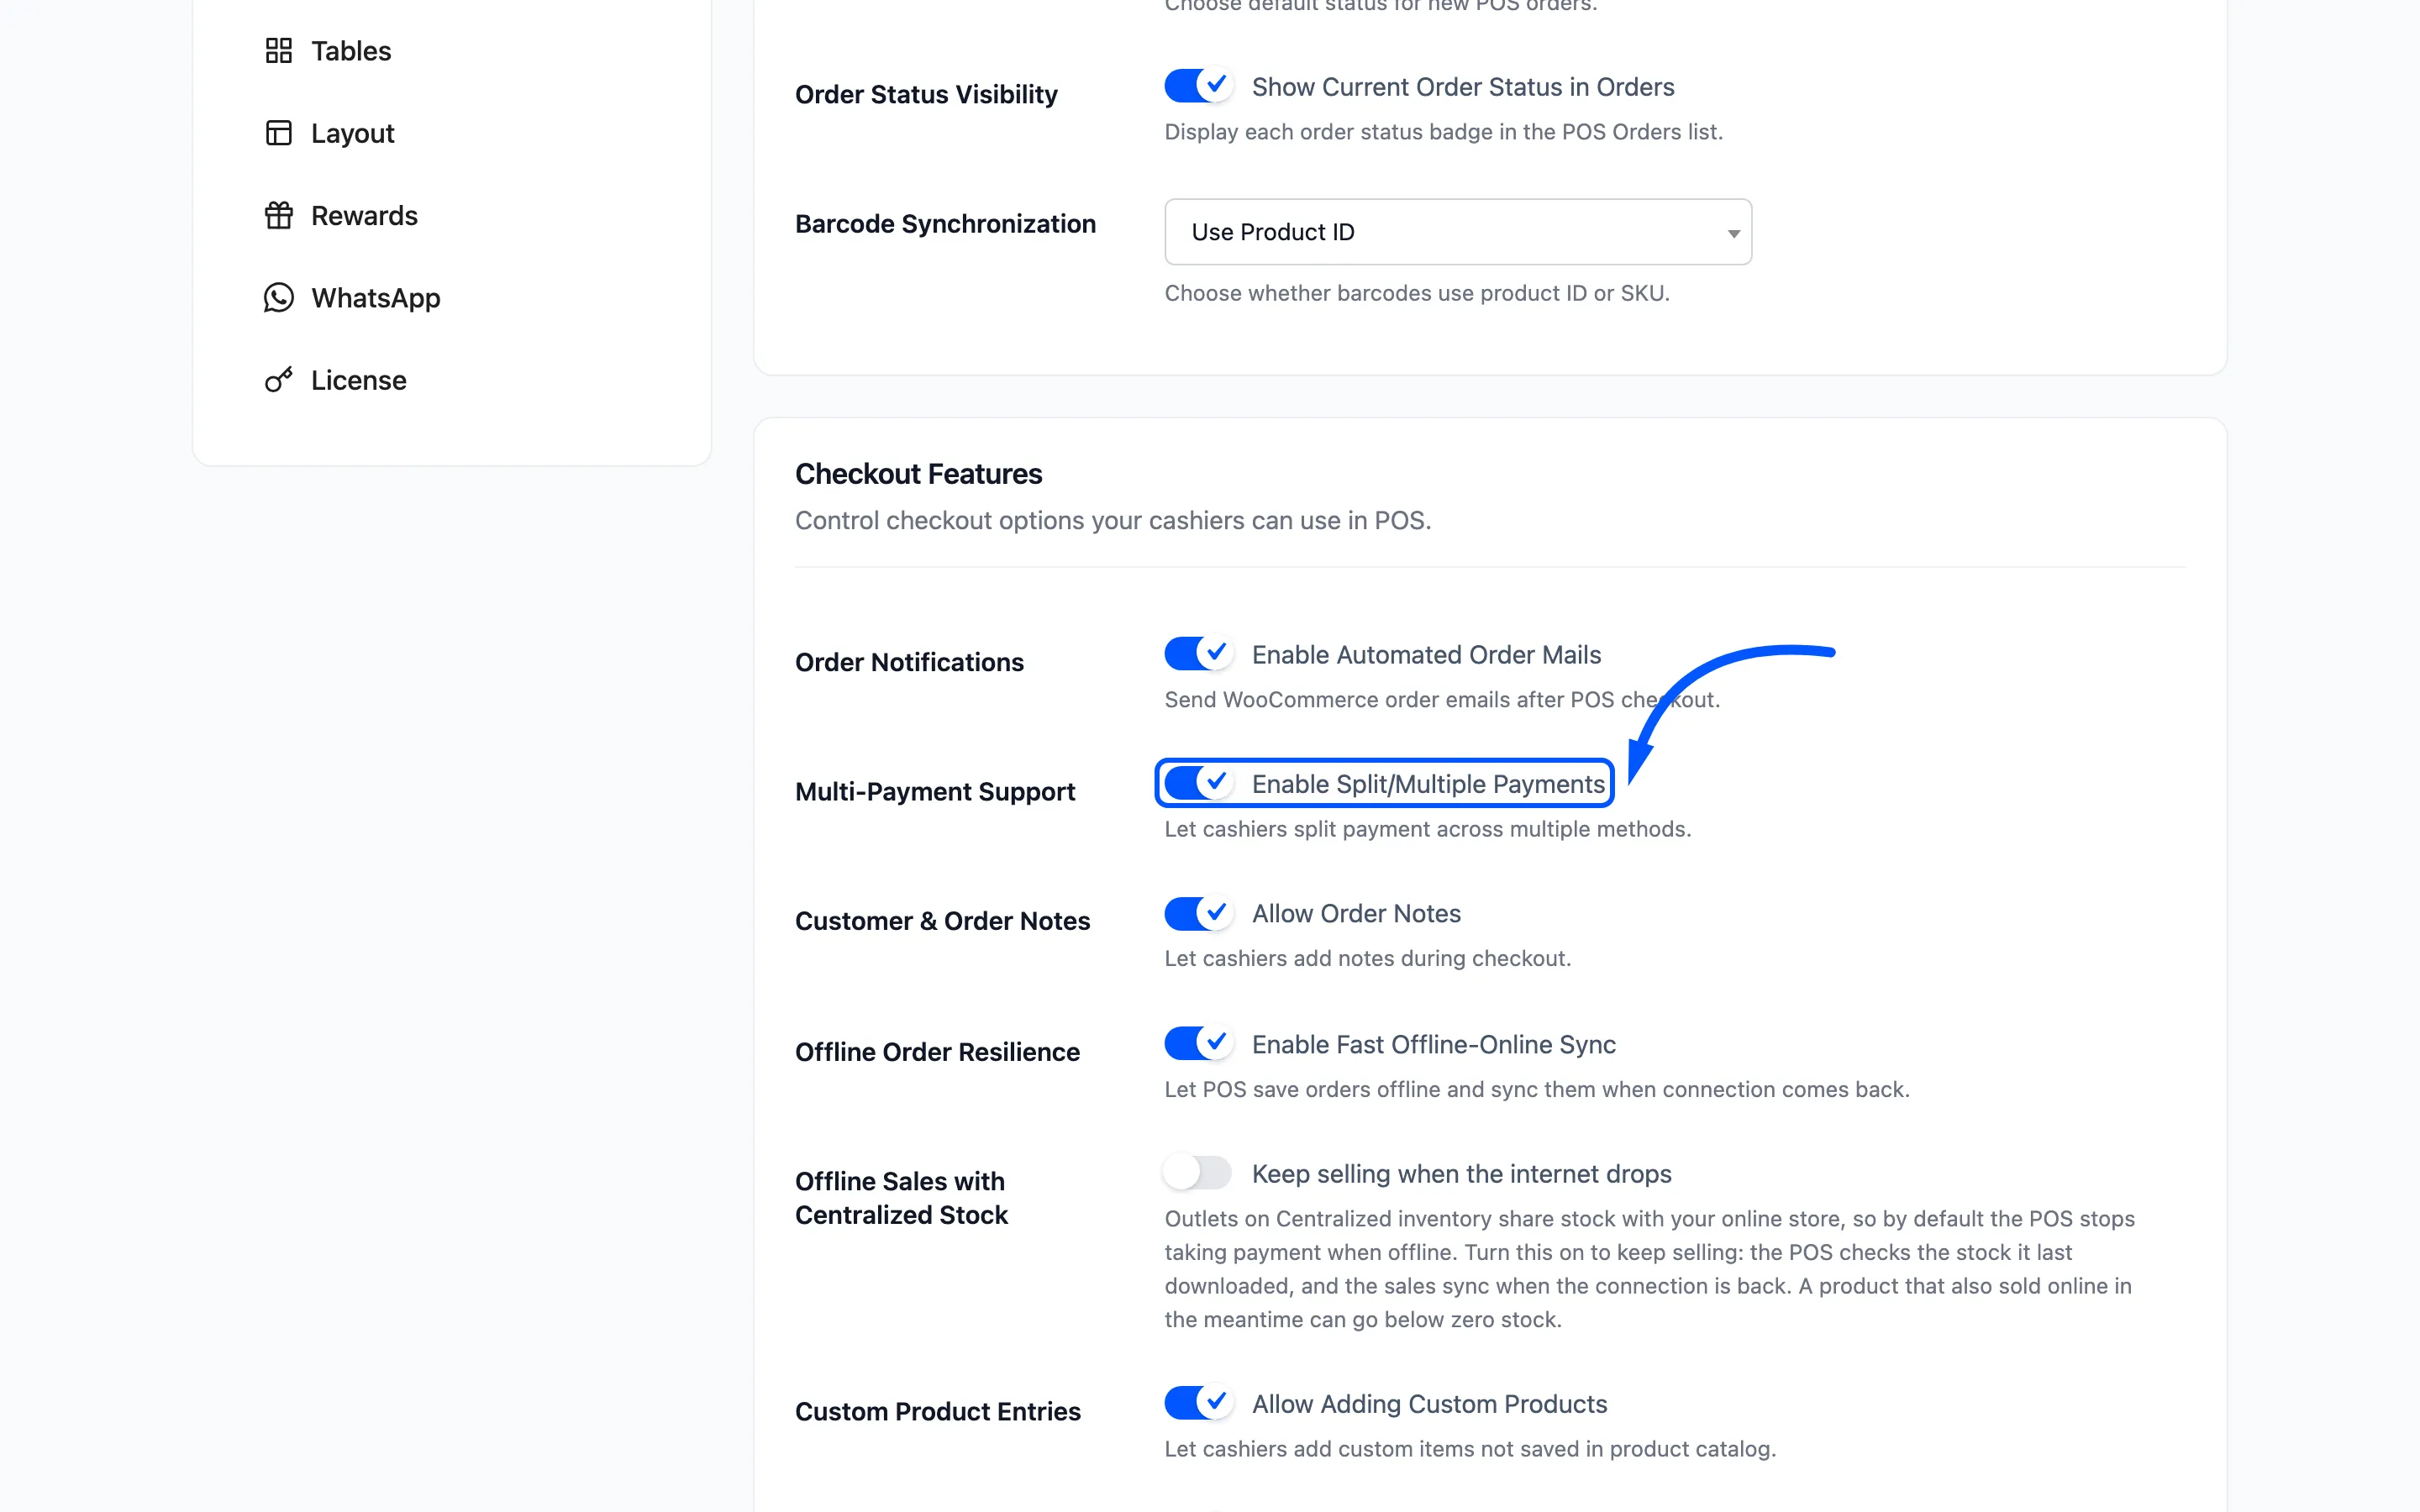
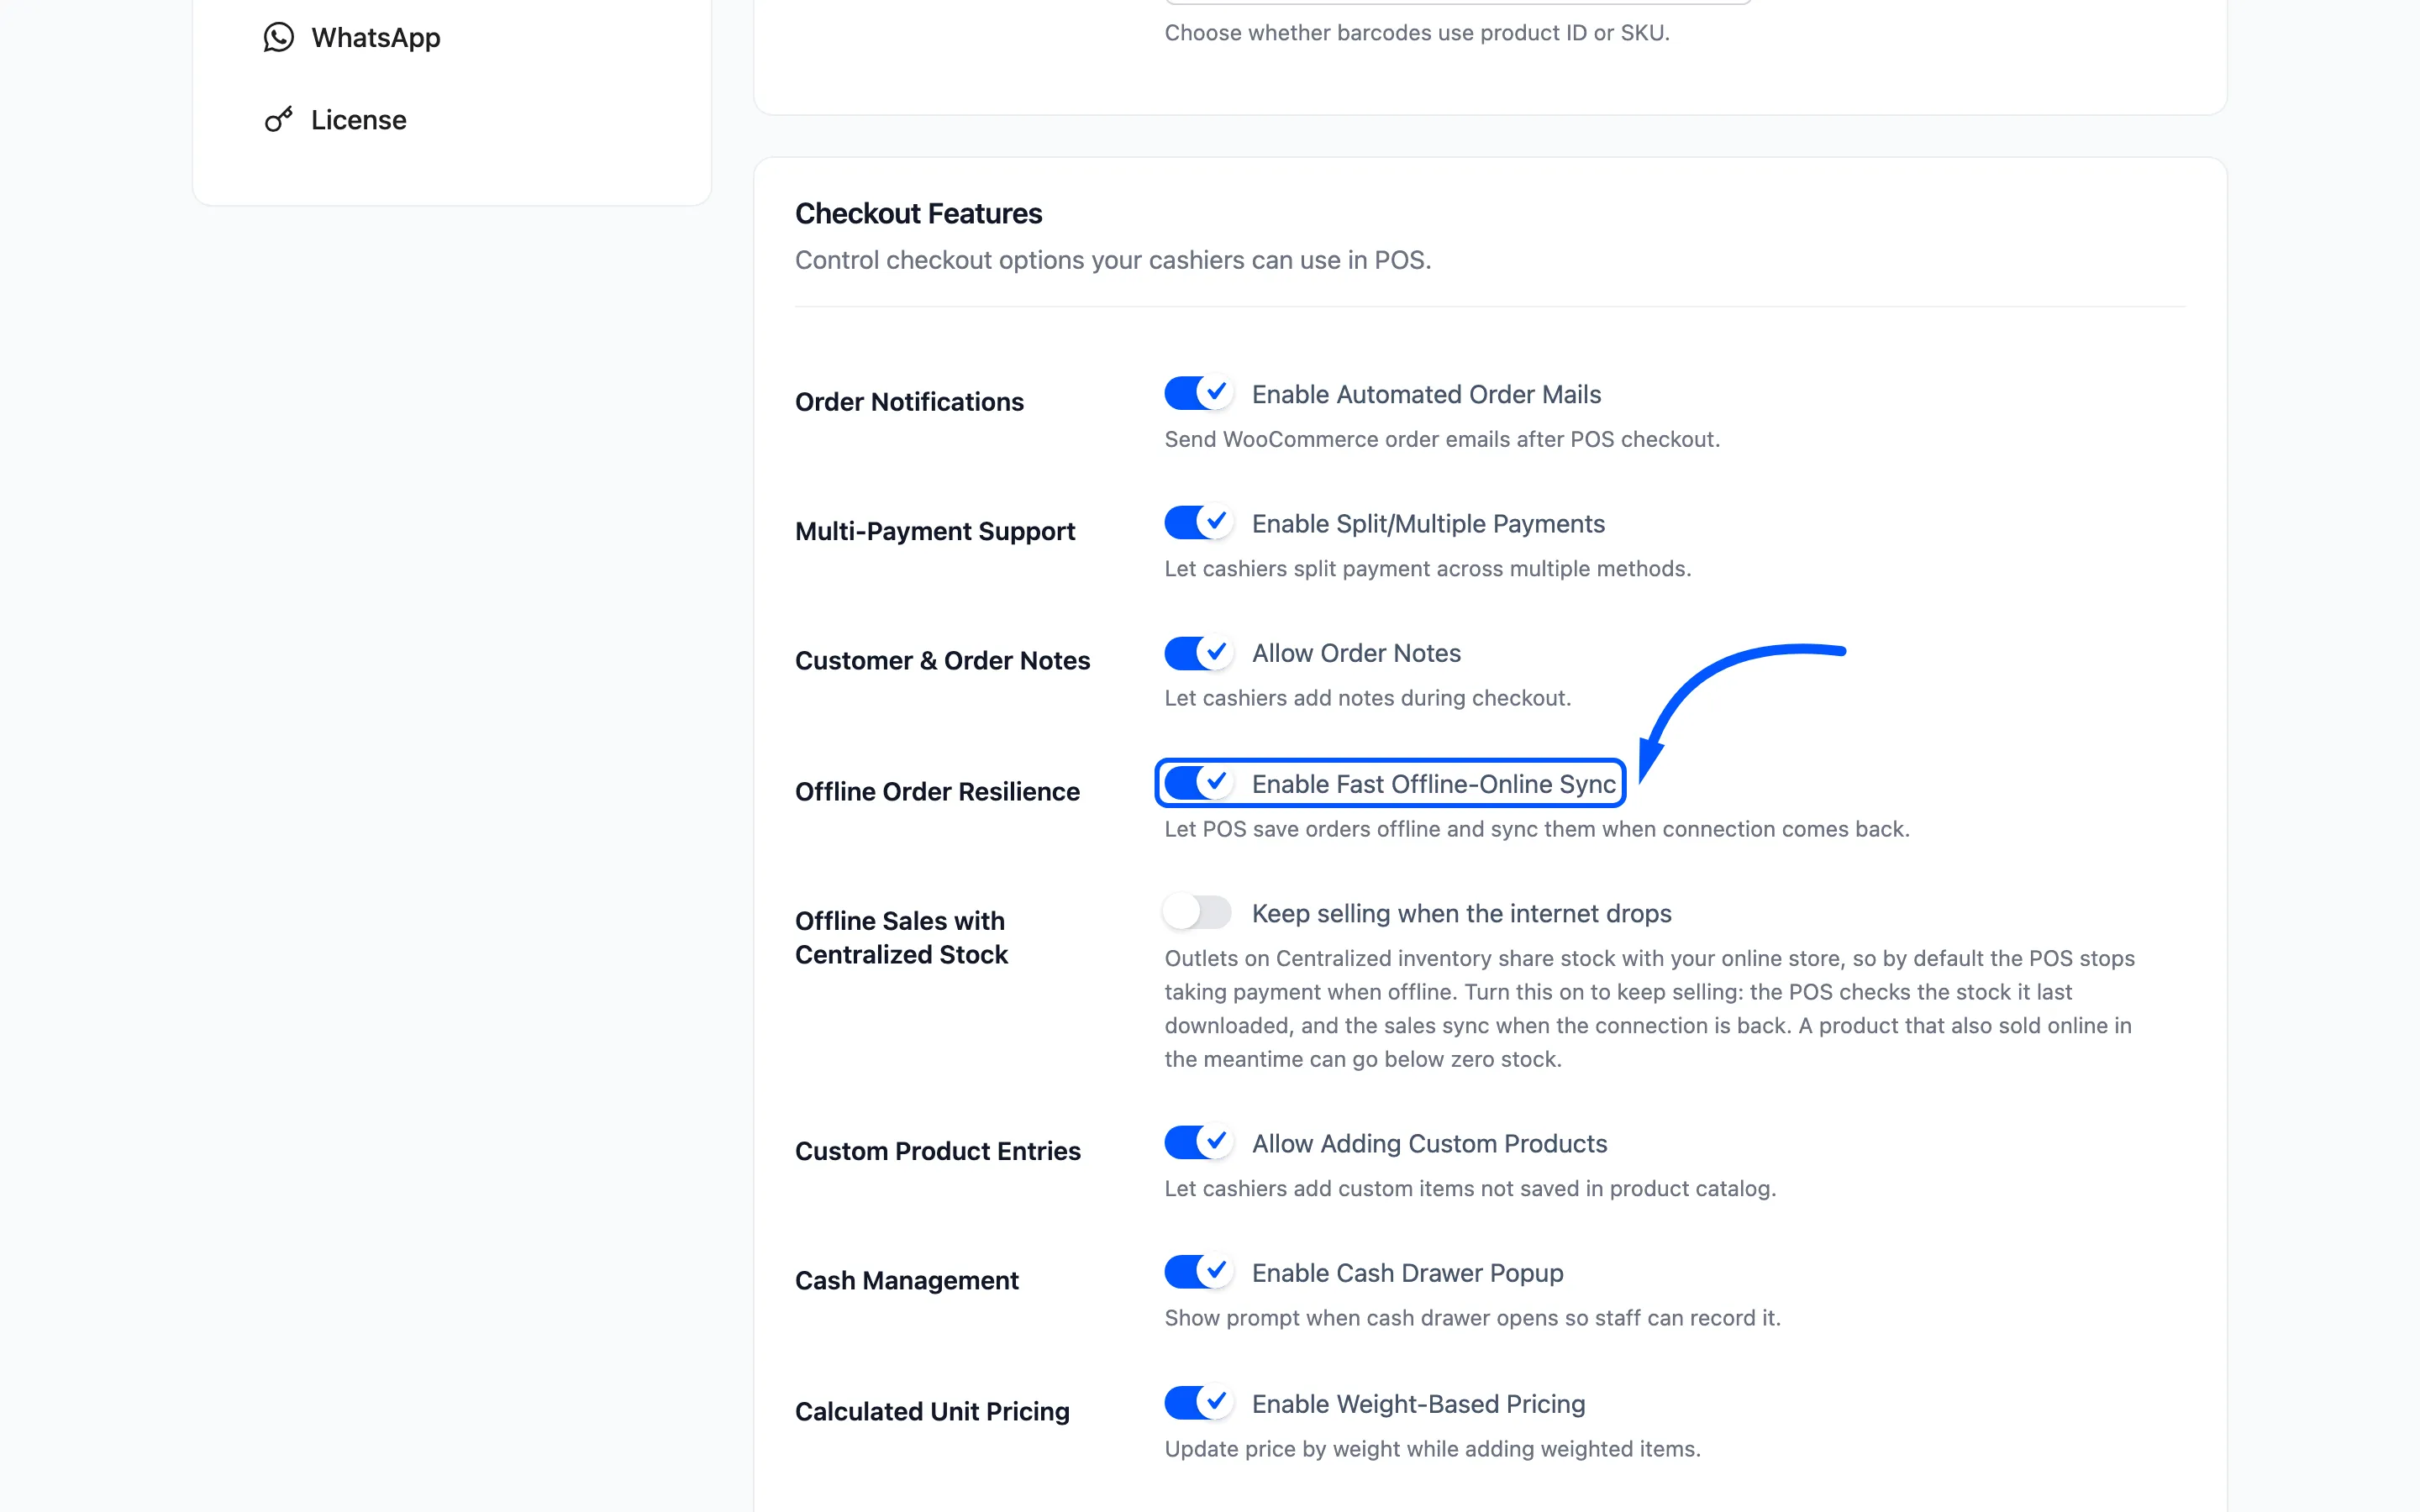
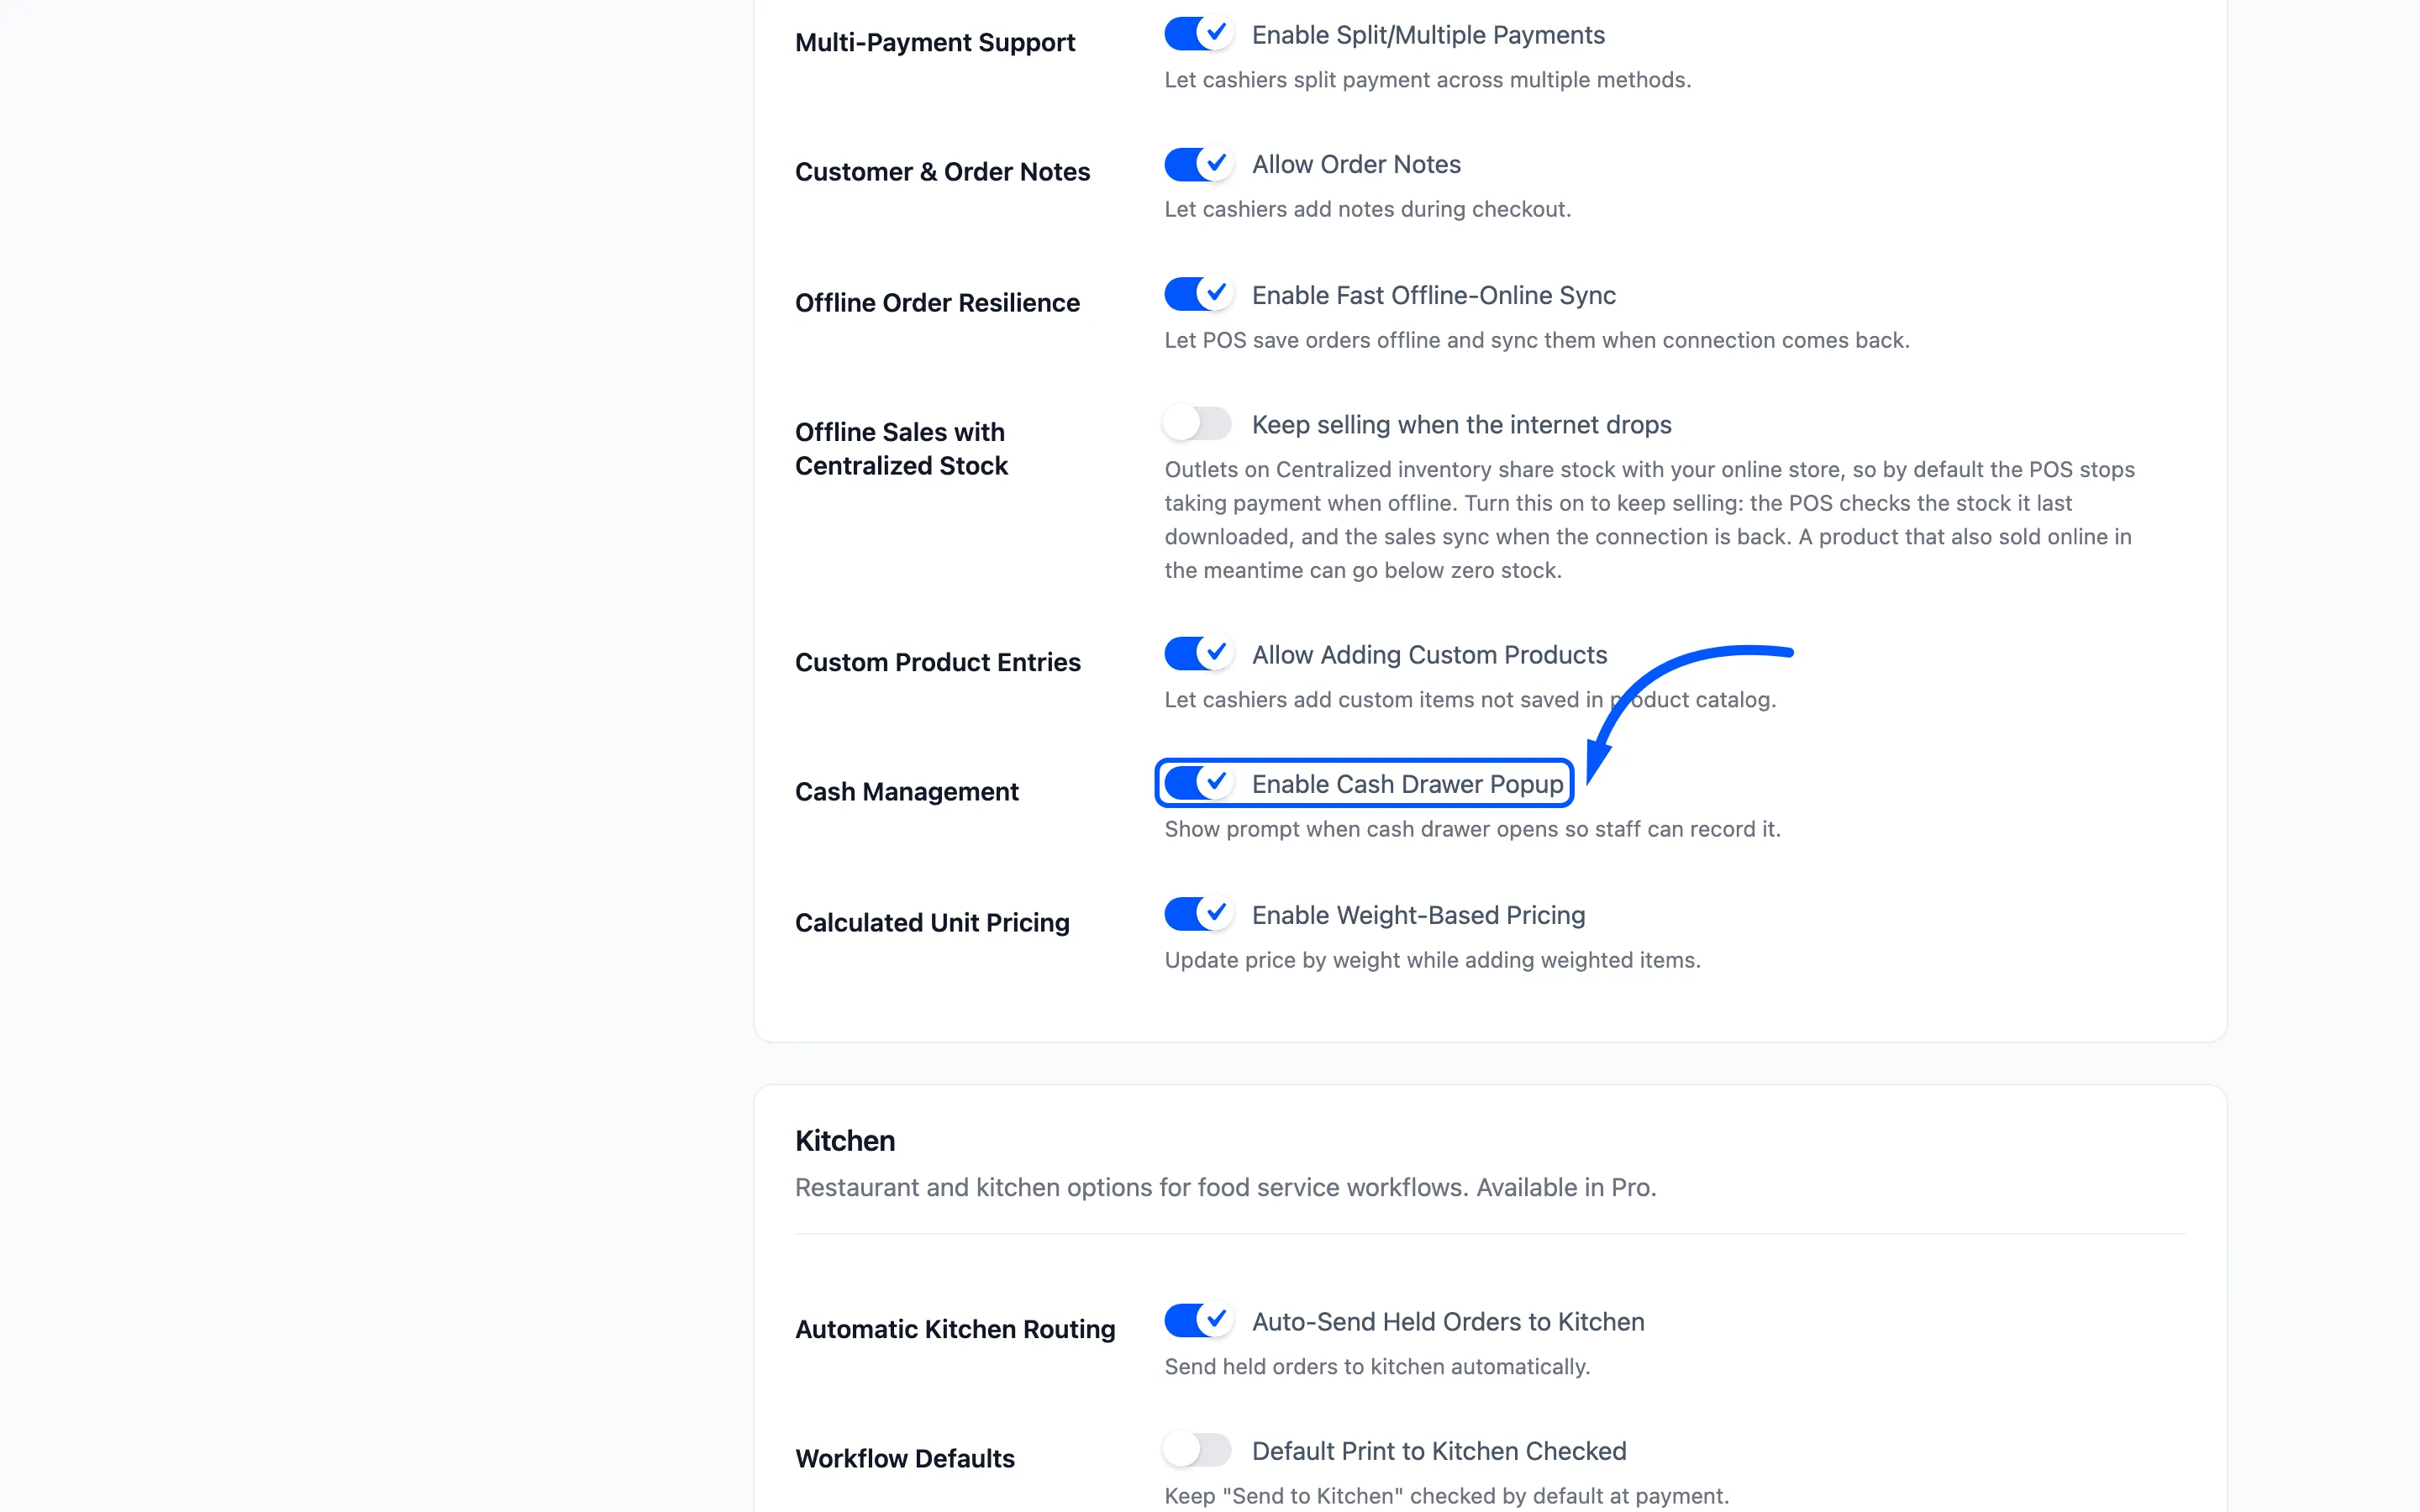
Cash Management is where a shift begins. With it on, the POS asks for the opening amount, and the rest of the shift, up to Close Register, is set on the Cash Register tab.
Offline sales on Centralized stock
Section titled “Offline sales on Centralized stock”Offline Sales with Centralized Stock, labelled Keep selling when the internet drops, is off by default. An outlet on Centralized inventory shares its stock with your online store, so the POS normally stops taking payment while offline, to avoid selling the same item twice.
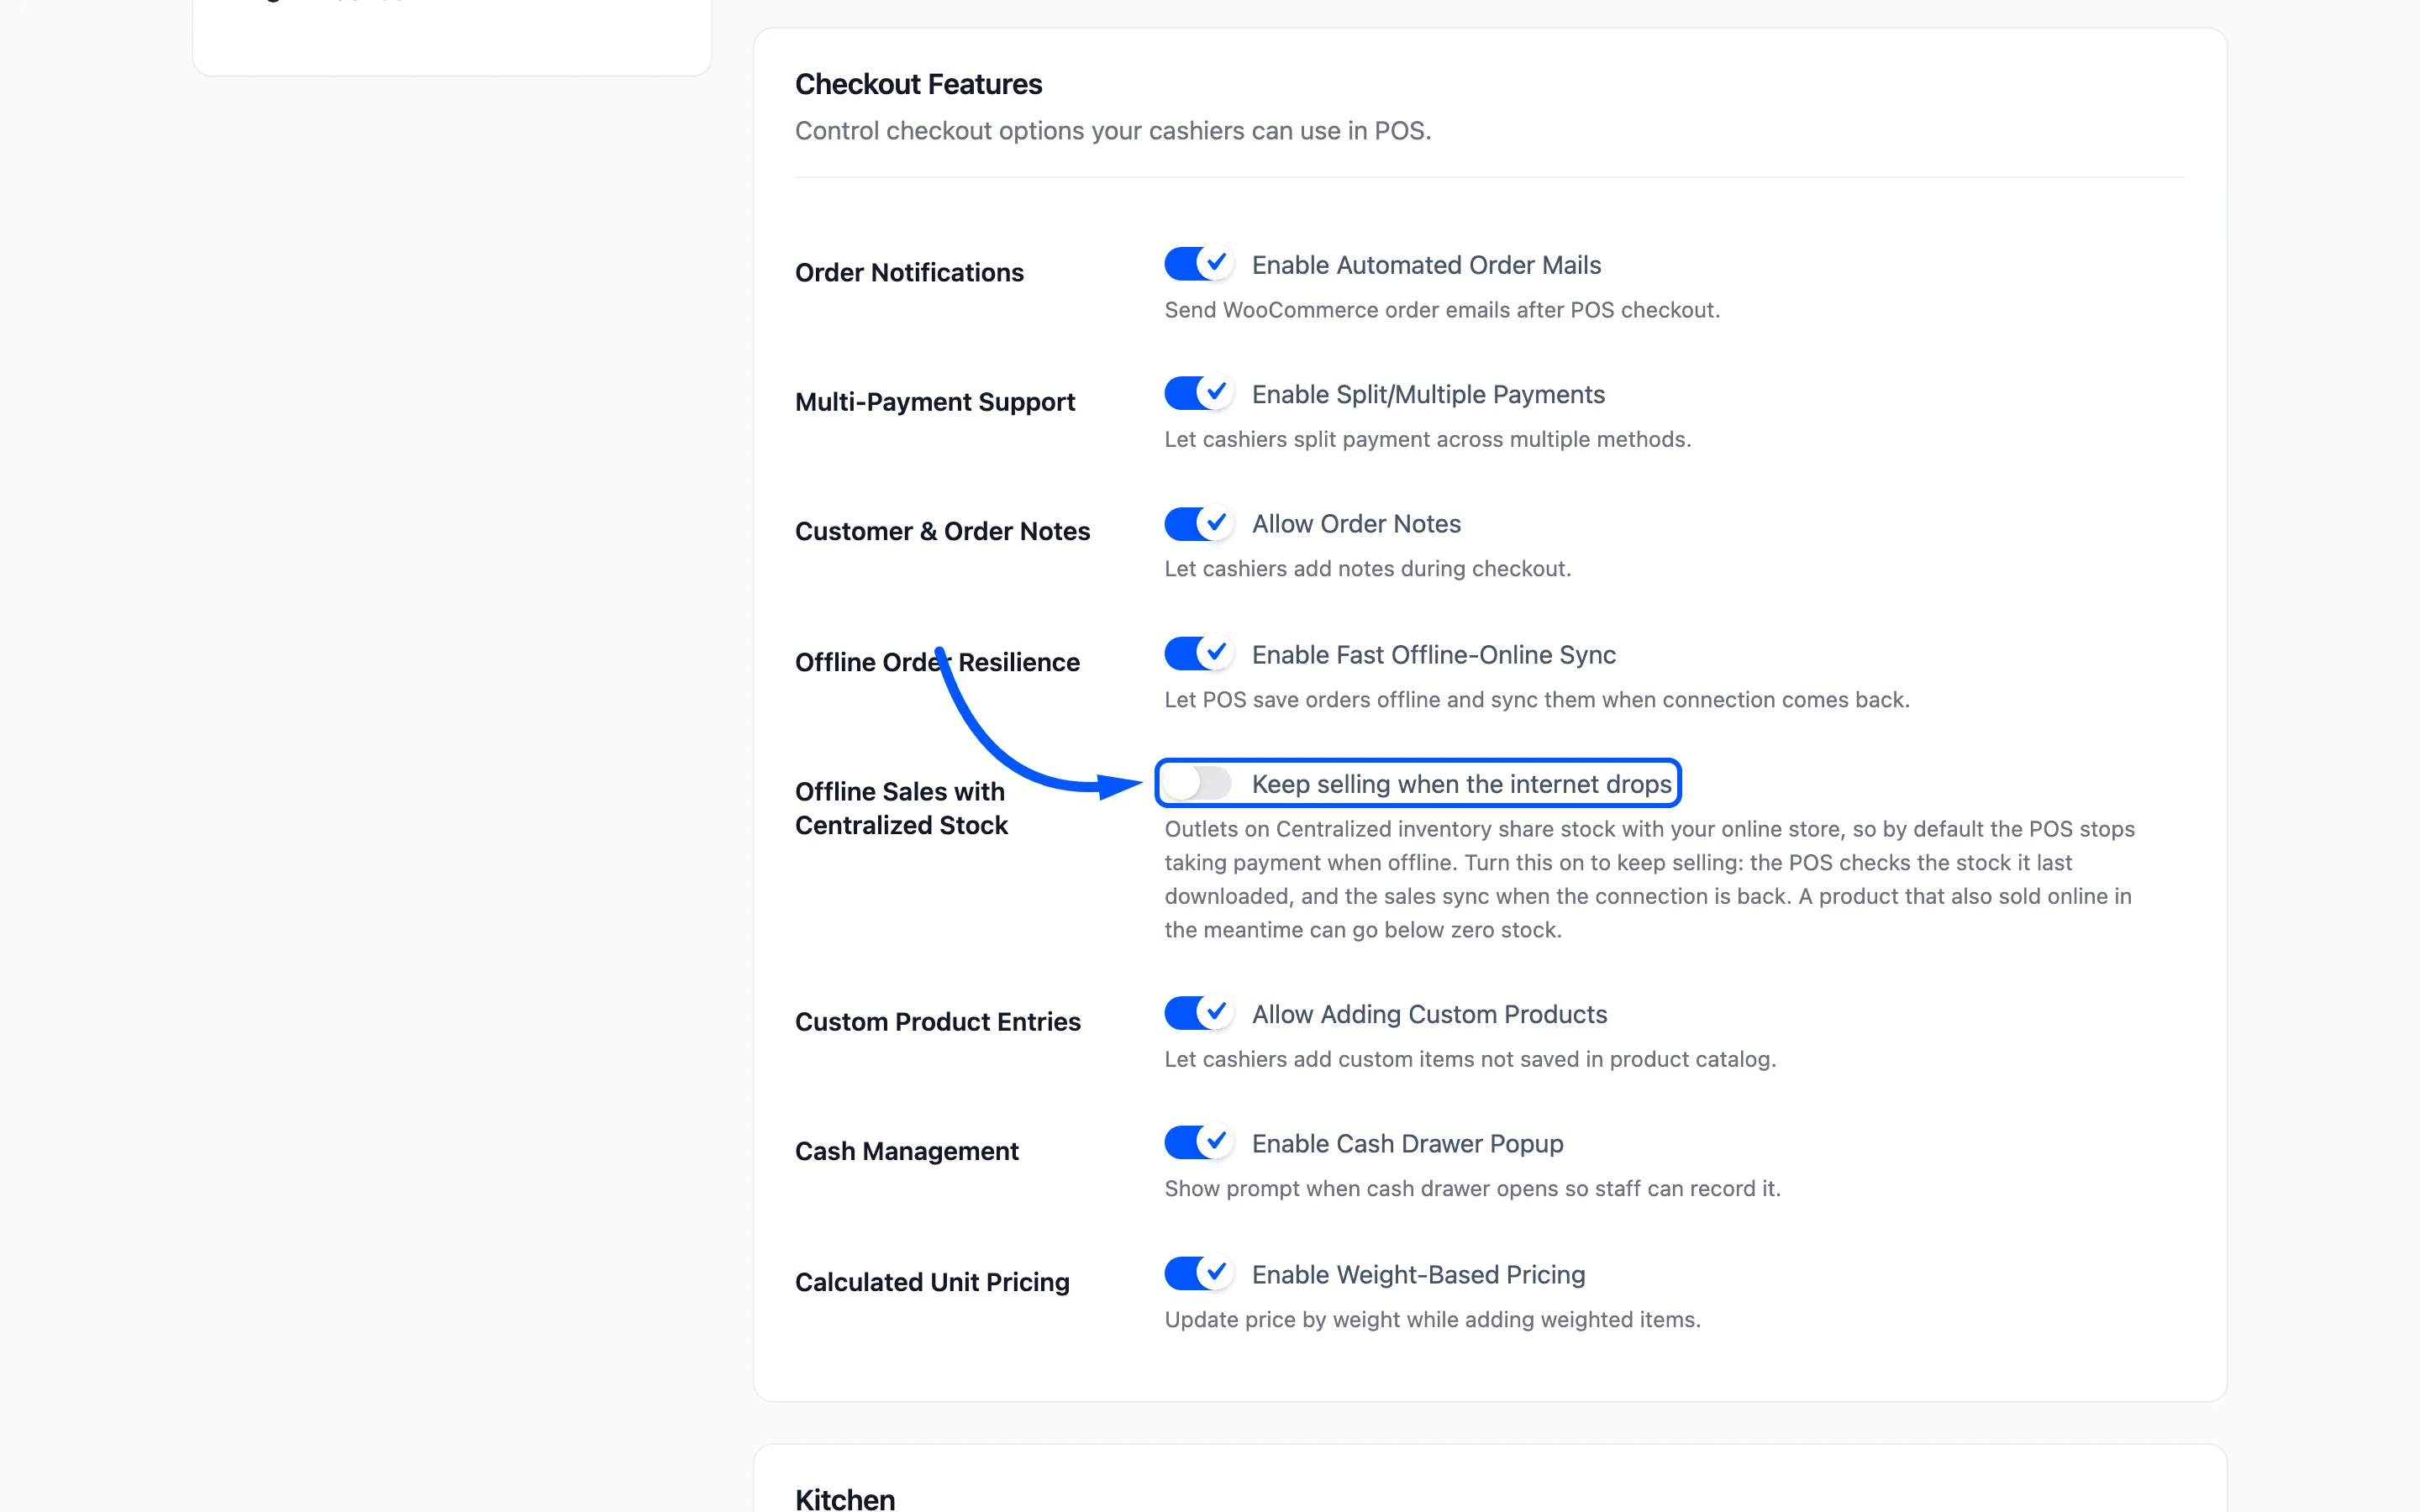
Turn it on to keep selling anyway. The sales sync when the connection returns. The trade-off is that a product sold online in the meantime can go below zero stock.
Kitchen
Section titled “Kitchen”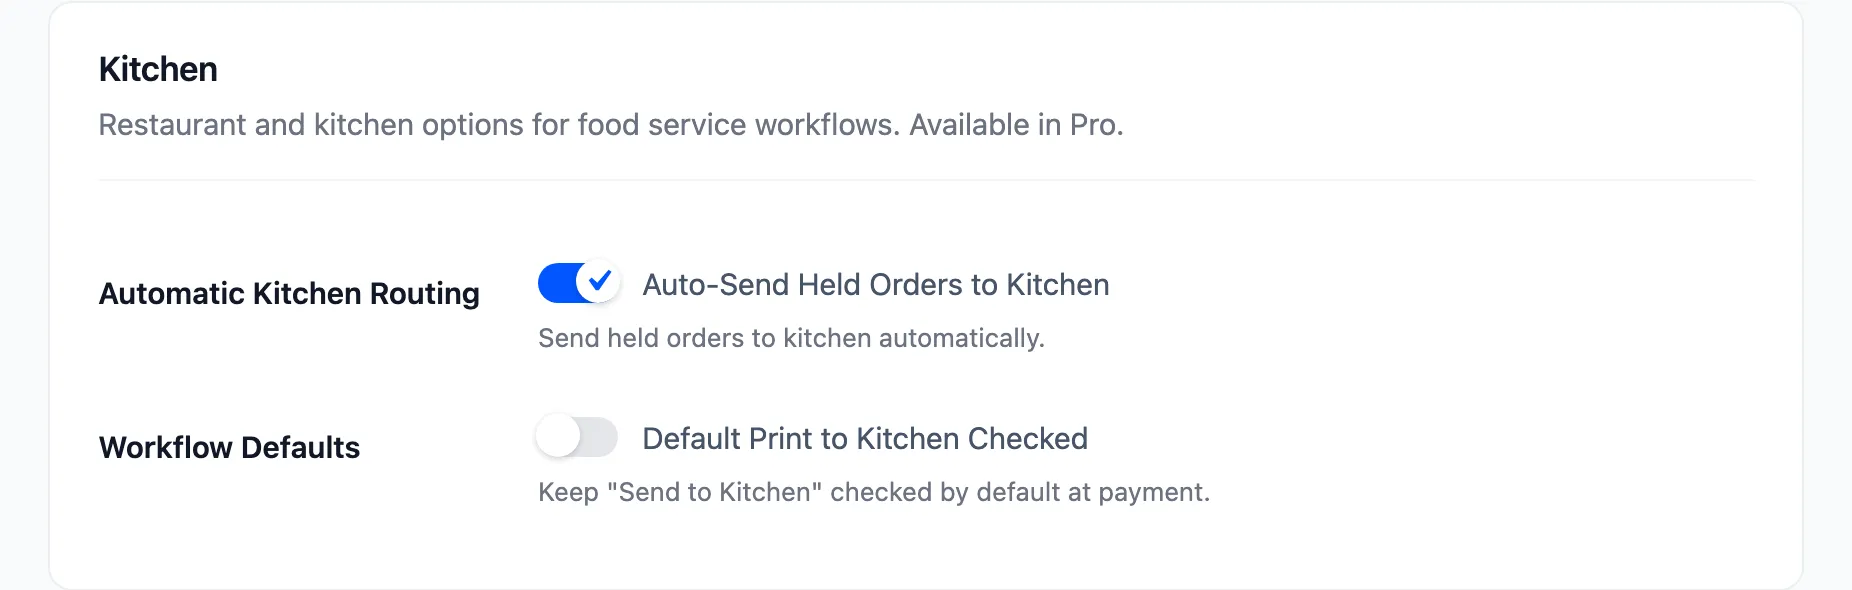
Two switches for food service, both Pro.
- Automatic Kitchen Routing, labelled Auto-Send Held Orders to Kitchen, sends a held order to the kitchen screen on its own. In a restaurant that is usually what you want: the kitchen starts cooking when the order is taken, not when the table pays.
- Workflow Defaults, labelled Default Print to Kitchen Checked, keeps Send Order to Kitchen ticked by default on the payment screen.
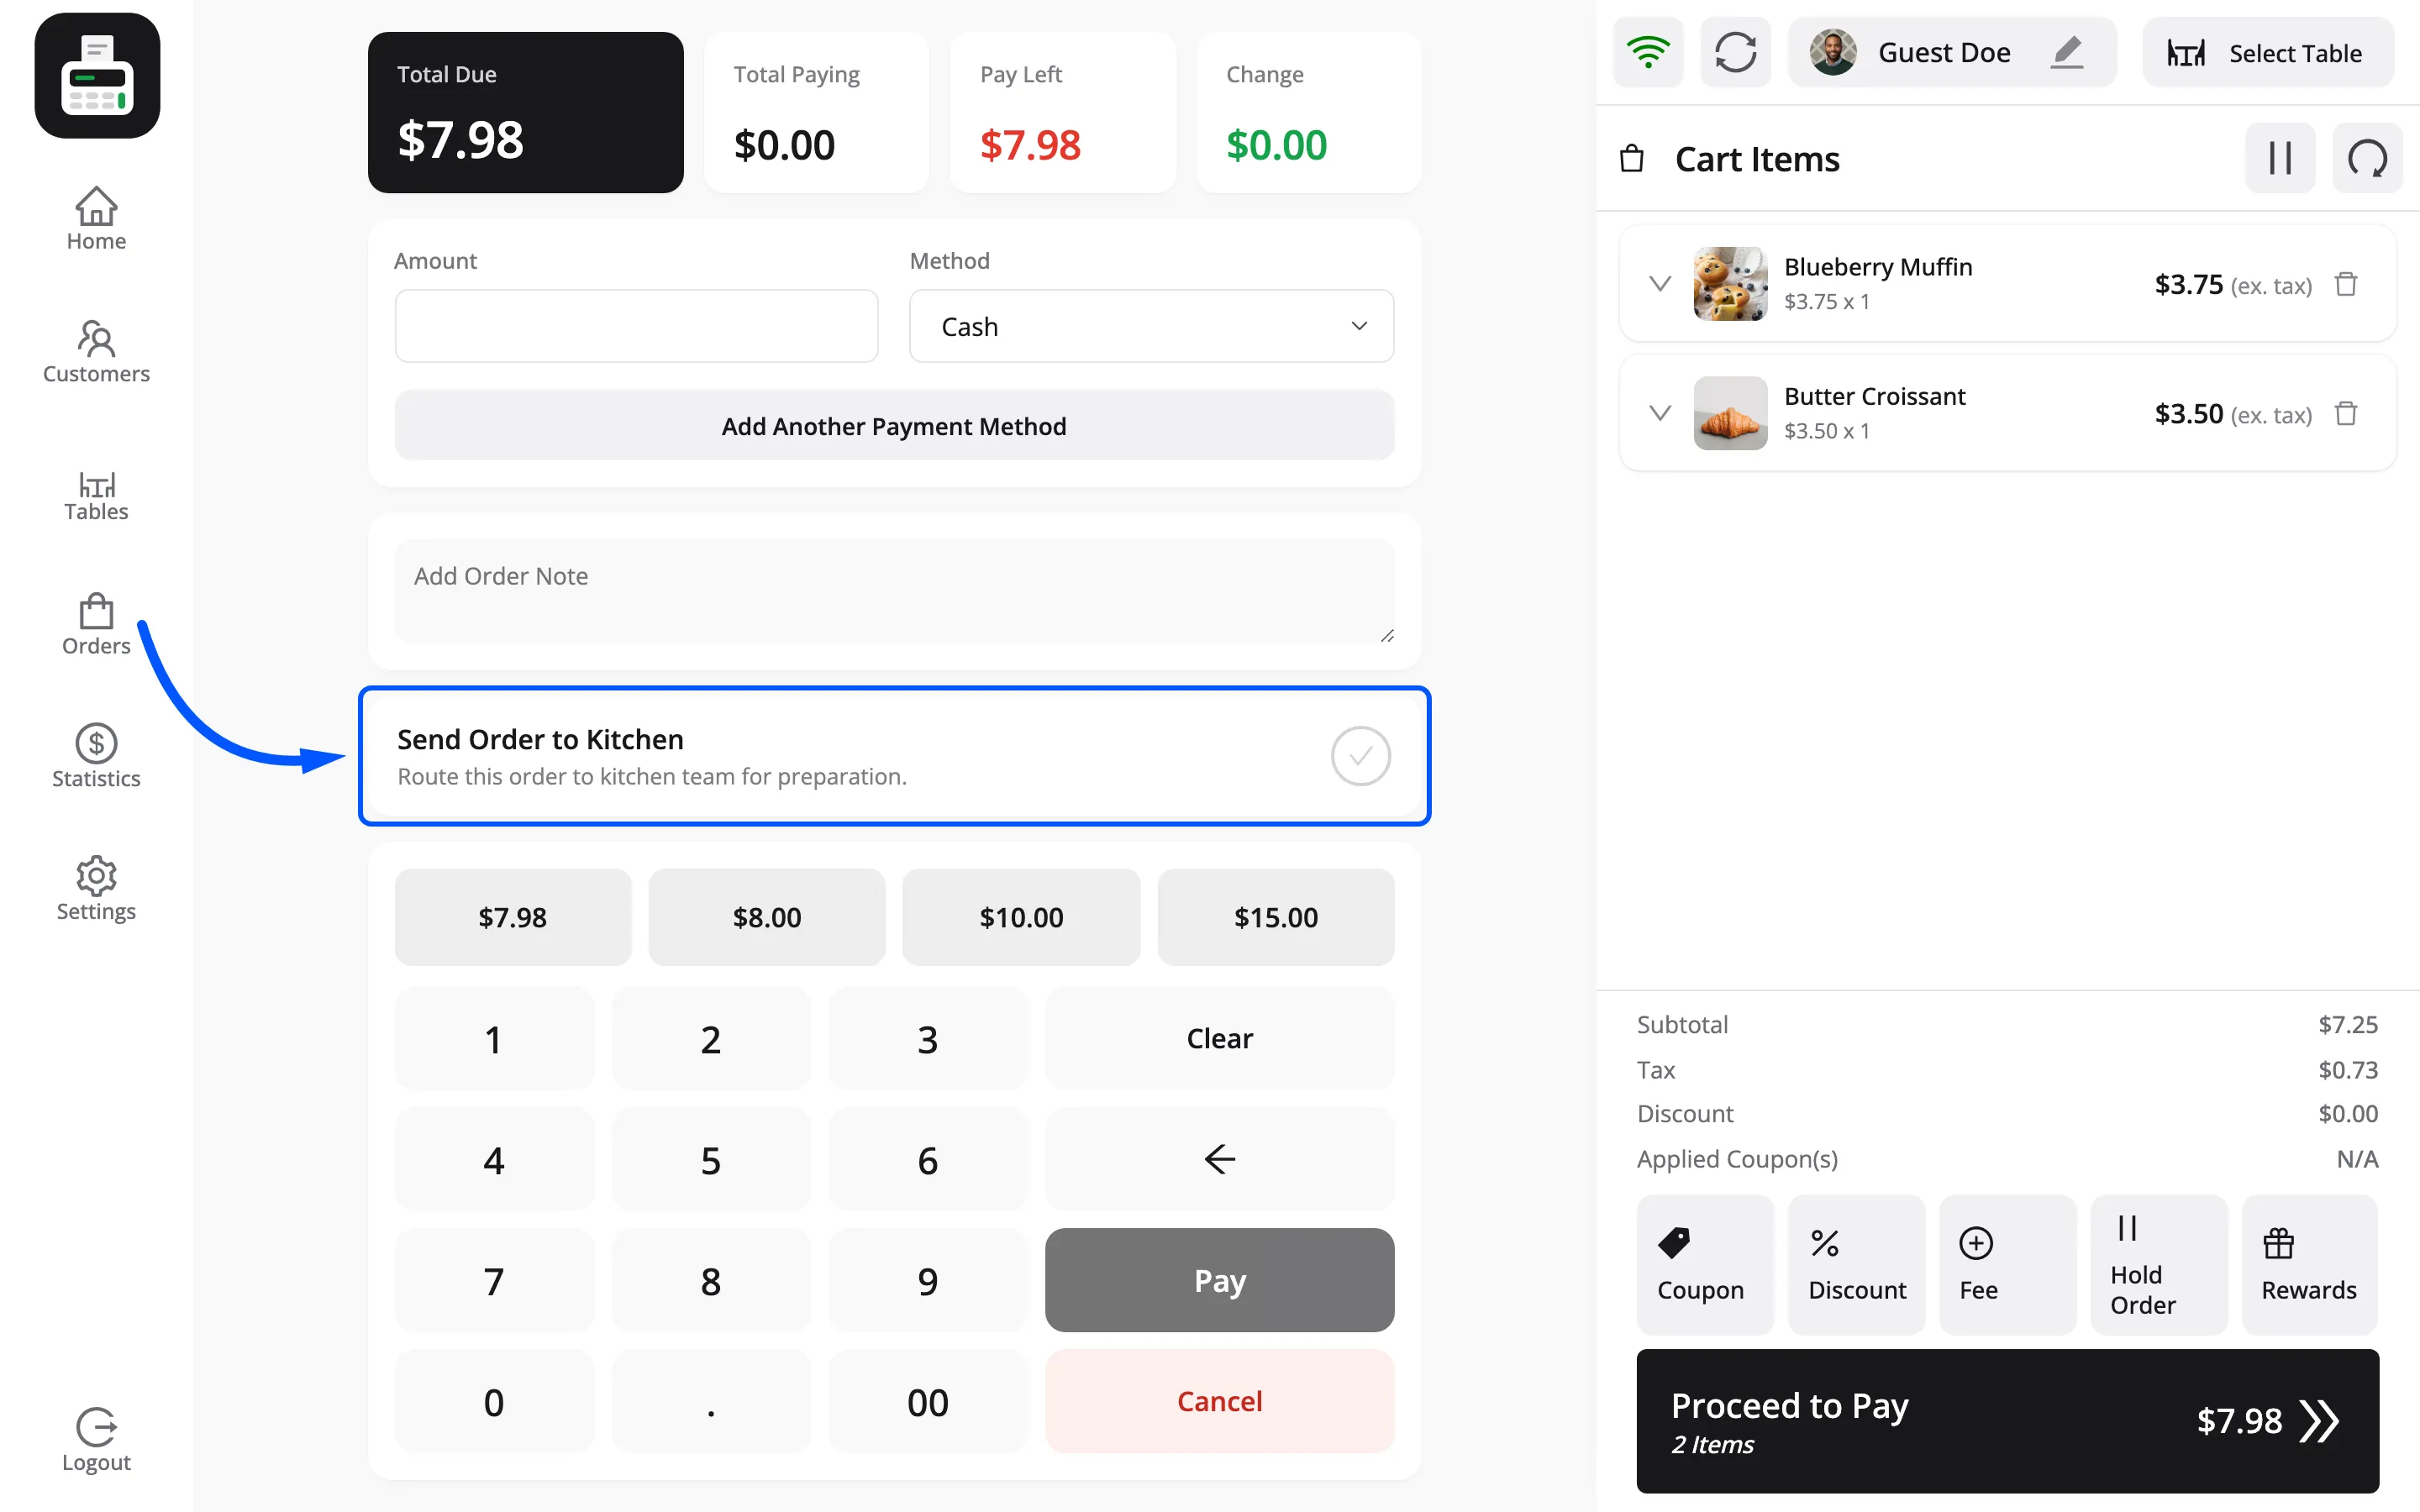
Both only do anything on a Restaurant/Cafe outlet.
Branding
Section titled “Branding”
POS Terminal Branding Logo appears on receipts and in the POS sidebar. The recommended size is 200 by 60 pixels. This field is free.
Upload a version that reads at receipt size. A logo with fine detail turns to mud on a thermal printer.
Customers
Section titled “Customers”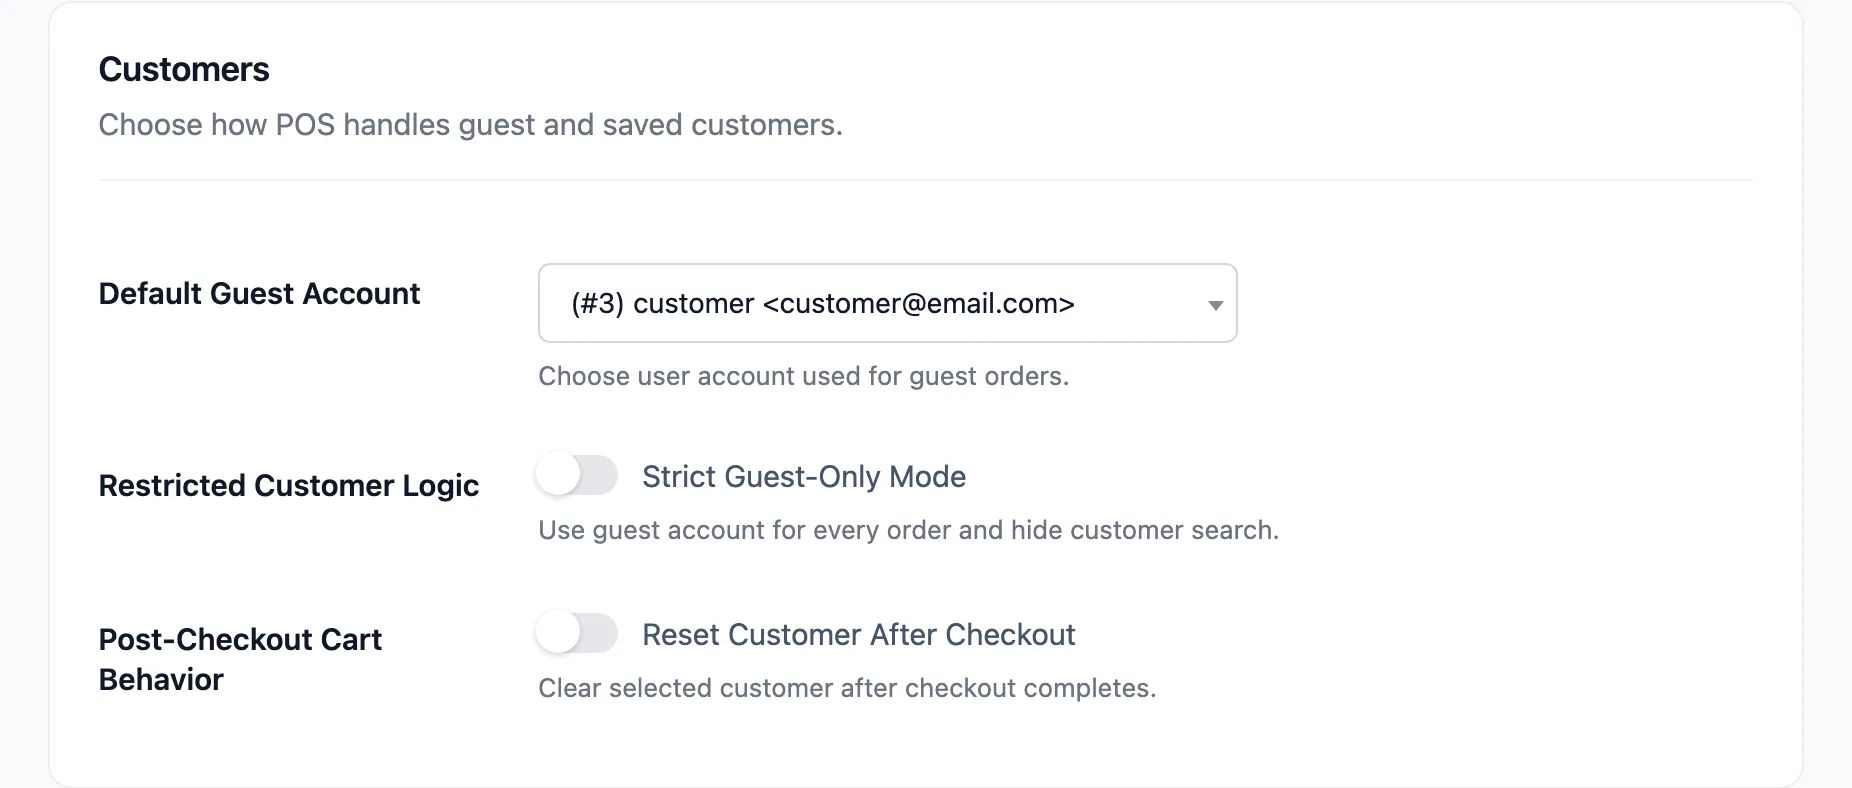
Default Guest Account is the WordPress user every walk-in sale is billed to when the cashier does not pick someone. Free.
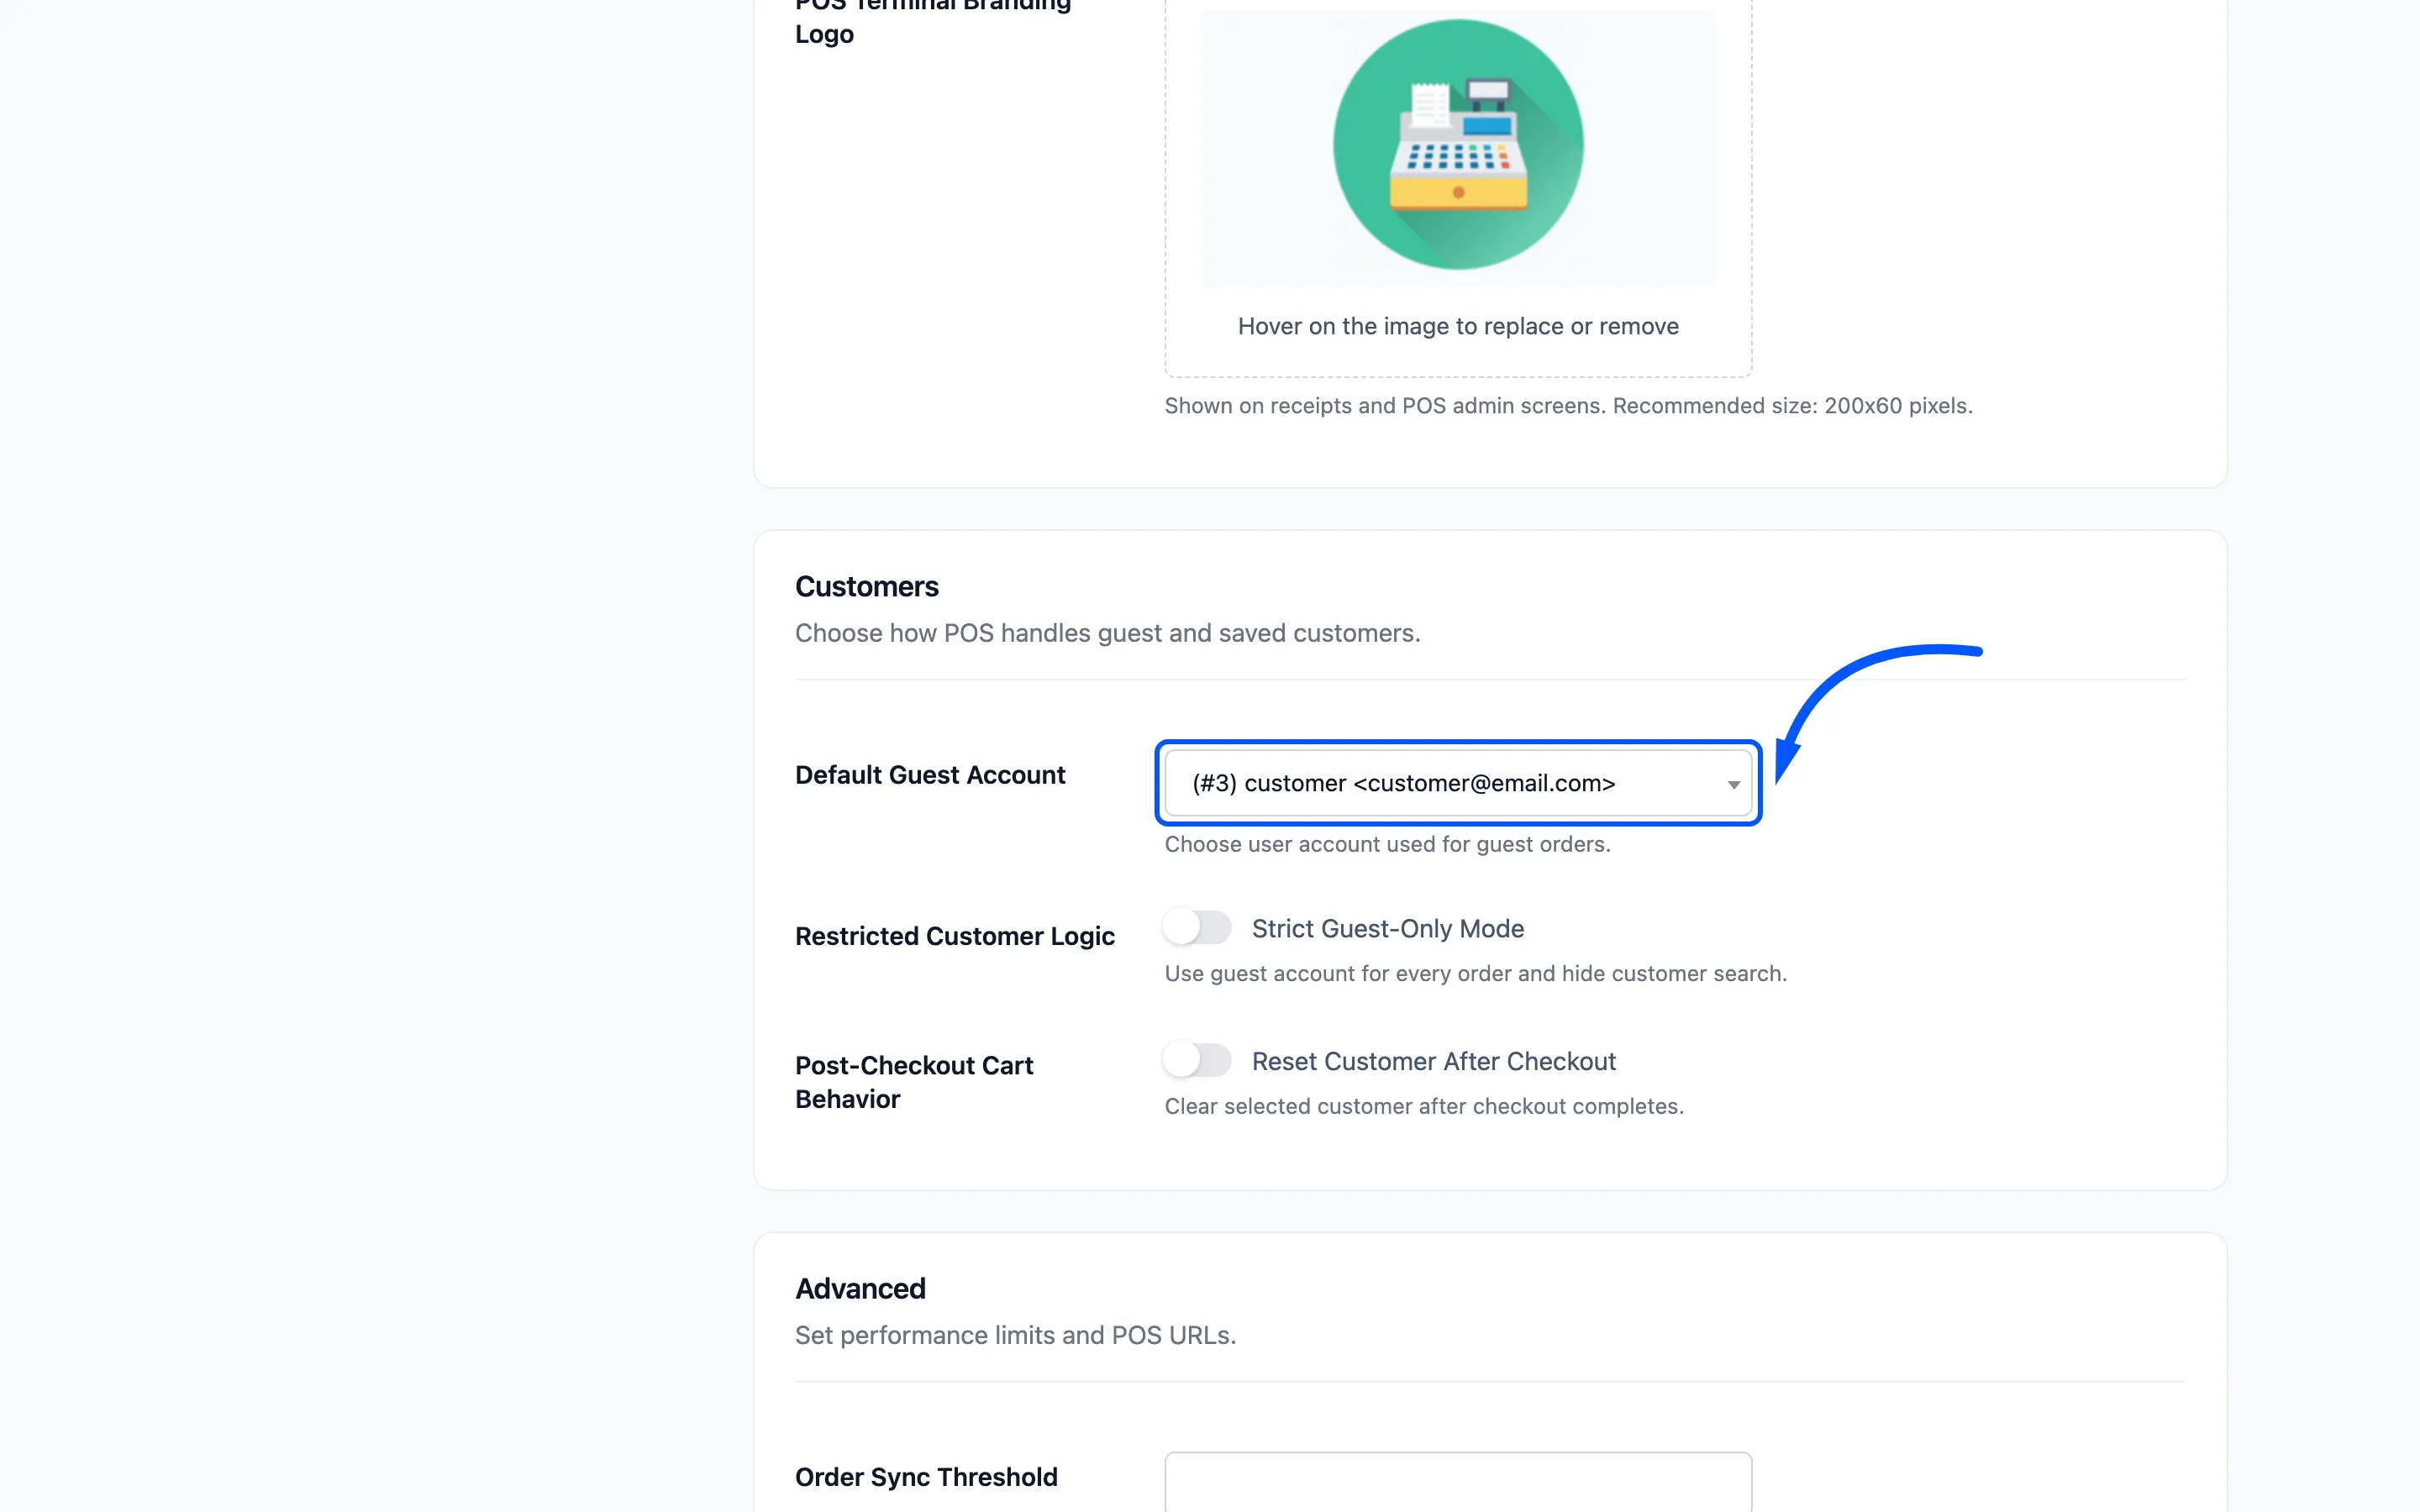
Create one customer called something like “Walk-in Customer” and select it here. Without a guest account, every anonymous sale needs a customer chosen by hand.
Strict Guest-Only Mode bills every order to the guest account and hides the customer search. Pro.
Reset Customer After Checkout clears the selected customer once a sale finishes, so the next customer does not inherit the last one’s account. Pro.
Advanced
Section titled “Advanced”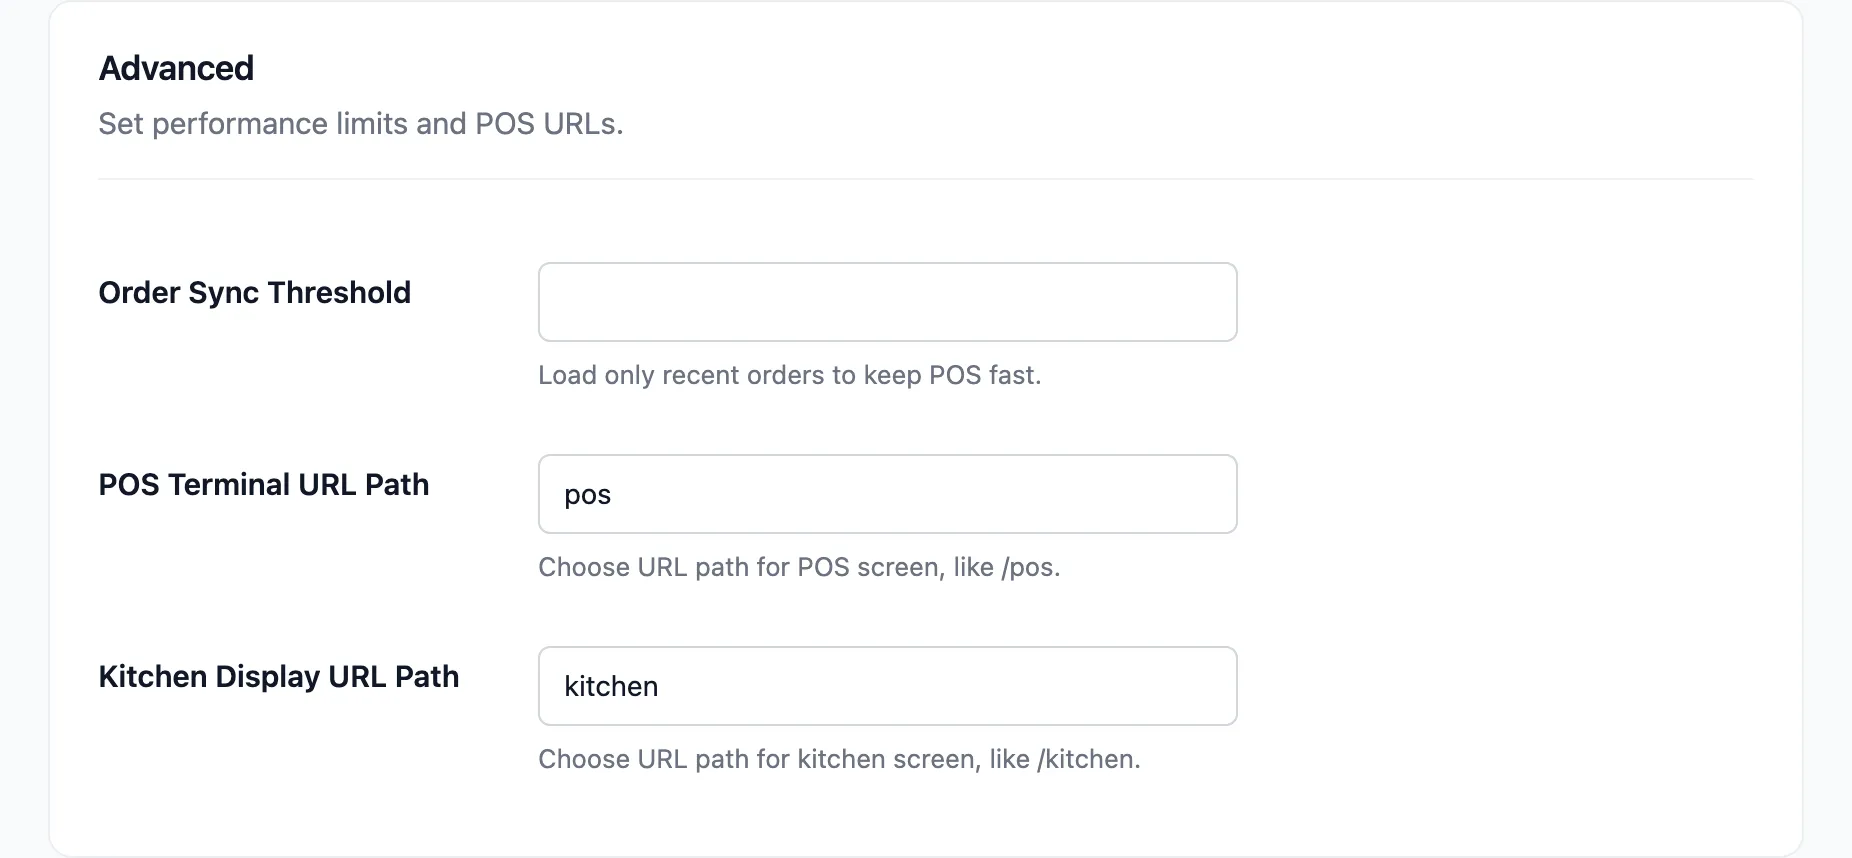
POS Terminal URL Path is the path the POS answers on. It defaults to pos, giving you
yoursite.com/pos. Free.
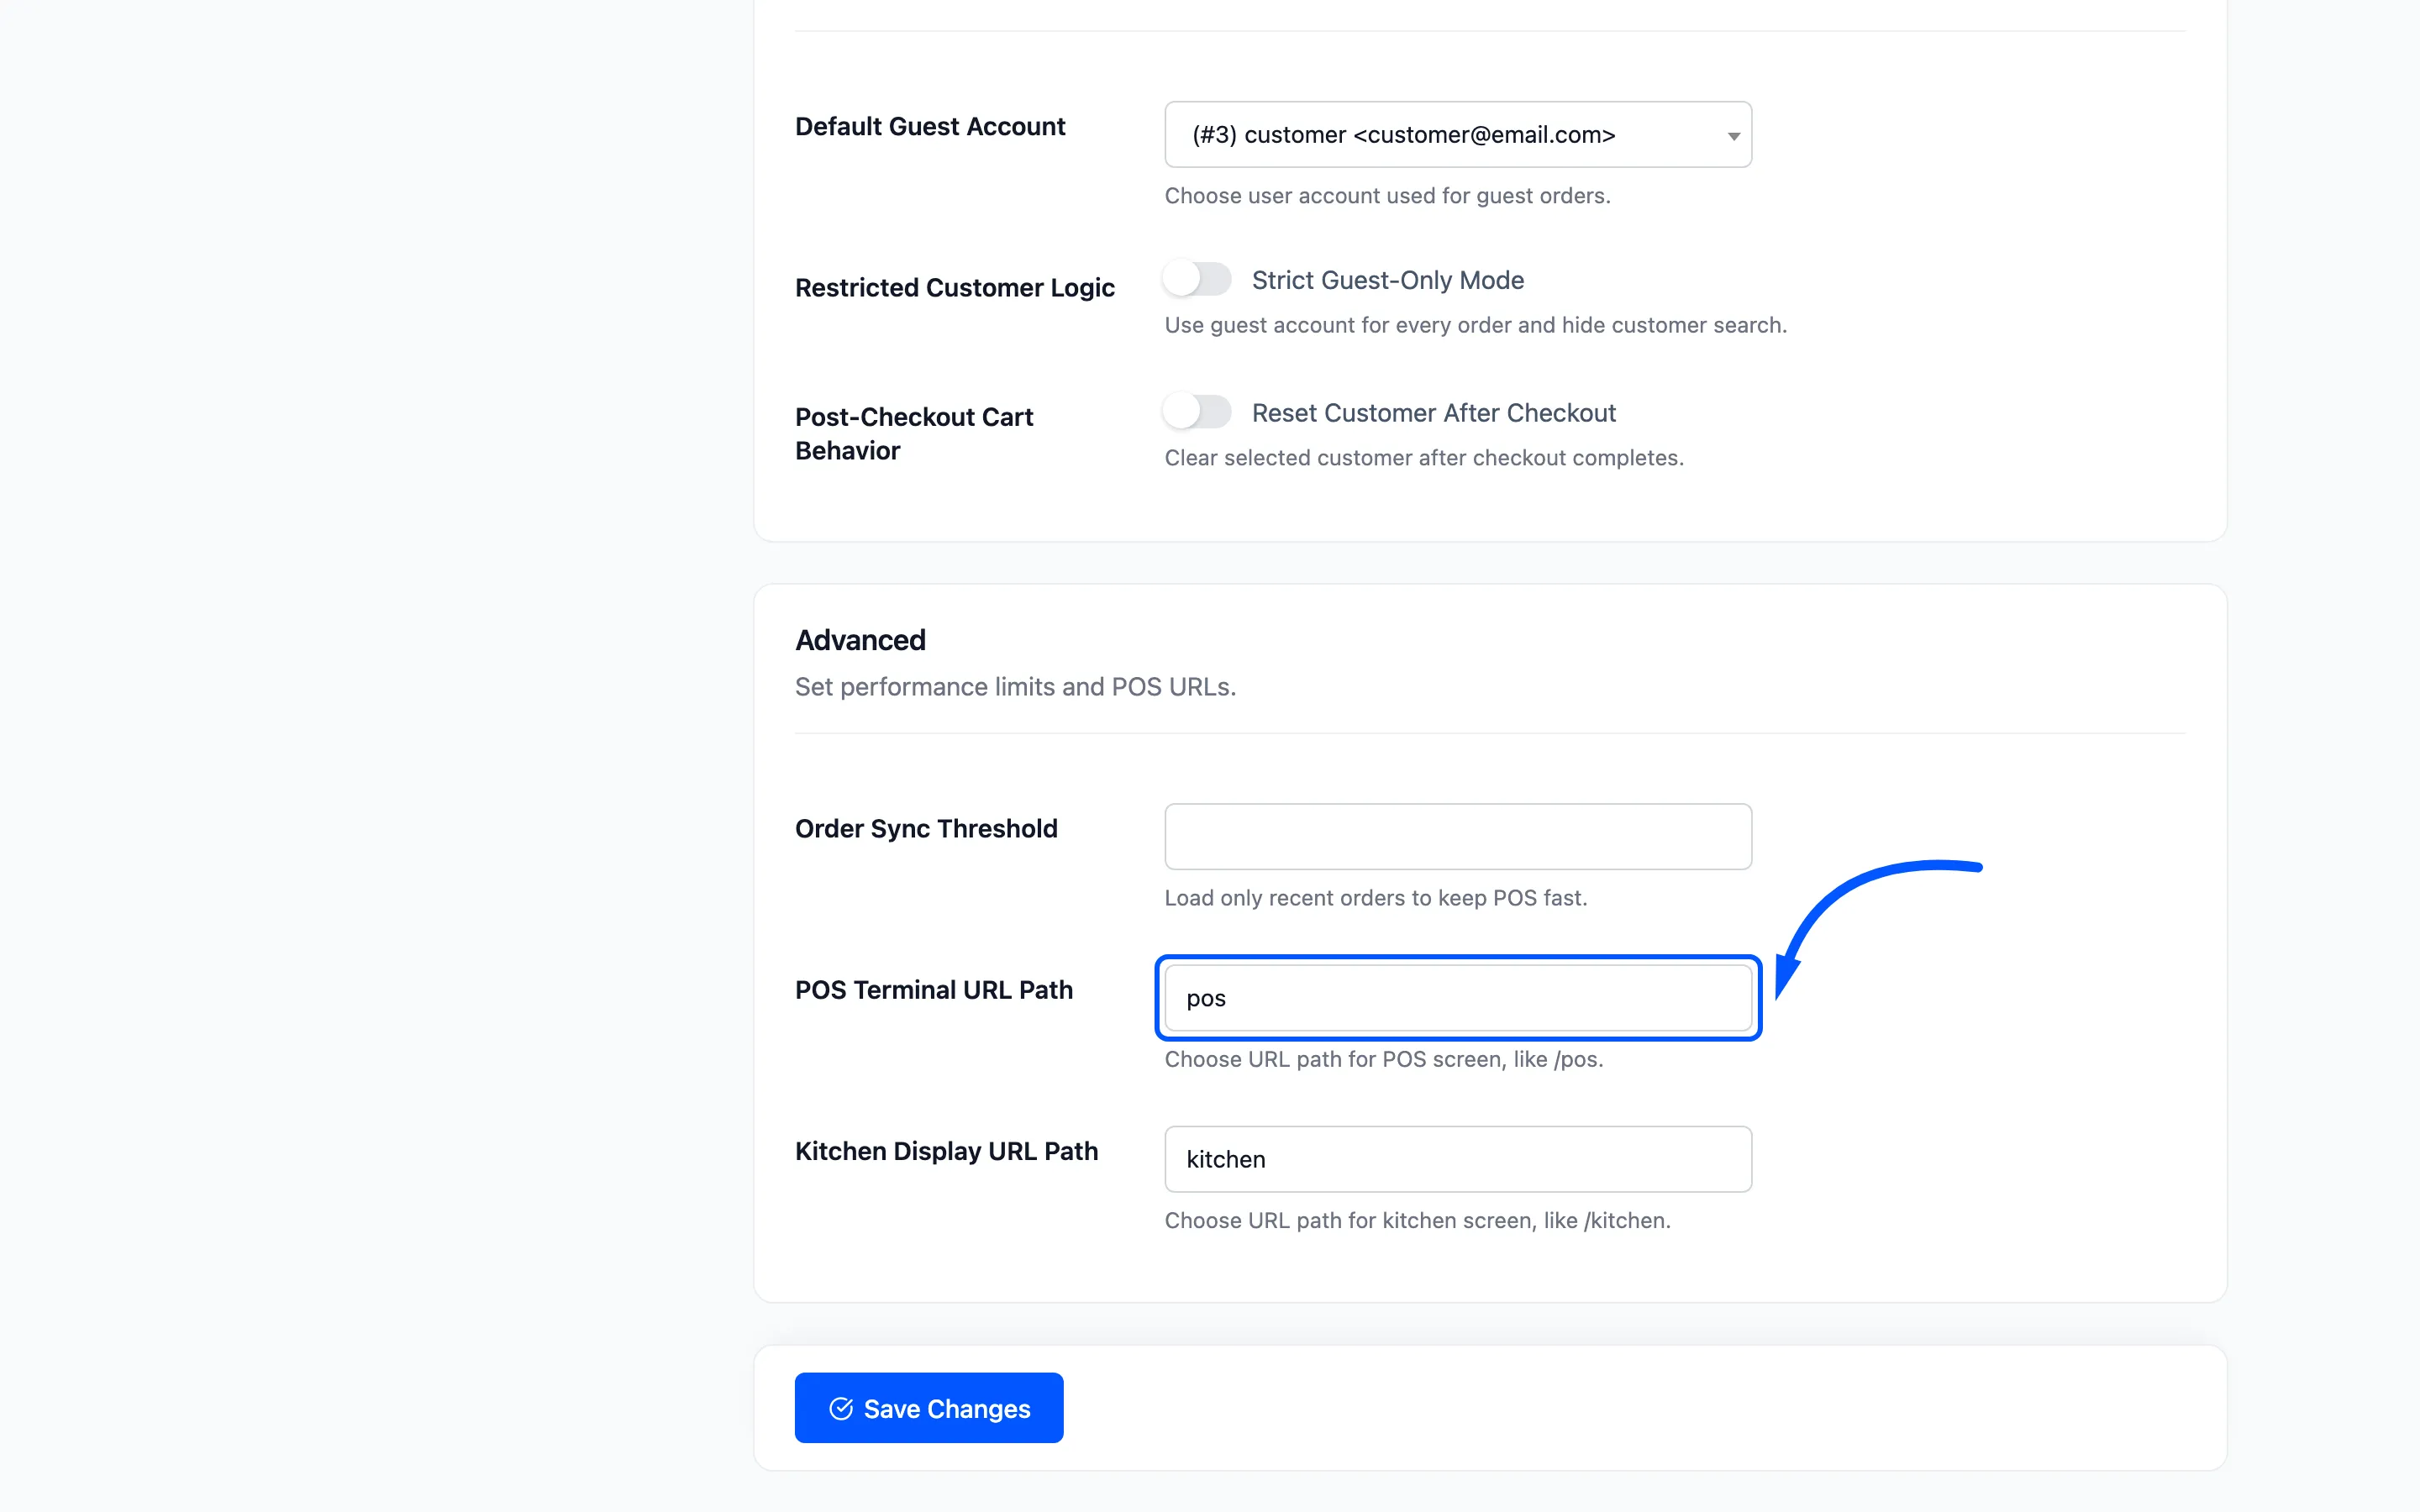
Saving this tab flushes WordPress’s rewrite rules, so a changed path works immediately. If it ever 404s, open Settings → Permalinks and save.
Order Sync Threshold limits how many days of past orders the terminal loads, to keep it fast on a store with a long history. Pro.
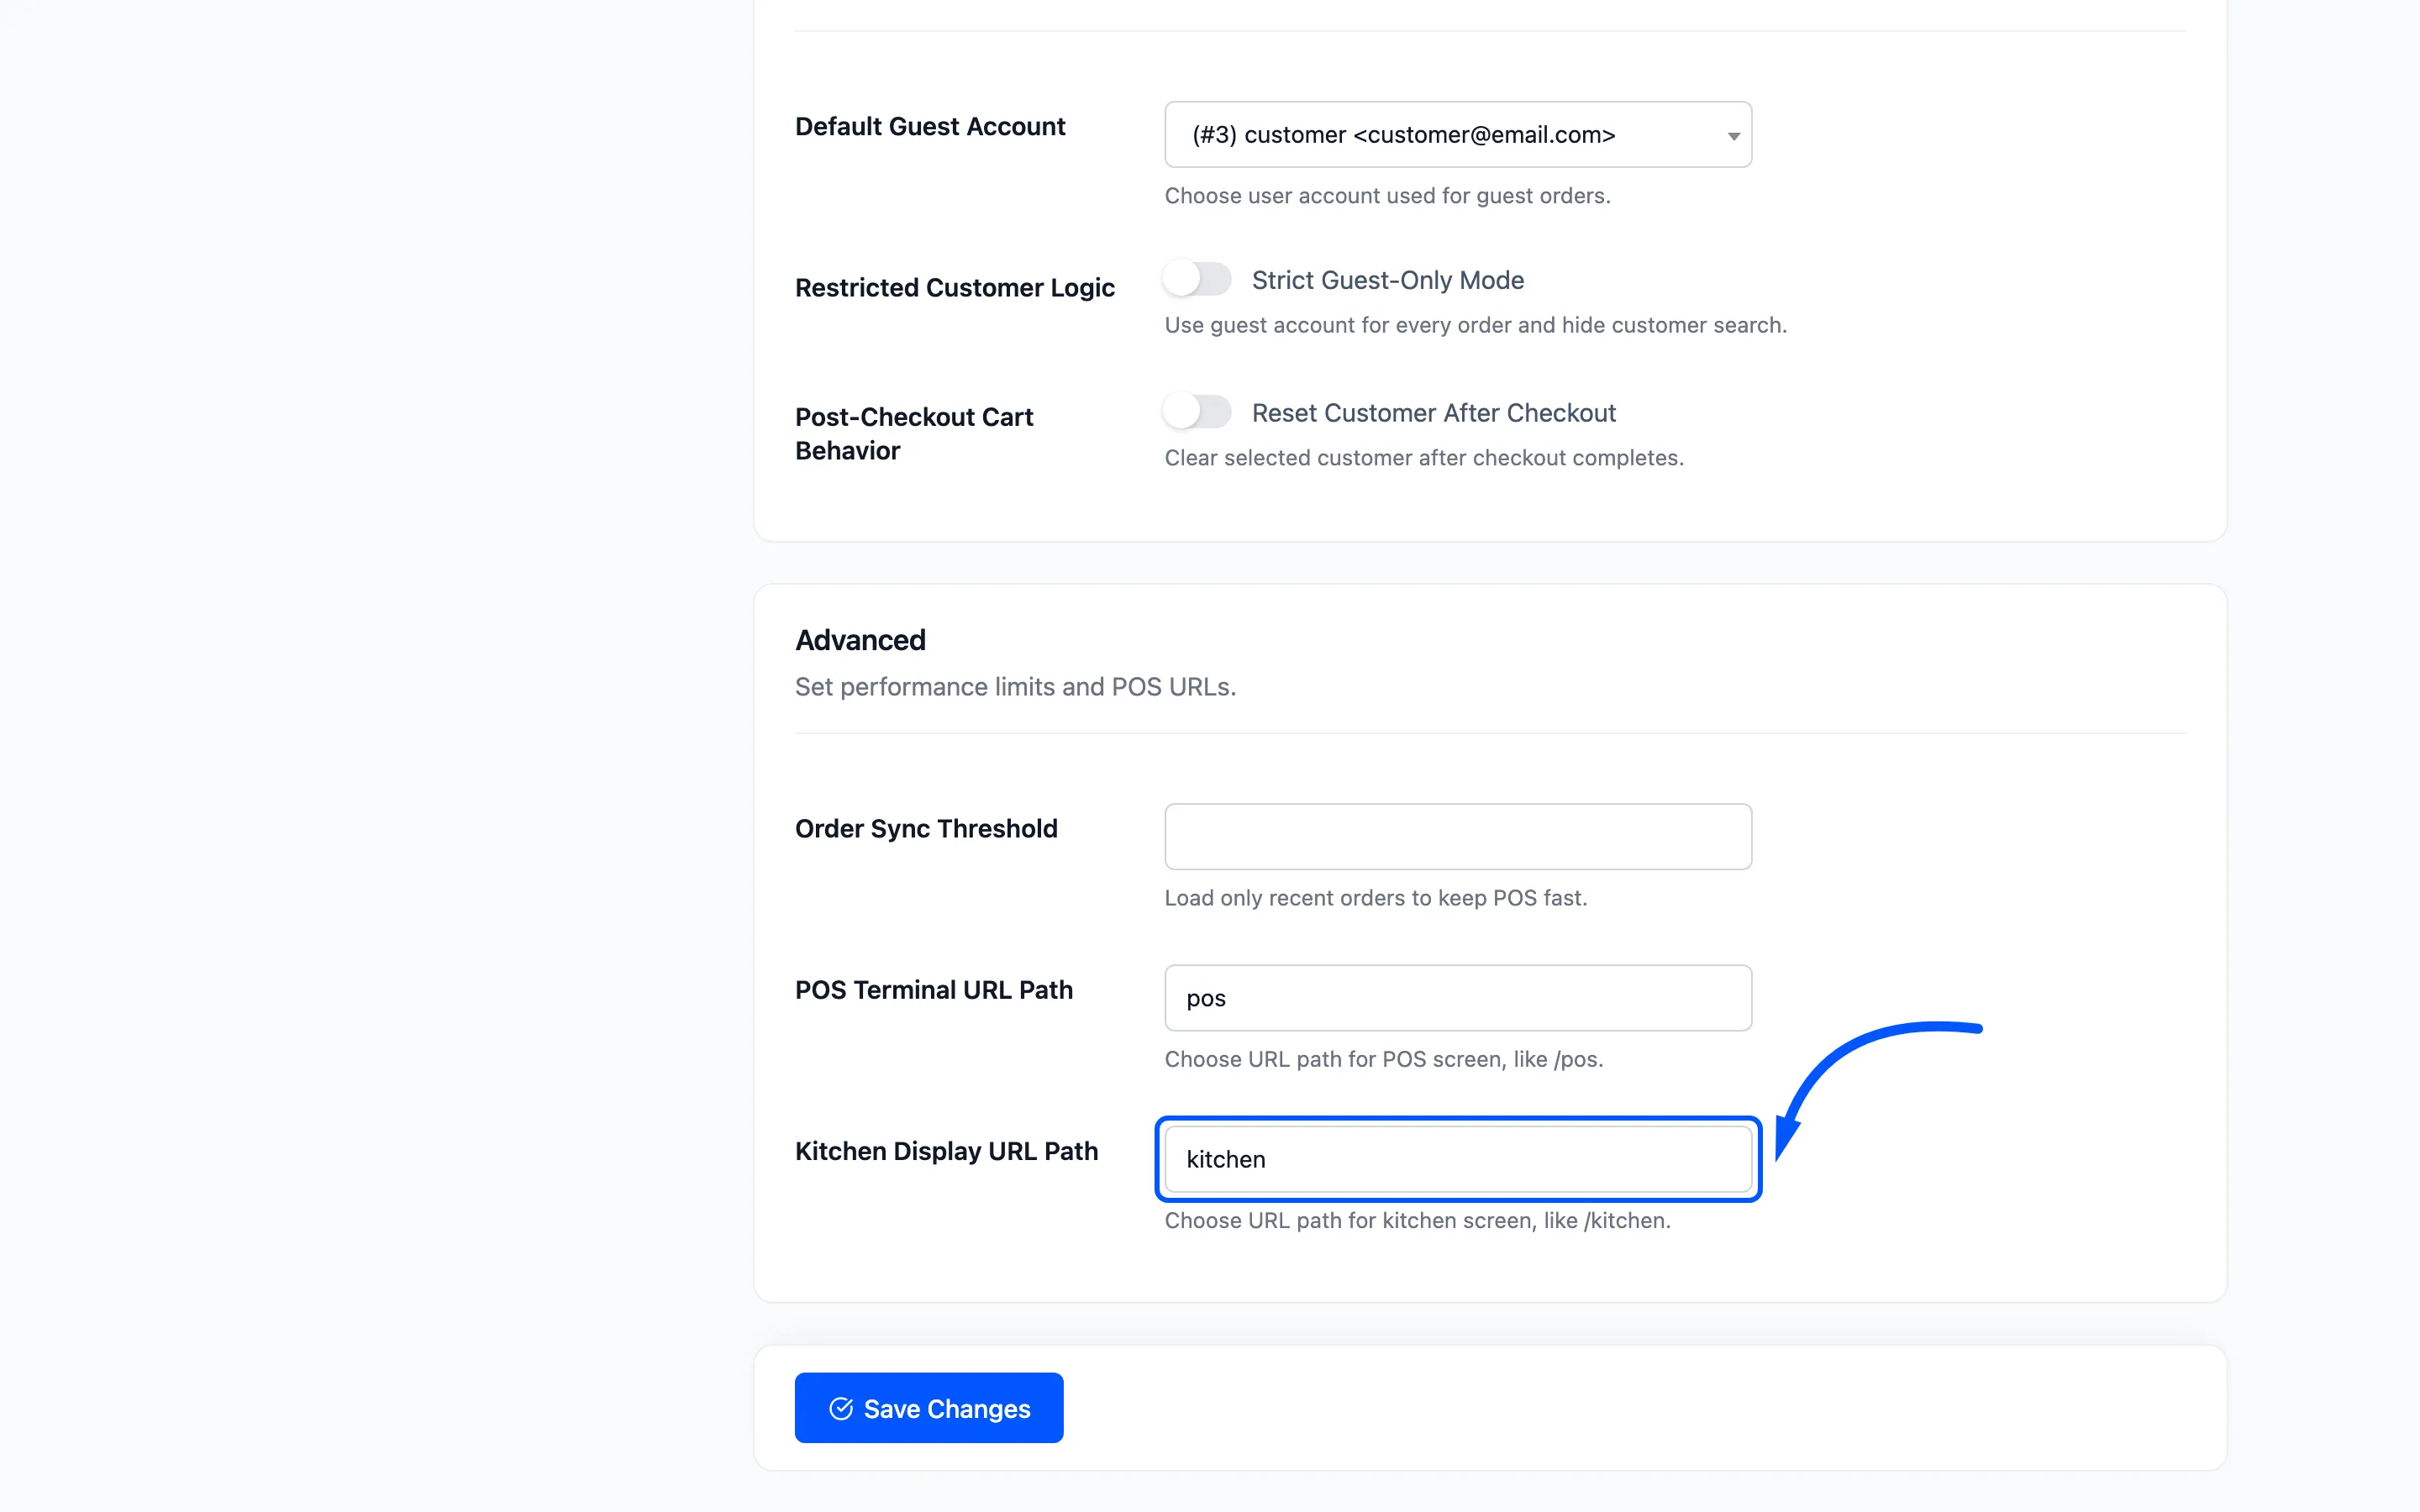
Kitchen Display URL Path is the path the kitchen screen answers on, defaulting to kitchen. Pro.
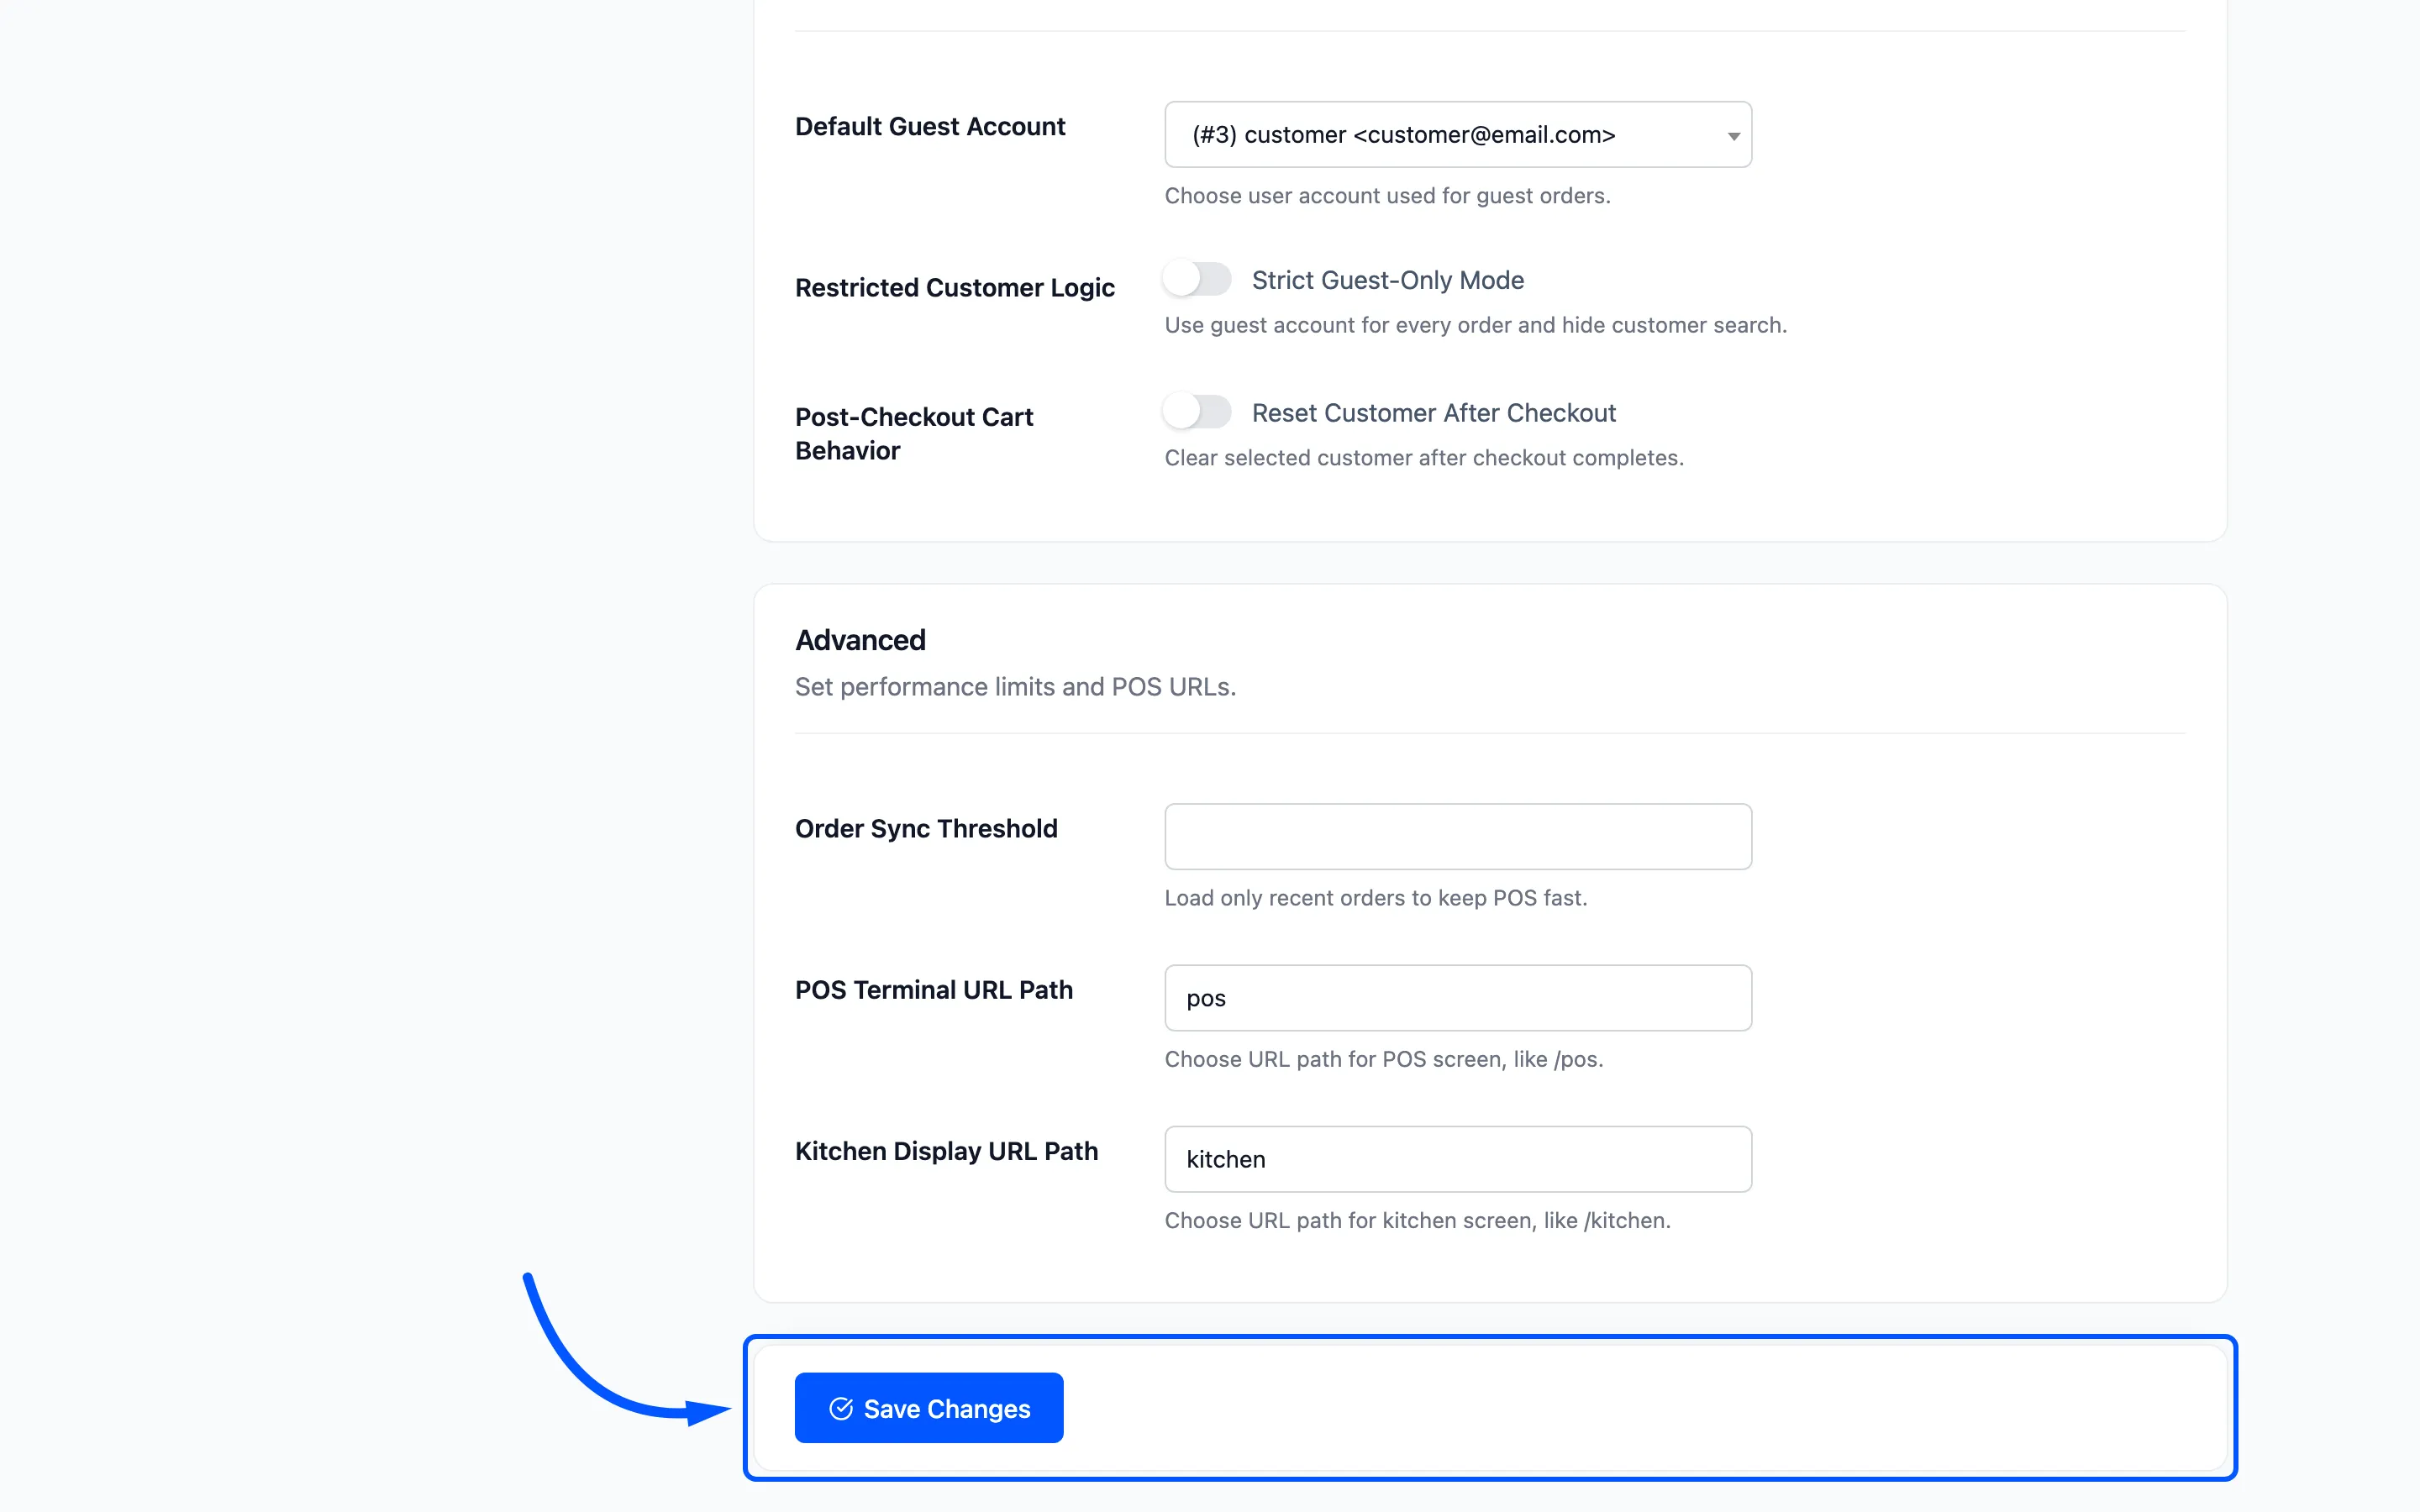
Click Save Changes at the foot of the tab. Nothing on this screen takes effect until you do.
Where to go next
Section titled “Where to go next”- Payment Methods to define what cashiers can take.
- Layout Settings to brand the terminal.
- How to Set Up Your Outlet, which the POS needs before it opens.