

Installing and Activating MultiPOS
MultiPOS installs like any other WooCommerce extension. Activation also creates a user role and a database table and opens a setup wizard, so check for those before you configure anything.
Before you start
Section titled “Before you start”WooCommerce must be active first. MultiPOS lists WooCommerce as a required plugin and will not run without it.
- WordPress 6.5 or newer
- WooCommerce 9.5 or newer
- PHP 7.4 or newer
The plugin works with WooCommerce High-Performance Order Storage, so leave HPOS switched on if you use it.
Install from a downloaded zip
Section titled “Install from a downloaded zip”Use this for the Pro version bought from DevDiggers.
-
In WordPress admin, go to Plugins → Add New Plugin.

-
Click Upload Plugin at the top of the screen.

-
Click Choose File and select the plugin
.zipyou downloaded.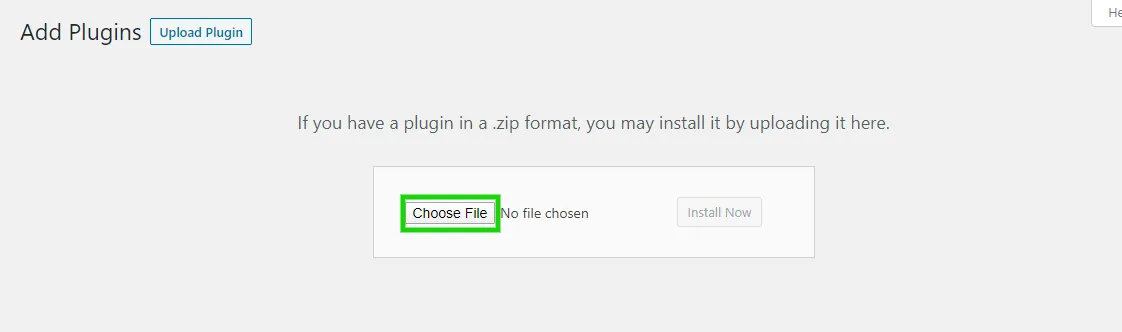
-
Click Install Now.
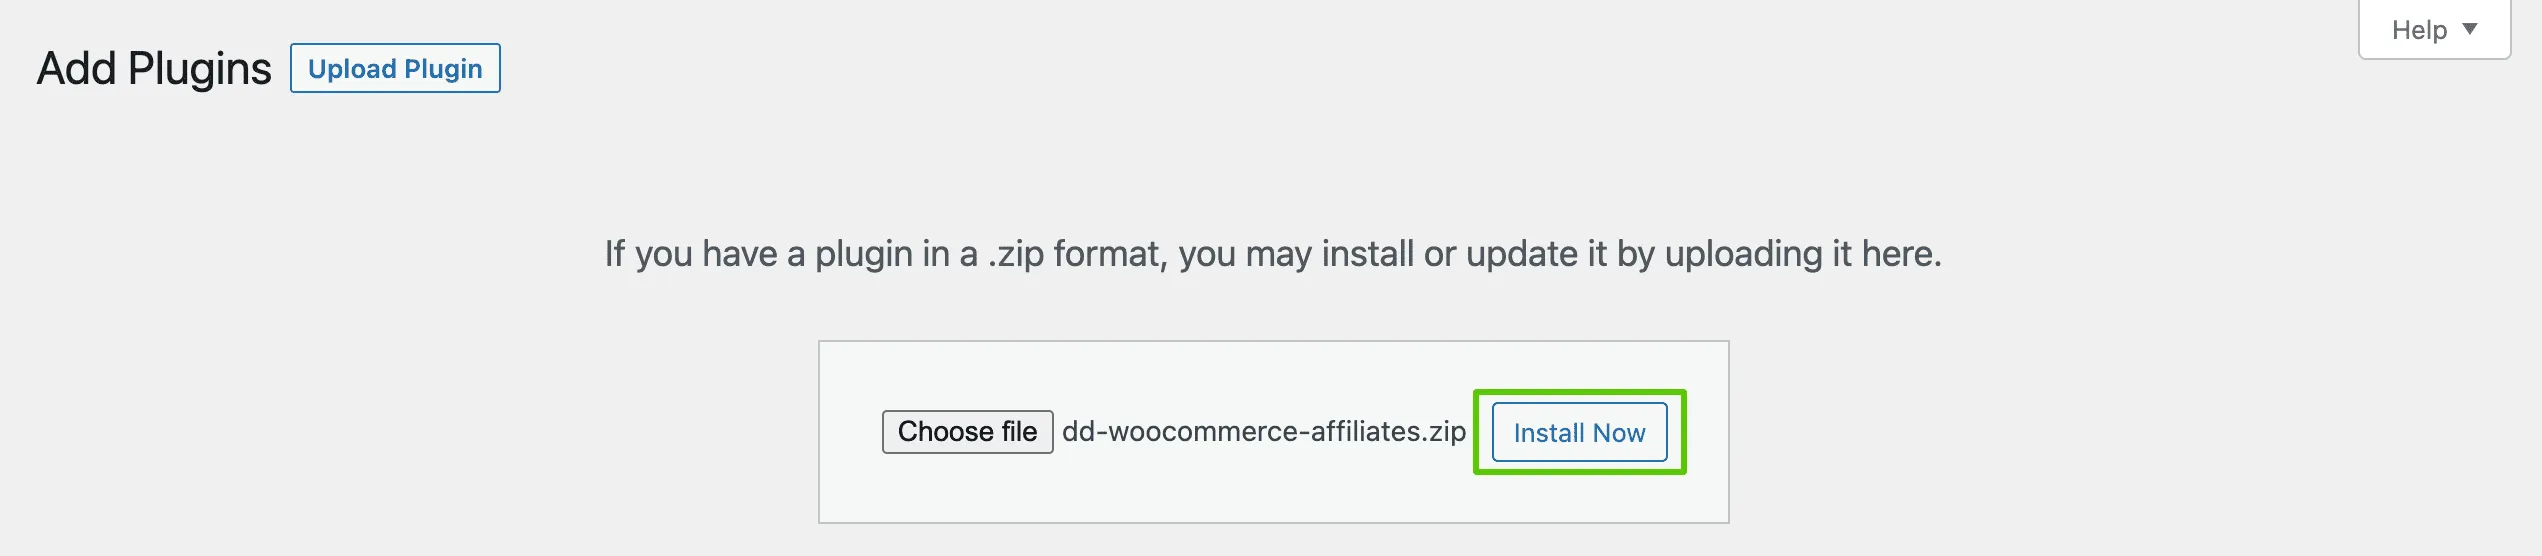
-
When the install finishes, click Activate Plugin.

Do not unzip the file first. WordPress expects the .zip, not the folder inside it.
Install the free version from the directory
Section titled “Install the free version from the directory”- Go to Plugins → Add New Plugin, the same screen as step 1 above.
- Type MultiPOS into the search box at the top right.
- Click Install Now on its card, then Activate on the same card once the install finishes.
There is no zip and no upload on this path. The card does both steps in place, so you never leave the Add Plugins screen.
You can start on the free version and upgrade later. Your settings carry over.
What activation creates
Section titled “What activation creates”Three things happen the moment the plugin activates.
- A POS Cashier role: MultiPOS adds a role called POS Cashier that can read the site and open the POS, and nothing else in WordPress. Administrators and shop managers can open the POS as well.
- A transactions table: Every payment taken at the POS writes a row you can check against the cash drawer. That table is created here.
- A POS terminal URL: The POS answers at
/pos. Change the path under Configuration → General if you want something else.
Confirm the plugin is active
Section titled “Confirm the plugin is active”Go to DevDiggers Plugins → MultiPOS. The dashboard loads with the tab row across the top.
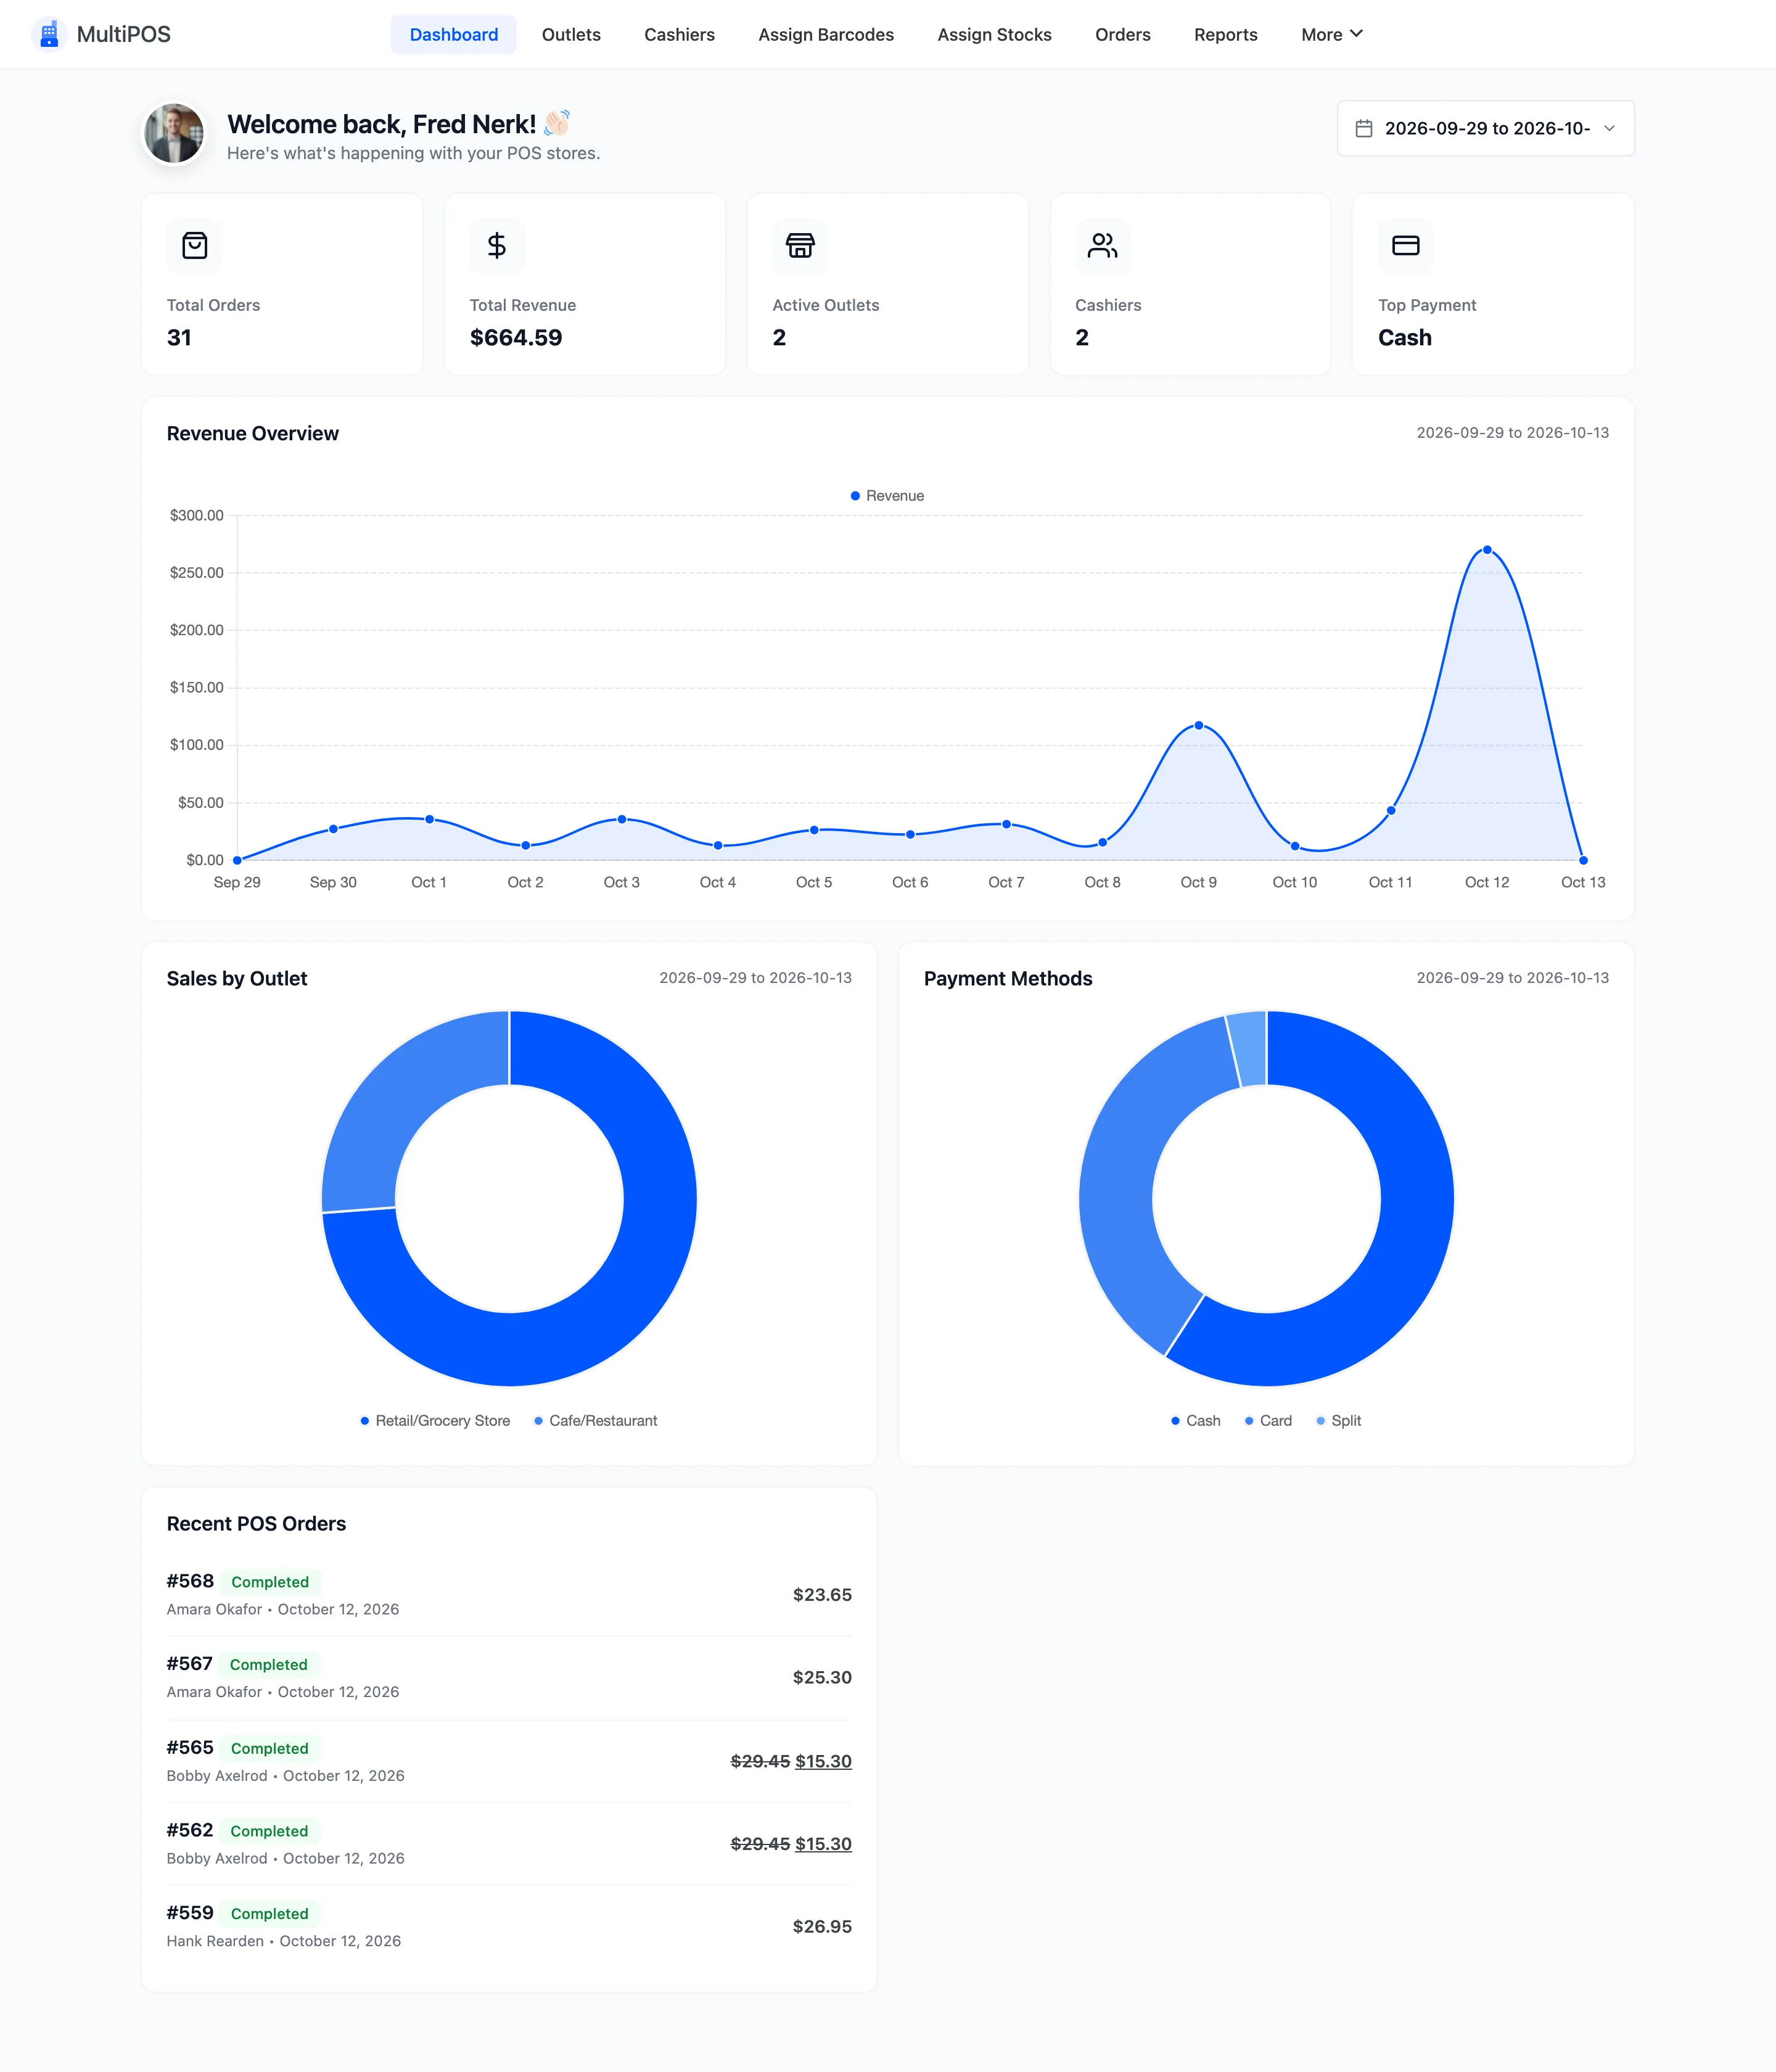
If the menu is missing, open Plugins → Installed Plugins and check that WooCommerce is active. Activate it and reload.
Finish the setup wizard
Section titled “Finish the setup wizard”Activation redirects you into a short wizard that switches the POS on, sets the terminal URL and picks a guest customer. It is the fastest path to a working POS.
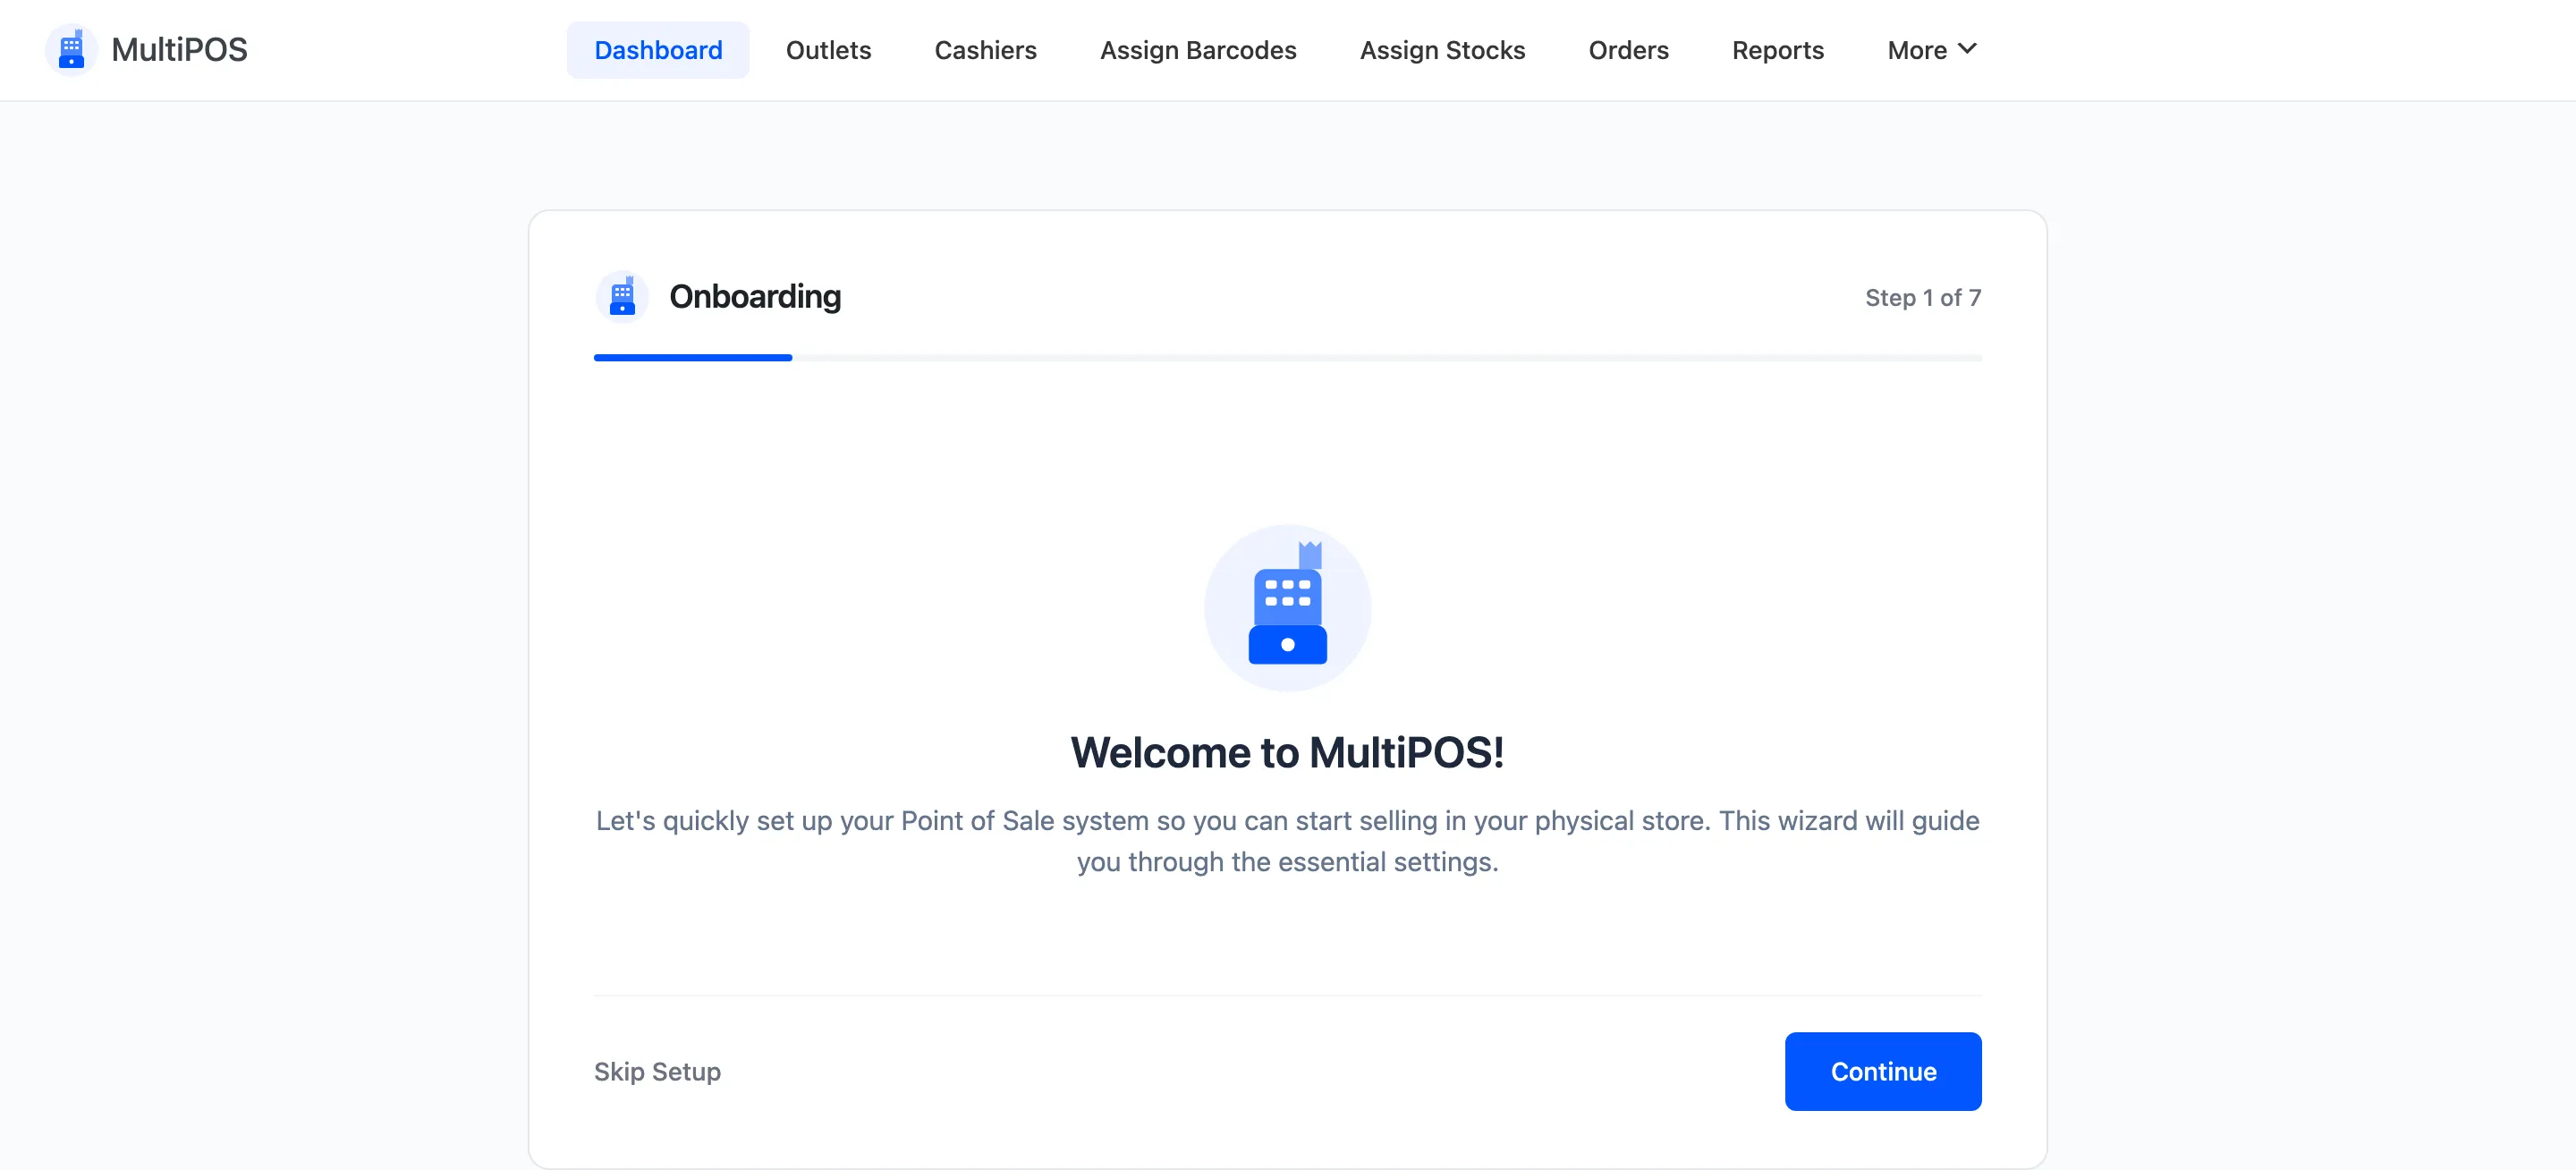
If you skipped it, every one of its fields also lives under Configuration → General, so nothing is lost.
If the terminal returns a 404
Section titled “If the terminal returns a 404”The /pos path is a rewrite endpoint, and WordPress needs to be told about it once. Go to
Settings → Permalinks and click Save Changes.
Saving the General configuration tab flushes the rules for you, so this only bites if you never open that tab.
Where to go next
Section titled “Where to go next”- The Setup Wizard, step by step.
- How to Set Up Your Outlet, which the POS needs before it will open.