

POS Orders
The Orders screen is every sale taken at a POS, and nothing else. Website orders are not here.
That filter is the point. This is the list you check when you want to know what the shop took, not what the whole business took.
Open the screen
Section titled “Open the screen”Go to MultiPOS → Orders.
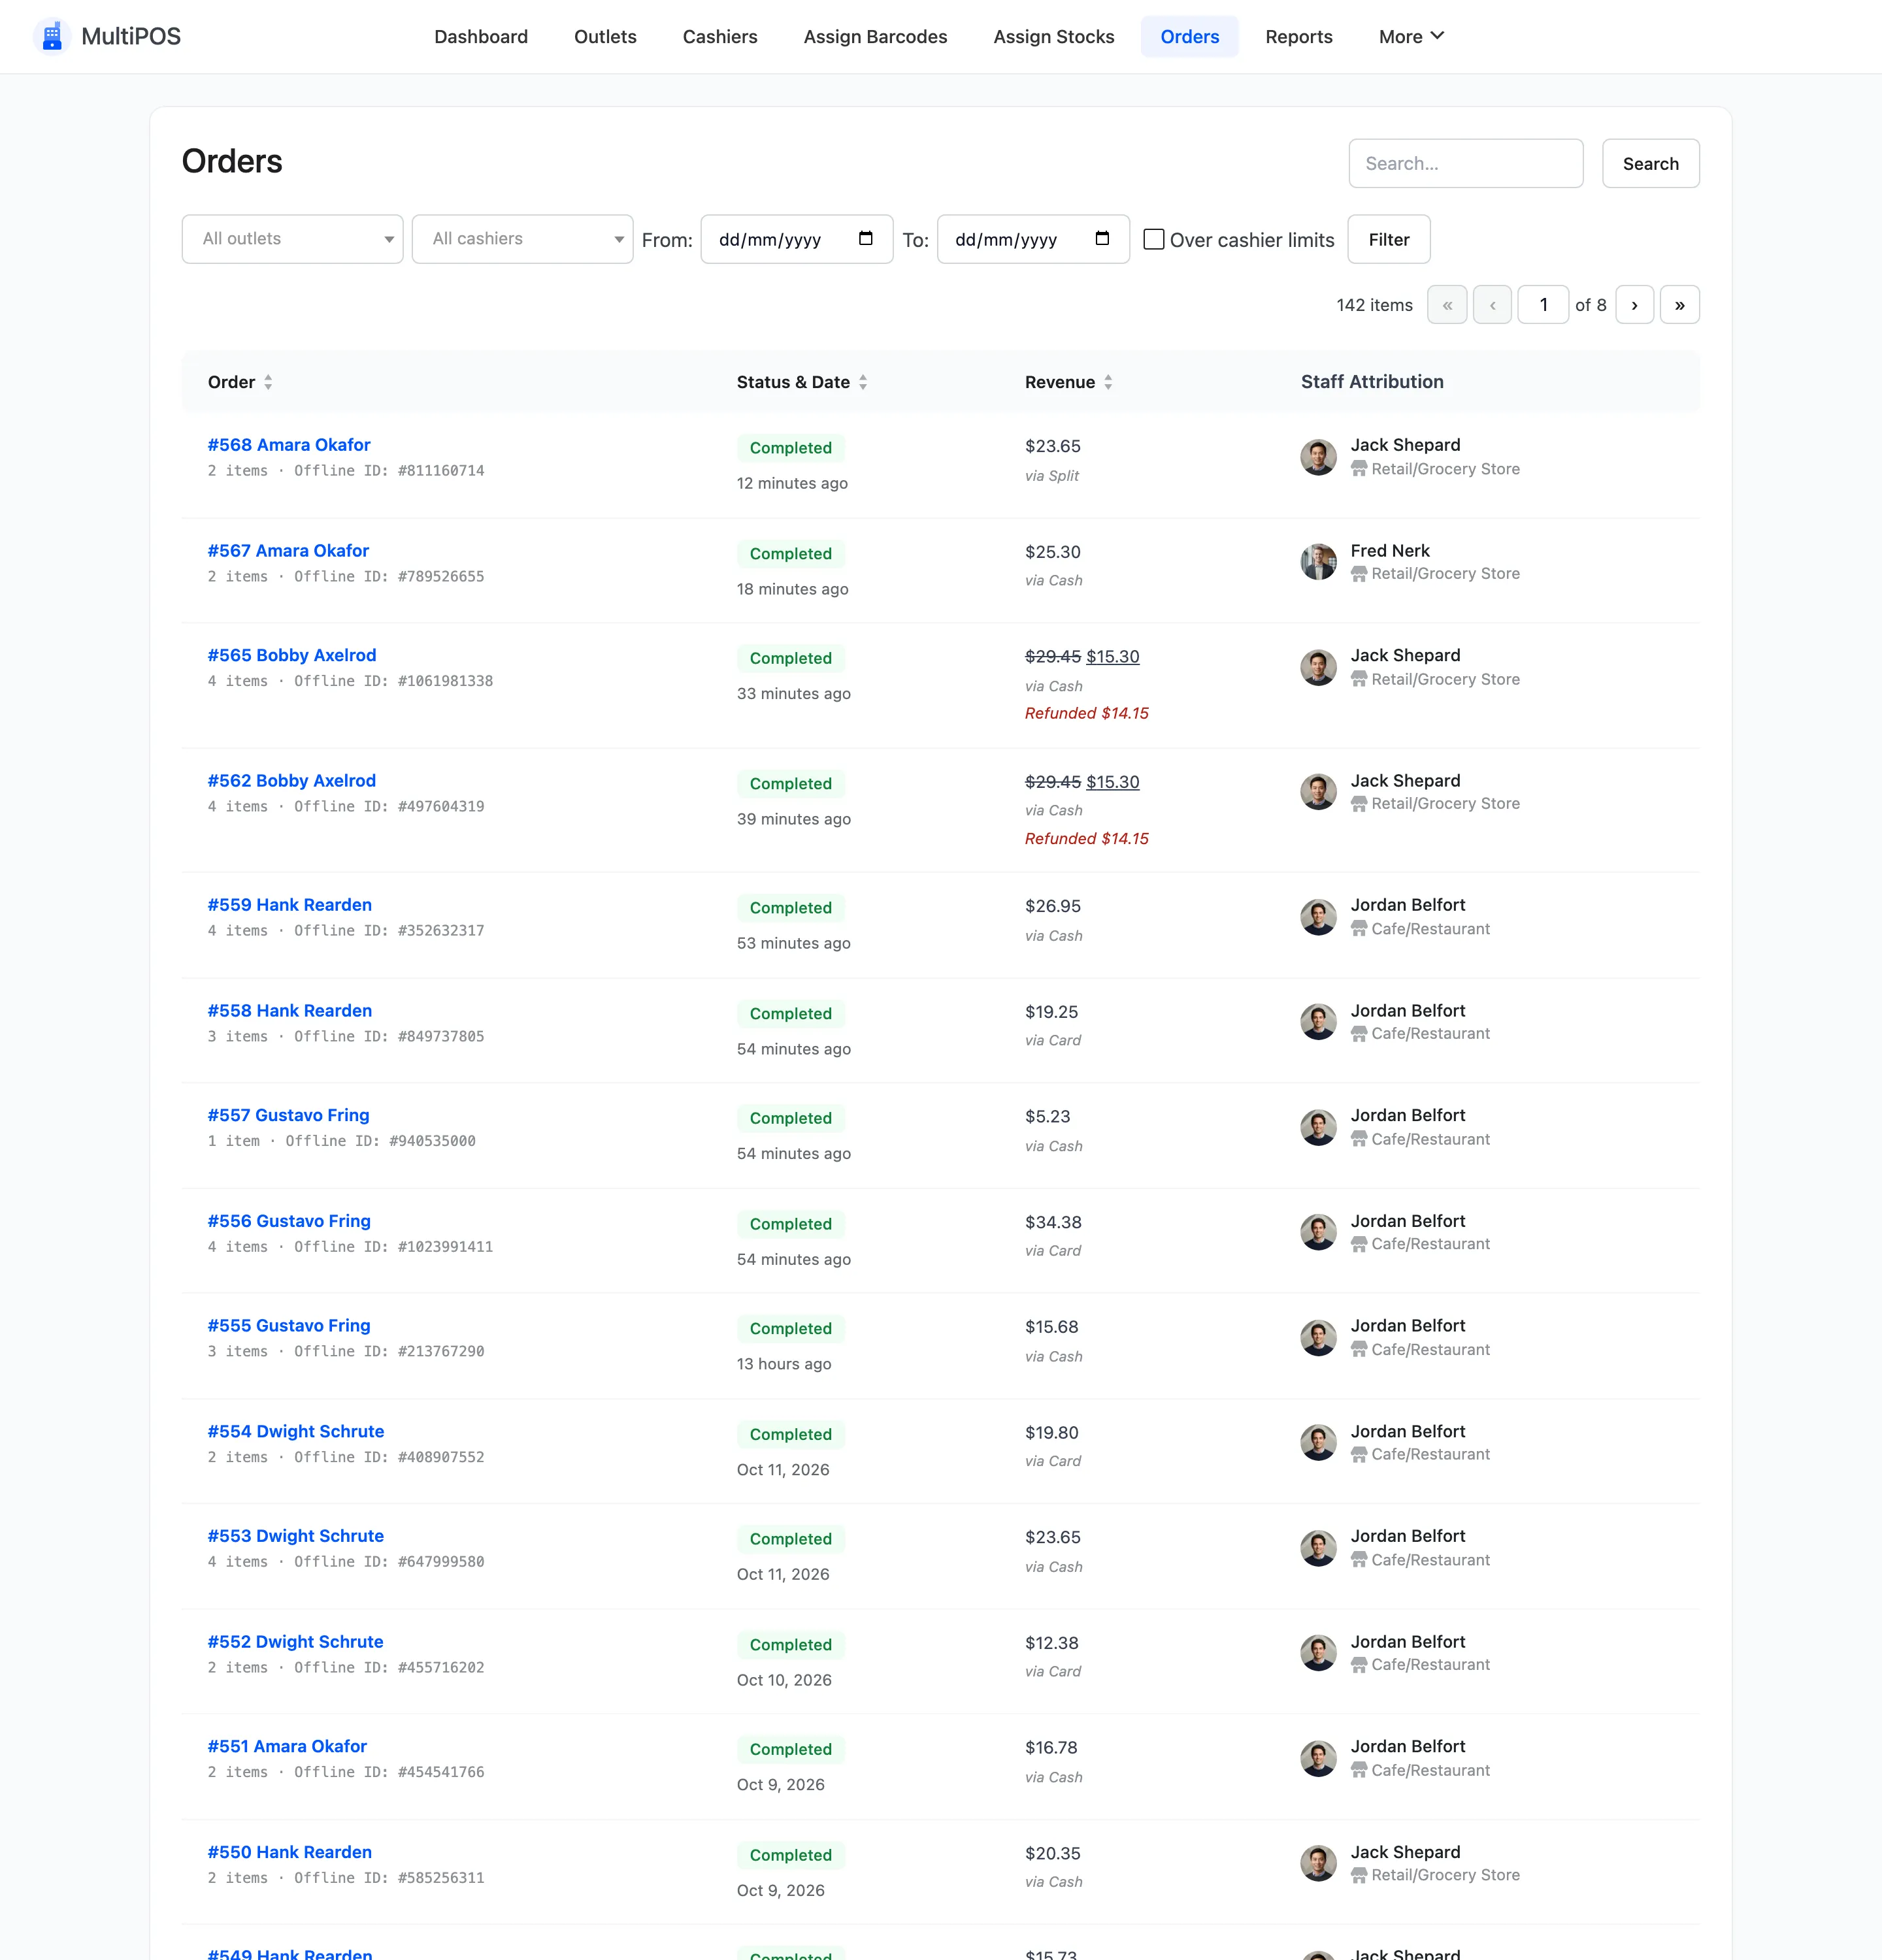
The columns
Section titled “The columns”| Column | What it shows |
|---|---|
| Order | Order number and customer, the number of items, and the offline ID for a sale made offline |
| Status & Date | The WooCommerce status and when it was placed |
| Revenue | The order total, the payment method, and any amount refunded |
| Staff Attribution | The cashier, with their photo, and the outlet underneath |
Order, Status & Date and Revenue are sortable. Click a heading to reorder.
Staff Attribution
Section titled “Staff Attribution”This column is the reason the screen exists.
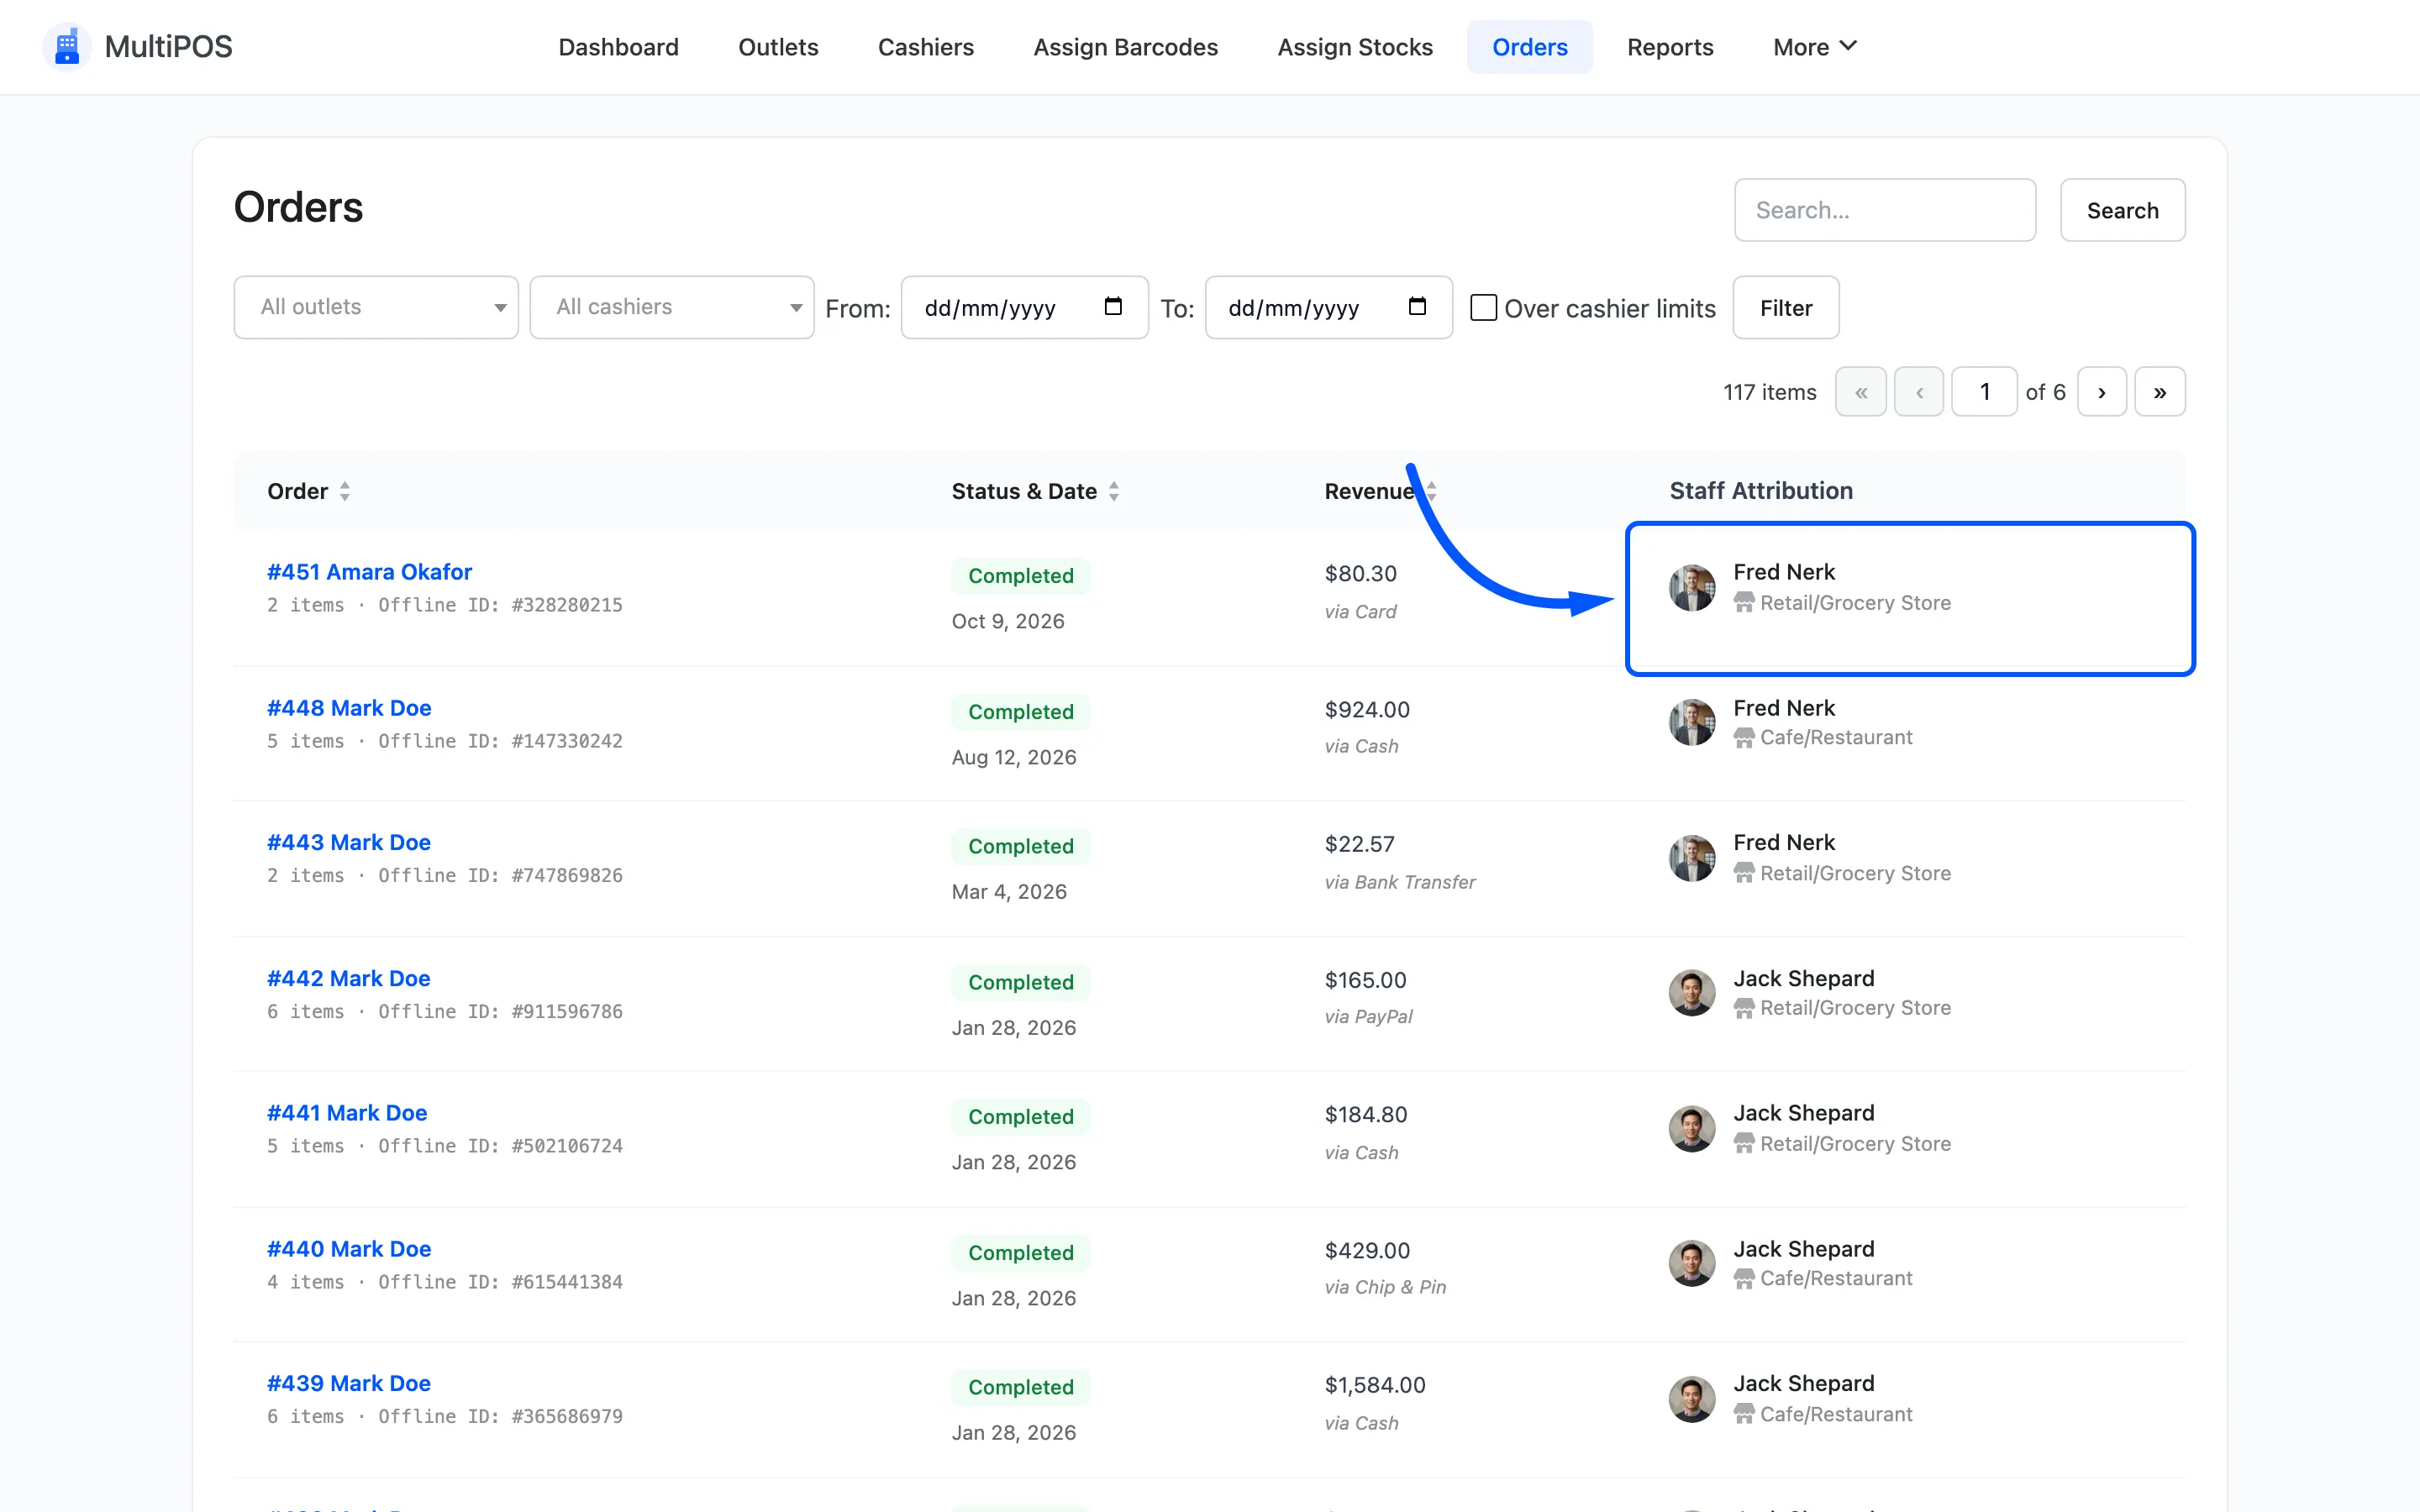
Every POS order stores the outlet and the cashier who created it. WooCommerce has no idea who was standing at the POS; MultiPOS records it on the order itself.
That is what makes a discrepancy answerable. A refund nobody remembers, a discount nobody authorised, a void at closing time: all of them have a name attached. The cashier’s name links to their cashier screen for staff who may edit cashiers.
Show more details
Section titled “Show more details”The toggle on each row expands it into the full line items, so you can read what was in the basket without leaving the list.
It is the fastest way to check a disputed order. You get the basket without opening WooCommerce.
Filters
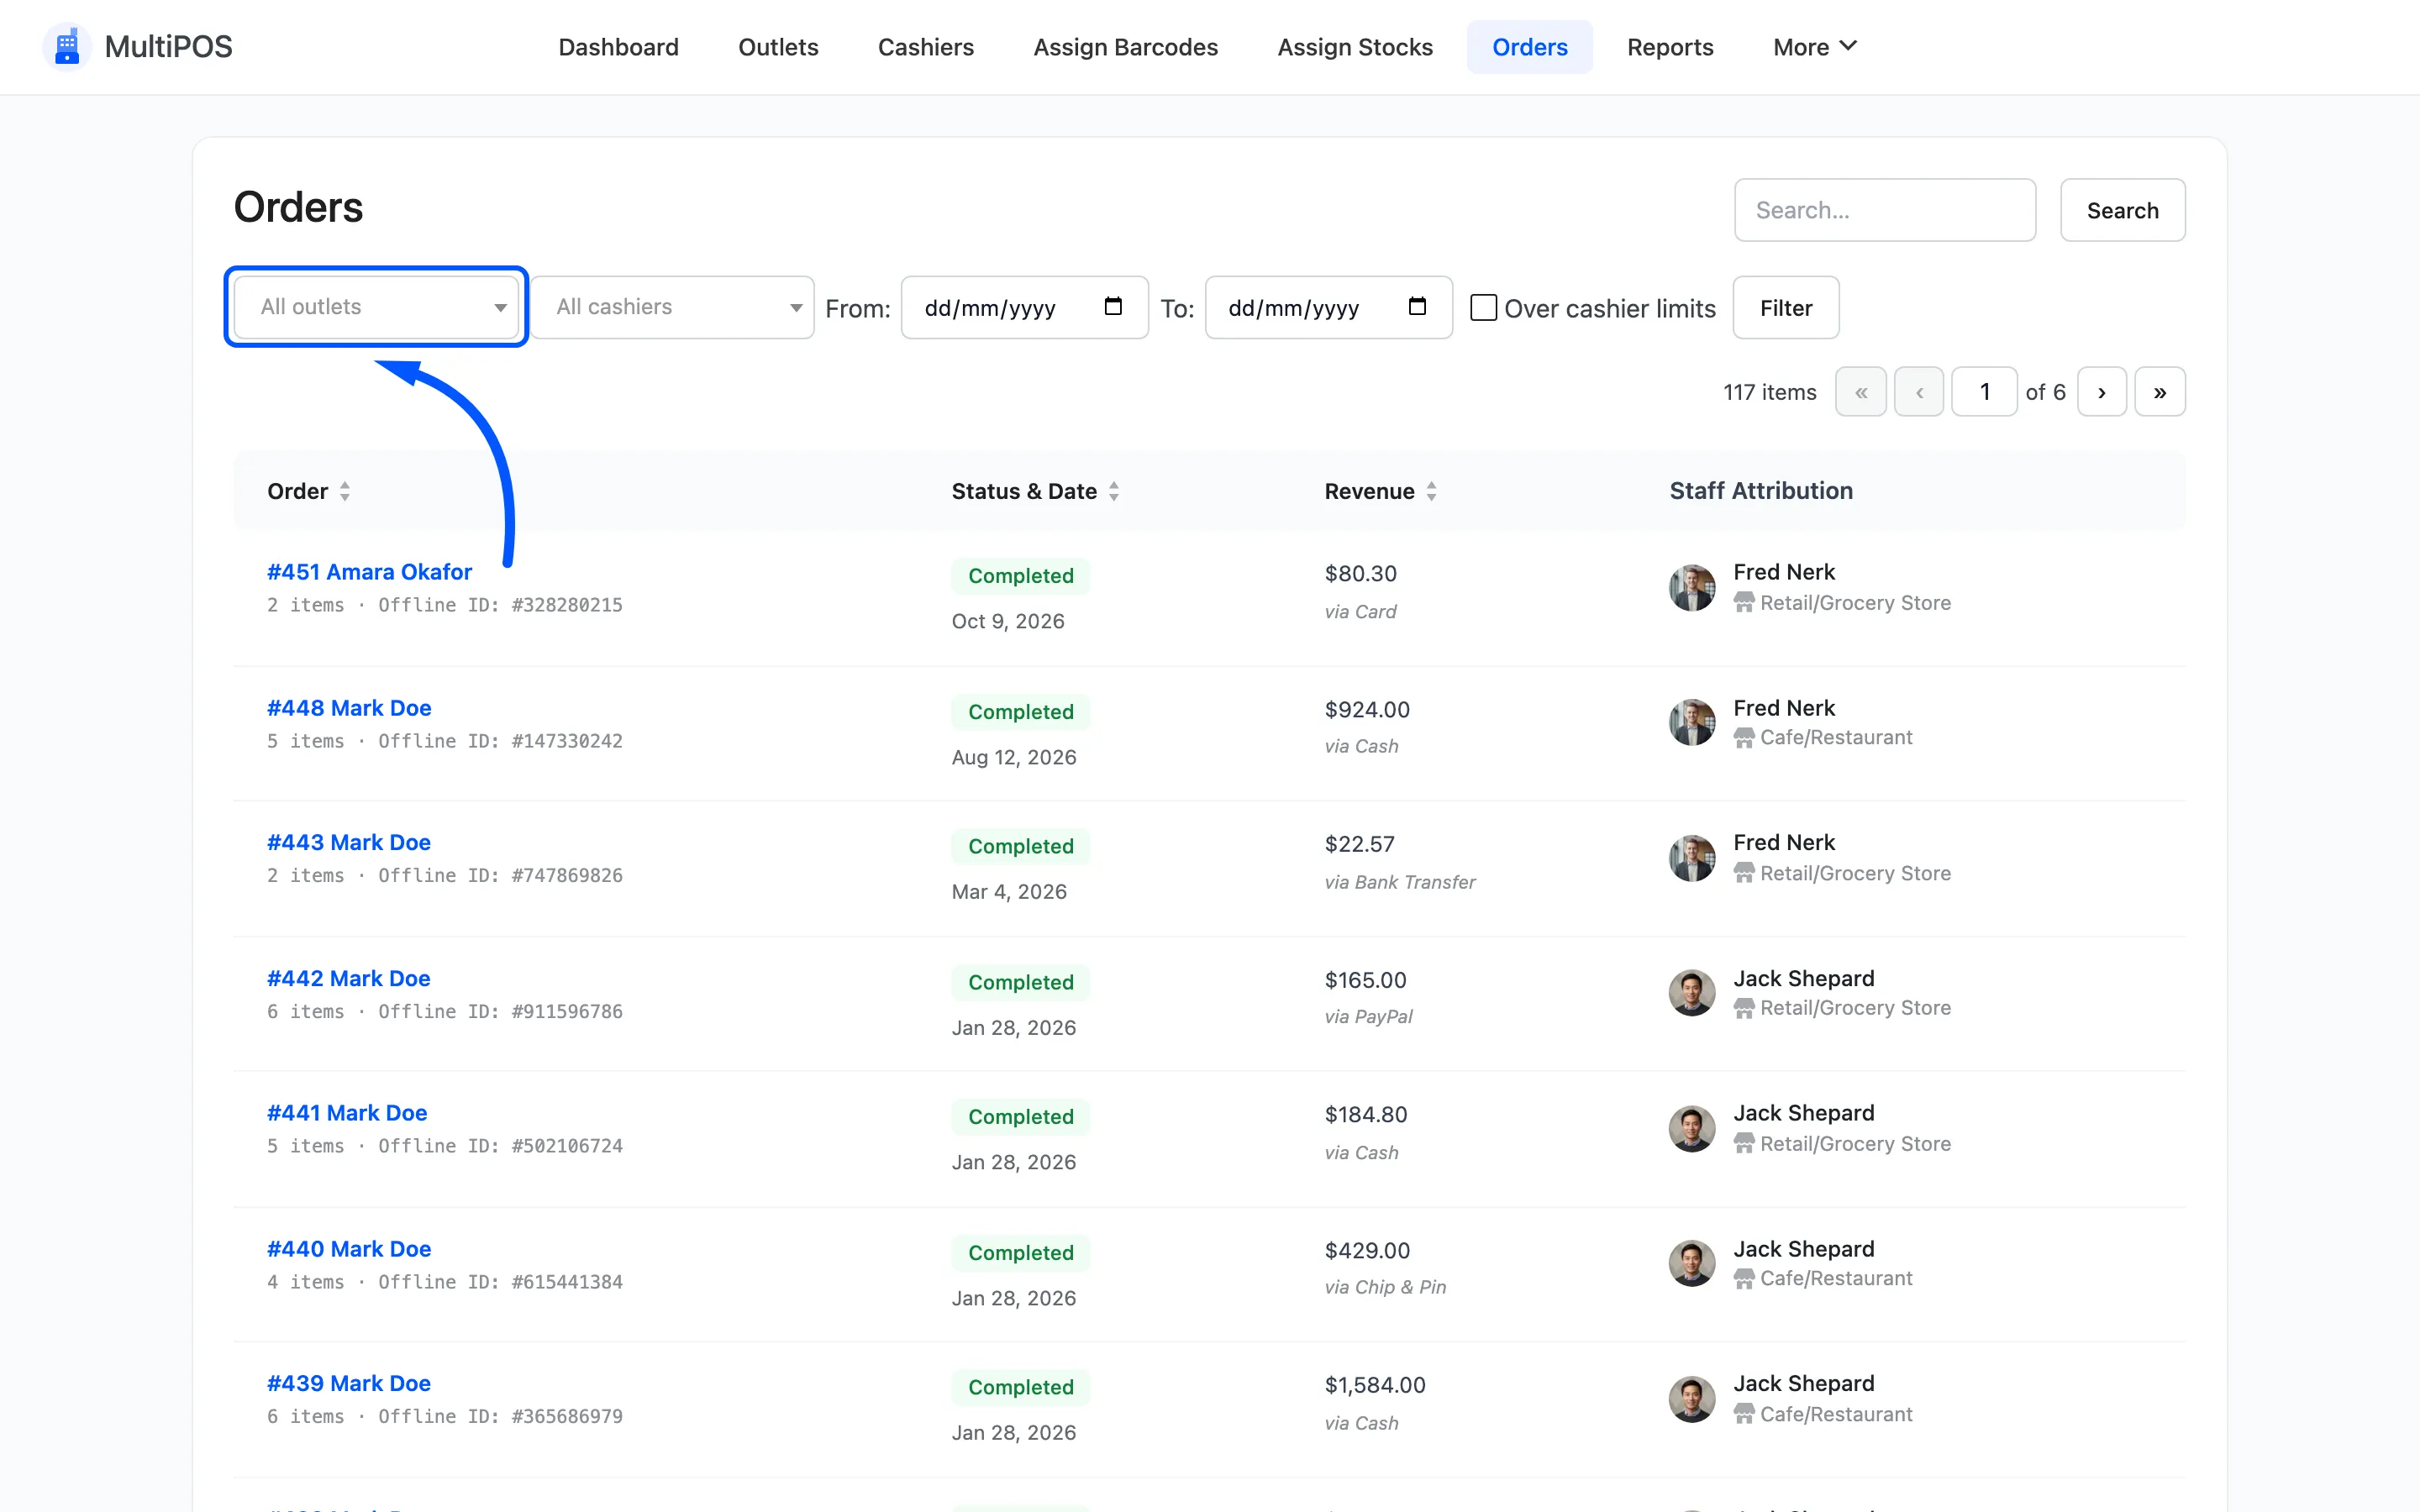
Section titled “Filters”The row above the list narrows it down. Press Filter to apply, Reset to clear.
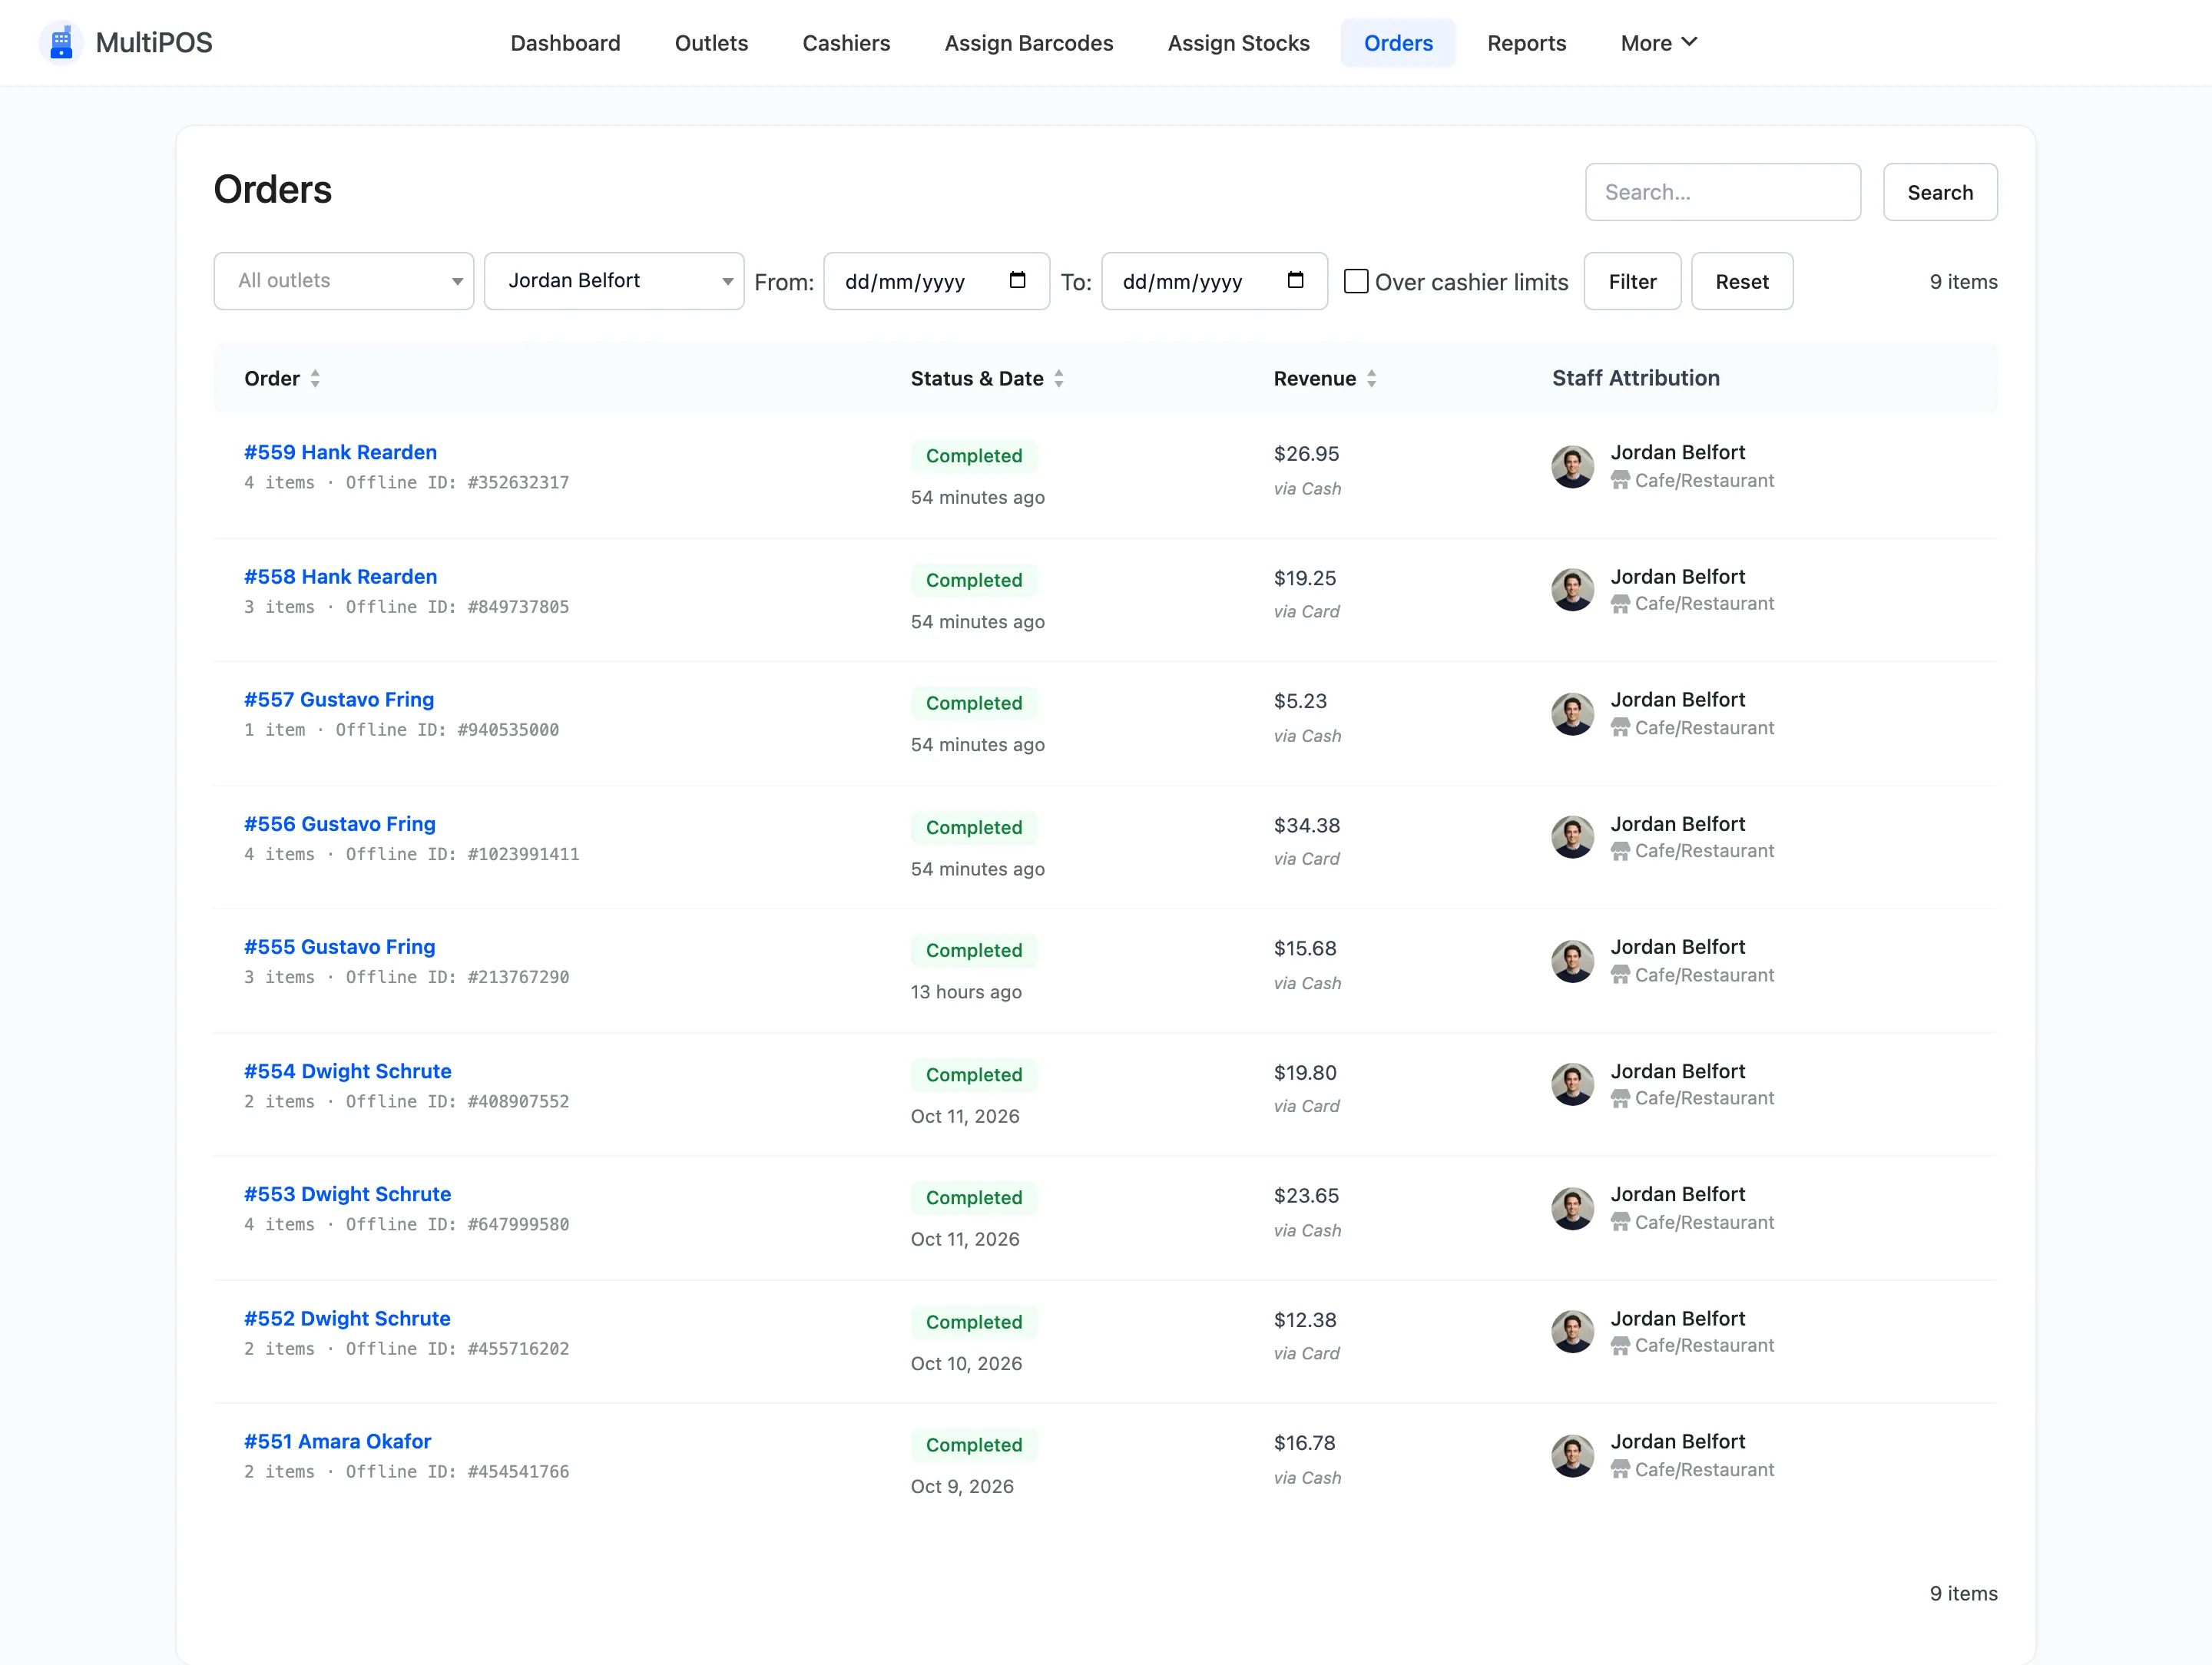
- All outlets: One outlet only. Pro.
- All cashiers: One cashier’s sales.
- From and To: A date range.
- Over cashier limits: Pro. Only orders where a cashier lowered a price or gave a discount above their limit without a manager’s PIN. Sales a manager approved are left out, so this is the list worth checking.
A flagged order carries an Over limit badge, and its note lists each price change and discount.
Results per page
Section titled “Results per page”Screen Options at the top right sets how many rows show. It defaults to 20.
Raise it before an end-of-month check. Paging through six pages of orders is how a row gets missed.
What a POS order looks like in WooCommerce
Section titled “What a POS order looks like in WooCommerce”Open WooCommerce → Orders and POS sales sit alongside website ones. MultiPOS adds an Order Type column so you can tell them apart at a glance.
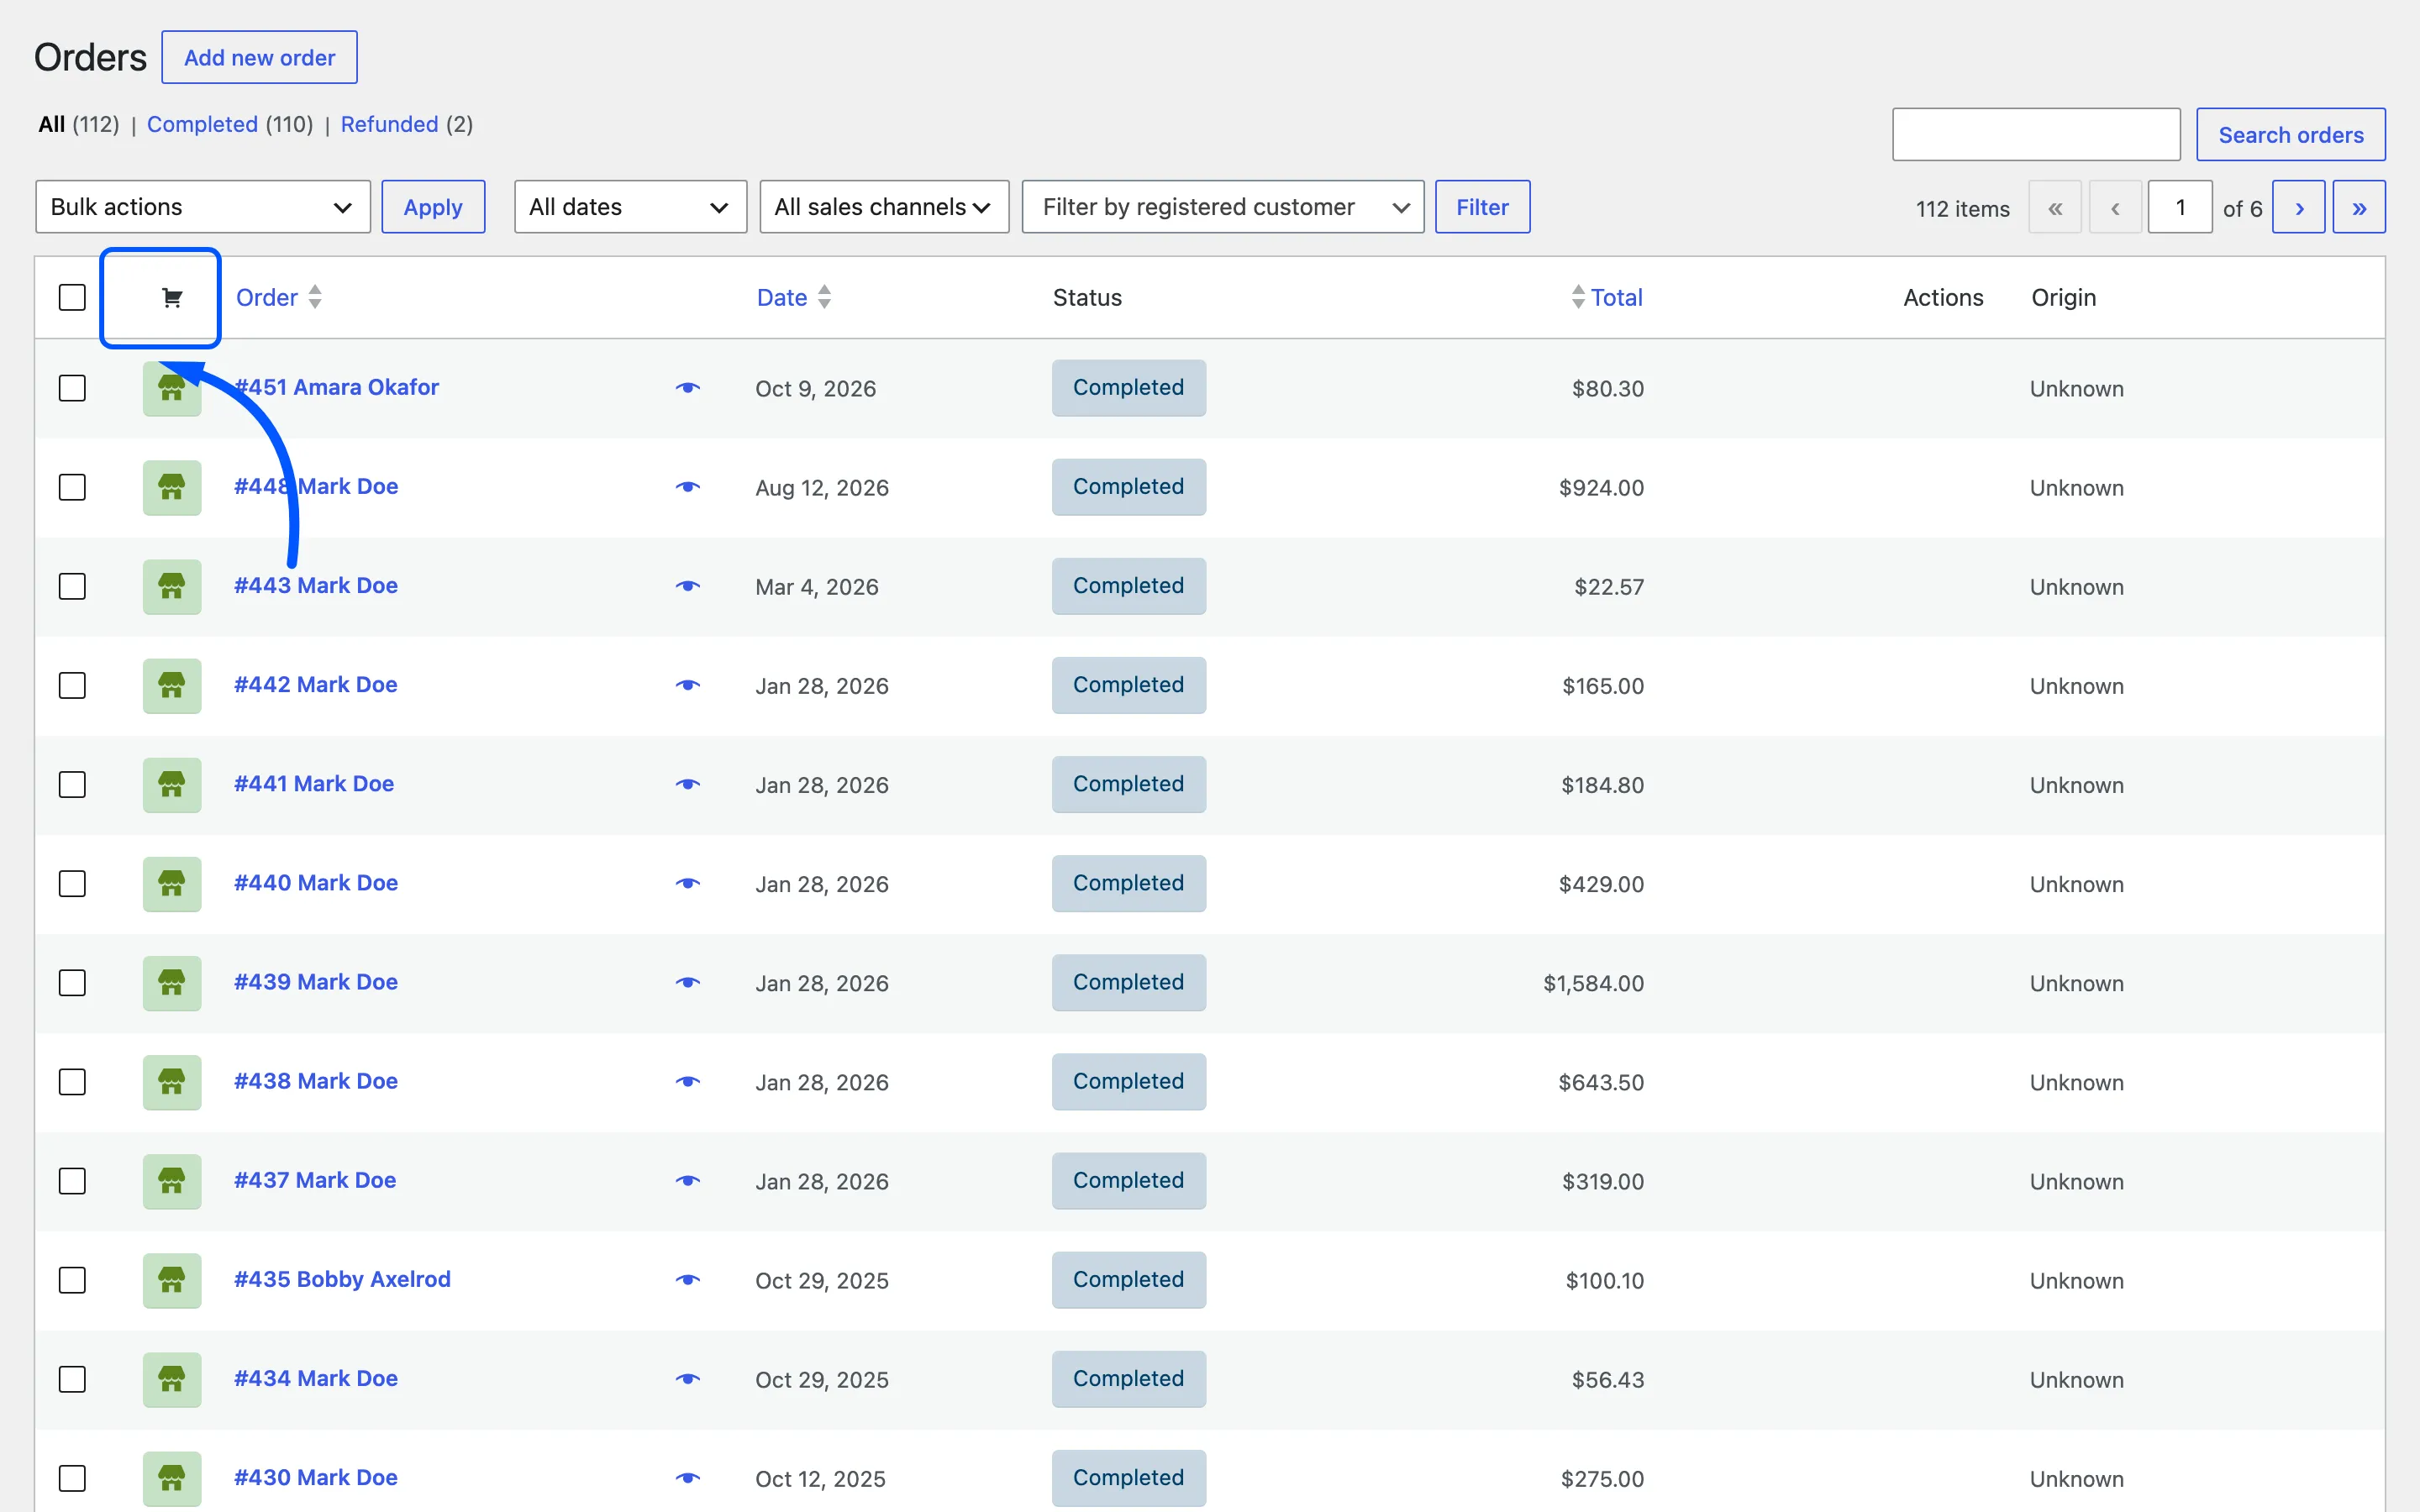
An order tagged POS was taken at a POS. One tagged Website came through checkout.
The column is filled from the outlet stored on the order, so it cannot go wrong. An order with no outlet was not a POS sale.
Two things that surprise people
Section titled “Two things that surprise people”- The billing address is the shop’s, not the customer’s. POS orders are addressed to the outlet on purpose, because the sale happened there and tax should follow the shop’s location.
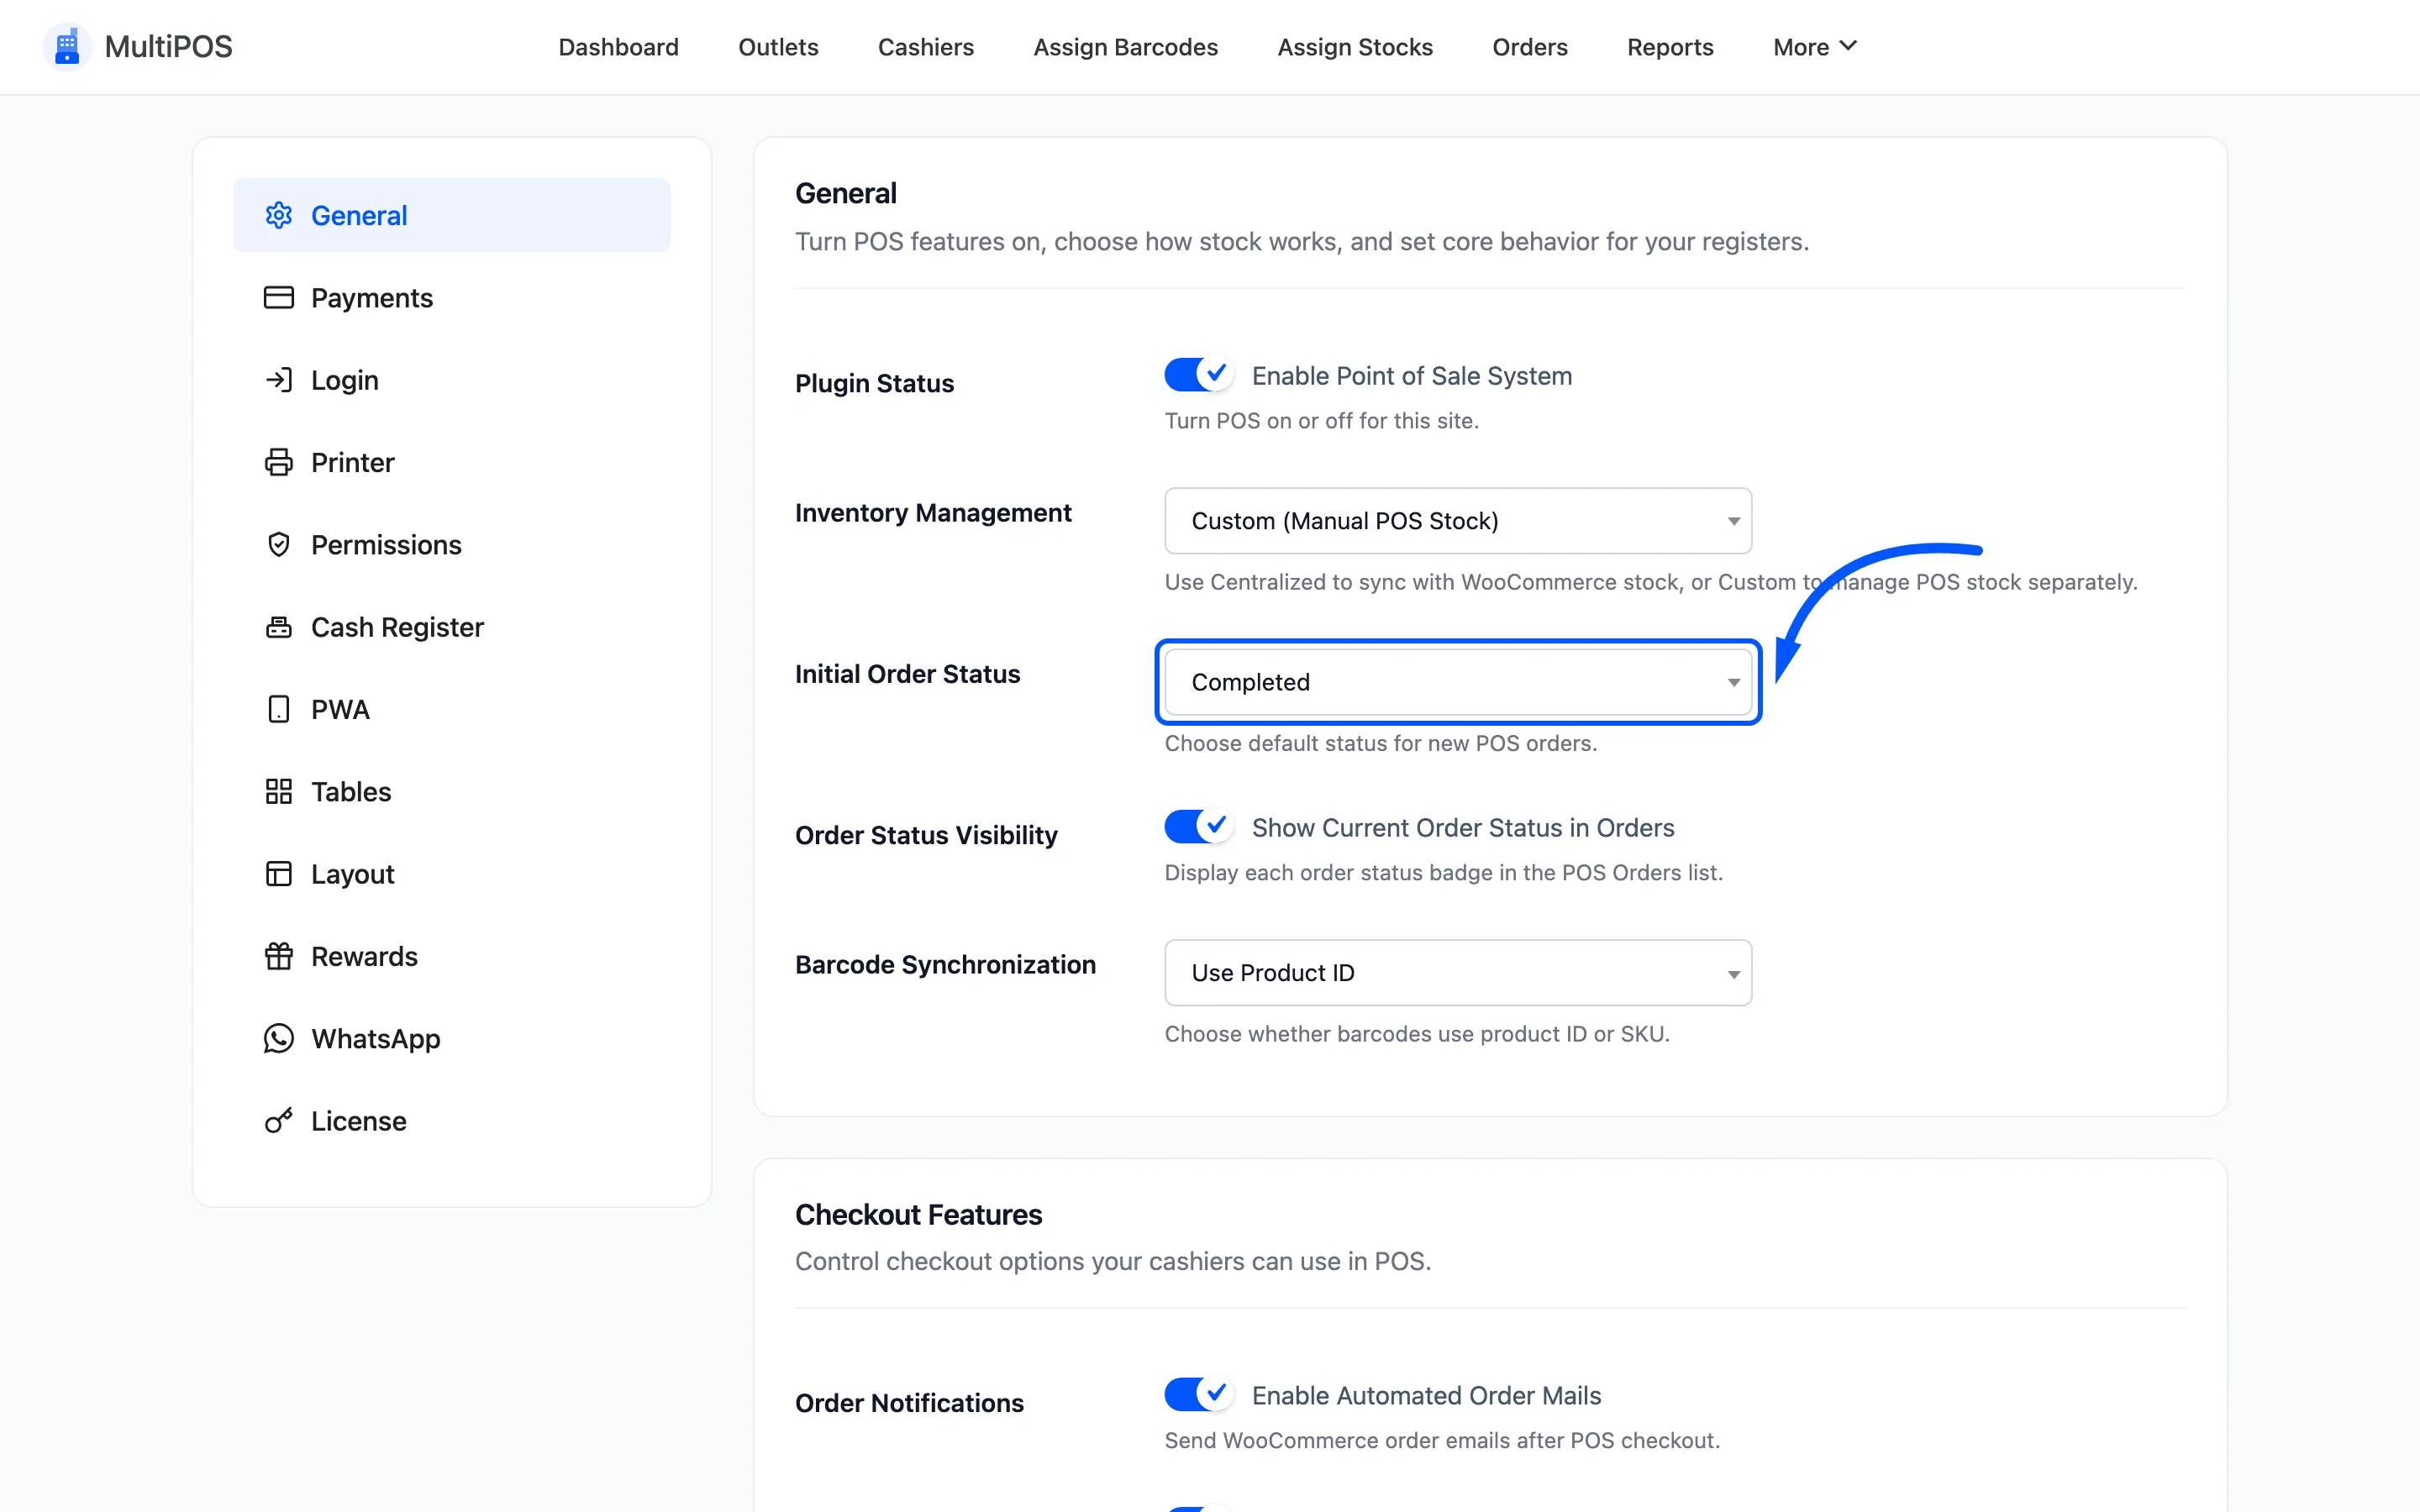
- The status may already be Completed. Initial Order Status under Configuration → General ships as Completed. That is right for a counter sale and wrong if you still have to pack it. Change it there, not here.
Refunds
Section titled “Refunds”There are two places to refund a POS order, and they are not equivalent.
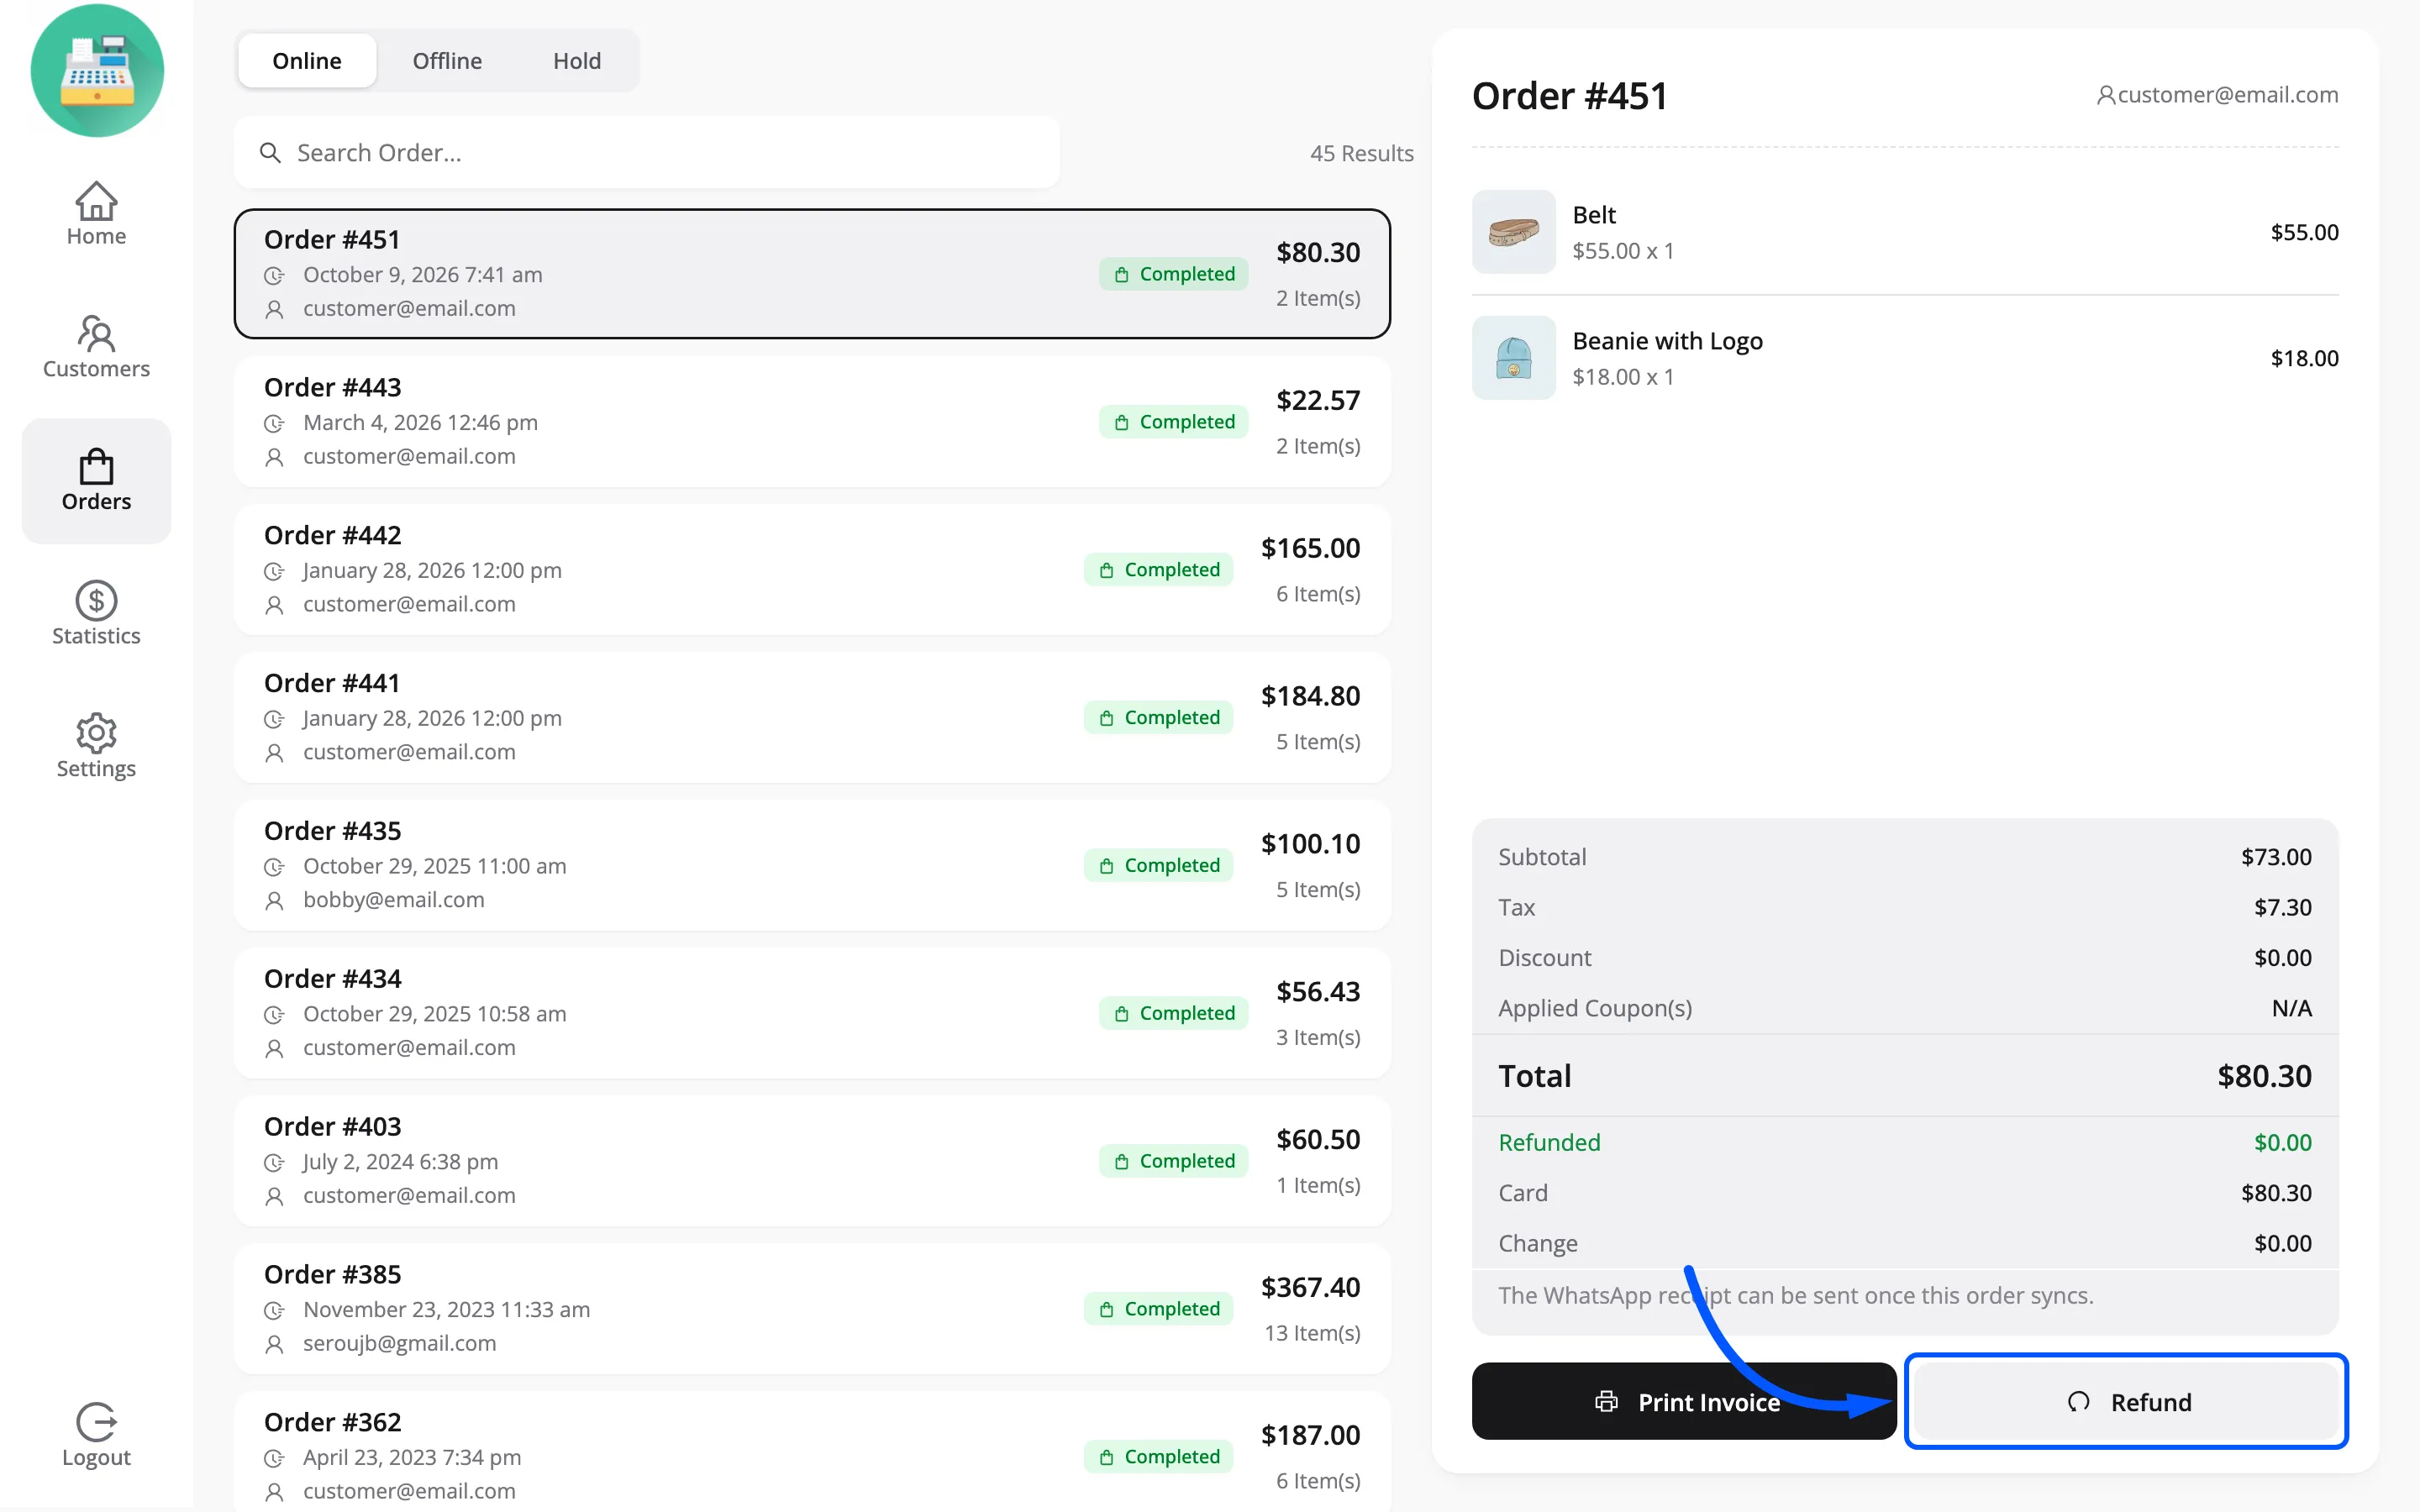
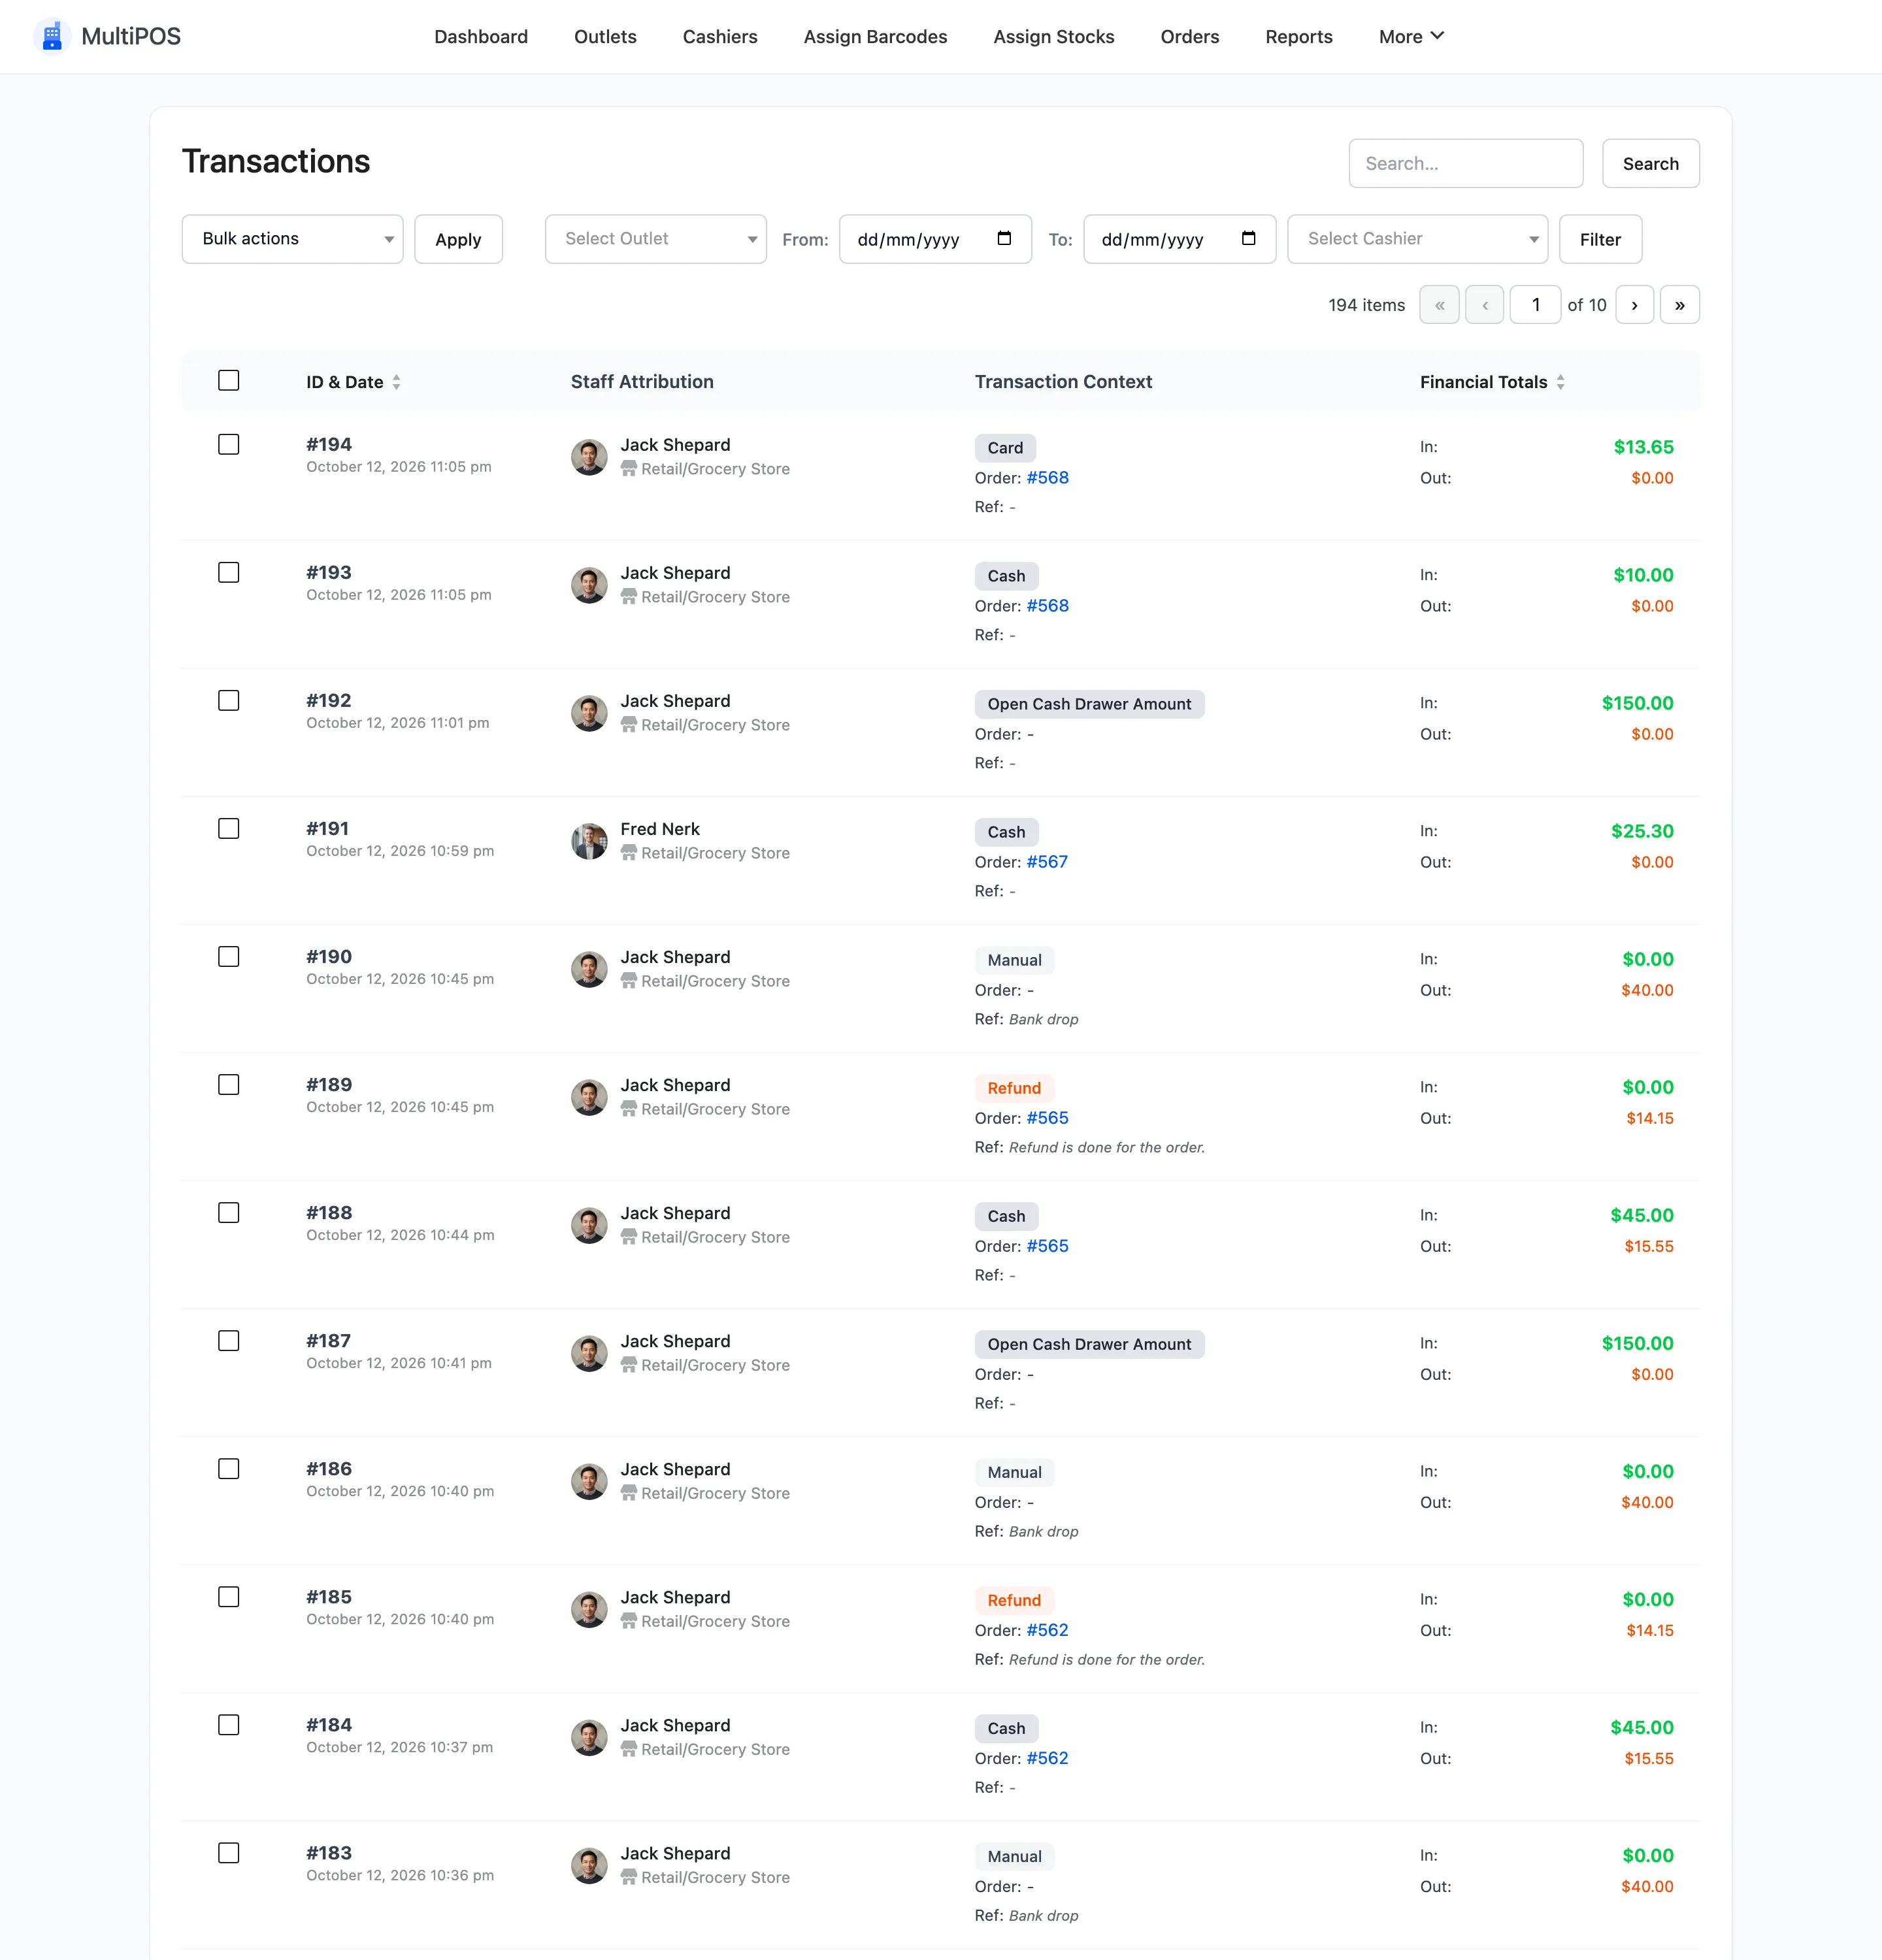
From the terminal, with the green Refund button on the order details panel. This is the one to use for a customer standing at the counter: it writes a transaction row, so the drawer count stays right. It is a Pro feature. See How to Refund an Order.
From WooCommerce, with the ordinary refund controls on the order screen. MultiPOS does not take a POS order over once it exists, so notes, emails and refunds all behave normally.
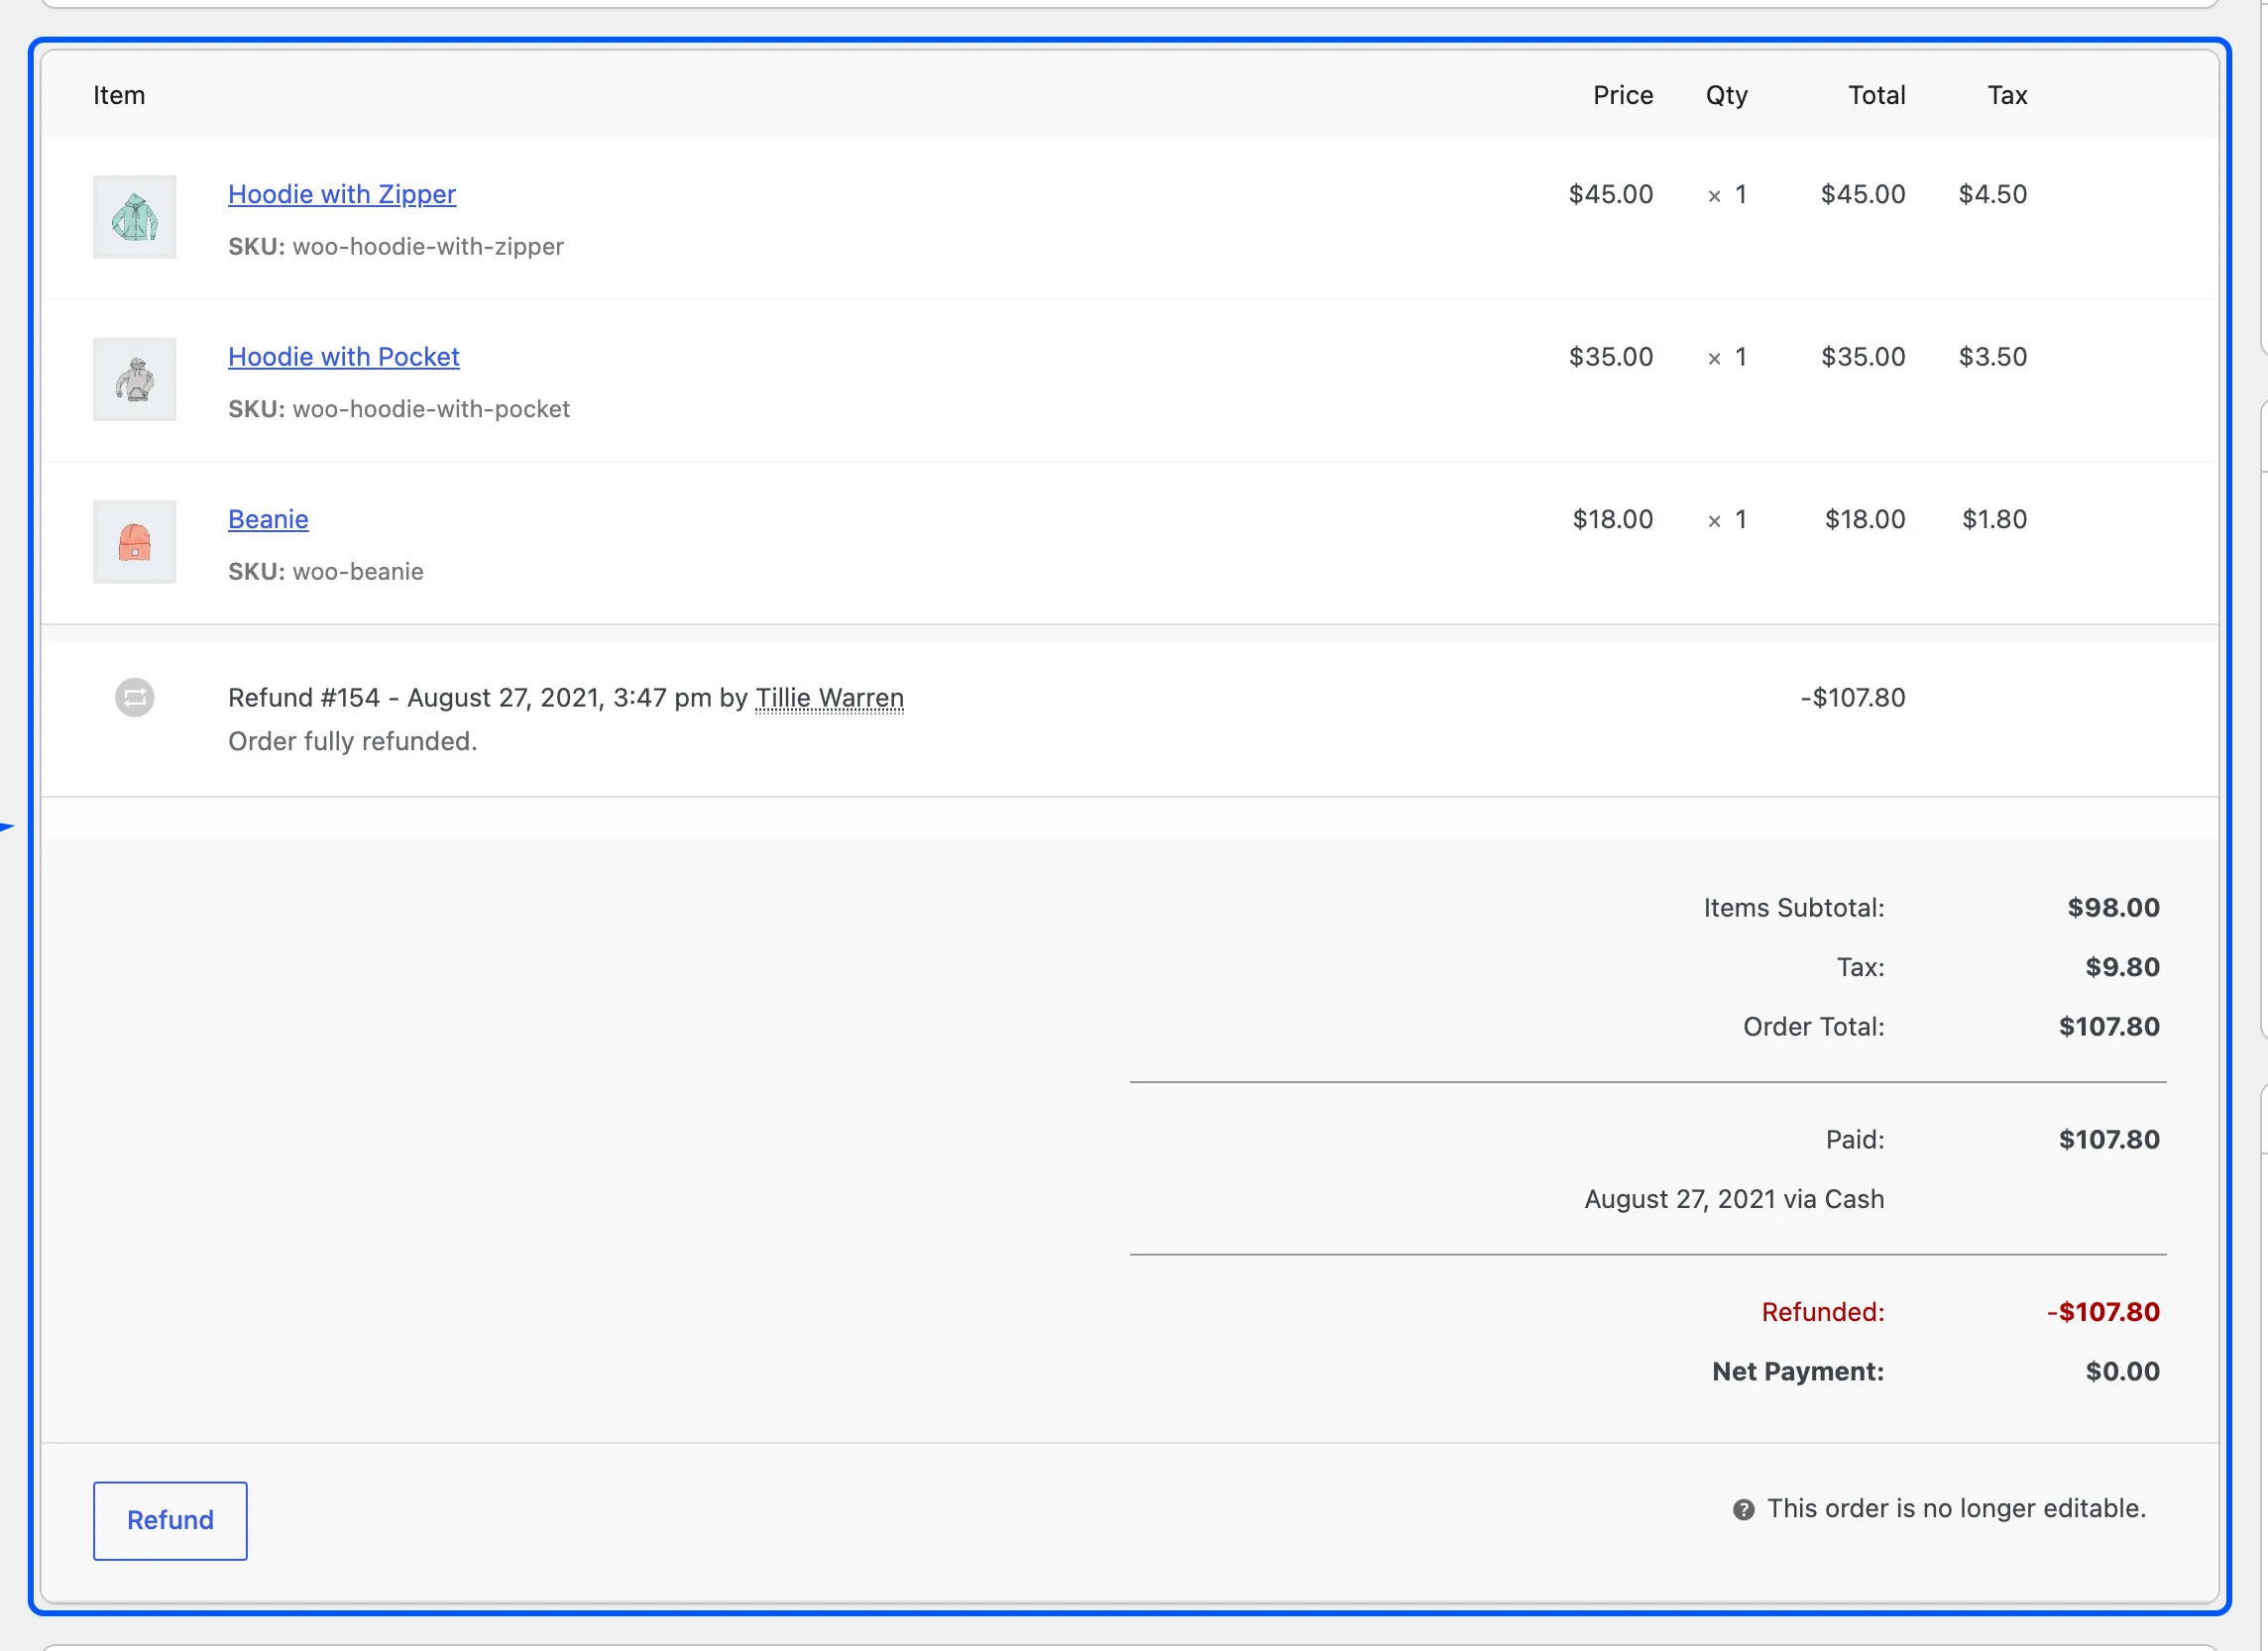
An admin refund writes no transaction row, so cash handed back at the counter is not deducted from the drawer figure. Record it as a manual cash-out on the day it happens, or refund from the terminal in the first place.
Stock goes back correctly from either place, including to the right branch on a per-outlet stock store.
Where to go next
Section titled “Where to go next”- Transactions for the payment side.
- Reports for charts across a date range.
- How a POS Sale Works for what created these rows.