

The Setup Wizard
The wizard runs once, right after activation. It sets the handful of options the POS cannot start without, and skips everything you can decide later.
It is not the only way in. Every field it shows also lives under Configuration → General and Configuration → Layout, so skipping it costs you nothing but the guided order.
Reopen the wizard
Section titled “Reopen the wizard”If you closed it, add &setup-wizard=true to the dashboard URL:
/wp-admin/admin.php?page=ddwcpos-dashboard&setup-wizard=trueStep 1: Welcome
Section titled “Step 1: Welcome”The opening step introduces the plugin and does nothing else. Read it and continue.
Step 2: General
Section titled “Step 2: General”Four fields, and the first one is the switch that turns the whole plugin on.
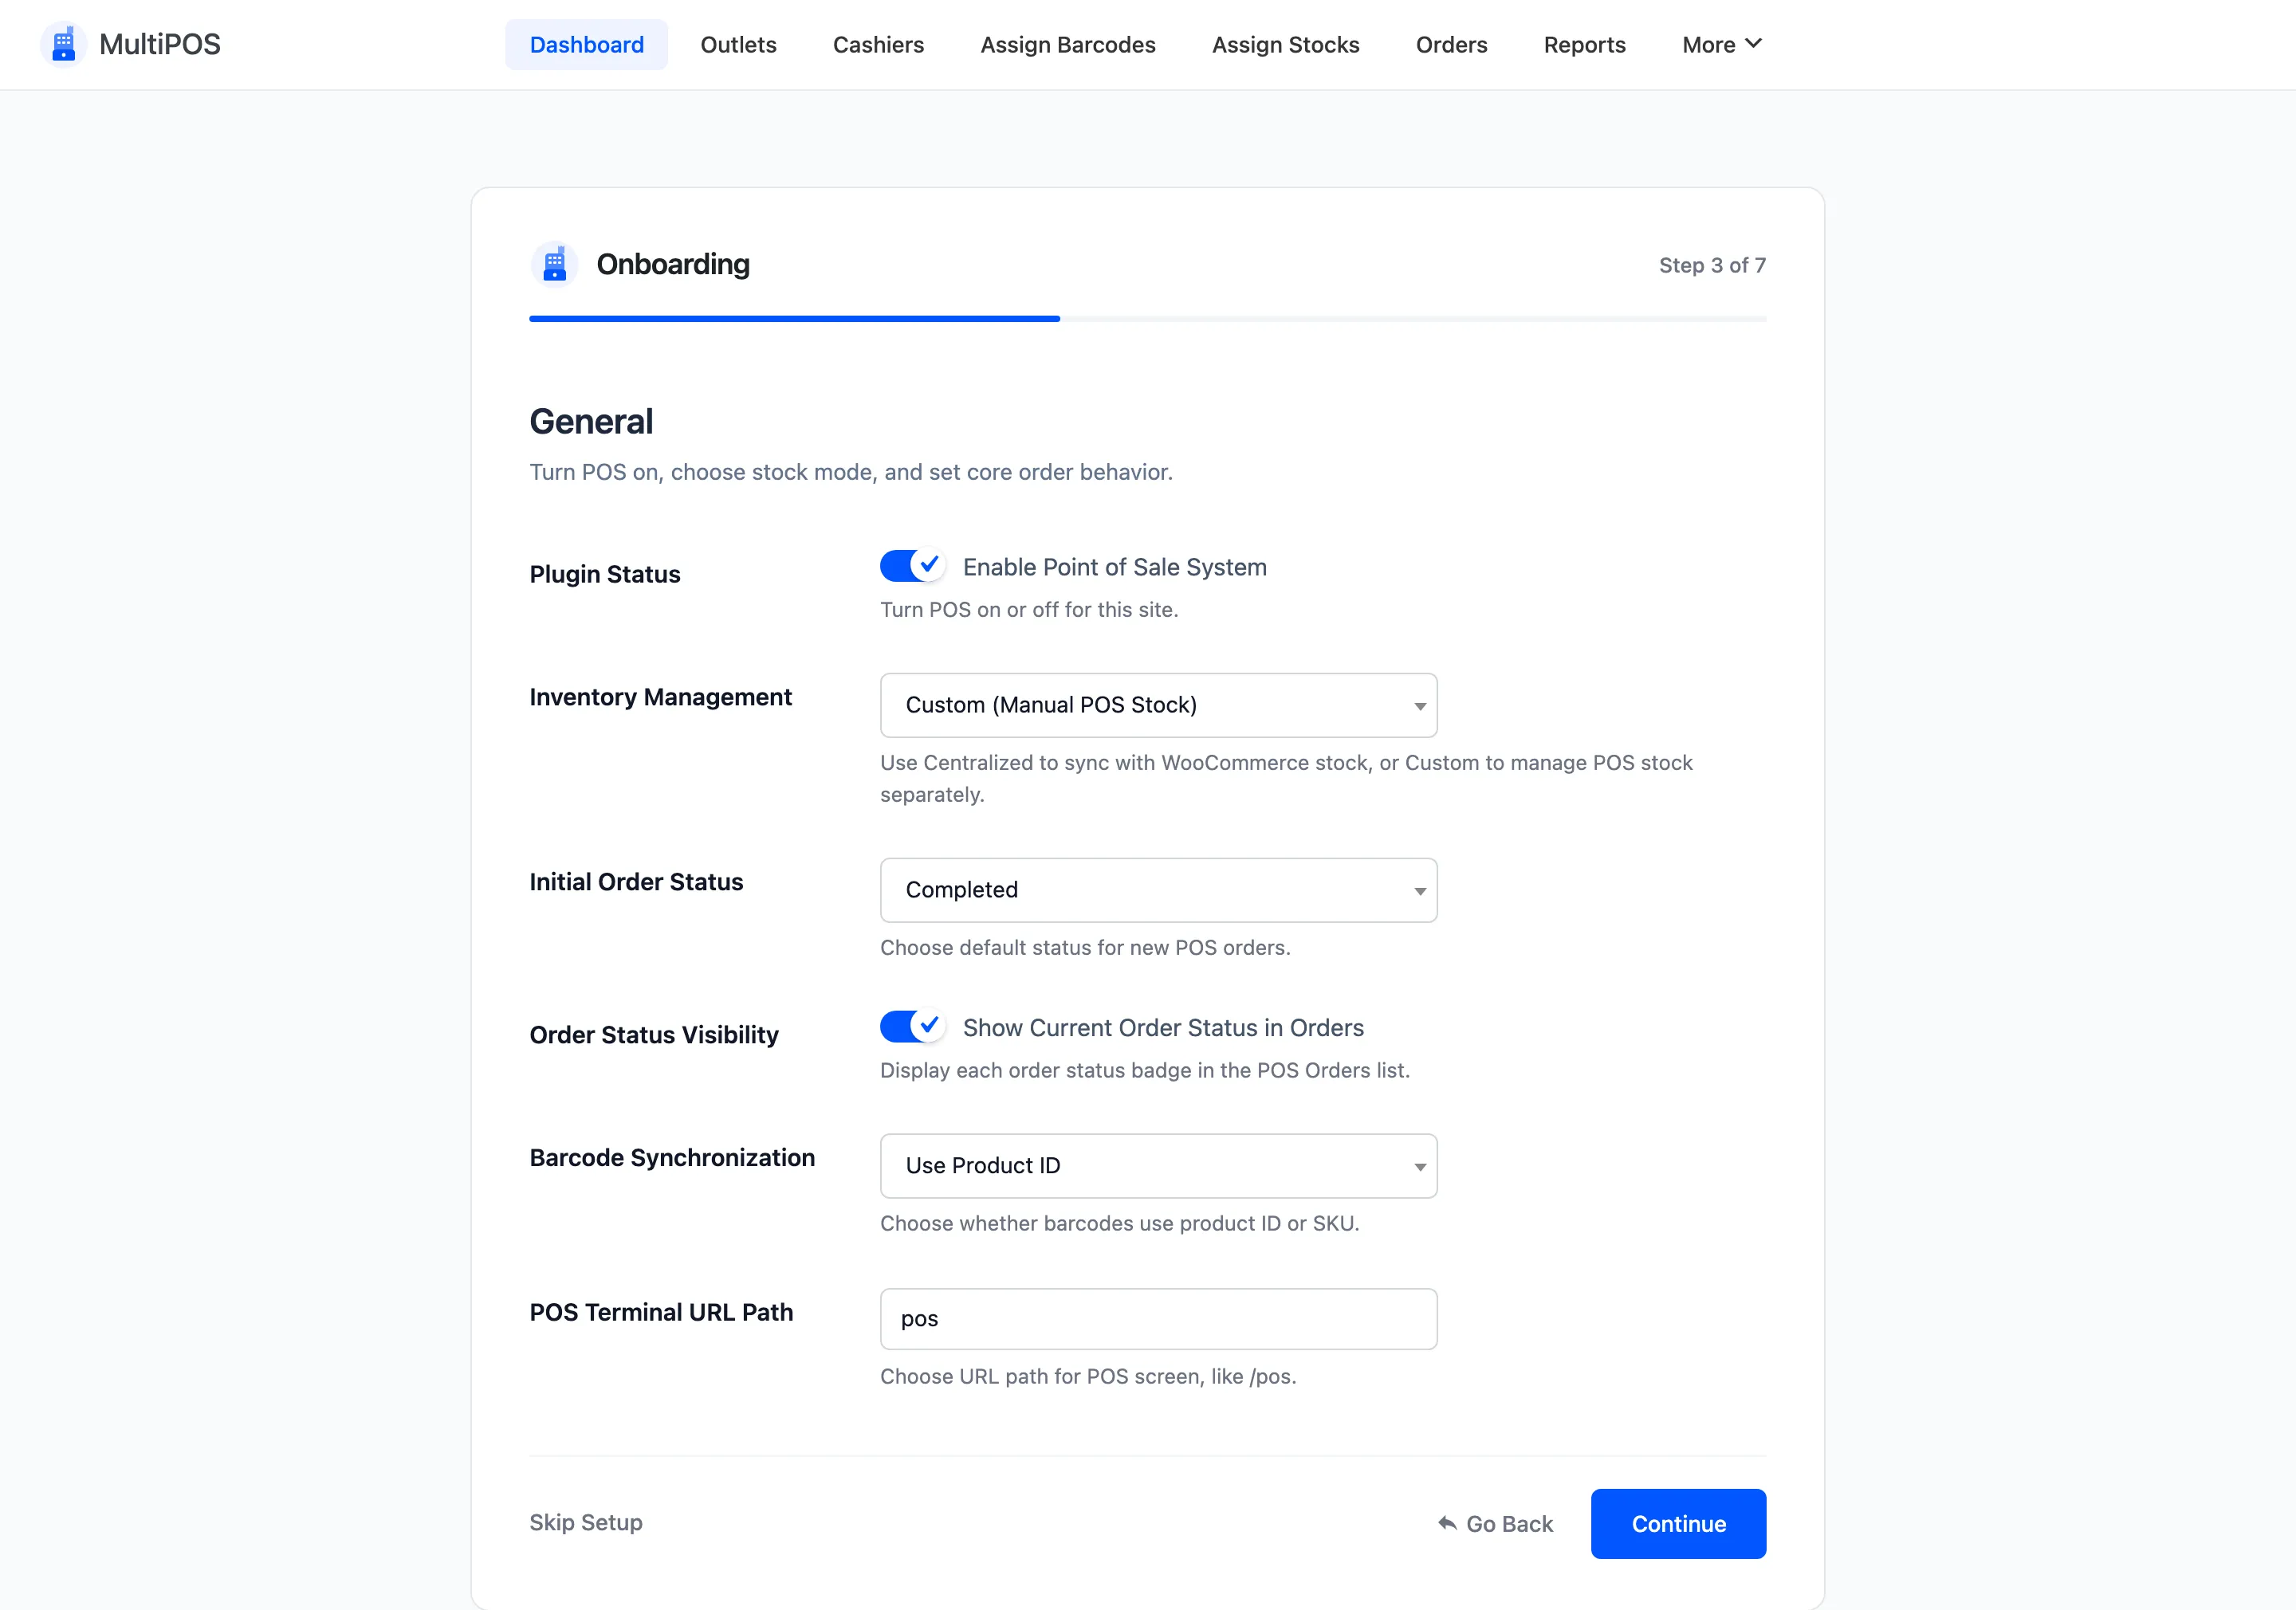
- Enable Point of Sale System turns the POS on for the site. Leave it off and the terminal URL does not resolve.
- Initial Order Status is the status every POS order is created with. It defaults to Completed, which is the right answer for a counter sale where the customer walks out with the goods. Choose Processing if your POS orders still need packing or shipping.
- Barcode Synchronization decides whether a barcode is generated from the product ID or from its SKU. It defaults to Use Product ID.
- POS Terminal URL Path is the path the POS answers on. It defaults to
pos, giving youyoursite.com/pos.
Pick the URL now. Changing it later means retraining staff and re-bookmarking every device.
Step 3: Checkout
Section titled “Step 3: Checkout”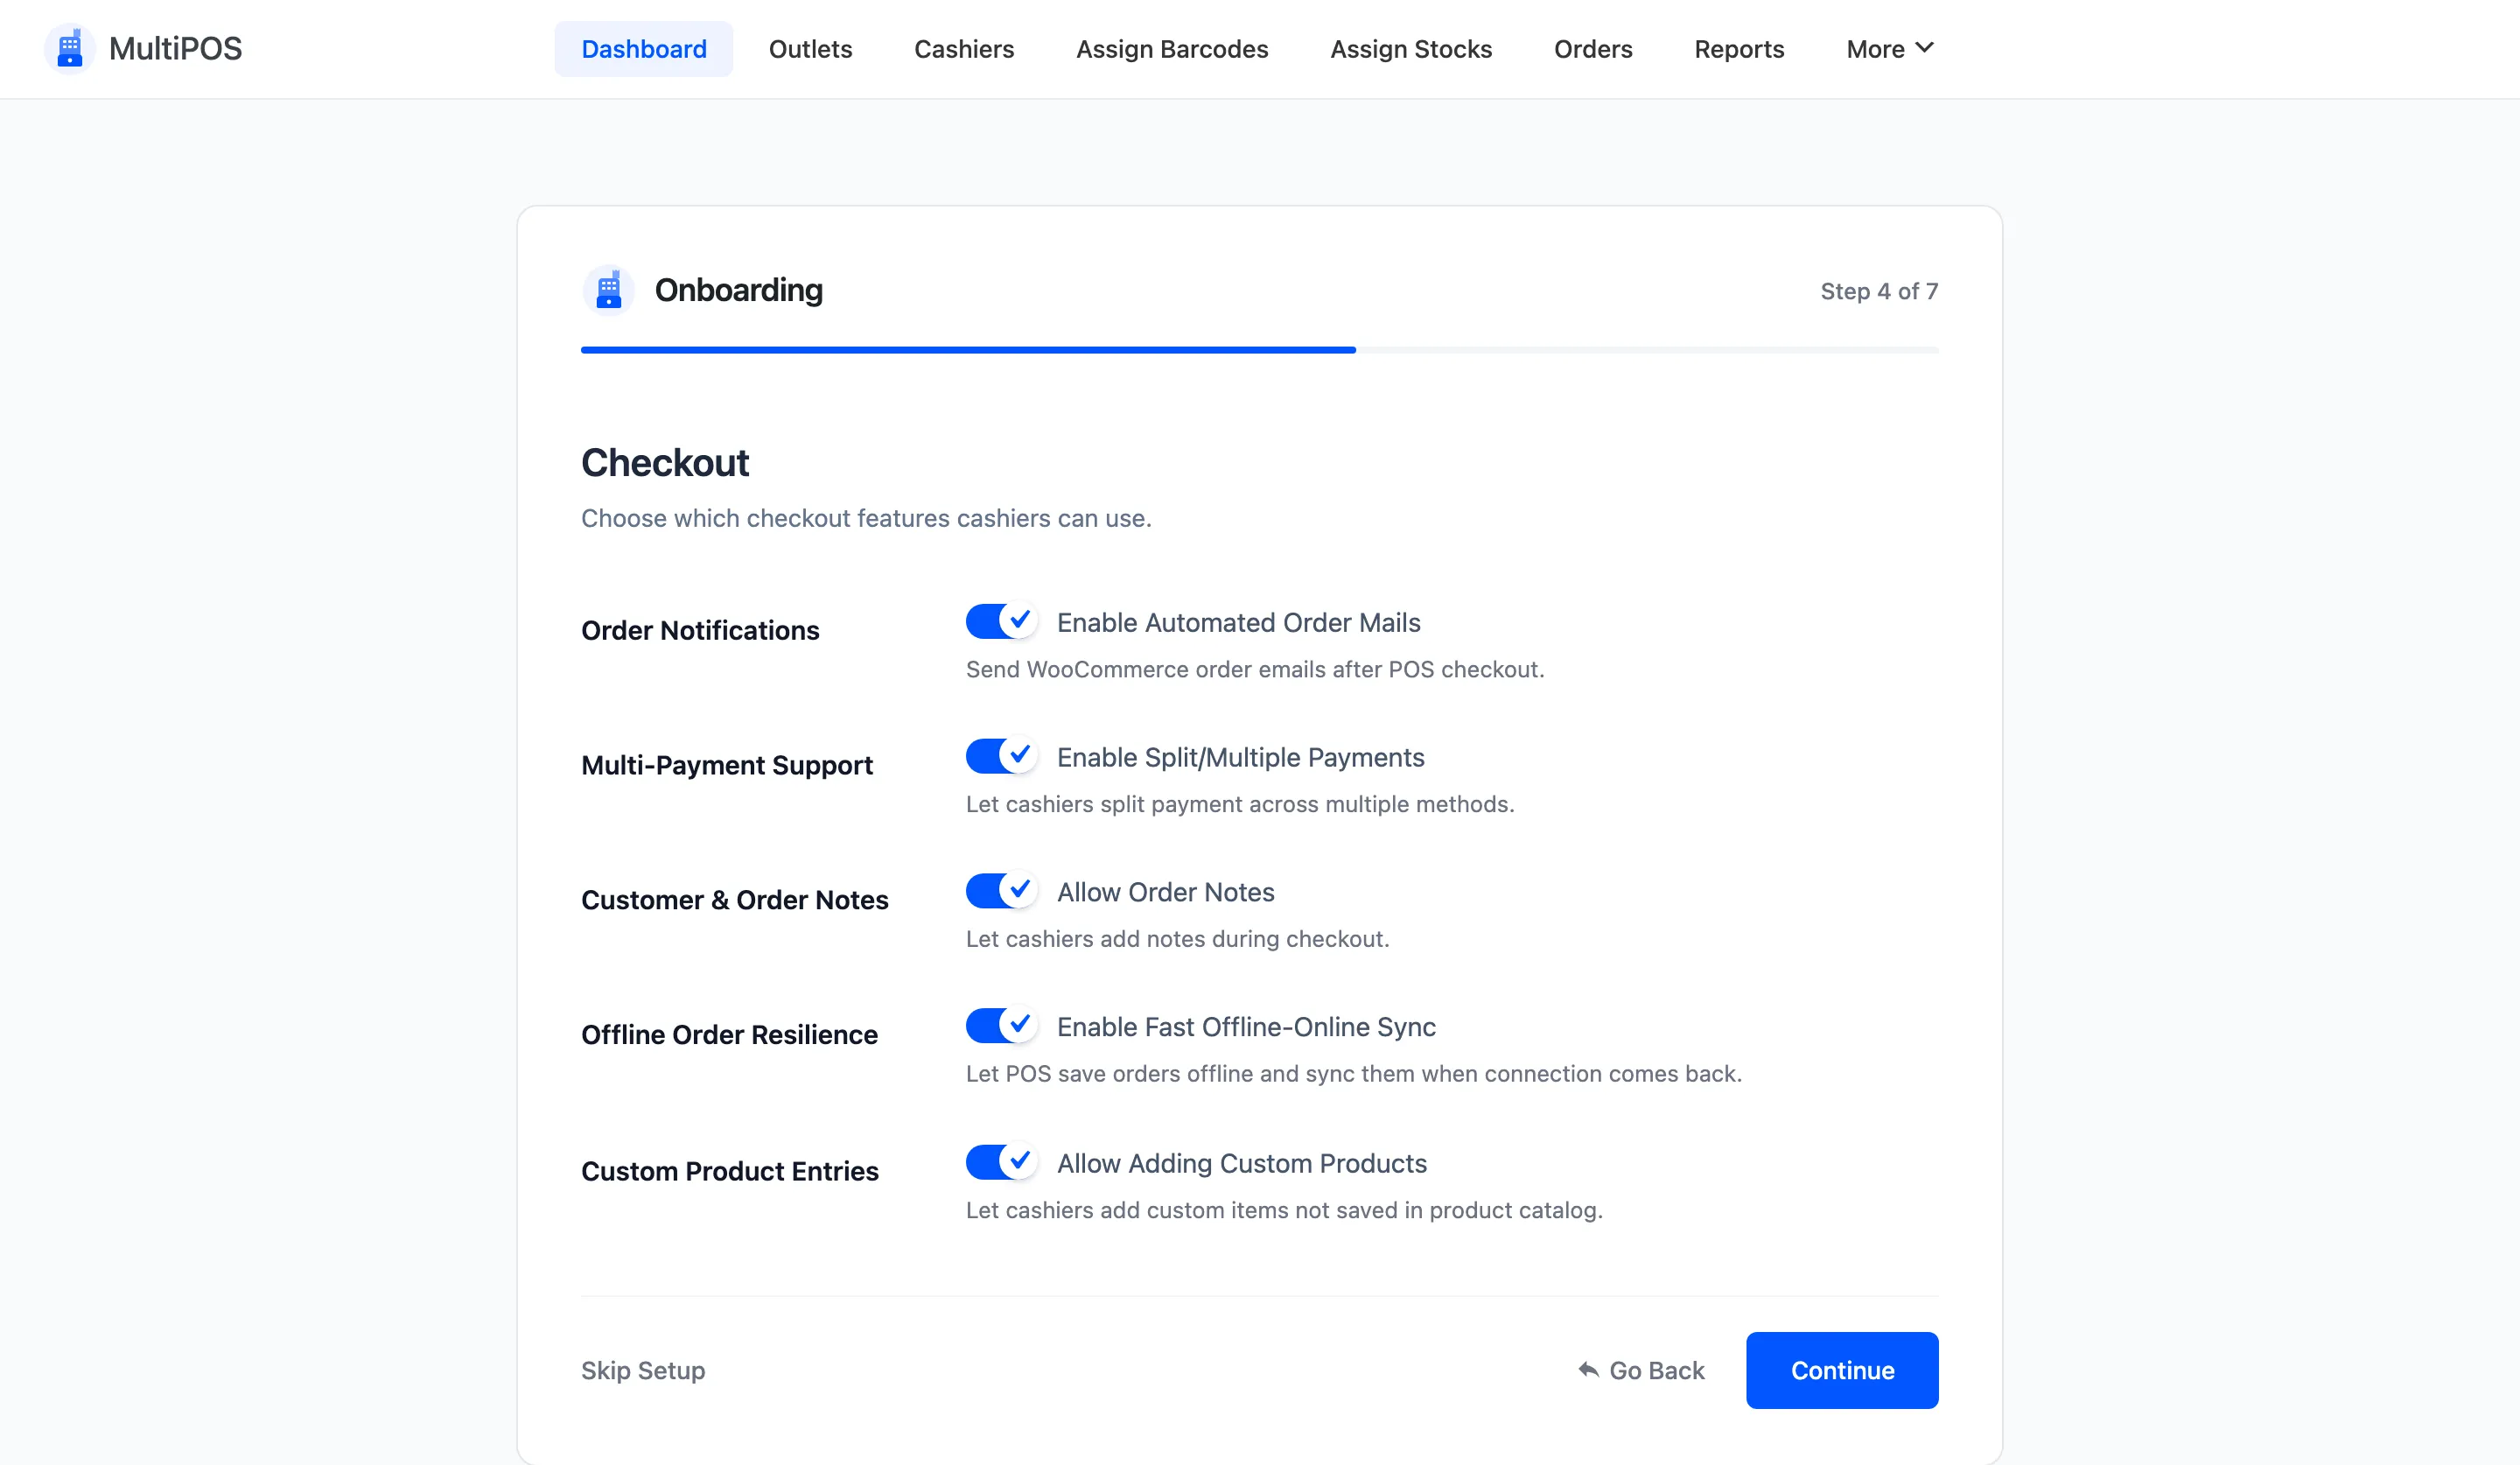
Enable Automated Order Mails sends the usual WooCommerce order emails after a POS checkout. It is off by default.
Off is usually right for a counter. The customer is standing in front of you with a printed receipt, so a “your order is complete” email is noise. Turn it on if you take orders for later collection.
Step 4: Layout
Section titled “Step 4: Layout”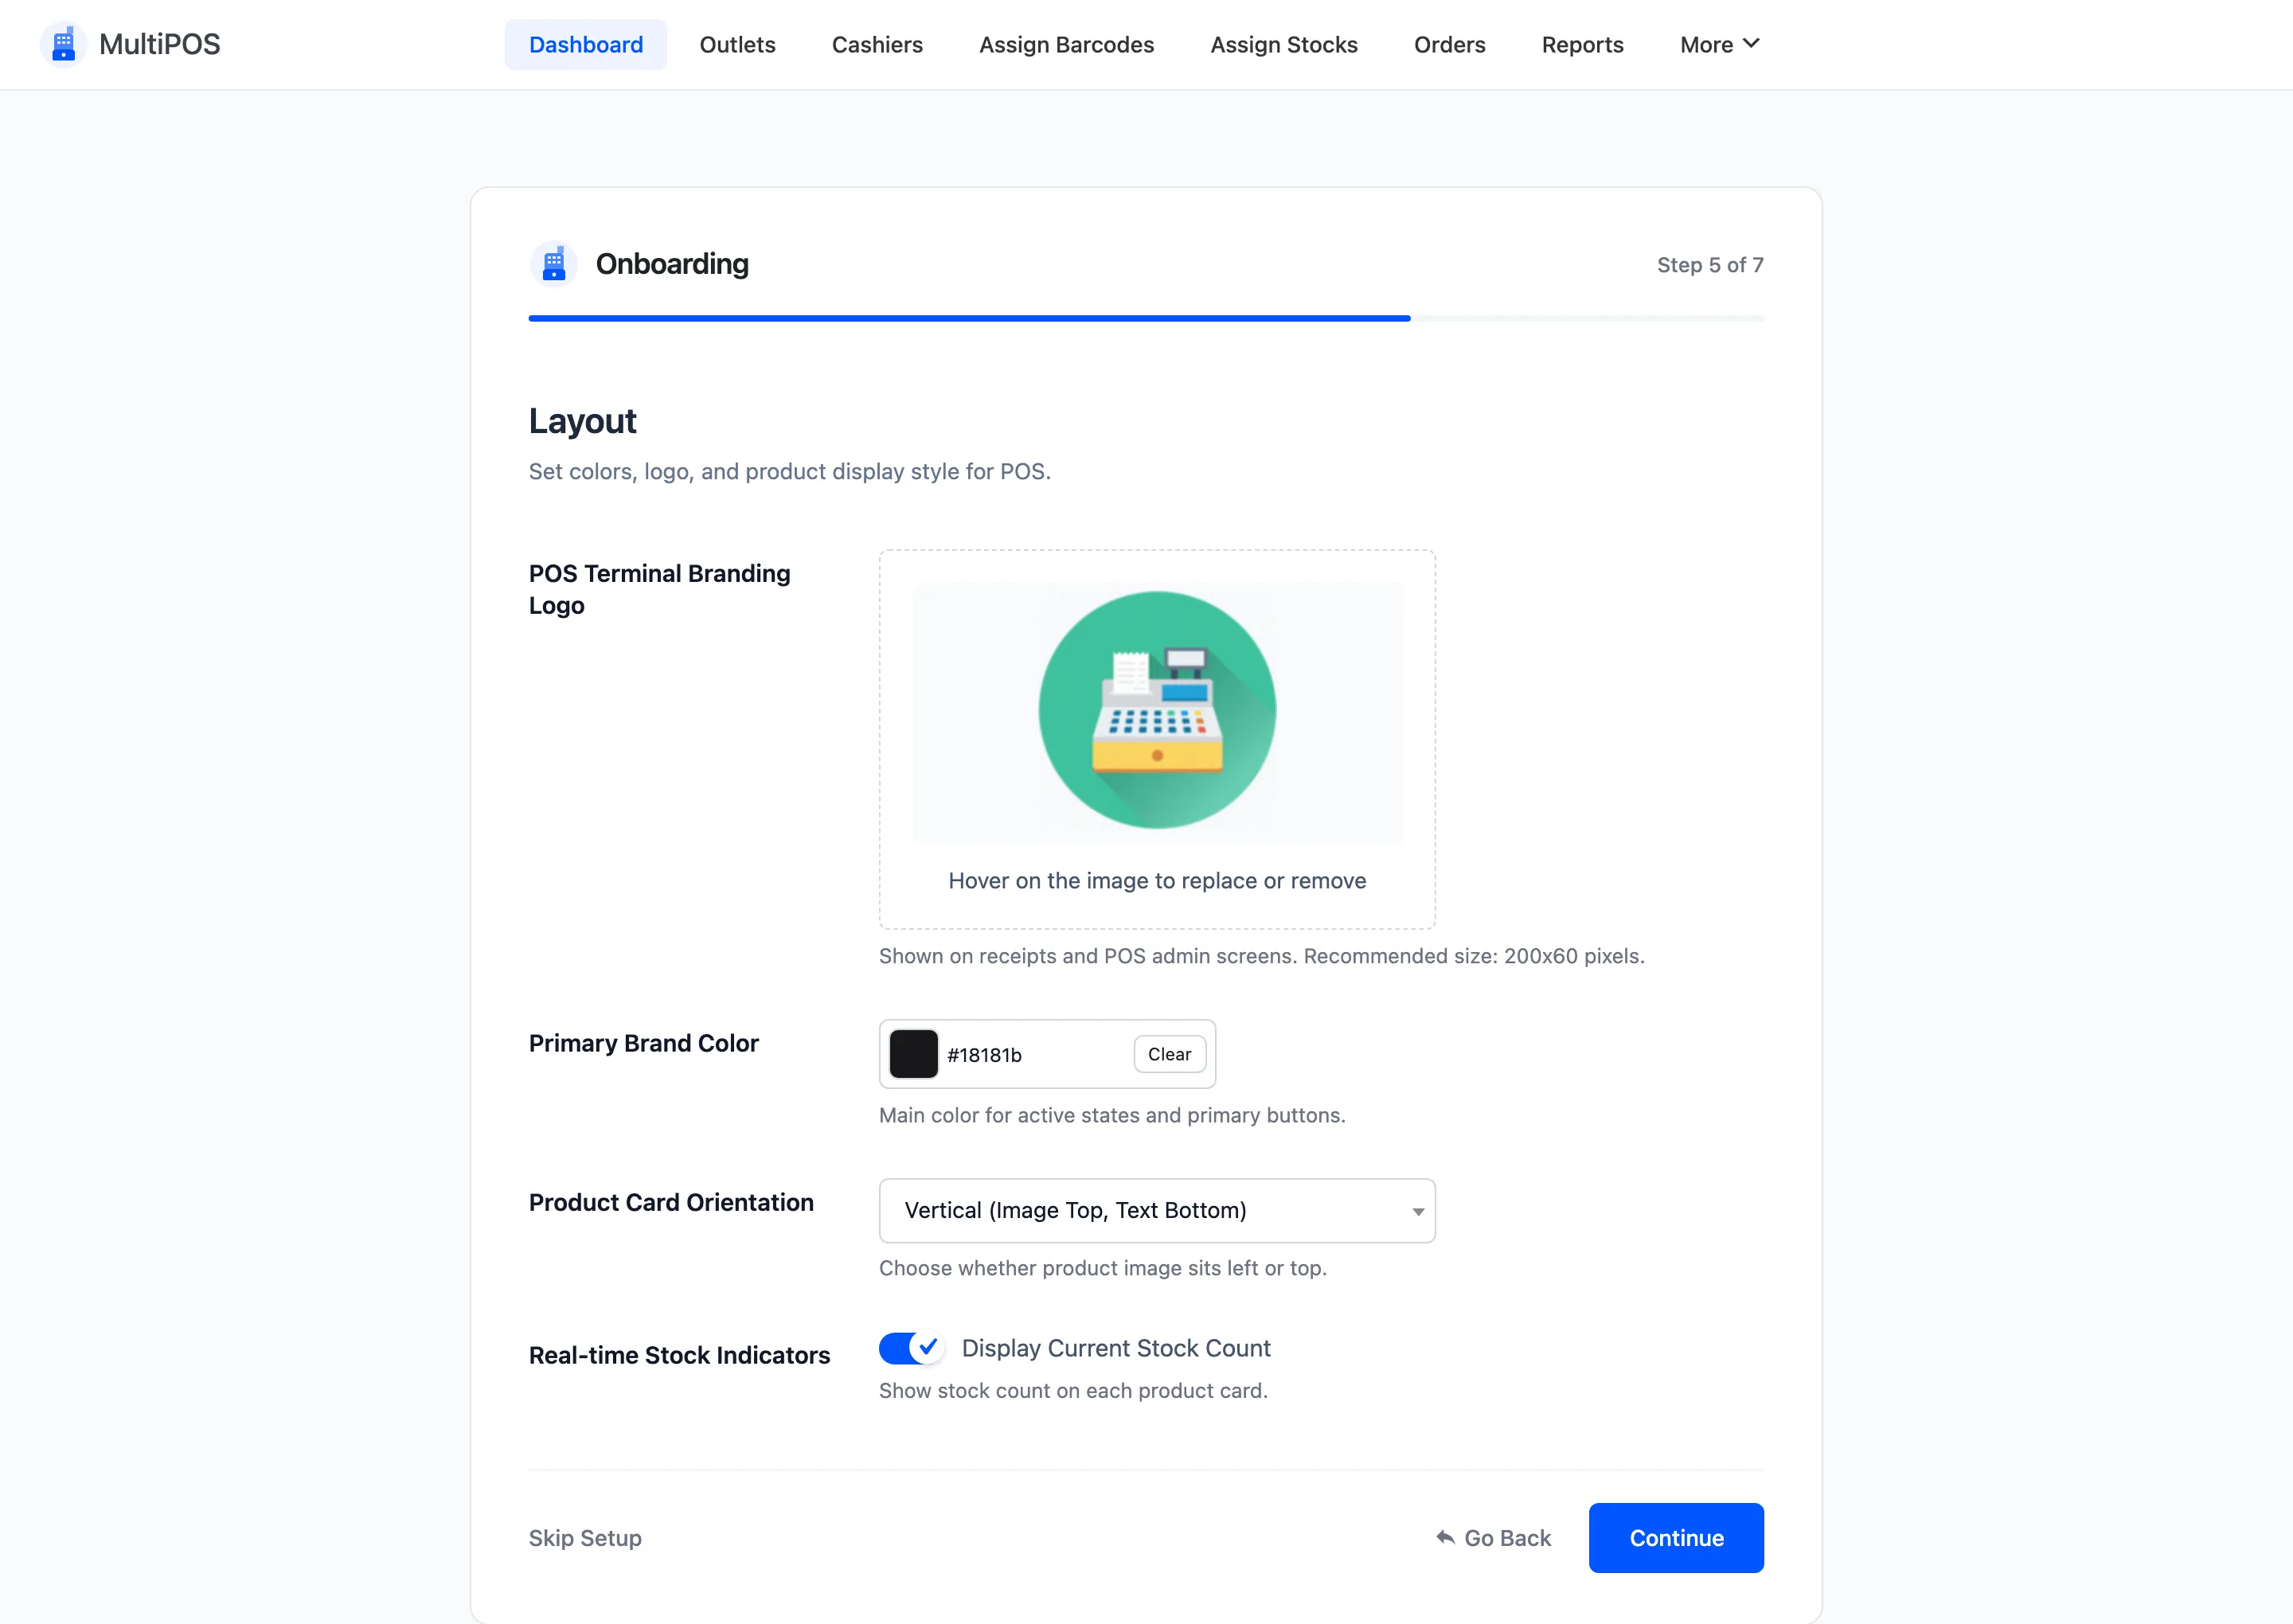
- POS Terminal Branding Logo appears on receipts and in the POS sidebar. The recommended size is 200 by 60 pixels.
- Primary Brand Color is the colour of active states and primary buttons in the terminal. It
defaults to
#0256ff. - Product Card Orientation is either Vertical (Image Top, Text Bottom), the default, or Horizontal (Image Left, Text Right). Vertical fits more products on a screen. Horizontal reads better when your product names are long.
- Display Current Stock Count prints the stock figure on every product card. It is on by default, and it is worth keeping on. A cashier who can see one left in stock will not promise a second.
Step 5: Customers
Section titled “Step 5: Customers”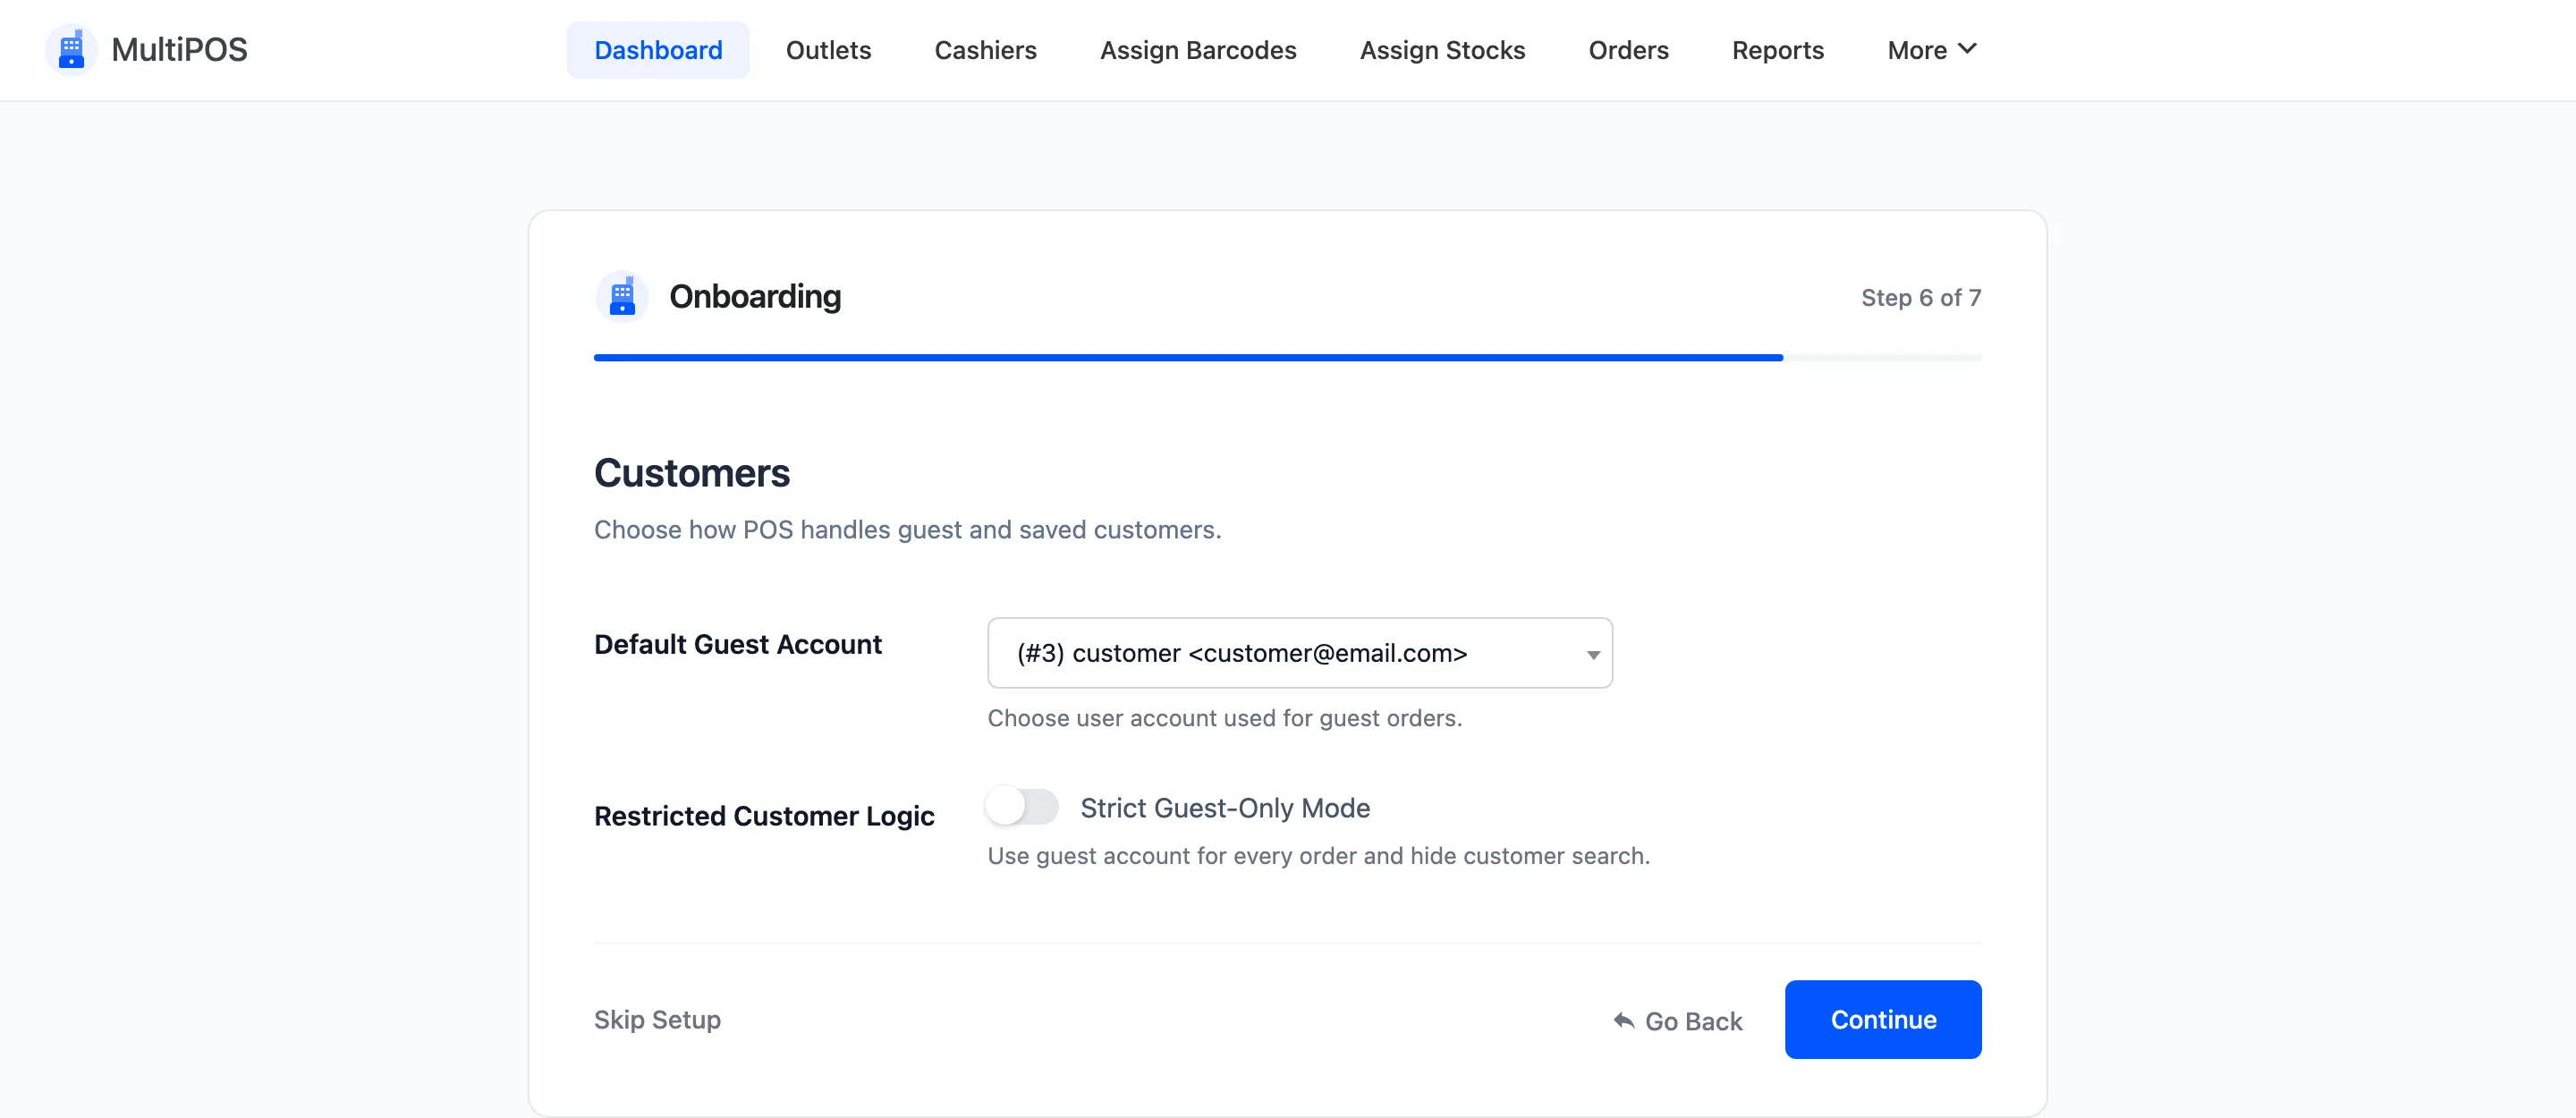
Default Guest Account is the WordPress user that walk-in sales are billed to when the cashier does not pick a customer.
Create a single customer account called something like “Walk-in Customer” and select it here. Every anonymous sale then lands on one account instead of failing for want of a customer.
Step 6: Ready
Section titled “Step 6: Ready”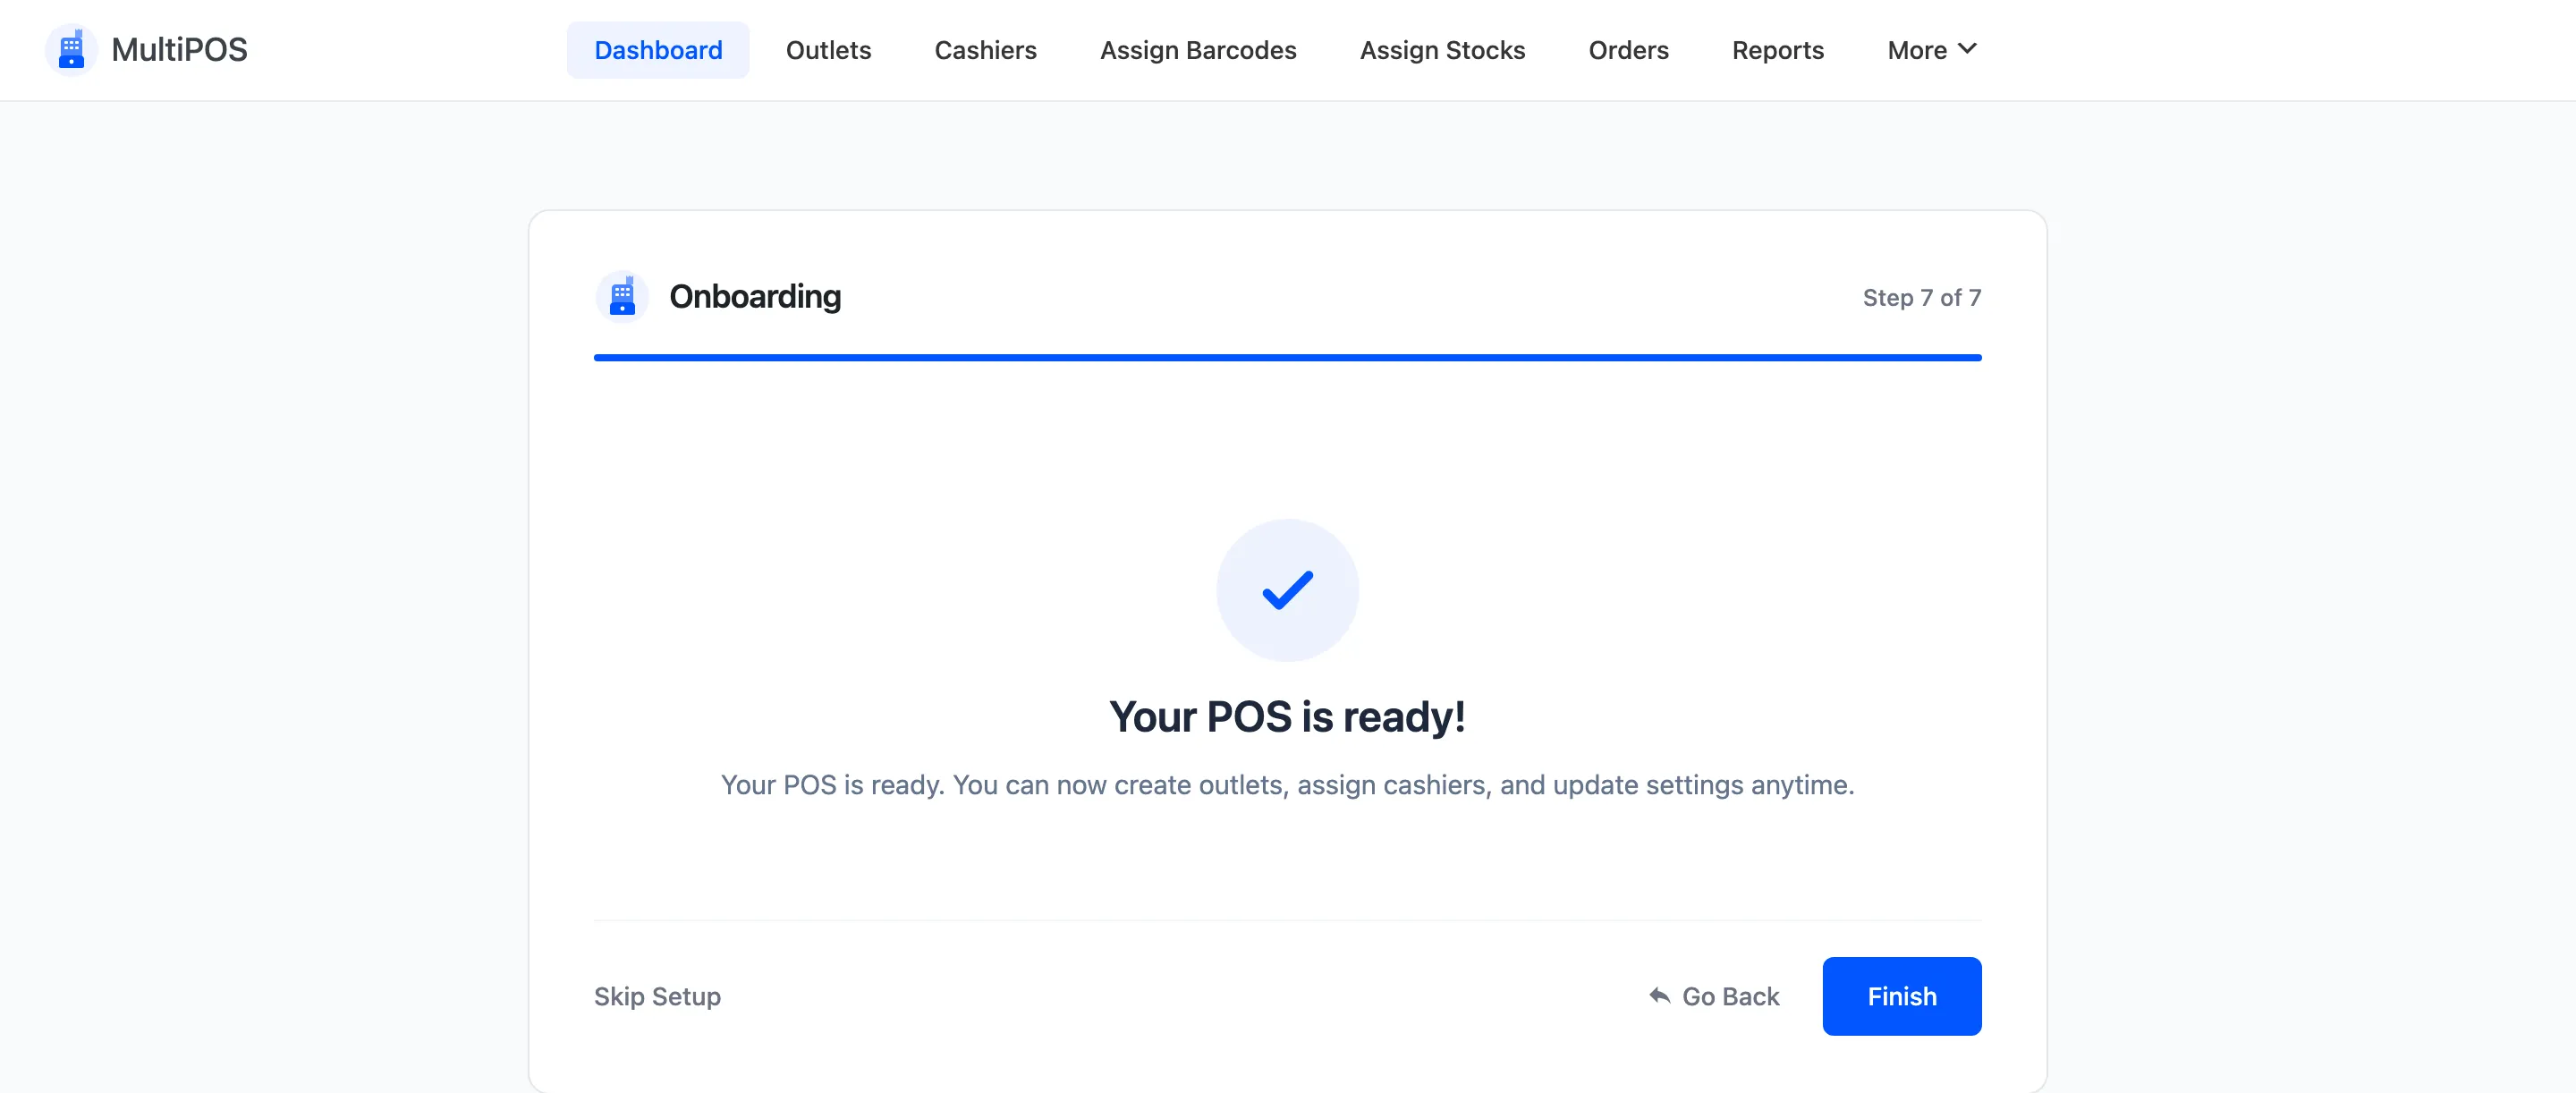
The last step confirms the POS is configured and drops you on the dashboard.
You are not finished yet. The POS still needs an outlet before it will open, and it needs at least one cashier before anyone but you can use it.
What the wizard does not cover
Section titled “What the wizard does not cover”- The outlet: Its address, its payment methods and its operating mode.
- Payment methods: The plugin ships one, called Cash.
- Cashiers: Who can open the POS.
- Barcodes: Which products have one.
- The receipt size: Set it to match your printer roll.
Where to go next
Section titled “Where to go next”- How to Set Up Your Outlet
- How to Add a Cashier
- General Settings for every field the wizard skipped.