

How to Scan Barcodes at Checkout
Scanning is what makes a POS faster than a spreadsheet. Two things have to be true first: the product needs a barcode, and the scanner needs somewhere to type it.
Step 1: Choose what barcodes are built from
Section titled “Step 1: Choose what barcodes are built from”Go to DevDiggers Plugins → MultiPOS → Configuration → General.
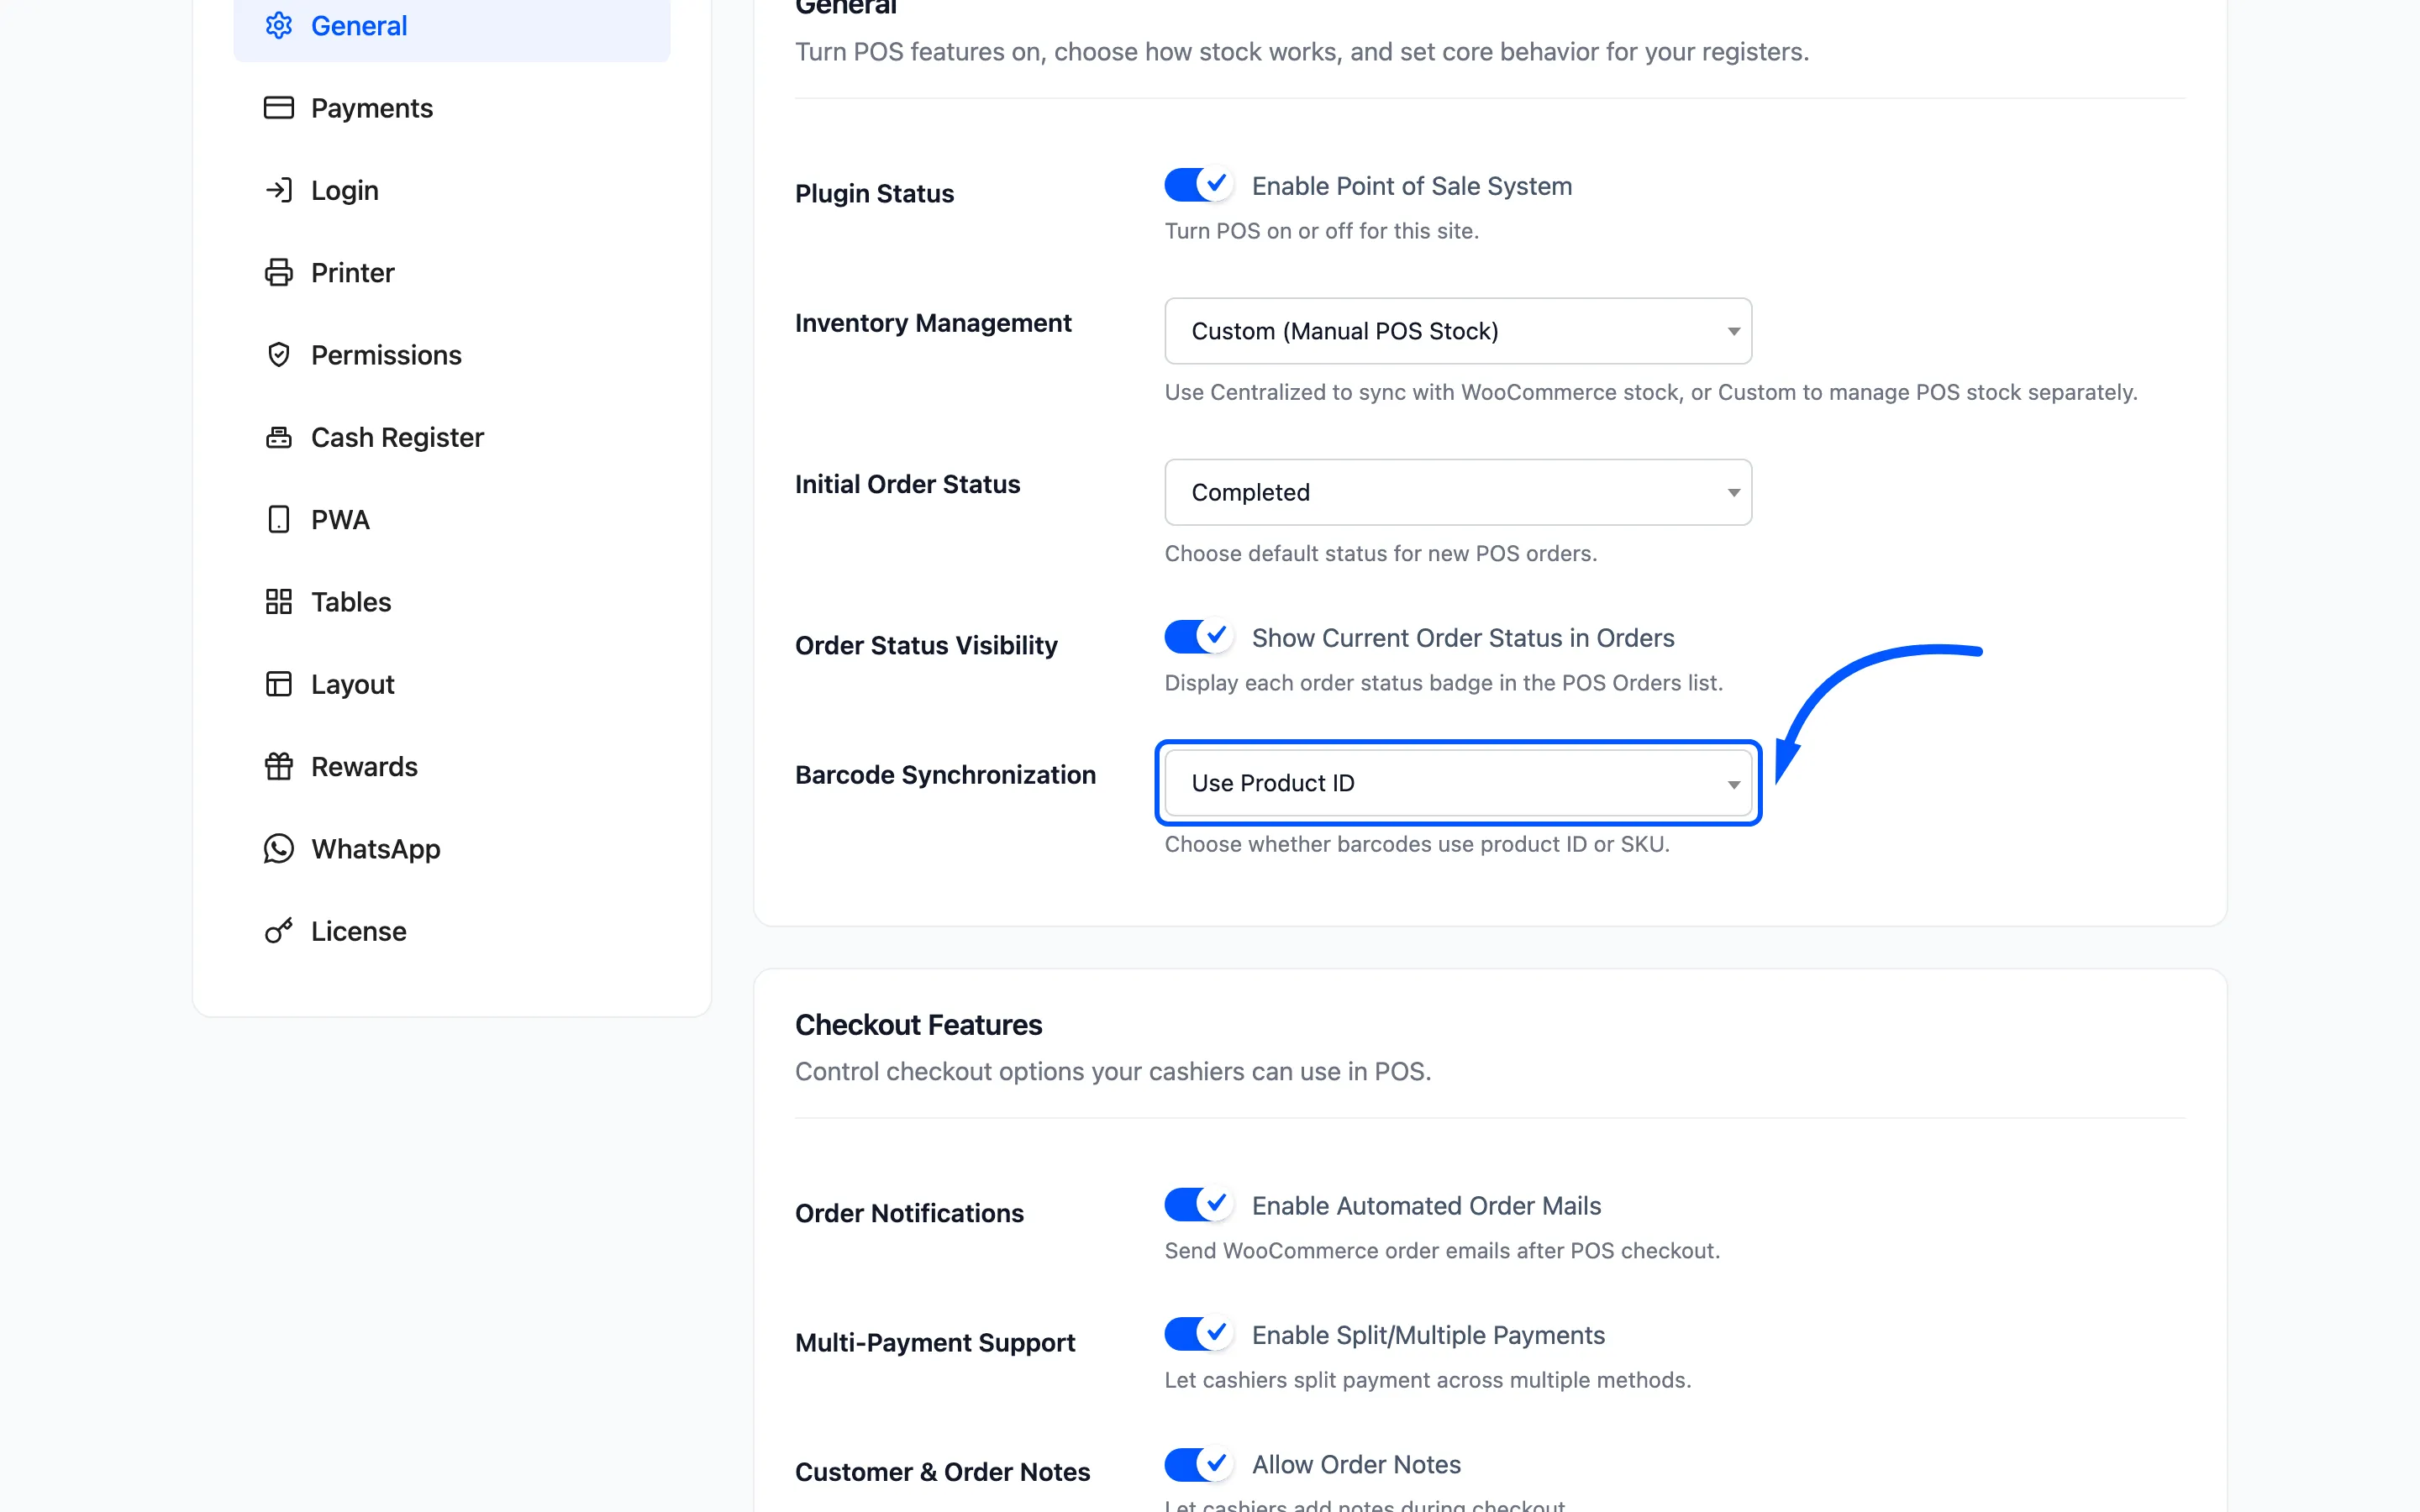
Barcode Synchronization is Use Product ID by default, or Use Product SKU.
Pick Use Product SKU if your products already carry codes from a supplier. The code on the box is then the code in the system, and you print nothing.
Pick Use Product ID if you are labelling everything yourself. Product IDs are unique and never blank, which SKUs sometimes are.
Click Save Changes.
Step 2: Assign a barcode to each product
Section titled “Step 2: Assign a barcode to each product”Go to DevDiggers Plugins → MultiPOS → Assign Barcodes.
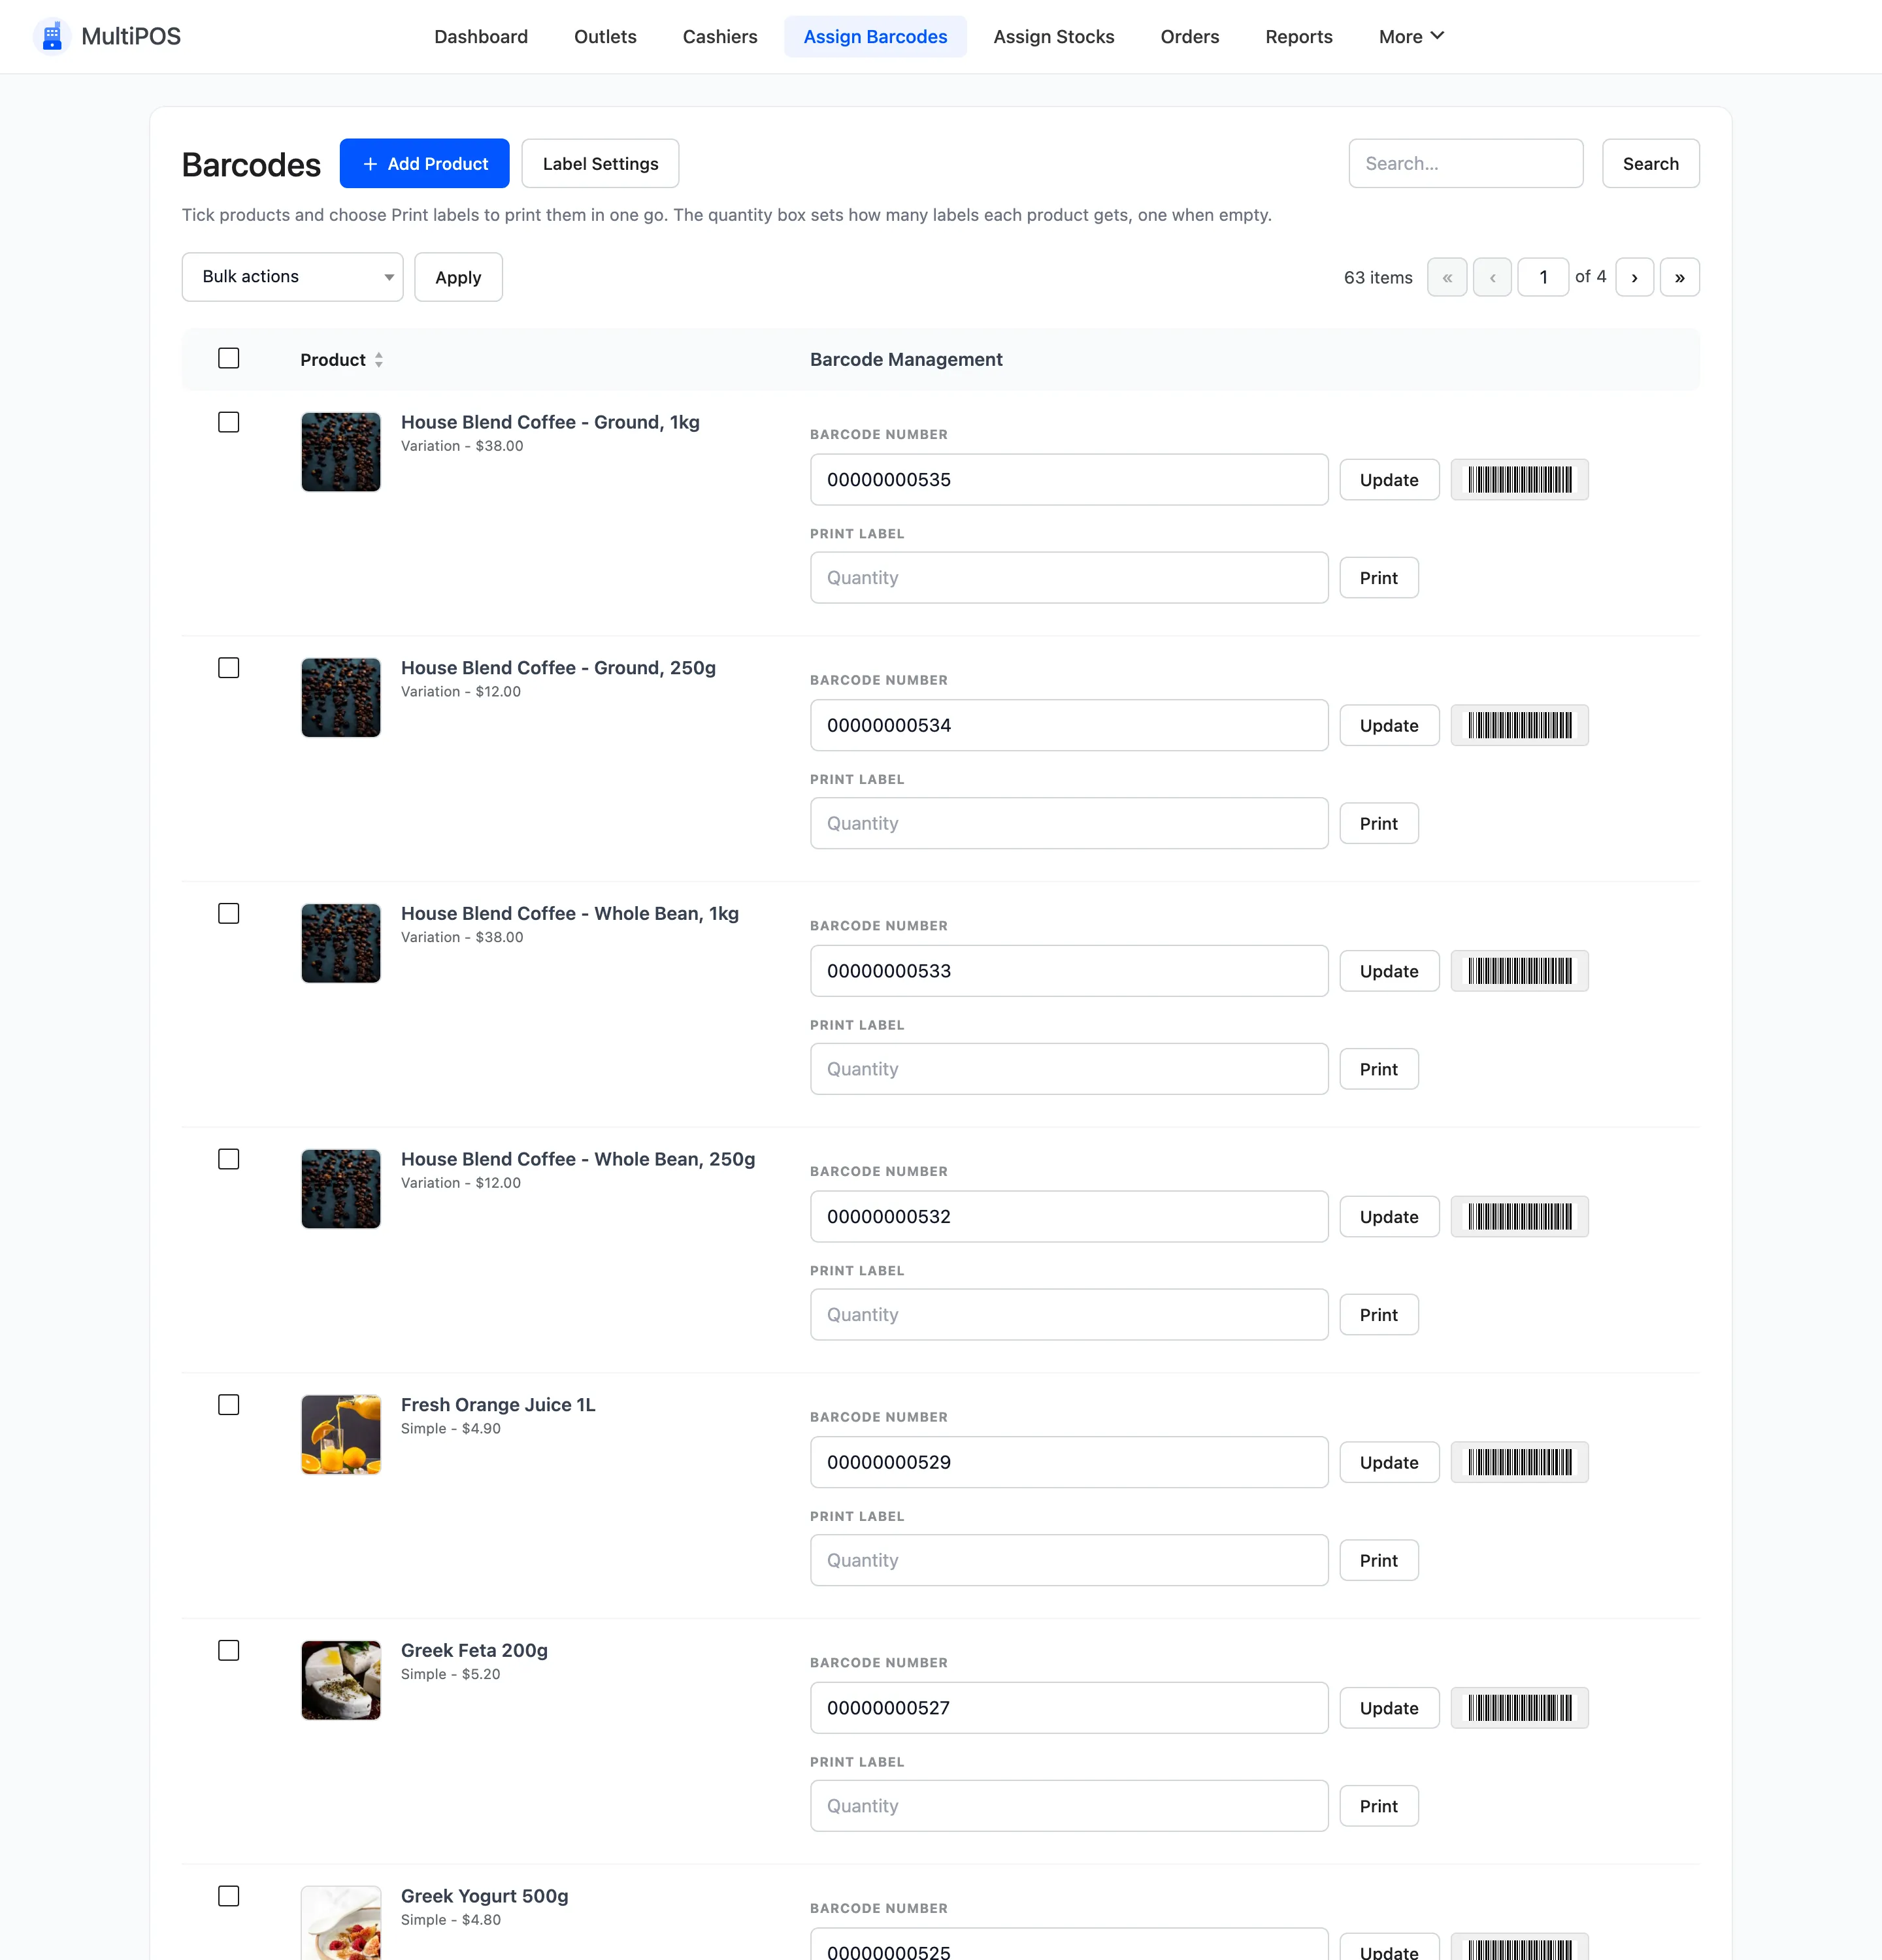
Every published product is listed, variations included.
For a product that already has a printed barcode, click into the field and scan the box. The scanner types the code for you.
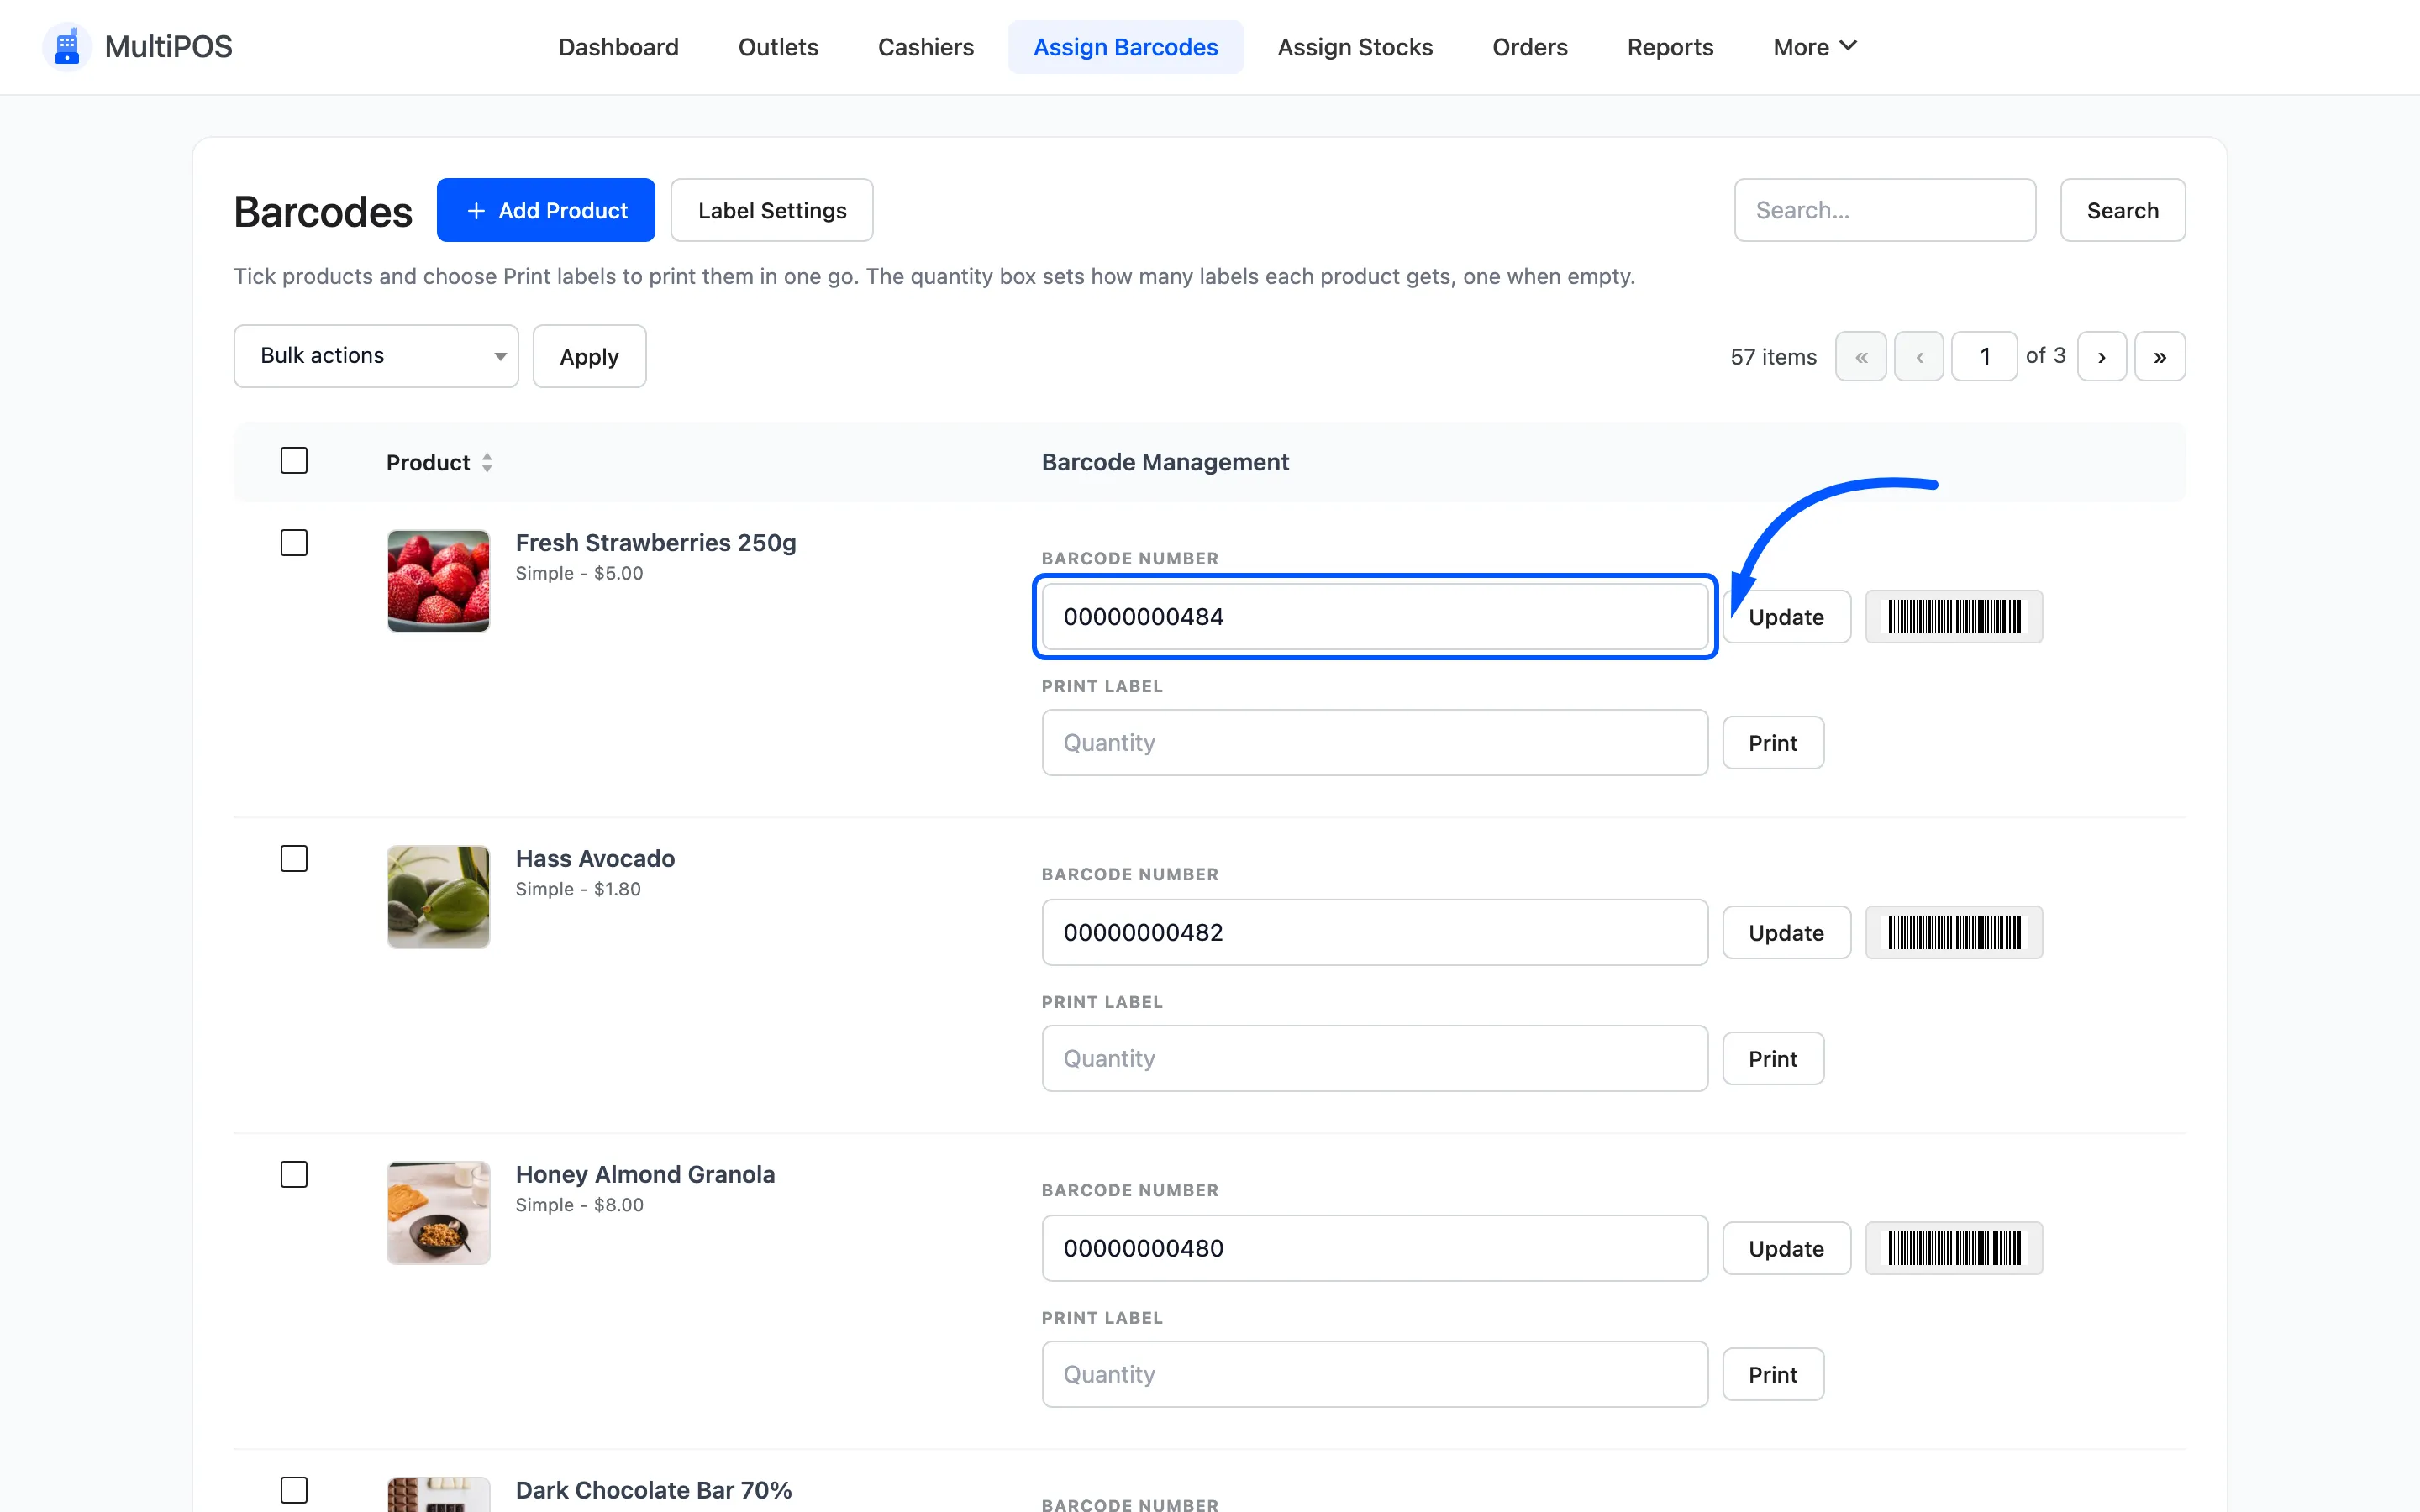
Click Update on that row to save it.
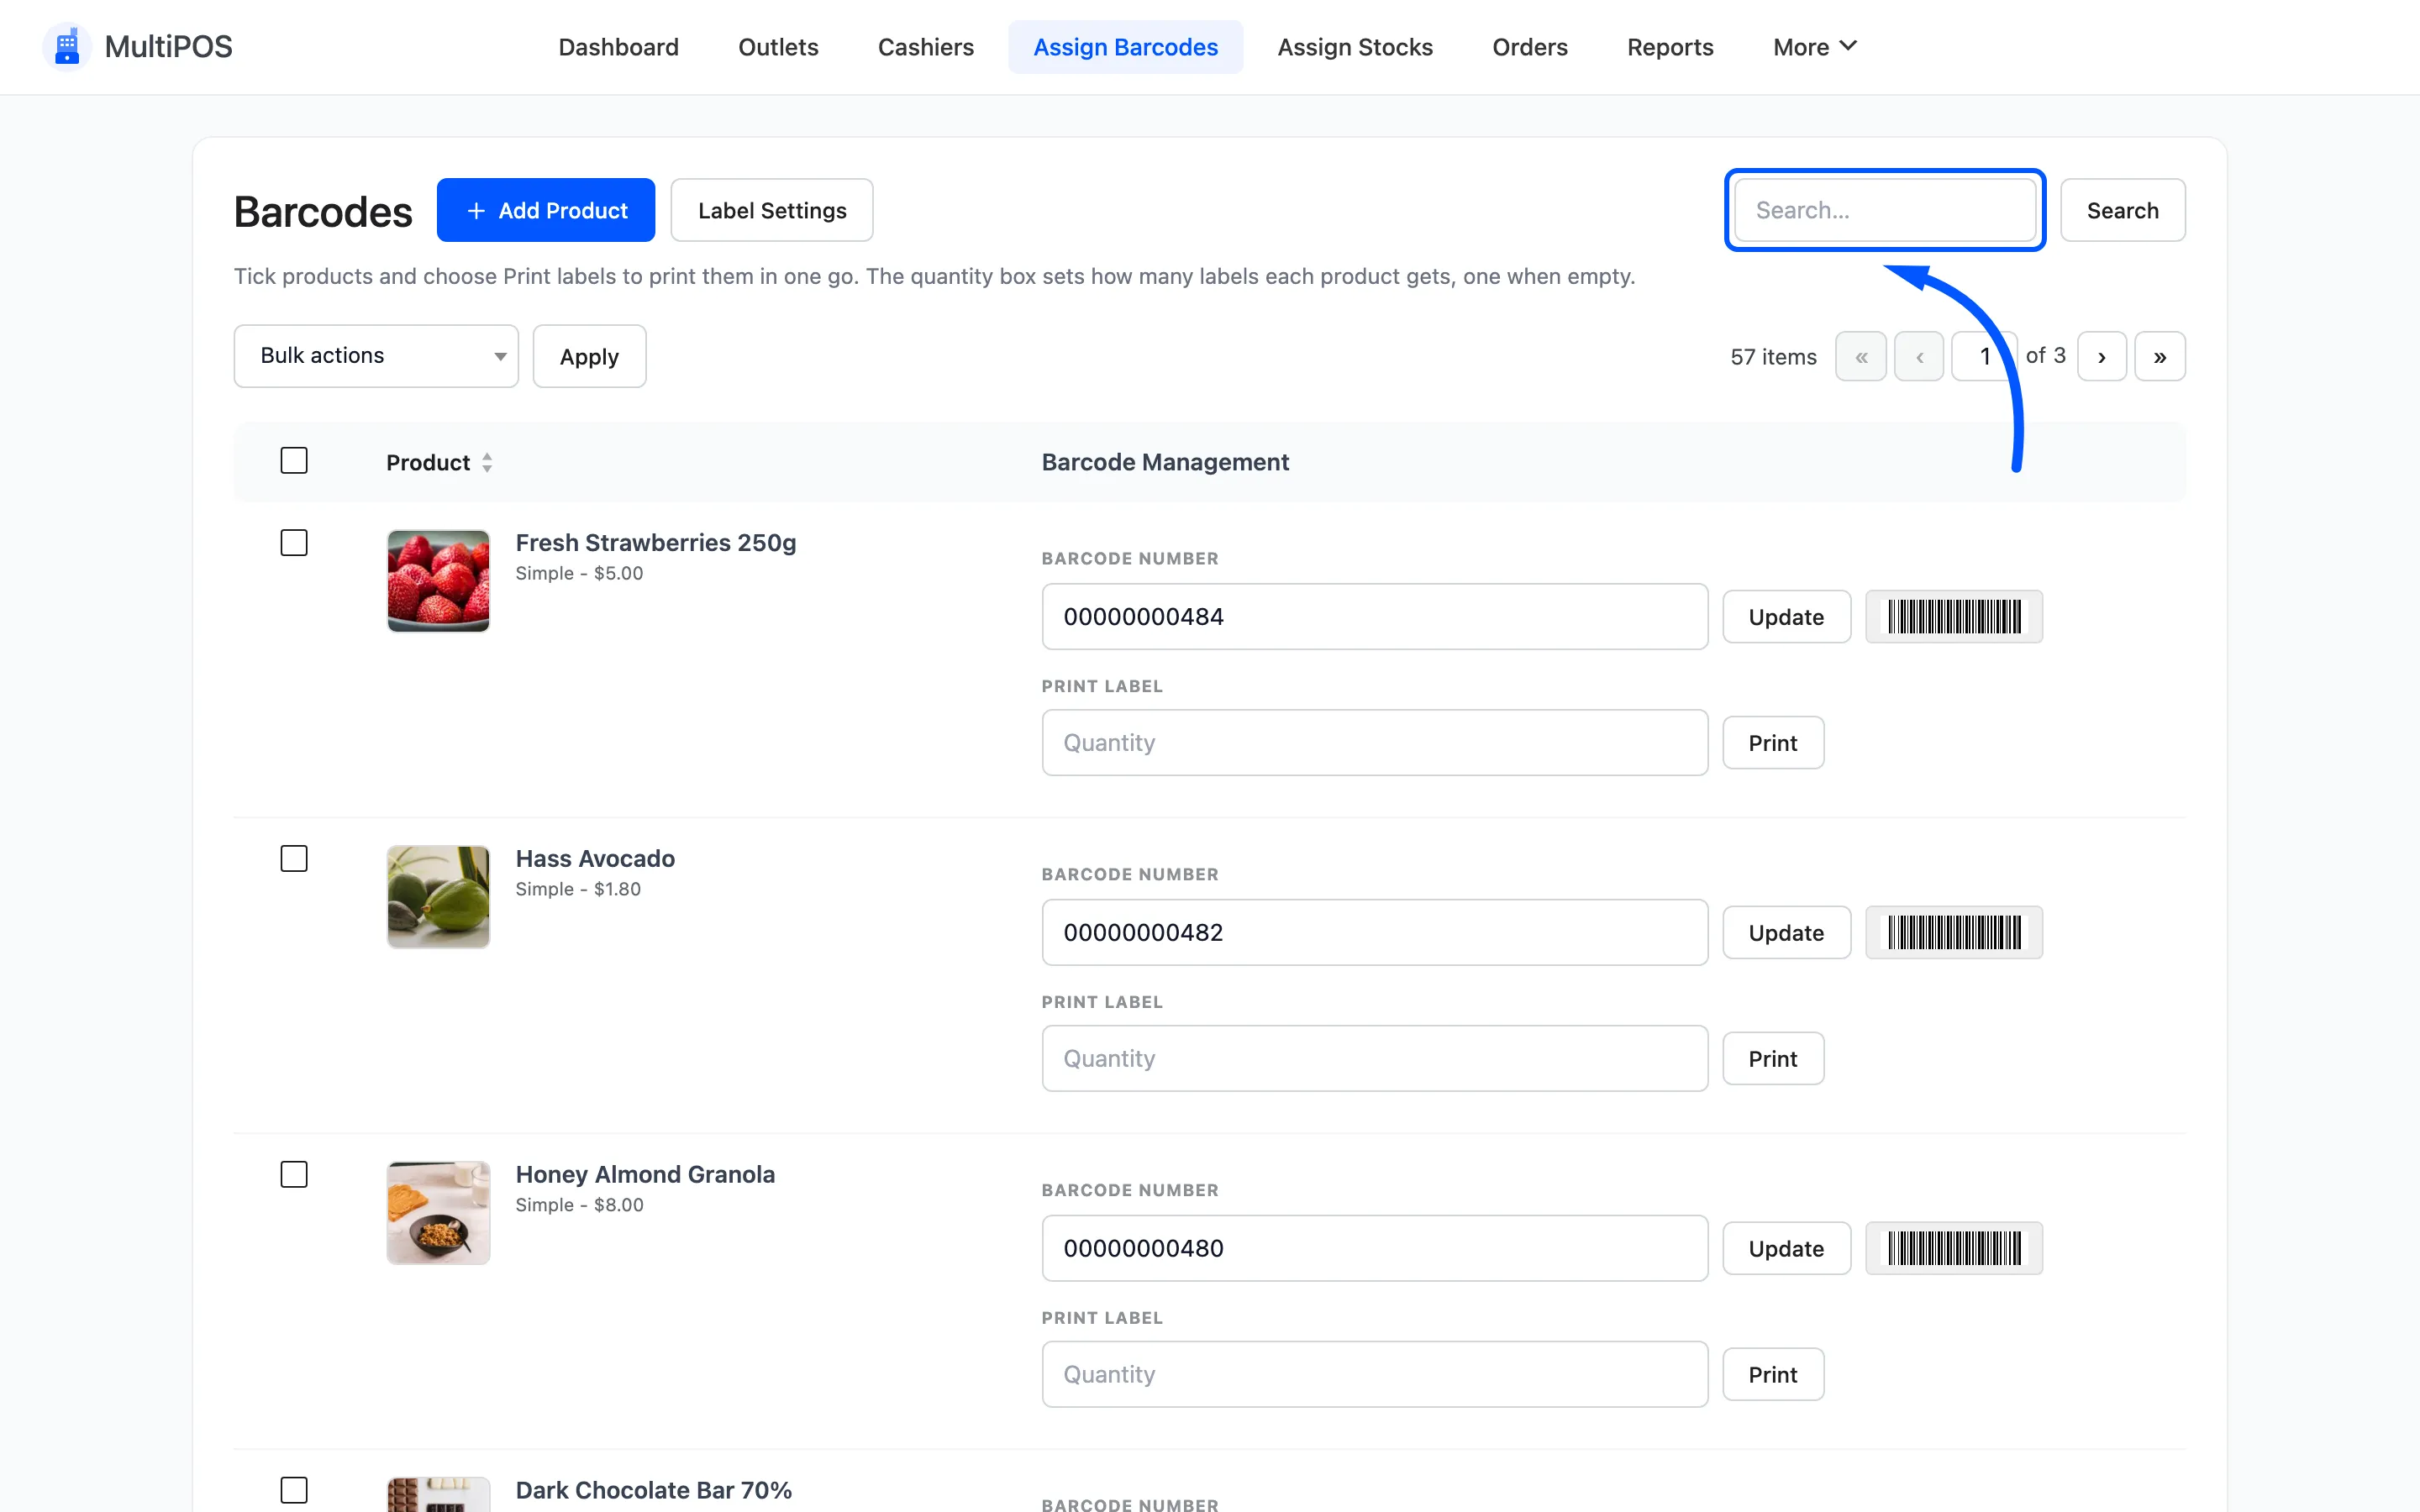
Use the search box rather than paging through a long catalogue.
Give every variation its own code. A medium blue hoodie and a large red one are different things on the shelf. Share a code between them and the cashier still has to pick by hand.
Step 3: Plug in the scanner
Section titled “Step 3: Plug in the scanner”Any USB barcode scanner in keyboard mode works. That is the default on almost all of them, and it means the scanner behaves like someone typing very fast and then pressing Enter.
No driver, no configuration, no pairing. Plug it in.
Bluetooth scanners work the same way once paired to the tablet or laptop.
There is nothing to see in MultiPOS for this step. The scanner is a keyboard, and the POS screen it types into is the search box in the next step.
Test it in a text editor first. Scan a product and check the code appears followed by a new line. If there is no new line, the scanner is not sending Enter, and its manual will show the configuration barcode that turns that on.
Step 4: Scan into the search box
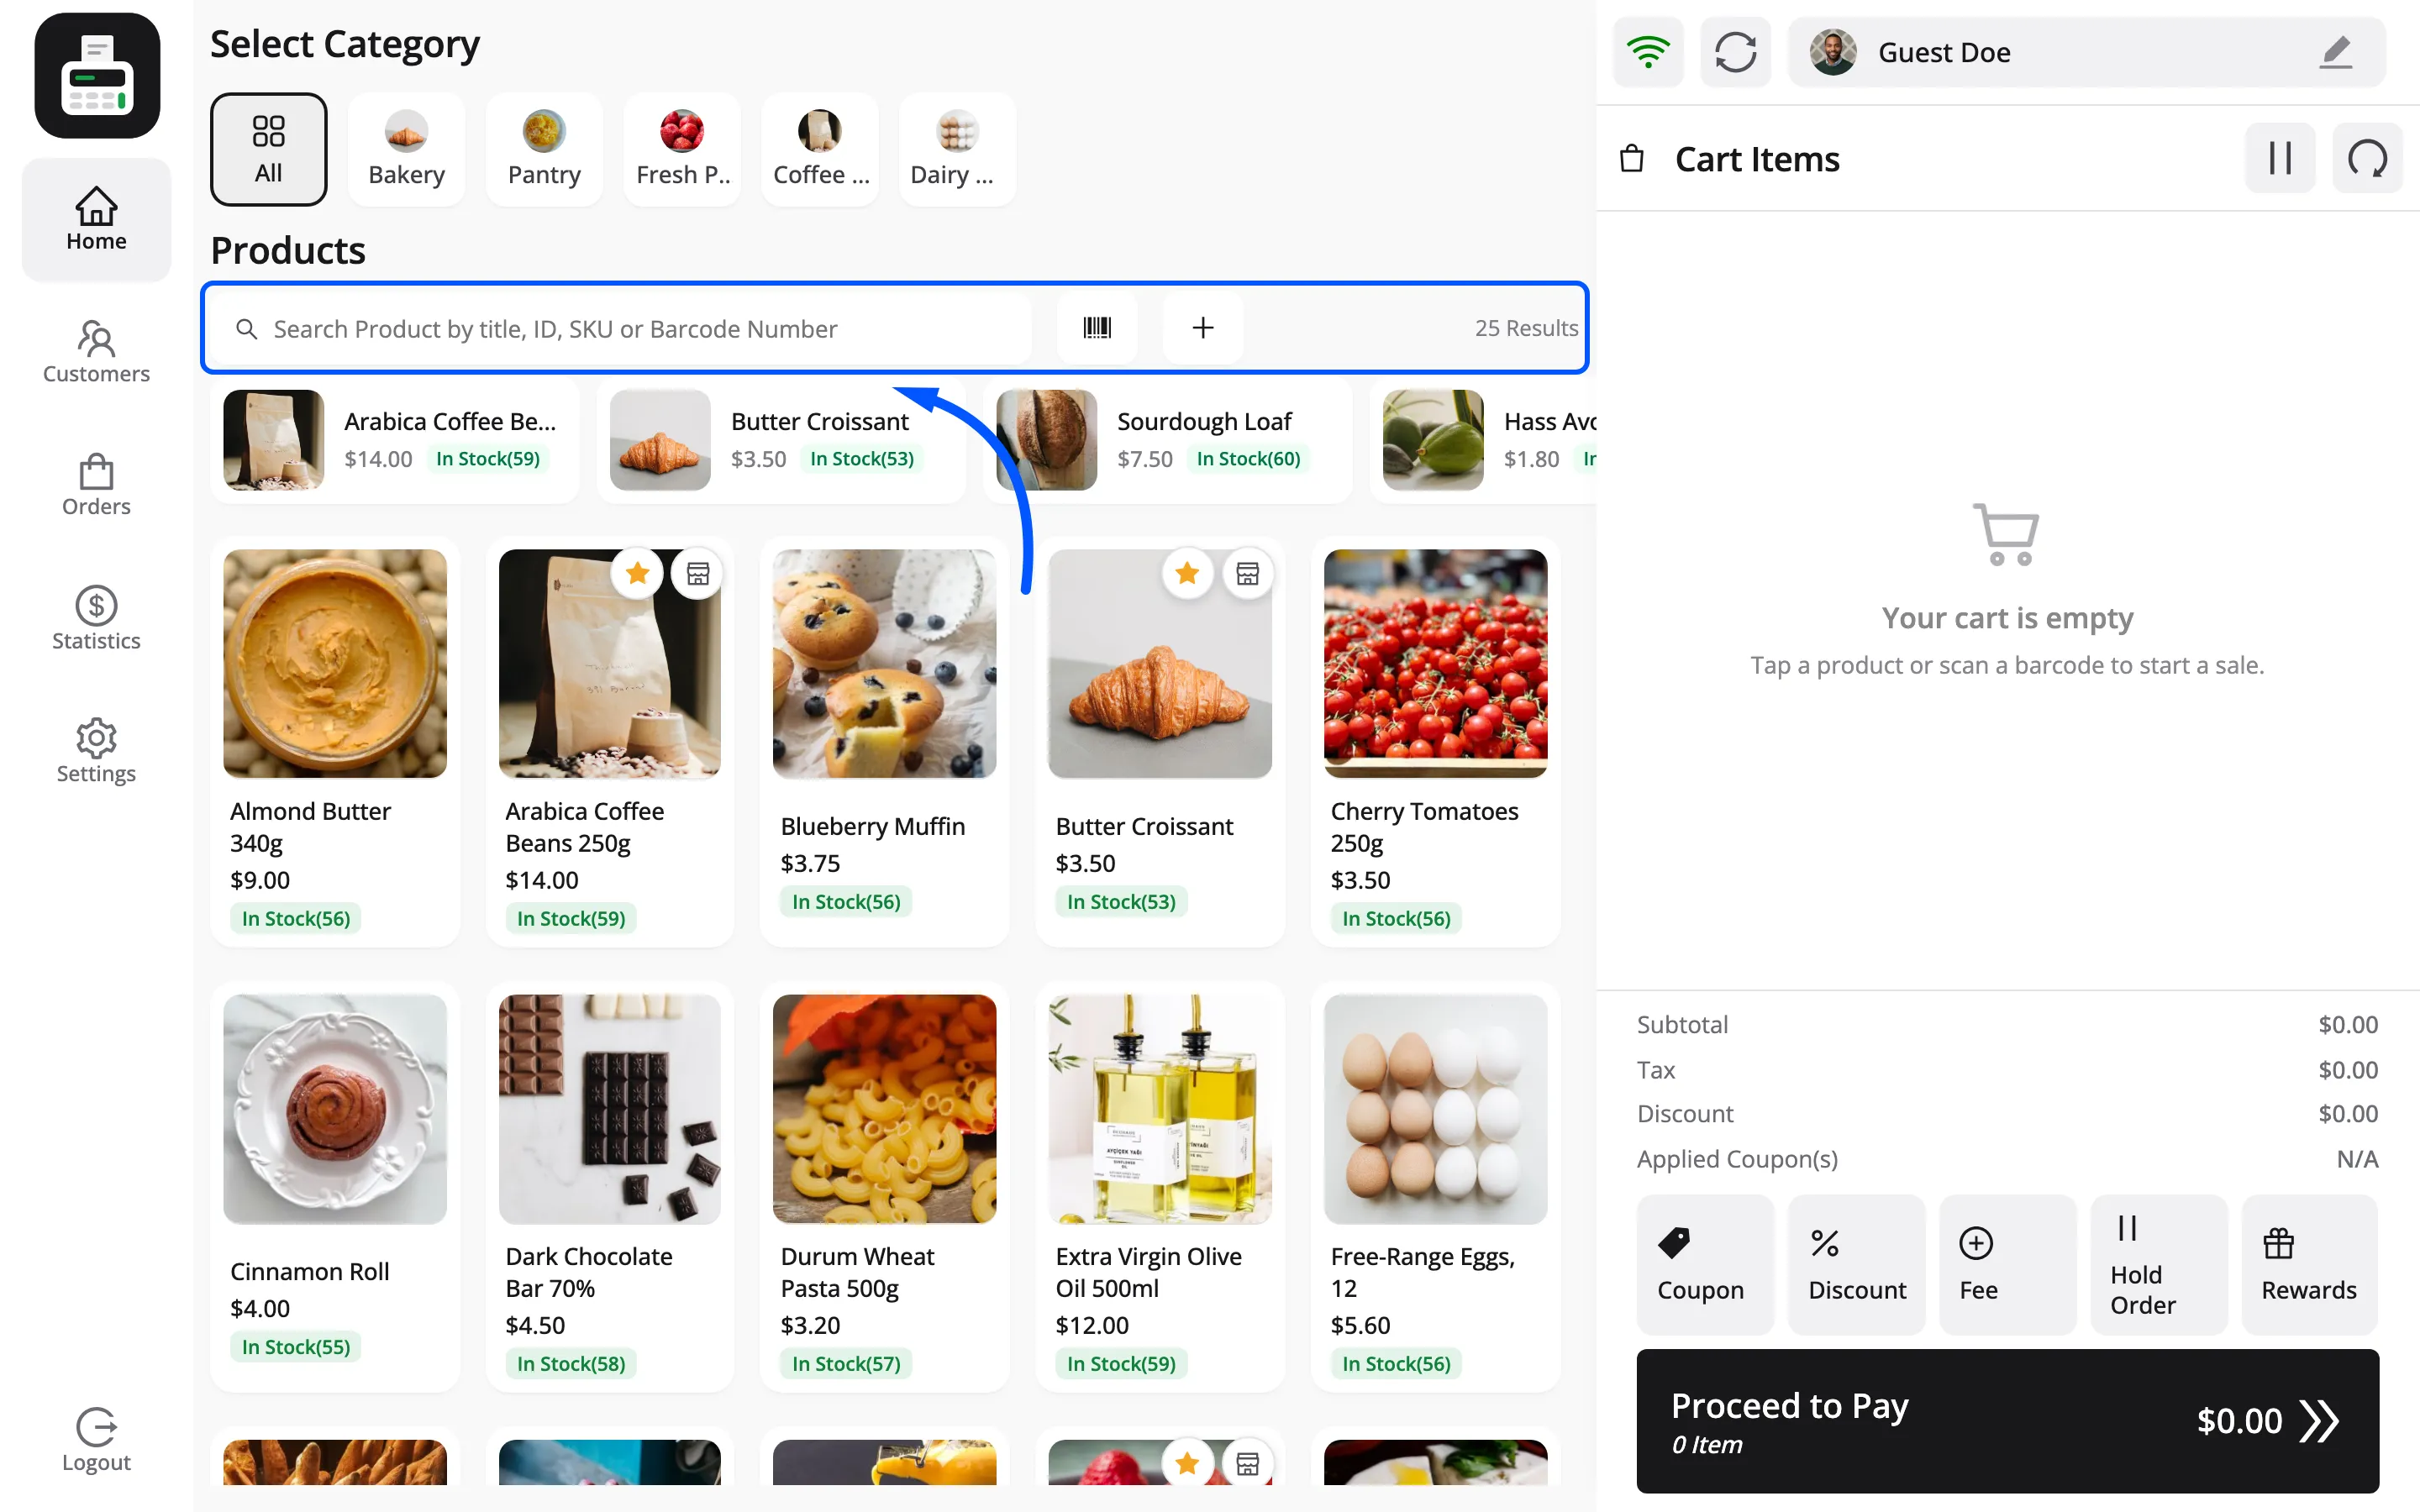
Section titled “Step 4: Scan into the search box”Open the POS, click into the product search box, and scan.
The search matches title, ID, SKU and barcode number, so the scanned code filters the grid to one product. Tap it to add it.
This route is useful when you want to see the product before adding it, or check the price.
Step 5: Scan into the barcode popup
Section titled “Step 5: Scan into the barcode popup”The faster route. Click the barcode icon beside the search box.
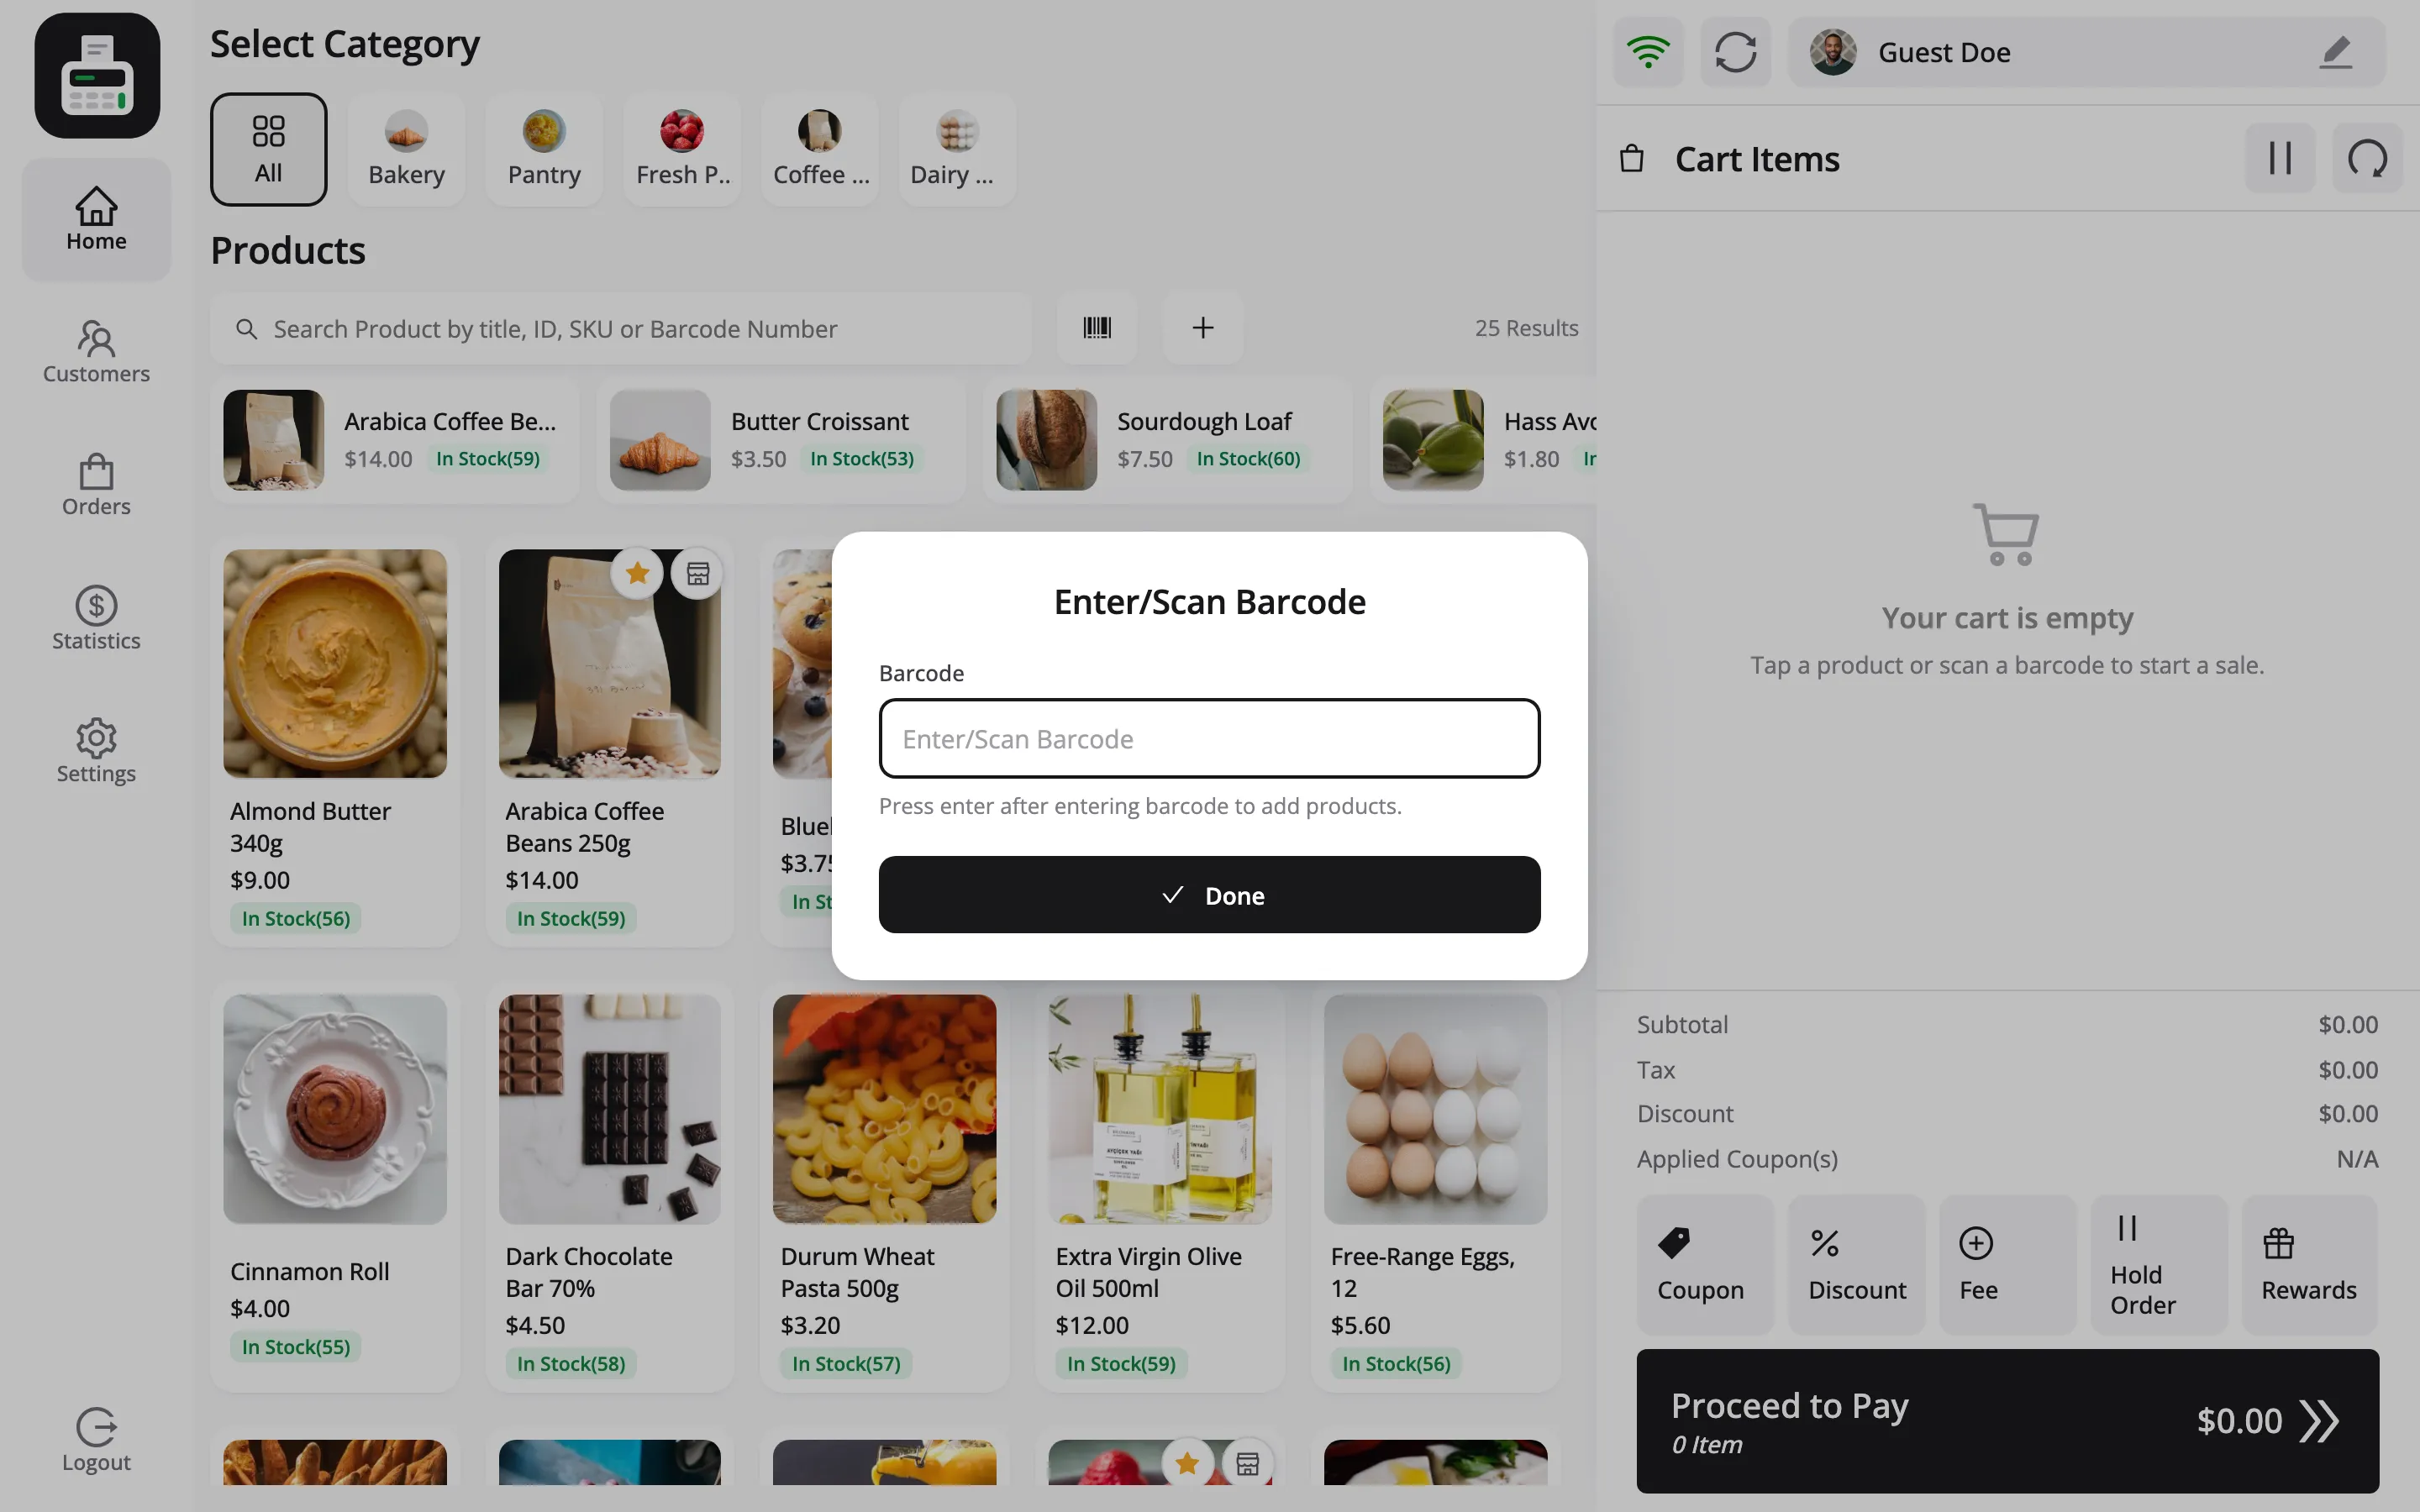
The field takes focus on its own. Scan and the product drops into the cart on Enter, with the field cleared and ready for the next item.
That is the loop for a real queue: open the popup once, then scan every item in the basket without touching the screen.
You can also type a code by hand and press Enter, which is what you do when a label is scuffed.
When a code is not found
Section titled “When a code is not found”The POS raises a Barcode Error naming the code that was scanned:
No product exists with this barcode “…”.
Reading the code back off that message is the fastest way to tell a missing barcode from a scanner that is adding characters.
Three usual causes:
- The product has no barcode set. Check it on the Assign Barcodes screen.
- The scanner added characters. Some scanners prefix or suffix codes. Scan into a text editor and compare what appears with what is stored.
- It is a variation without its own code. Assign one.
Print your own labels
Section titled “Print your own labels”For anything without a manufacturer’s barcode, print labels from the same screen.
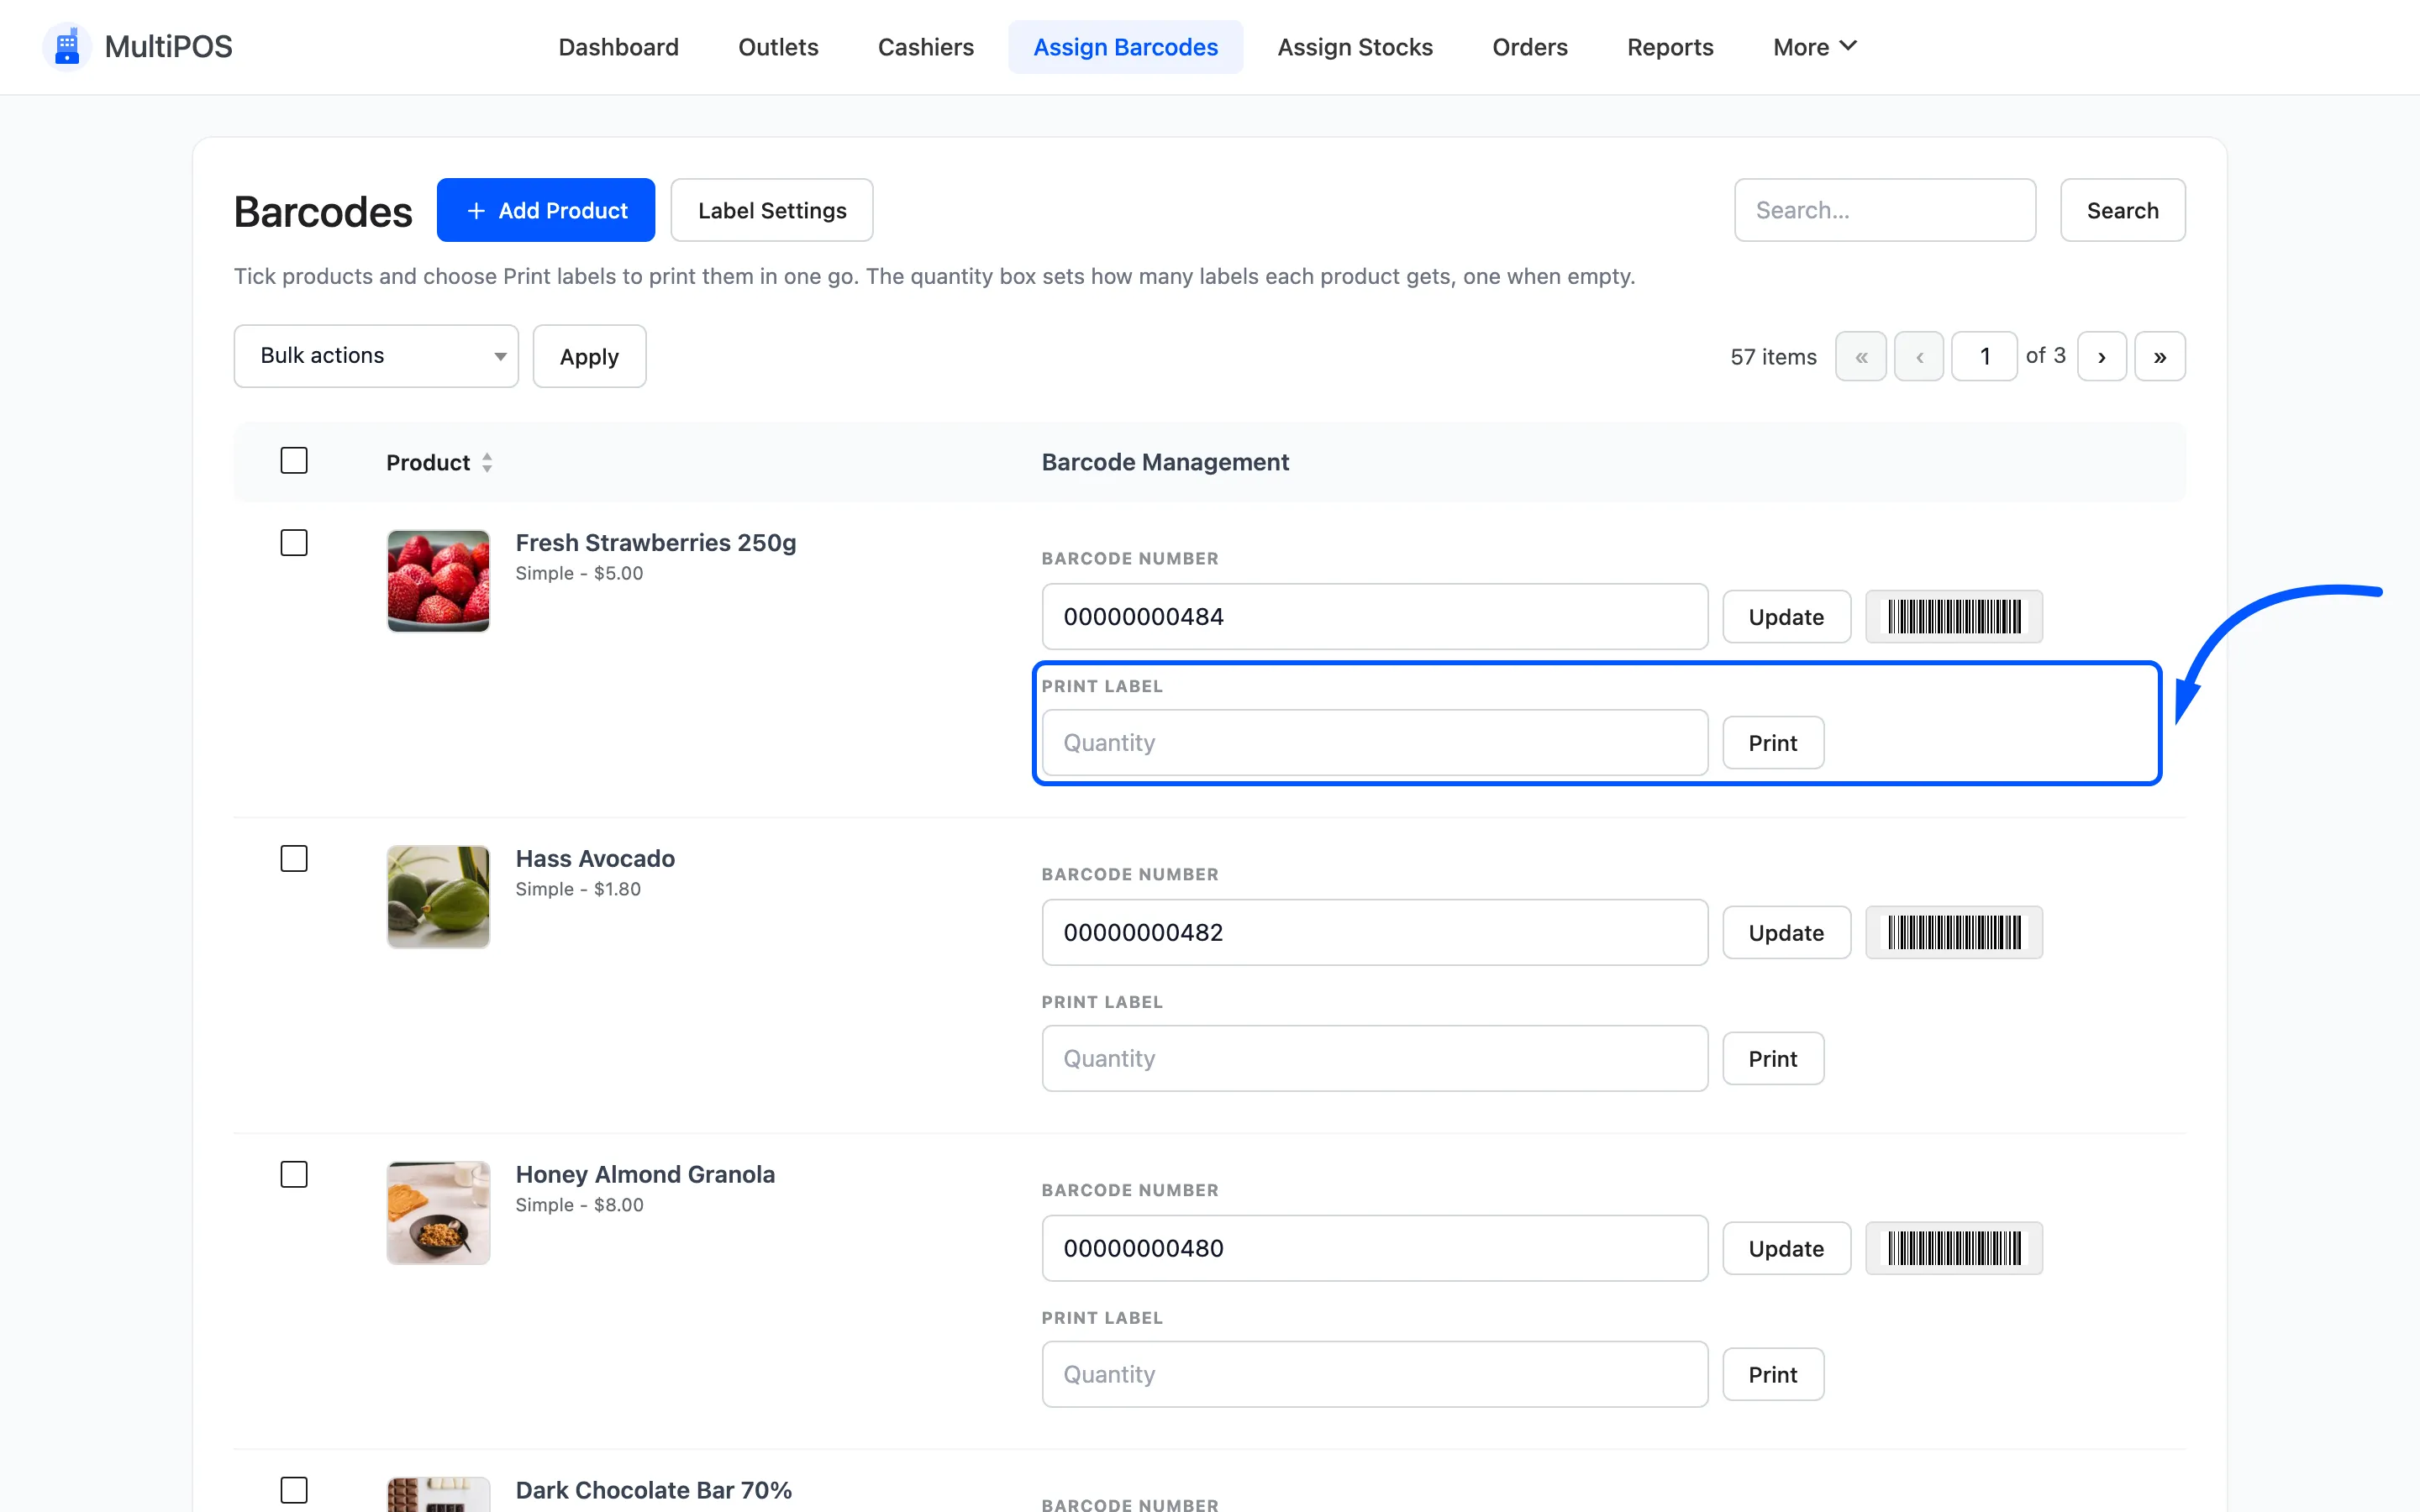
Enter a quantity and click Print. Full walkthrough: How to Print Barcode Labels.
Where to go next
Section titled “Where to go next”- How to Print Barcode Labels
- Assign Barcodes for the screen reference.
- Printer Settings for label sizing.