

Roles and POS Access
The terminal is a front-end URL on your live site, so anyone can reach it. What they see depends entirely on their WordPress role.
The three roles that can open the POS
Section titled “The three roles that can open the POS”Only three roles get past the door:
- POS Cashier, the role MultiPOS creates on activation
- Administrator
- Shop manager, the WooCommerce role
Everyone else is turned away, including customers, subscribers, editors and authors.
What happens to everyone else
Section titled “What happens to everyone else”A logged-in user who holds none of those three roles is redirected to the My Account page the moment they hit the terminal URL. There is no error and no explanation, because there is nothing useful to tell a customer who wandered onto the POS.
A visitor who is not logged in gets the POS login screen instead.
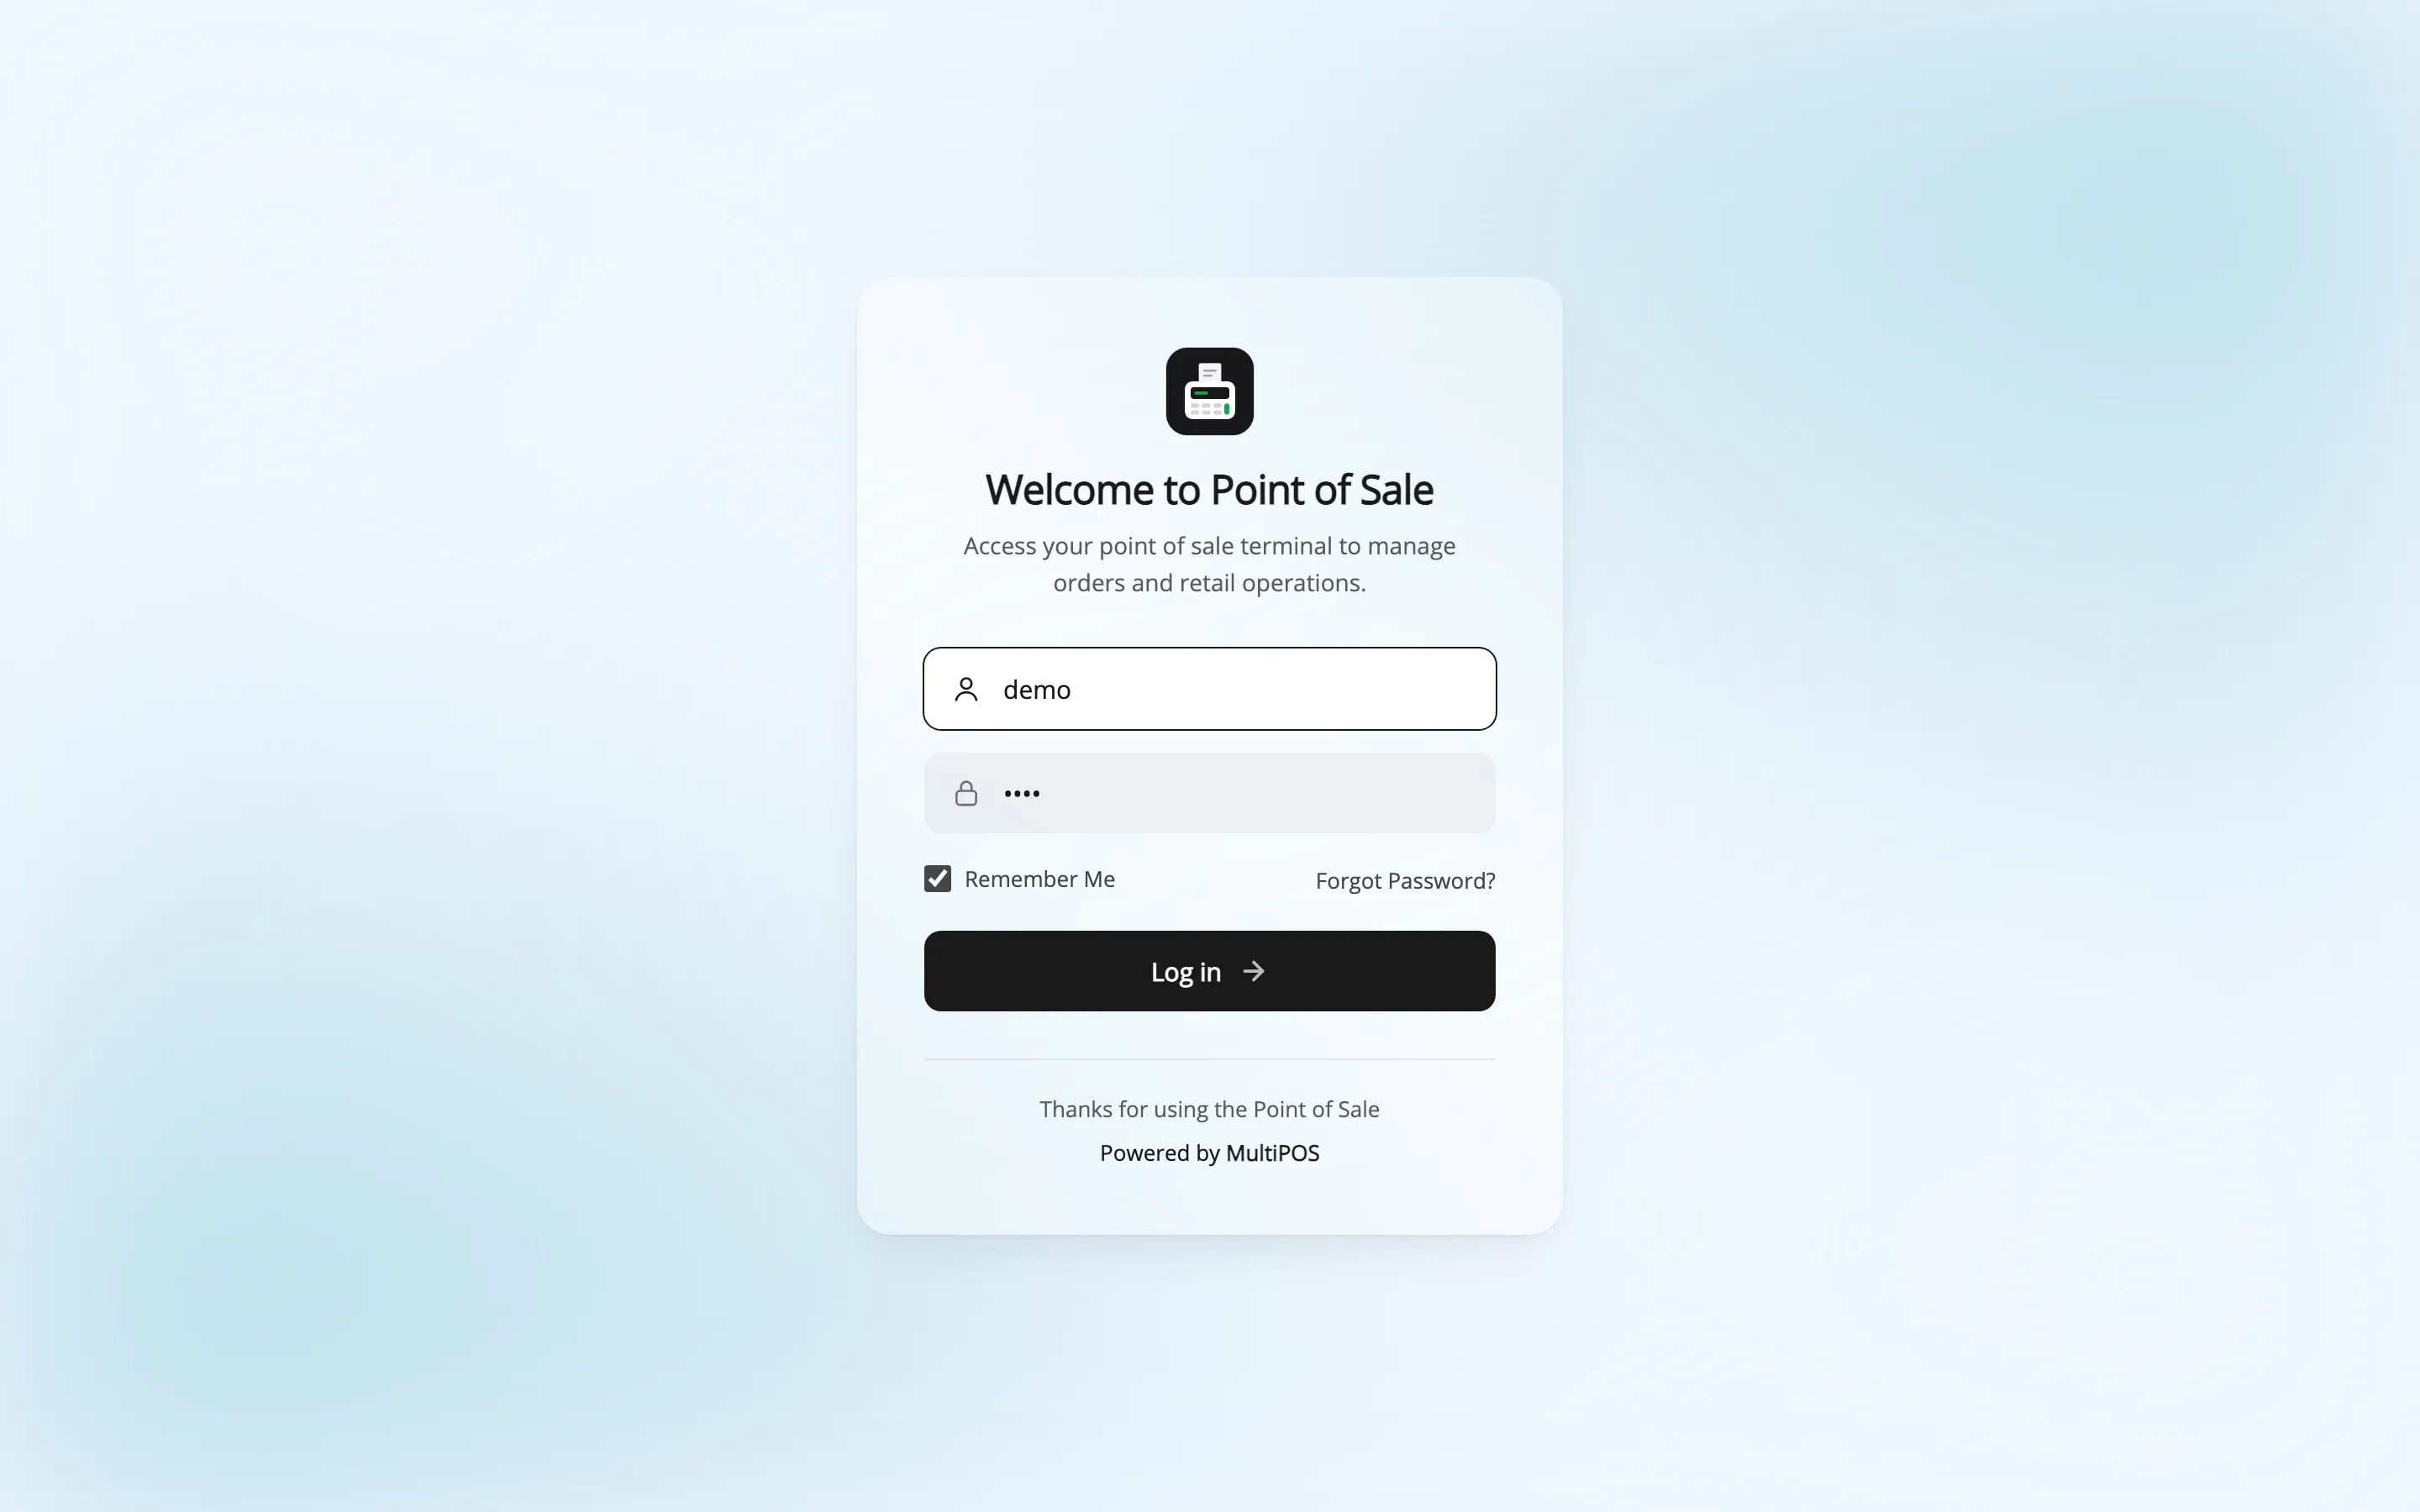
Signing in there as a customer still ends at My Account. The gate is the role, not the login.
What a POS Cashier can do
Section titled “What a POS Cashier can do”The role is deliberately small. A POS Cashier can read the site and use the POS, and that is all.
They cannot open wp-admin, edit products, change prices, view other people’s orders, or reach any MultiPOS setting. Everything they need is inside the terminal.
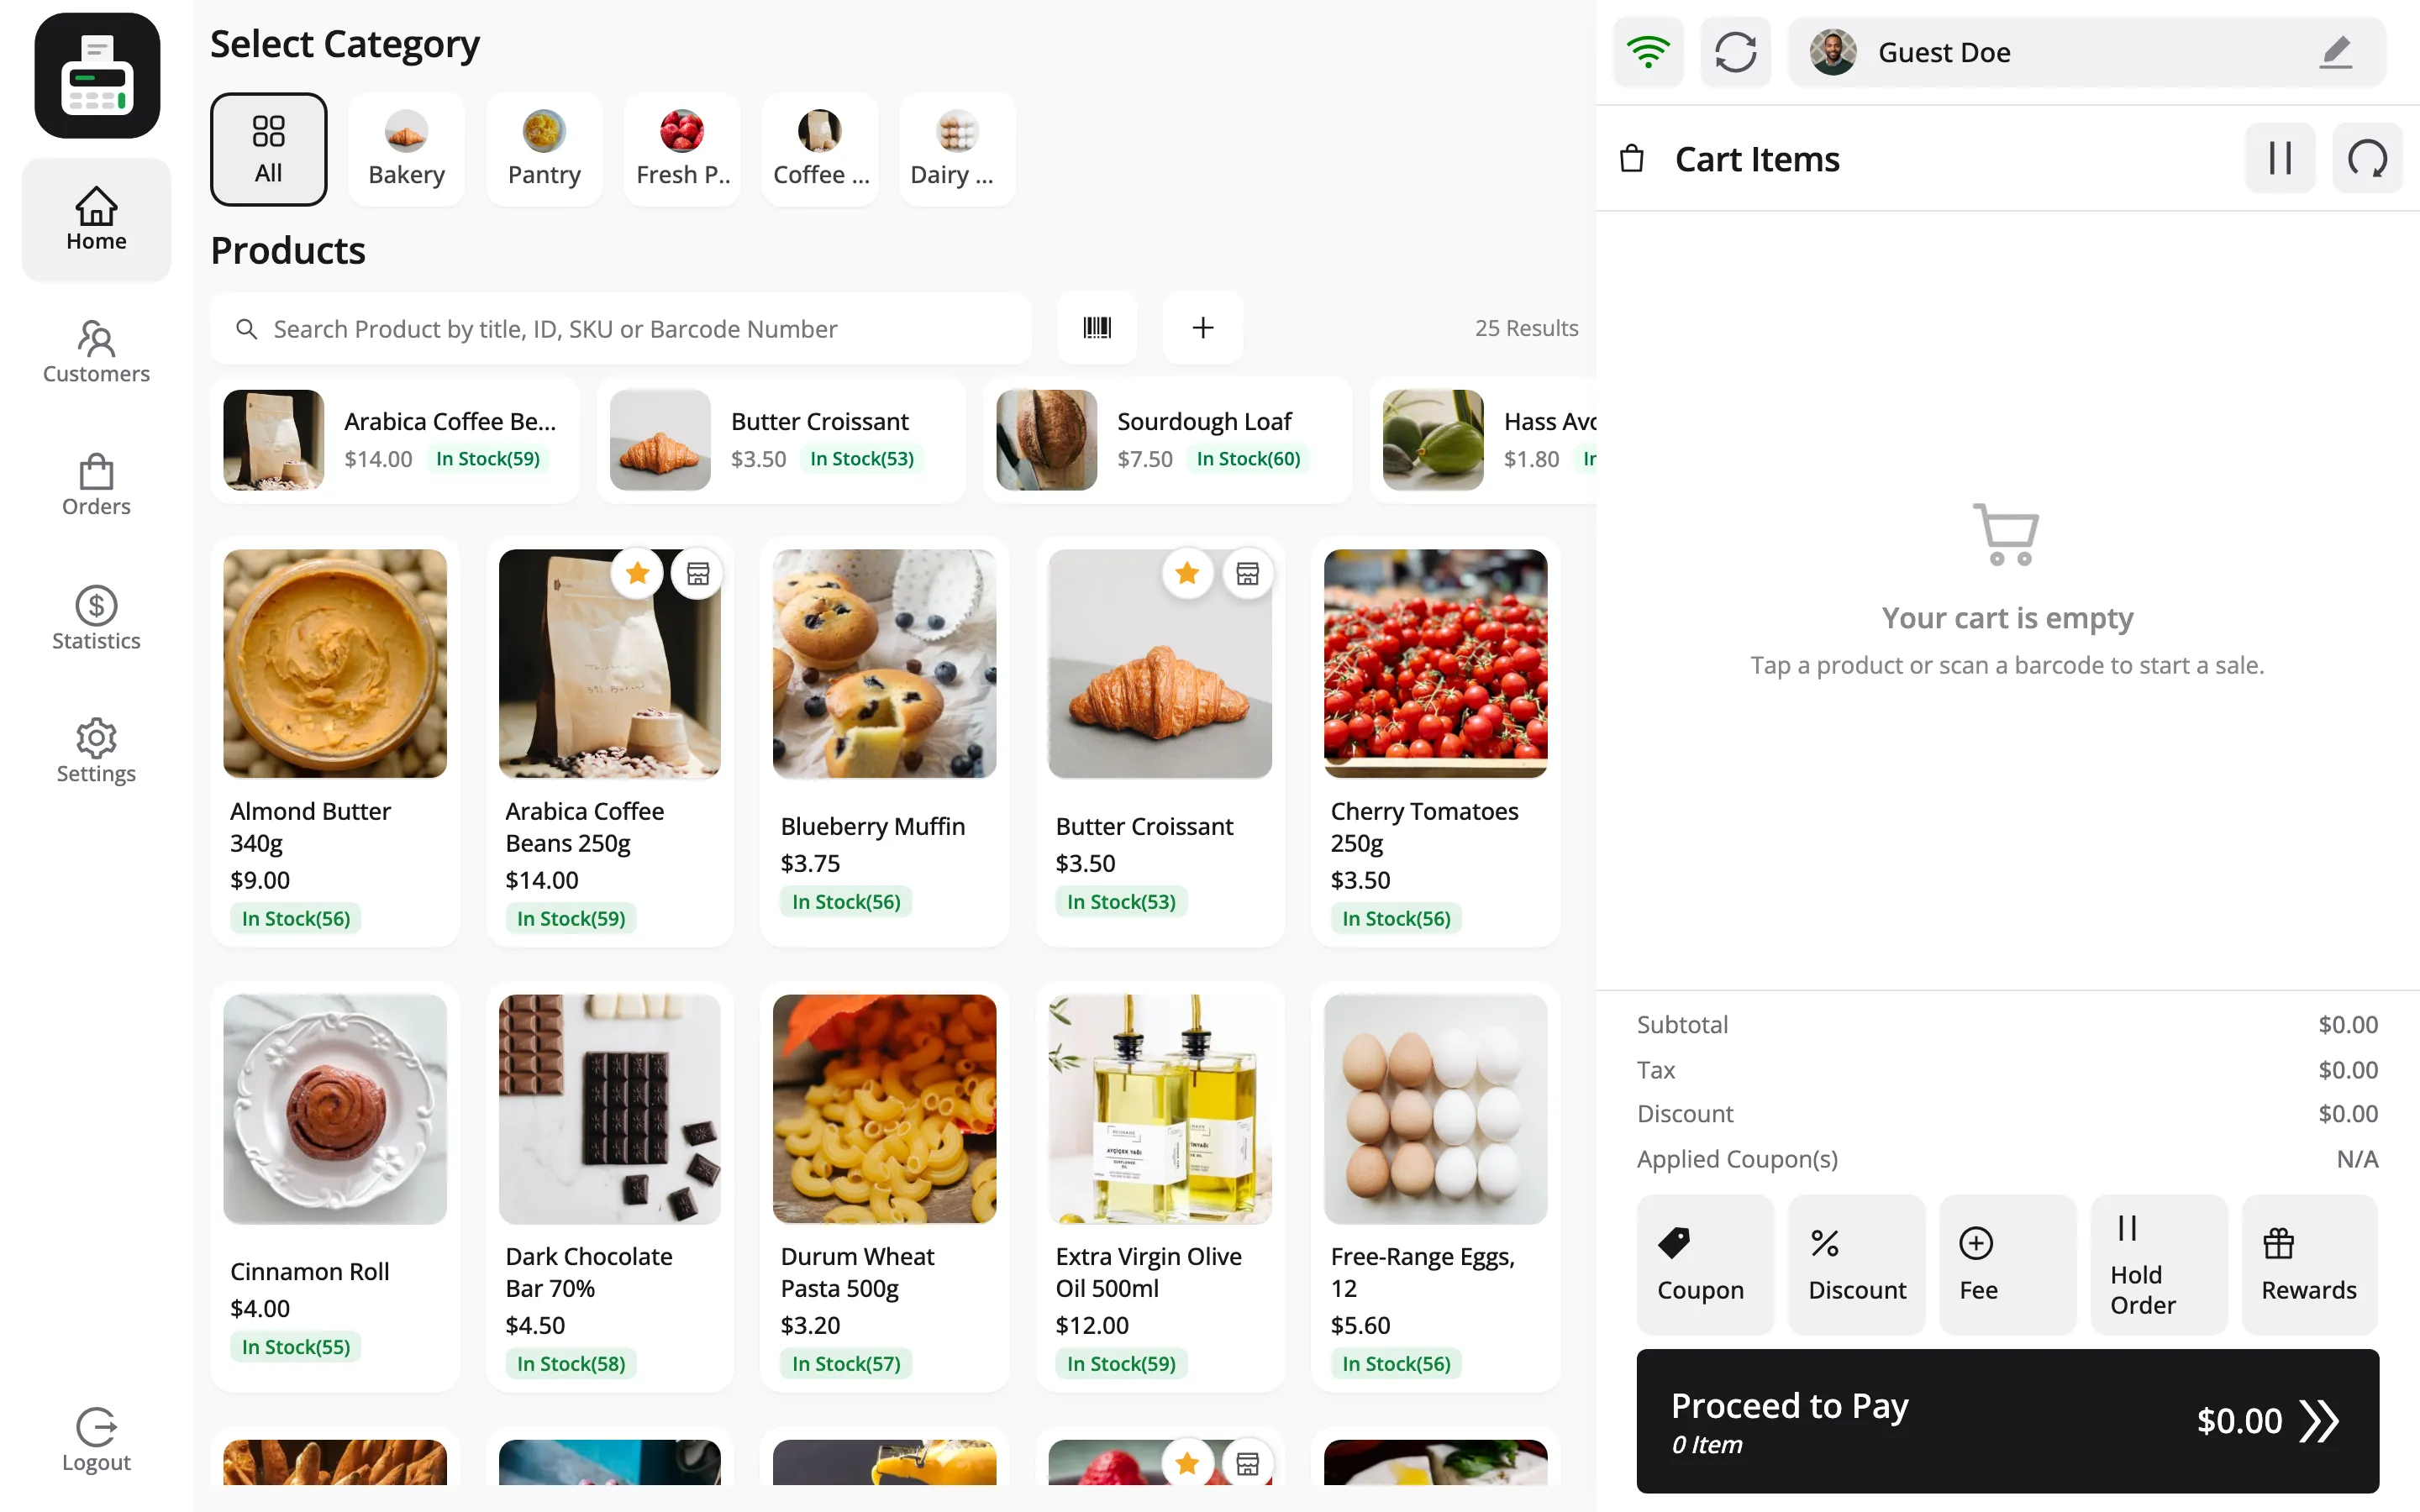
Inside the terminal a cashier can:
- Sell, take payment and print receipts
- Add, edit and delete customers
- View past POS orders and hold carts
- See today’s sales and the expected drawer amount
- Change their own name and password
- Set their own keyboard shortcuts, sounds and receipt size
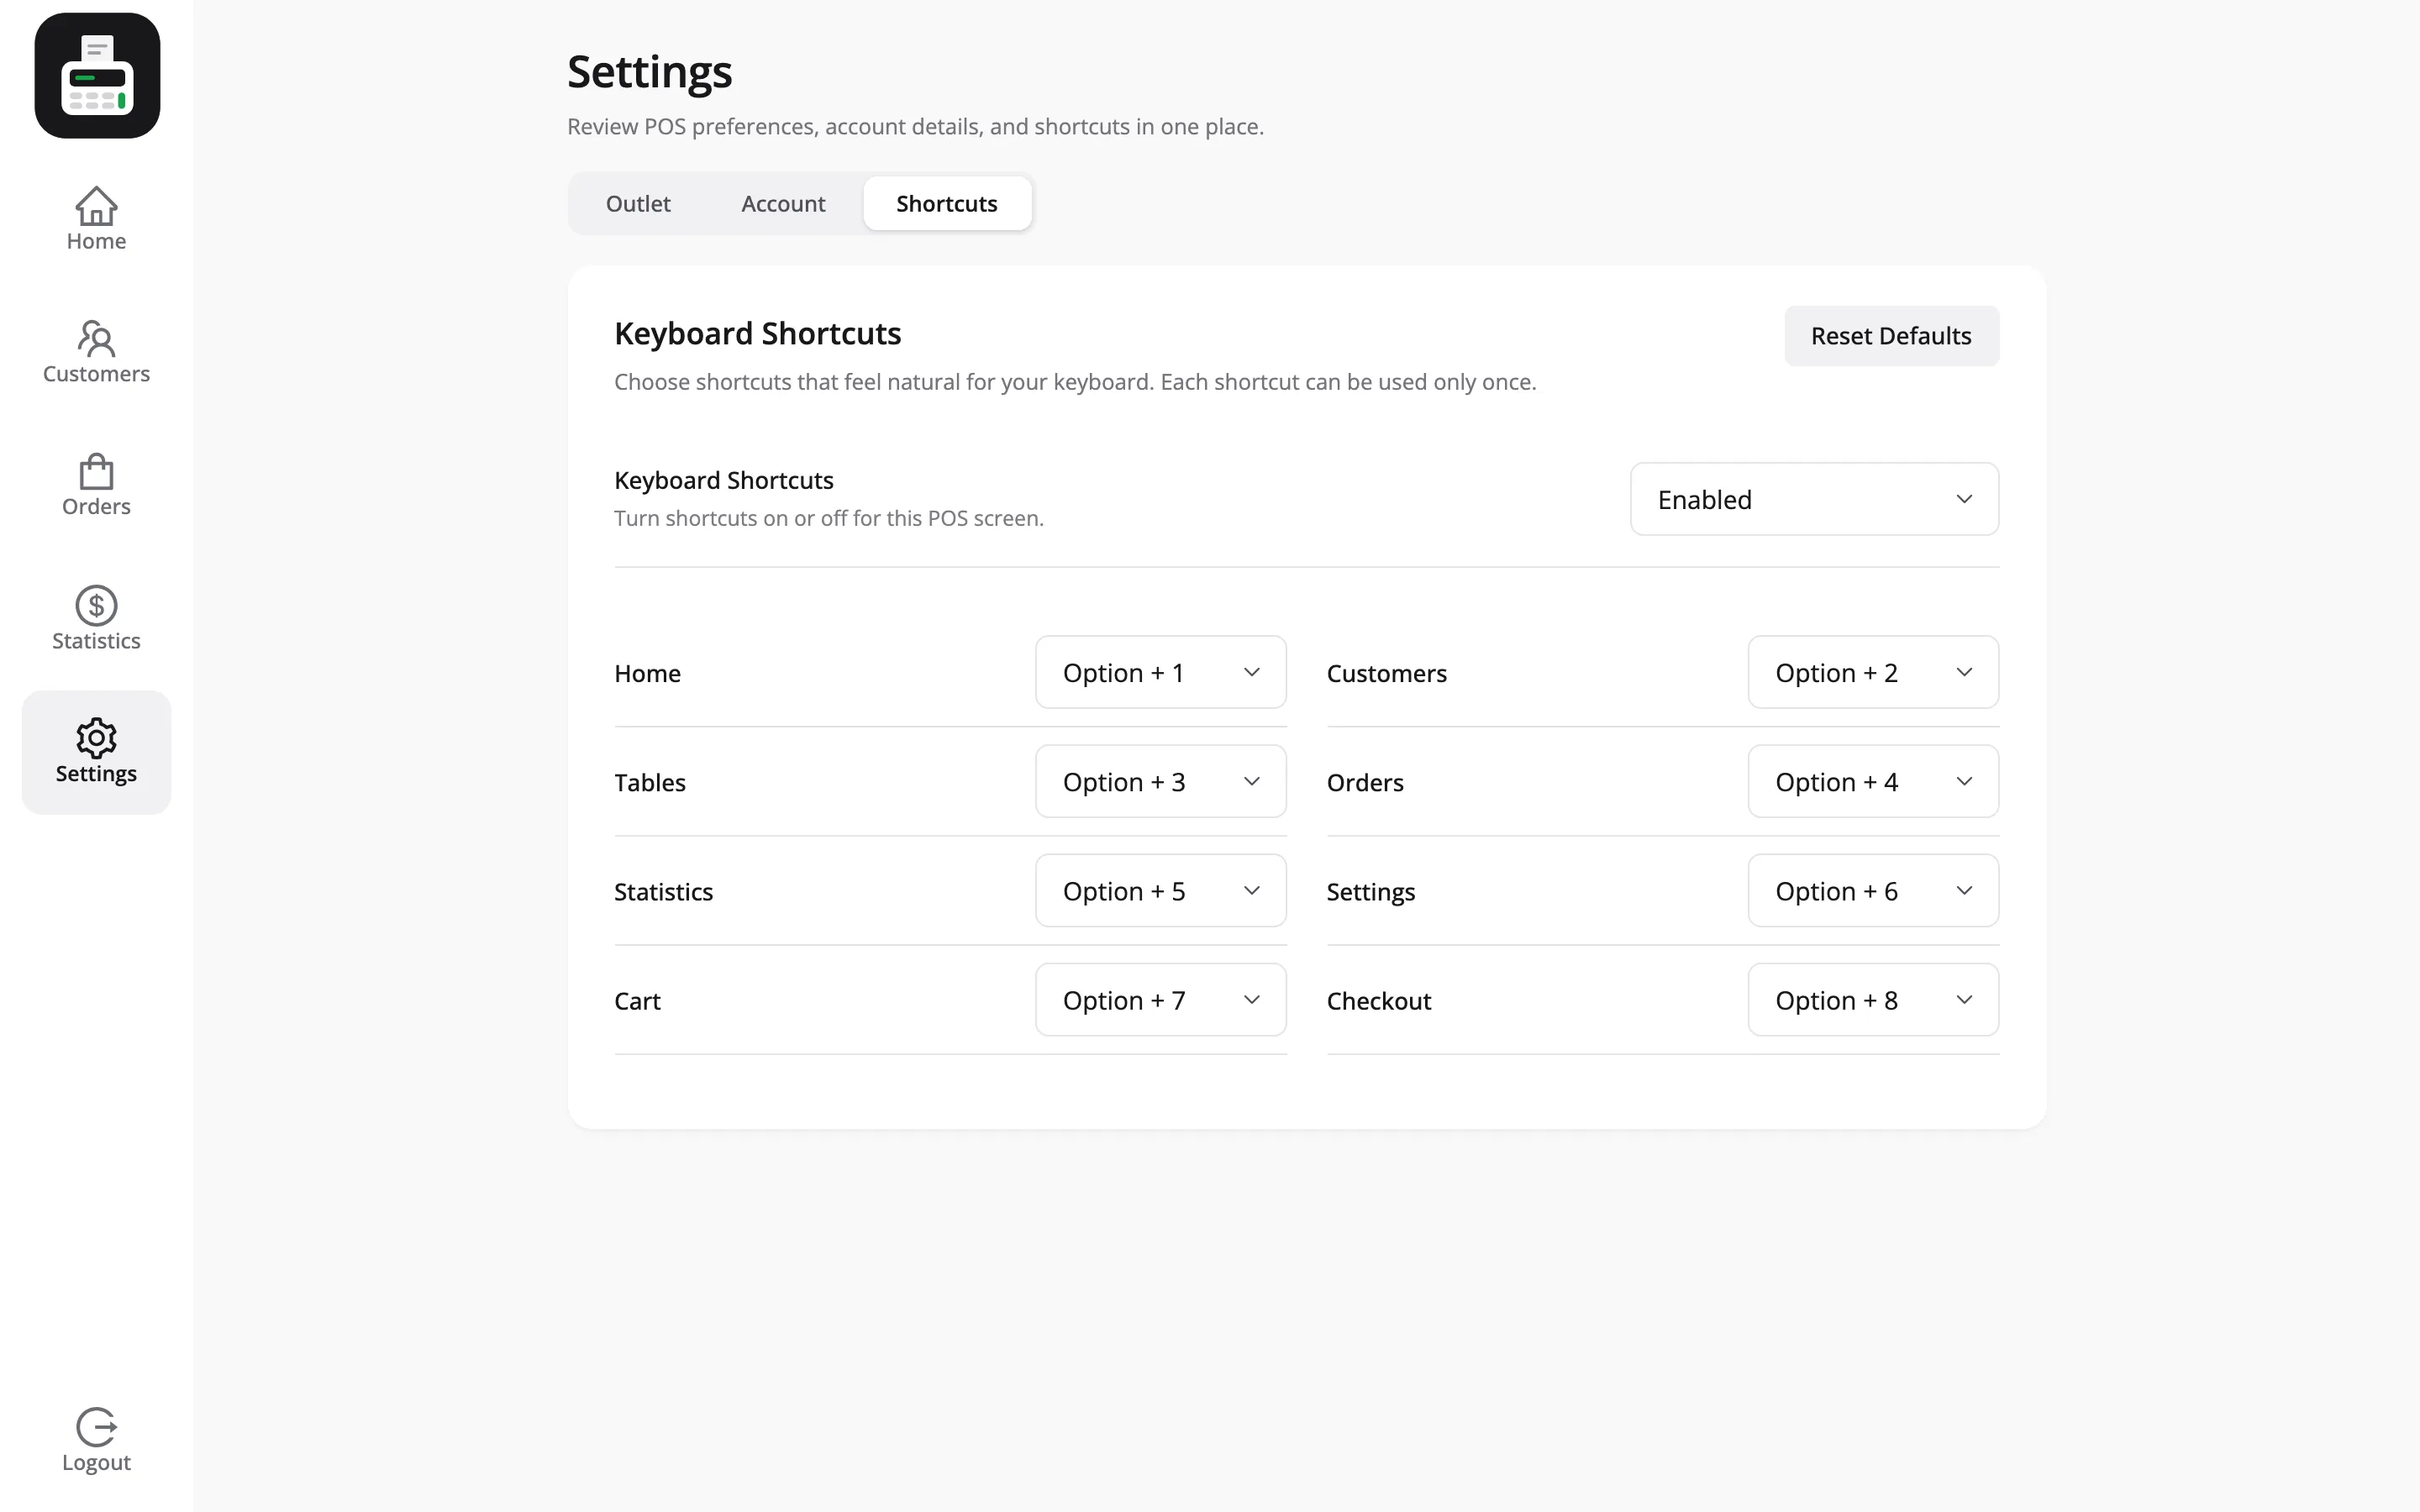
That last group is per-cashier and per-browser, so two people on two terminals do not fight over settings.
Limiting what a cashier can do (Pro)
Section titled “Limiting what a cashier can do (Pro)”In Pro you choose which of those actions a cashier may take alone: refunds, lowering a price, a discount above a limit, cash in and out, closing the register, editing or deleting customers, and changing Quick Keys. The switches are under Configuration → Permissions.
When a cashier is refused, a manager can approve on the spot with a PIN.
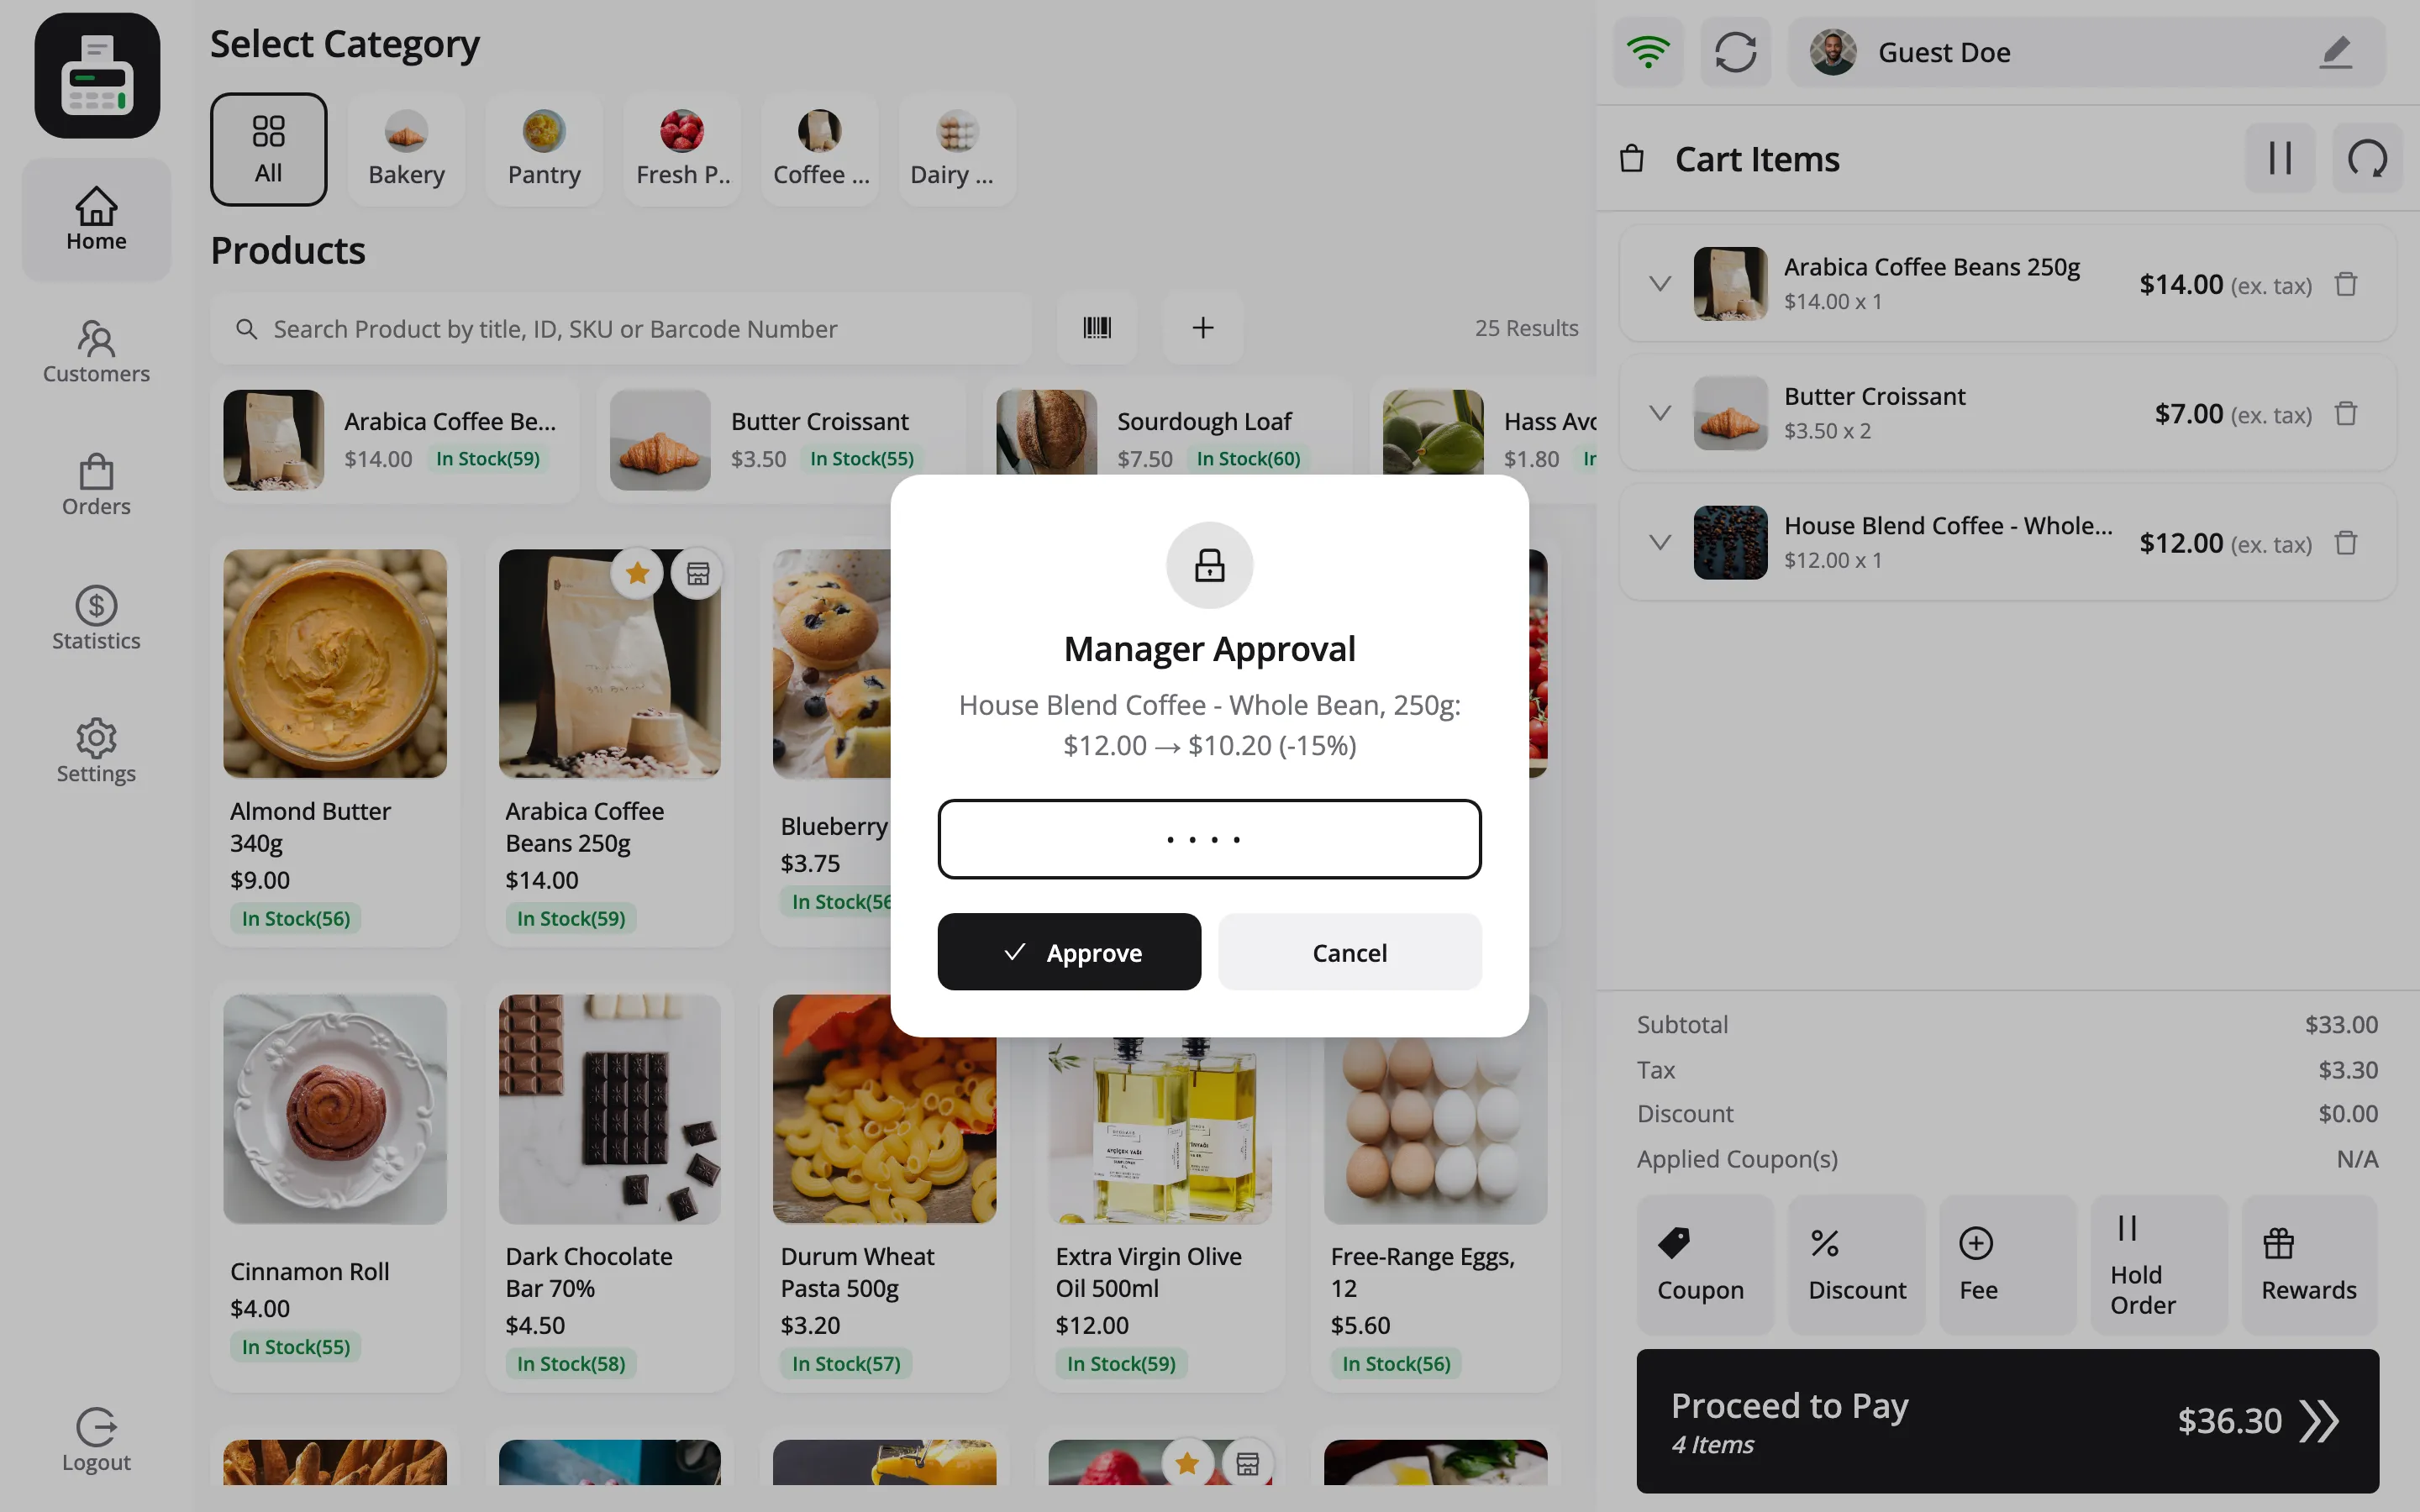
Two kinds of people can approve:
- Administrators and shop managers: They are never limited, and set their own PIN under Users → Profile → MultiPOS Manager PIN.
- Shift supervisors: Cashiers you tick as Shift Supervisor on their cashier screen. They are never limited either, and approve with their own PIN.
The whole flow is in How to Approve Actions with a Manager PIN.
Administrators and shop managers
Section titled “Administrators and shop managers”Both can open the POS as well as the admin screens. That is what makes testing possible: you can take a sale yourself without creating a cashier account.
It also means an owner working the counter does not need a second login.
Creating a cashier
Section titled “Creating a cashier”Cashiers are ordinary WordPress users with the POS Cashier role. Create one with Add New on the MultiPOS Cashiers screen, which opens MultiPOS’s own Add Cashier form. Creating a user under Users → Add New with the POS Cashier role works too.
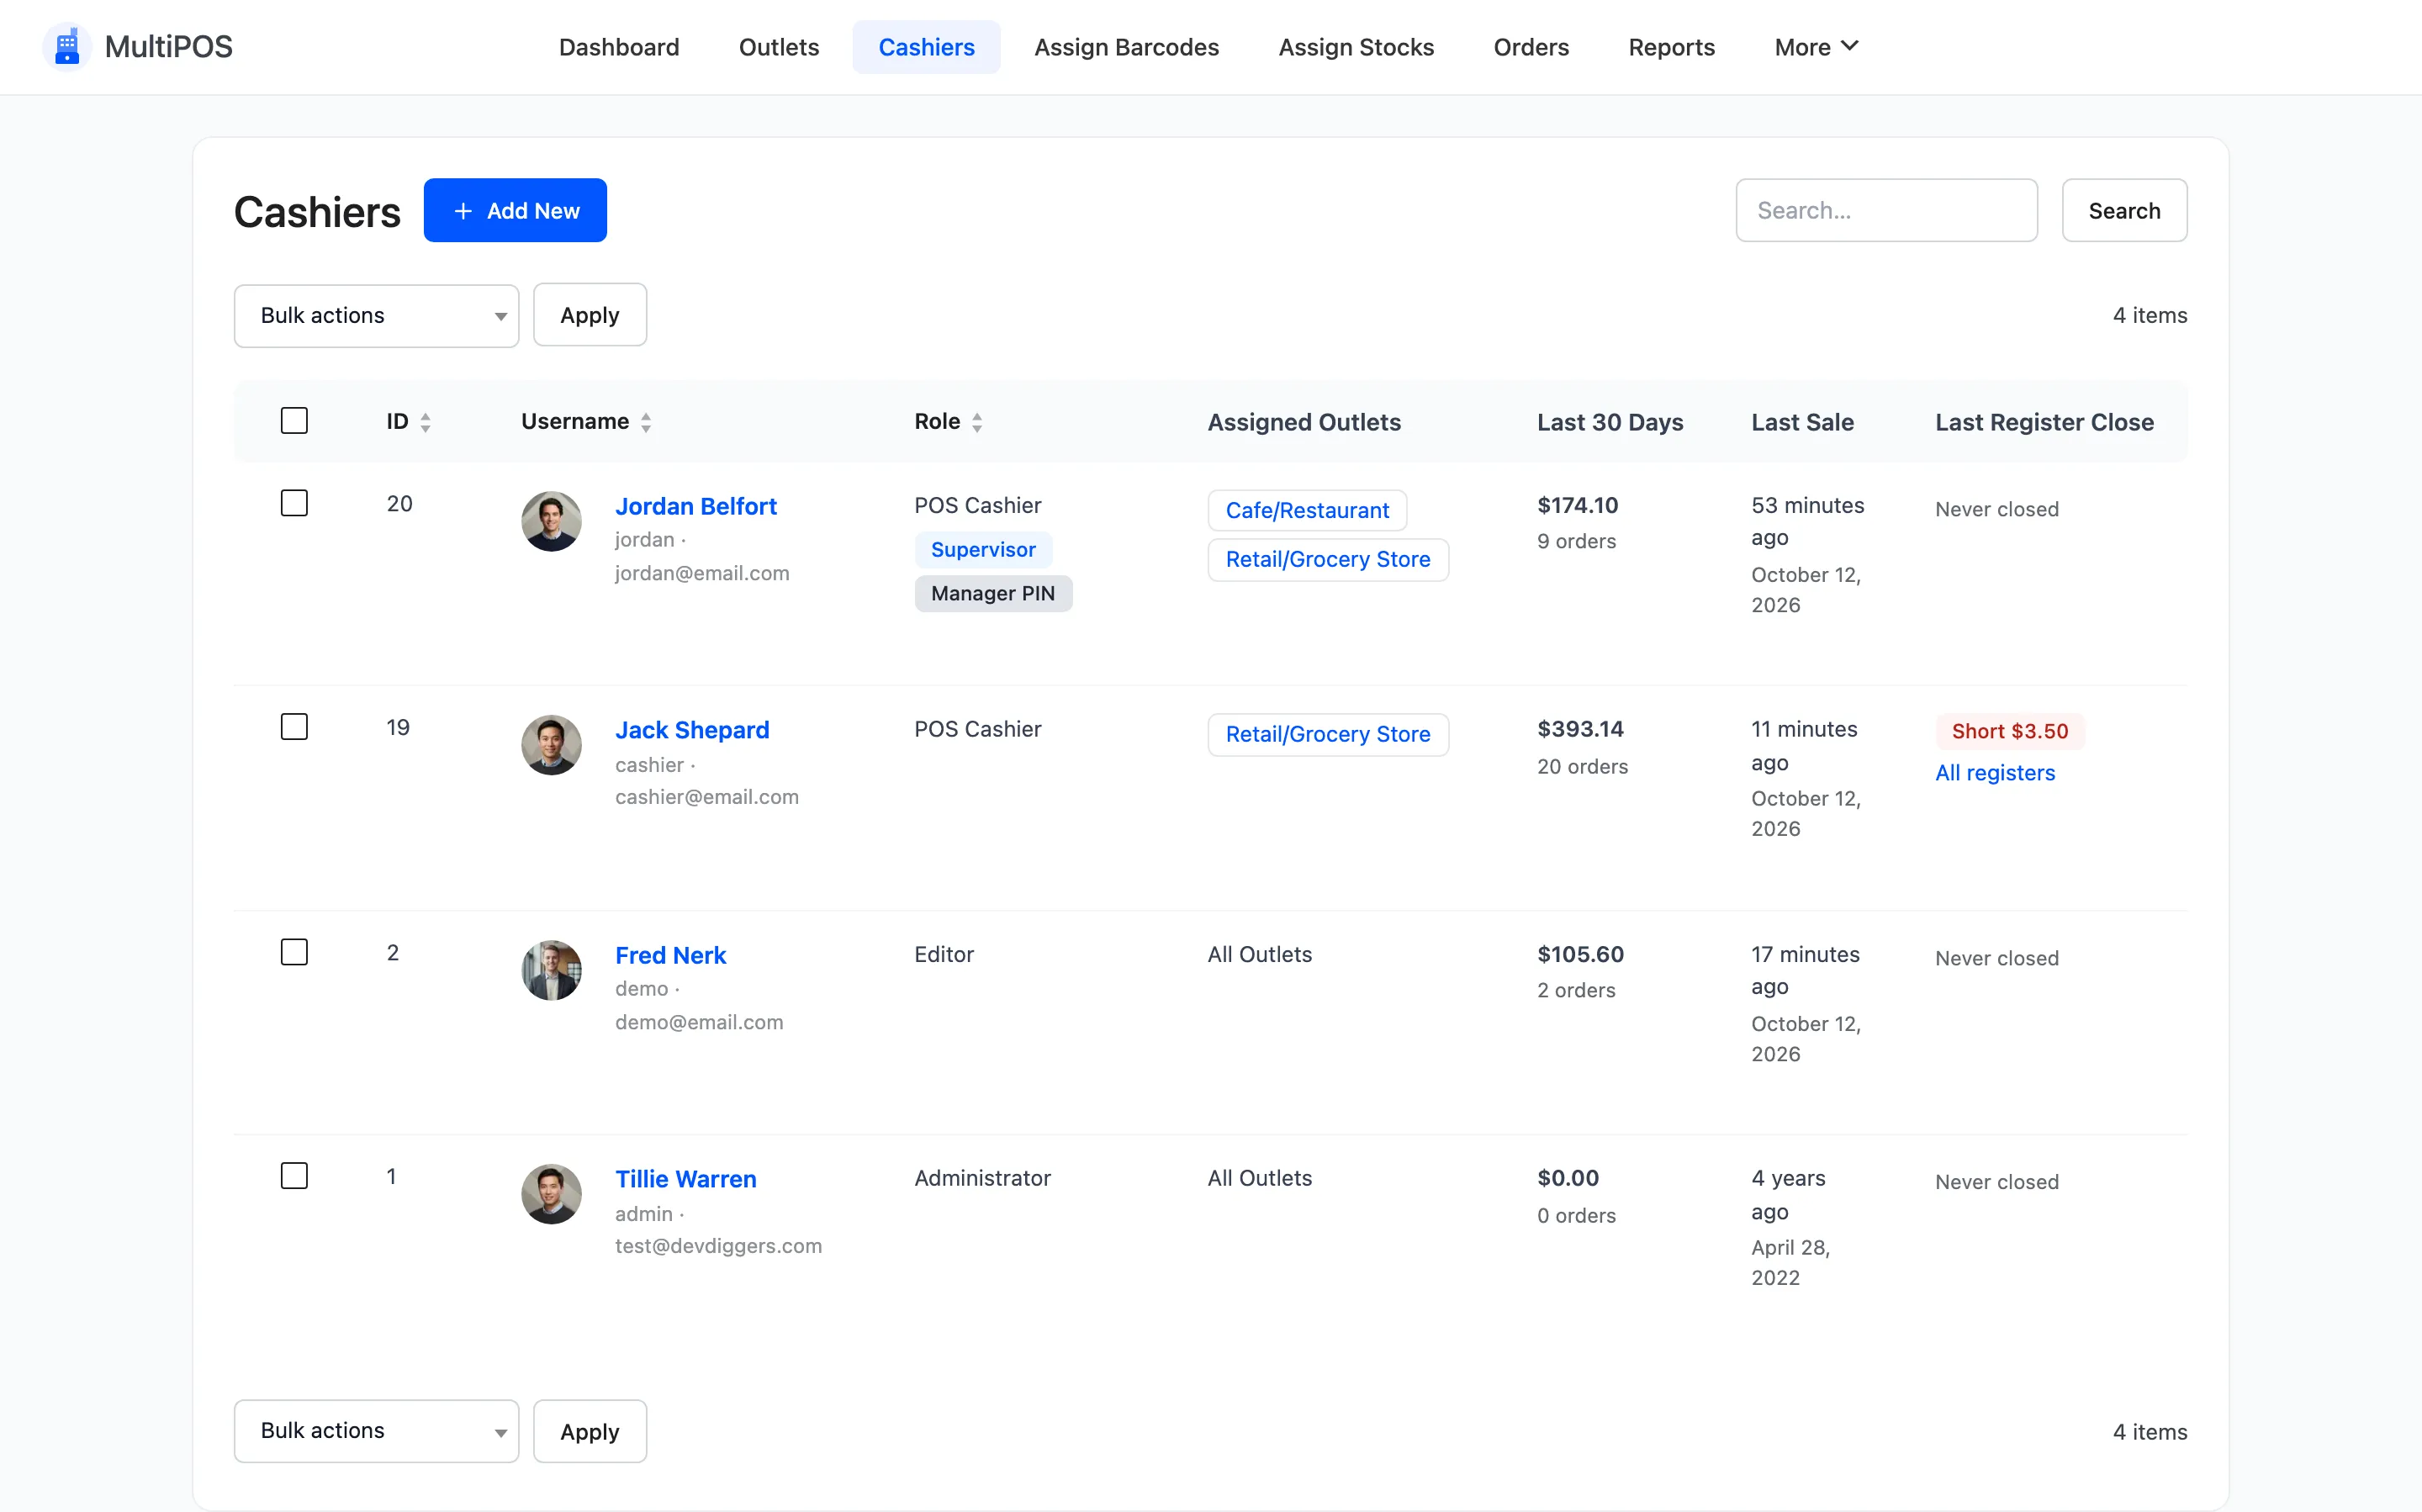
Full walkthrough: How to Add a Cashier.
The admin bar shortcut
Section titled “The admin bar shortcut”Once the POS is enabled, a Visit POS link appears in the WordPress admin bar under your site name. It saves typing the terminal URL while you are testing.
The Outlets screen carries the same Visit POS button. Use that one when you have just changed a setting and want to see the effect.
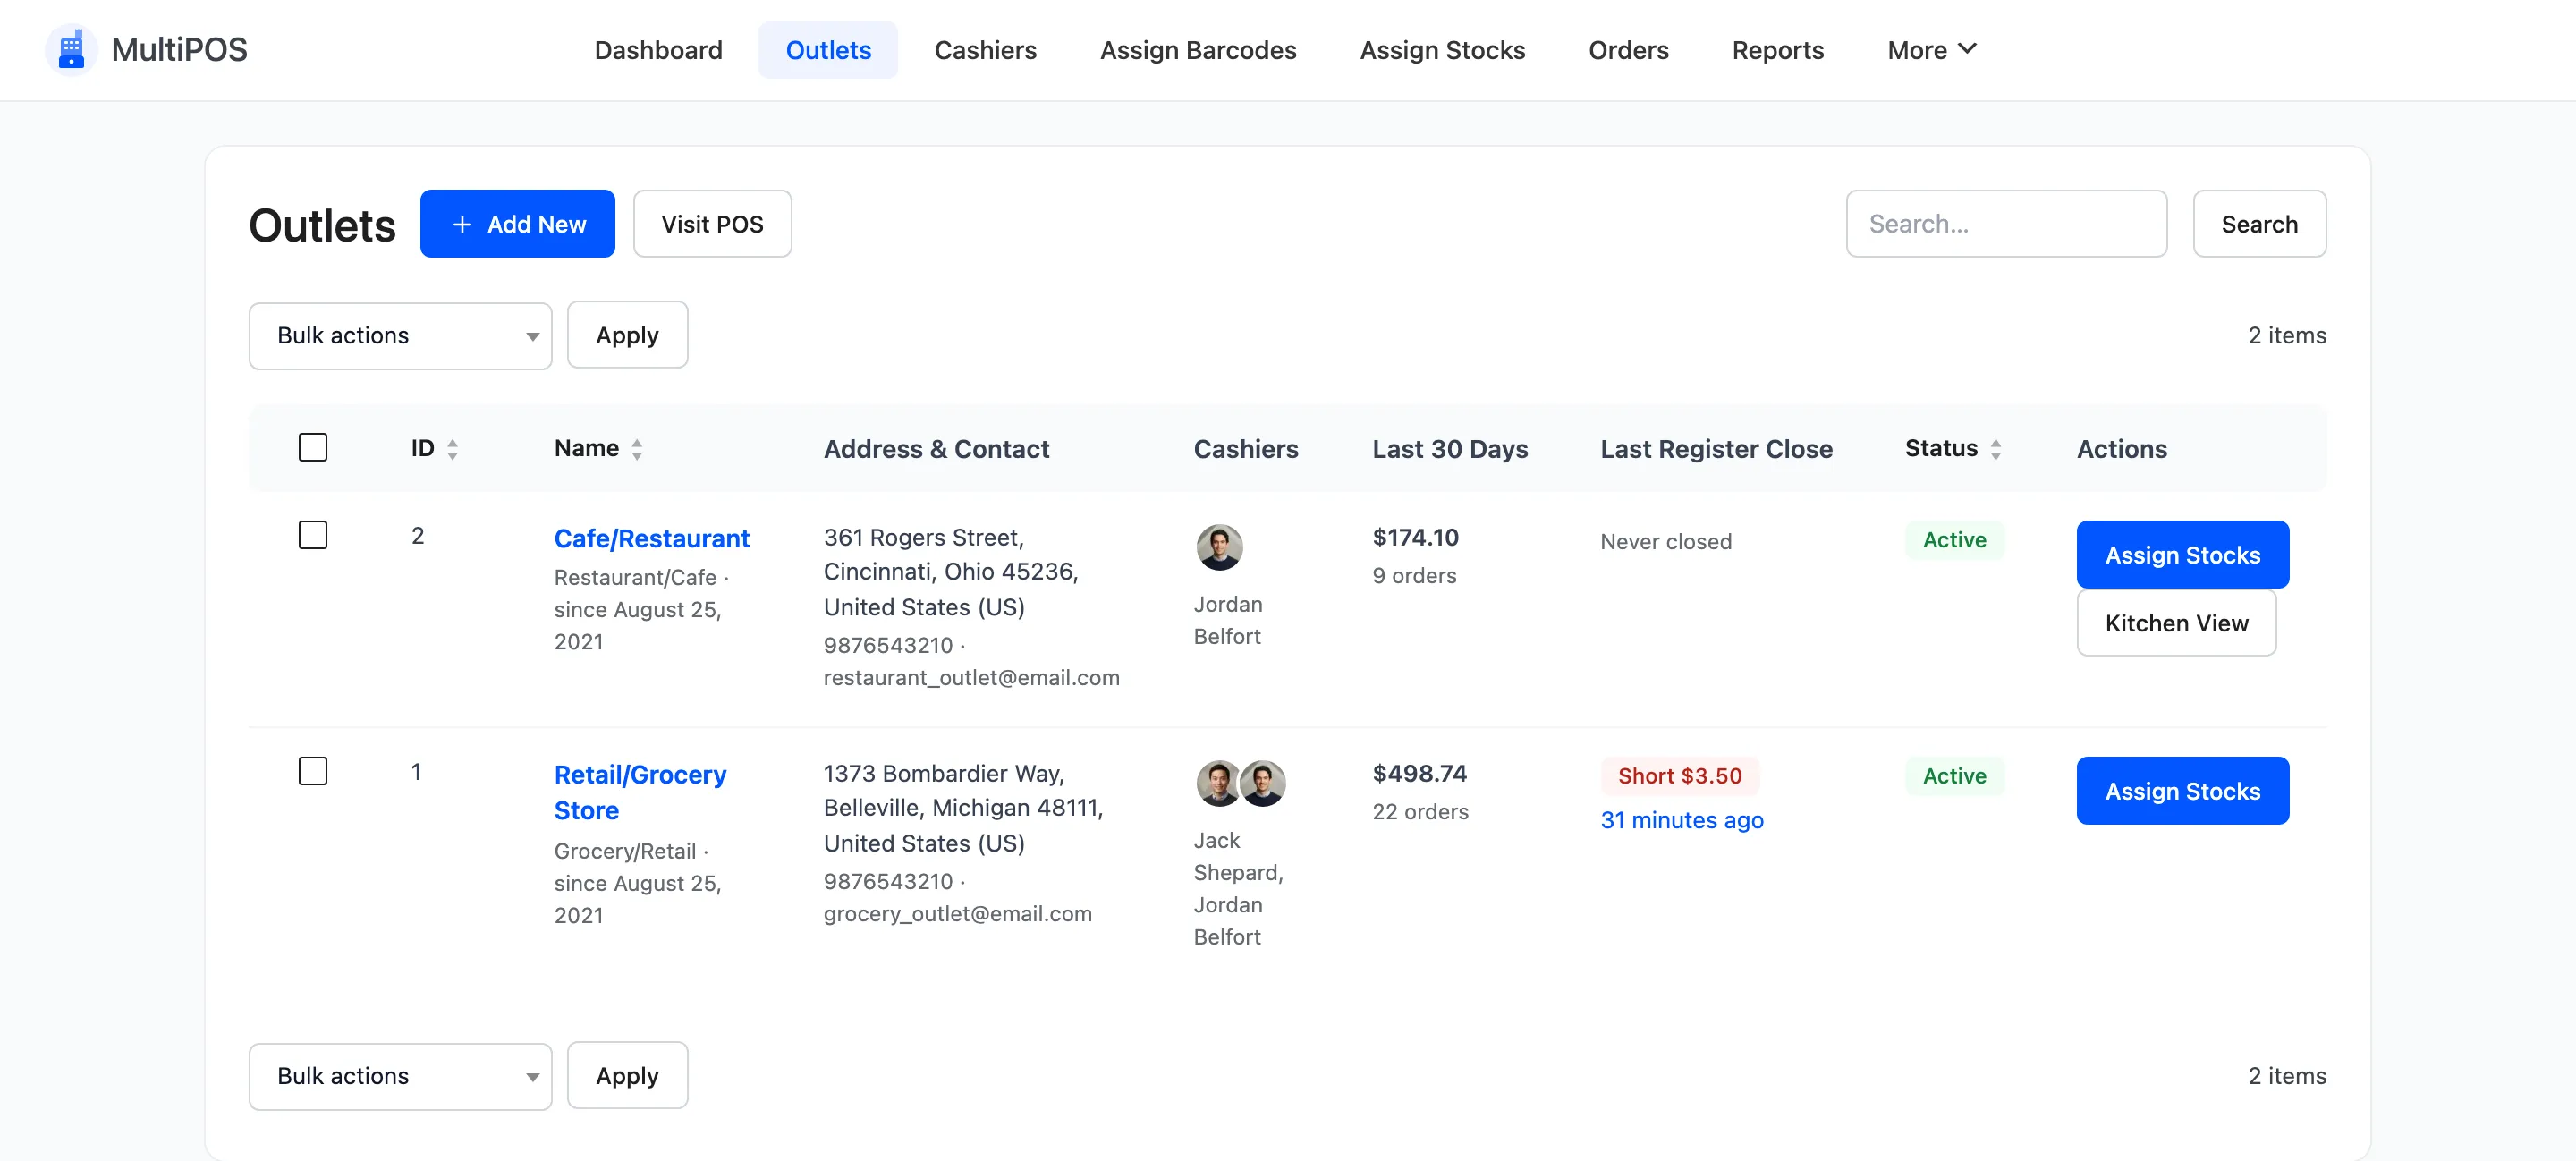
Which outlet a cashier opens
Section titled “Which outlet a cashier opens”In Pro, a cashier with more than one outlet picks one when the session starts, and the browser remembers the answer.
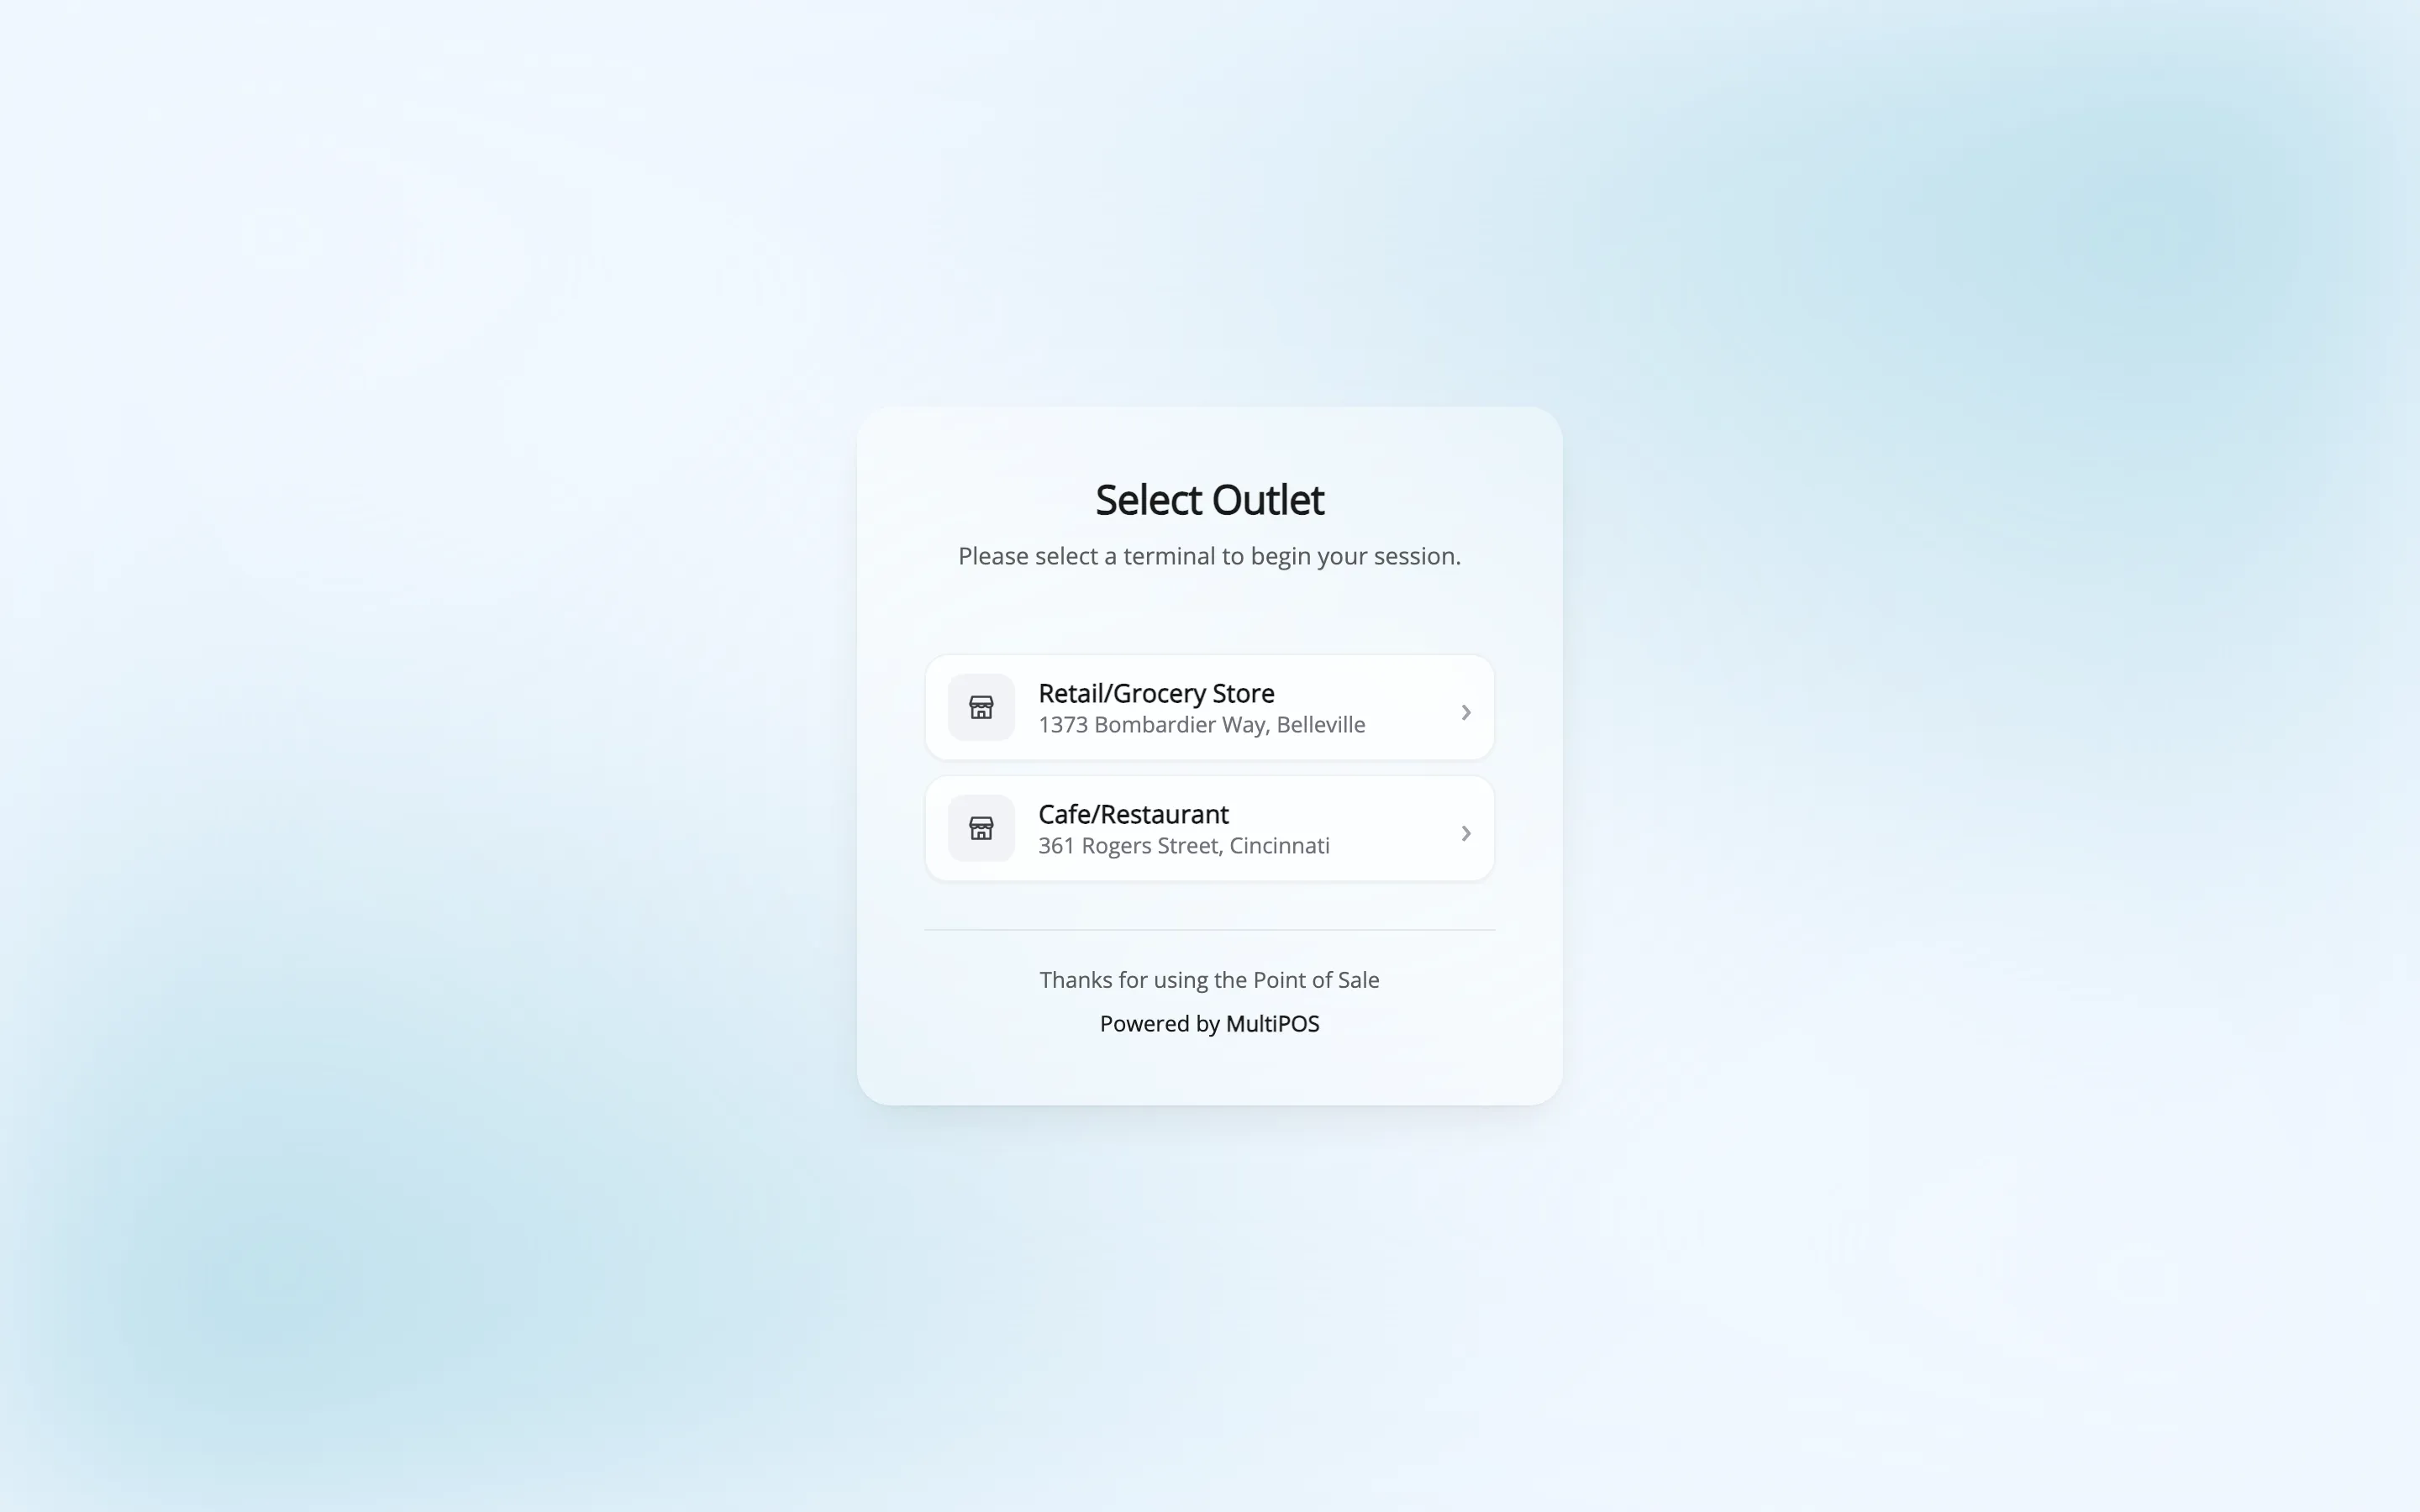
The free version has one outlet and no picker. The POS opens it straight away.
Where to go next
Section titled “Where to go next”- How to Add a Cashier
- Cashiers for the admin screen.
- Login Screen to change what staff see when they sign in.