

How to Add a Cashier
A cashier is a WordPress user with the POS Cashier role. That role opens the POS and nothing else in WordPress, so a cashier cannot reach your products, orders or settings.
MultiPOS creates them on its own screen, so you do not need the WordPress user form at all.
Step 1: Open Add Cashier
Section titled “Step 1: Open Add Cashier”Go to MultiPOS → Cashiers and press Add New.
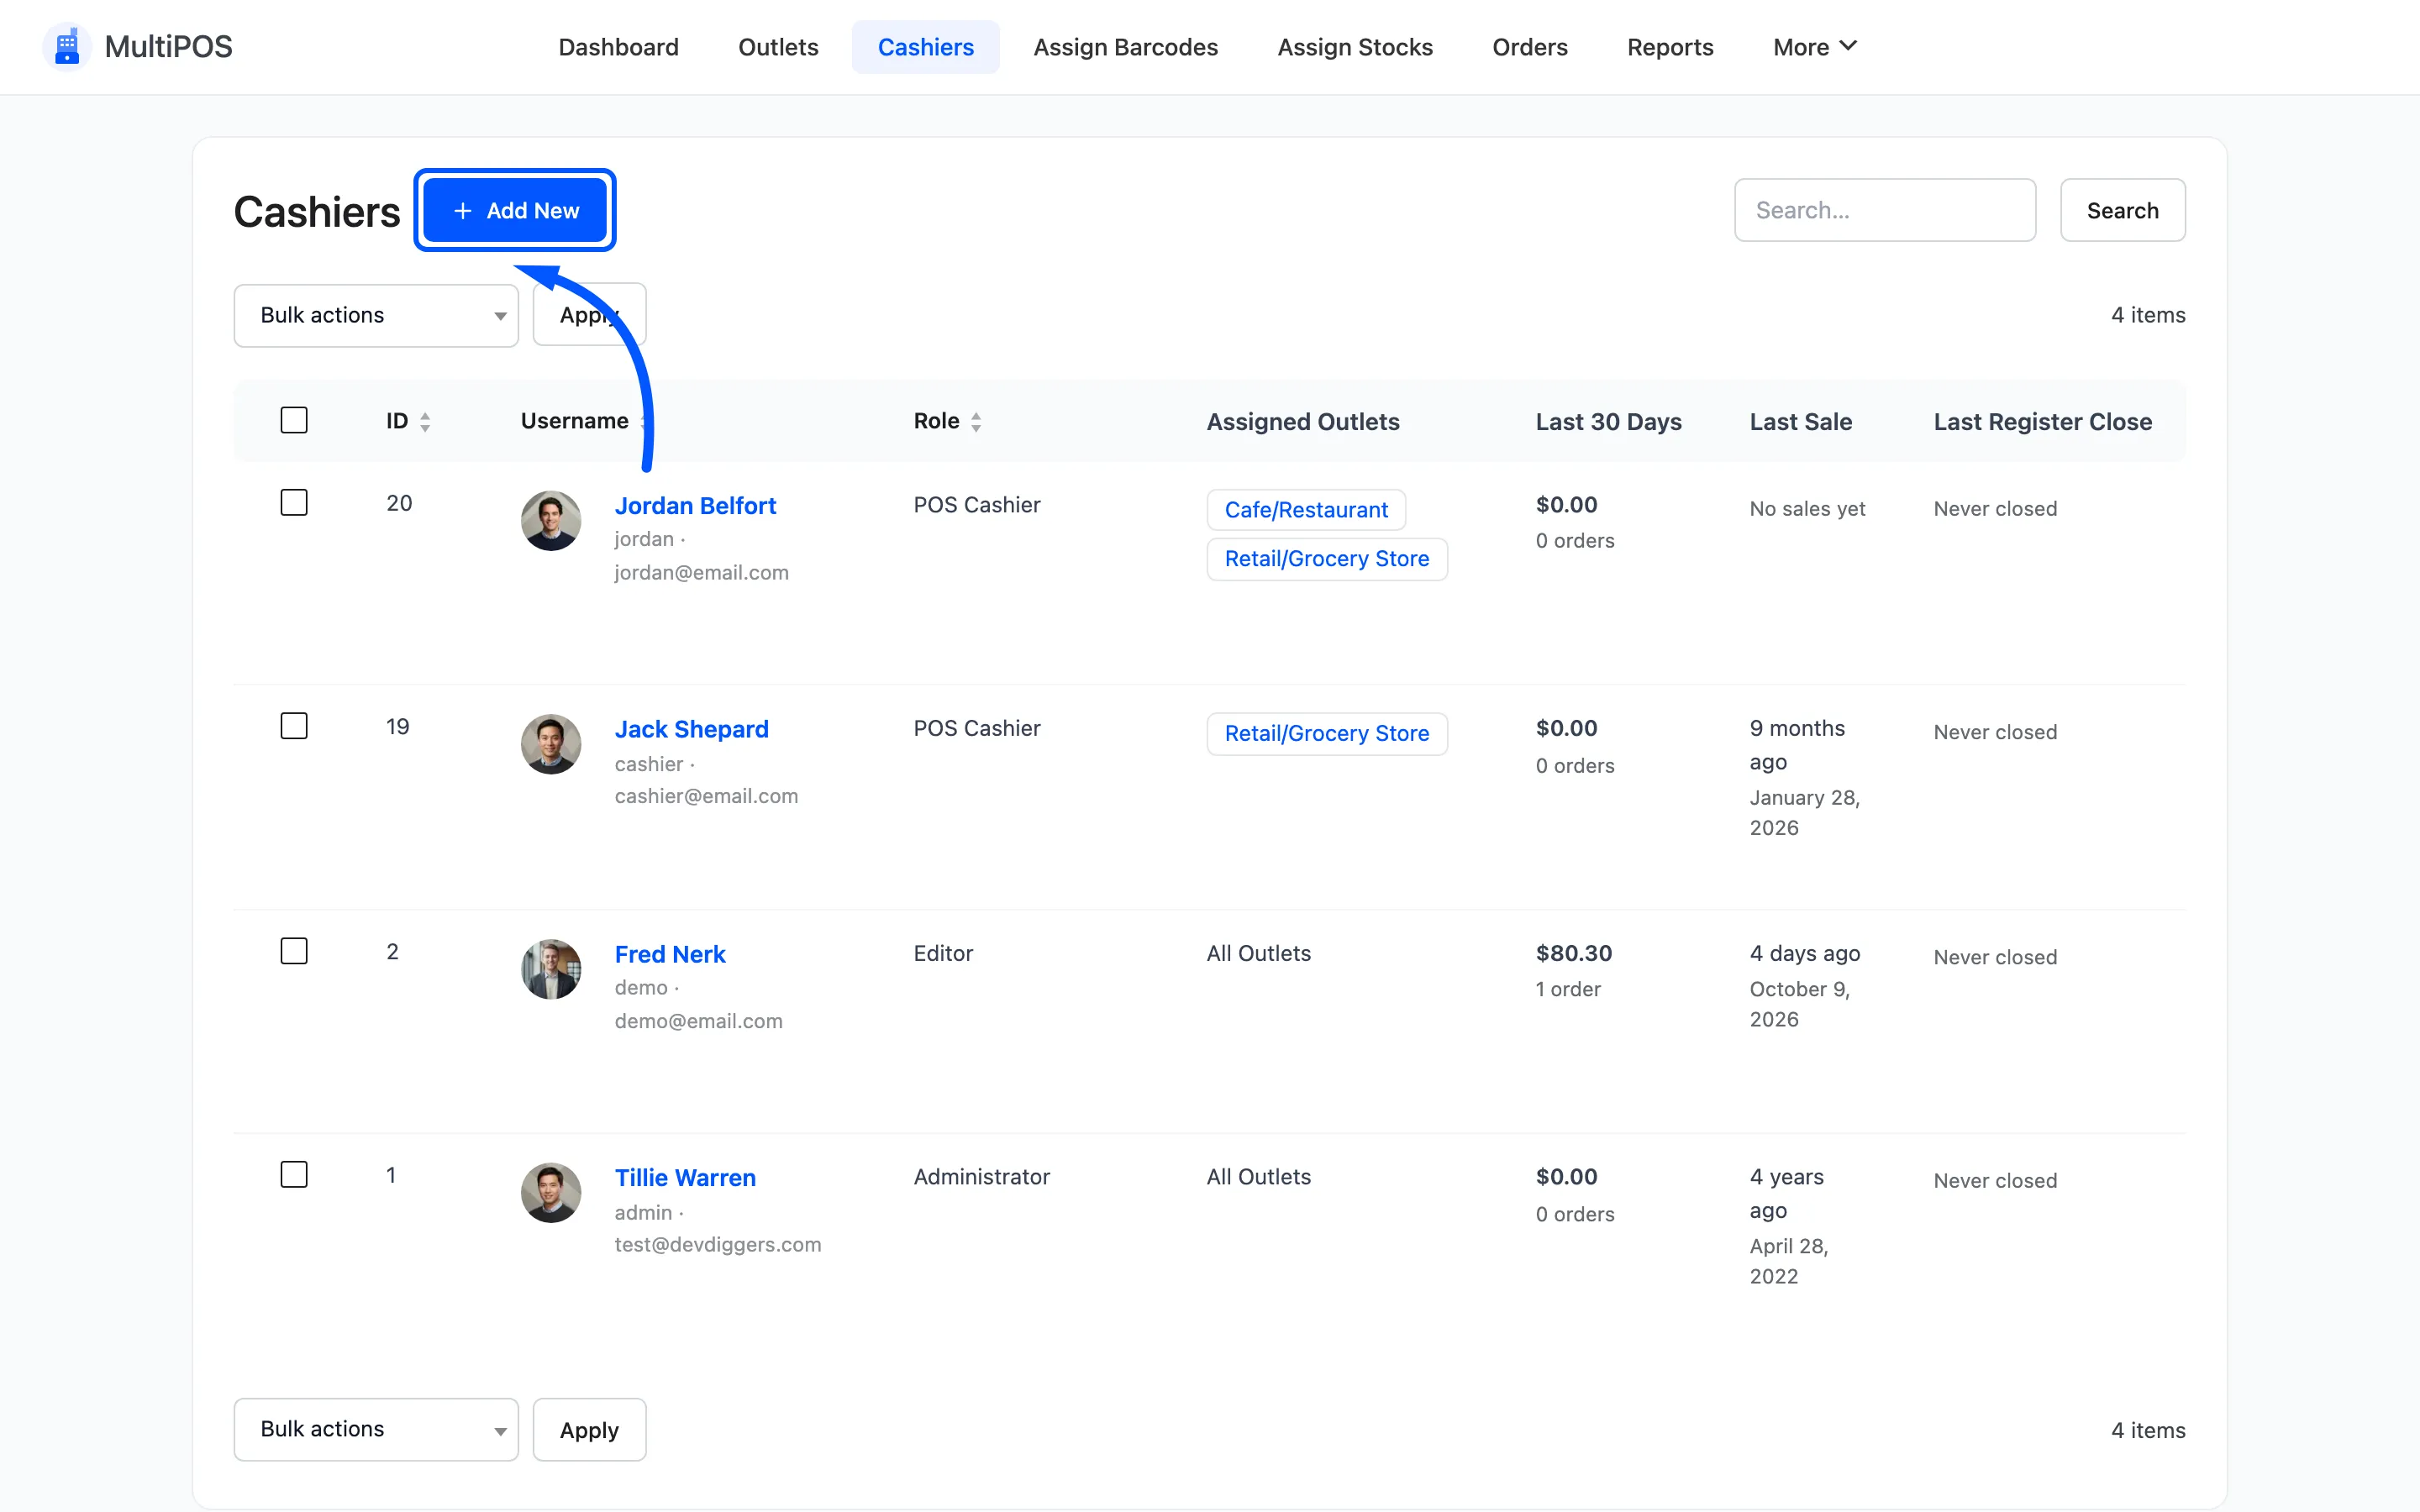
Shop managers can add cashiers as well as administrators.
Step 2: Fill in the account
Section titled “Step 2: Fill in the account”The Account section is how the cashier logs in.
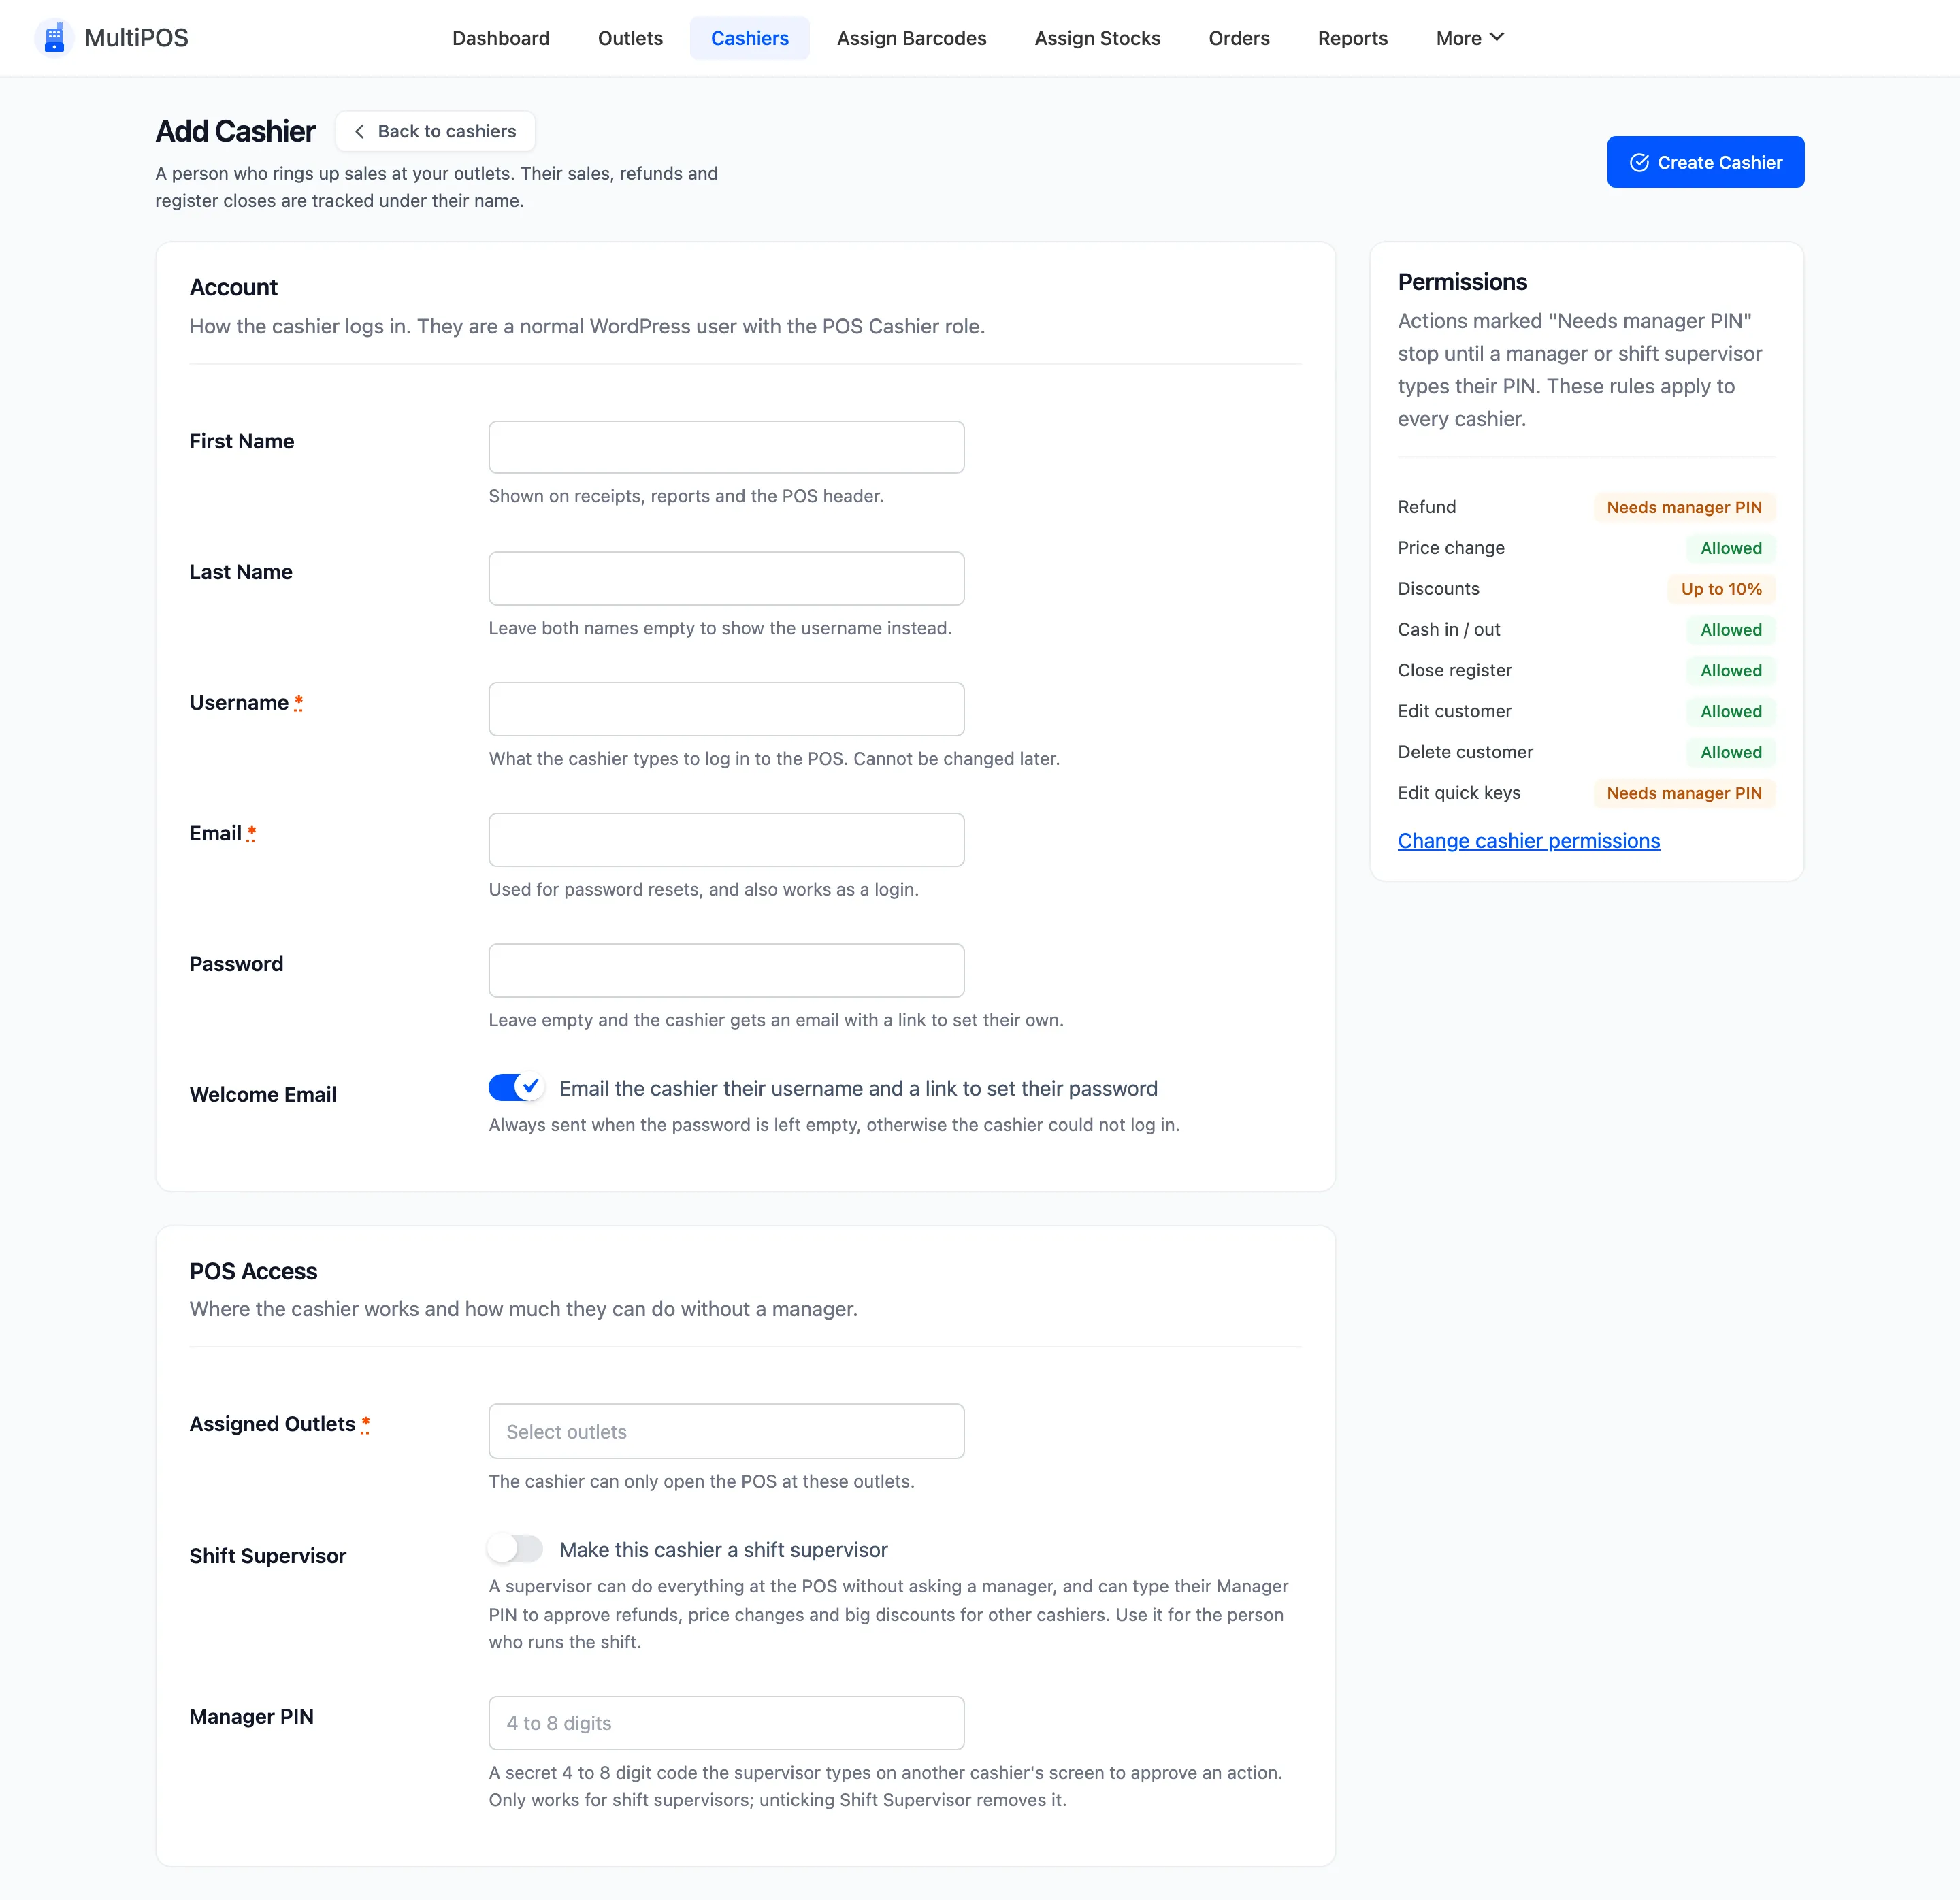
- First Name and Last Name: Shown on receipts, orders and reports.
- Username: What they type at the POS login. It cannot be changed later.
- Email: Their address, for the welcome email and password resets.
- Password: Set one now, or leave it empty.
- Welcome Email: Emails them the username and a link to set their own password.
Leaving the password empty is the safer choice. The welcome email is then always sent, so you never have to tell anyone a password.
Step 3: Choose the outlets
Section titled “Step 3: Choose the outlets”In POS Access, open Assigned Outlets and pick each outlet this cashier works at. At the POS a cashier with several picks one at the start of a session, and a cashier with one goes straight in.
The same section can make them a Shift Supervisor with a Manager PIN. Leave that for the people who should approve refunds and big discounts: How to Approve Actions with a Manager PIN.
Step 4: Check the permissions
Section titled “Step 4: Check the permissions”The Permissions panel on the right lists what a cashier may do alone, from your Permissions settings. Each rule reads Allowed, Needs manager PIN or a limit such as Up to 10%.
These apply to every cashier. To change them, use Change cashier permissions under the panel.
Step 5: Create the cashier
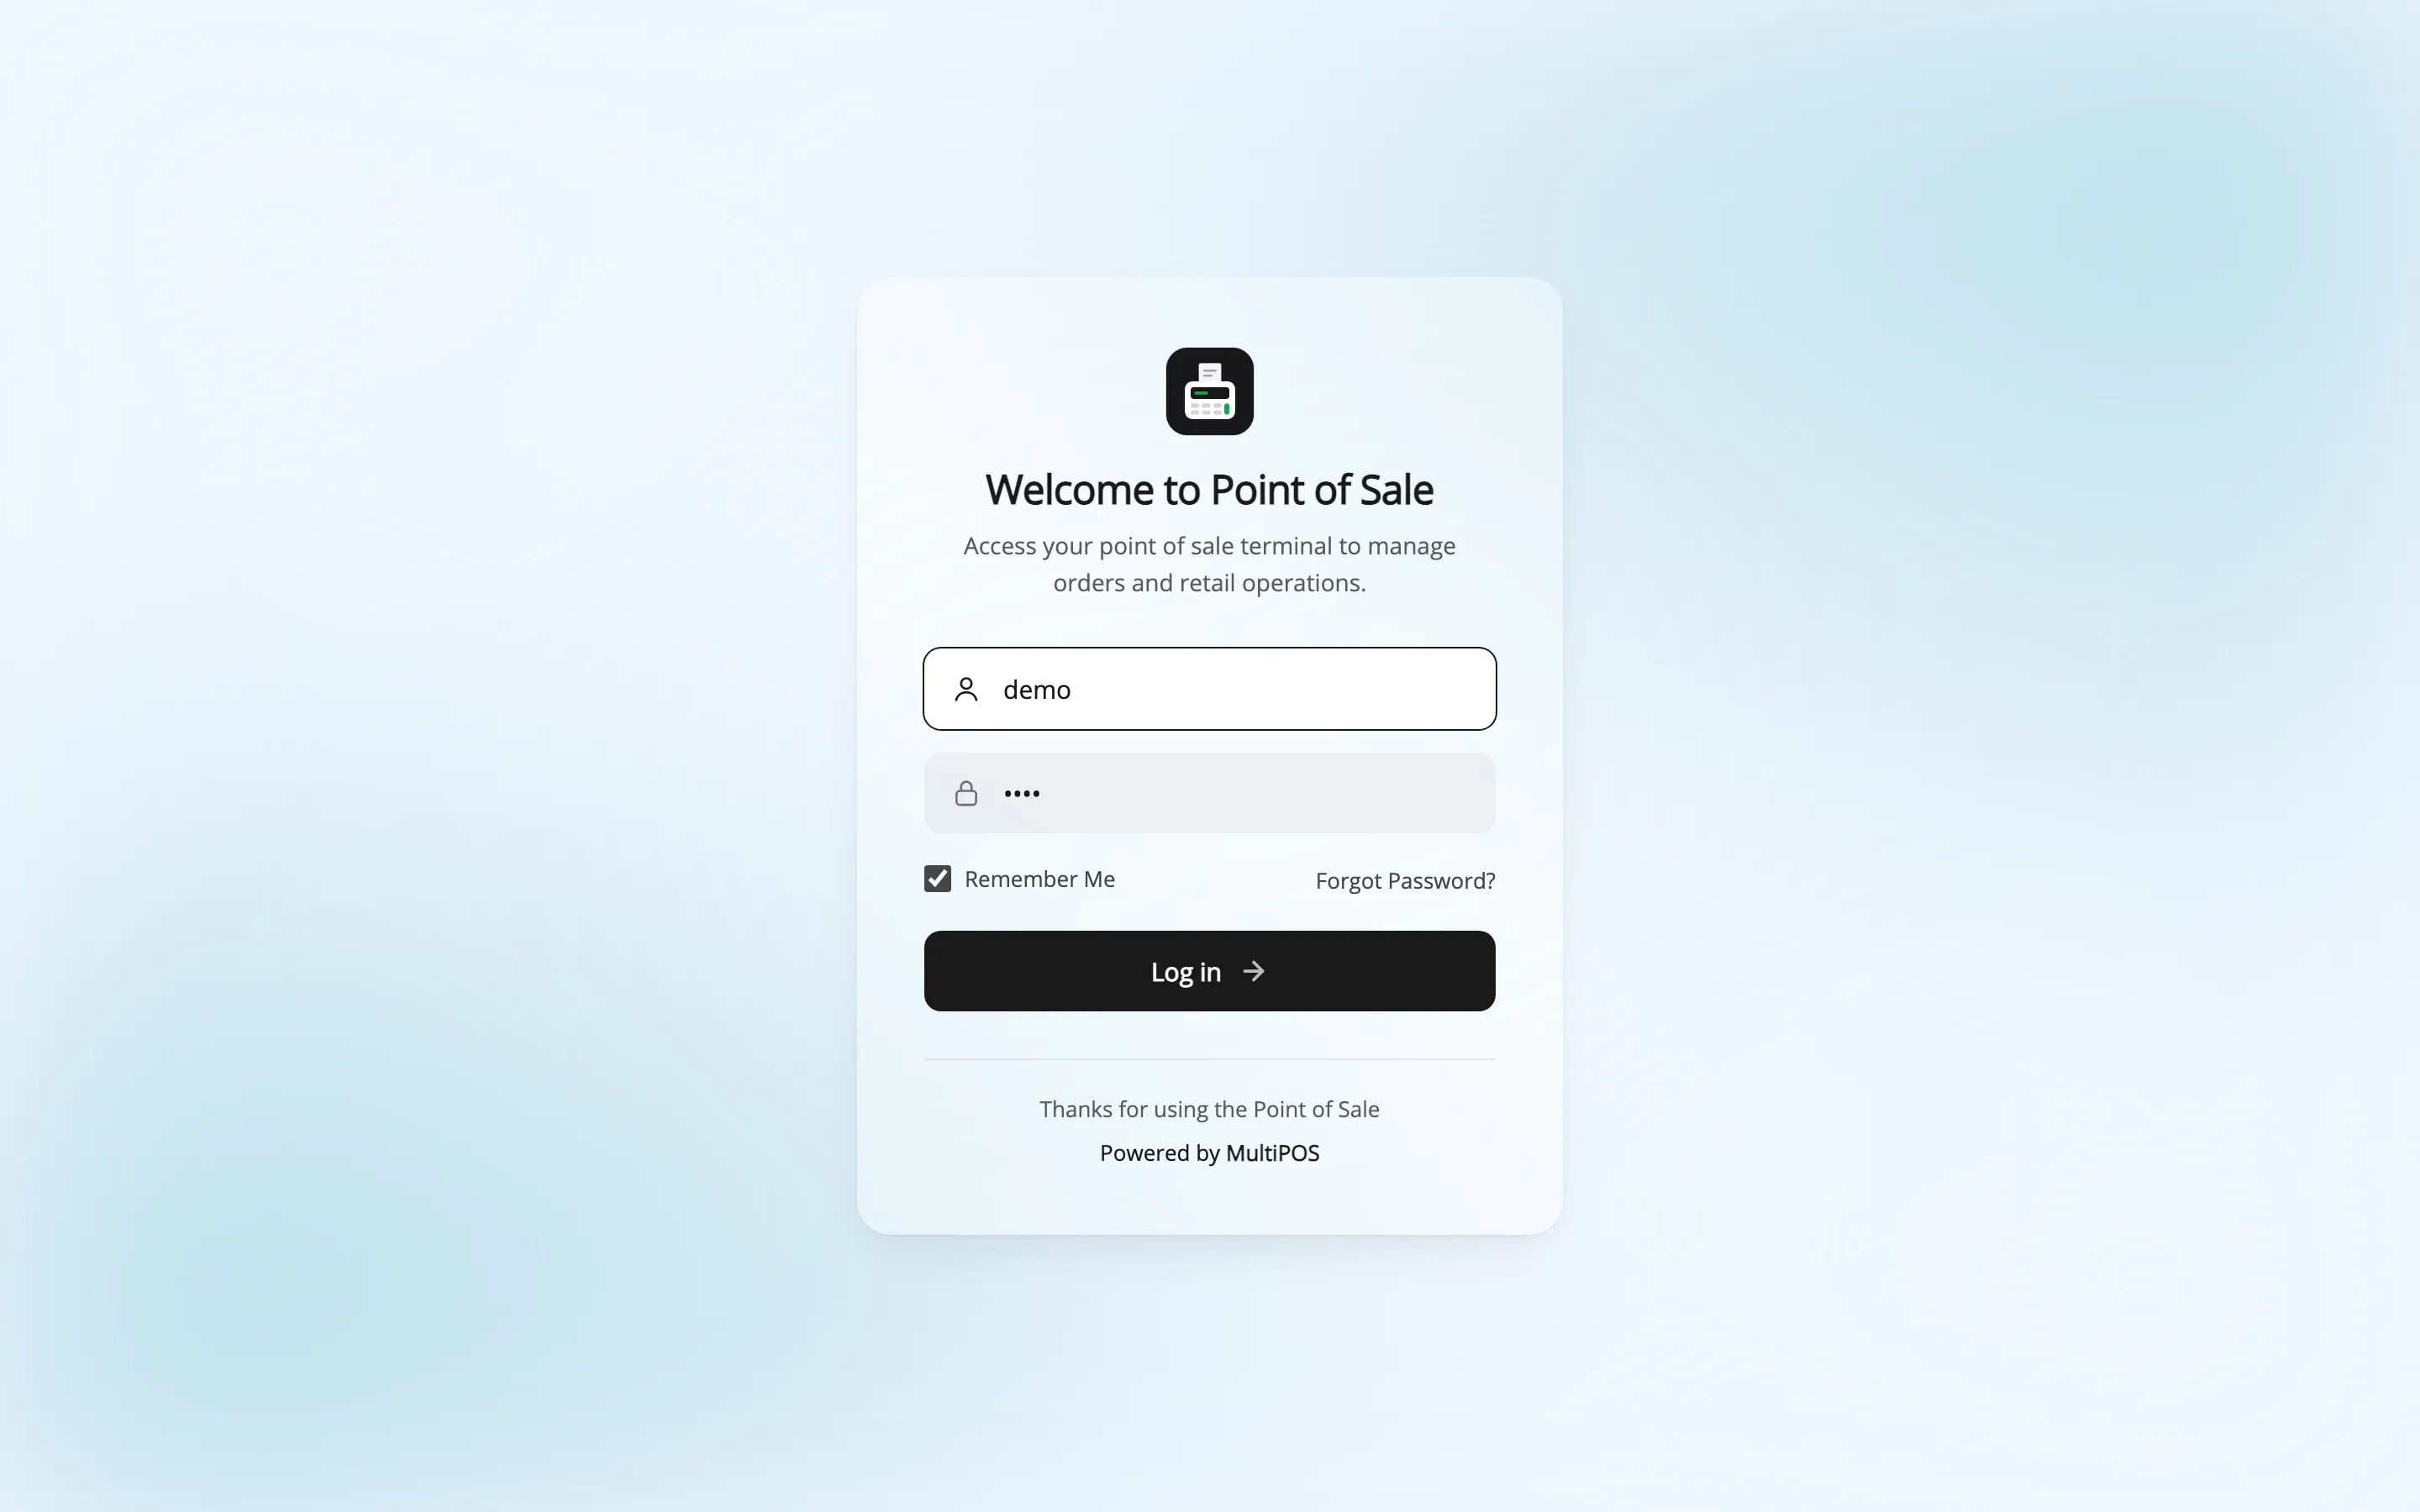
Section titled “Step 5: Create the cashier”Press Create Cashier. The cashier appears in the list, and logs in at your POS address, by
default yoursite.com/pos, with their username and password.
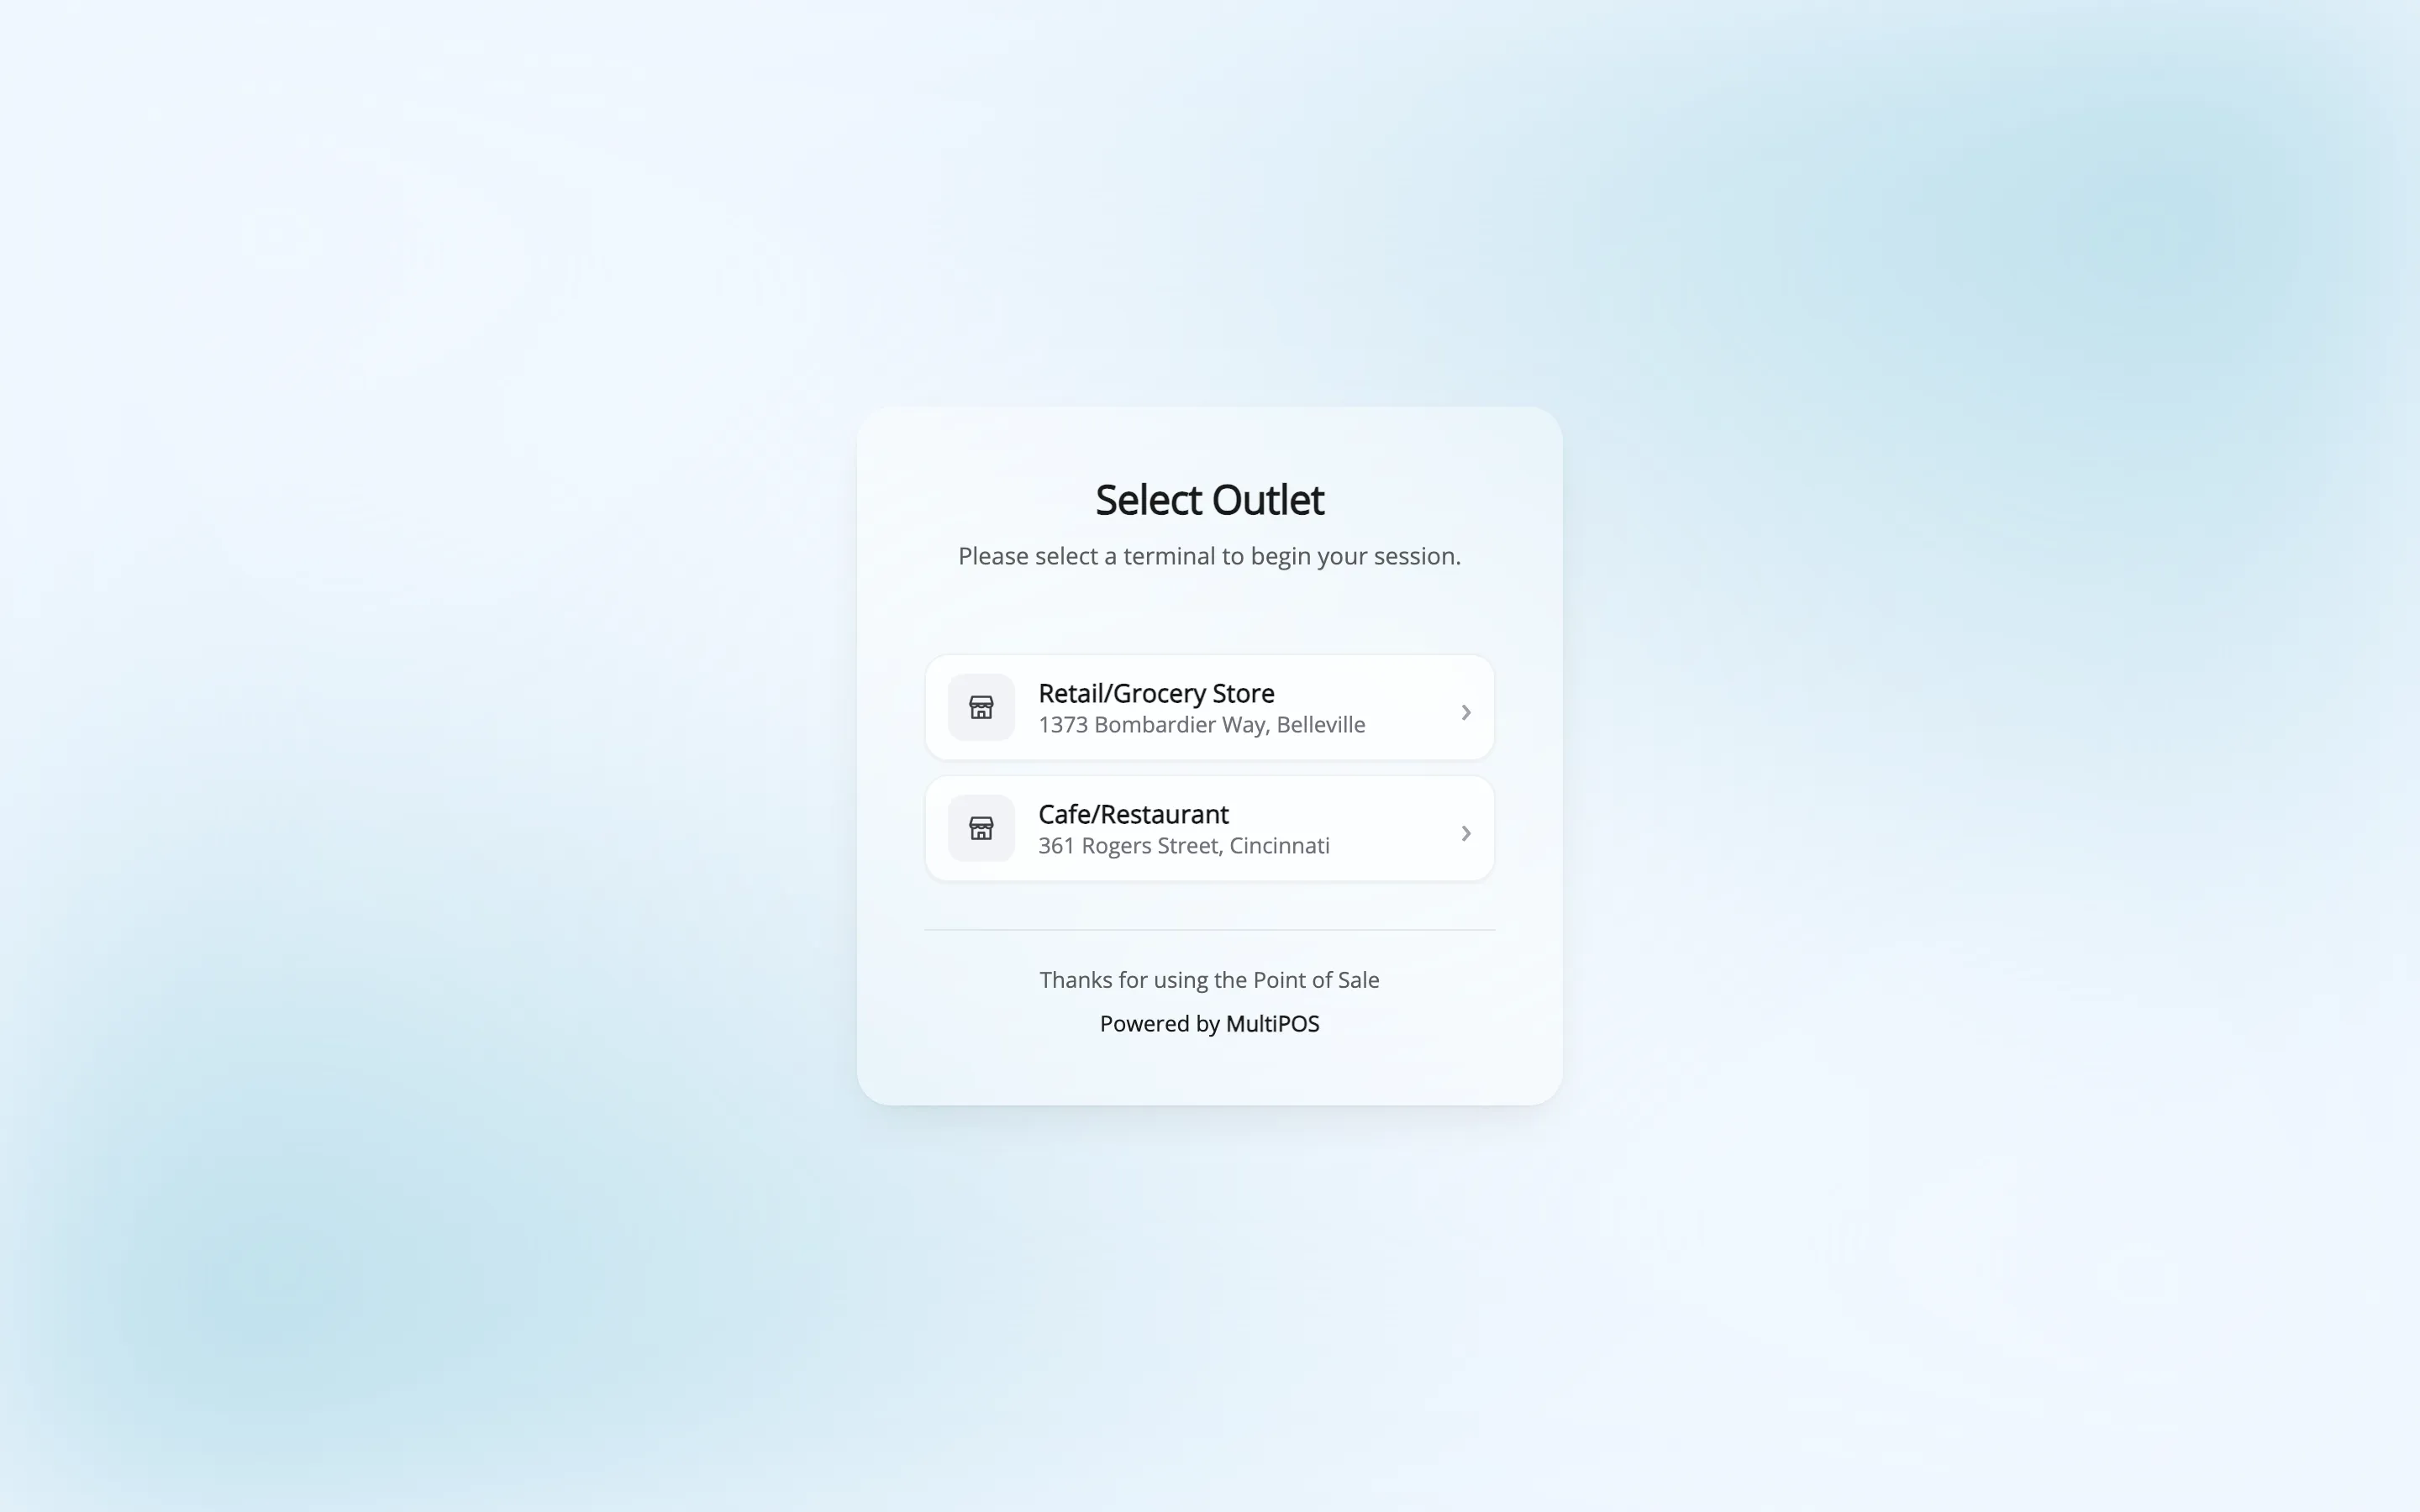
When they have more than one outlet, the next screen asks which one to open.
Who else can open the POS
Section titled “Who else can open the POS”Administrators and shop managers can open the POS without the cashier role, and permissions never limit them. A customer or subscriber cannot open it at all.