

How to Install the POS as an App (Pro)
An installed POS opens from a home screen icon with no browser bar and no address to mistype. On a counter tablet that is the difference between a POS and a website someone can navigate away from.
Step 1: Fill in the app details
Section titled “Step 1: Fill in the app details”Go to DevDiggers Plugins → MultiPOS → Configuration → PWA.
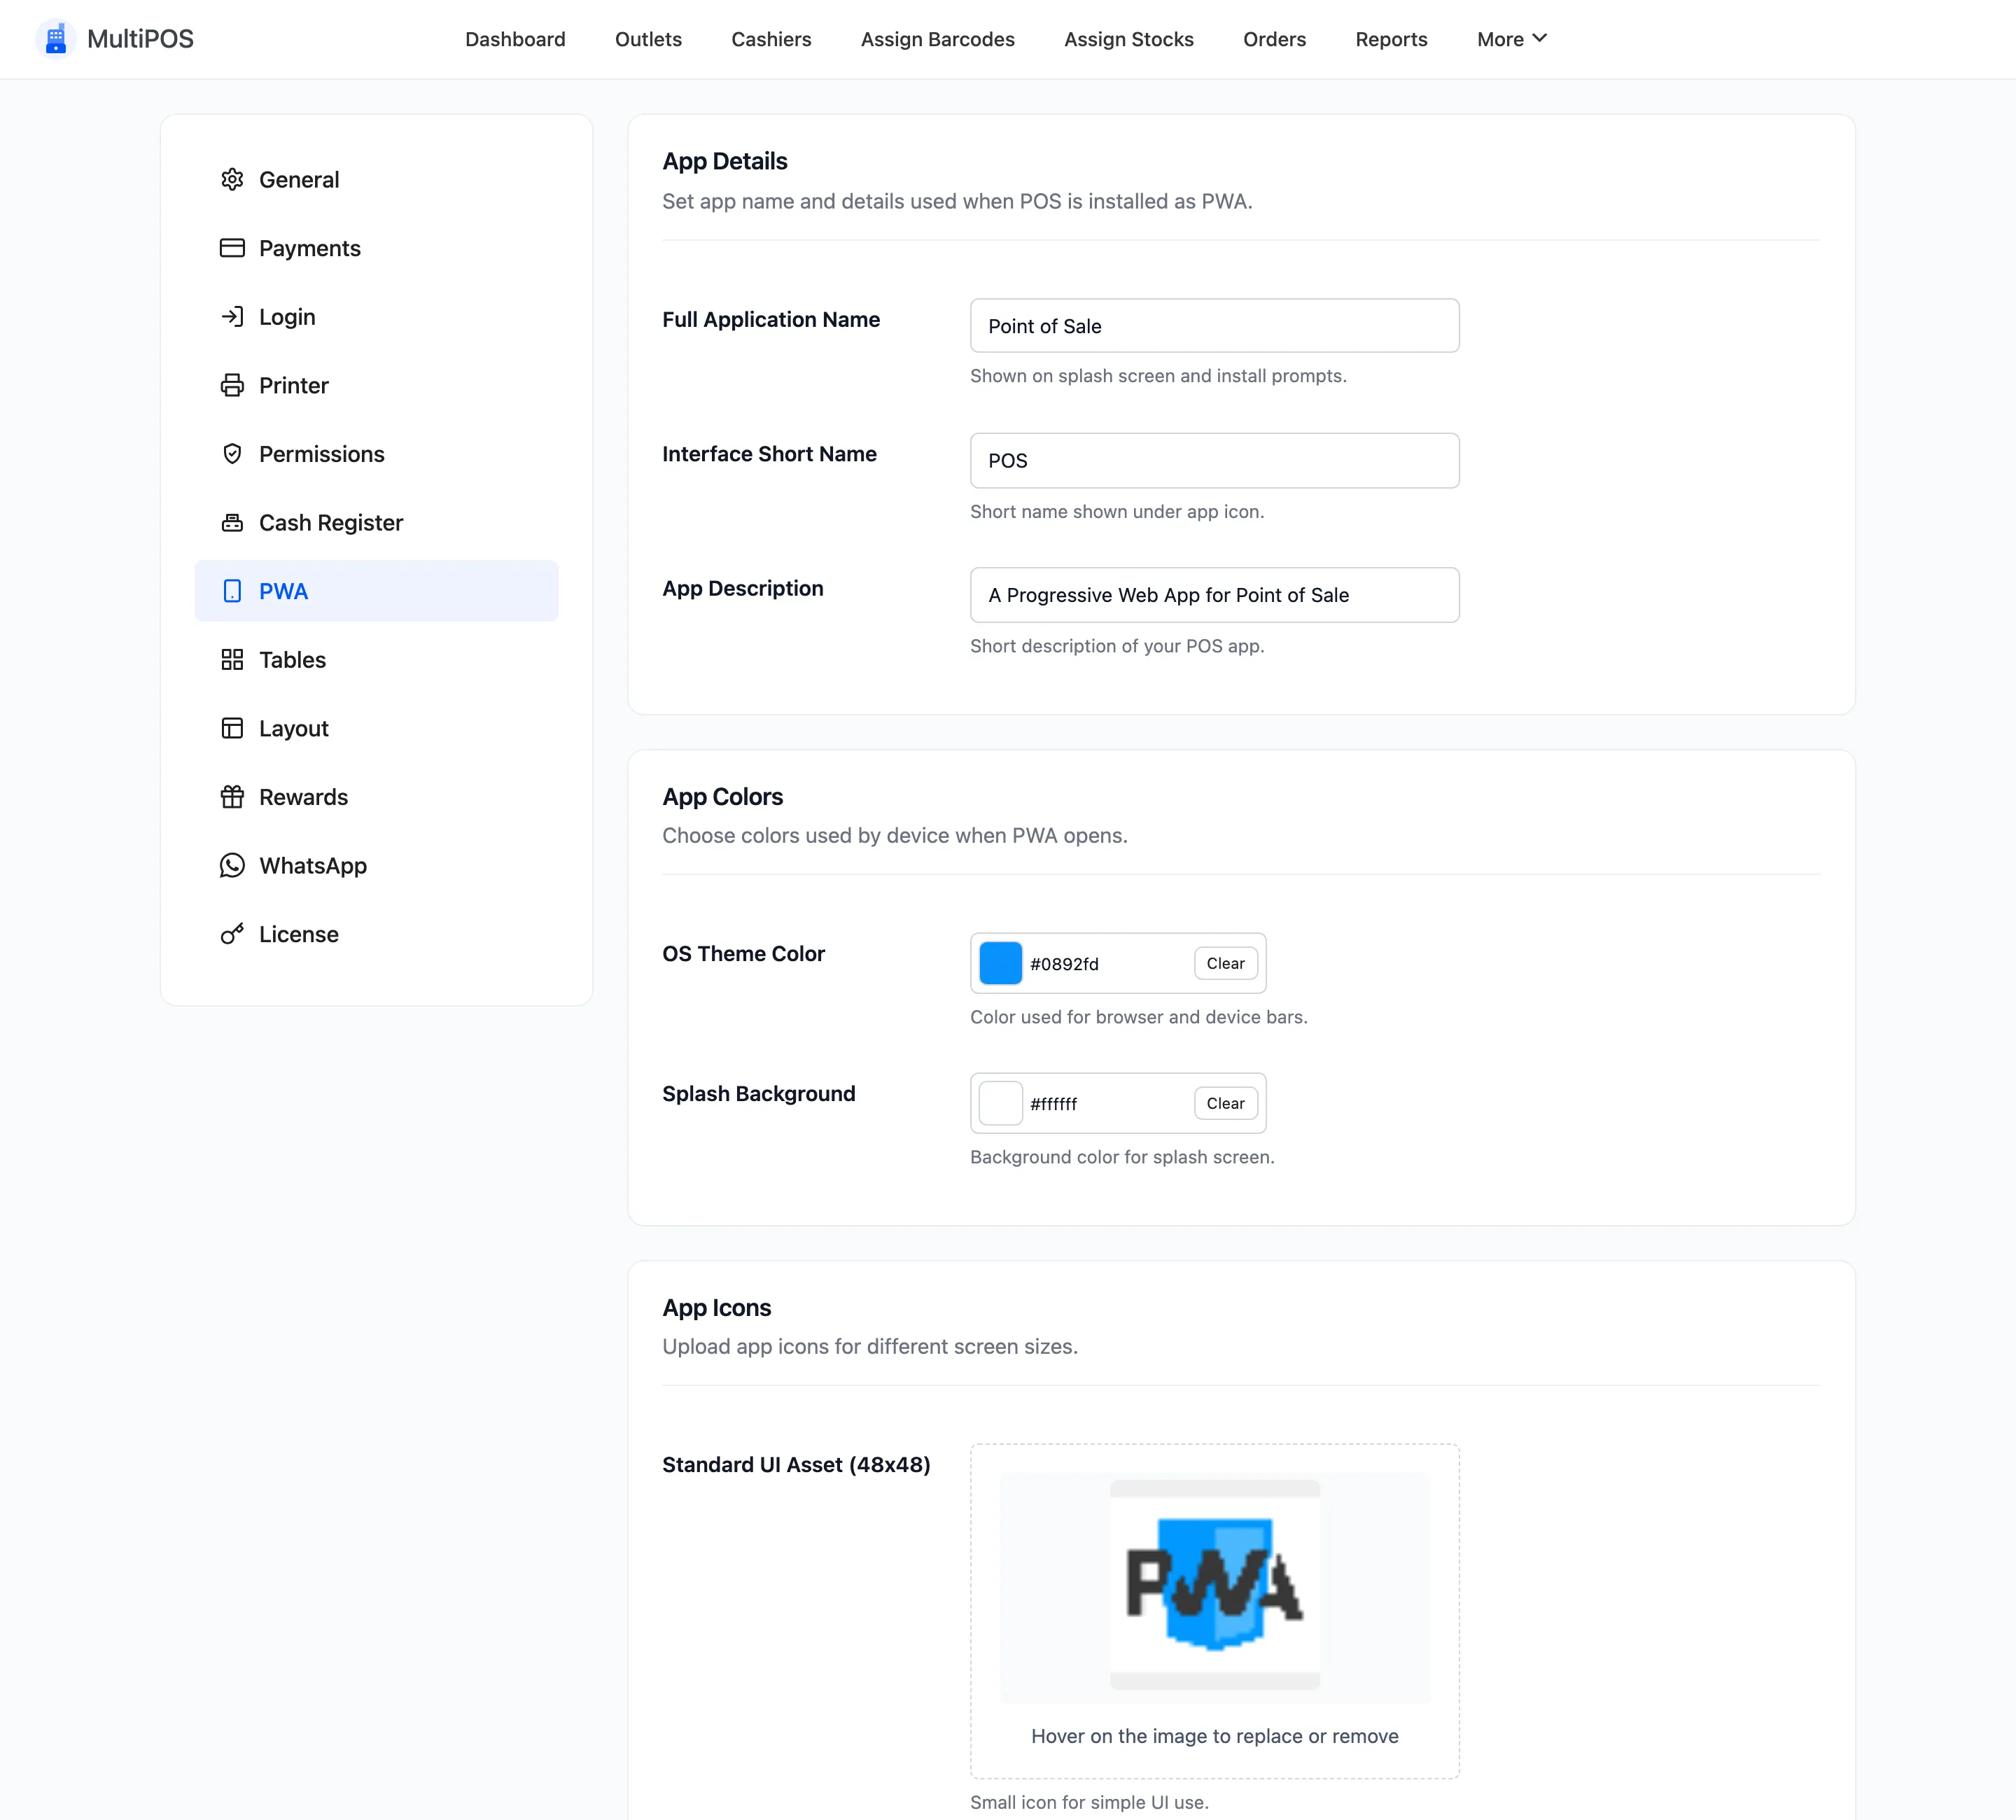
- Full Application Name appears on the install prompt and in the device’s app list. Defaults to “Point of Sale”.
- Interface Short Name sits under the home screen icon. Defaults to “POS”.
- App Description appears on the install prompt.
The short name is the one staff read every day. Keep it under about twelve characters or the device truncates it. Use your shop’s name rather than “POS” if there is any chance of confusion with another installed app.
Step 2: Set the app colours
Section titled “Step 2: Set the app colours”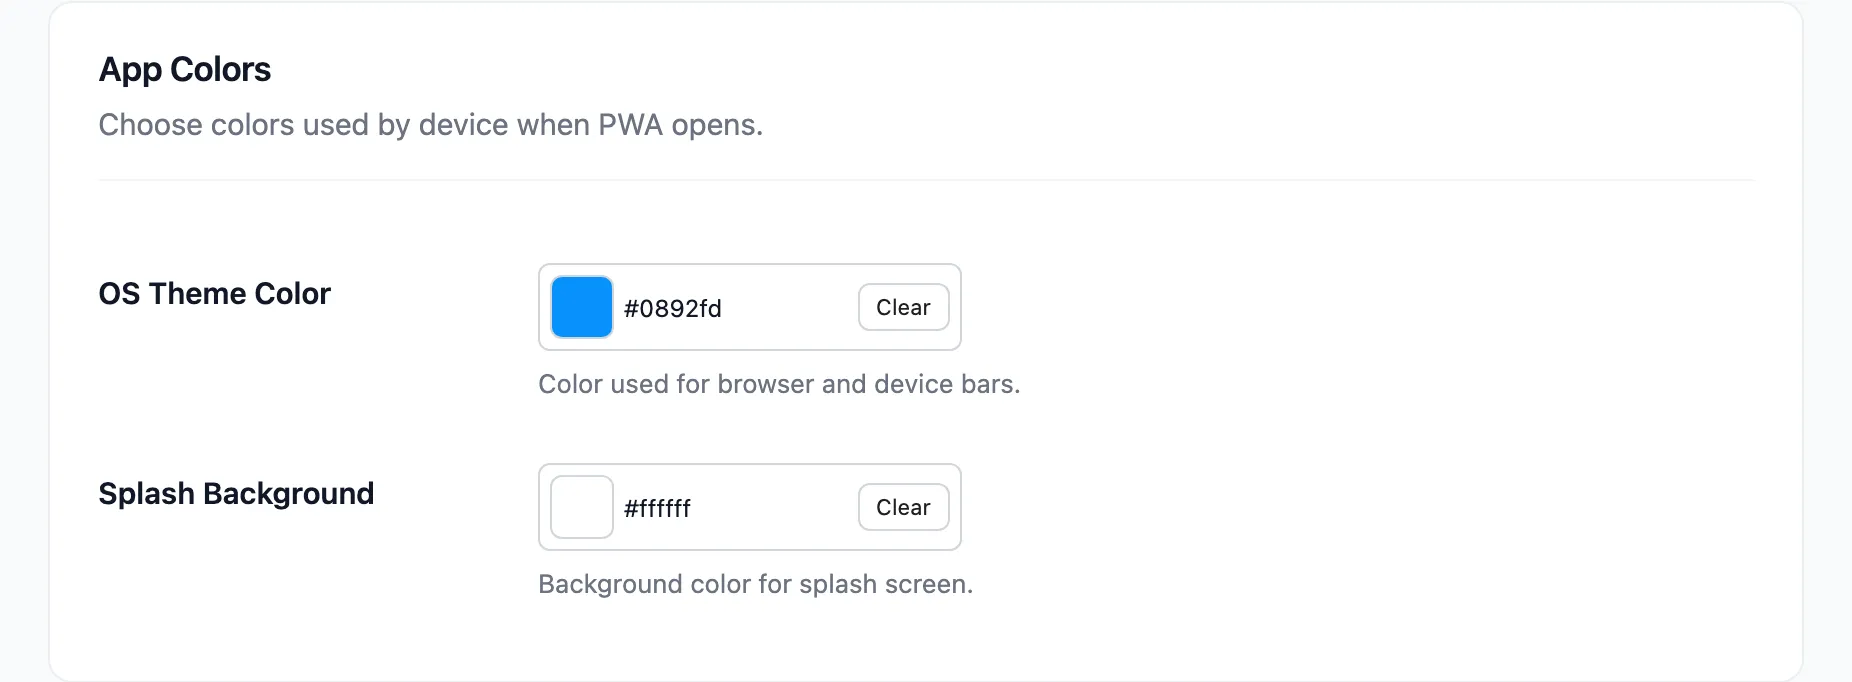
- OS Theme Color tints the system chrome around the app, defaulting to
#0892fd. - Splash Background is the colour behind the icon while the app loads, defaulting to
#ffffff.
Match the splash background to your logo’s background. A white logo on a white splash screen disappears, which reads as a broken install.
Step 3: Upload the five icons
Section titled “Step 3: Upload the five icons”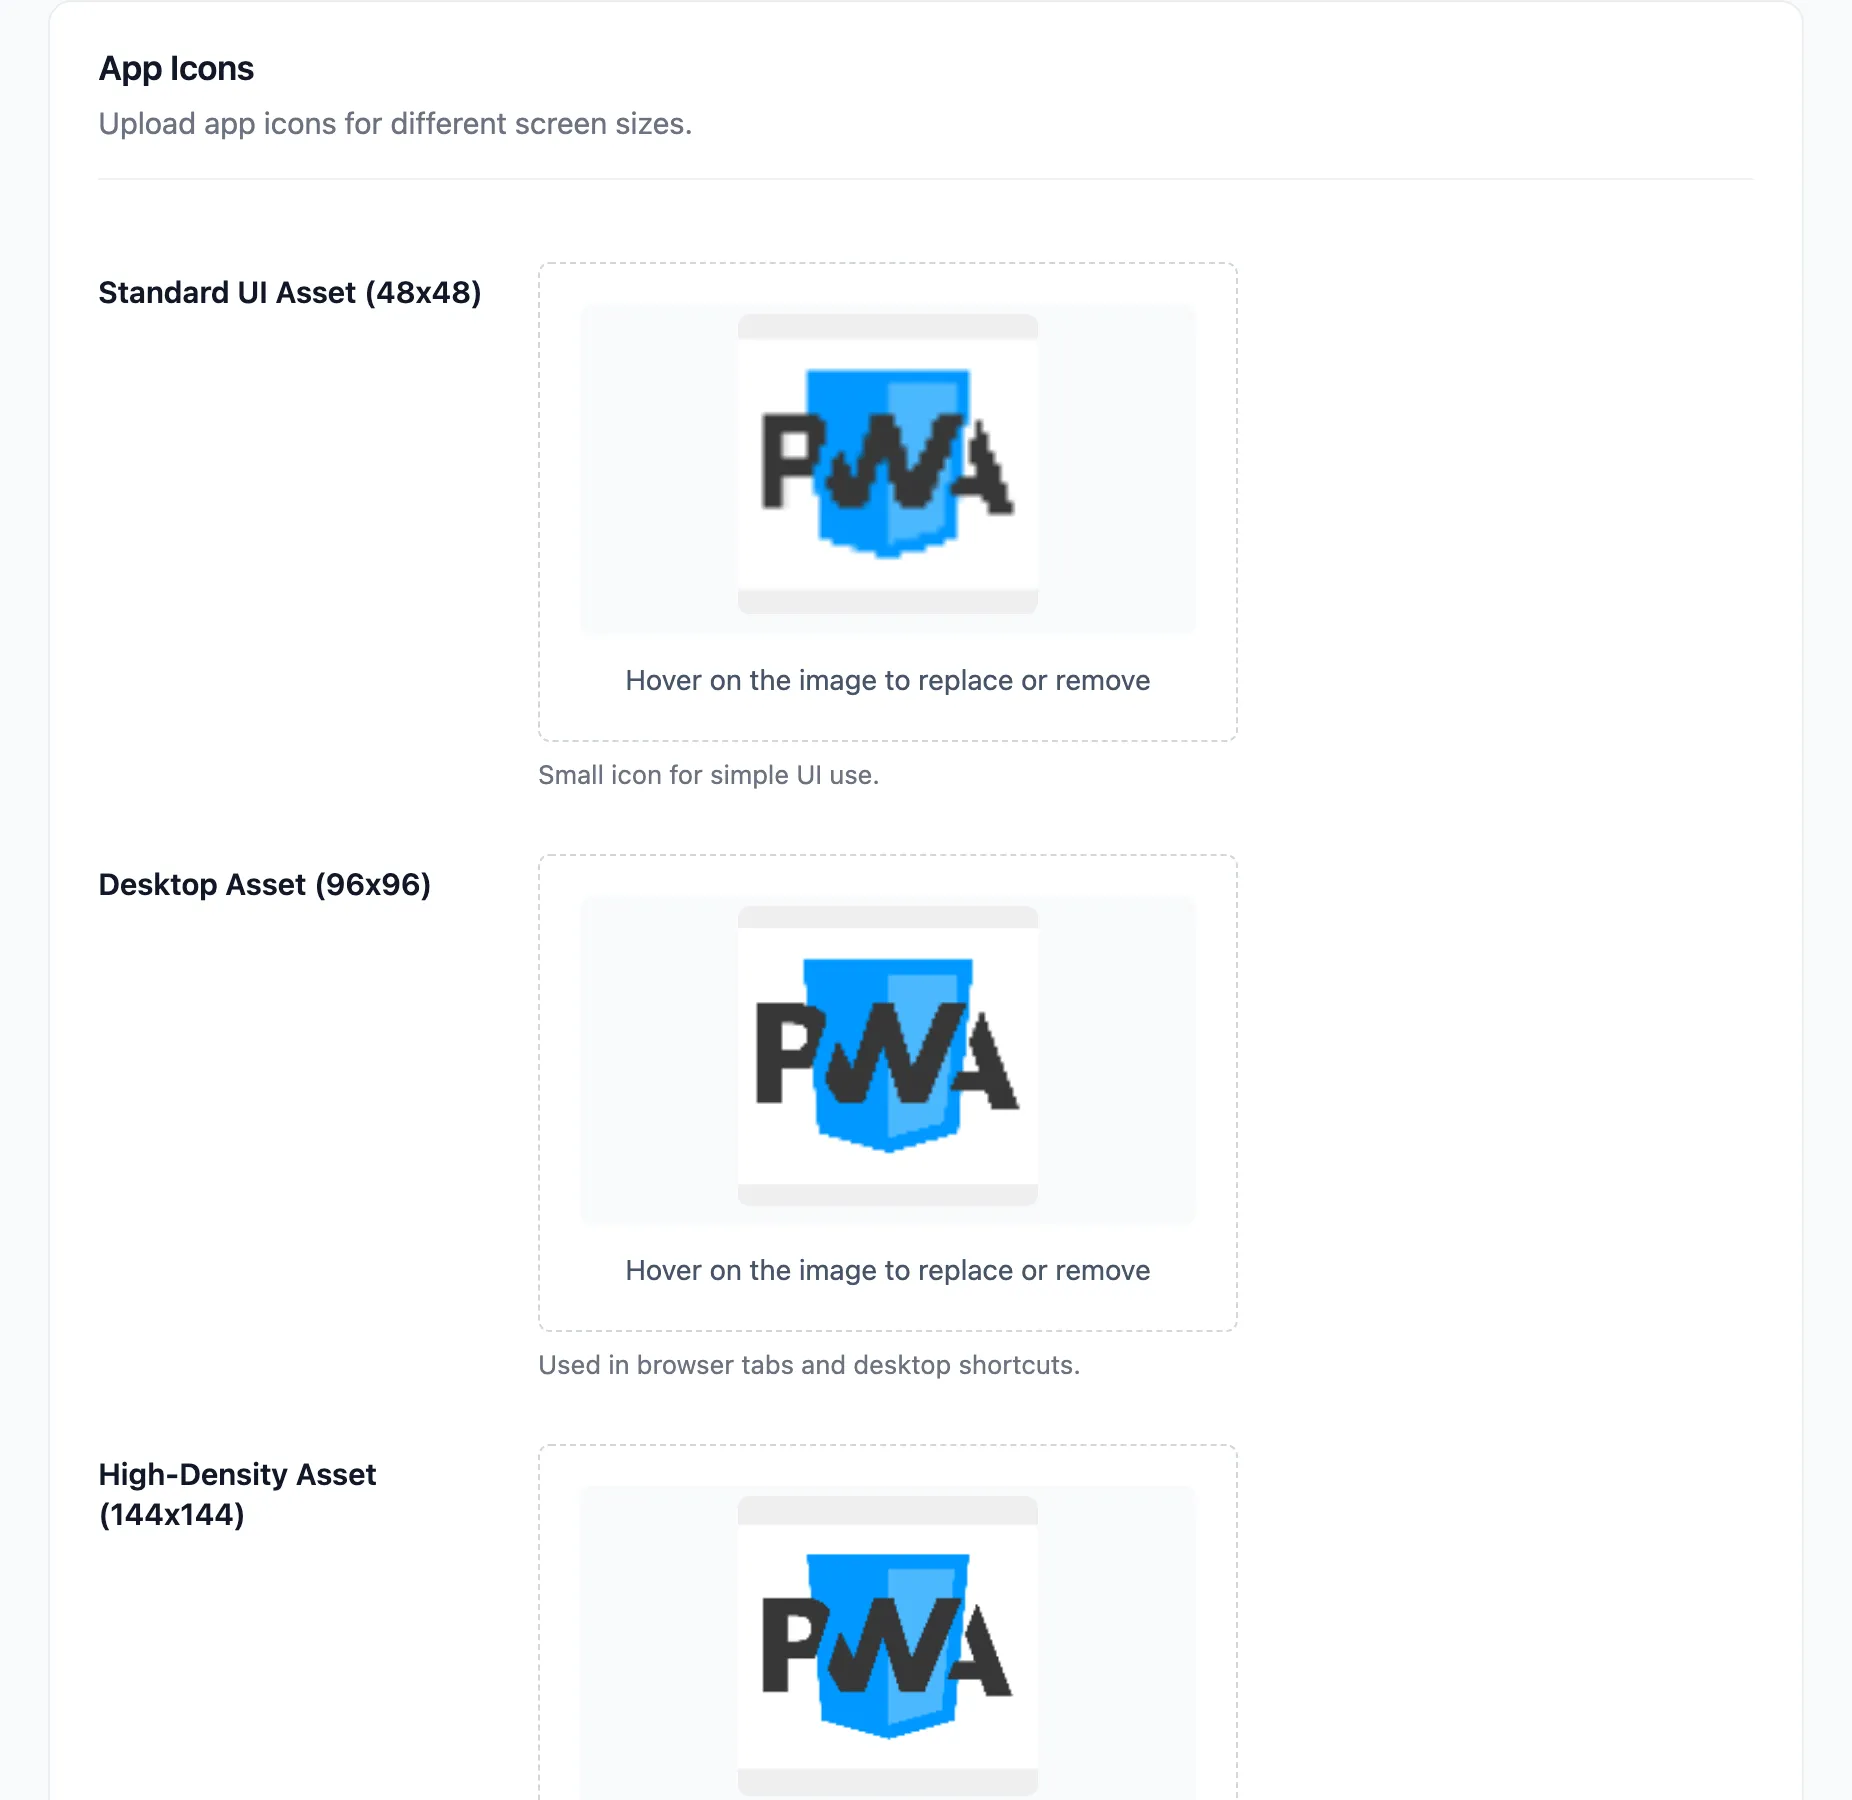
| Field | Size |
|---|---|
| Standard UI Asset | 48 by 48 |
| Desktop Asset | 96 by 96 |
| High-Density Asset | 144 by 144 |
| Enhanced Resolution Asset | 196 by 196 |
| Master Branding Asset | 512 by 512 |
Upload all five. A device picks the closest match and scales it, so a missing size means a blurry icon on exactly the hardware that skipped it.
Export square PNGs from one master file. Do not upload the same 512 image five times renamed. Detail that reads at 512 pixels is mush at 48, so the small sizes need a simpler mark.
Click Save Changes.
Step 4: Open the terminal on the device
Section titled “Step 4: Open the terminal on the device”On the tablet or laptop you want to install it on, go to your POS URL.
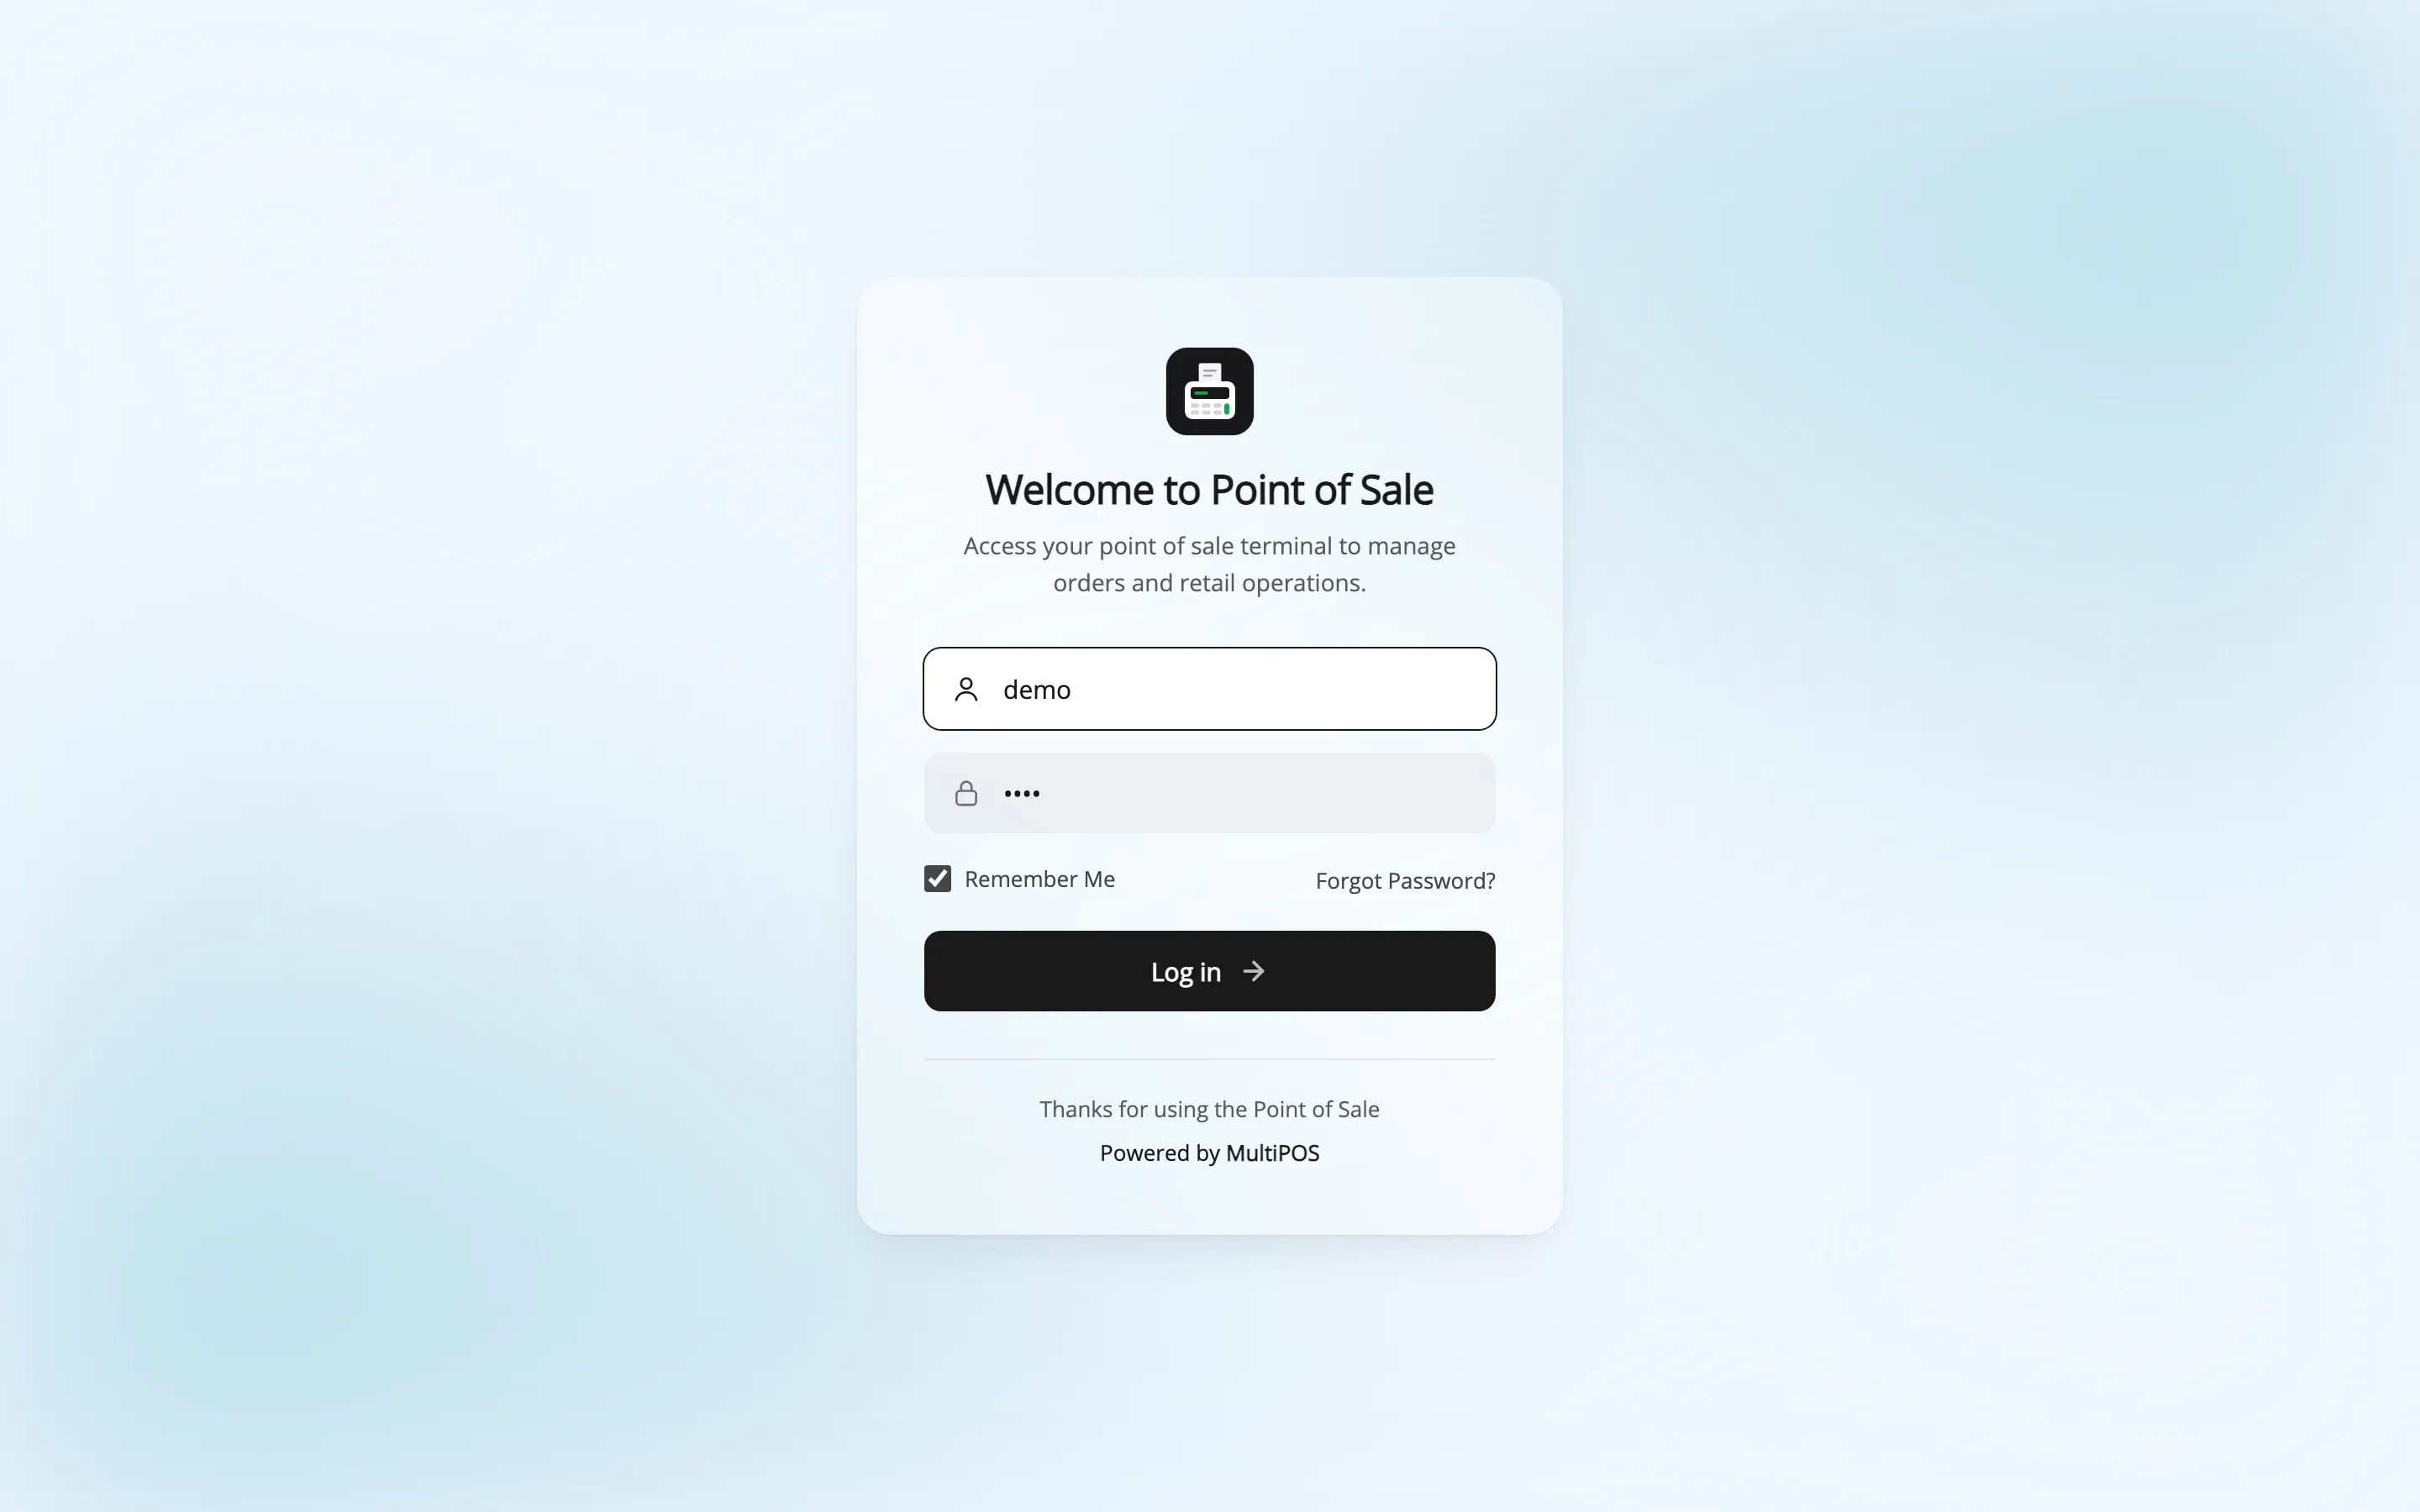
Sign in first. Installing before signing in works, but the first launch then lands on the login screen, which confuses staff who expected a POS.
Step 5: Install it
Section titled “Step 5: Install it”- Android and desktop Chrome or Edge: An install prompt appears, or an install icon appears in the address bar. Accept it.
- iPad and iPhone: Press Share, then Add to Home Screen.
- Desktop Safari: Use File → Add to Dock.
The prompt itself is drawn by the browser, not by MultiPOS. It looks different in each one, and there is no MultiPOS screen to show you here. What MultiPOS controls is the name, the icon and the colours it appears with, which is the screen from step 2.
The app now launches full screen from the home icon.
Step 6: Check the first launch
Section titled “Step 6: Check the first launch”Open it from the home screen and confirm three things:
- The splash screen shows your icon on your background colour
- It opens full screen with no address bar
- The login or the POS loads, not an error
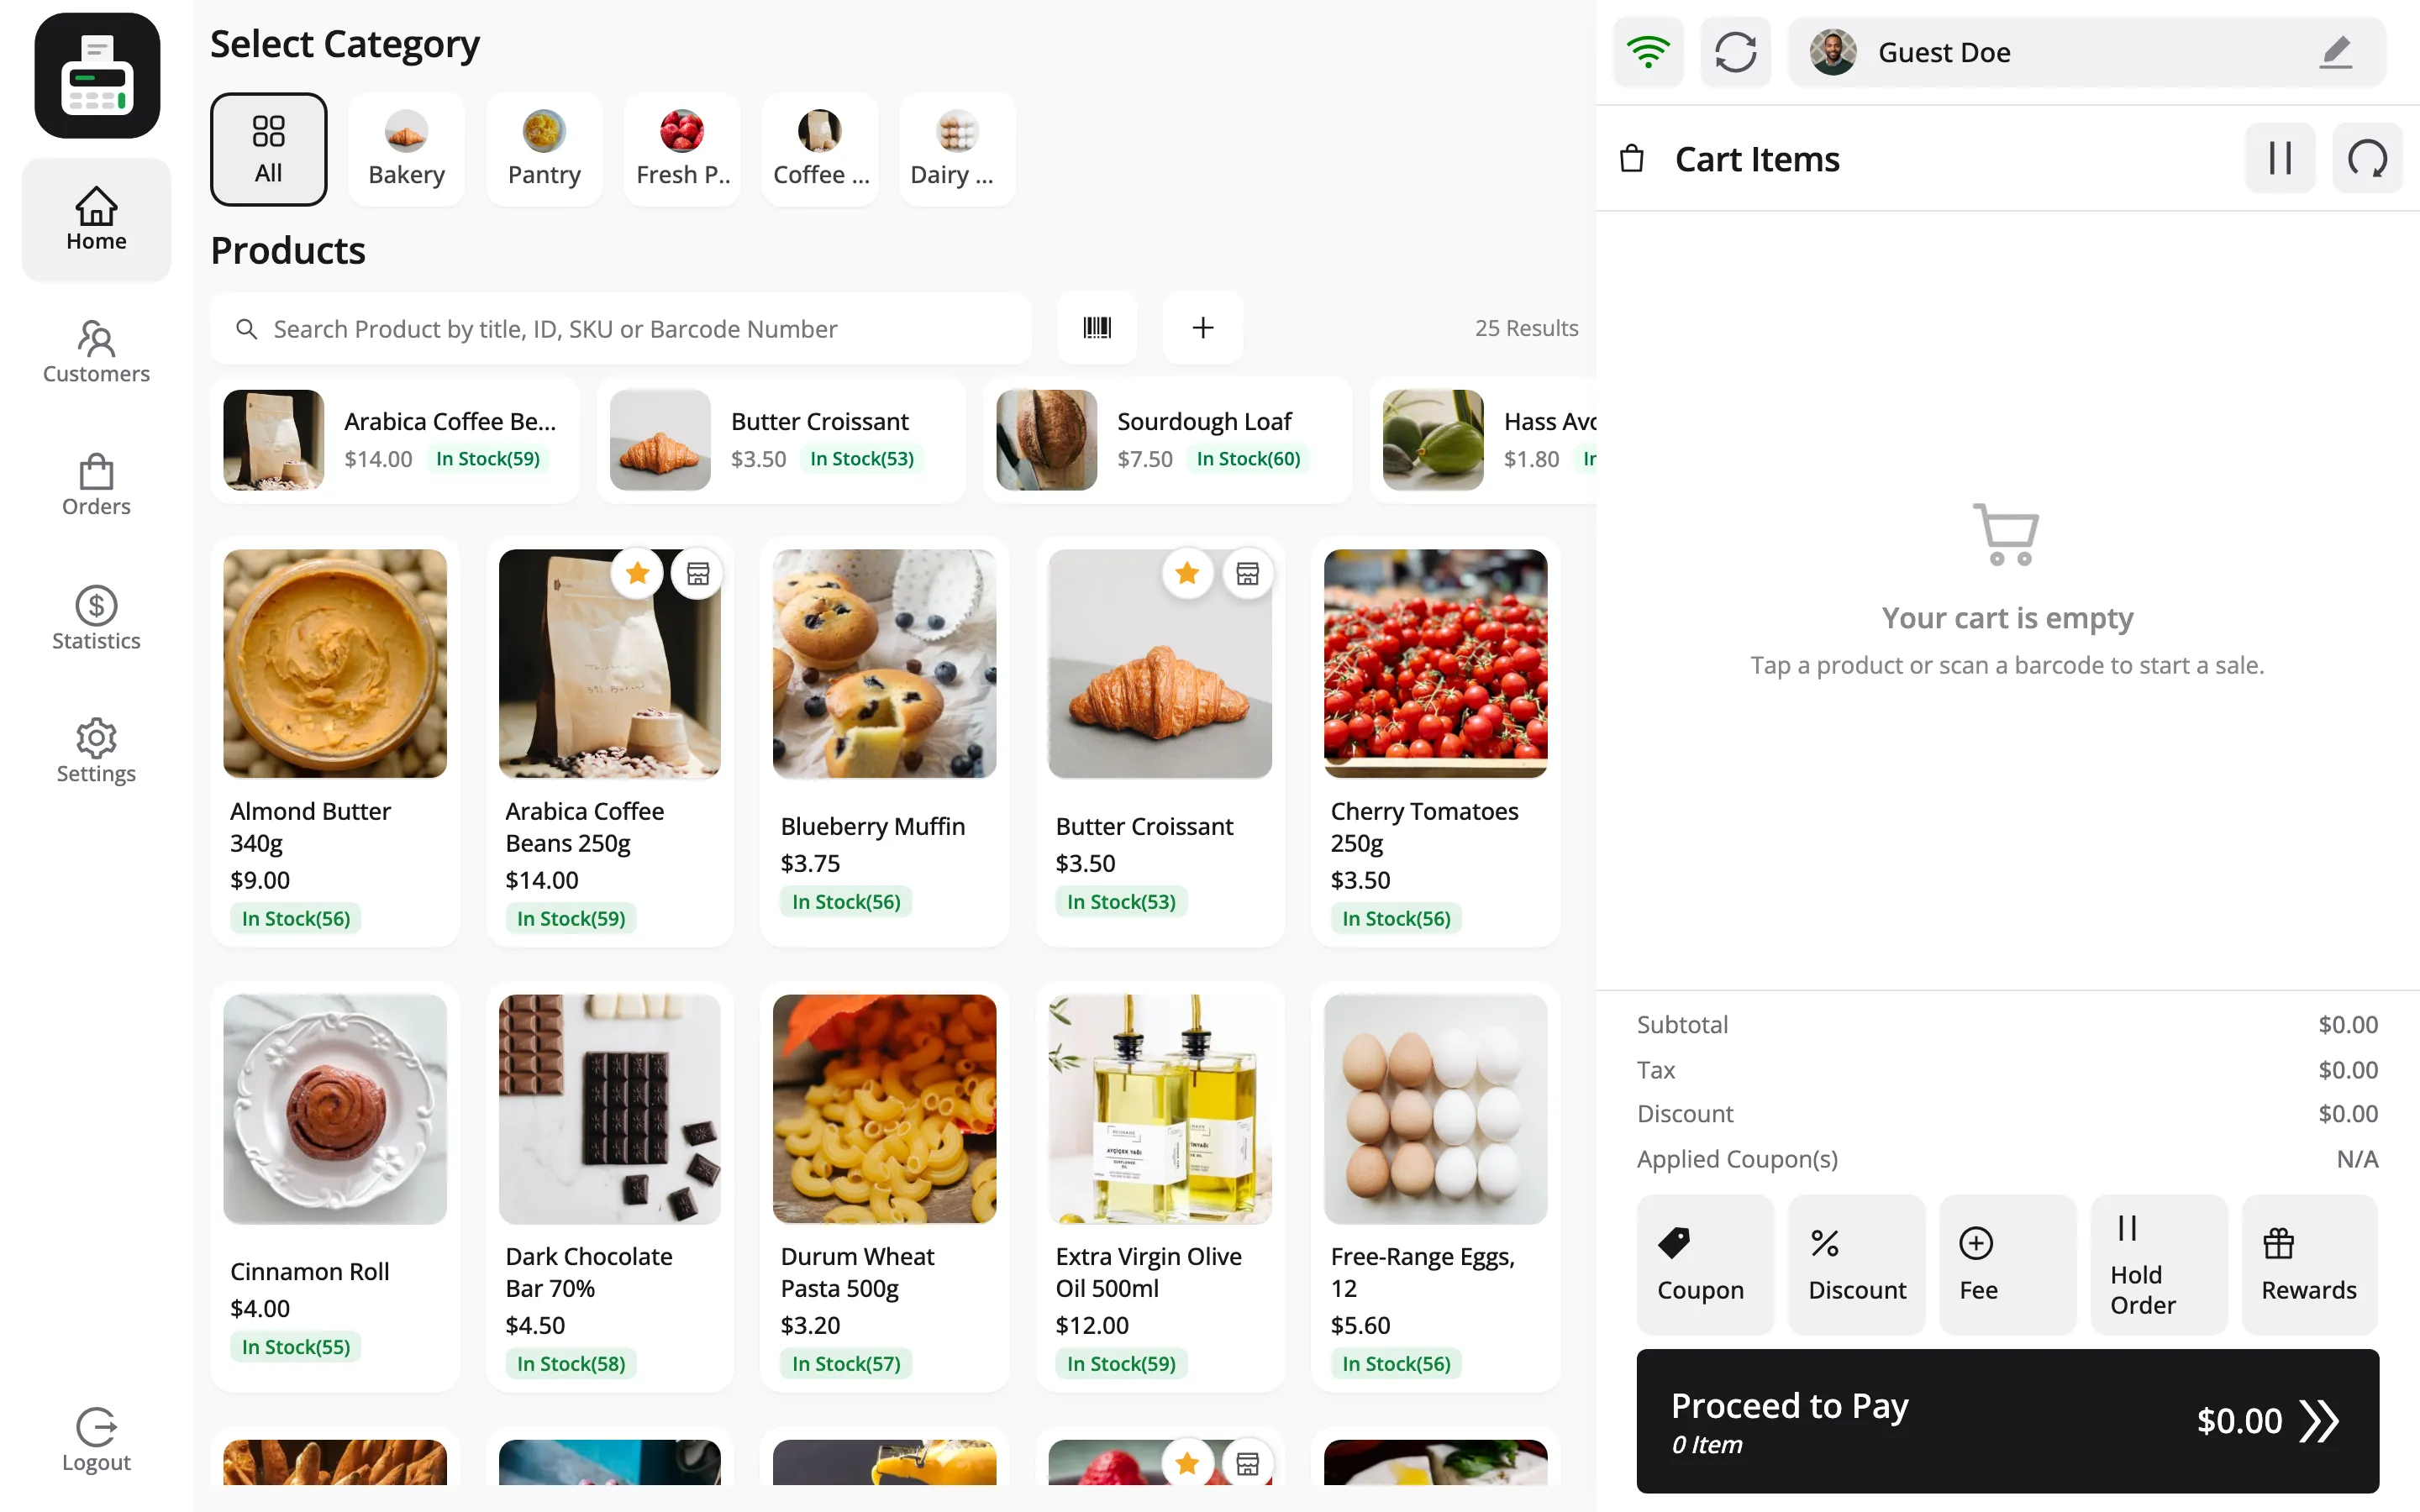
If the icon is generic, an icon upload was missed. If the name is wrong, the device cached an older version.
Reinstall after a change
Section titled “Reinstall after a change”A device caches the name, colours and icons at install time. Changing them here does not update an app that is already on a home screen.
Remove the app and install it again after any change to this tab. Do it once, across every device, at the end of a setup rather than piecemeal.
What an installed app does not add
Section titled “What an installed app does not add”It is the same terminal in a different frame. It does not add offline selling, which is a separate setting under Configuration → General.
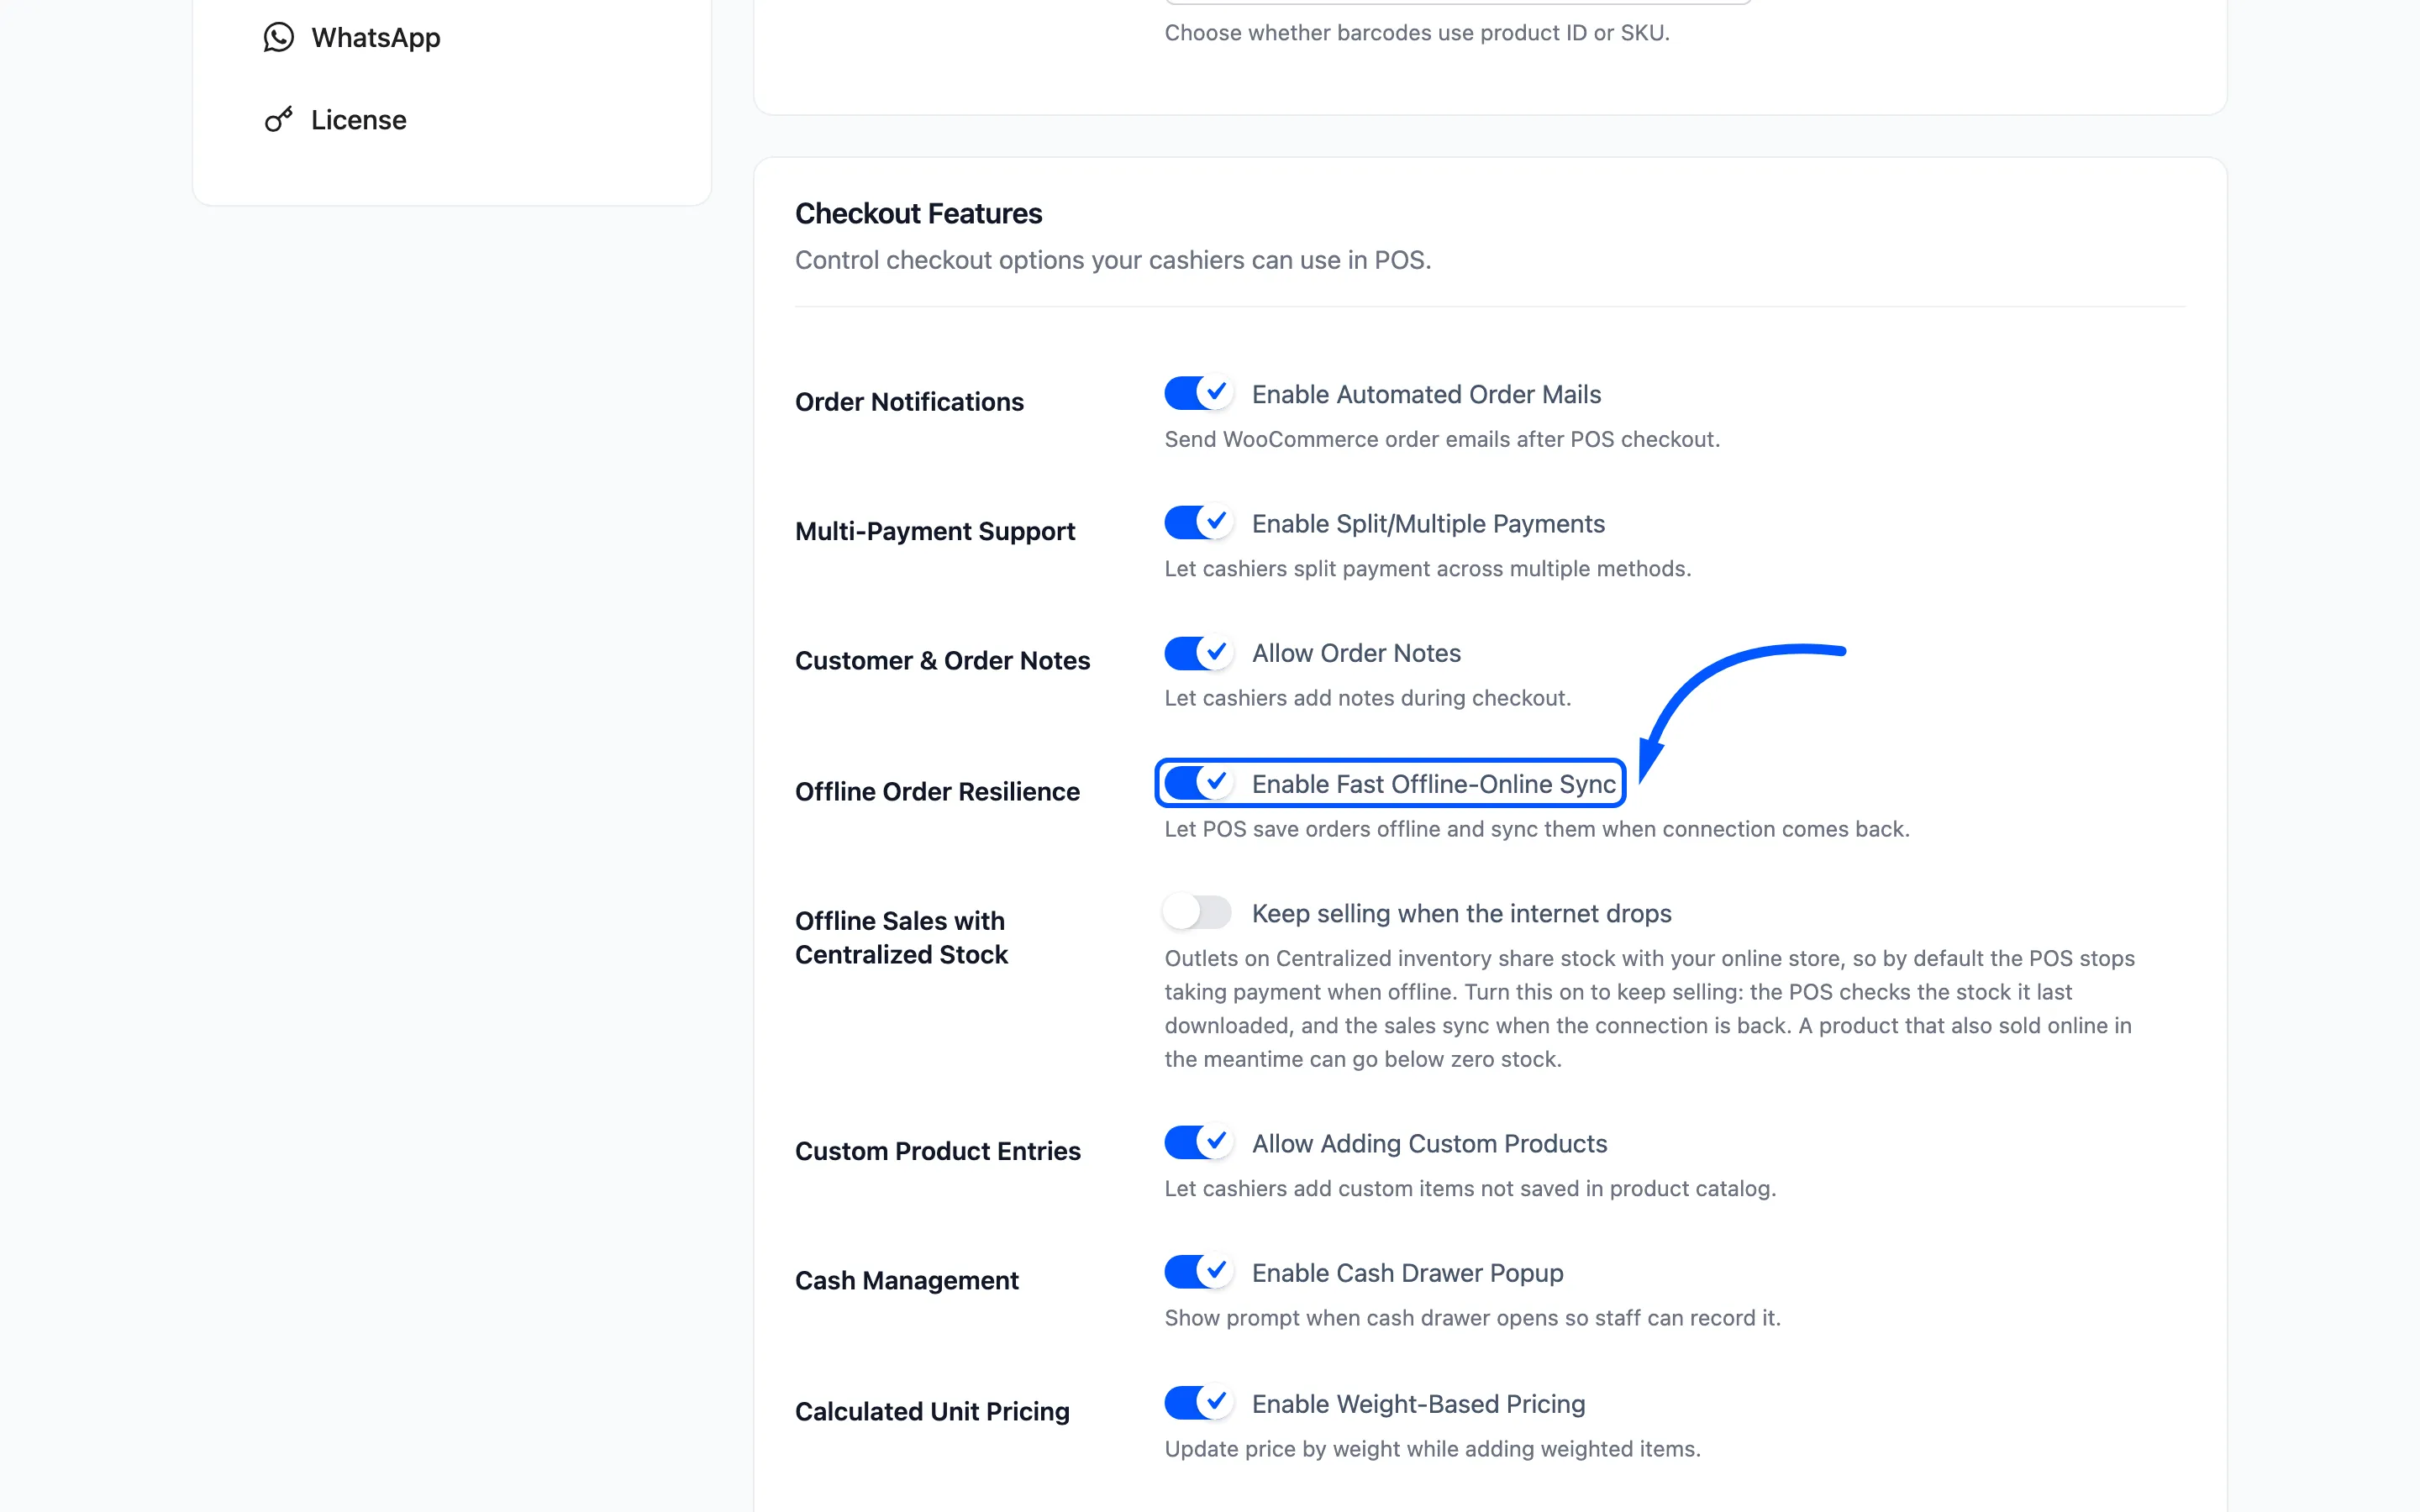
Turn both on together if the tablet is on a connection you do not trust.
Where to go next
Section titled “Where to go next”- PWA Settings for the field reference.
- How to Sell Offline and Sync
- How to Brand the POS Terminal