

How to Send Orders to the Kitchen (Pro)
The kitchen needs to know what to cook without a cashier shouting it. MultiPOS gives it a screen that fills itself.
Step 1: Turn the kitchen switches on
Section titled “Step 1: Turn the kitchen switches on”Go to DevDiggers Plugins → MultiPOS → Configuration → General and find the Kitchen section.
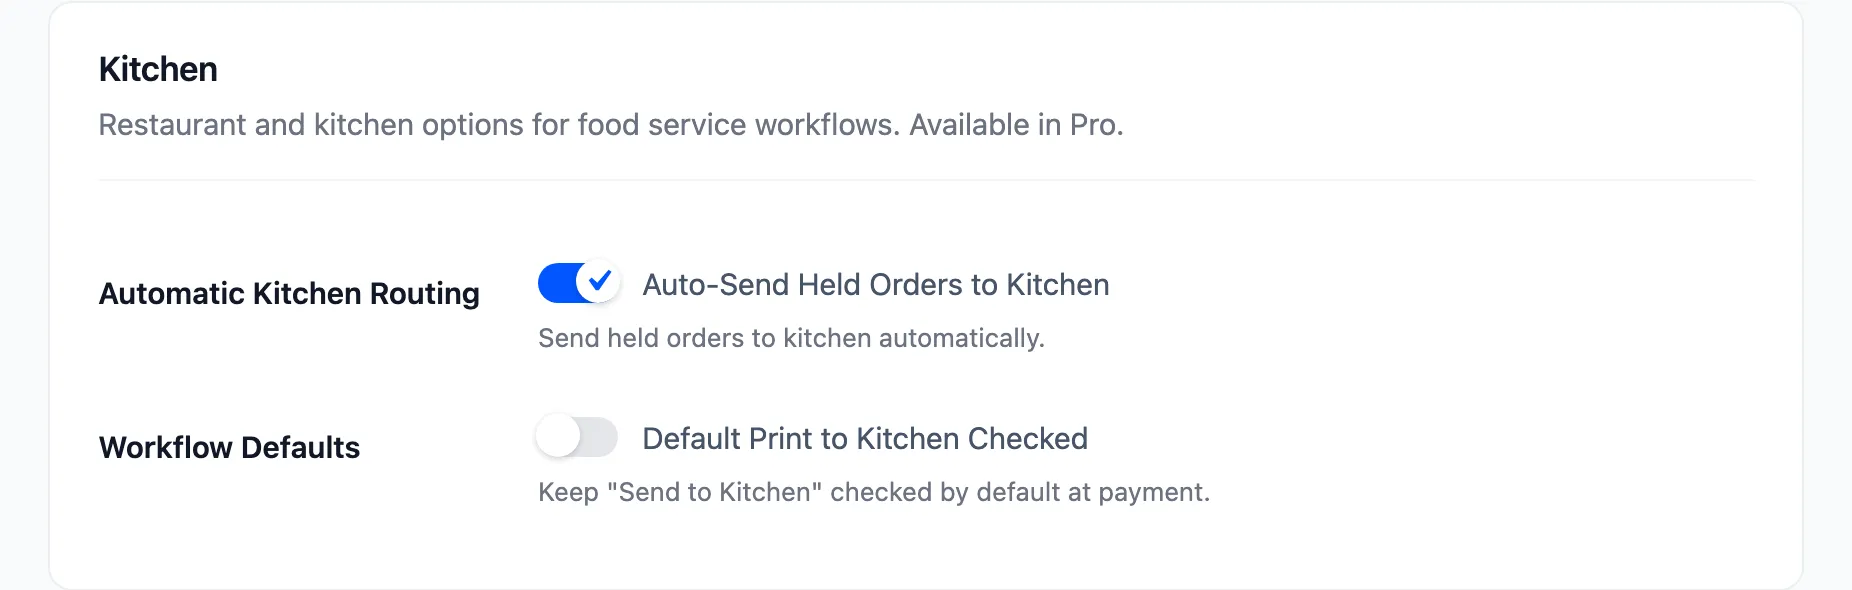
- Auto-Send Held Orders to Kitchen is the one that matters. With it on, holding a cart in restaurant mode puts the ticket on the kitchen screen straight away.
- Default Print to Kitchen Checked pre-ticks Send Order to Kitchen on the payment screen, so a cashier taking payment does not have to remember.
Turn on the first for table service. Turn on the second as well if you also take counter orders that the kitchen makes.
Click Save Changes.
Step 2: Check the outlet is in restaurant mode
Section titled “Step 2: Check the outlet is in restaurant mode”Neither switch does anything on a Retail/Grocery outlet.
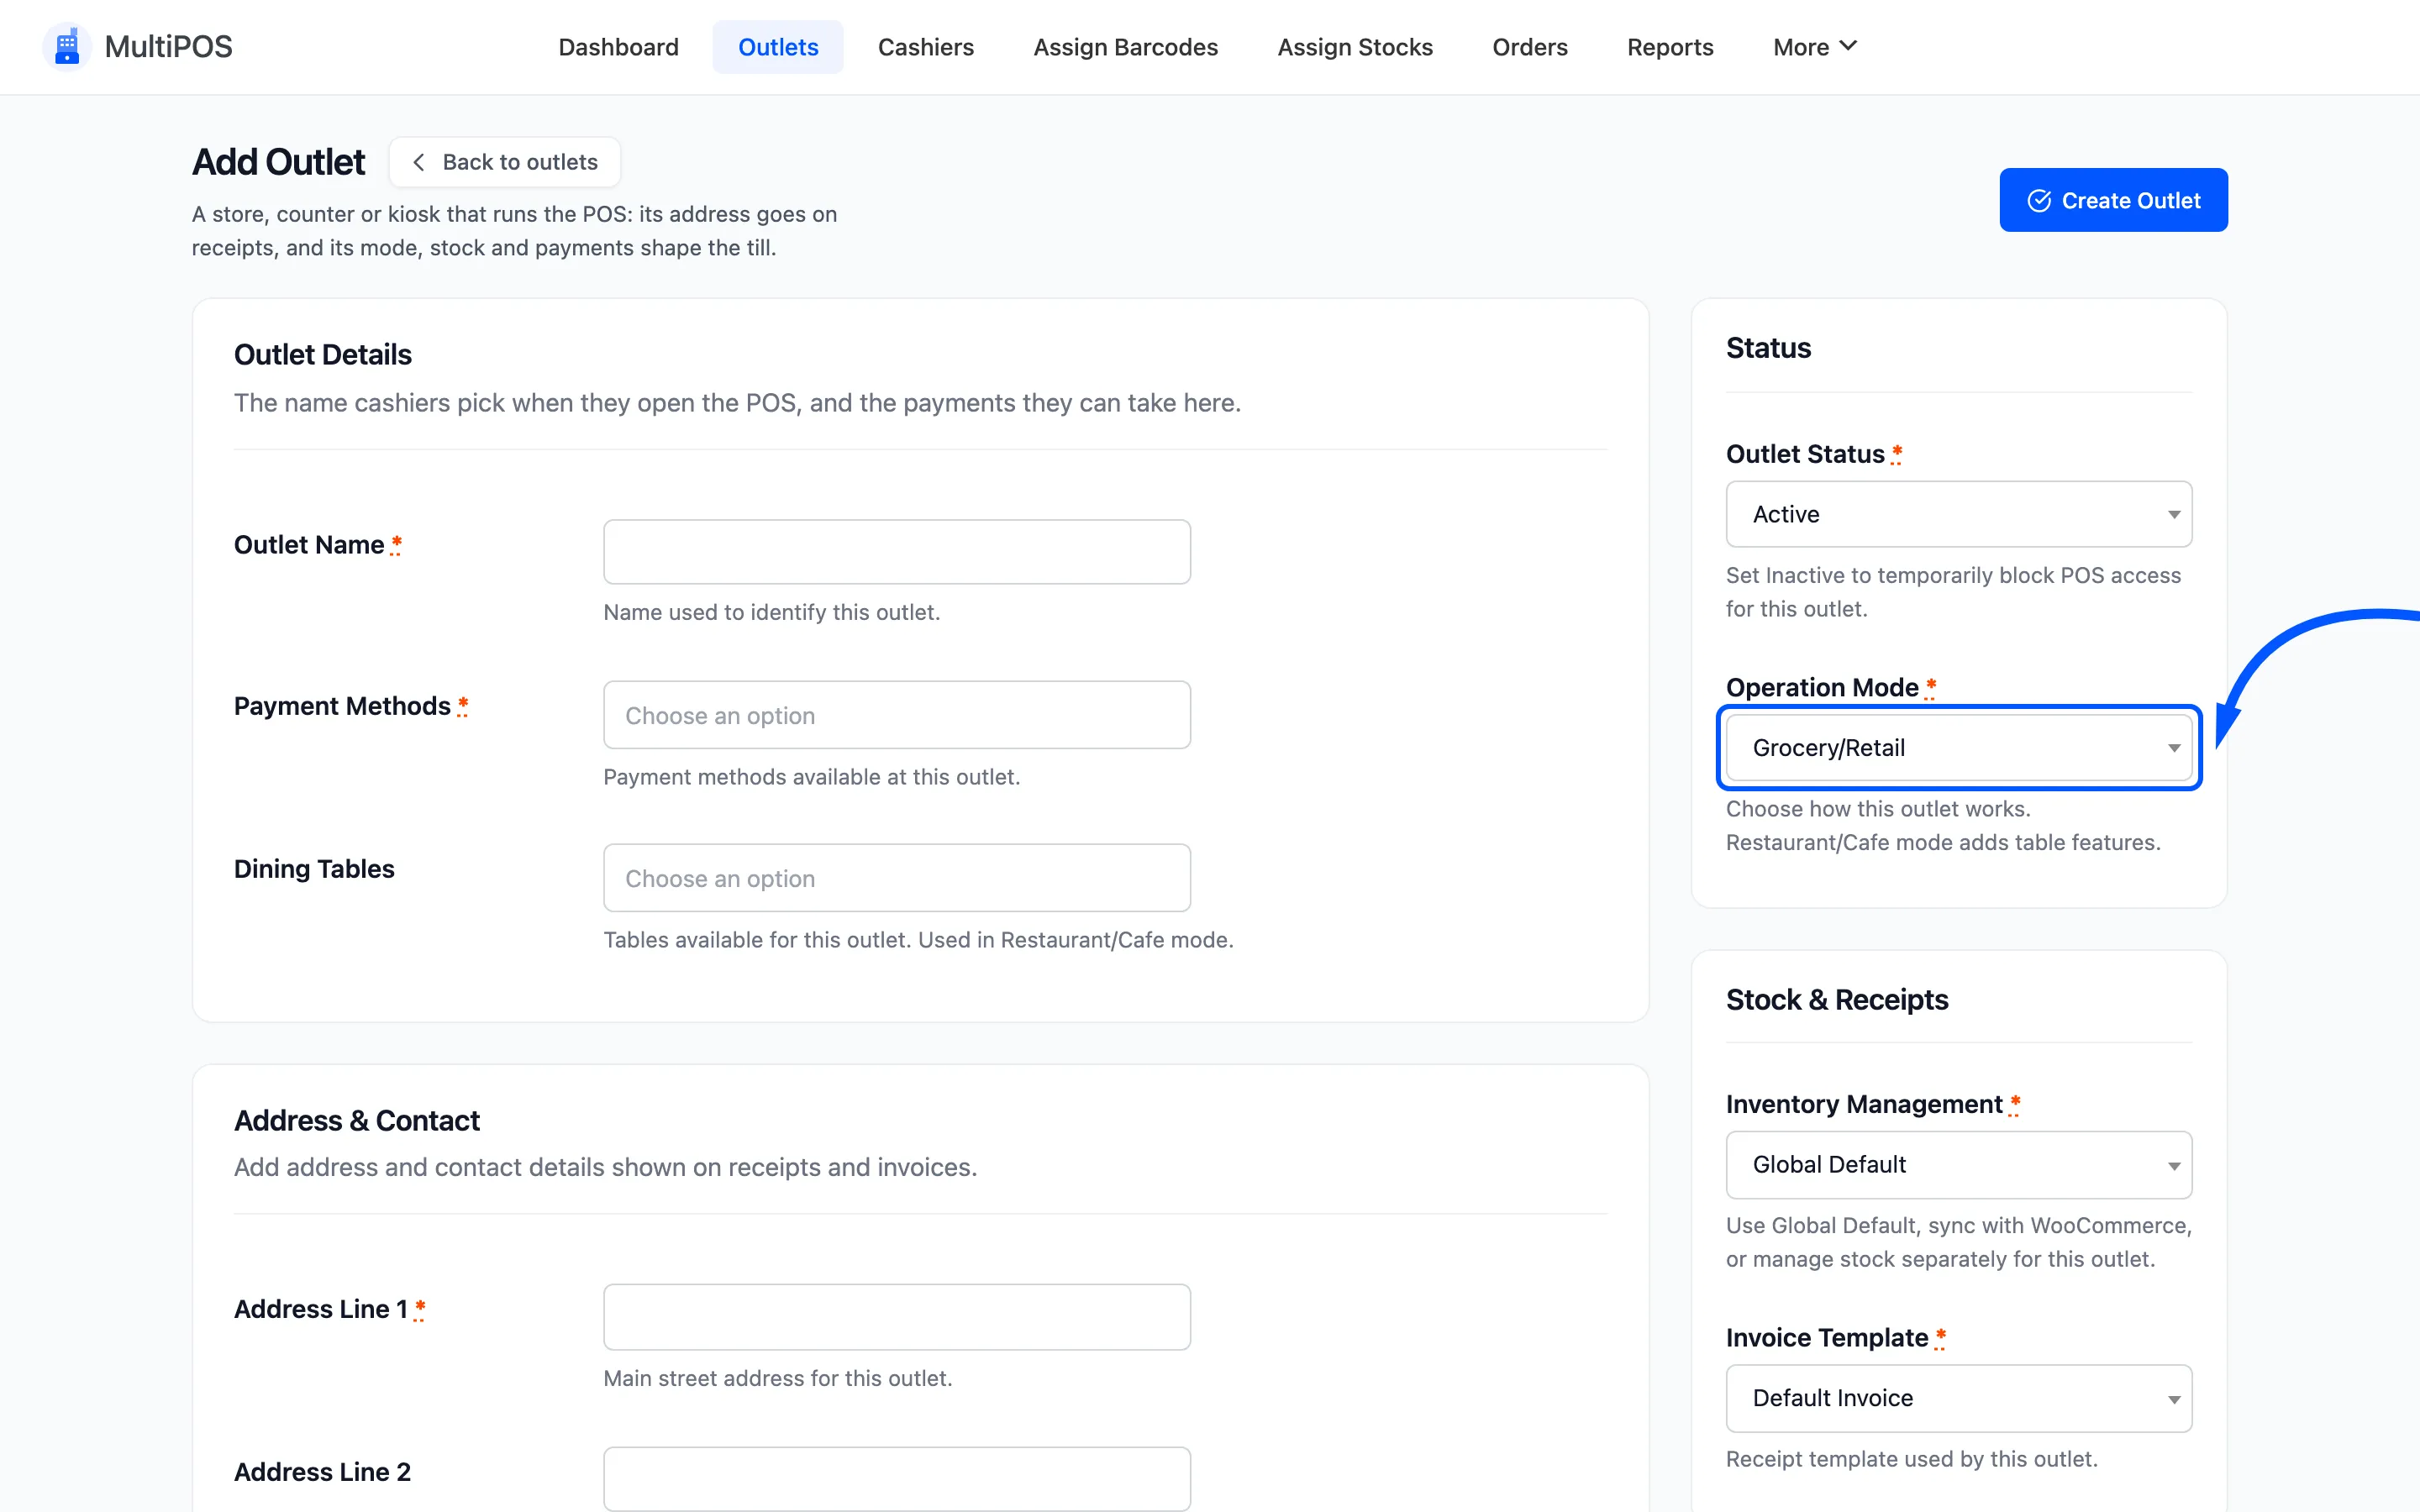
Go to MultiPOS → Outlet and set Operation Mode to Restaurant/Cafe if it is not already.
Step 3: Open the kitchen screen
Section titled “Step 3: Open the kitchen screen”Back on the outlets list, press Kitchen View on that outlet’s row.
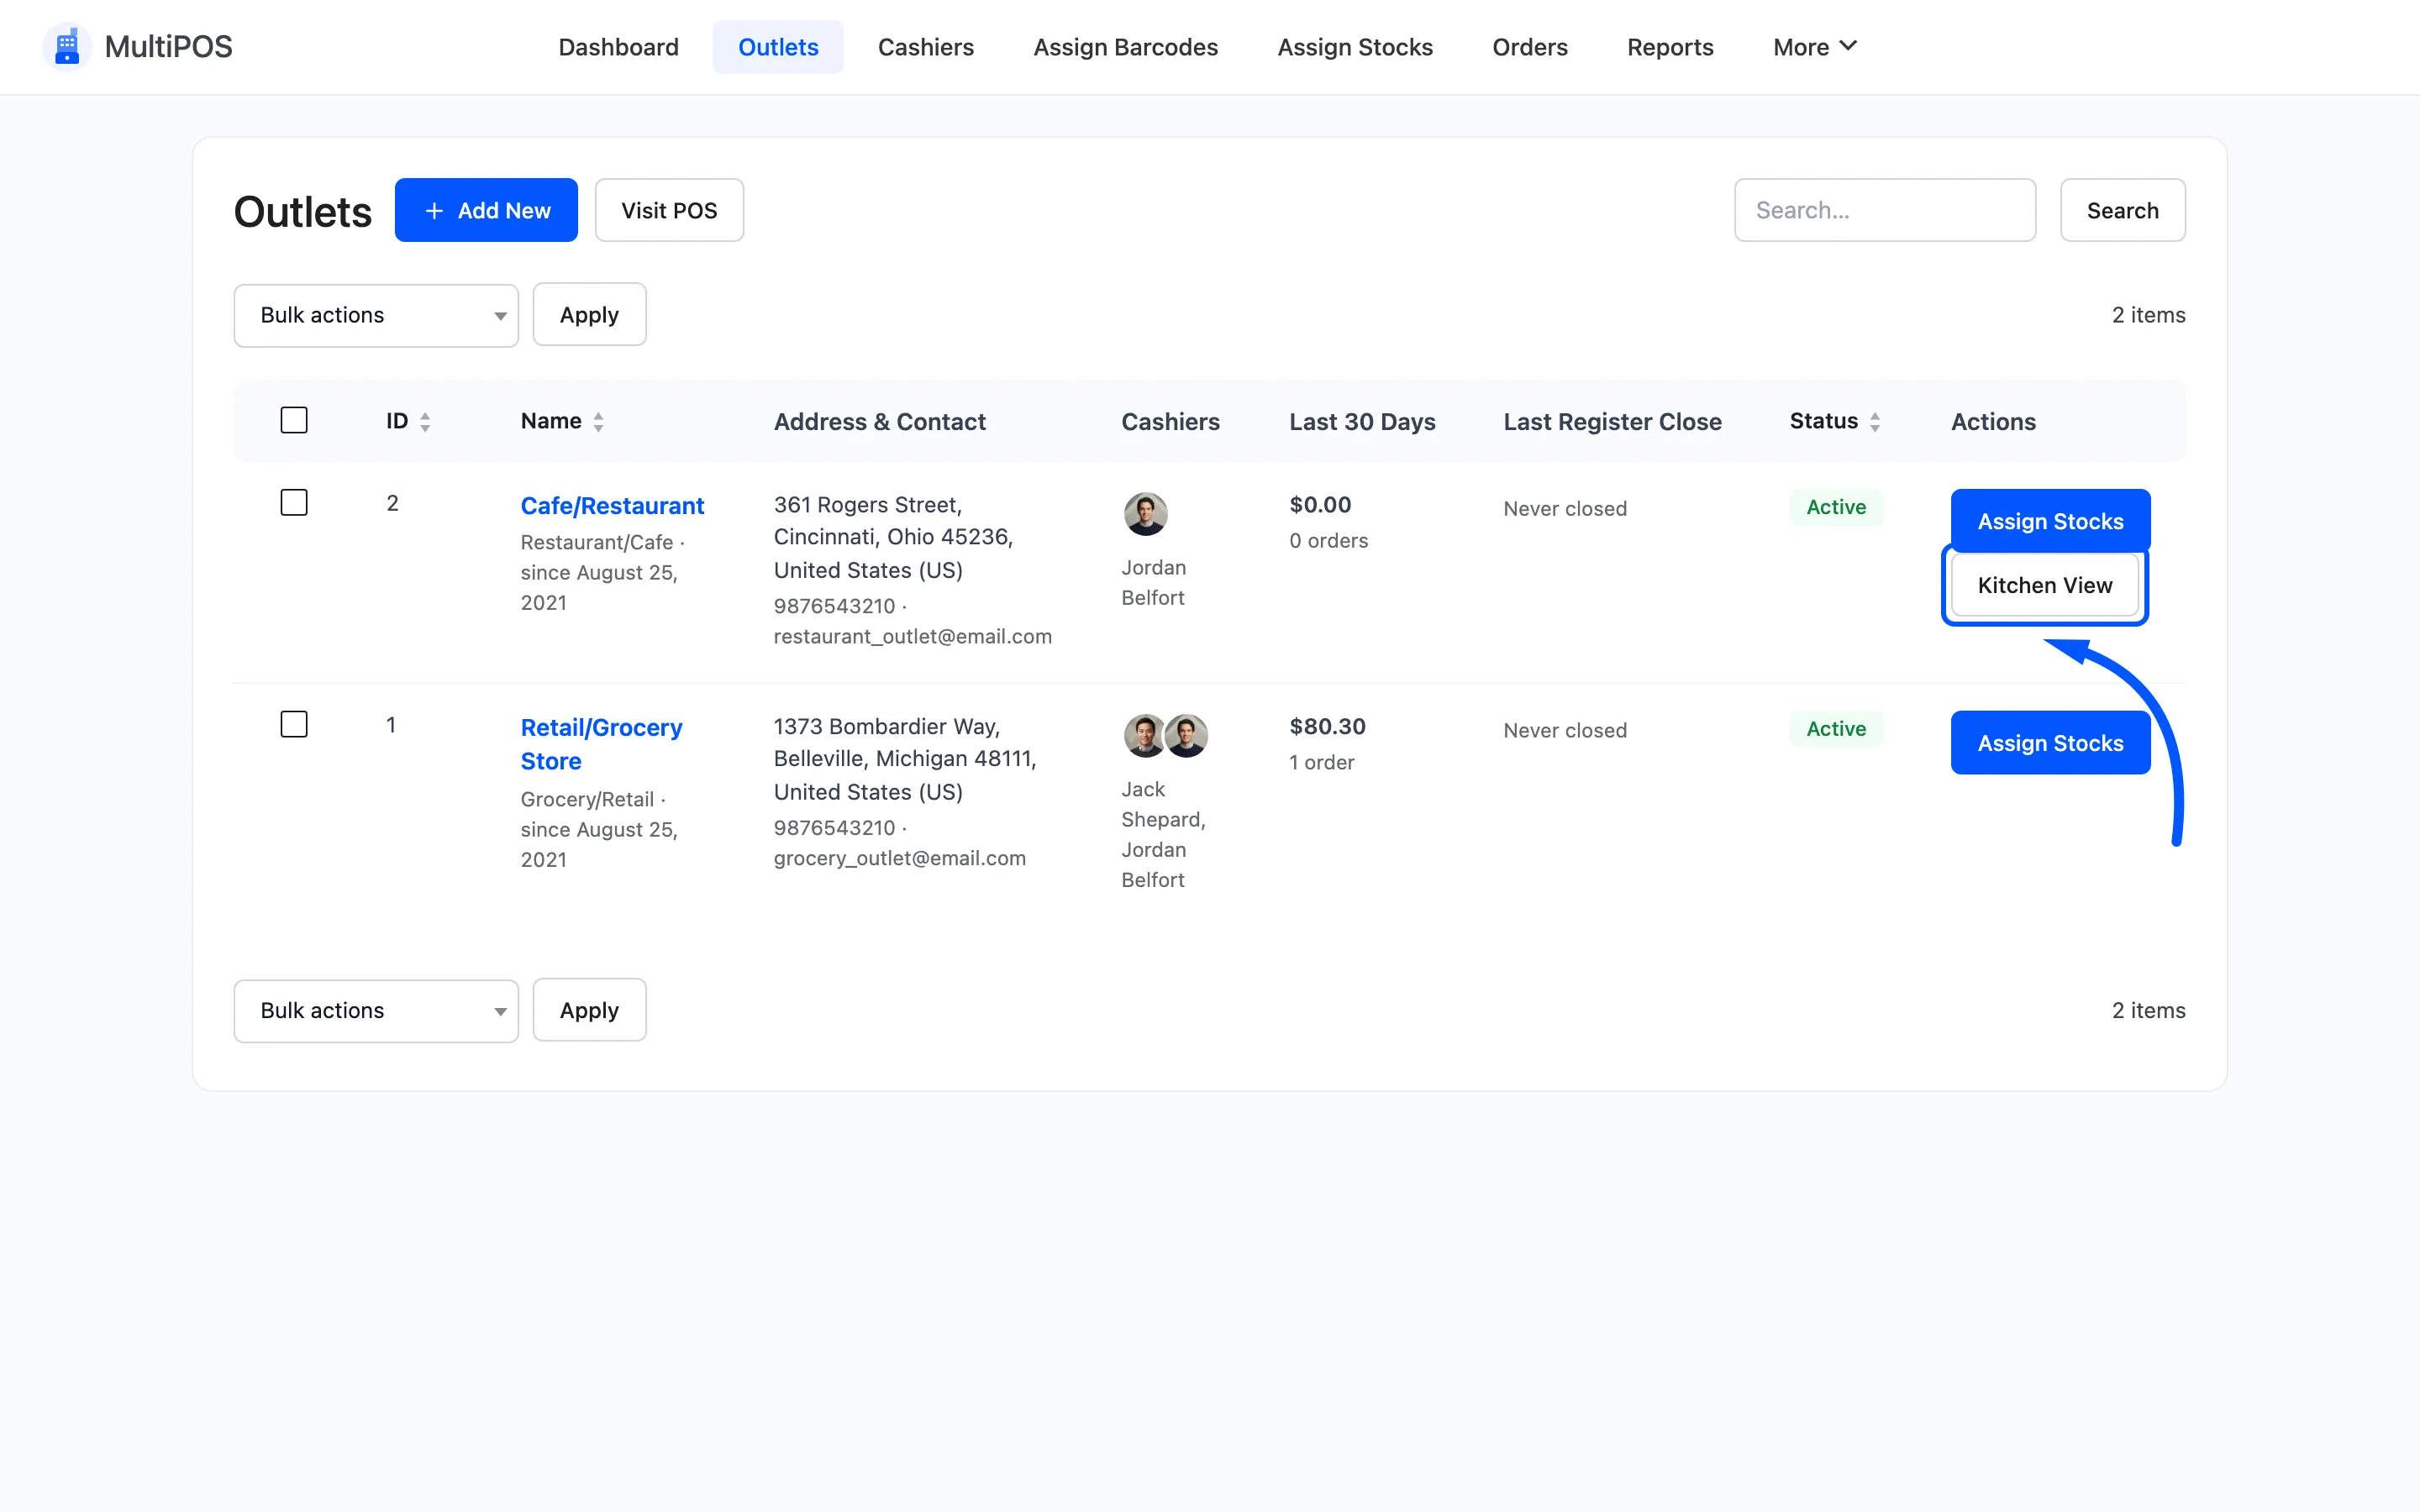
It opens yoursite.com/kitchen?outlet_id=<id> in a new tab. Bookmark that URL on the kitchen’s own
device.
Each outlet has its own queue. Two branches never see each other’s tickets, and the outlet_id
in the URL is what keeps them apart.
Step 4: Sign the kitchen terminal in
Section titled “Step 4: Sign the kitchen terminal in”This is the step people miss. The page loads for anyone, but its orders come from a route that only answers a signed-in POS Cashier, Shop manager or Administrator.
A logged-out screen sits on You do not have any orders!! no matter how busy the restaurant is. So does a signed-in screen with an empty queue, which is why the message alone does not tell you which problem you have.
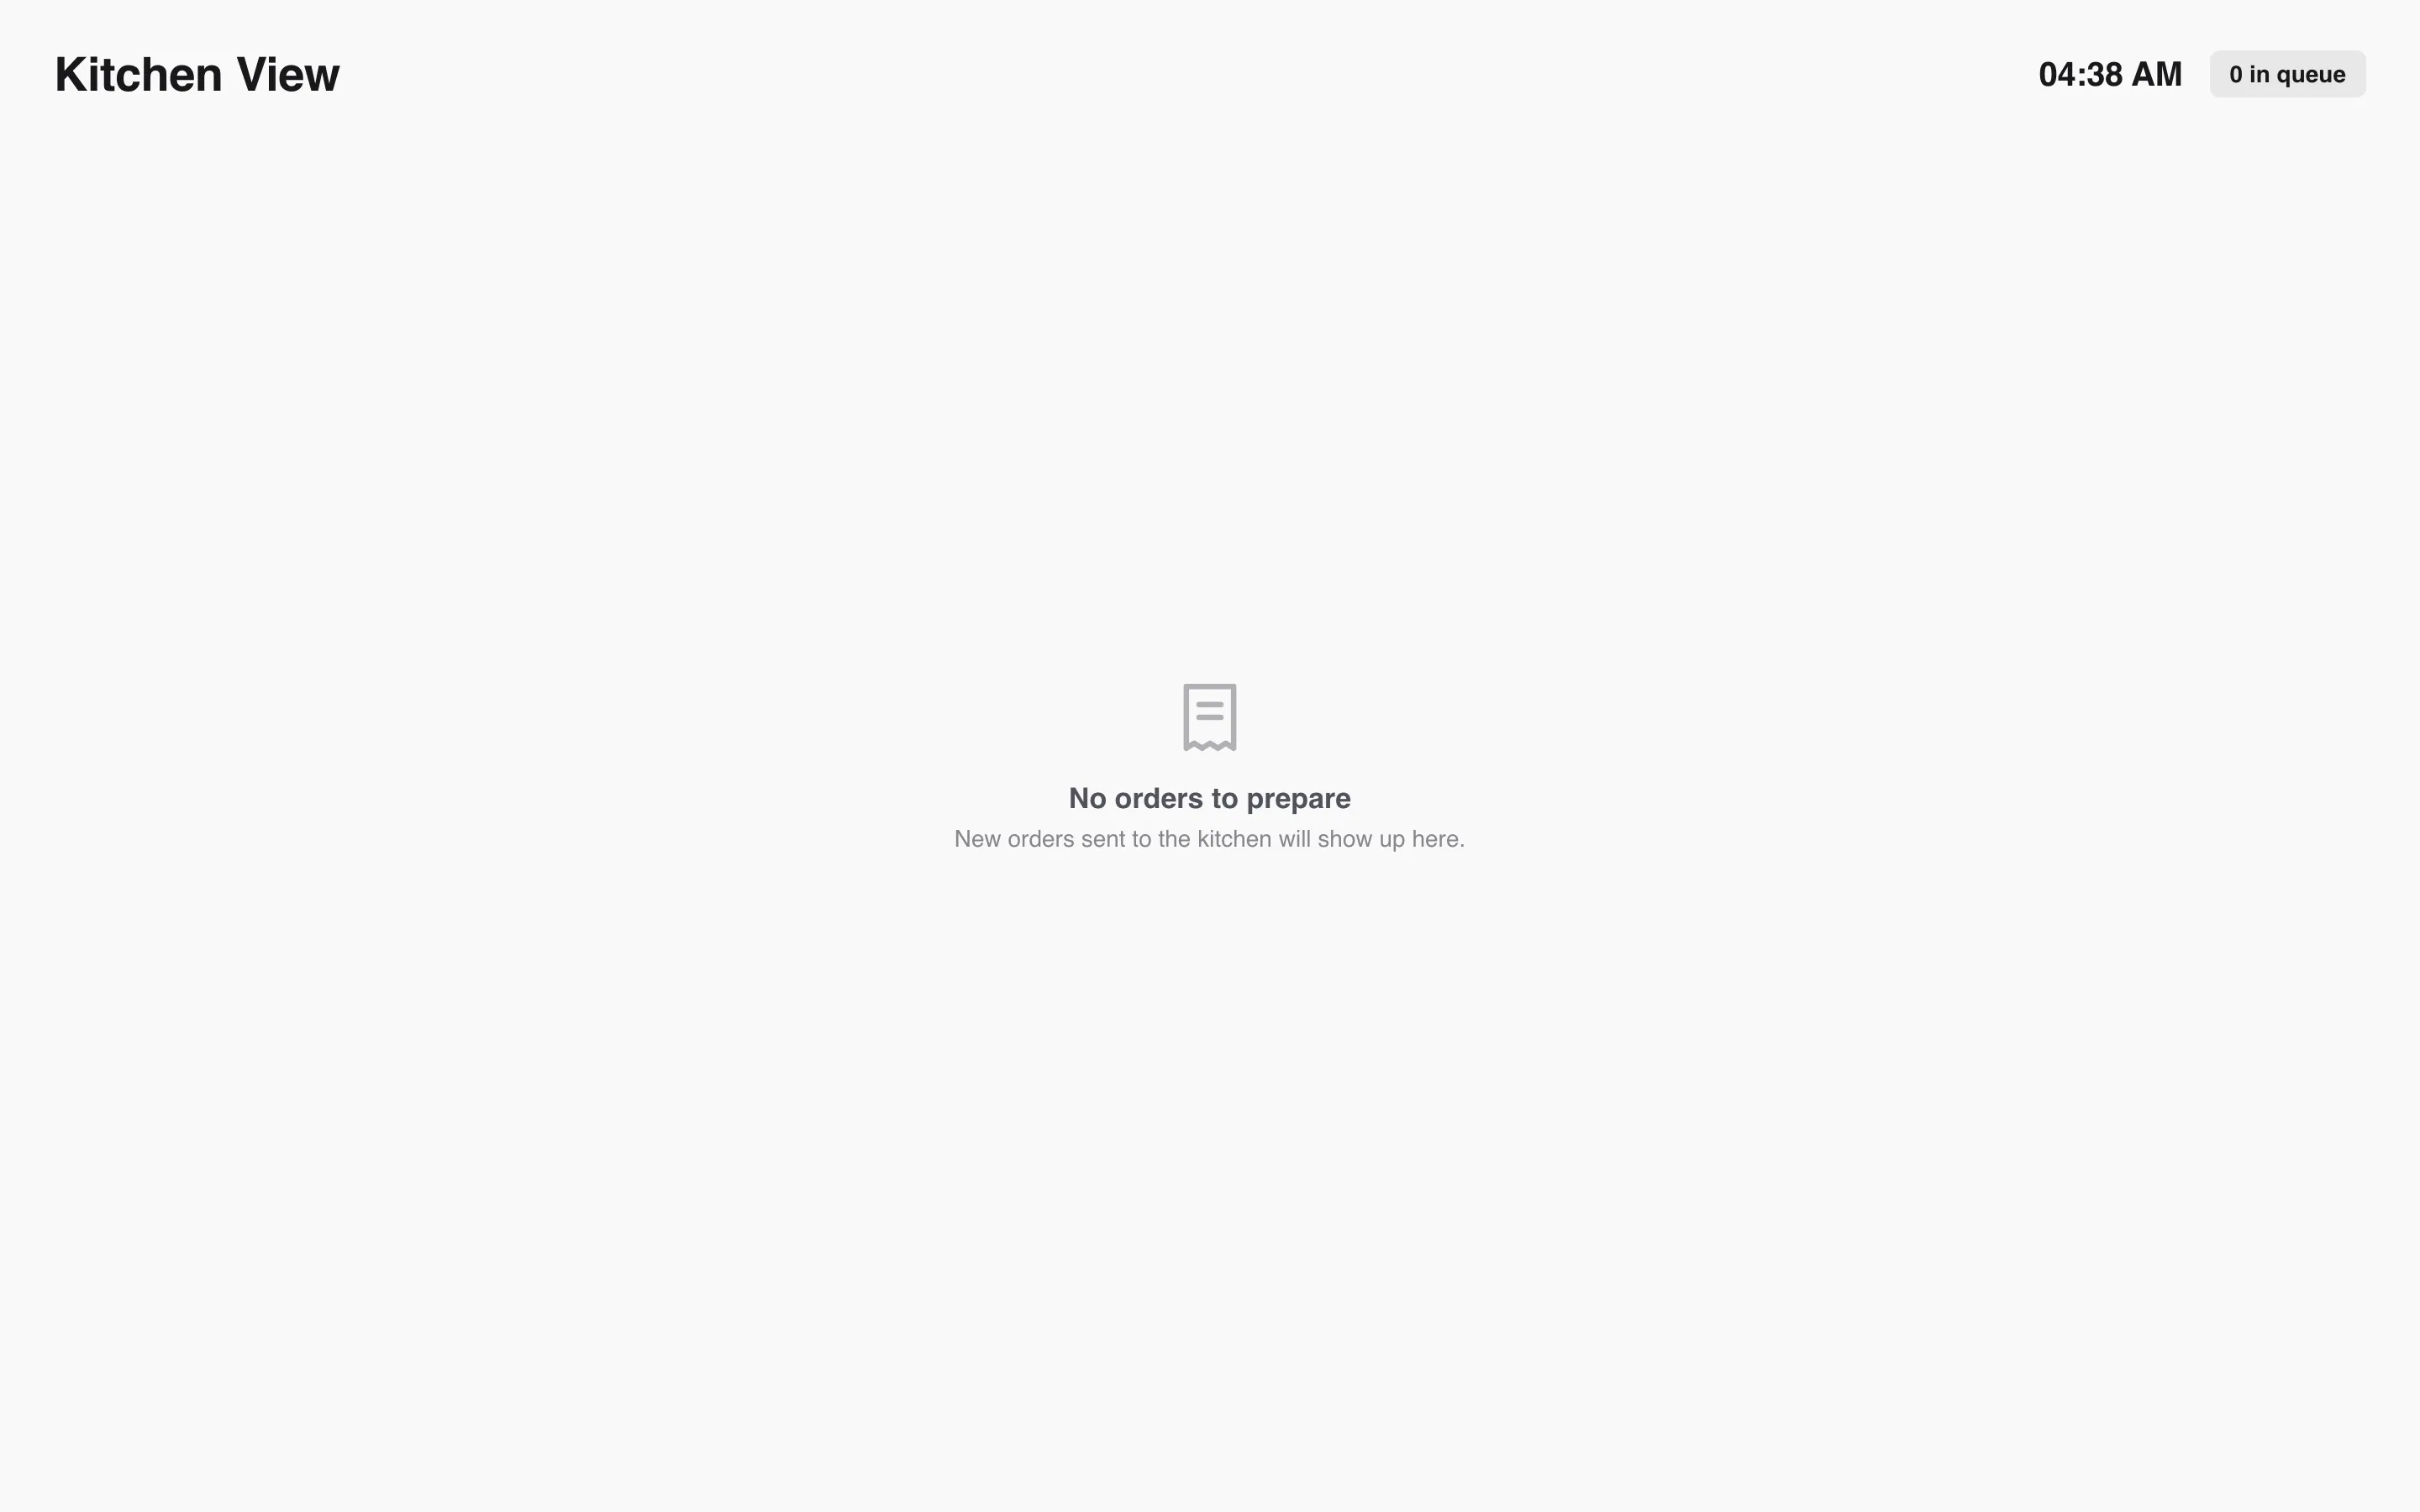
Log the kitchen device in once with a cashier account and leave it signed in. If the message stays put while a held order sits on the POS, the sign-in is the thing to check.
Step 5: Send an order
Section titled “Step 5: Send an order”Two ways, and a restaurant usually uses both.
Hold the cart. Build the order in the terminal and press Hold Order.
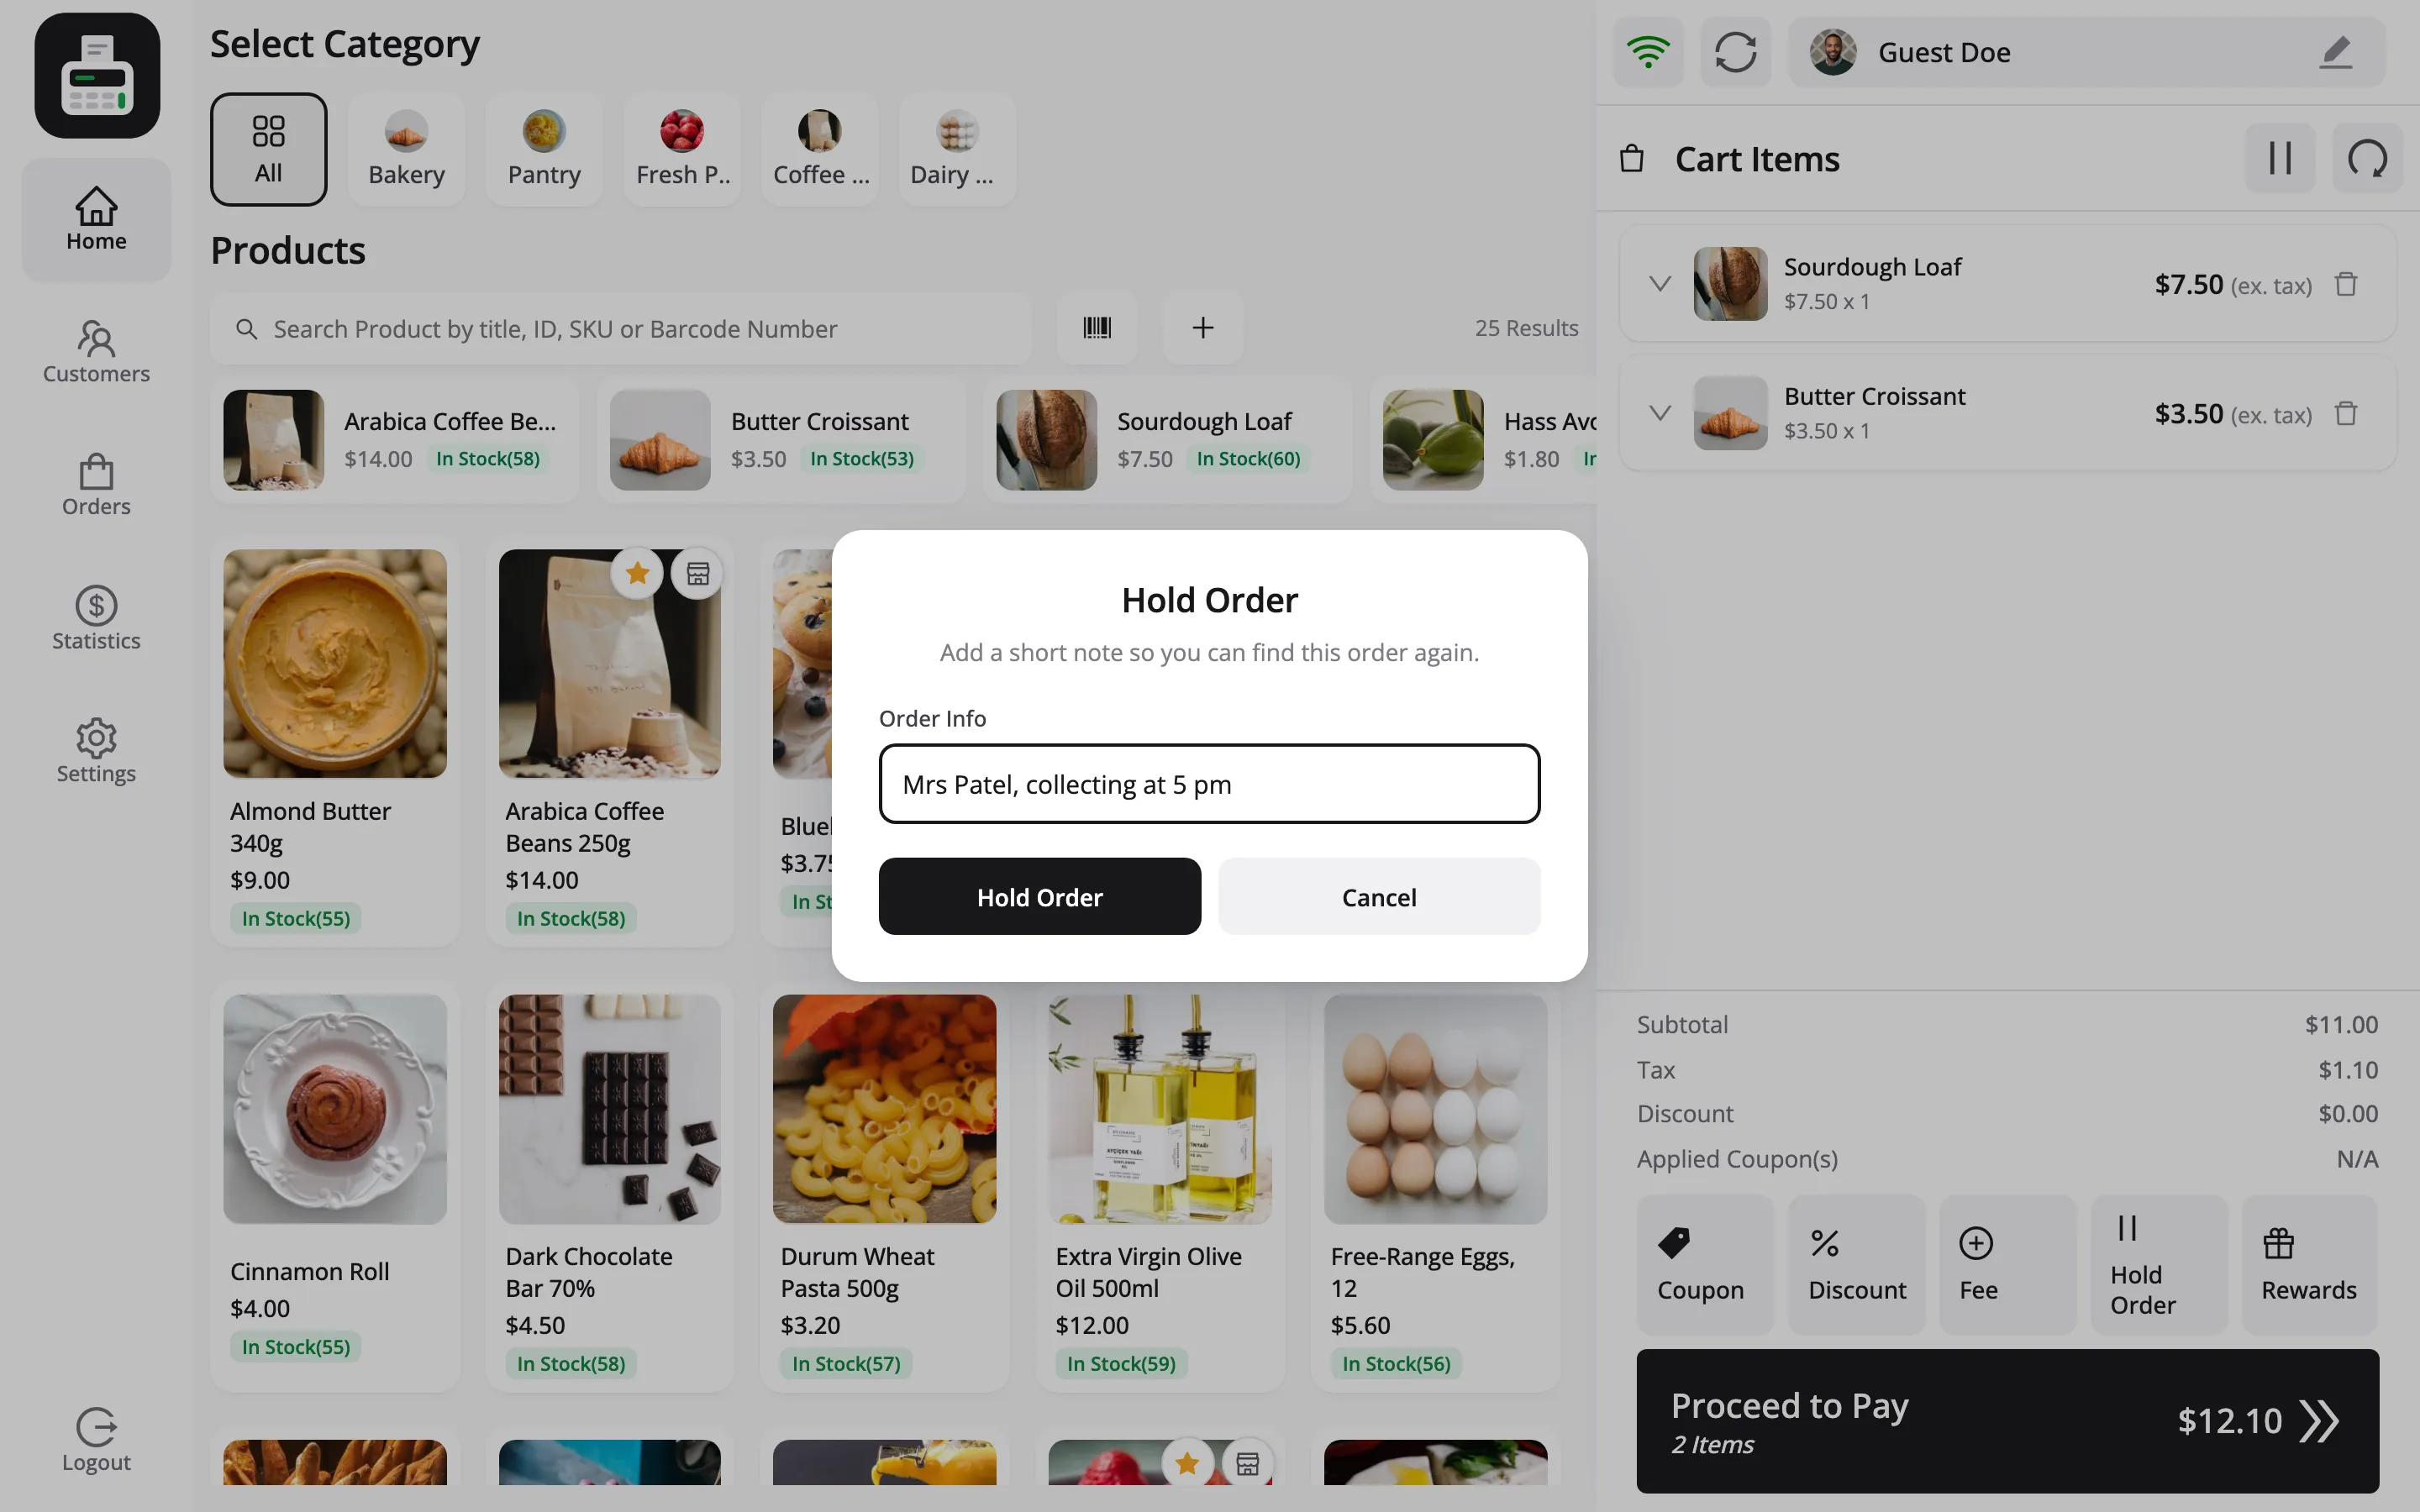
Whatever you type in Enter Order Info becomes the Info line on the kitchen card. Use it for kitchen instructions rather than a reference number.
The cart clears and the pause icon picks up a count, exactly as it does on a retail POS. The difference is that the ticket is now also on the kitchen screen.
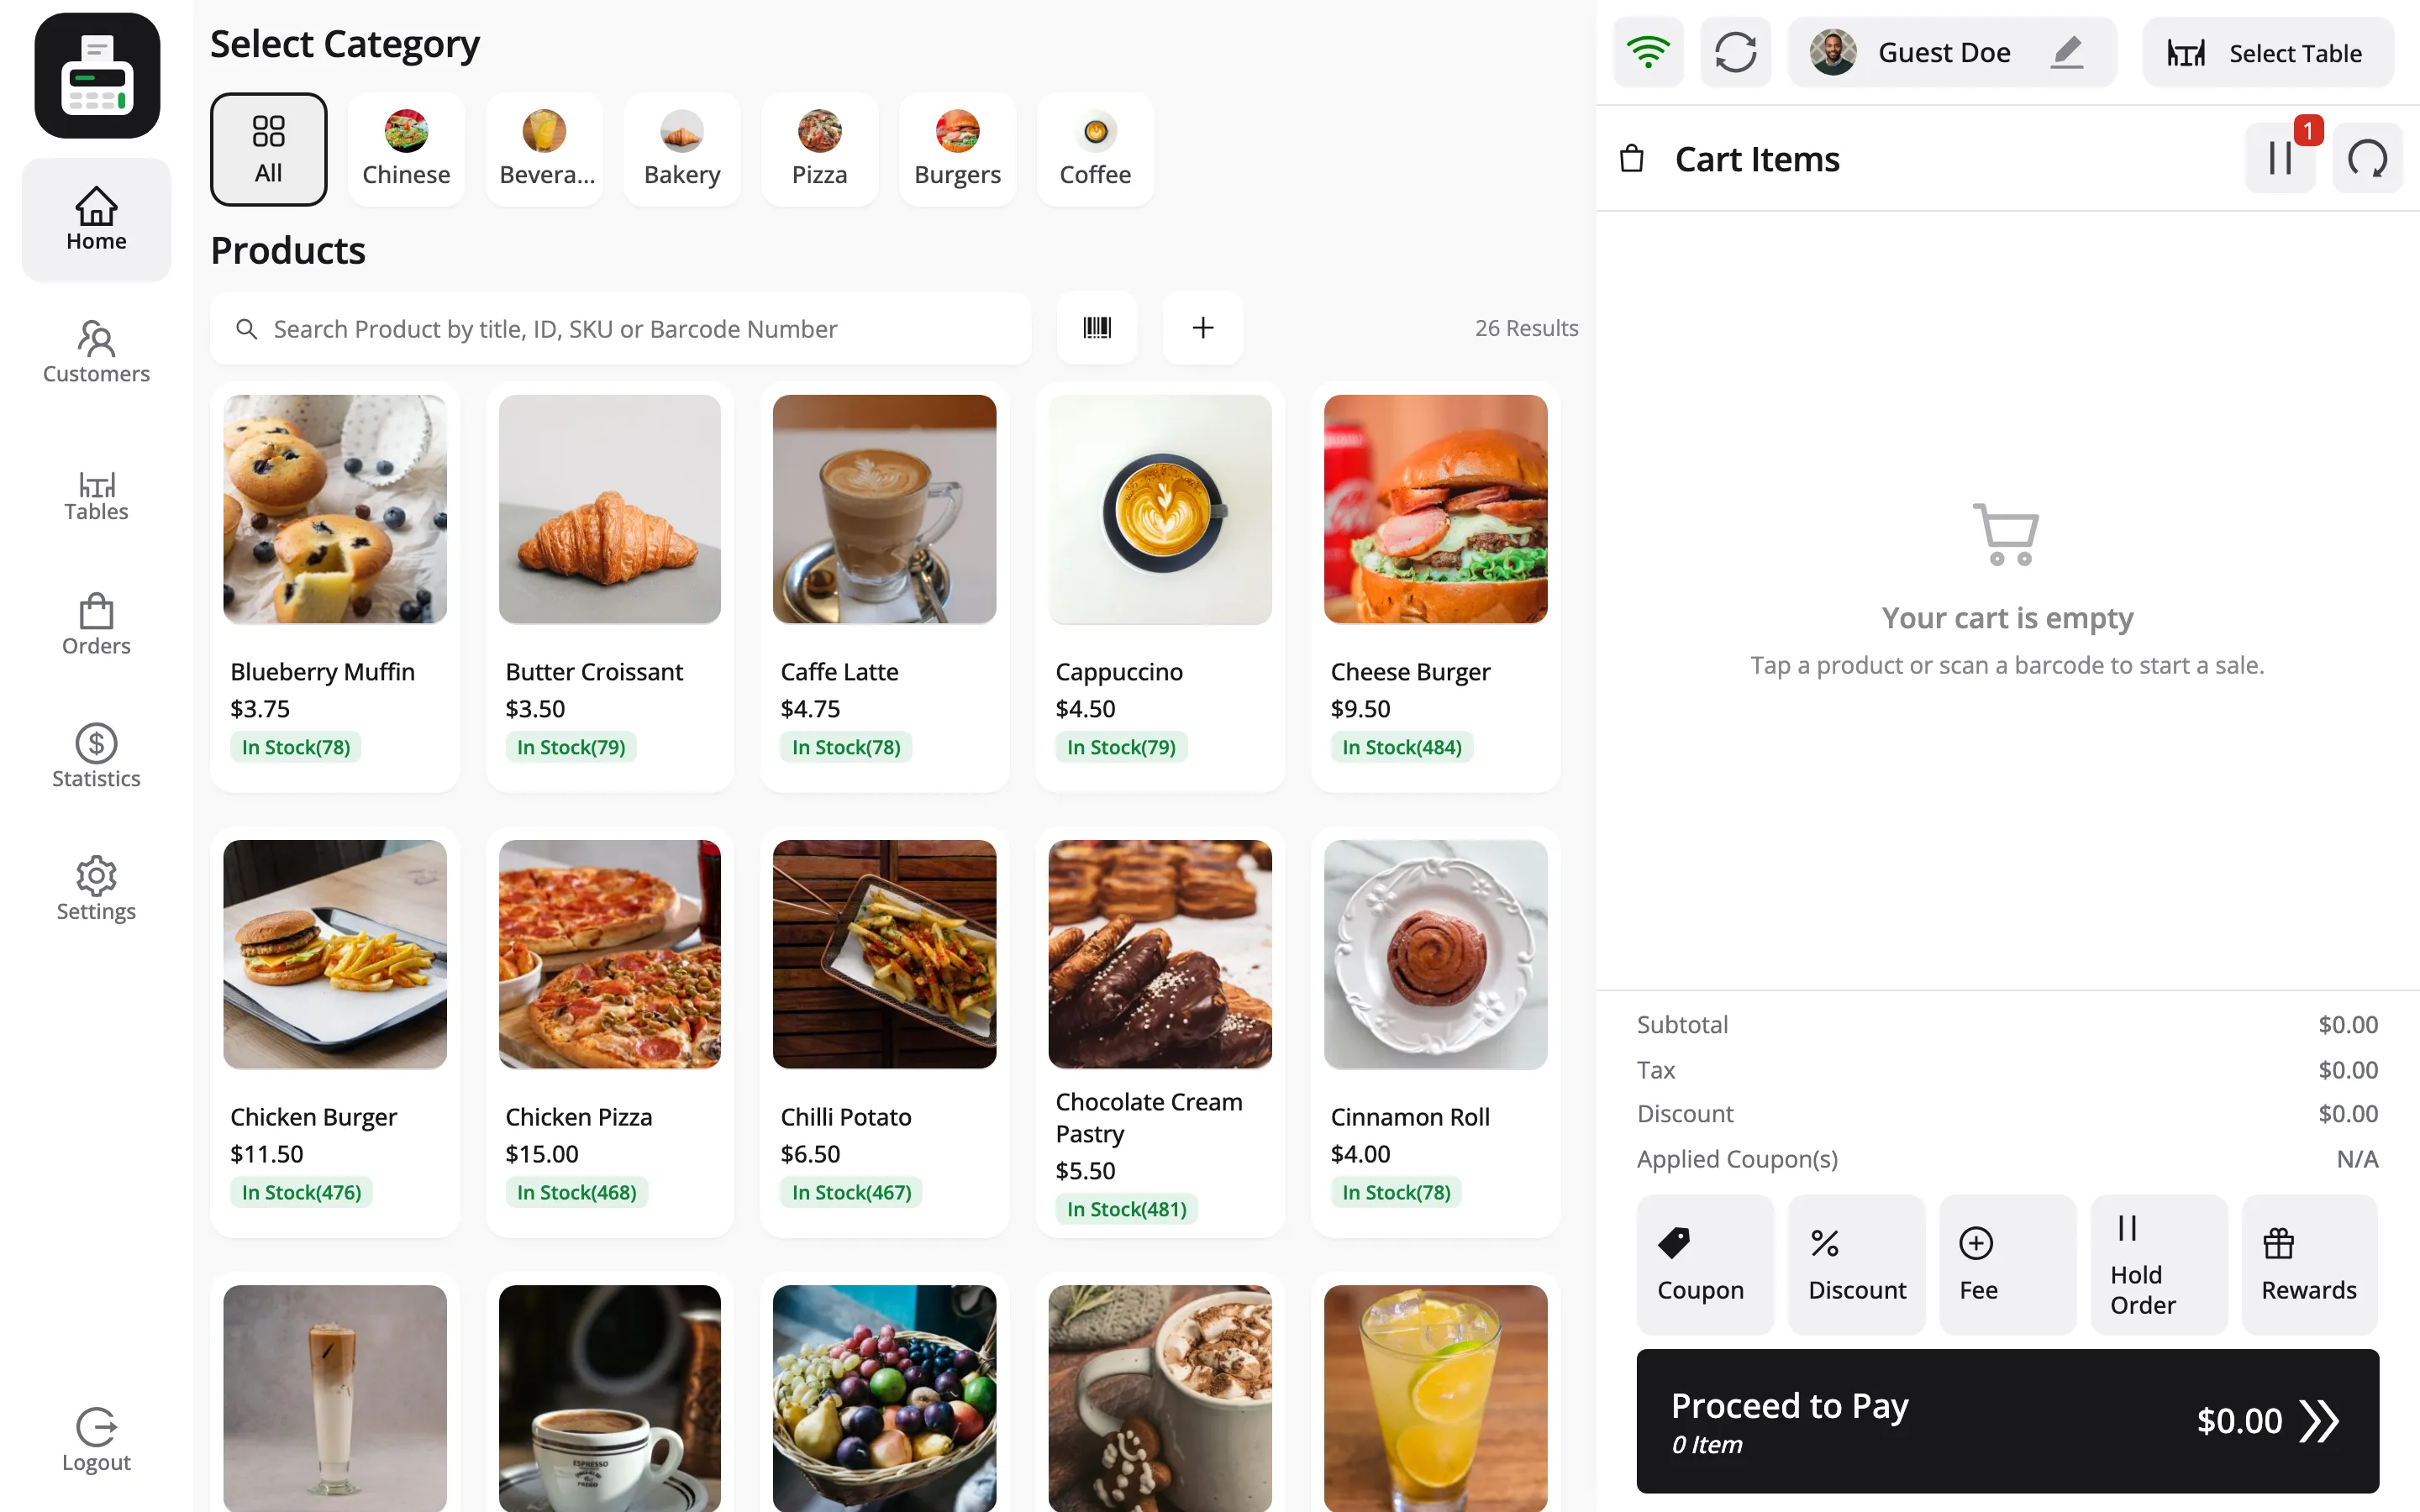
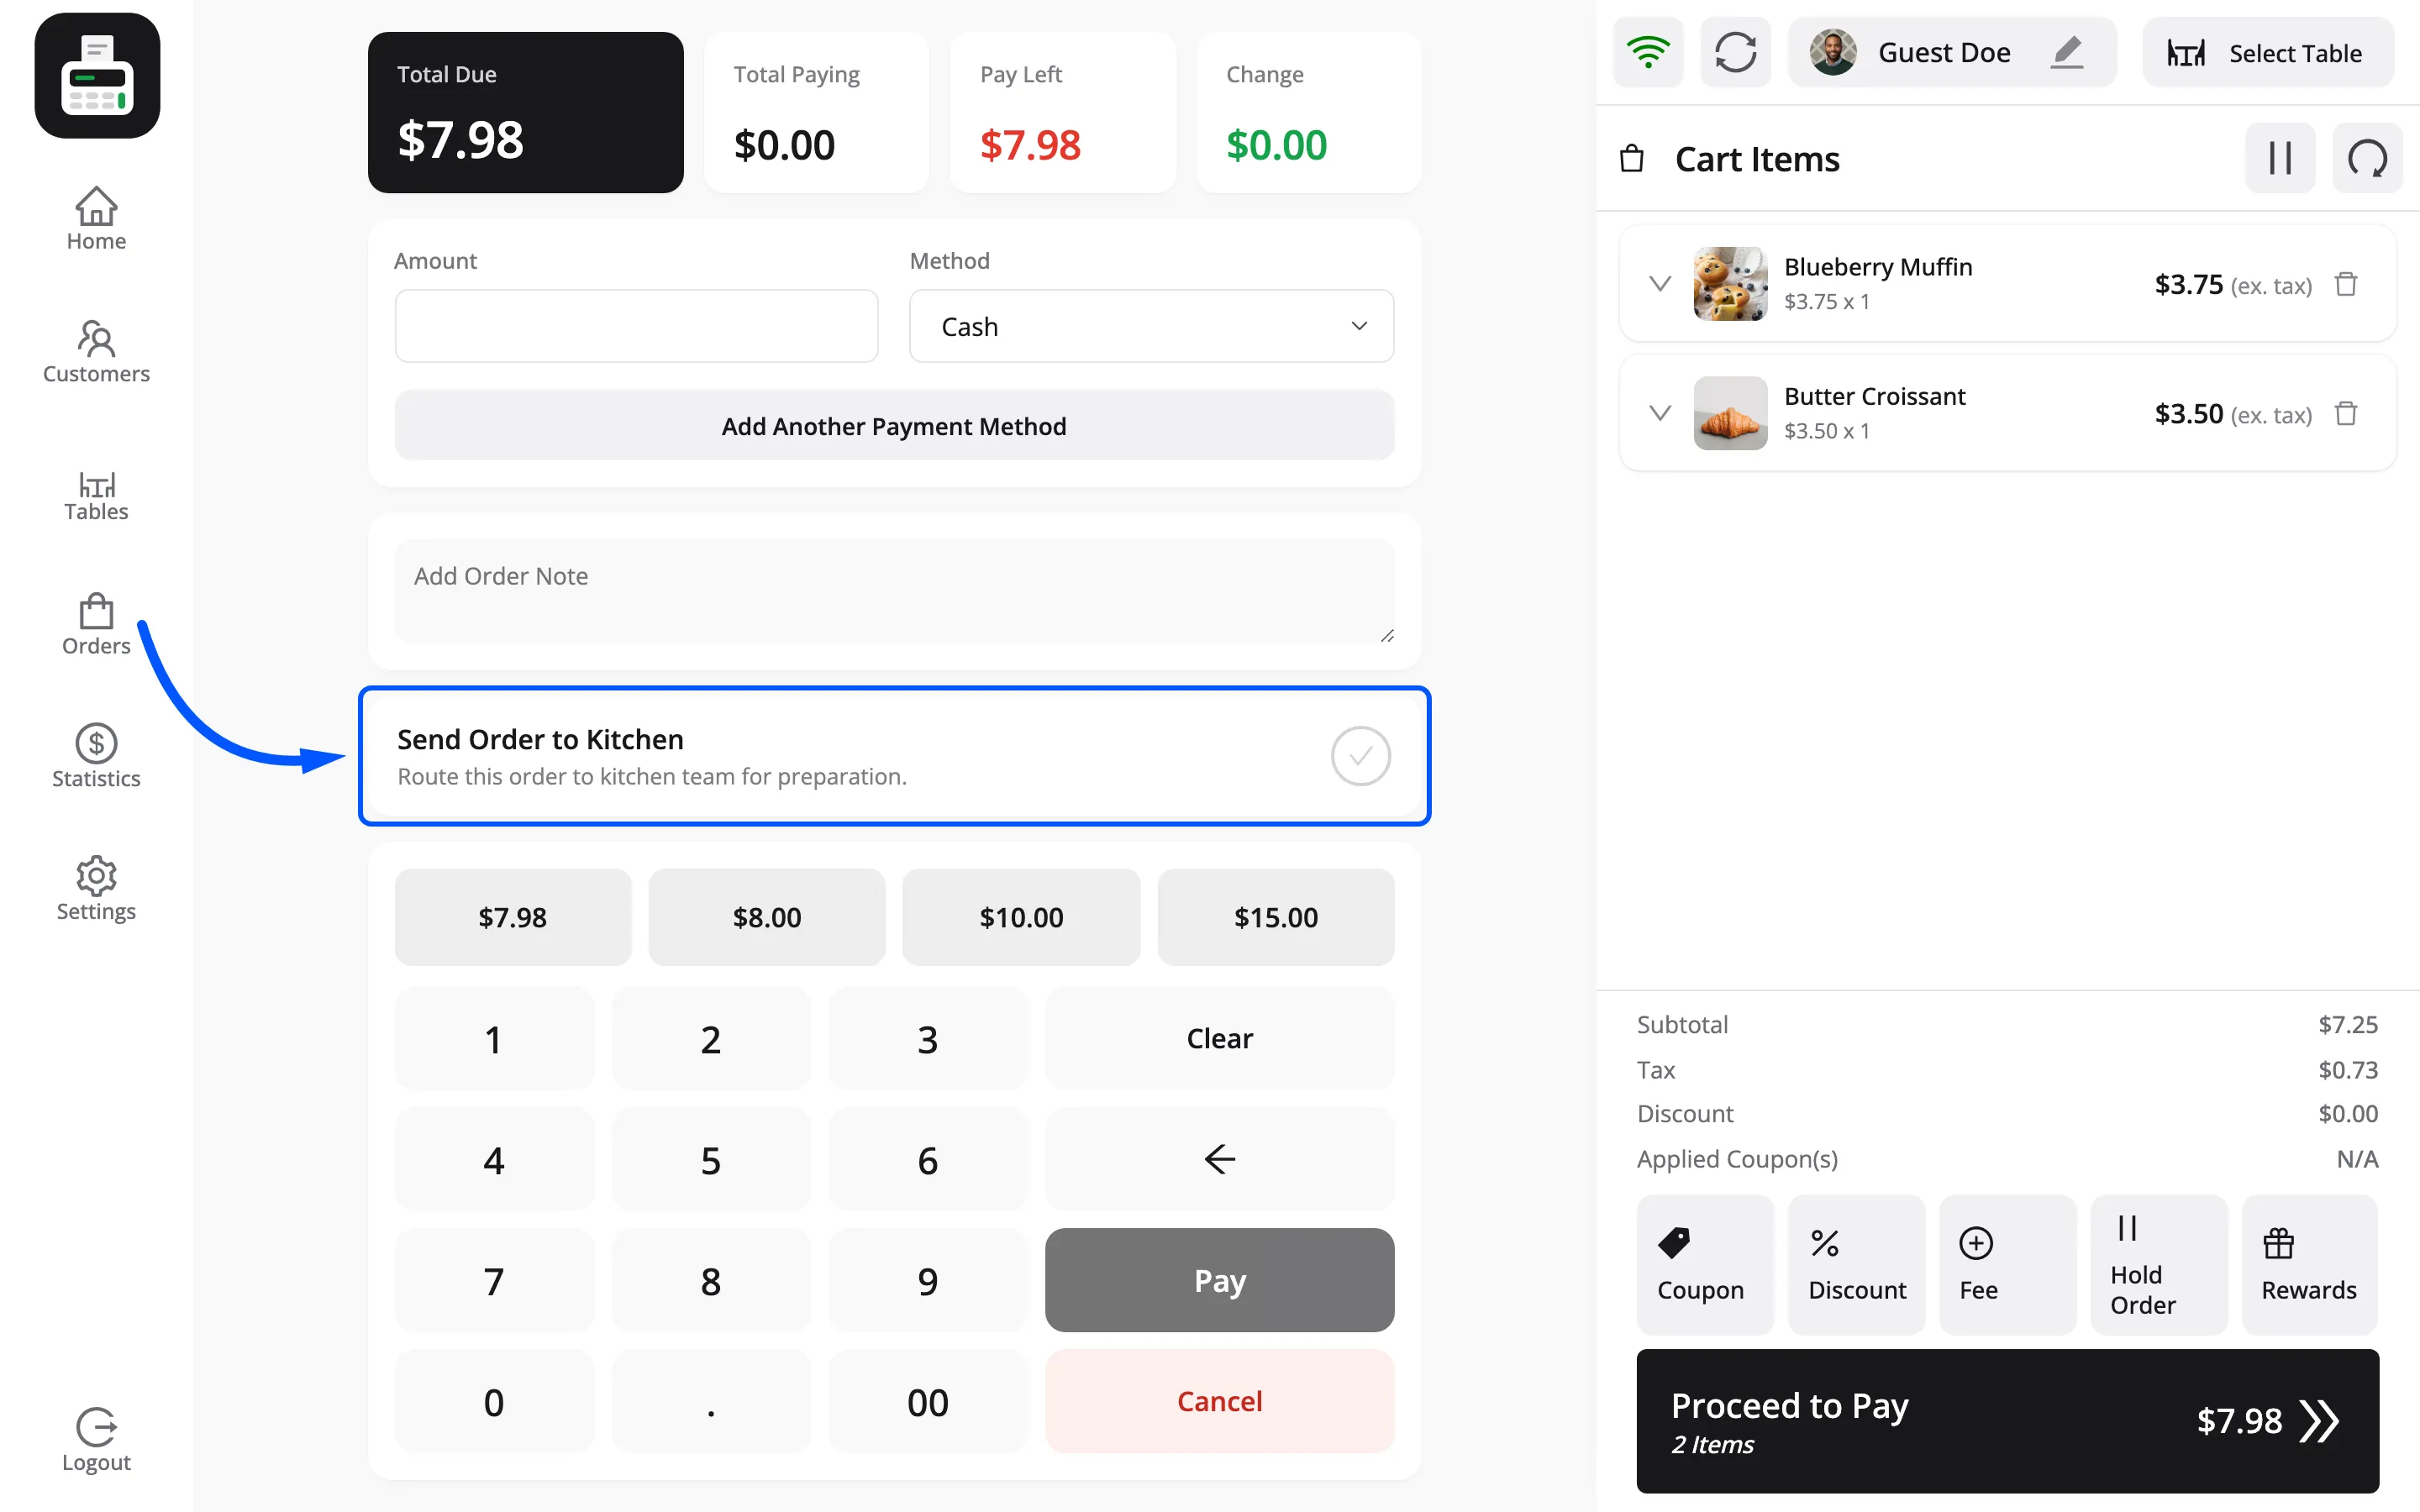
Or tick it at payment. In restaurant mode the payment screen carries a Send Order to Kitchen card above the keypad.
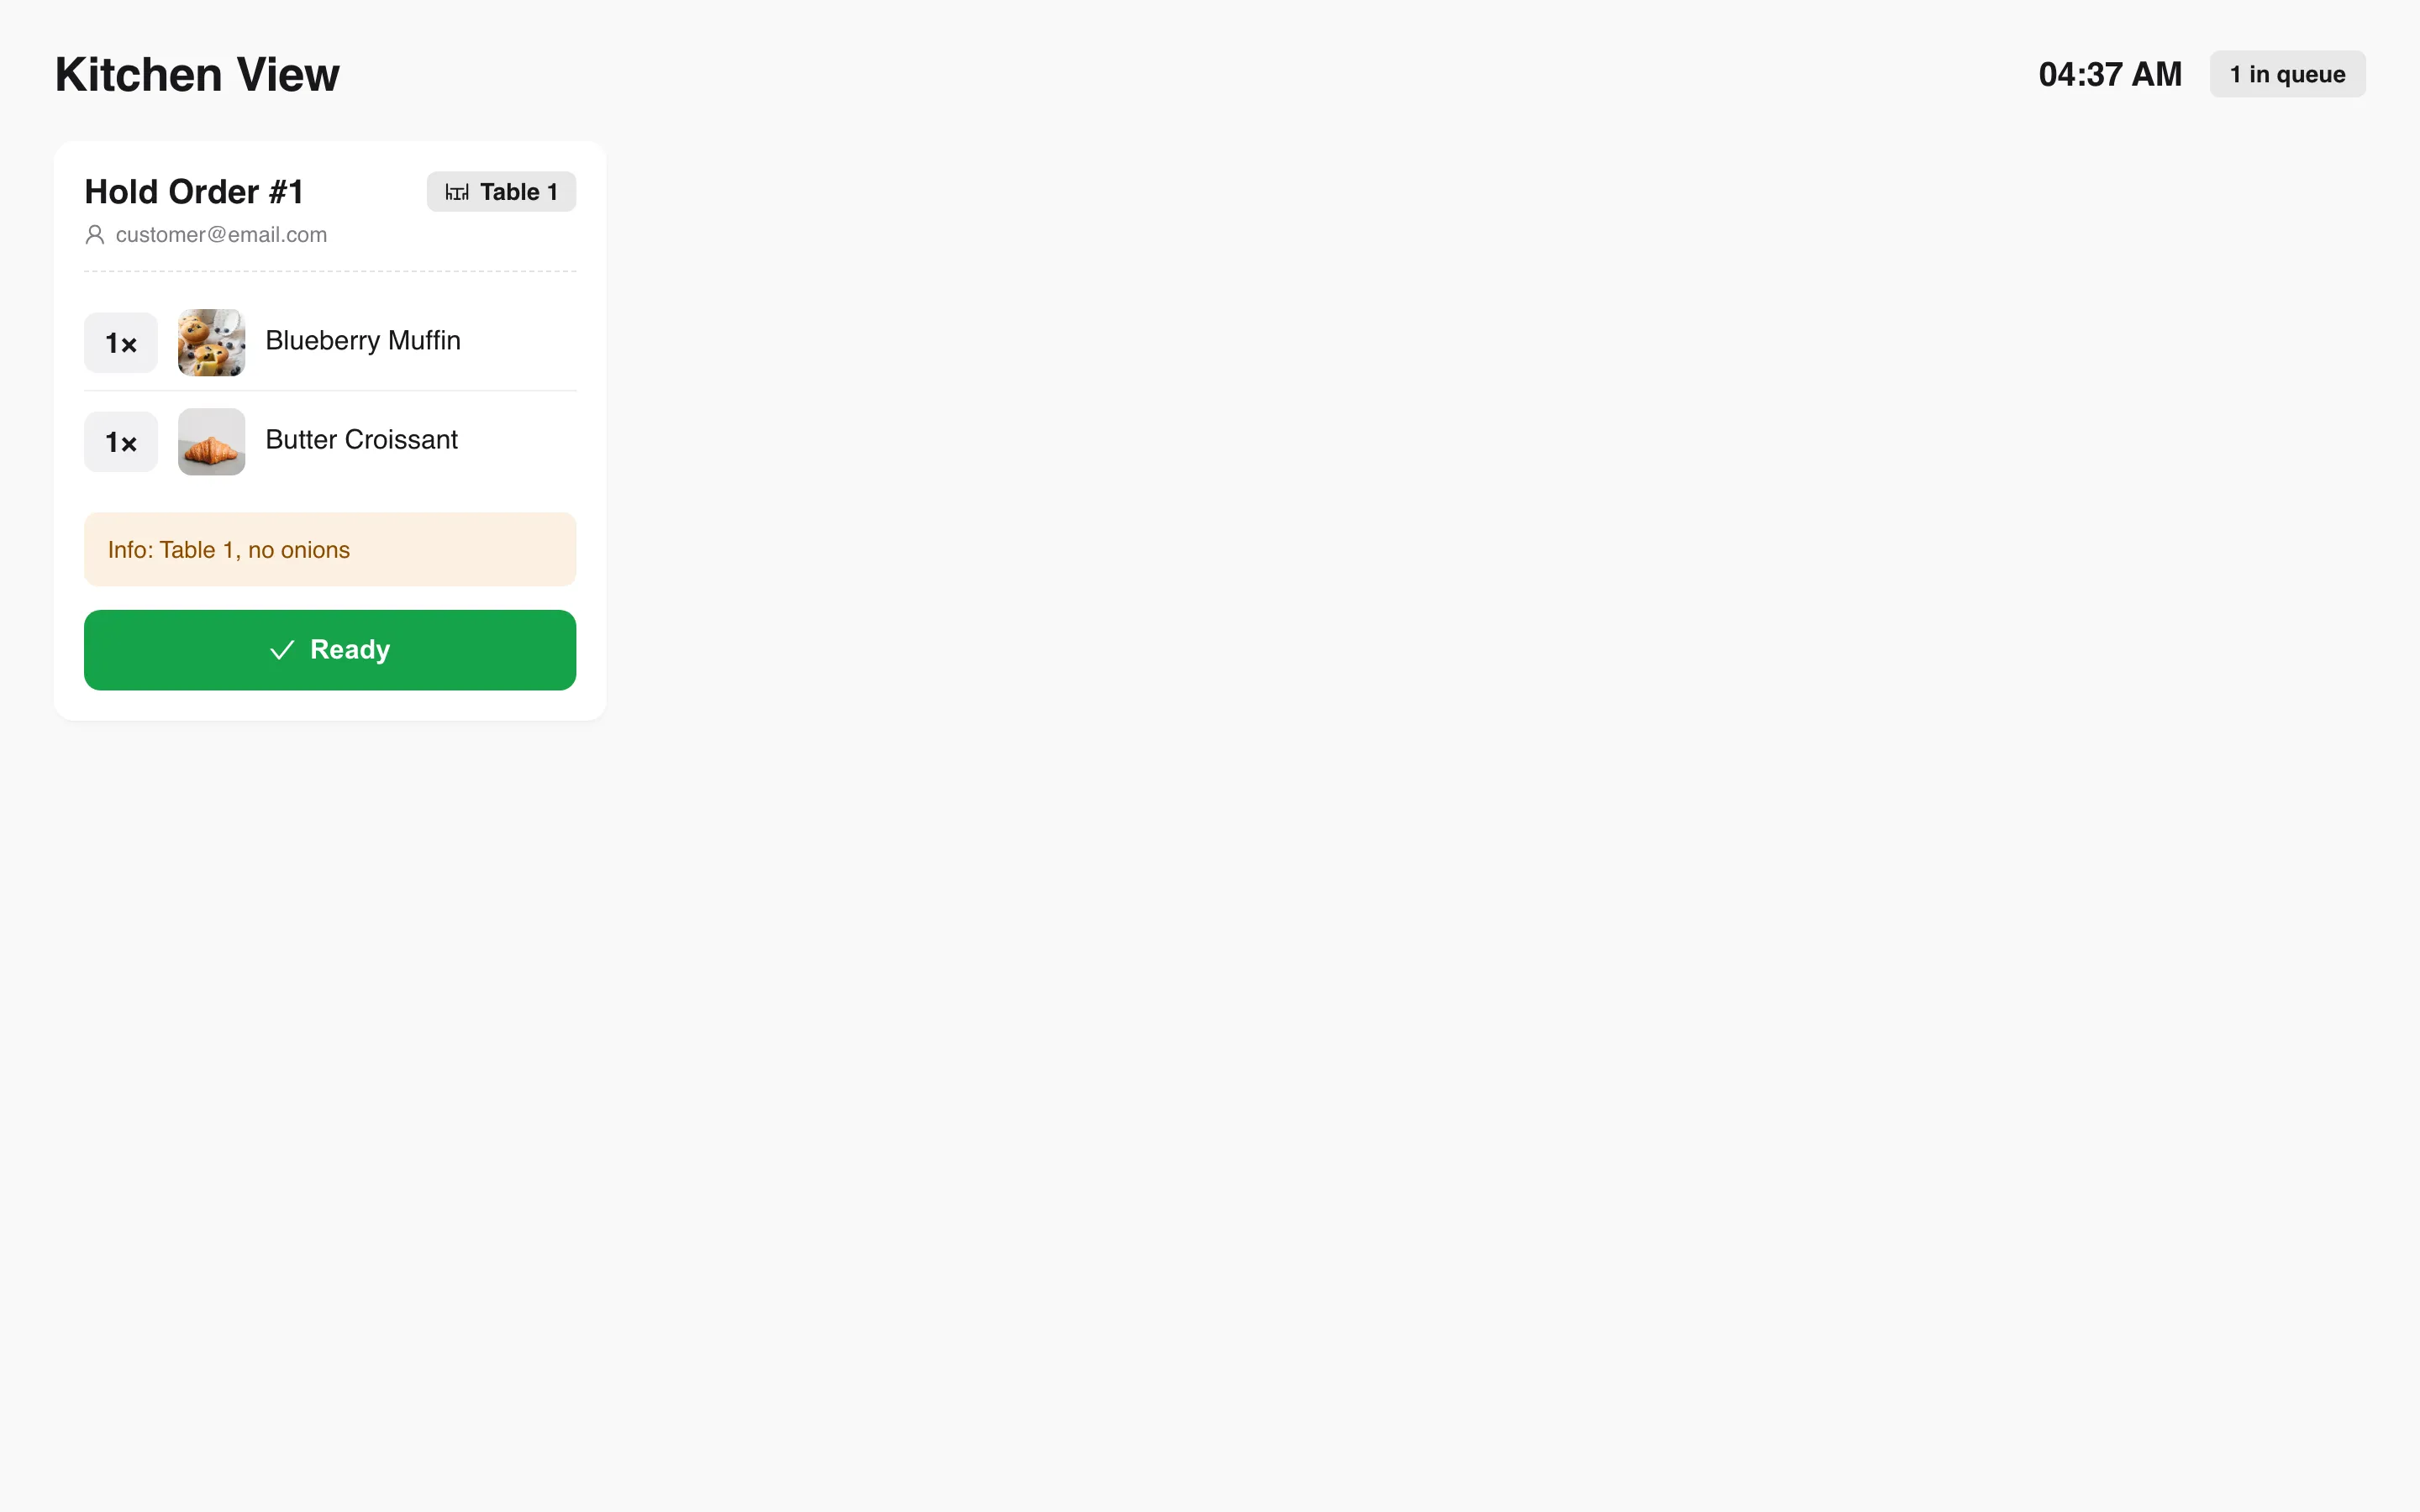
The card appears within about two seconds. The screen polls on its own and announces New order arrived to prepare.
Step 6: Work the queue
Section titled “Step 6: Work the queue”Each card carries the order or hold number, the table, the customer, every item with its picture and quantity, and the Info line.
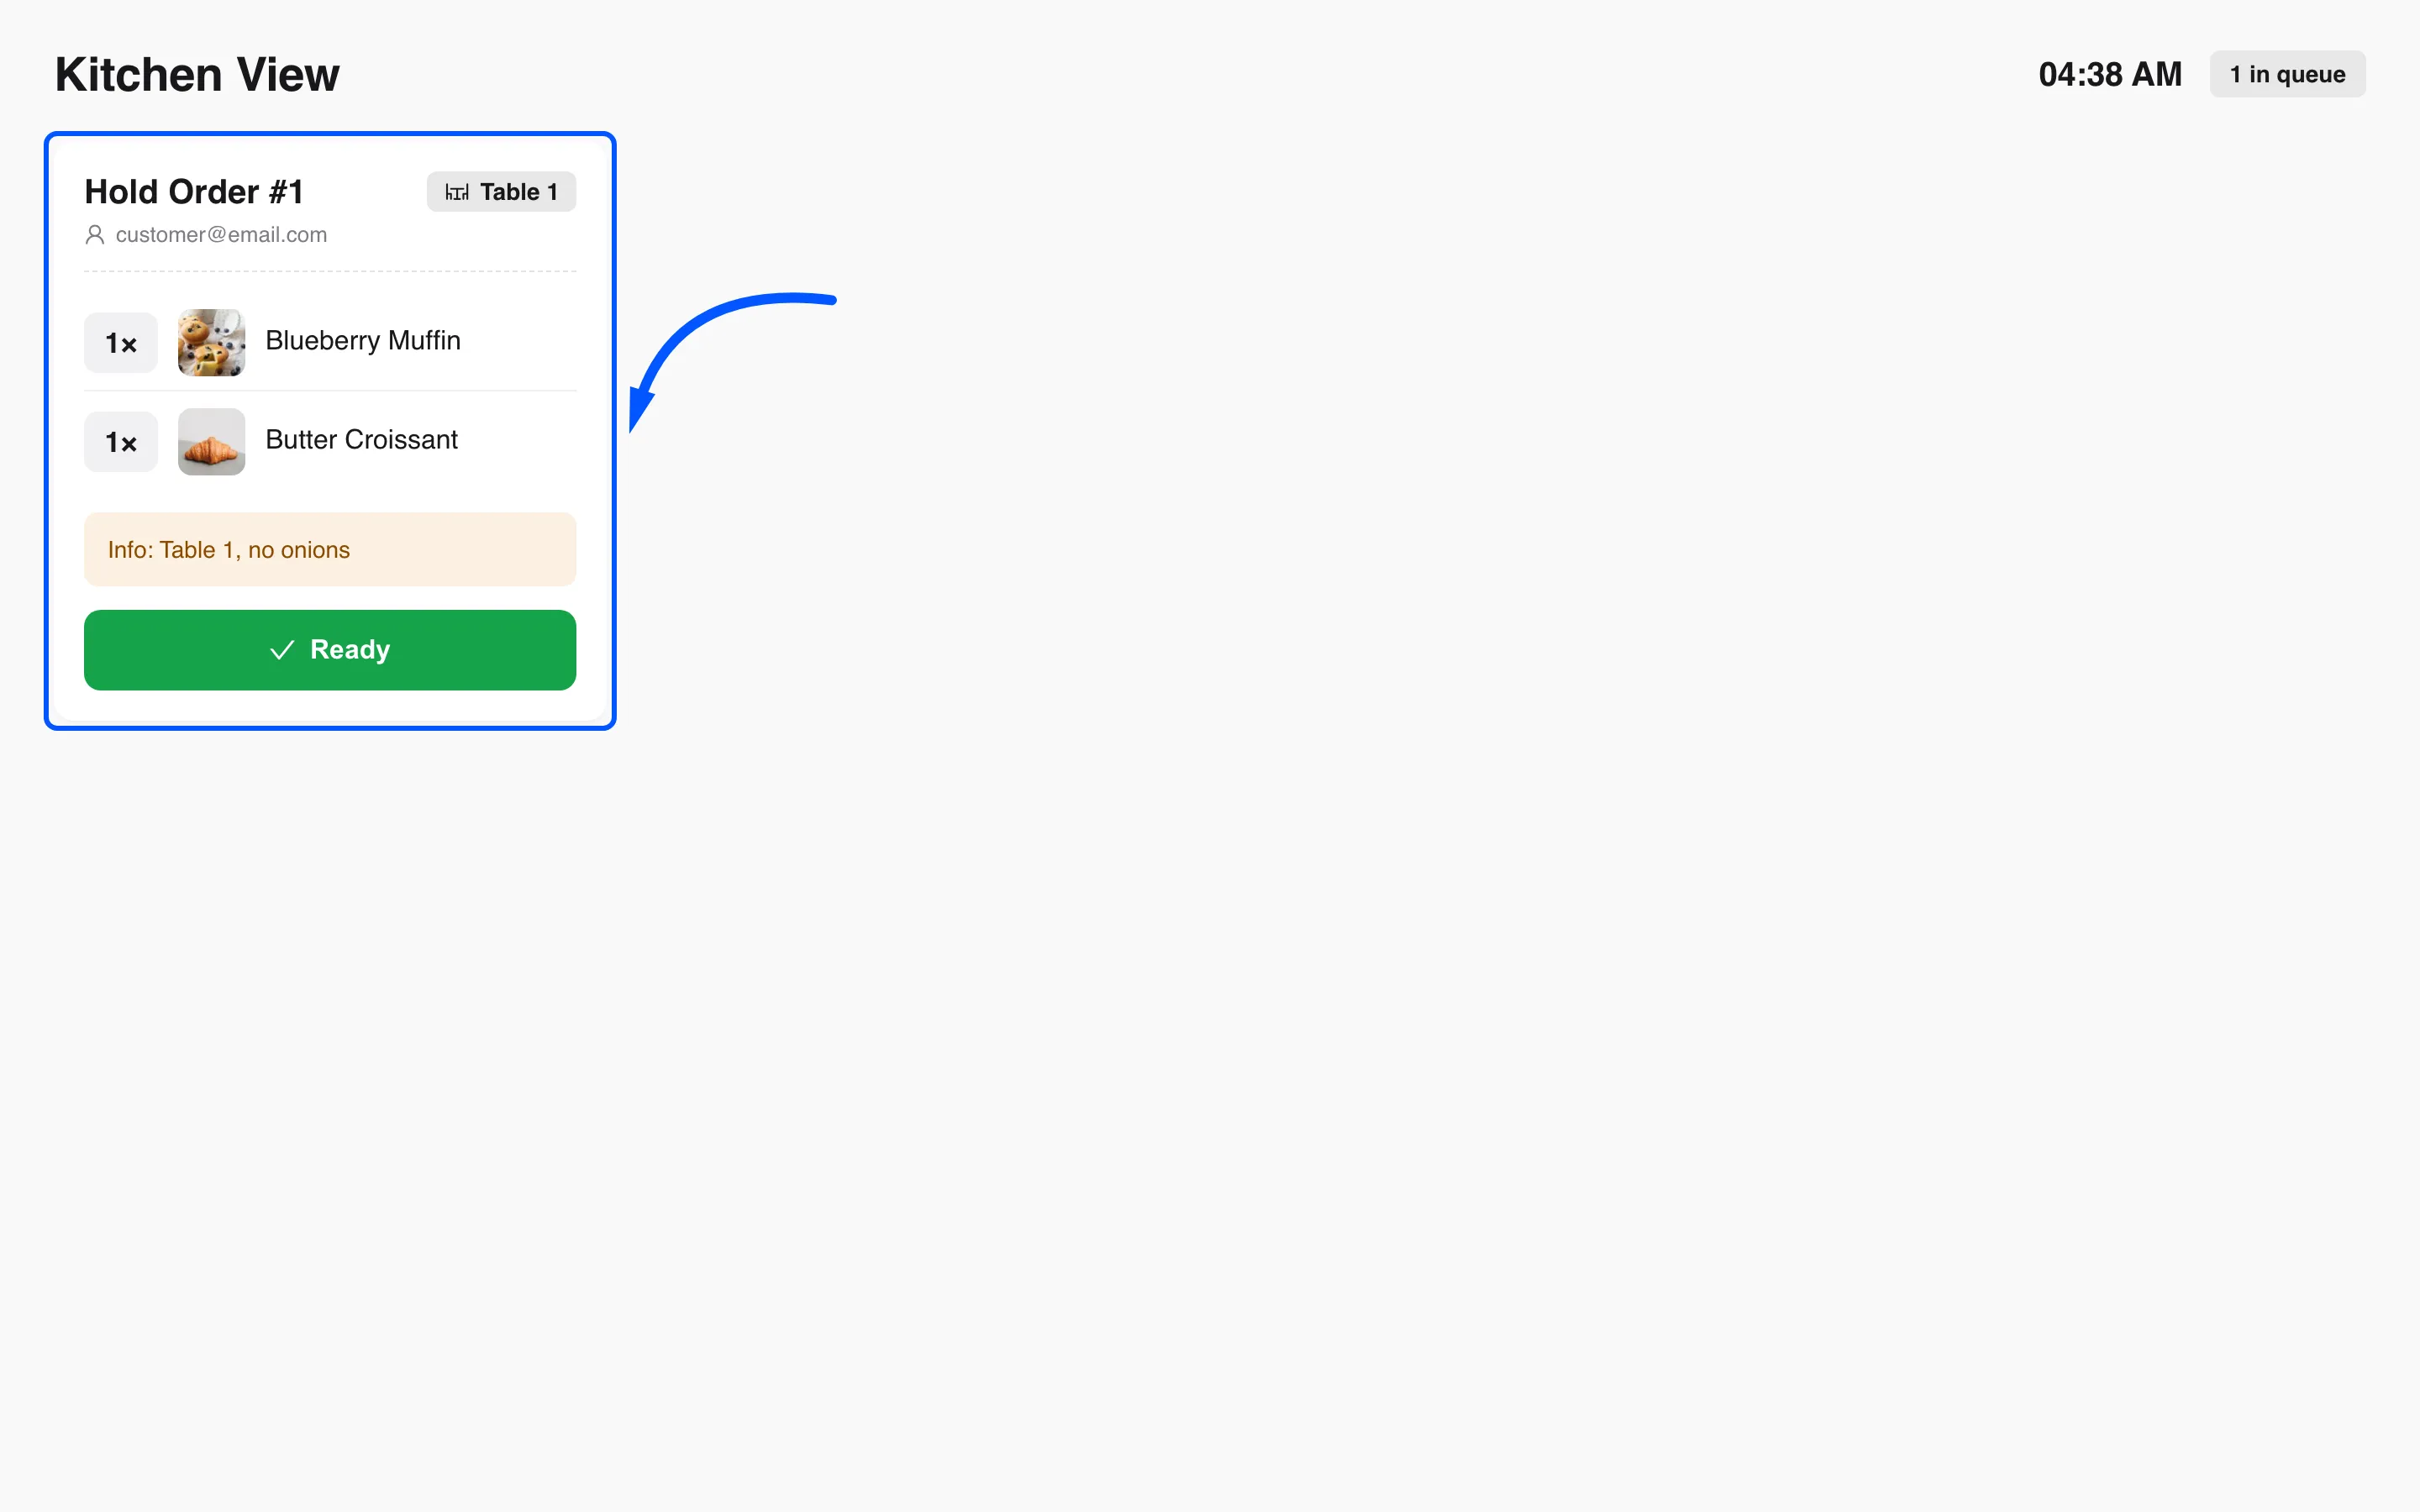
Cards stay in the order they arrived, so the top of the screen is the oldest ticket.
Step 7: Clear the card
Section titled “Step 7: Clear the card”Press Ready when the food leaves the kitchen.
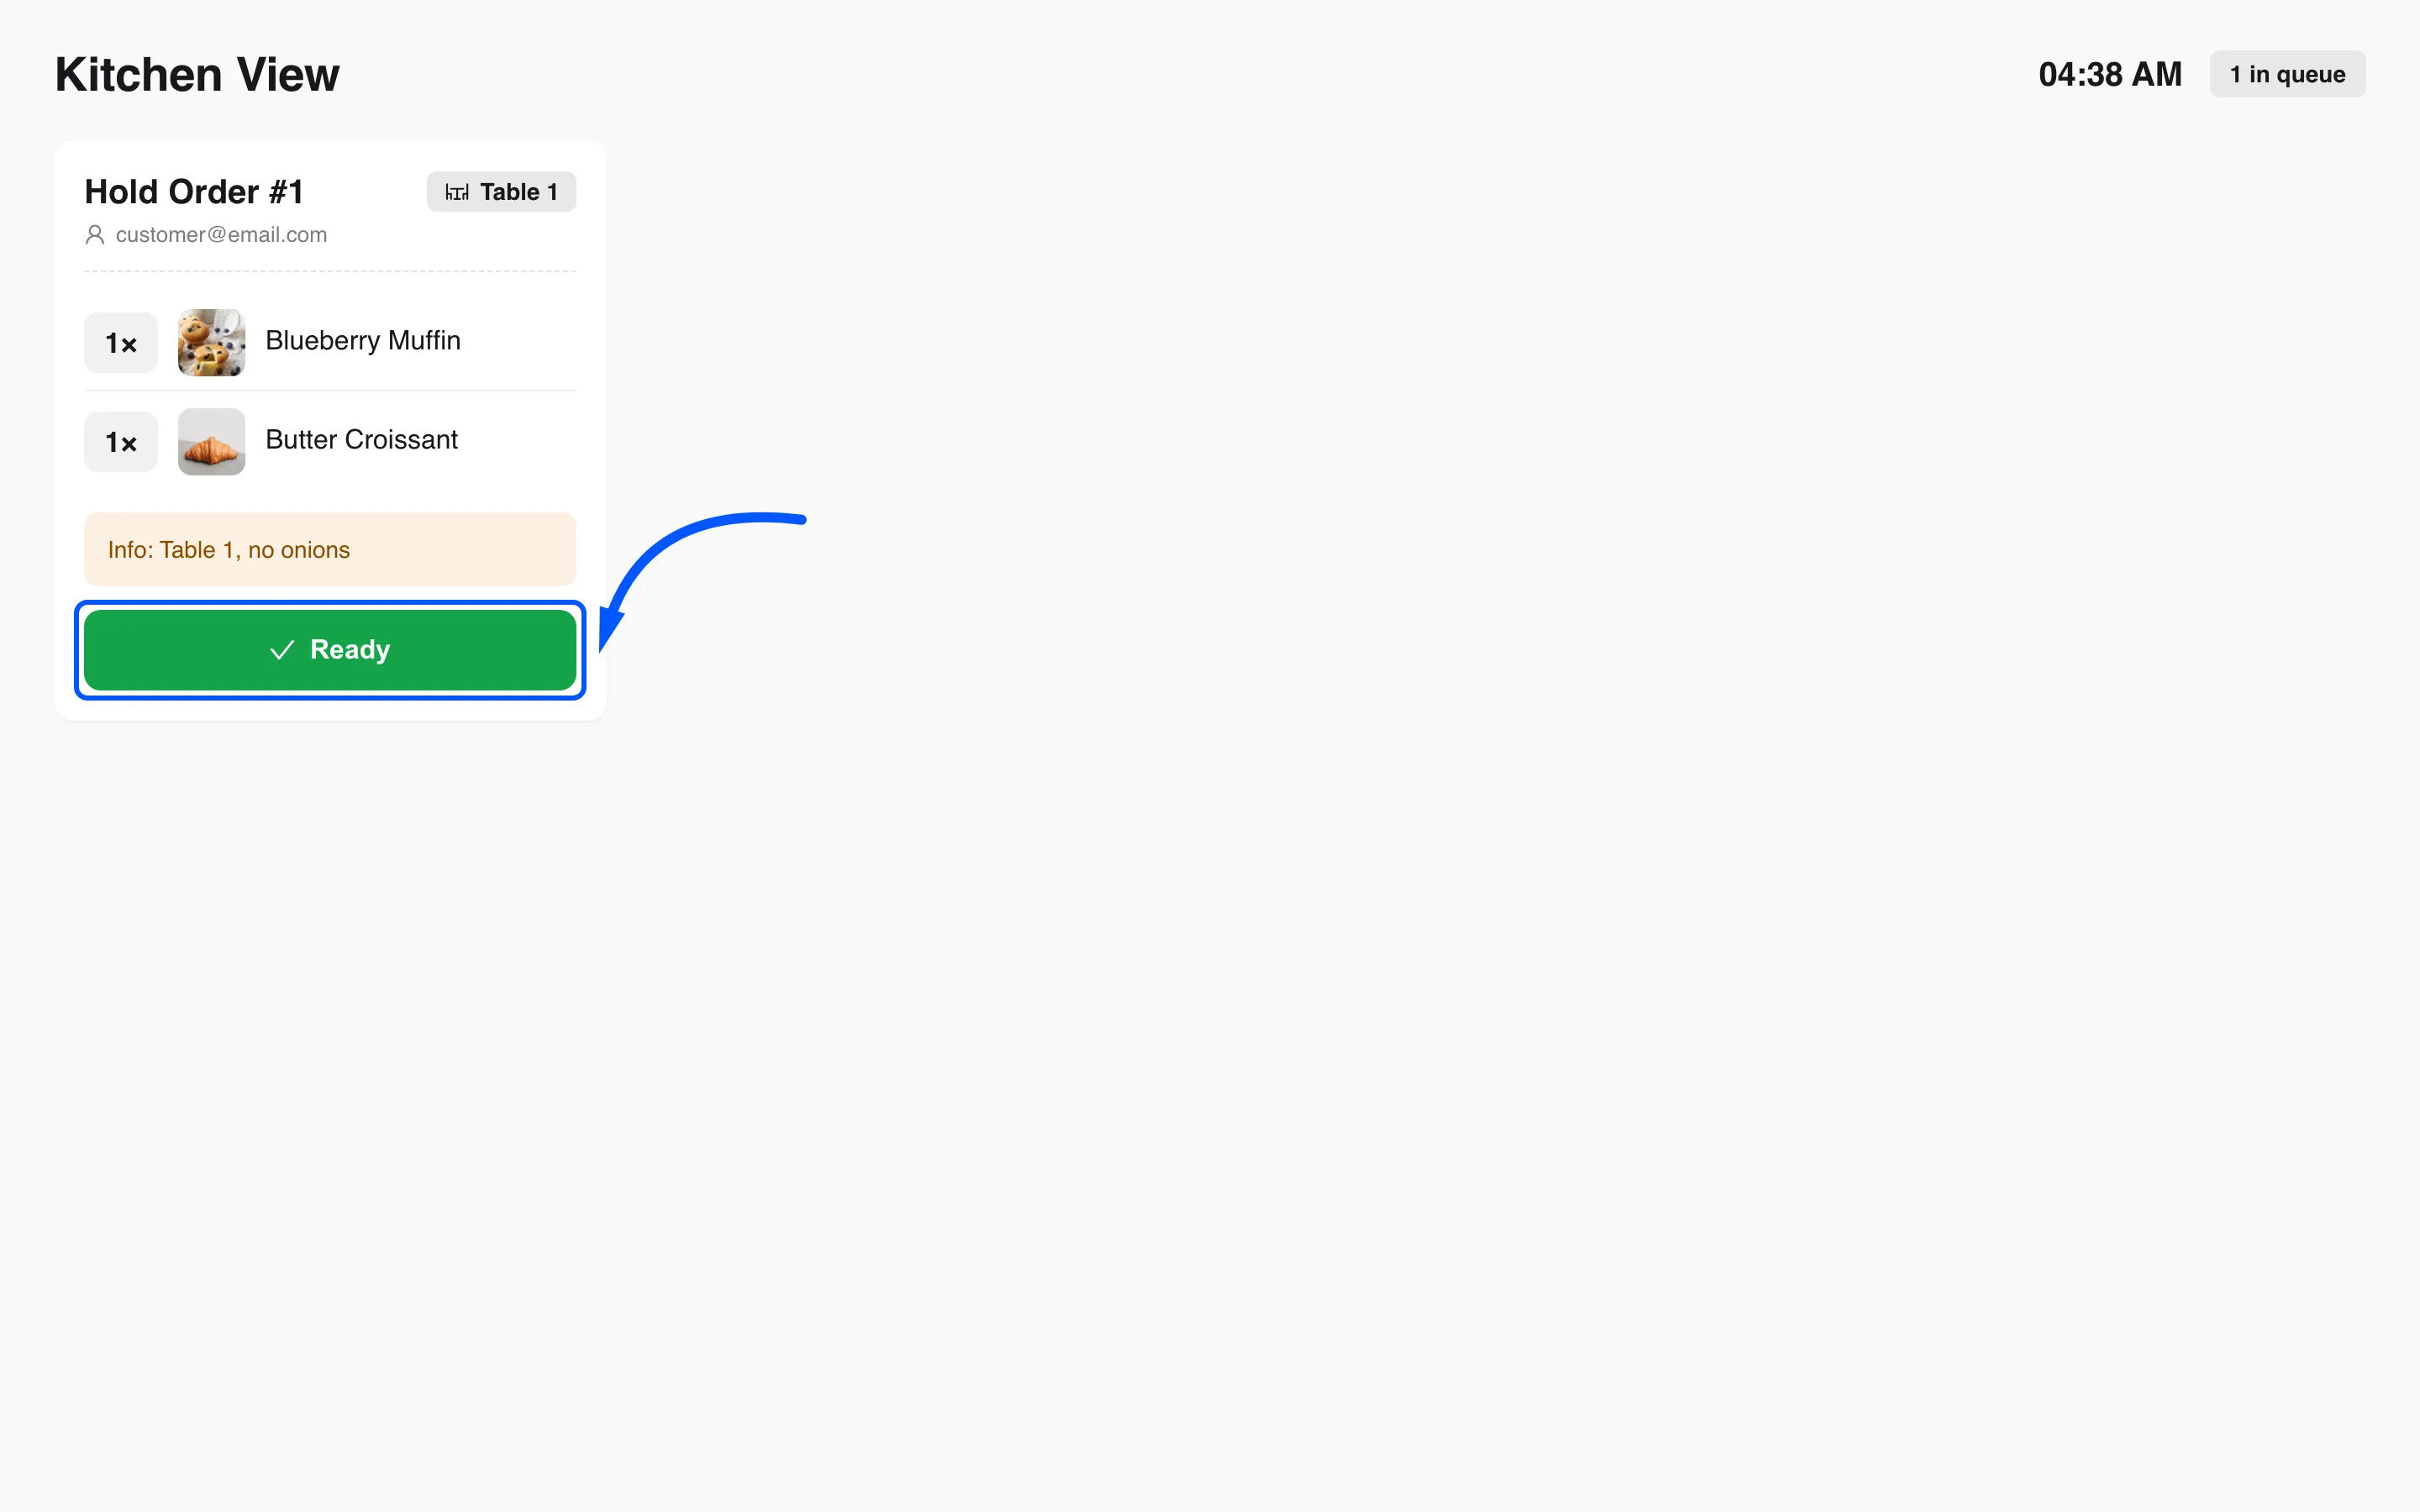
The browser asks to confirm, because there is no undo:
Are you sure to remove this order from kitchen?
That is a plain browser confirmation box, not a MultiPOS one, so it looks slightly different in every browser. Accept it and the card goes, with a Order is successfully removed from kitchen. message.
Clearing a card touches nothing else. The WooCommerce order stands, and a held cart is still held and still waiting to be paid.
Press Ready with the kitchen device offline and it refuses: Cannot make request, check your internet connection!
A screen worth putting up
Section titled “A screen worth putting up”Mount a cheap tablet where the pass can see it and leave the page open. It refreshes itself, needs no input beyond one button, and gives the kitchen the same list the POS has.
Two habits make it work. Sign it in and leave it signed in. Press Ready when the plate goes out, not when the pan goes on.
Where to go next
Section titled “Where to go next”- Kitchen Display for the screen reference.
- How to Run a Restaurant with Tables
- General Settings