How to Turn On Vendor POS for Your WCFM Vendors
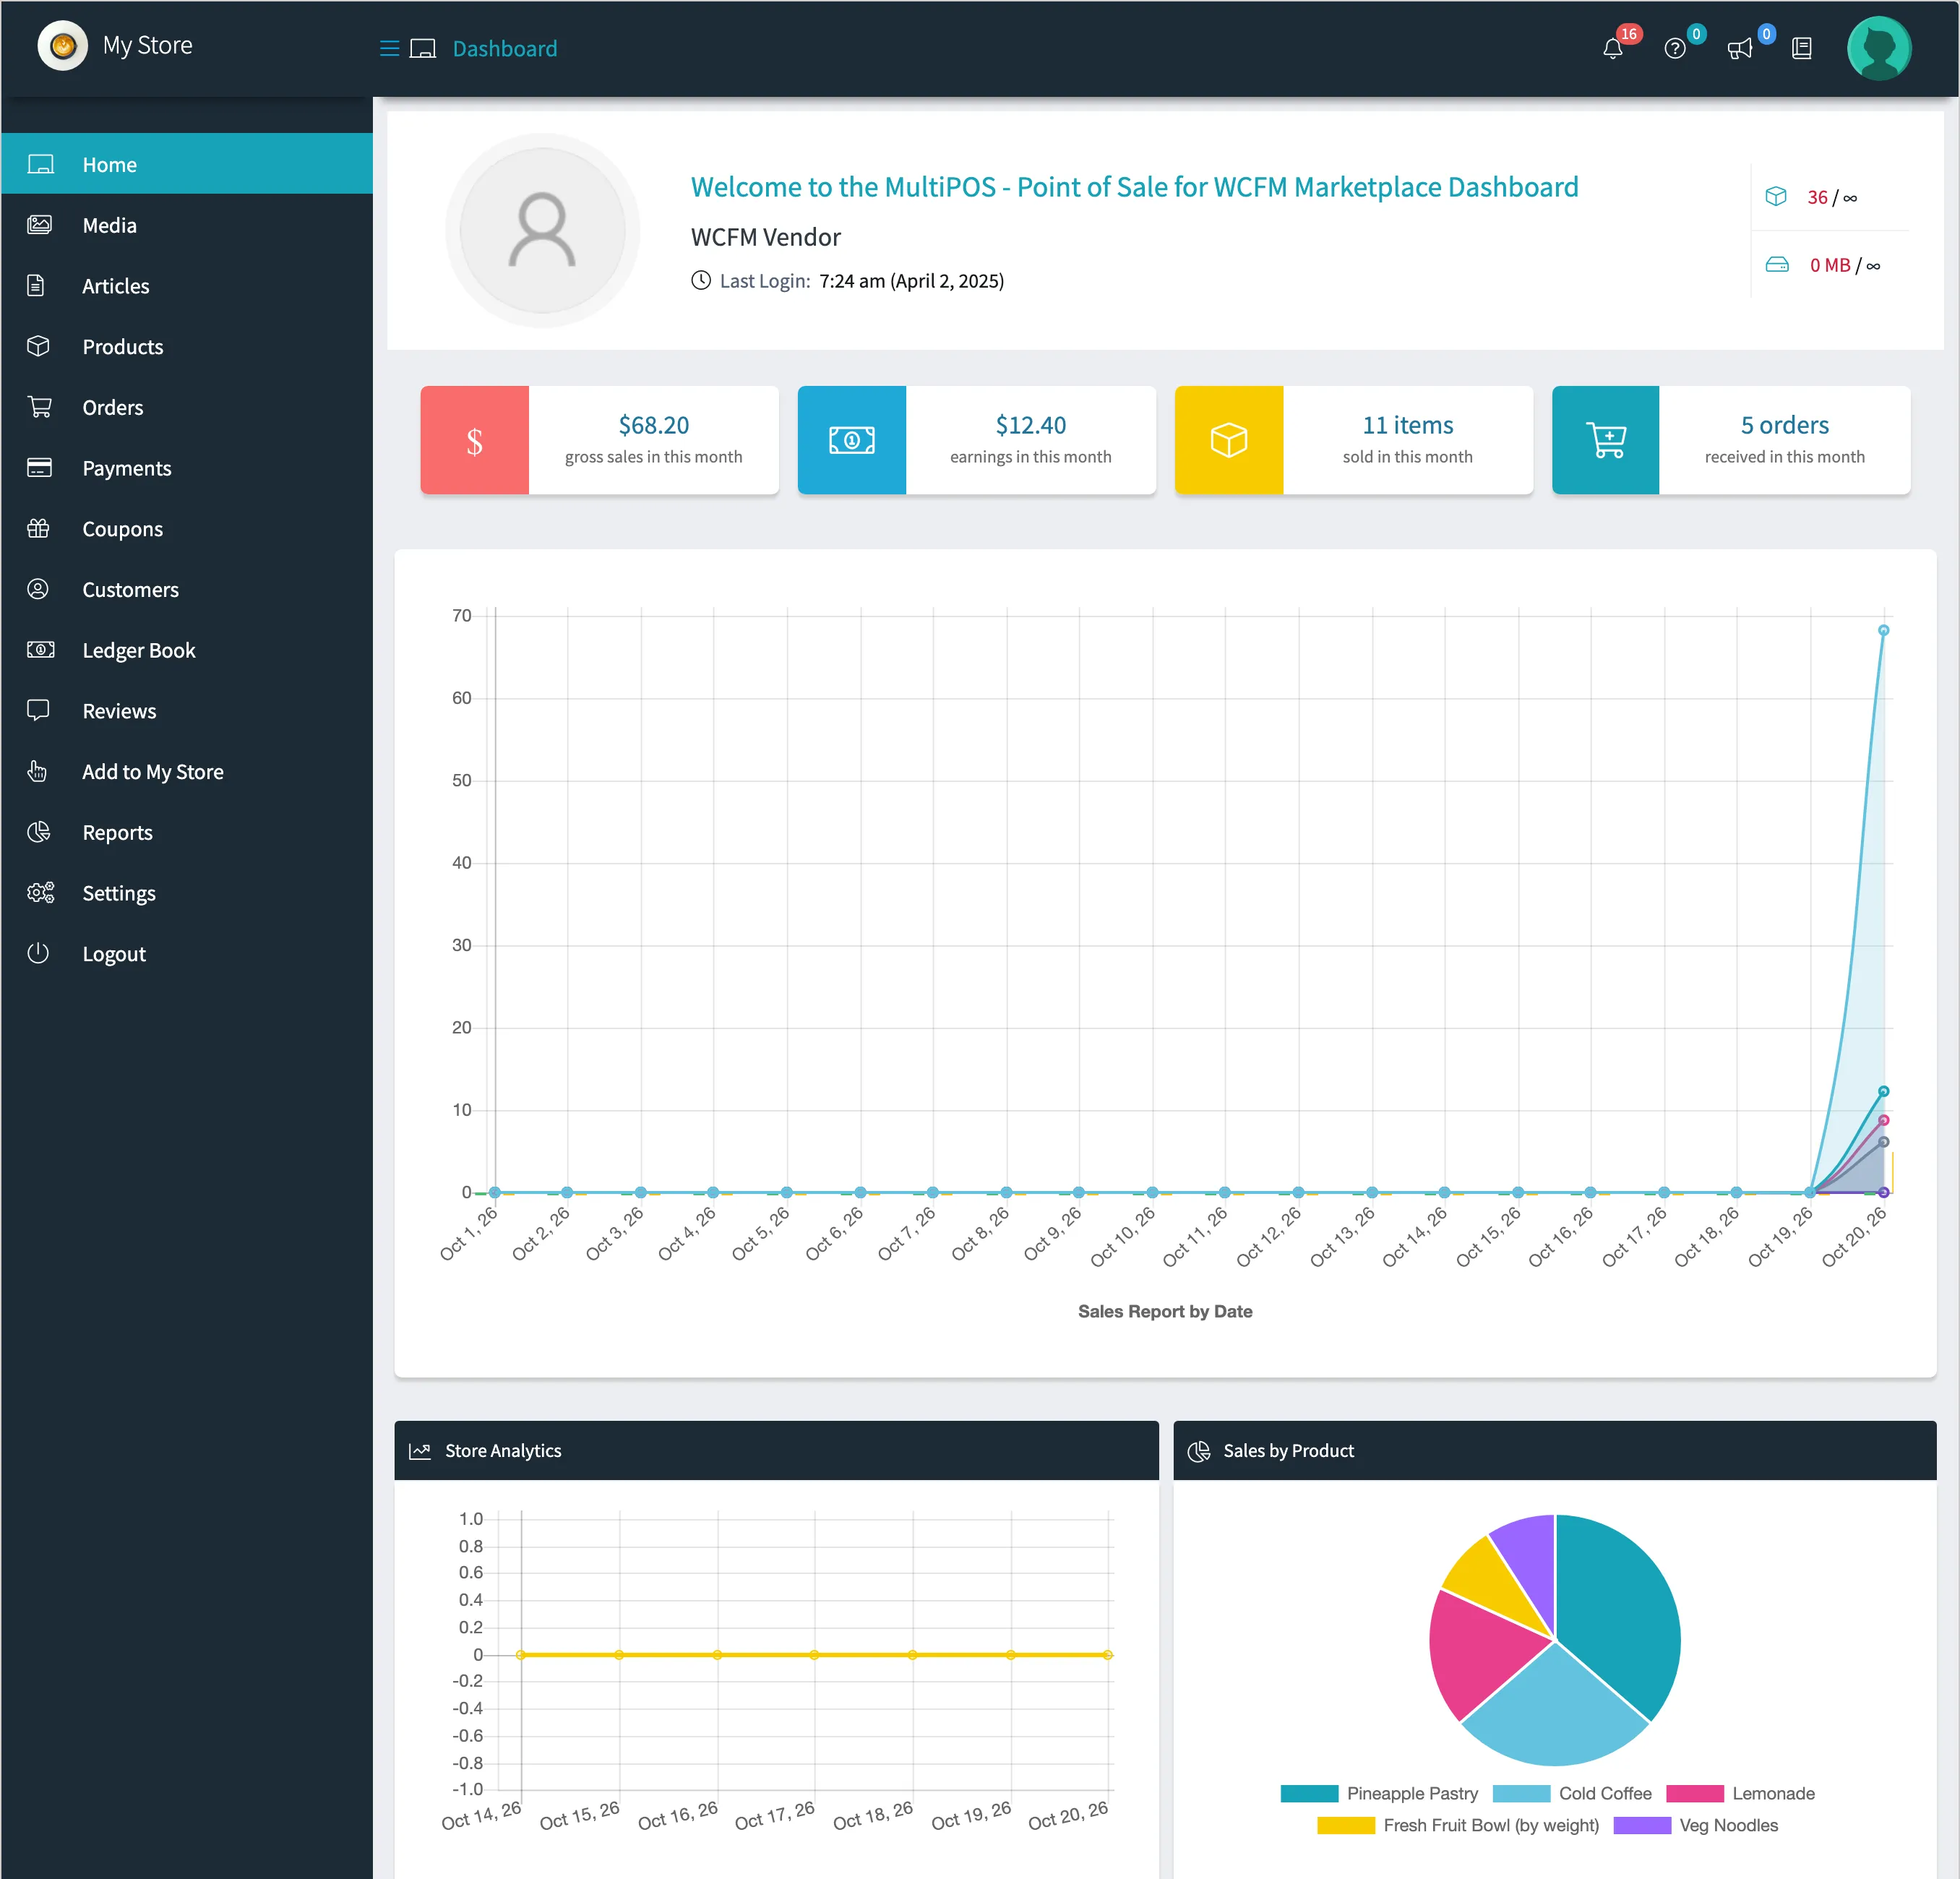
Vendor POS decides which vendors get a POS and a POS back office in the WCFM store manager. It takes one setting, plus a tick per vendor if you choose them one by one.
Step 1: Choose the Vendor POS mode
Section titled “Step 1: Choose the Vendor POS mode”Go to DevDiggers Plugins → MultiPOS → Configuration → General and scroll to Marketplace.
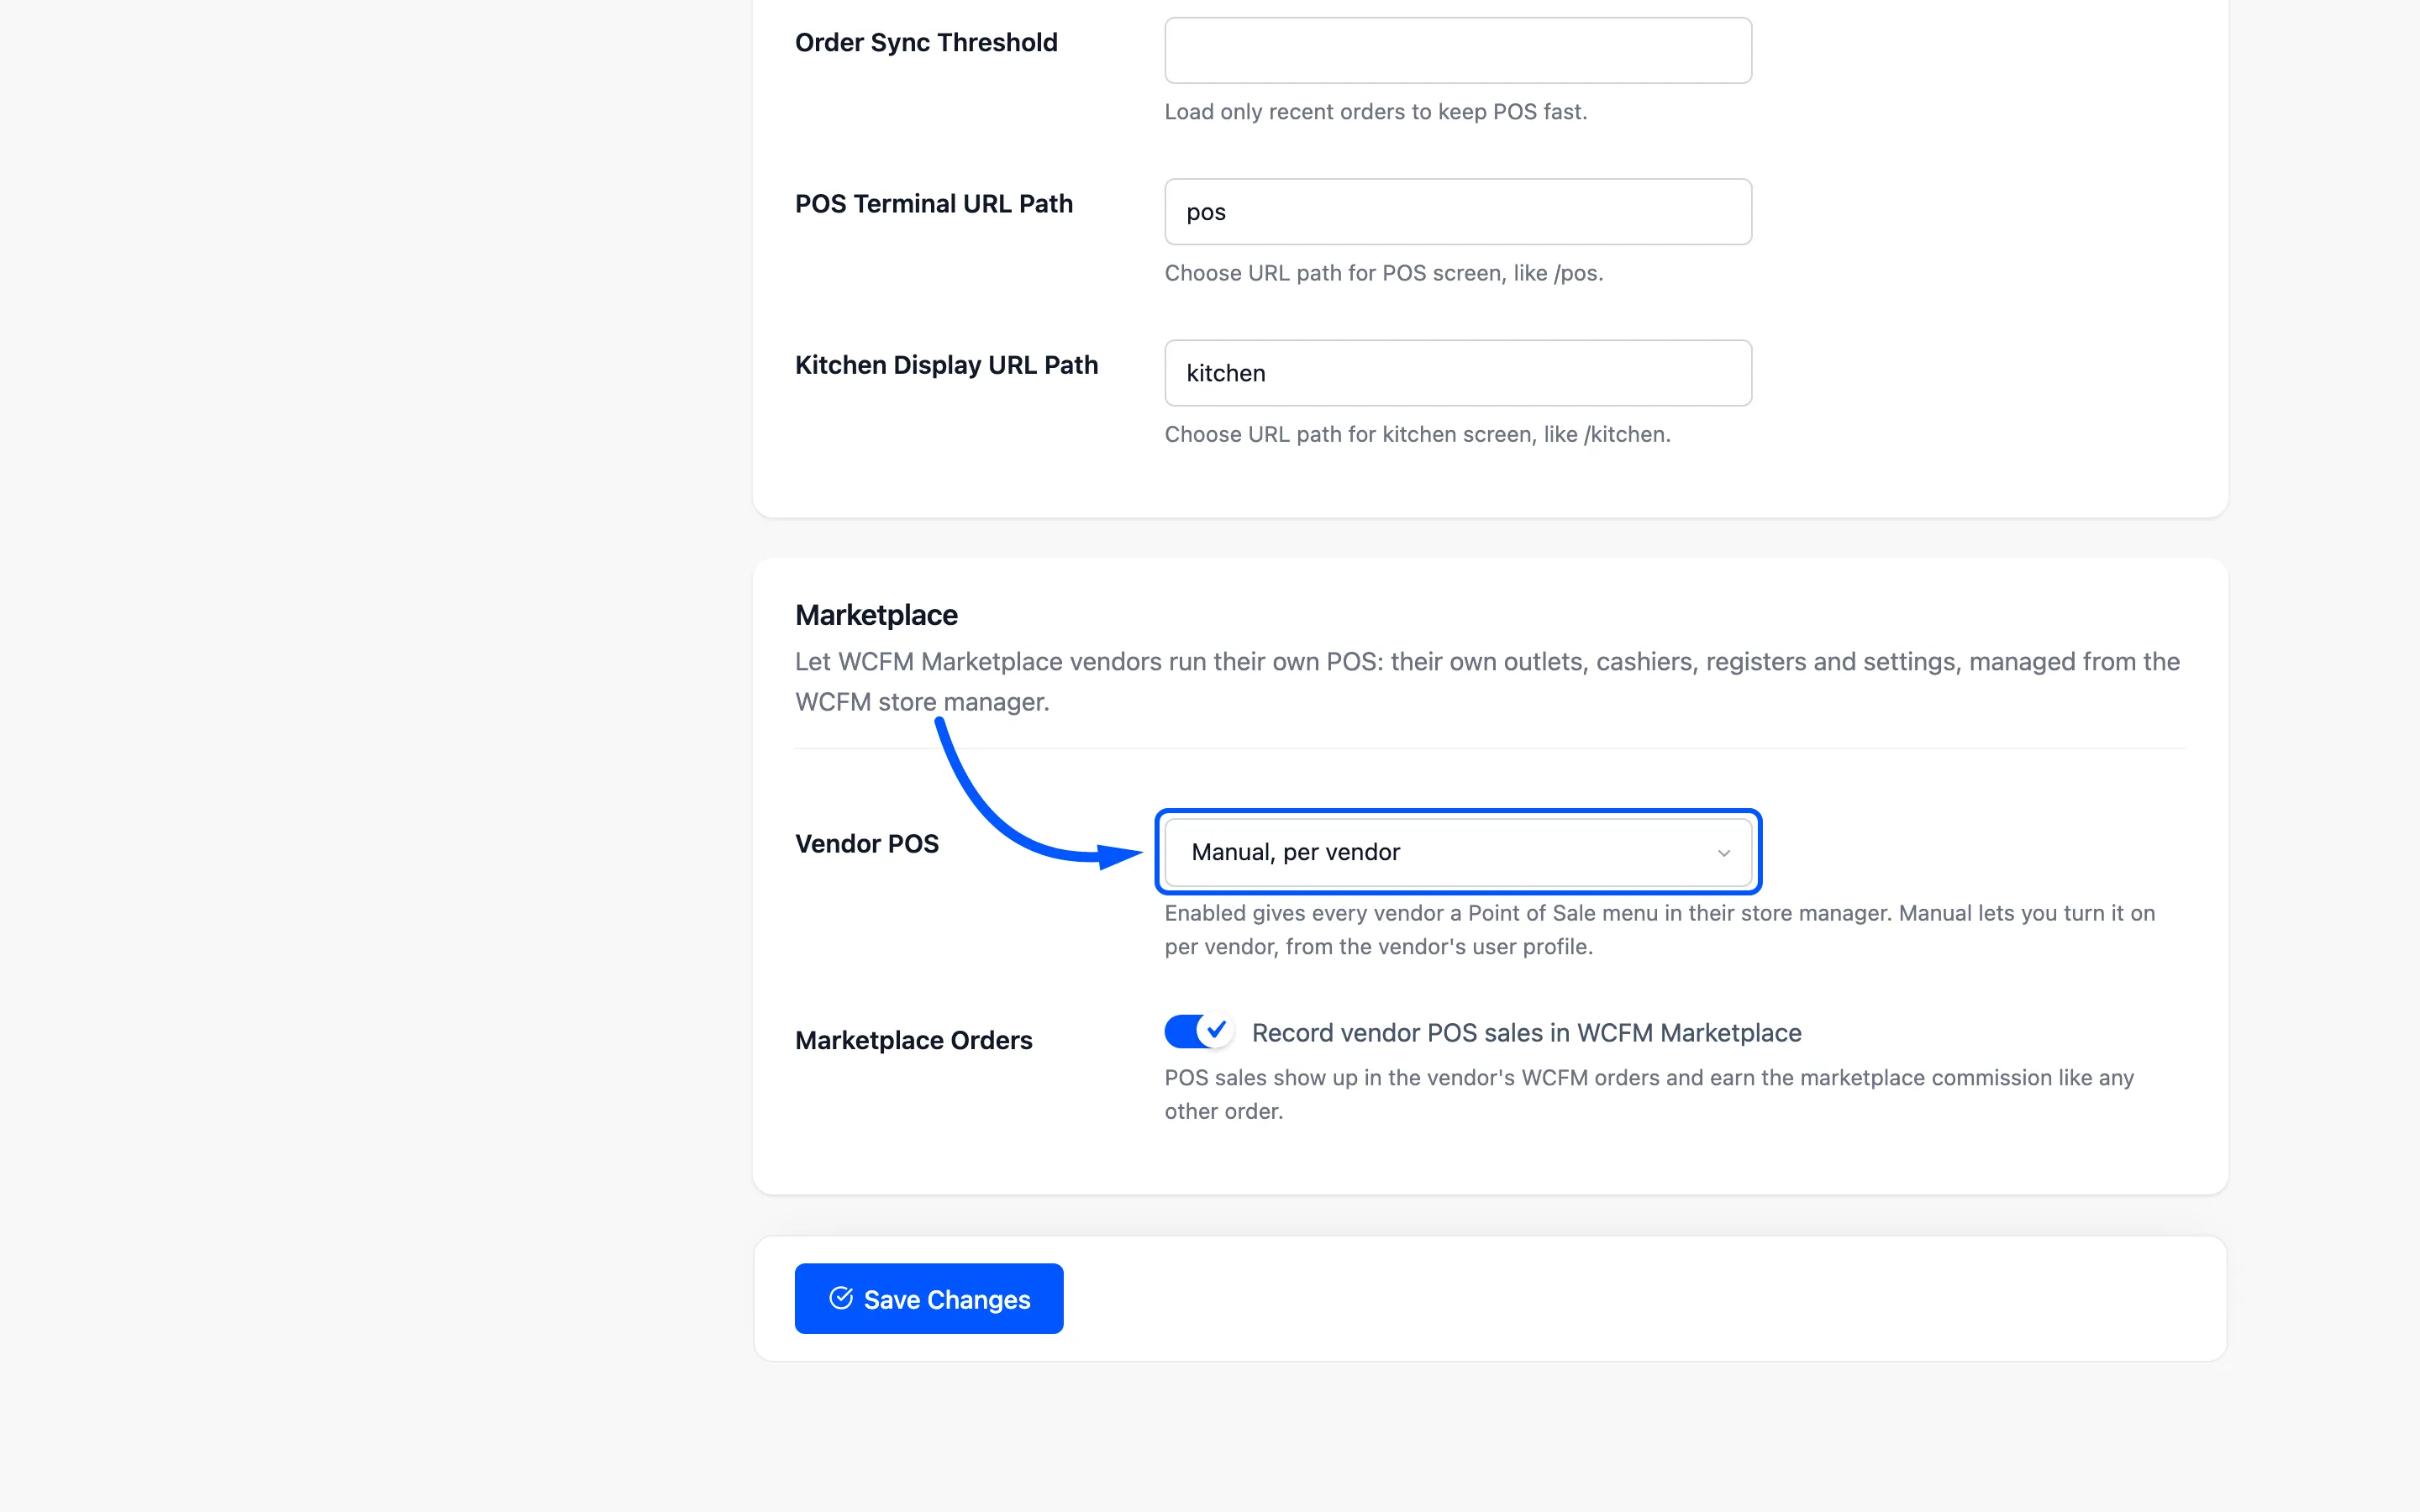
- Enabled for all vendors: Every vendor, now and in future. The default.
- Manual, per vendor: Only the vendors you tick in Step 2.
- Disabled: No vendor. Your own terminals keep working.
Click Save Changes.
Manual suits a marketplace where only some vendors trade in person, or where the POS is a paid extra for vendors.
Step 2: Tick each vendor in manual mode
Section titled “Step 2: Tick each vendor in manual mode”Go to Users, edit the vendor, and scroll to the MultiPOS section. Tick This vendor can use the POS and click Update User.
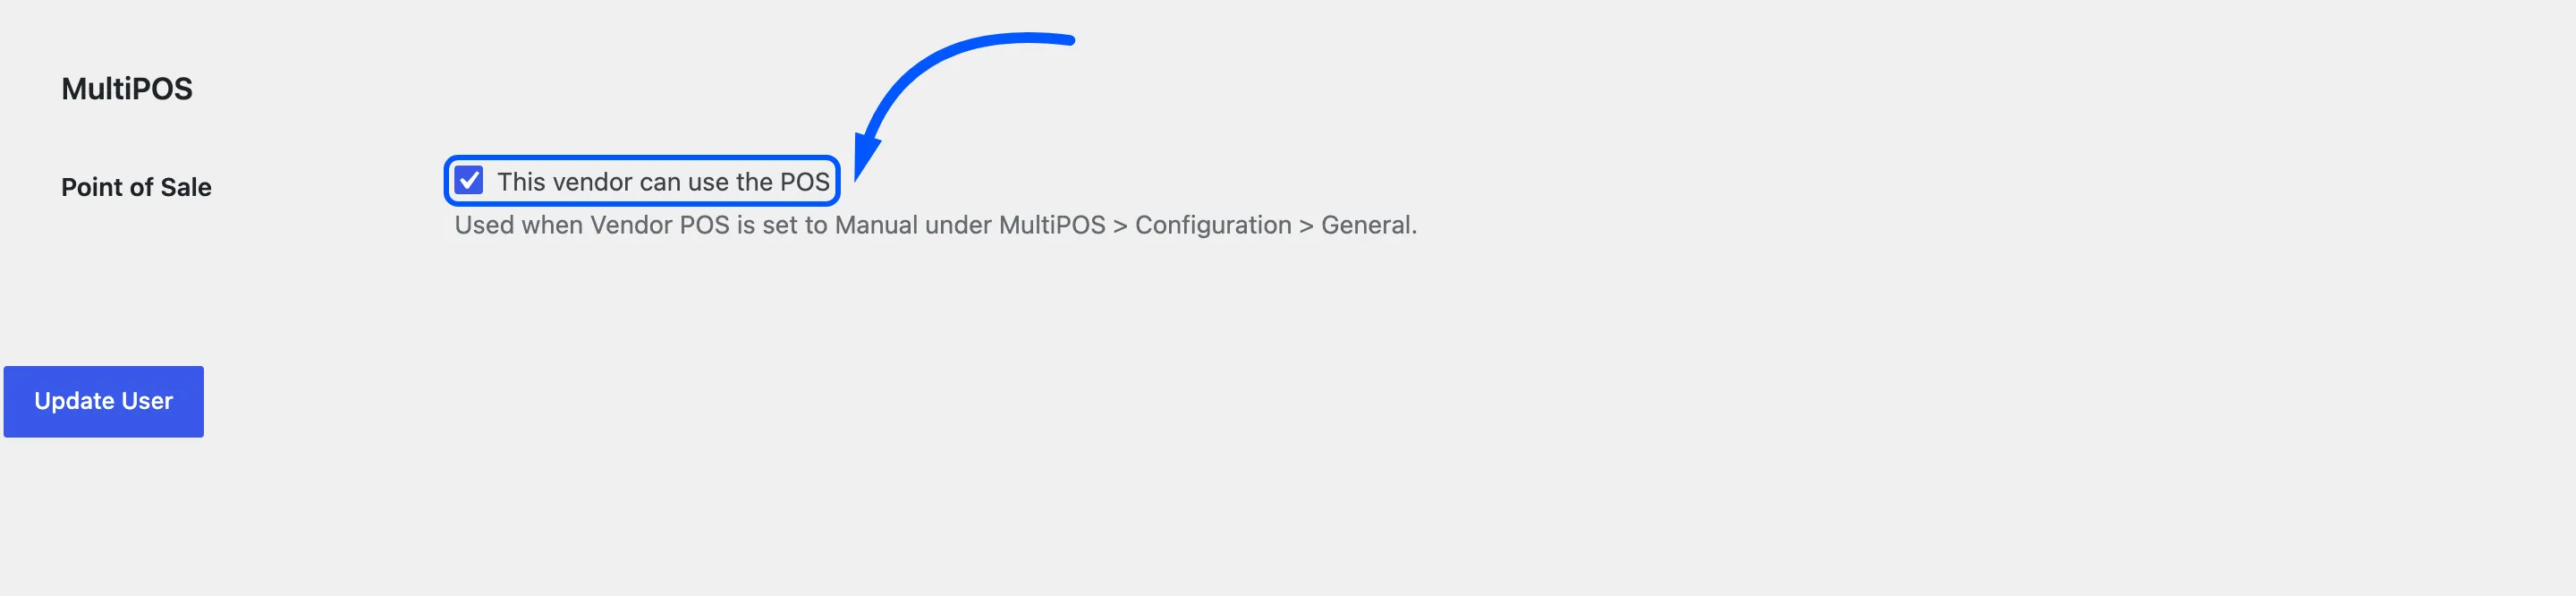
The switch only counts in Manual mode. In the other two modes it is ignored.
Step 3: Check the vendor’s menu
Section titled “Step 3: Check the vendor’s menu”Sign in as the vendor and open Store Manager. Point of Sale now sits in the menu, below Products.
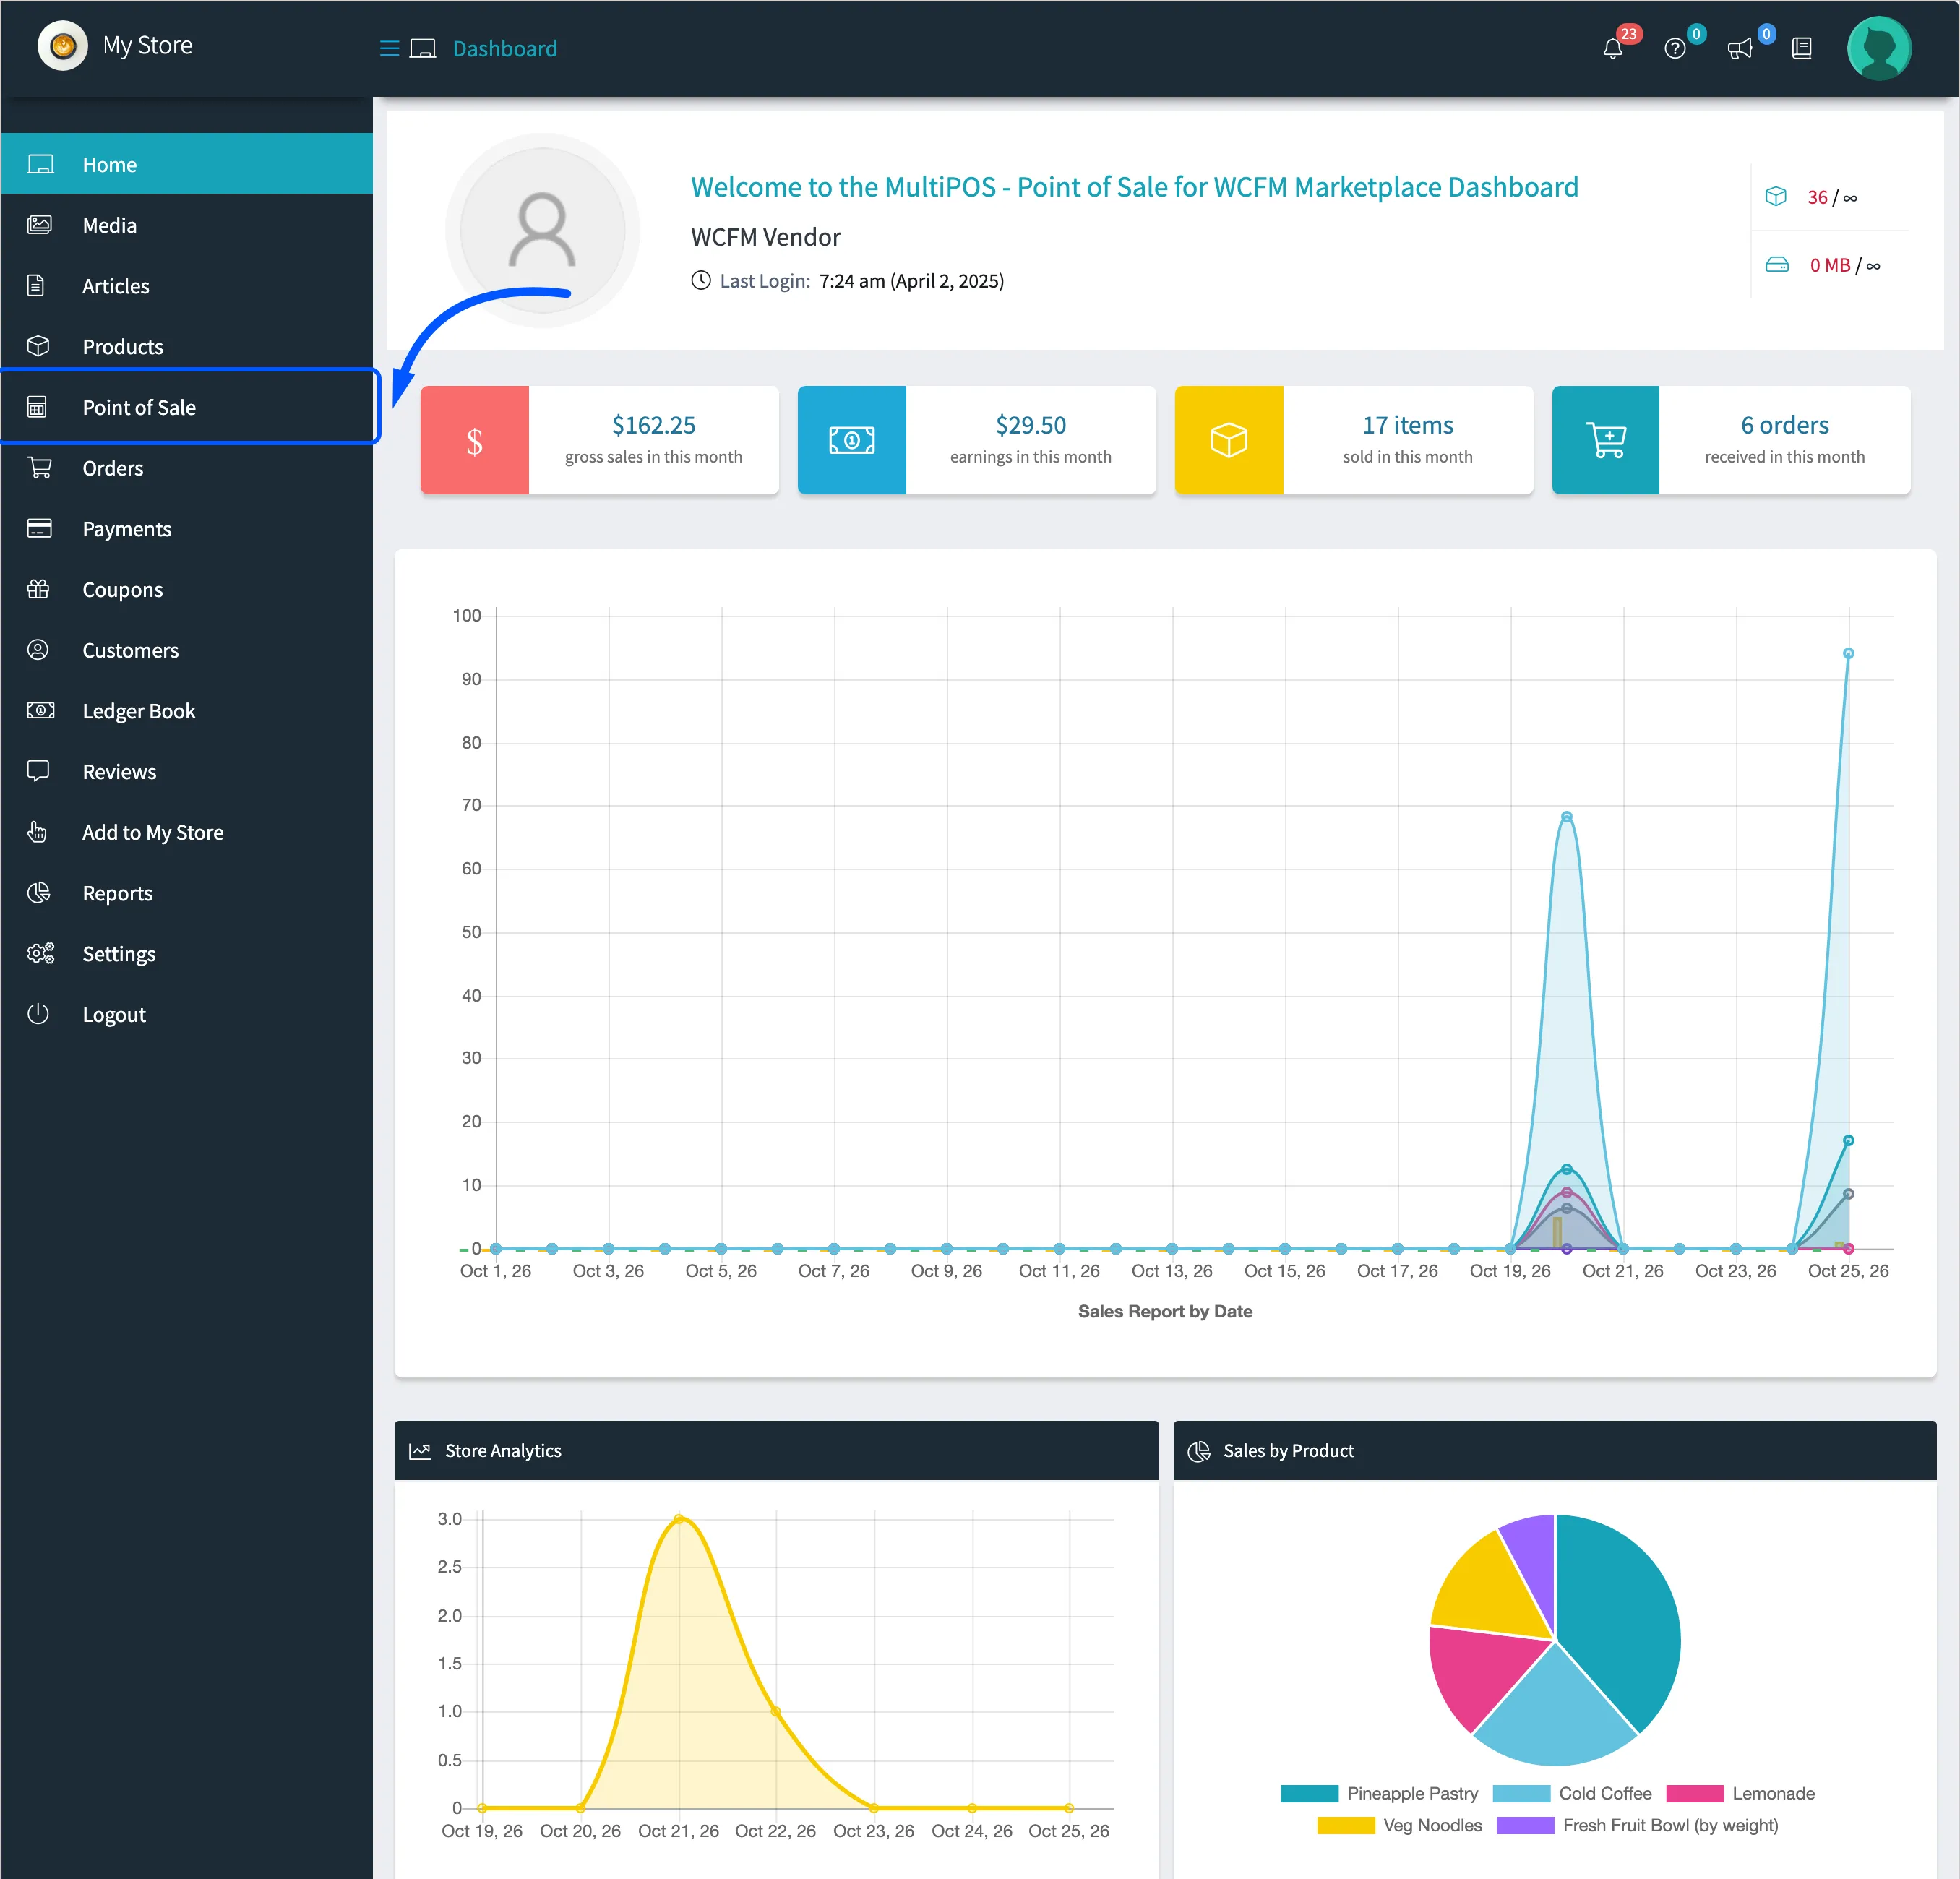
The vendor can now add outlets and cashiers, and open the POS at yoursite.com/pos.
Step 4: Decide on marketplace orders
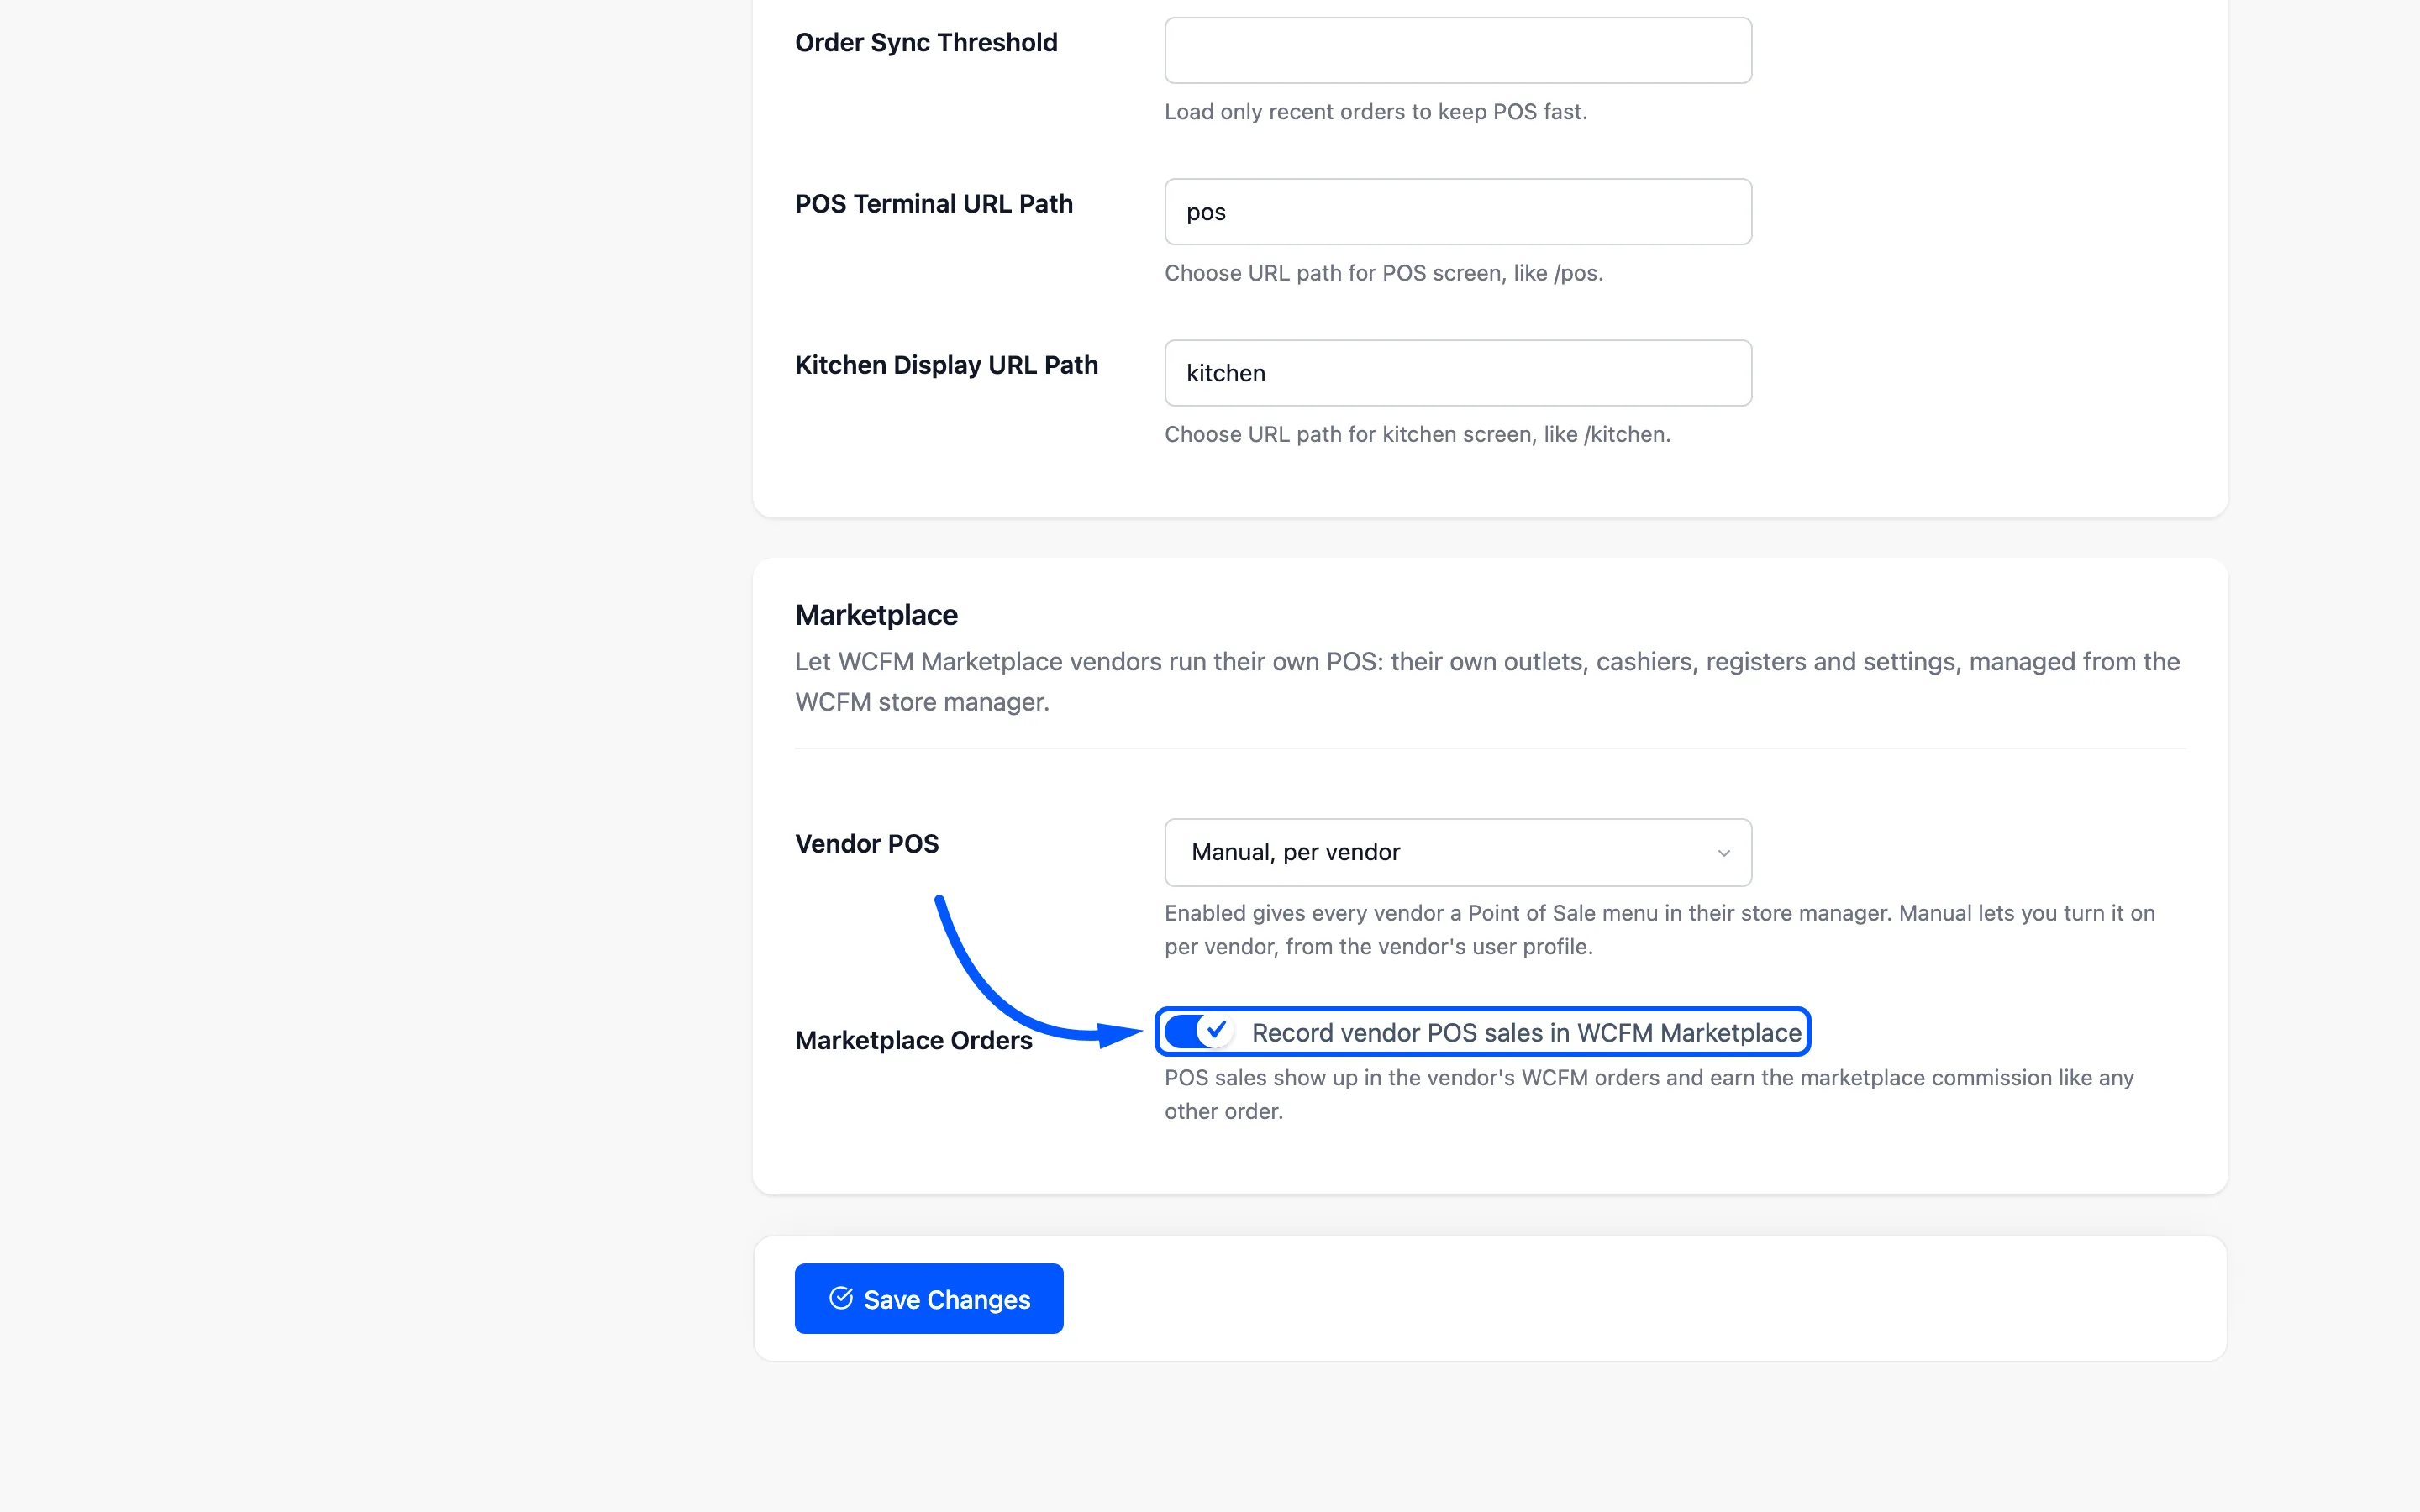
Section titled “Step 4: Decide on marketplace orders”In the same Marketplace section, Record vendor POS sales in WCFM Marketplace is on by default. Leave it on to have counter sales appear in the vendor’s WCFM Orders with their earning.
Switching a vendor off
Section titled “Switching a vendor off”Set the mode to Disabled, or untick the vendor in Manual mode. The change is immediate:
- Point of Sale disappears from their store manager.
- The vendor and every cashier they added are sent to My Account if they open the POS.
- Their outlets, cashiers, orders and settings are kept, and come back when you switch them on again.