

How to Run a Restaurant with Tables and a Kitchen Screen
A restaurant outlet adds tables and a kitchen screen to the POS. This walkthrough follows a table at Daily Grind Café, a vendor’s restaurant outlet.
Step 1: Set up the outlet
Section titled “Step 1: Set up the outlet”On the outlet, set Operation Mode to Restaurant/Cafe and tick its tables under Dining Tables. The tables come from the store’s Tables tab.
Step 2: Seat the table
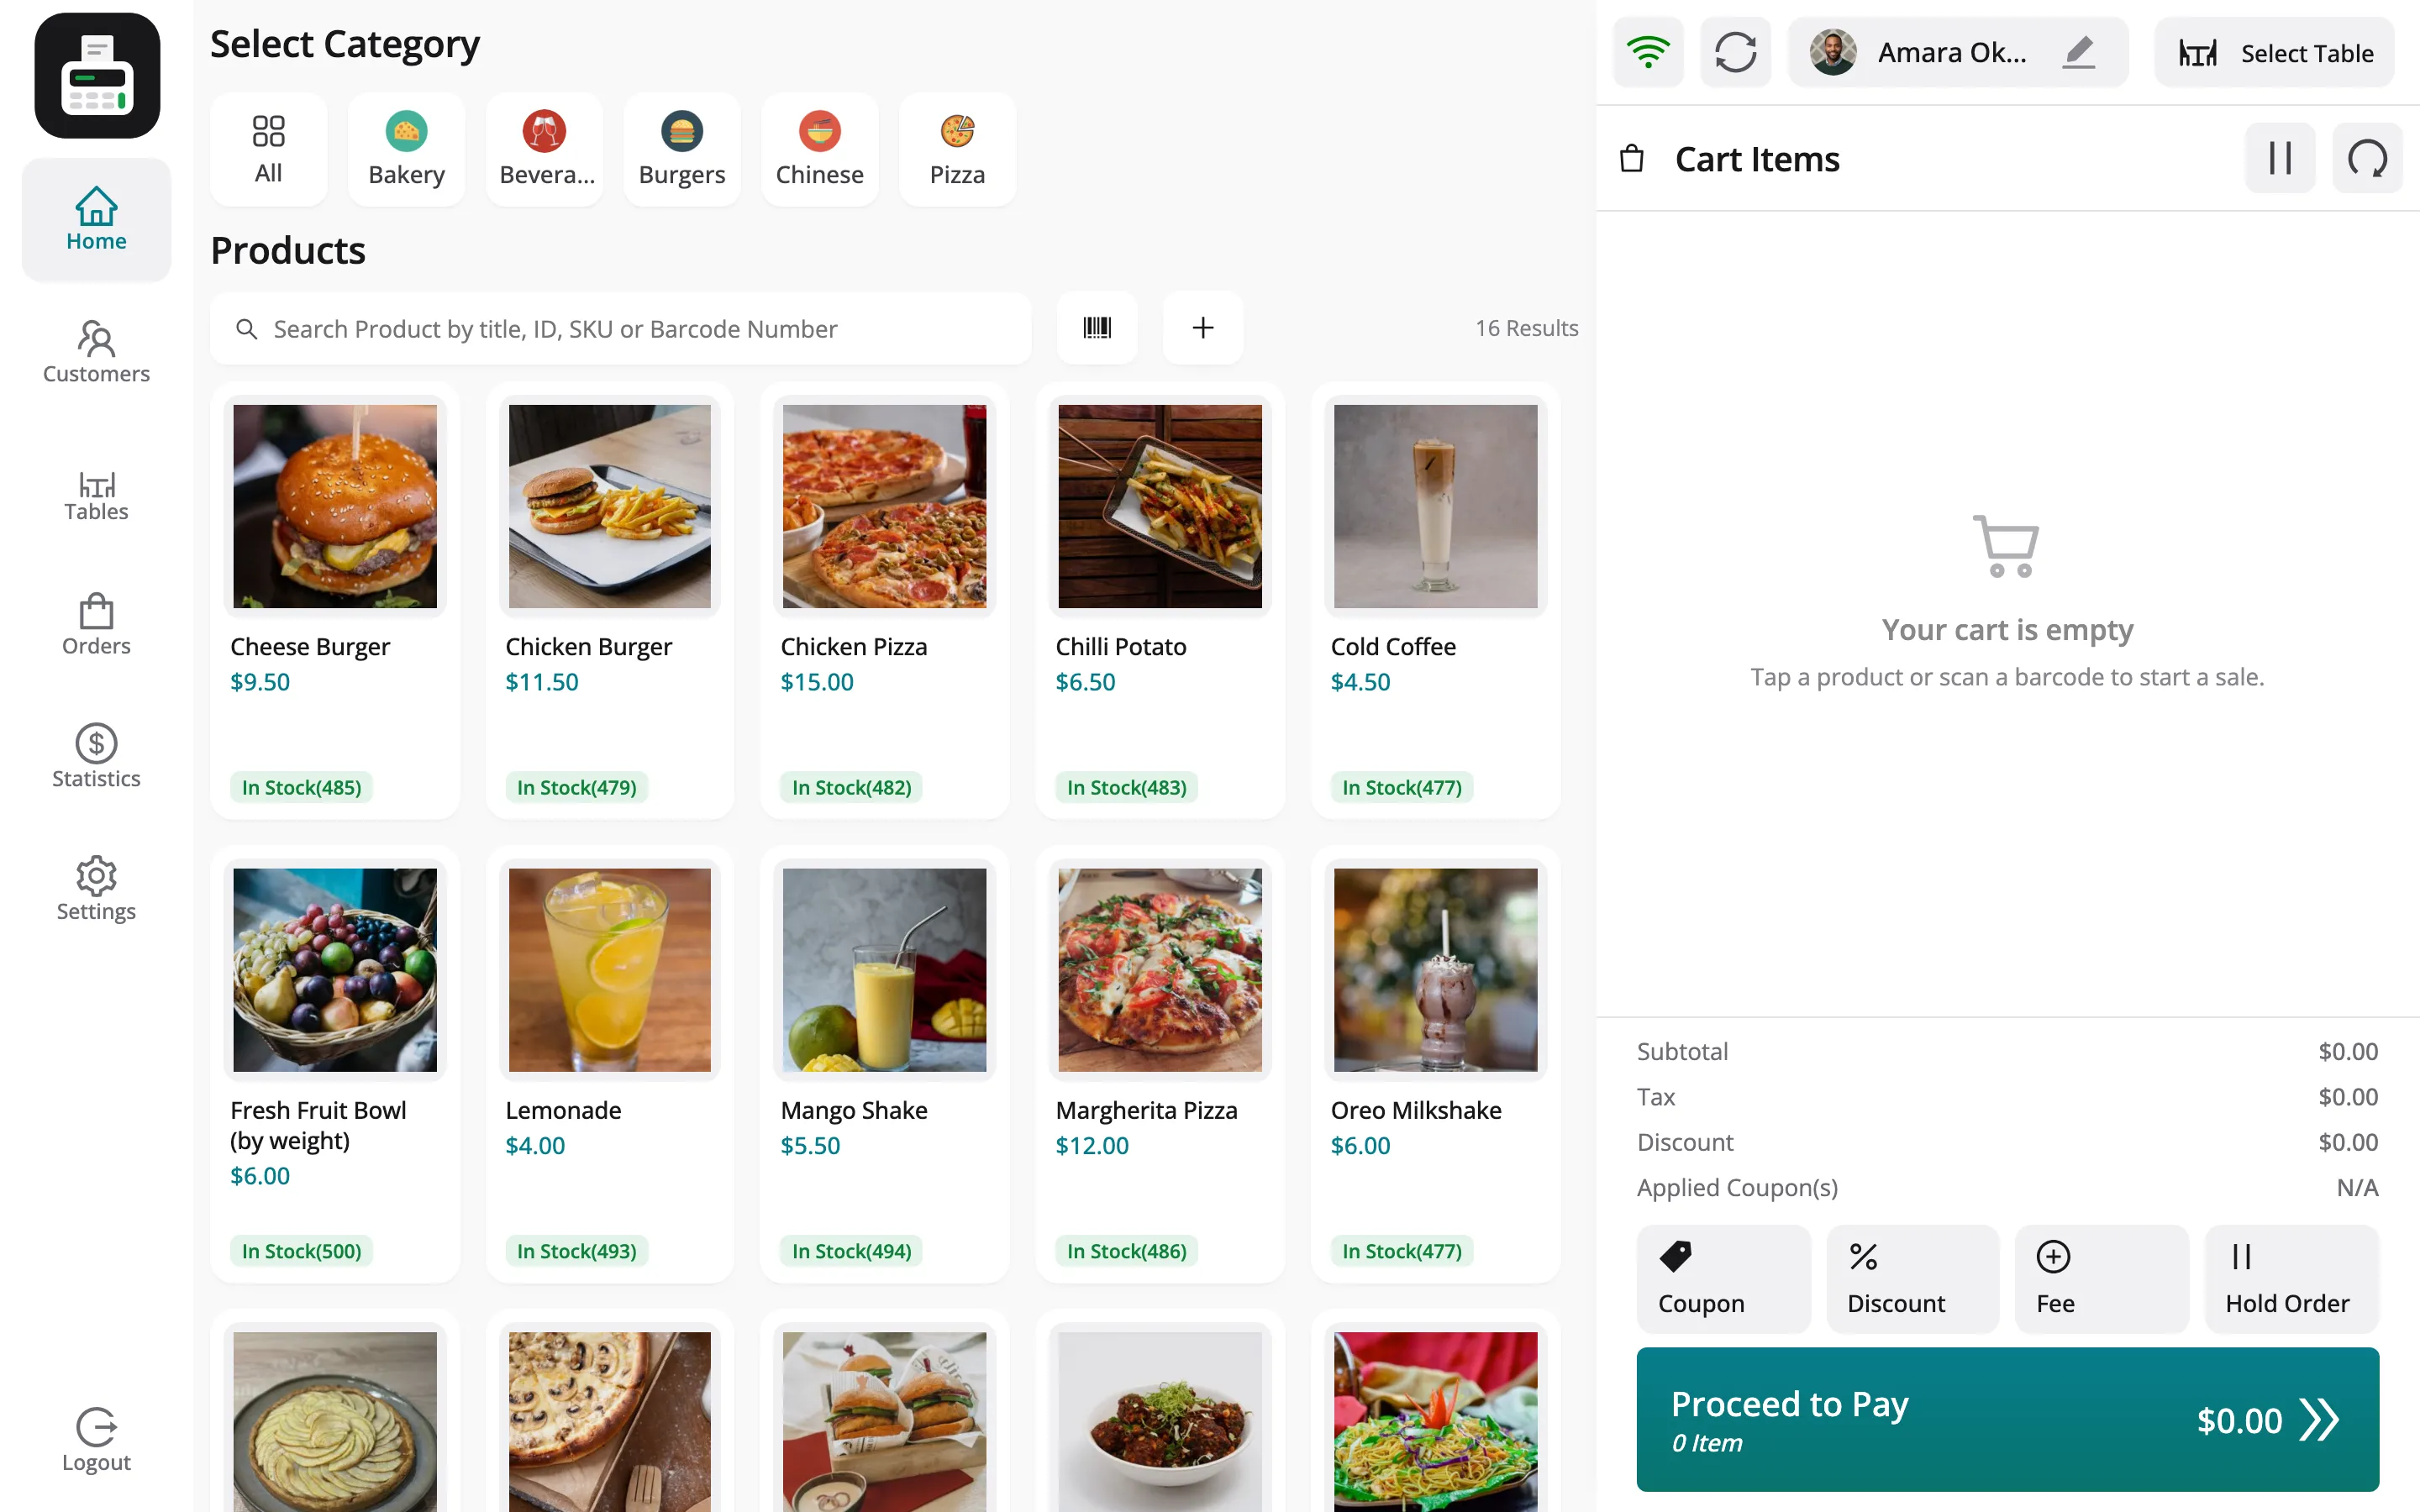
Section titled “Step 2: Seat the table”The POS now has Tables in its menu and Select Table in the cart header.
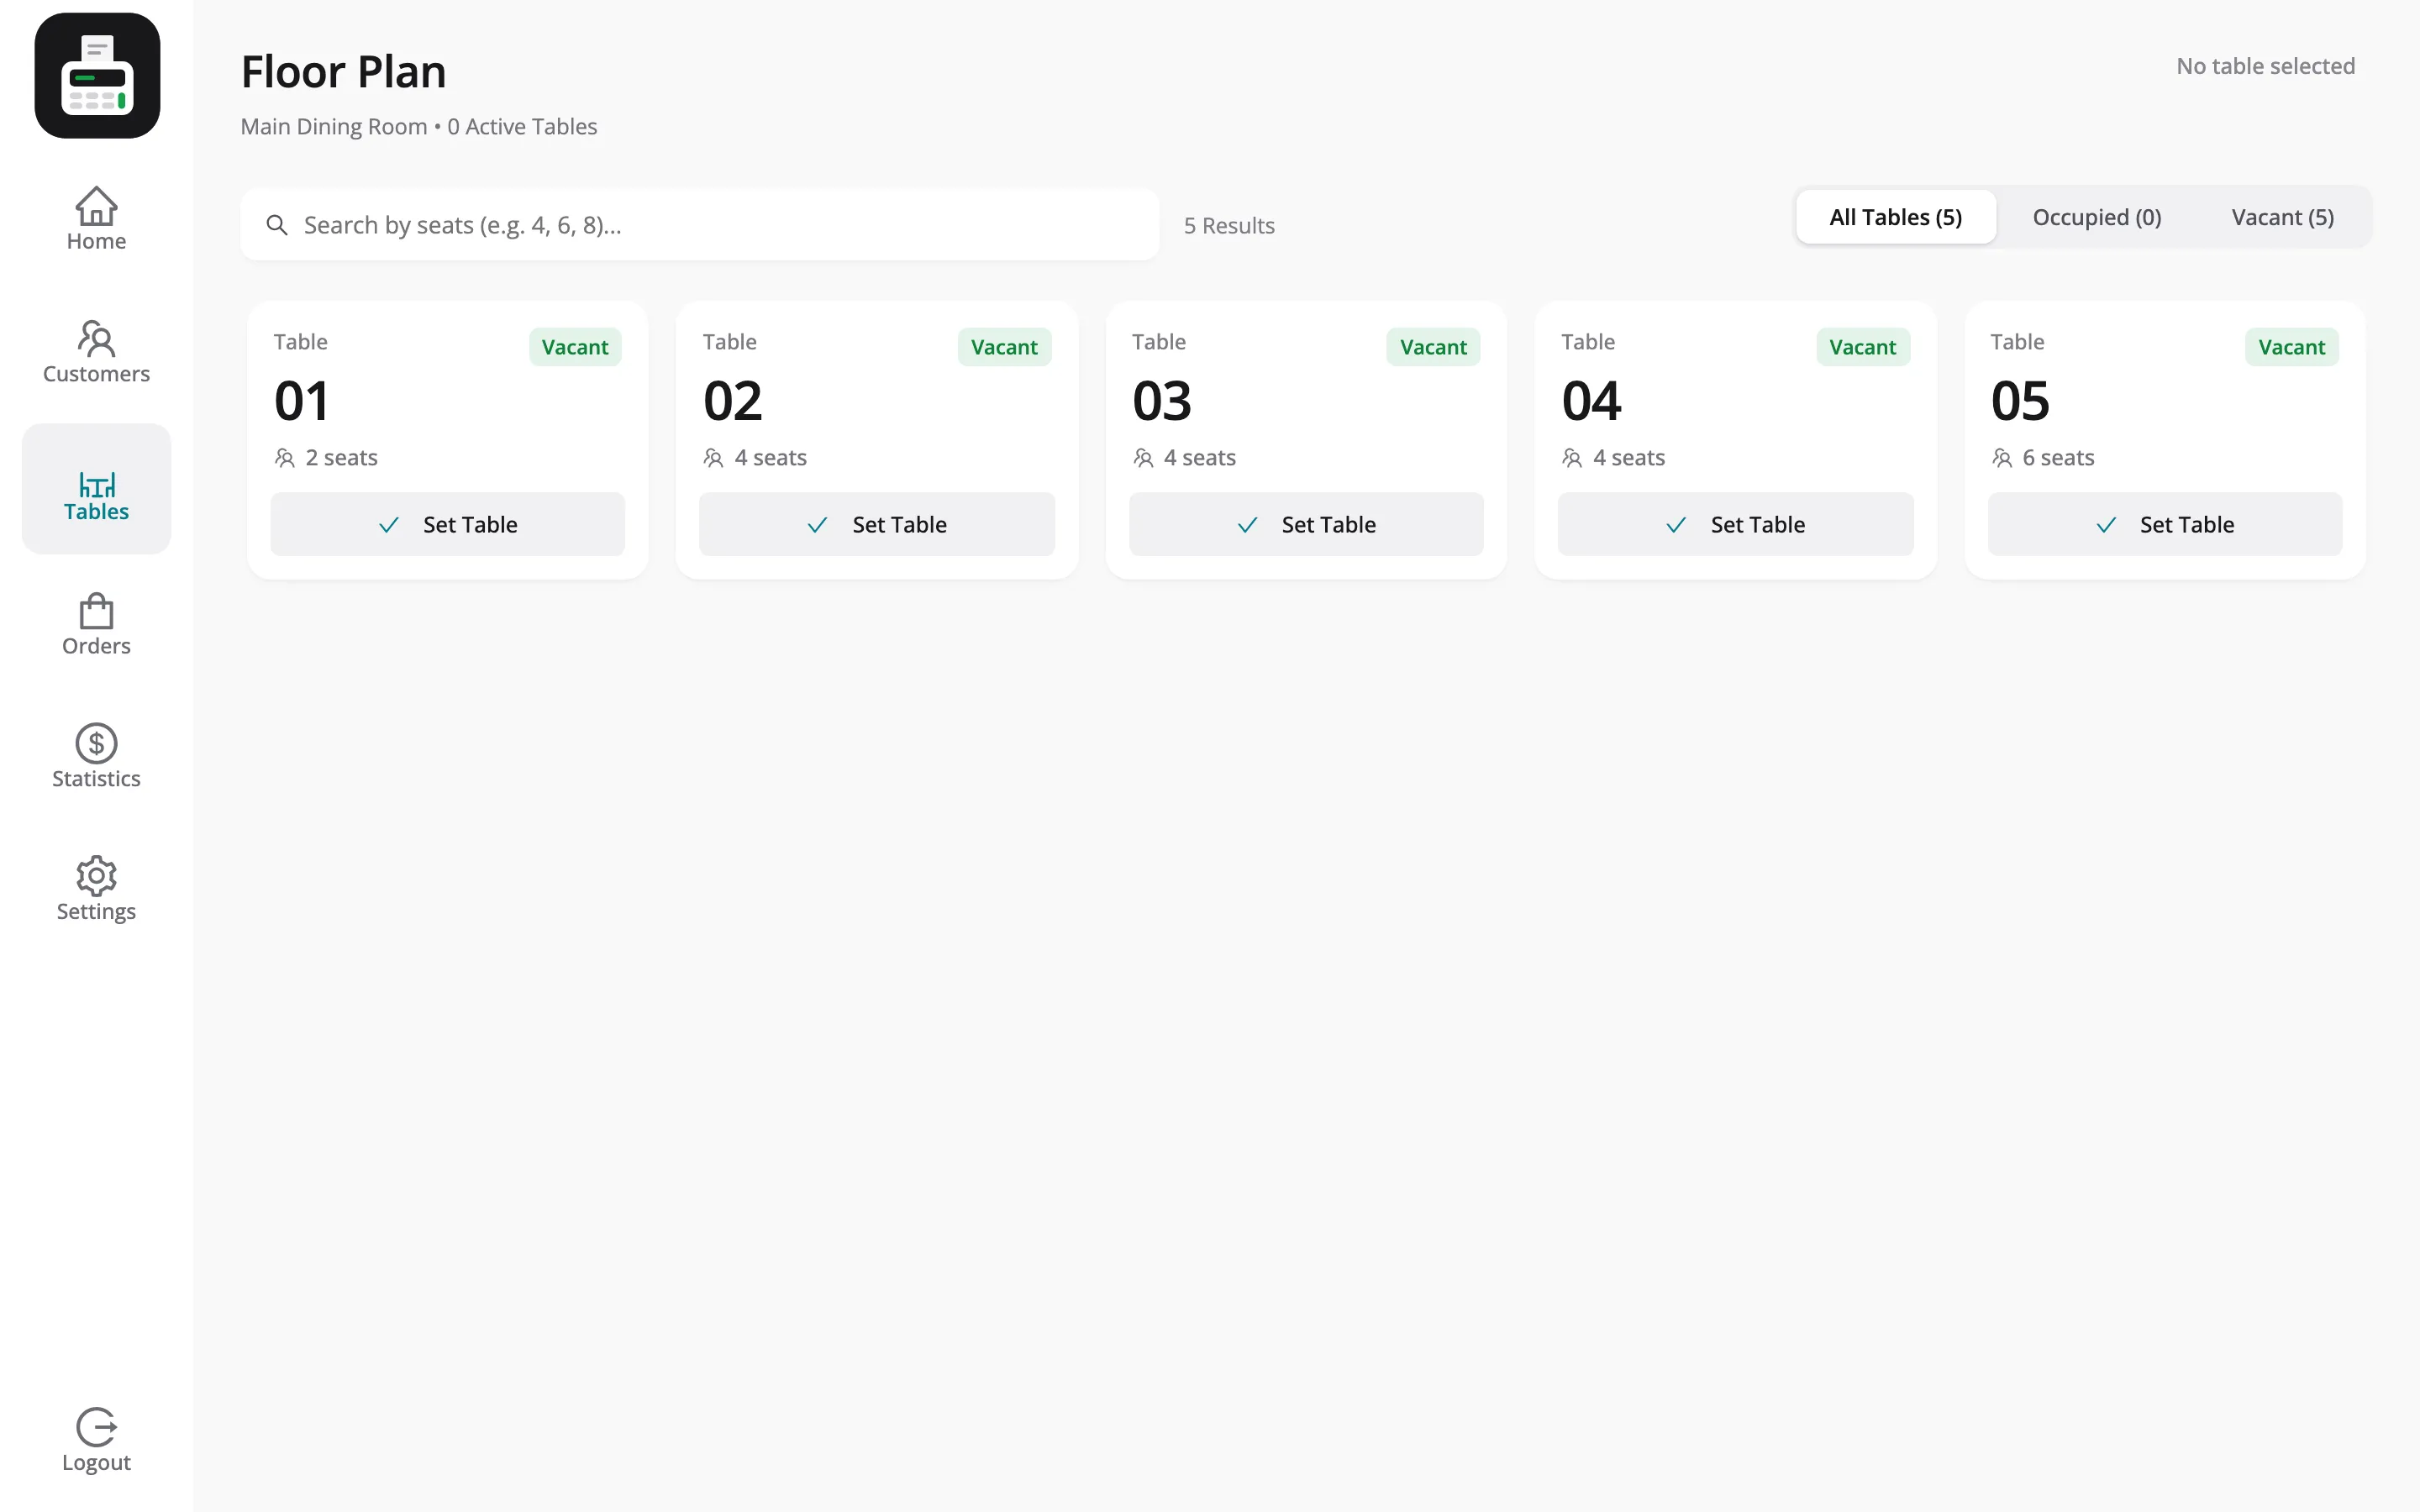
Open Tables and click Set Table on the table.
Step 3: Take the order
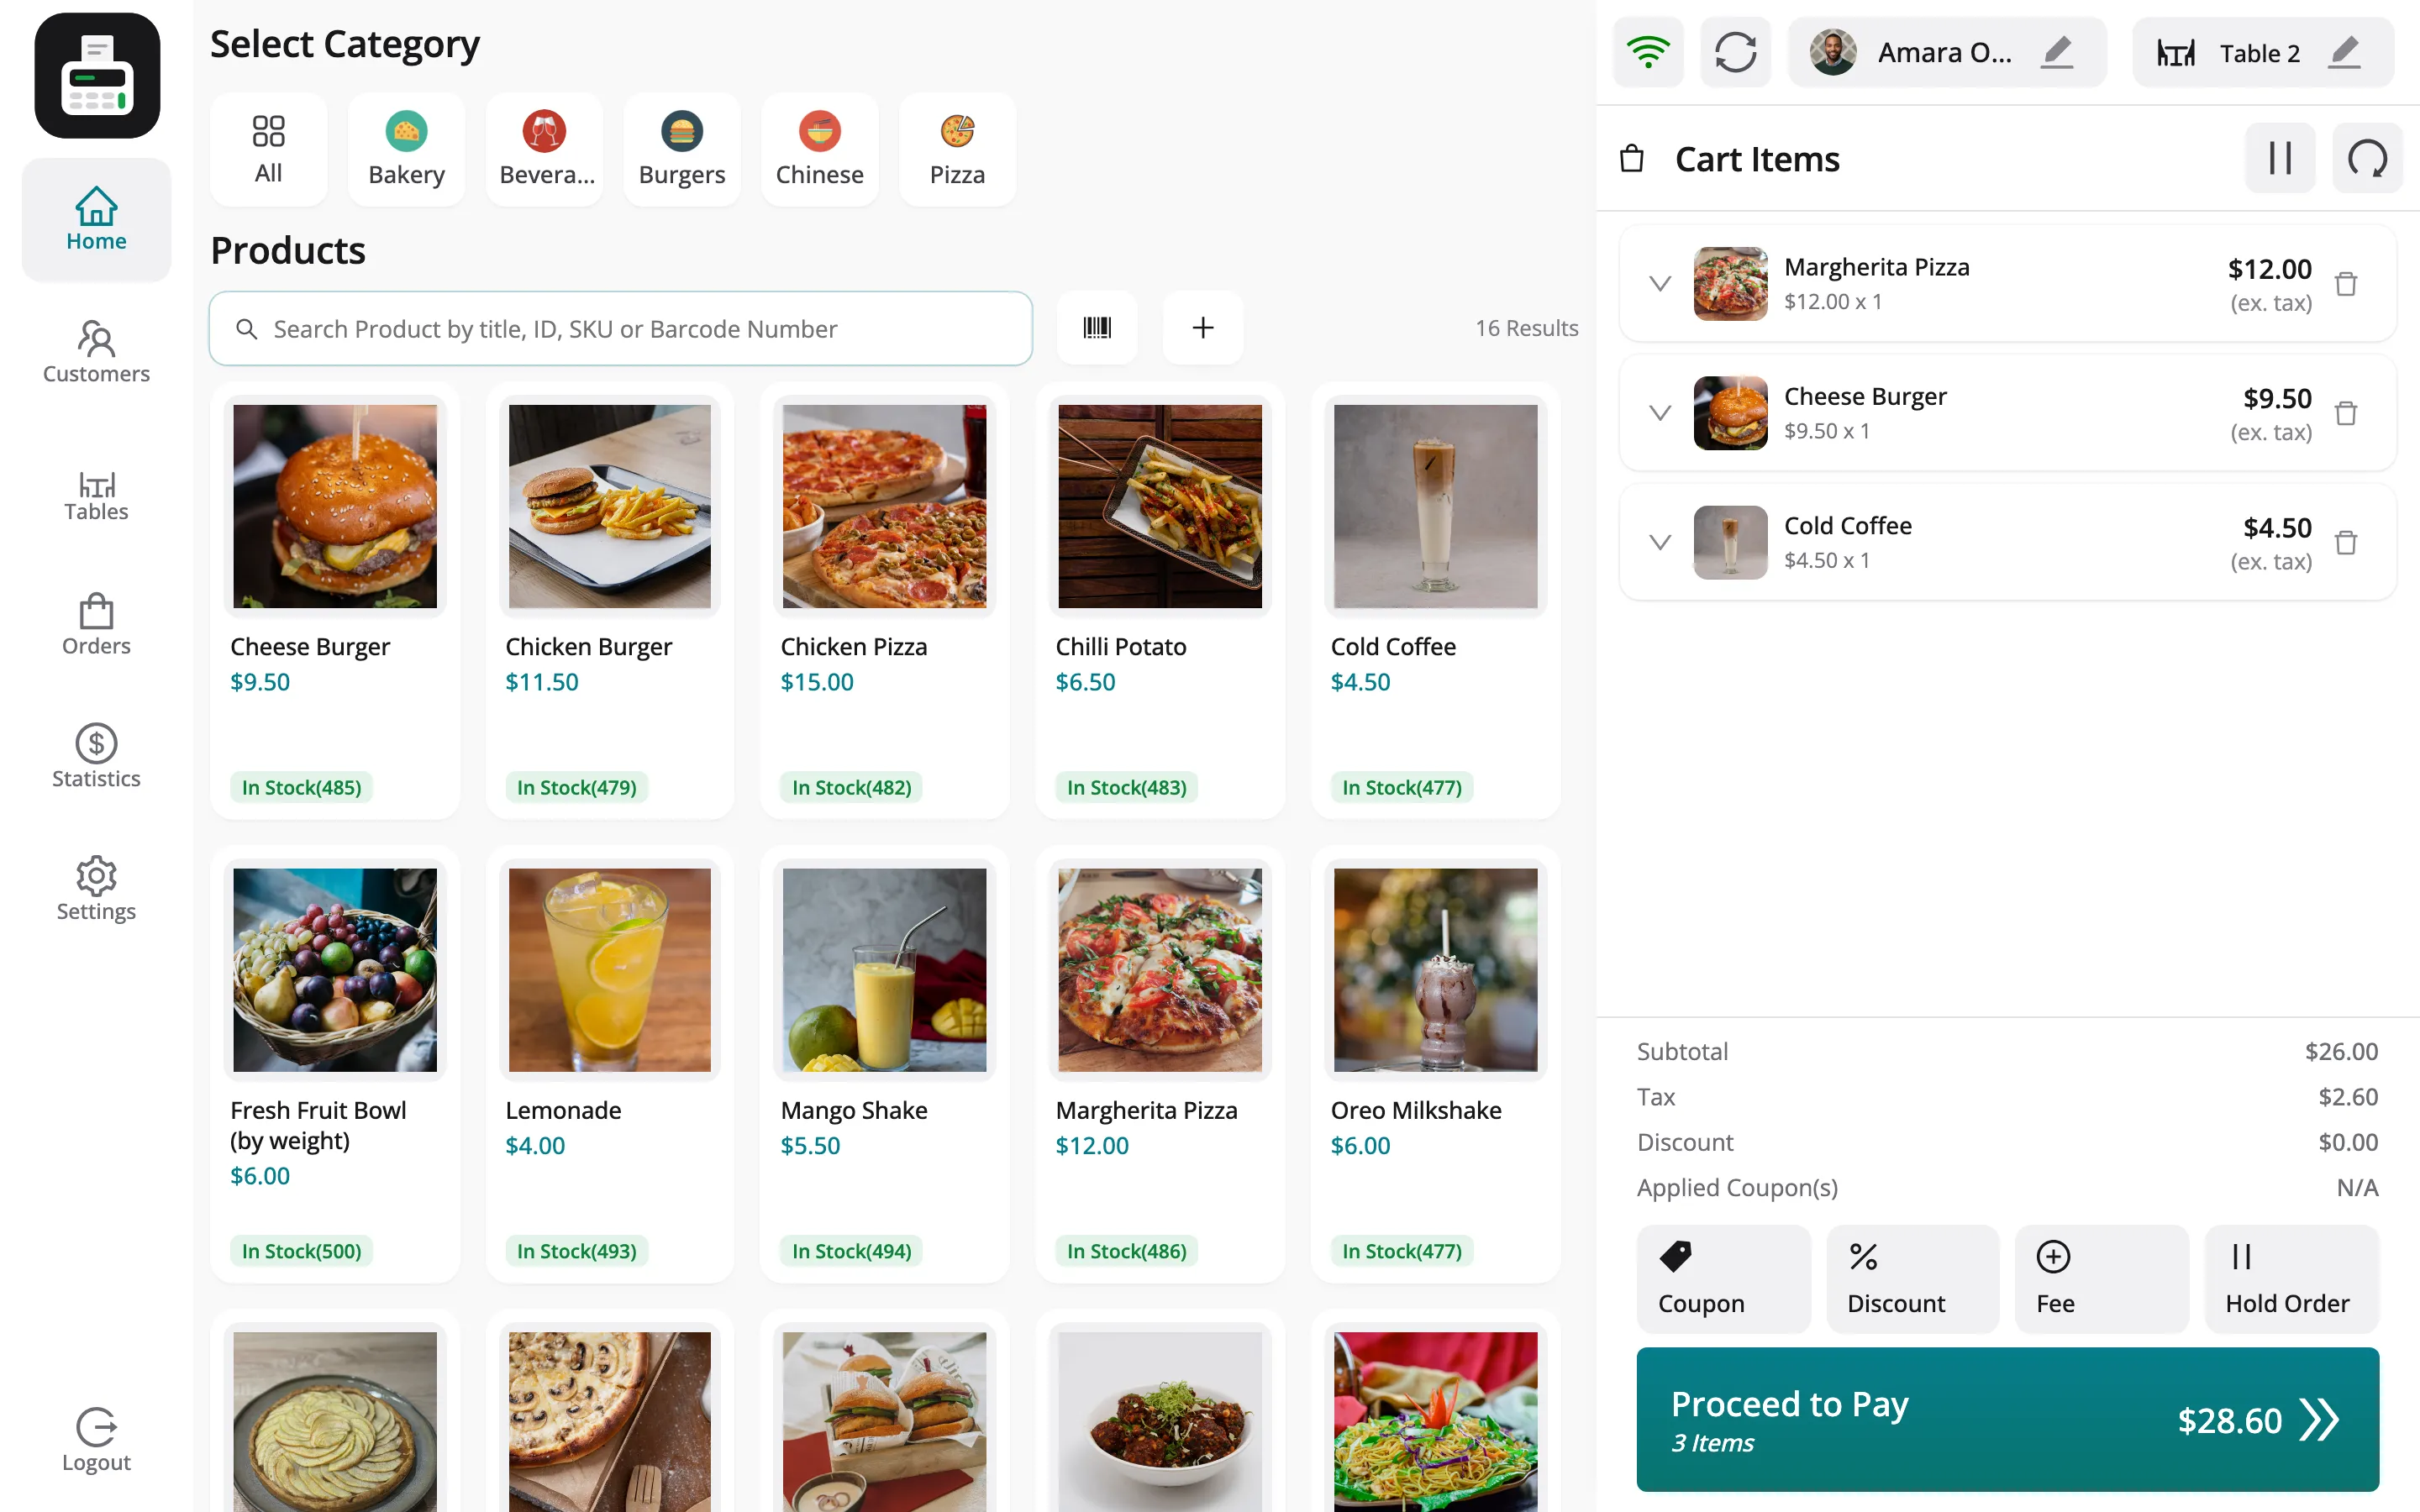
Section titled “Step 3: Take the order”Add the dishes. The cart header shows the table.
Step 4: Send it to the kitchen
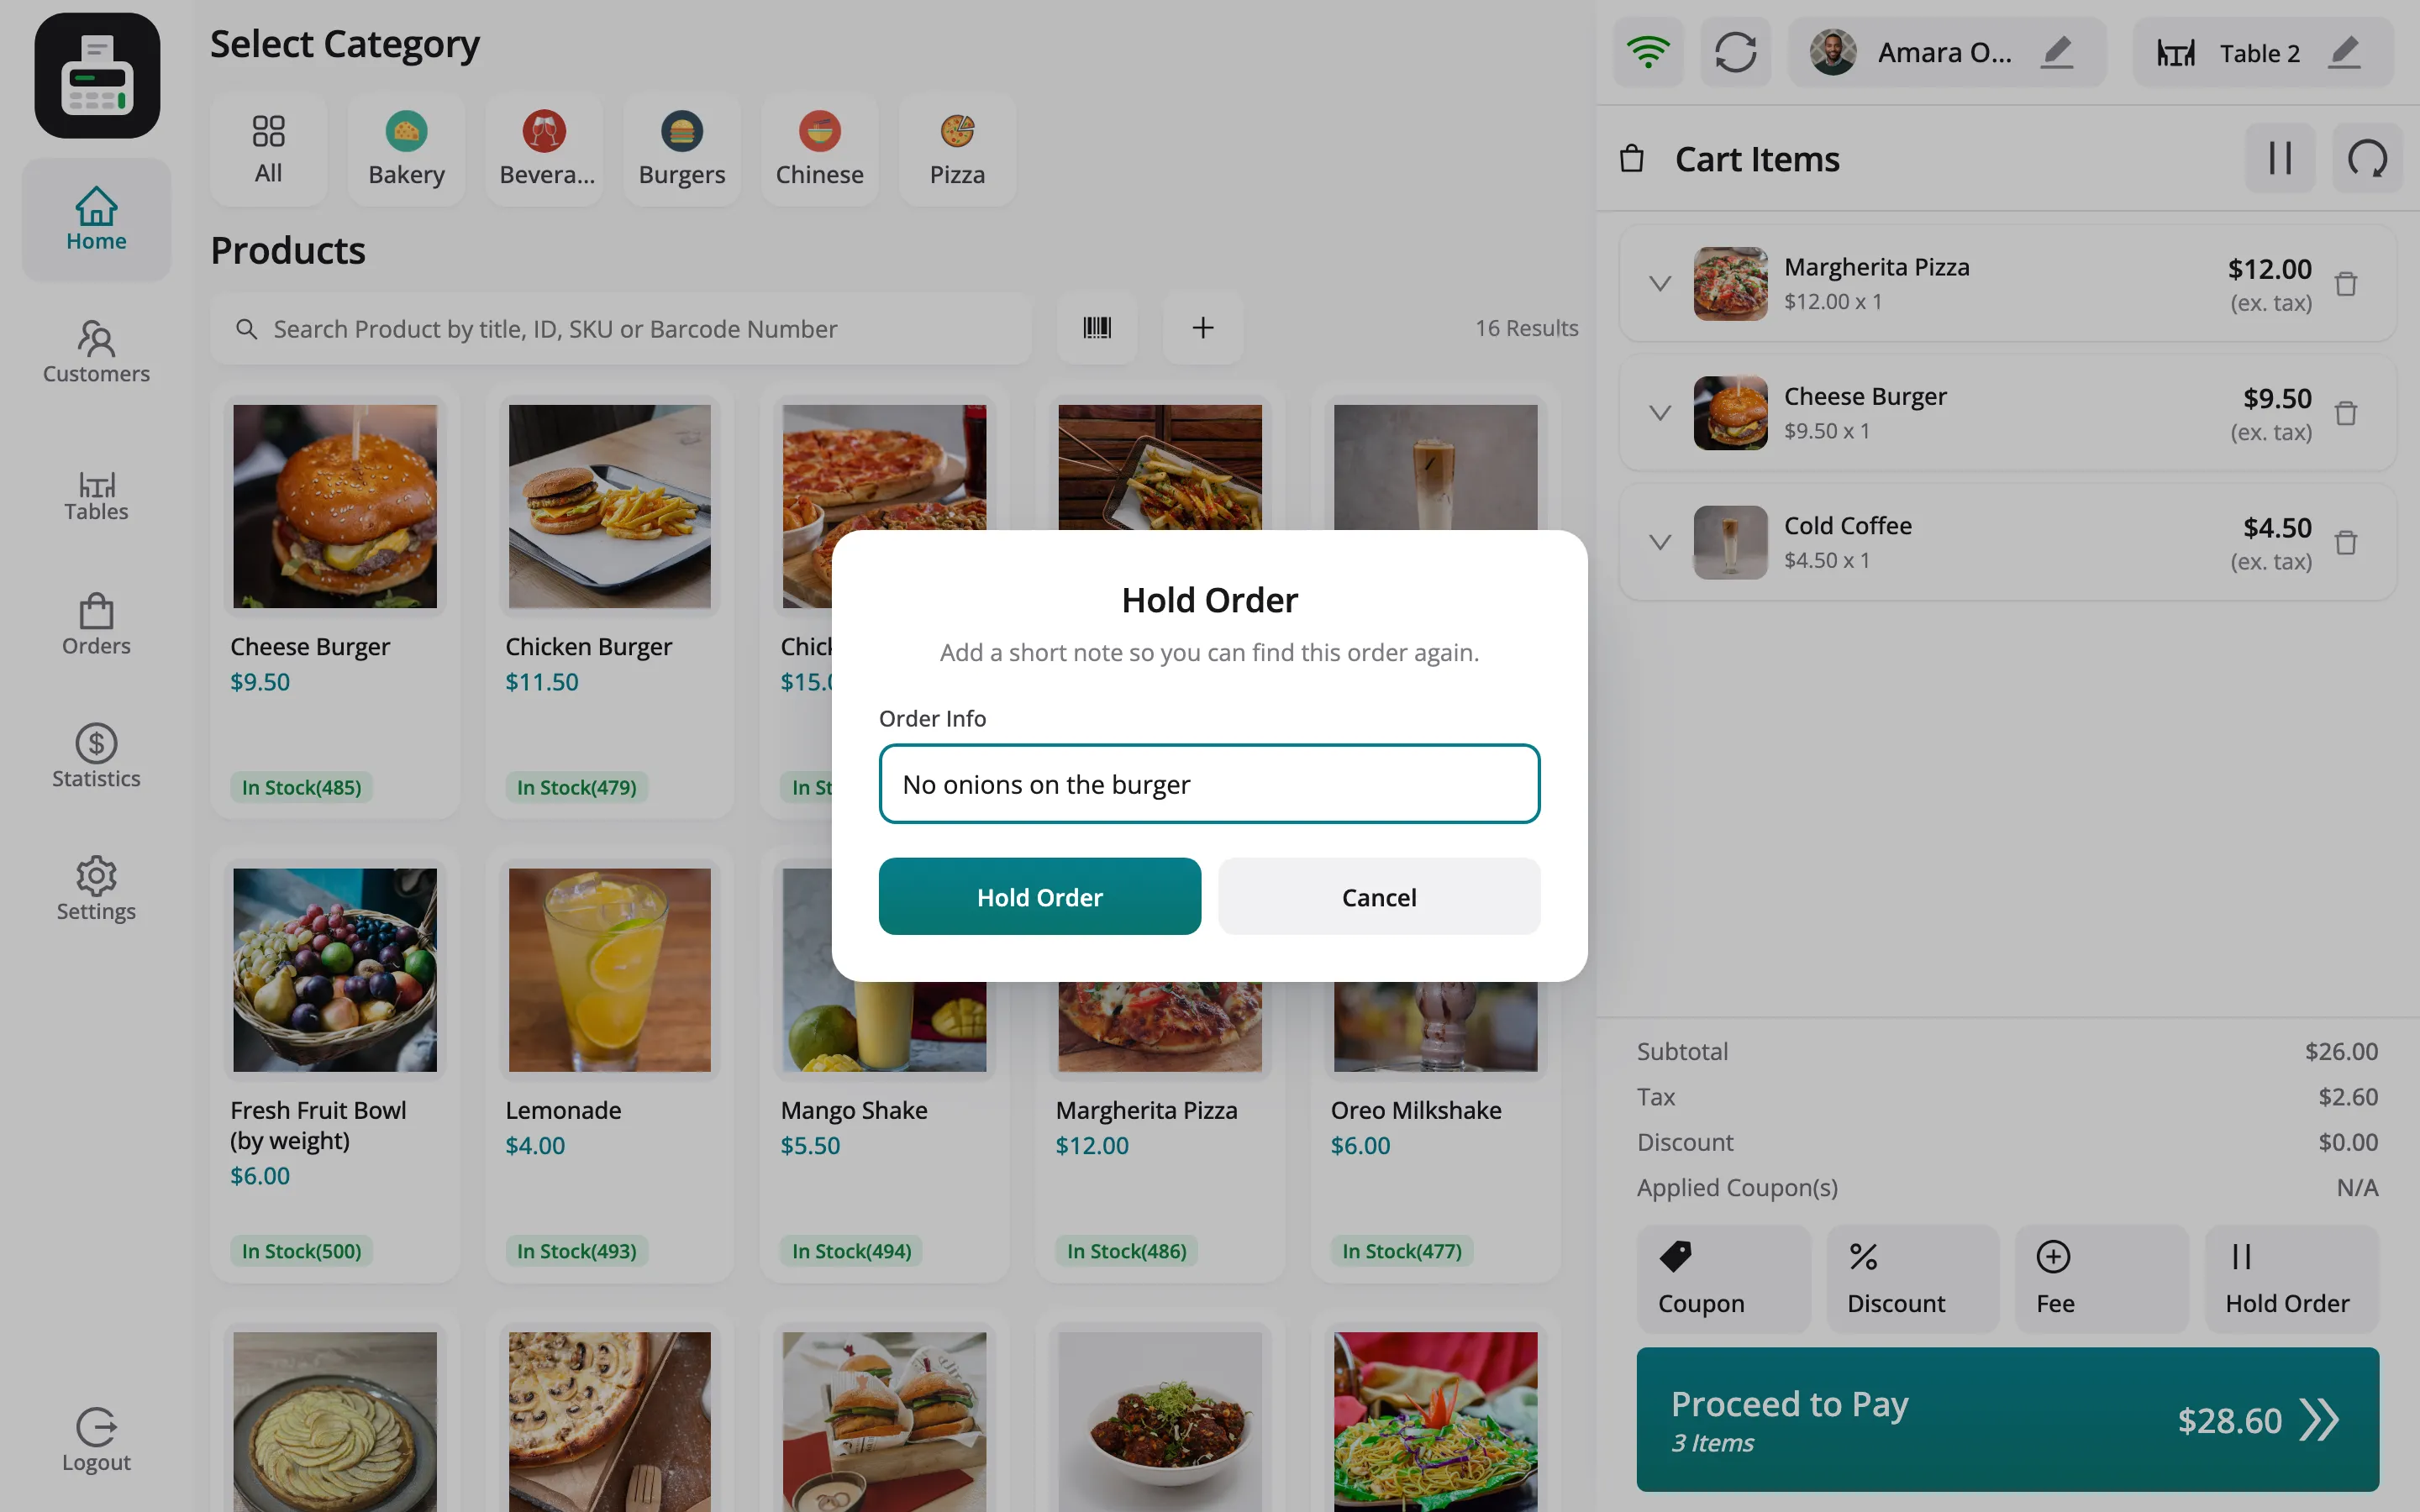
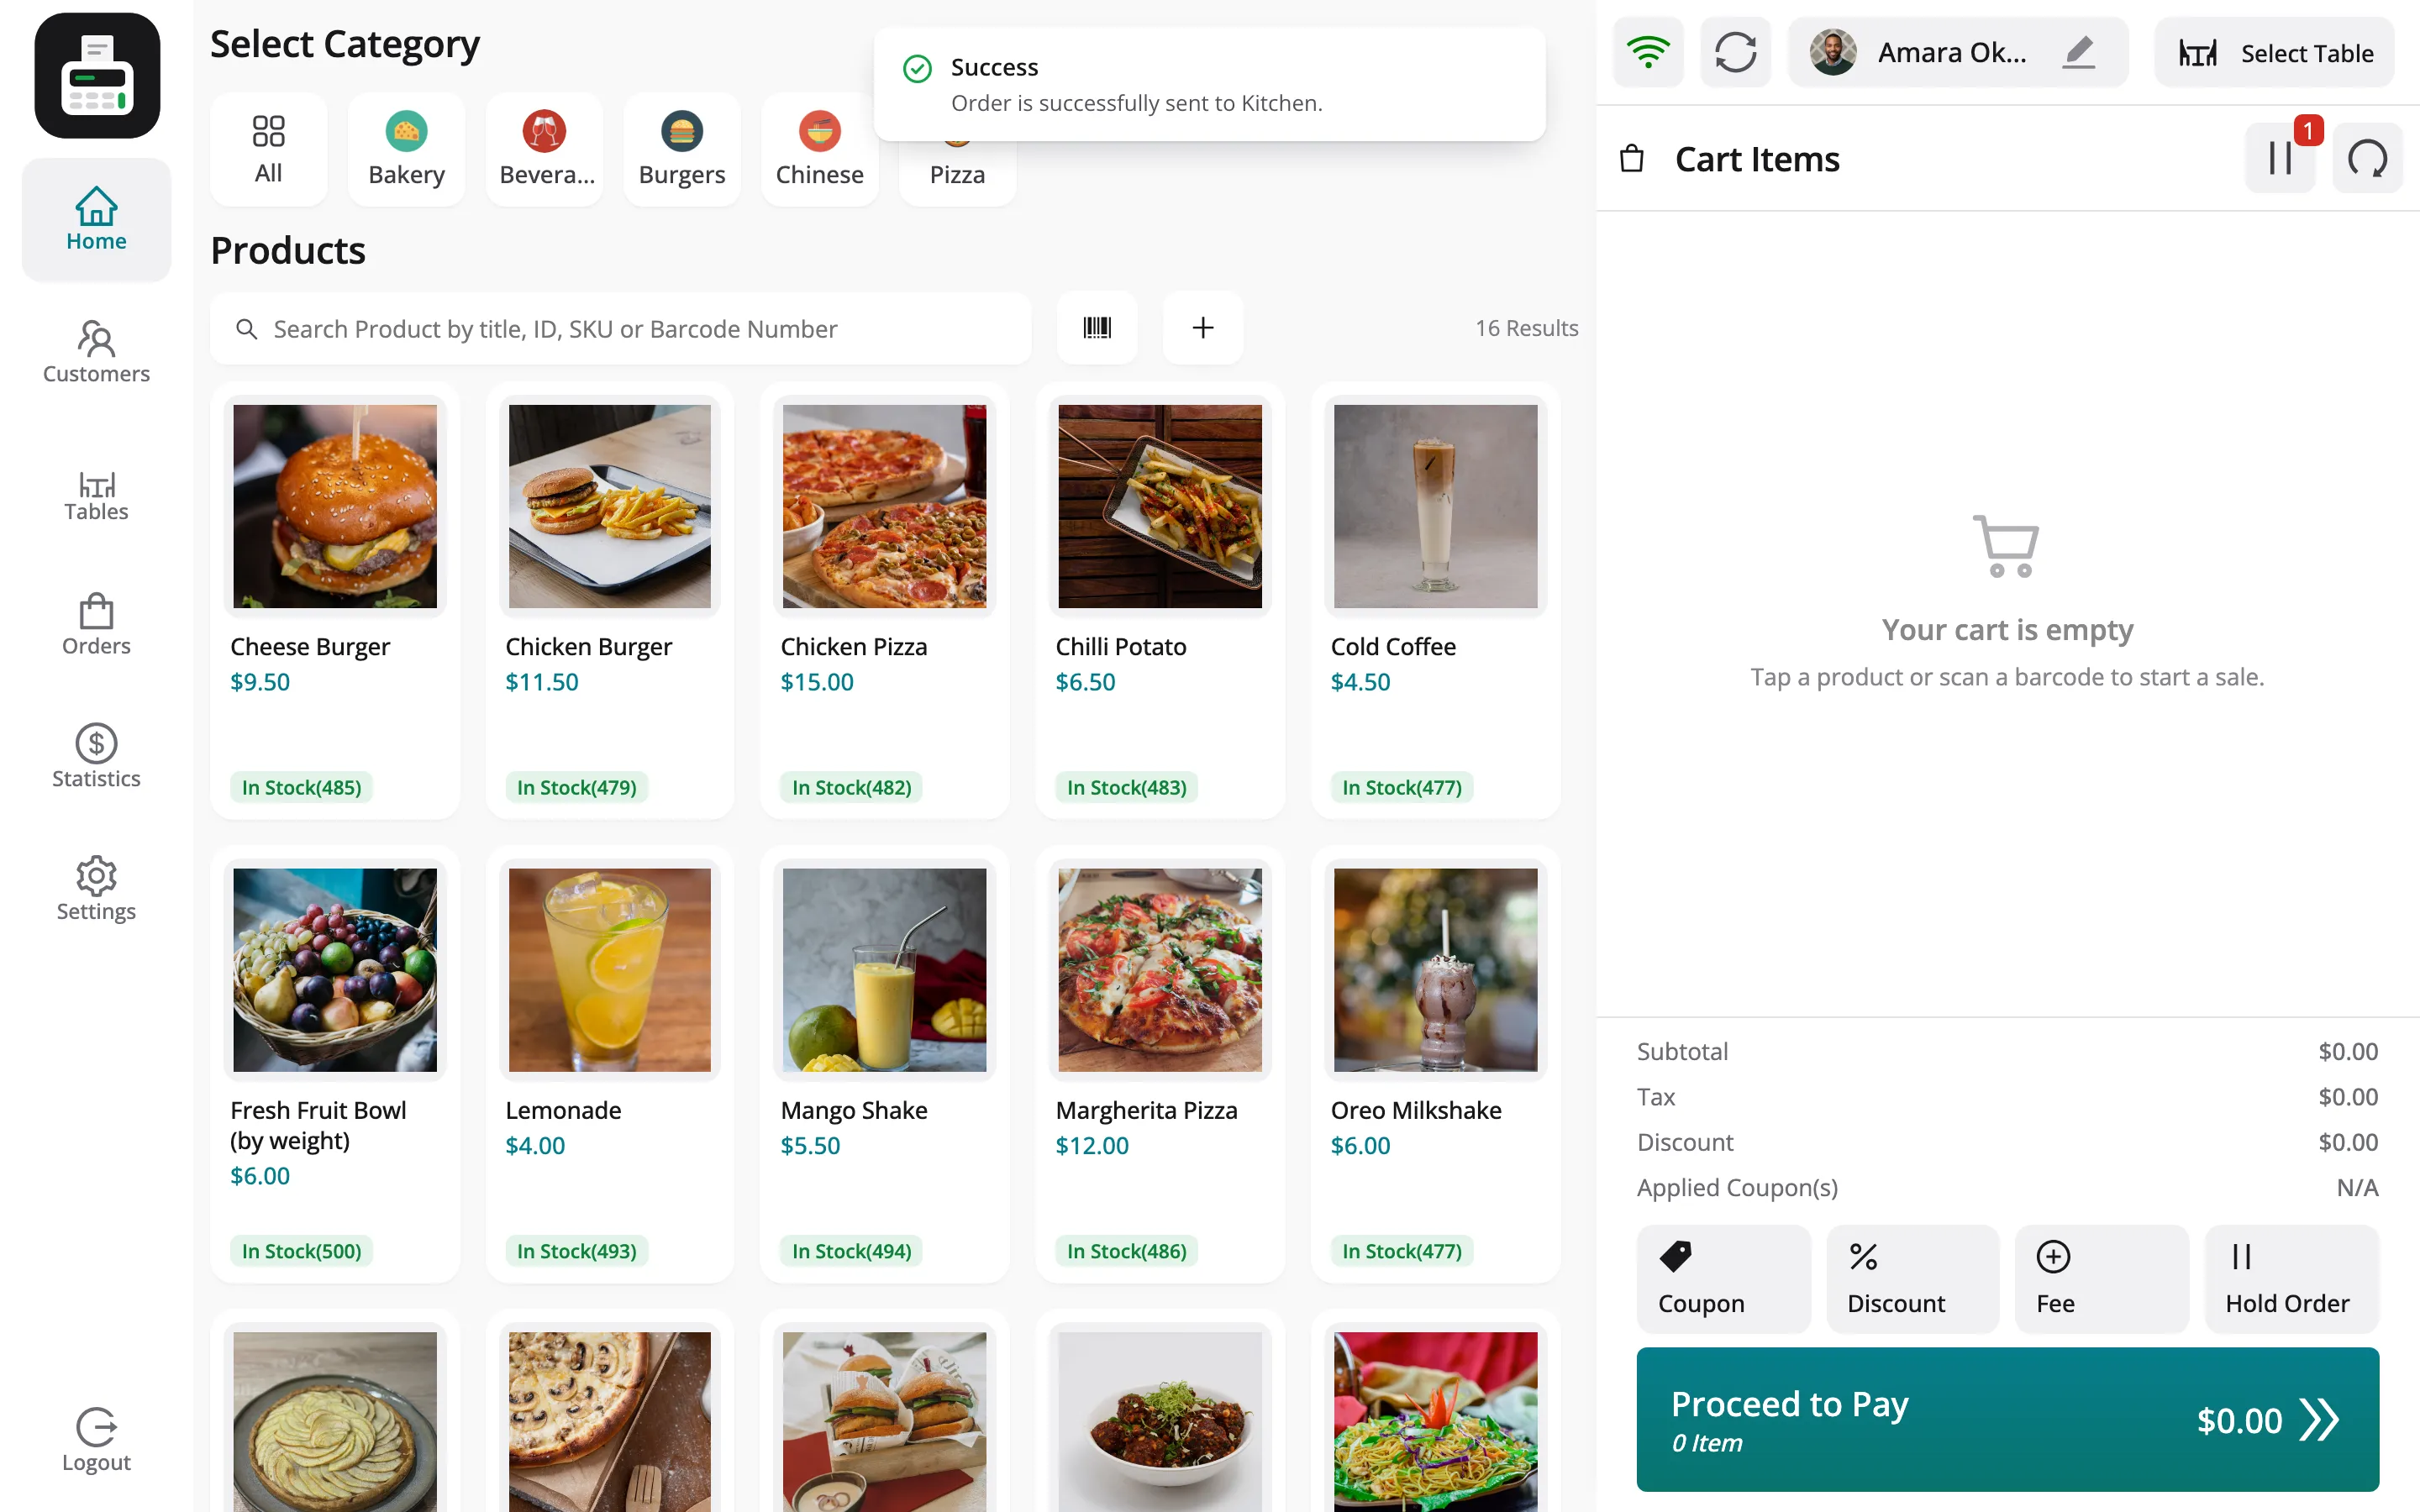
Section titled “Step 4: Send it to the kitchen”Click Hold Order, type a note and hold it. With Auto-Send Held Orders to Kitchen on, the order goes straight to the kitchen.
The POS confirms Order is successfully sent to Kitchen.
Step 5: Cook and clear it
Section titled “Step 5: Cook and clear it”The ticket appears on the outlet’s Kitchen View, with the table and each dish.
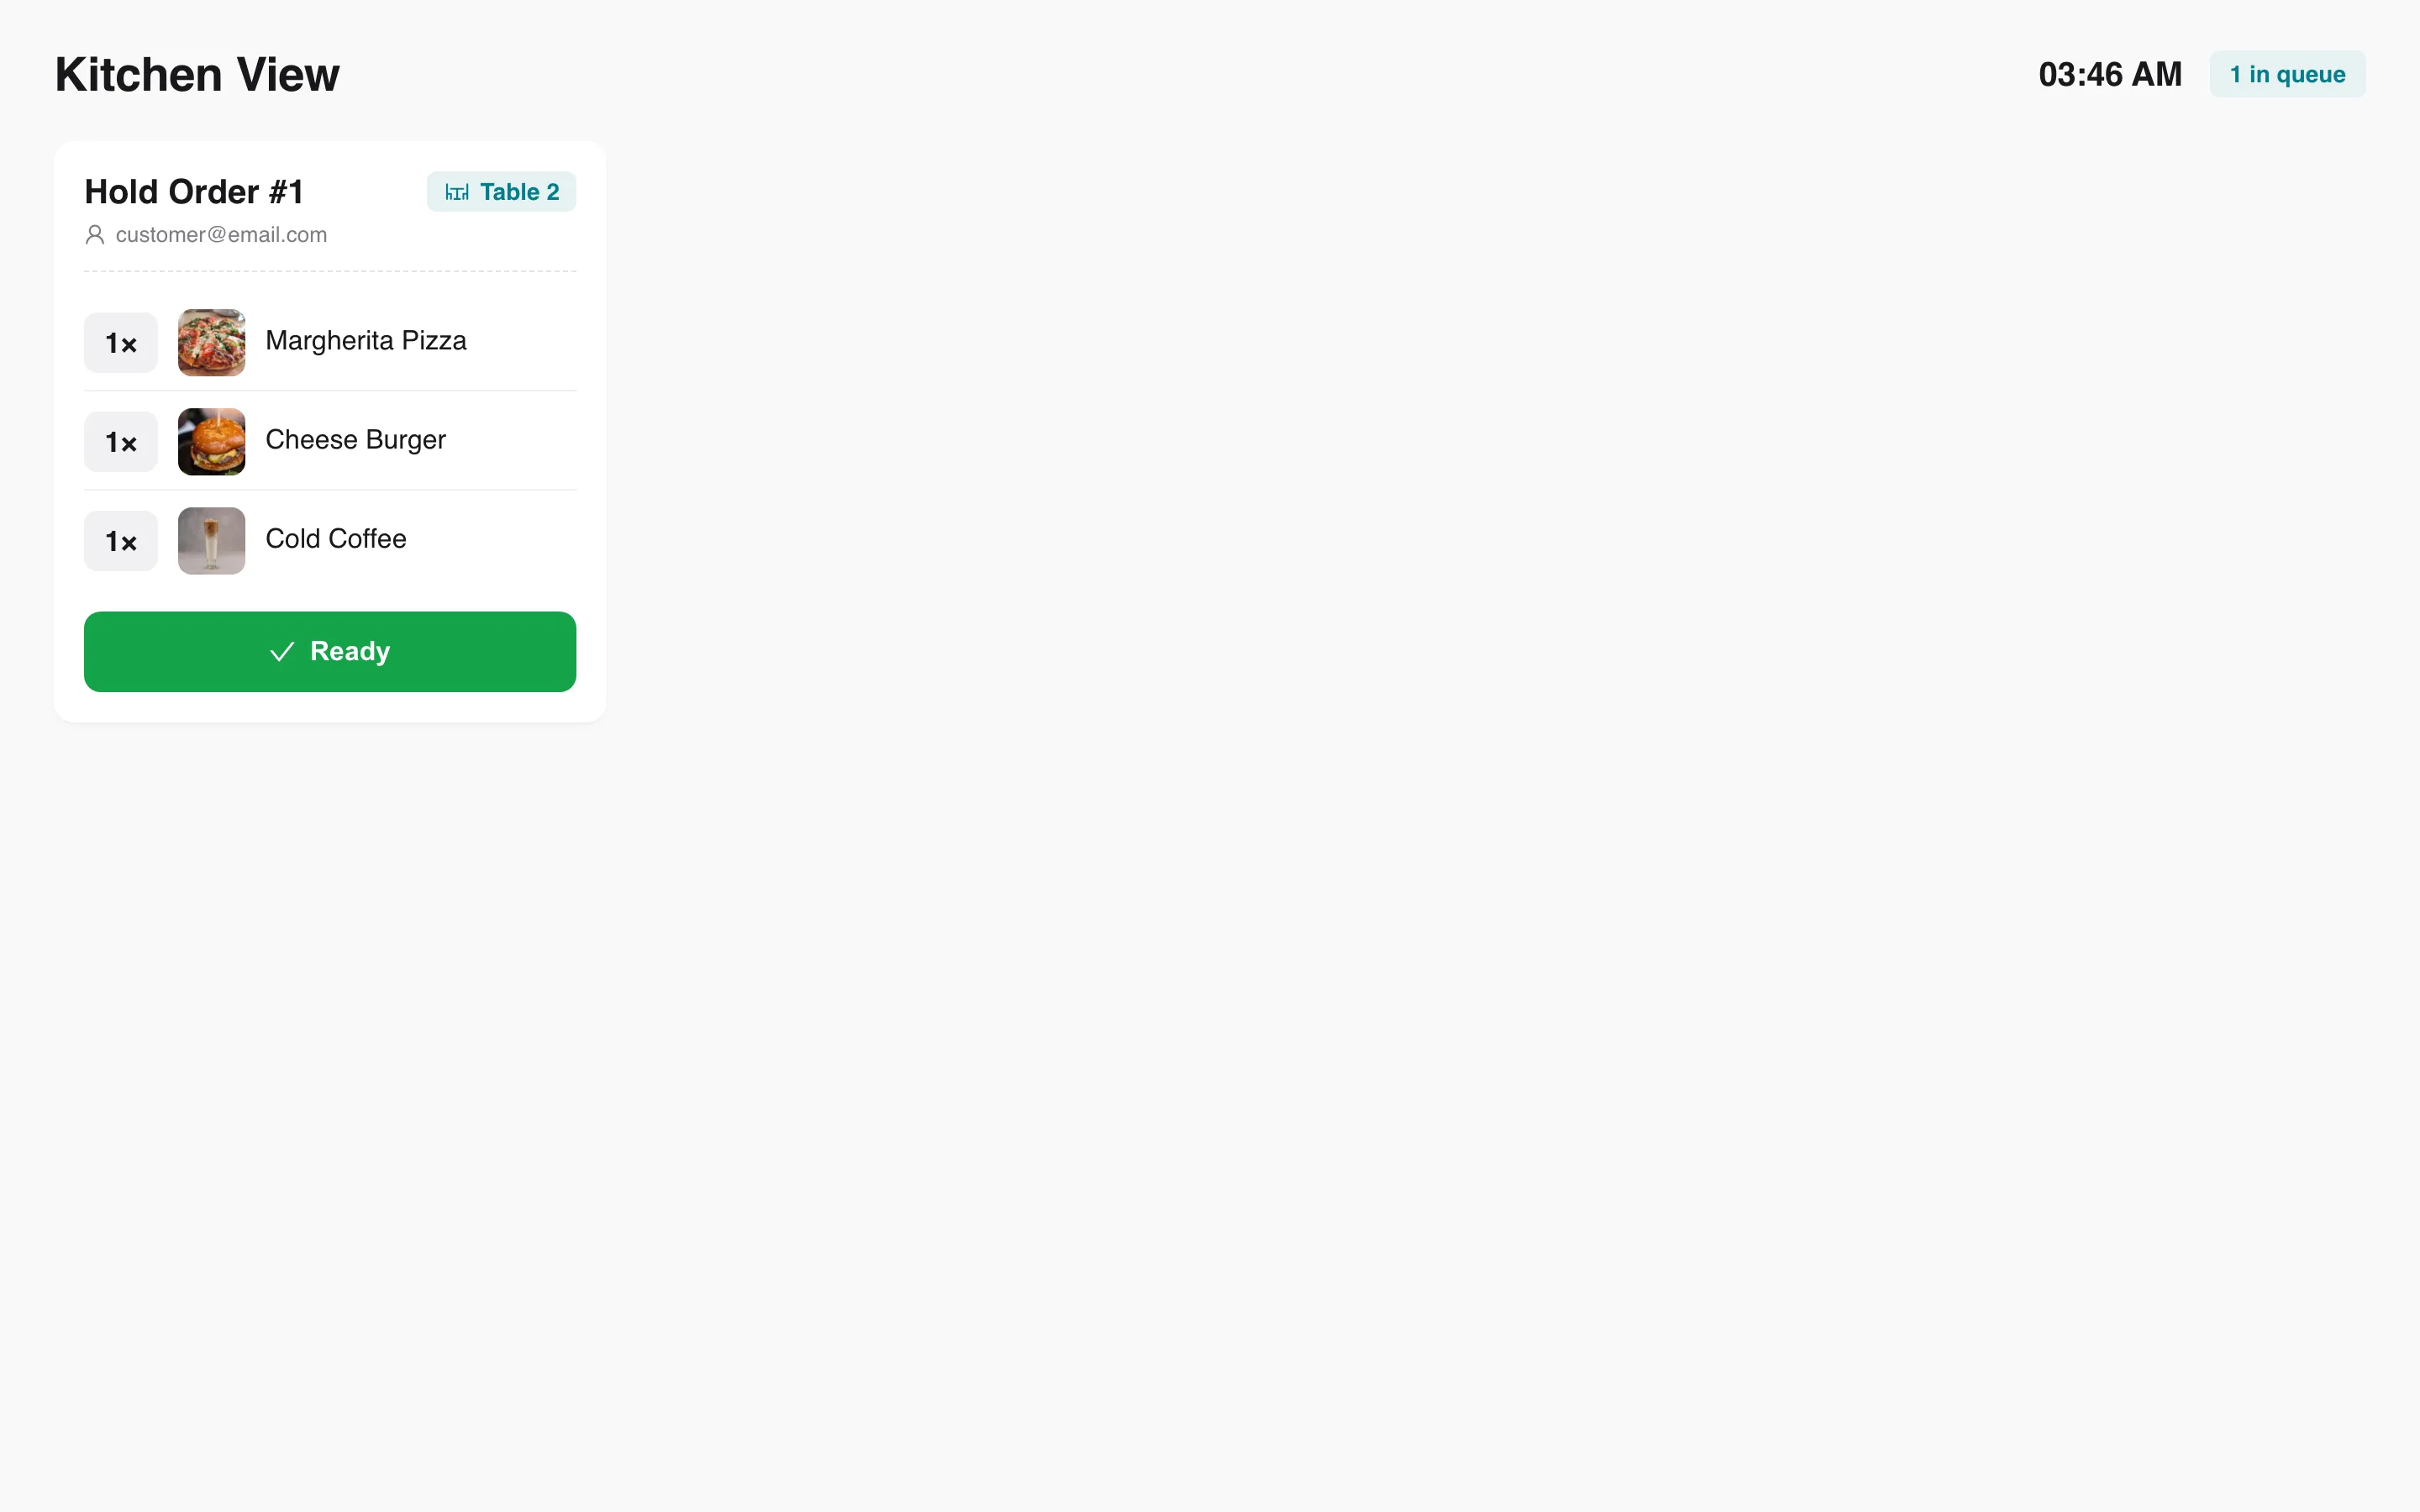
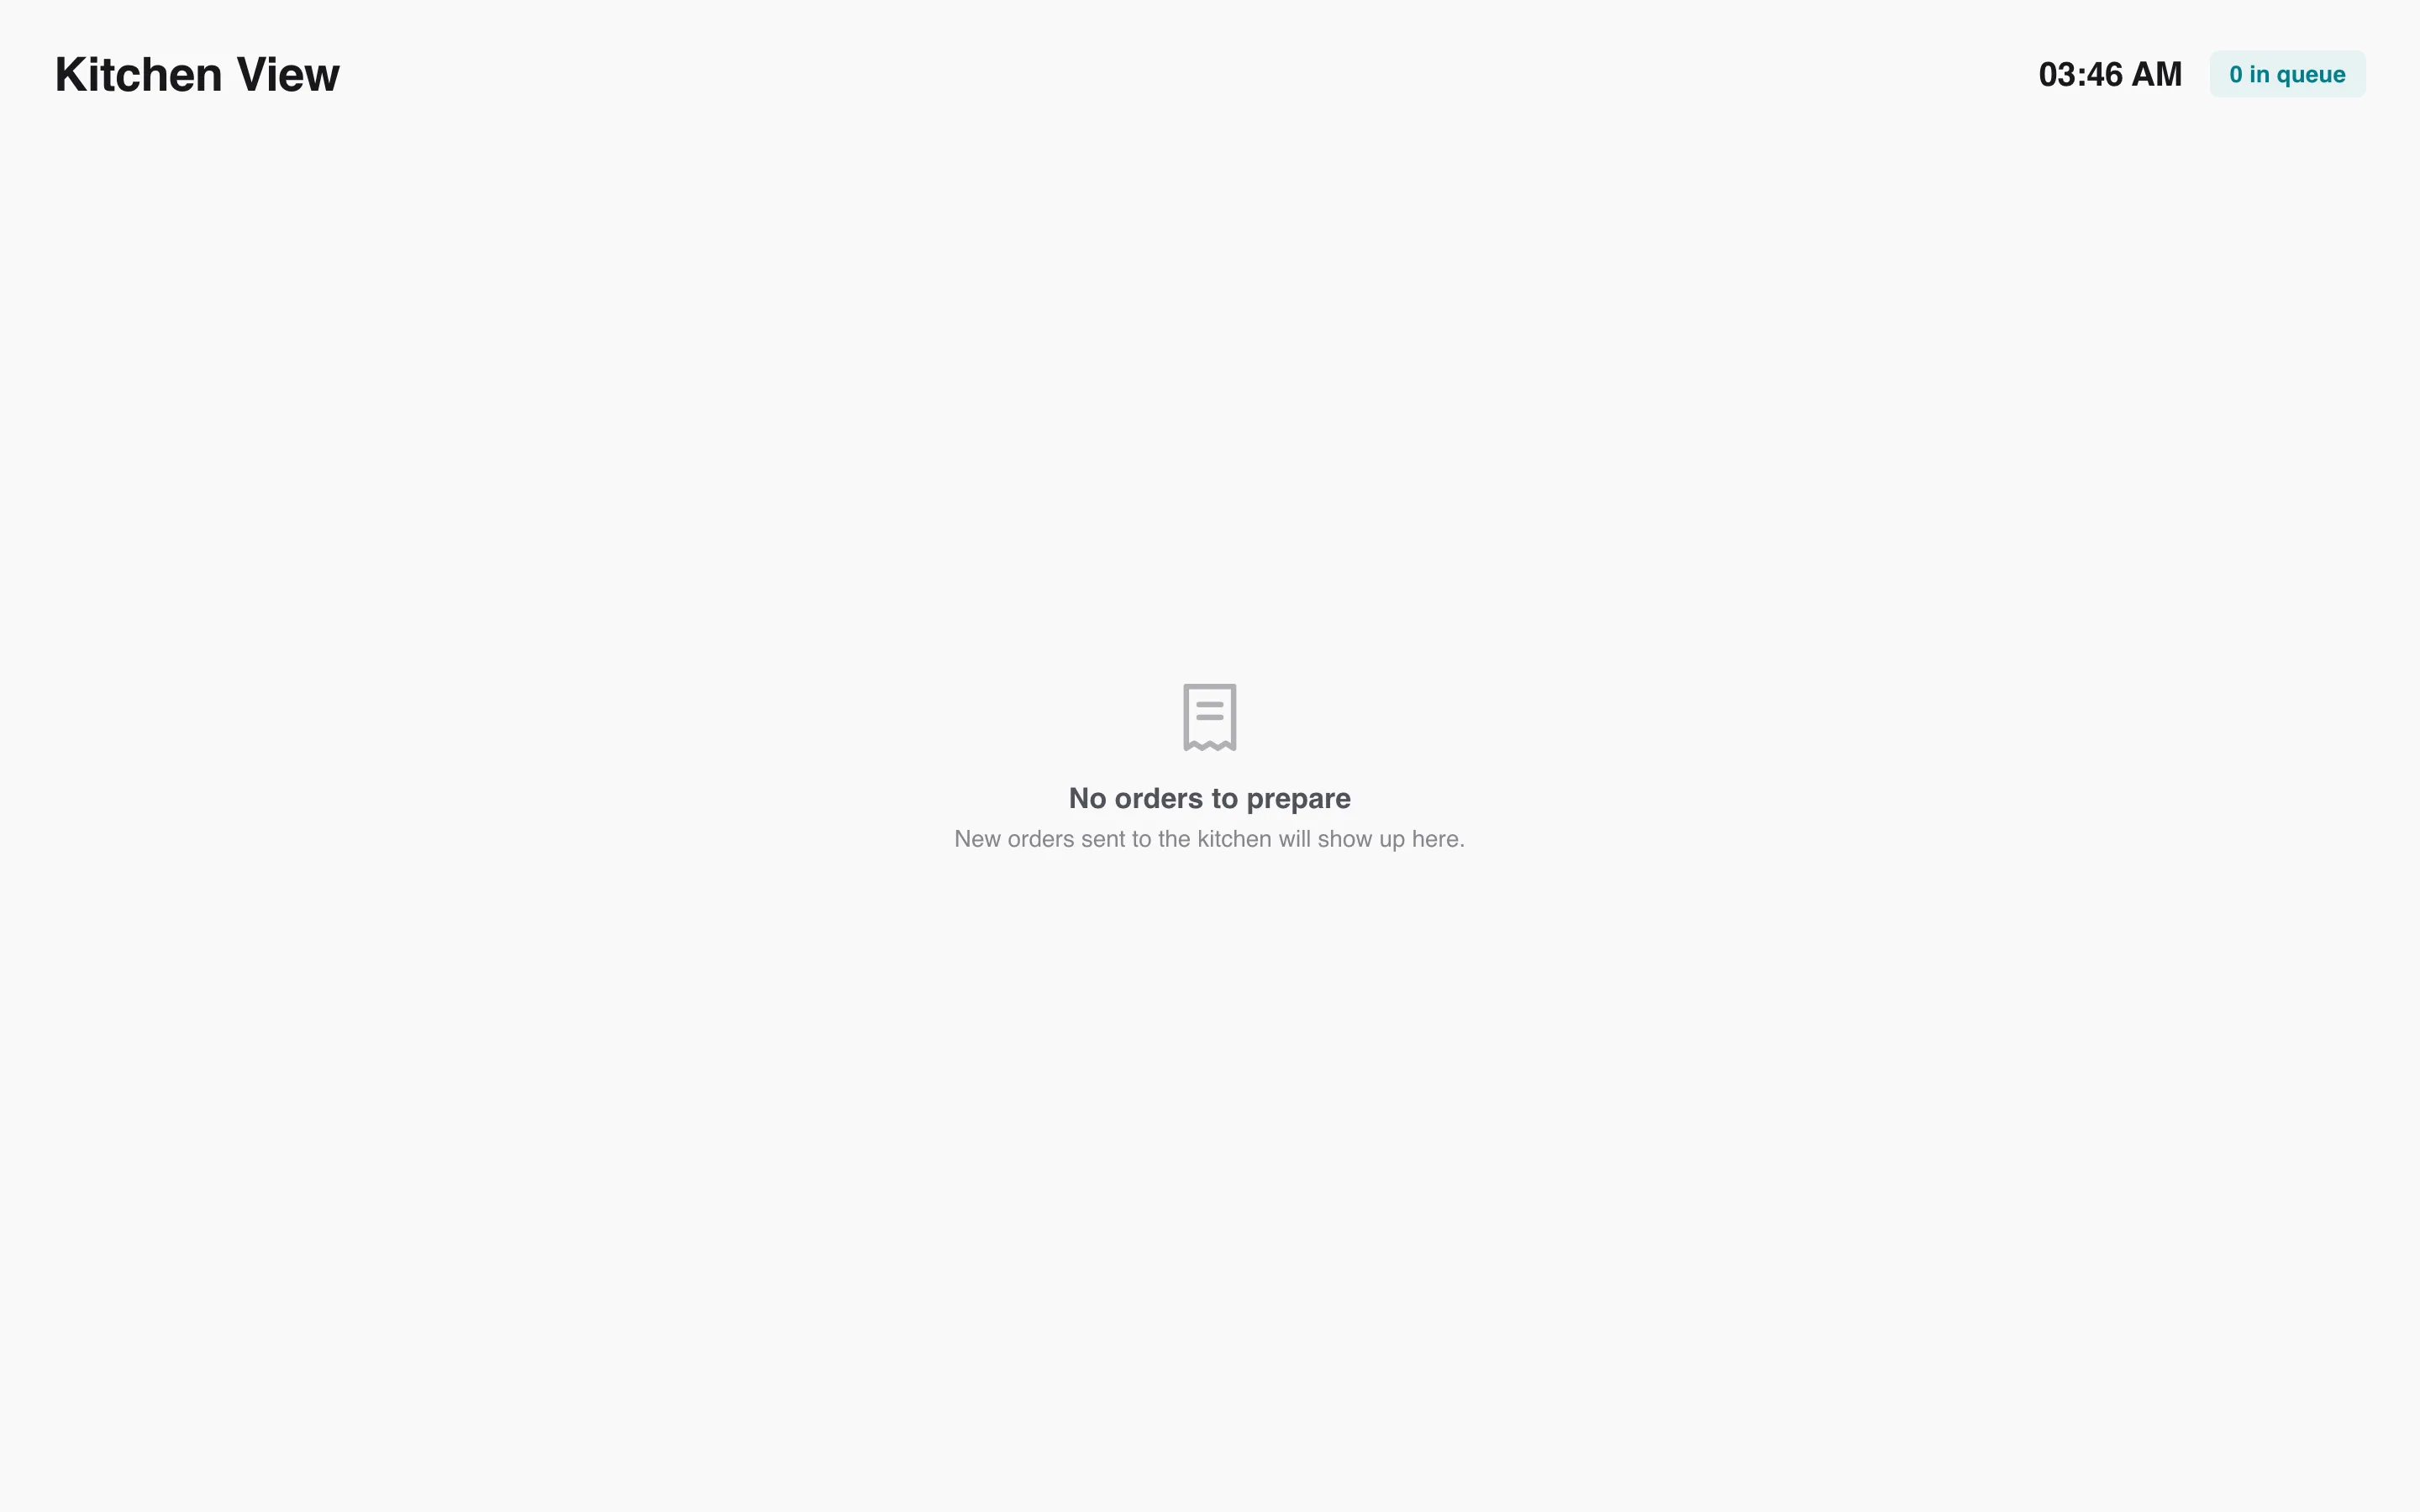
When it is served, the kitchen presses Ready and confirms. The ticket leaves the screen.
When the table pays, resume the held order from Orders → Hold and take payment as usual.
Things to know
Section titled “Things to know”- Each outlet has its own kitchen. A vendor’s kitchen only shows that vendor’s tickets.
- Sign the kitchen screen in with a cashier account. Signed out, it sends you to sign in first.
- The hold note is for the POS. The kitchen ticket shows the dishes and the table, not the note.