

The MultiPOS for WCFM Setup Wizard
The wizard runs the first time you open MultiPOS. It covers the settings the POS cannot start without and leaves the rest for the Configuration tabs.
It does not ask about vendors. Vendor POS starts as Enabled for all vendors, so check the Marketplace setting straight after the wizard. See How to Turn On Vendor POS.
Reopen the wizard
Section titled “Reopen the wizard”Add &setup-wizard=true to the MultiPOS address:
/wp-admin/admin.php?page=ddwcpos-dashboard&setup-wizard=trueStep 1: Welcome
Section titled “Step 1: Welcome”The opening step introduces the plugin. Click Continue.
Step 2: License
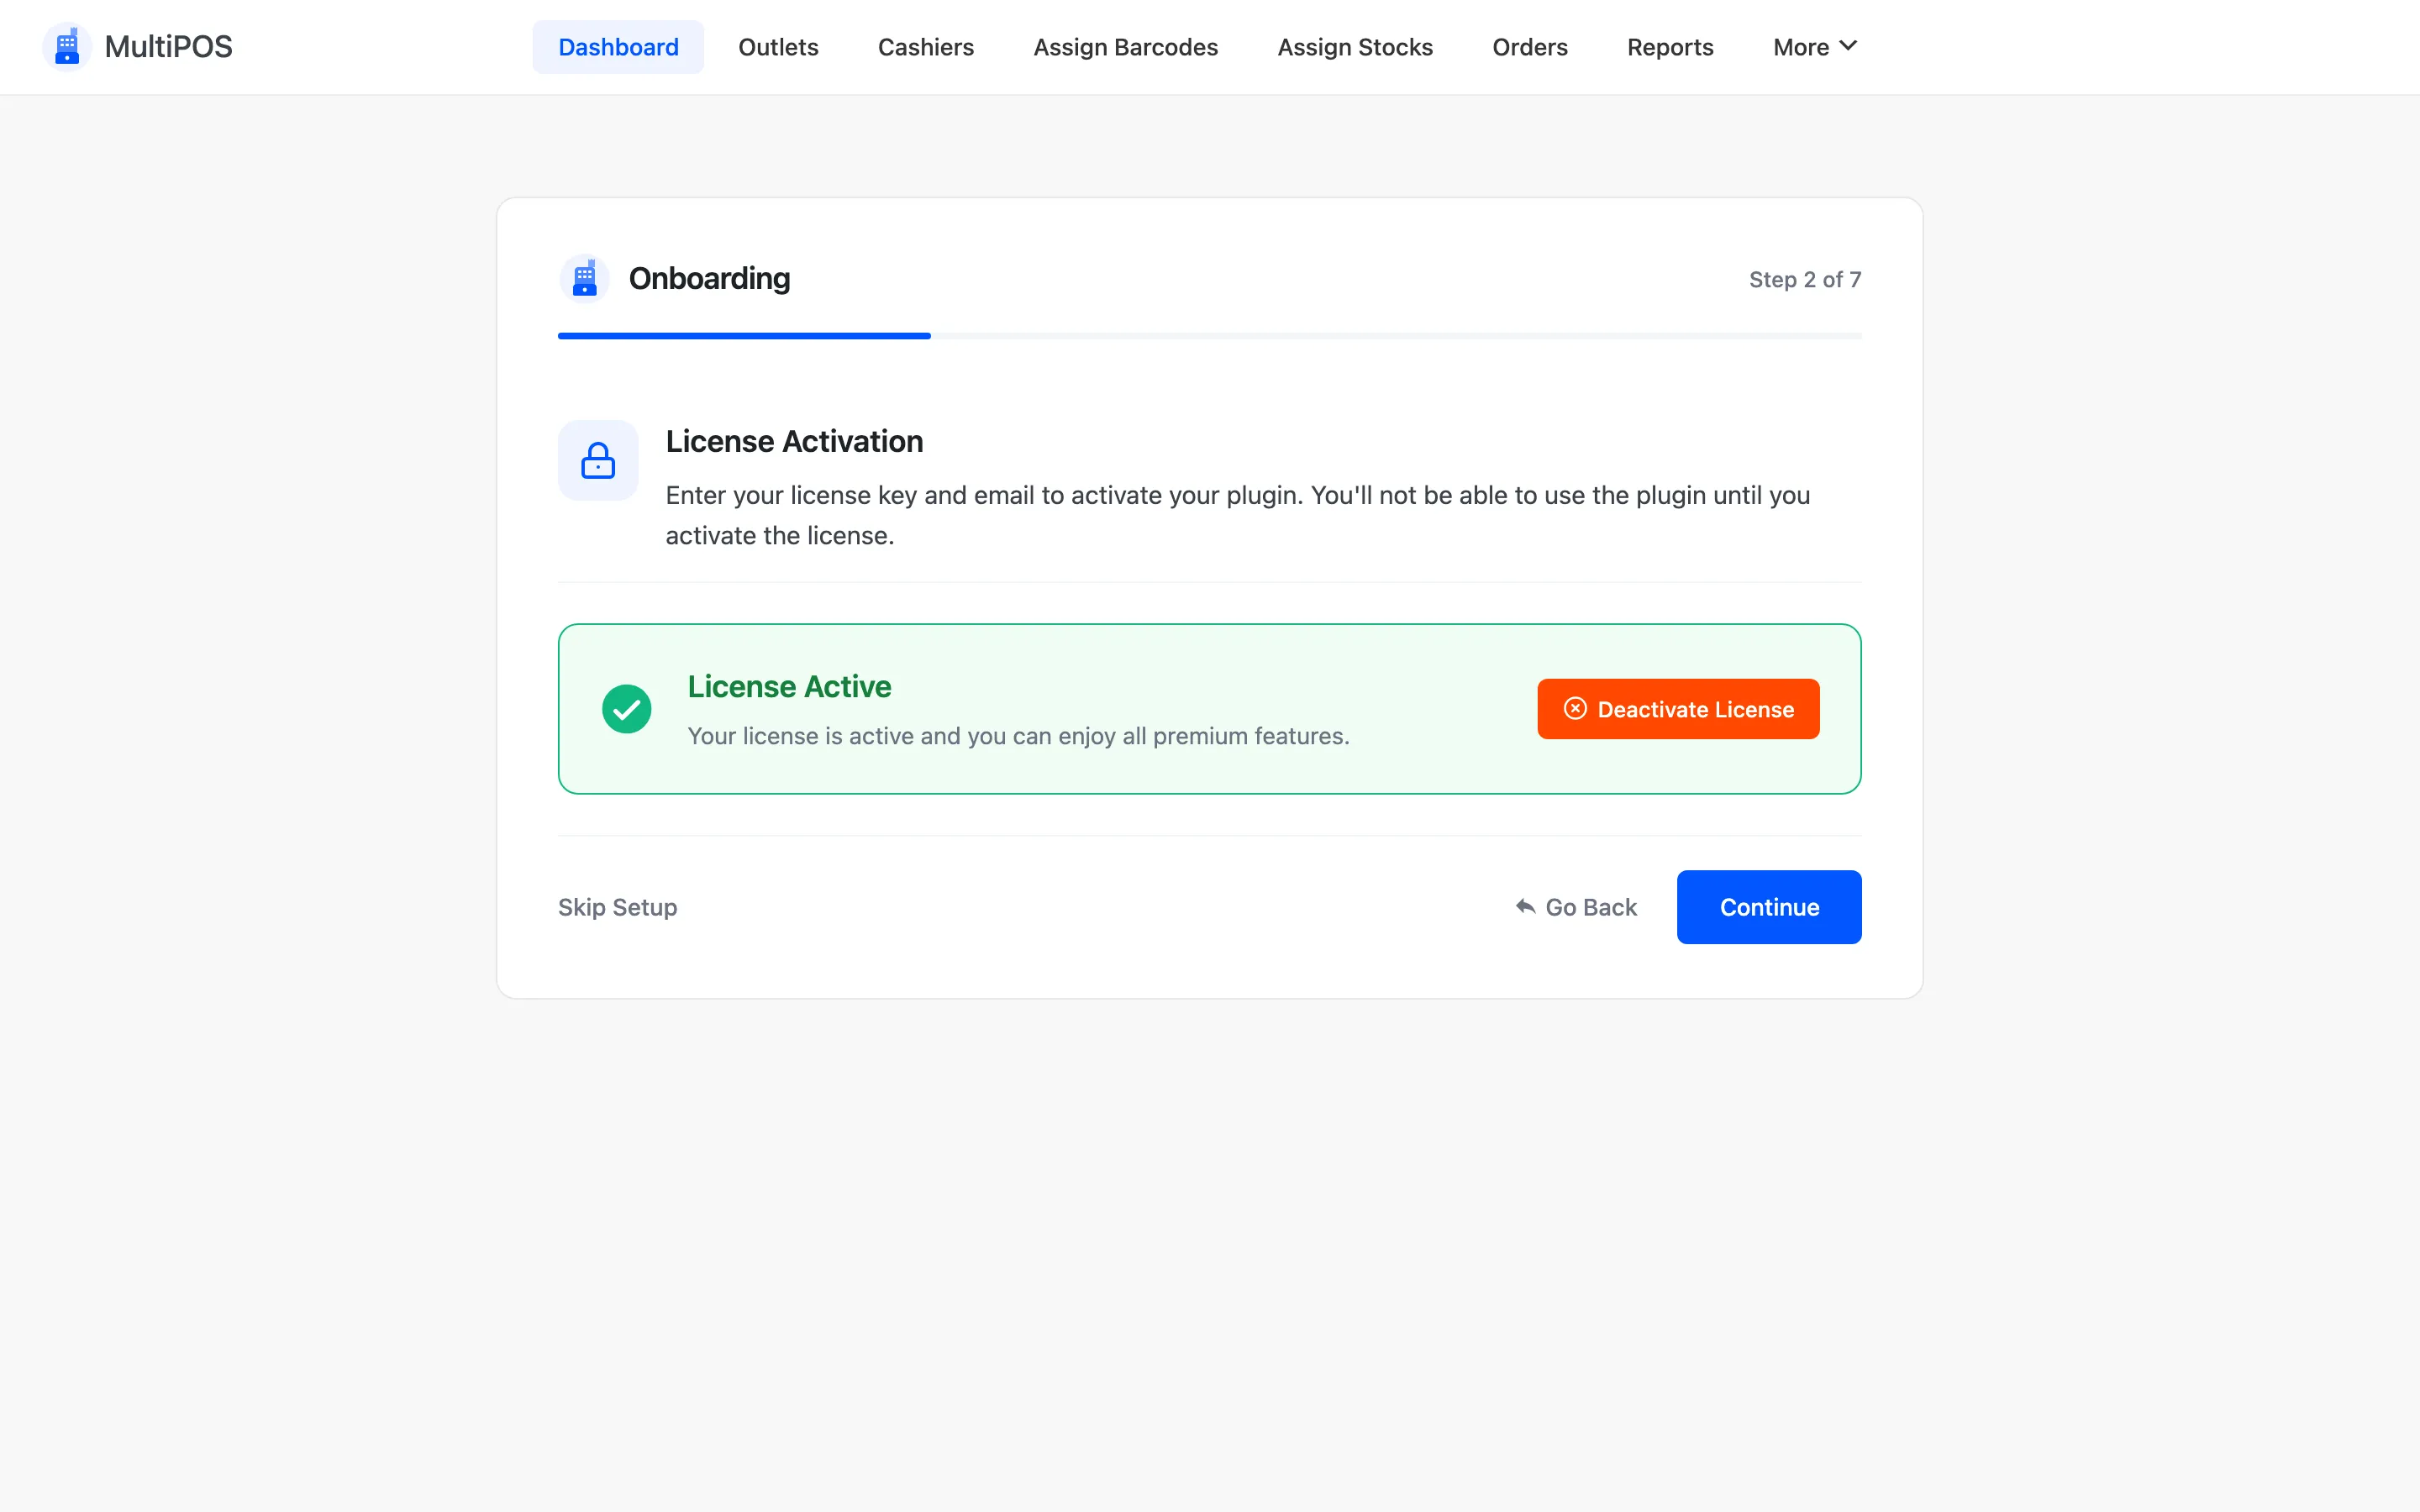
Section titled “Step 2: License”Enter your purchase code and activate it. One licence covers the owner and every vendor.
Step 3: General
Section titled “Step 3: General”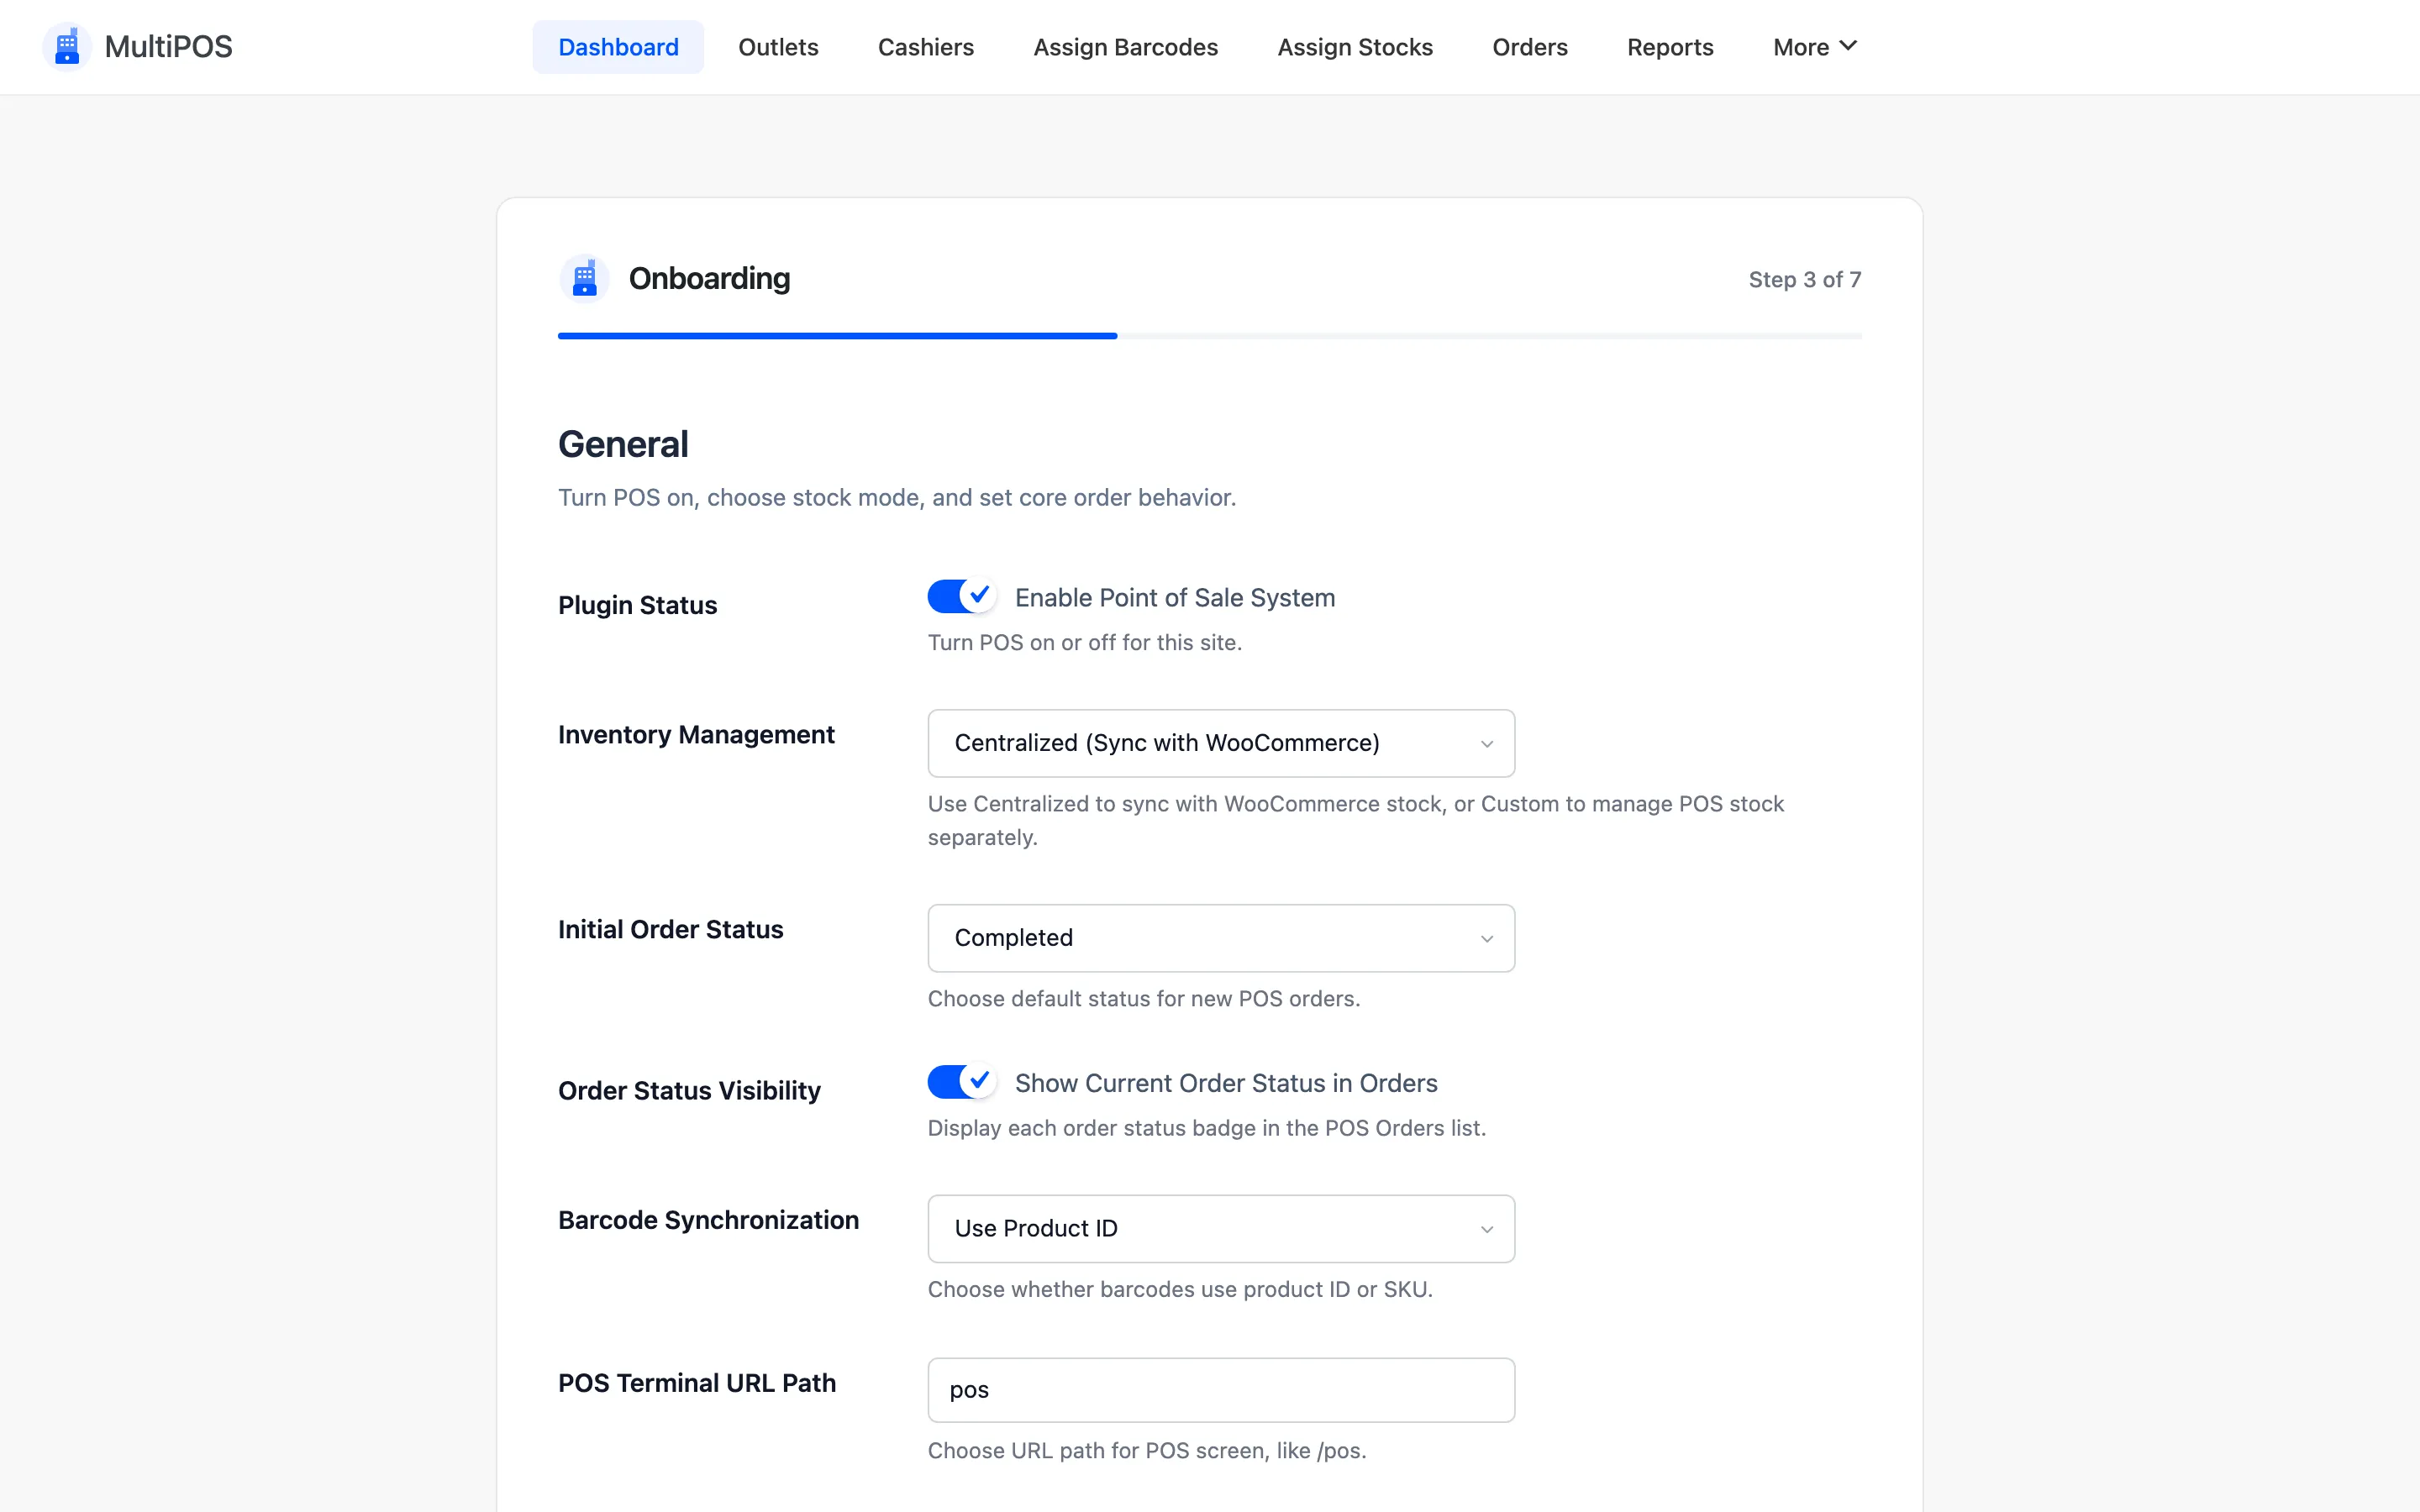
- Plugin Status: Enable Point of Sale System turns the POS on for the site.
- Inventory Management: Centralized sells from WooCommerce stock. Custom keeps a separate count per outlet, set on Assign Stocks.
- Initial Order Status: The status every POS order is created with. It defaults to Completed.
- Order Status Visibility: Shows each order’s status in the POS Orders list.
- Barcode Synchronization: Builds barcodes from the product ID or from its SKU.
- POS Terminal URL Path: The address of the POS.
posgivesyoursite.com/pos.
Pick the URL now. Every vendor and cashier will bookmark it.
Step 4: Checkout
Section titled “Step 4: Checkout”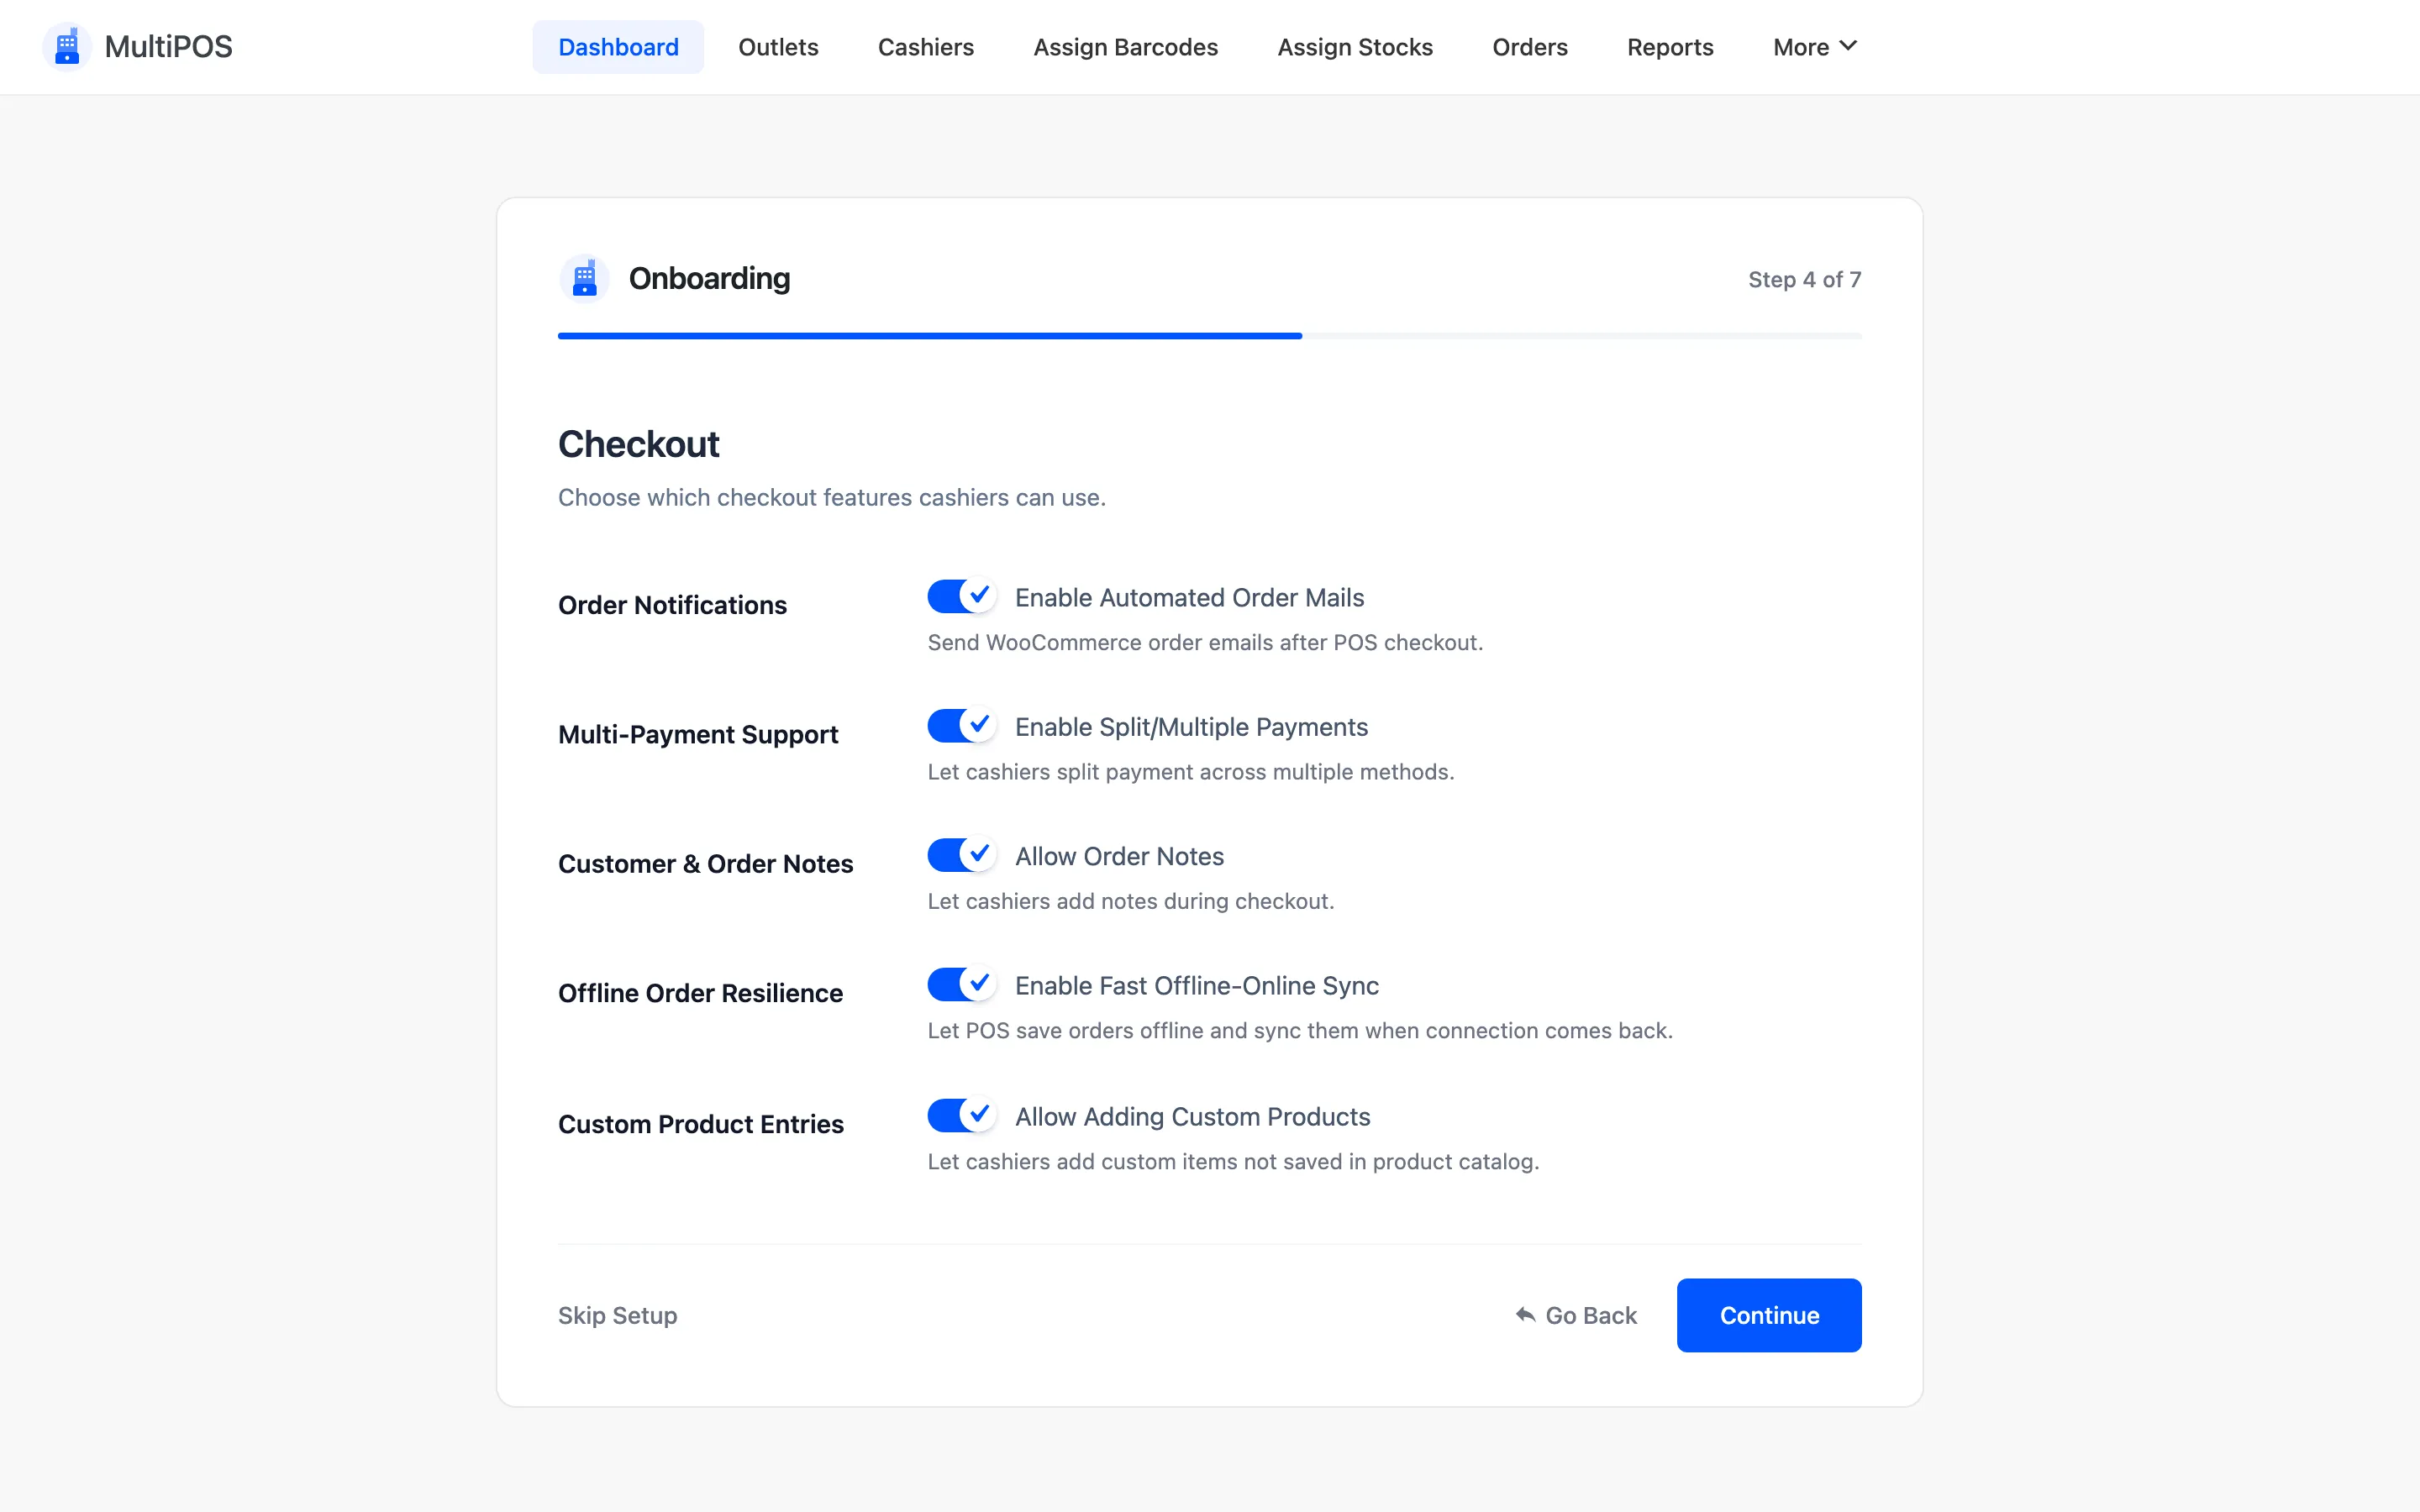
- Order Notifications: Sends the usual WooCommerce order emails after a POS sale.
- Multi-Payment Support: Lets a cashier split one sale across payment methods.
- Customer & Order Notes: Adds a note field to the payment screen.
- Offline Order Resilience: Keeps the POS selling when the connection drops, and syncs later.
- Custom Product Entries: Lets a cashier sell an item that is not in the catalogue.
Step 5: Layout
Section titled “Step 5: Layout”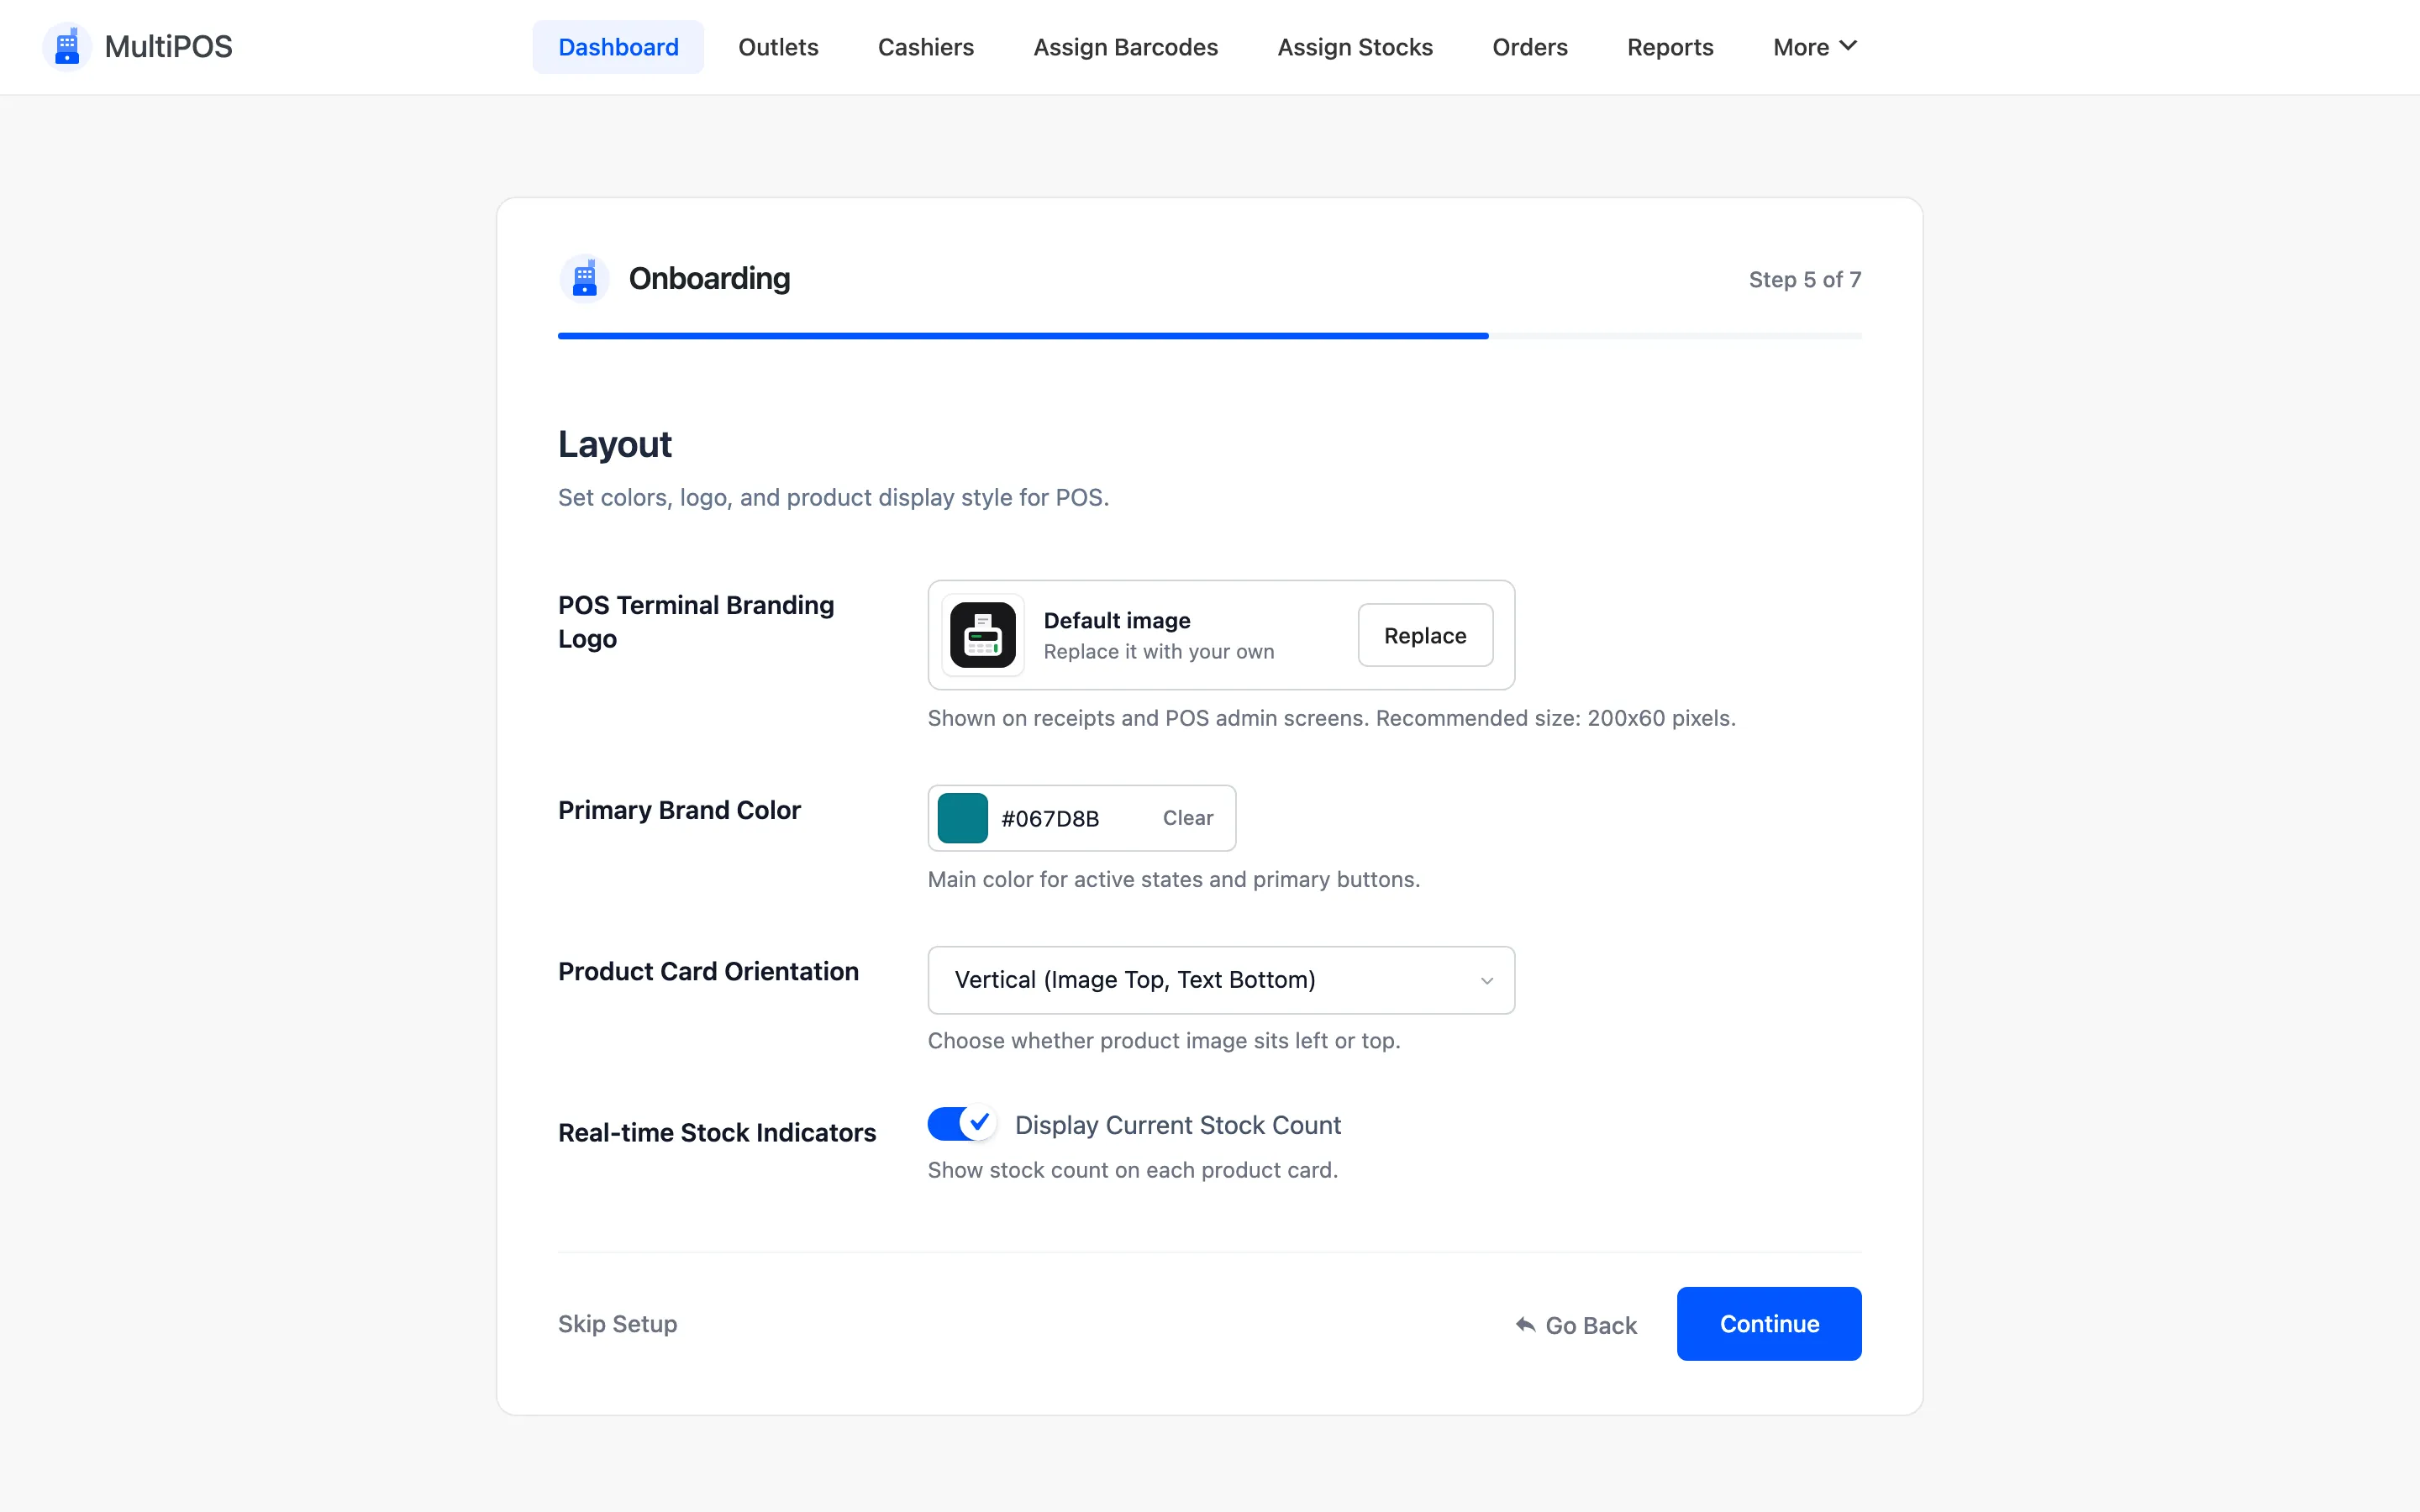
- POS Terminal Branding Logo: Shown on receipts and in the POS sidebar. 200 by 60 pixels works best.
- Primary Brand Color: The colour of buttons and active states in the POS.
- Product Card Orientation: Image on top, or image on the left.
- Real-time Stock Indicators: Prints the stock count on every product card.
Step 6: Customers
Section titled “Step 6: Customers”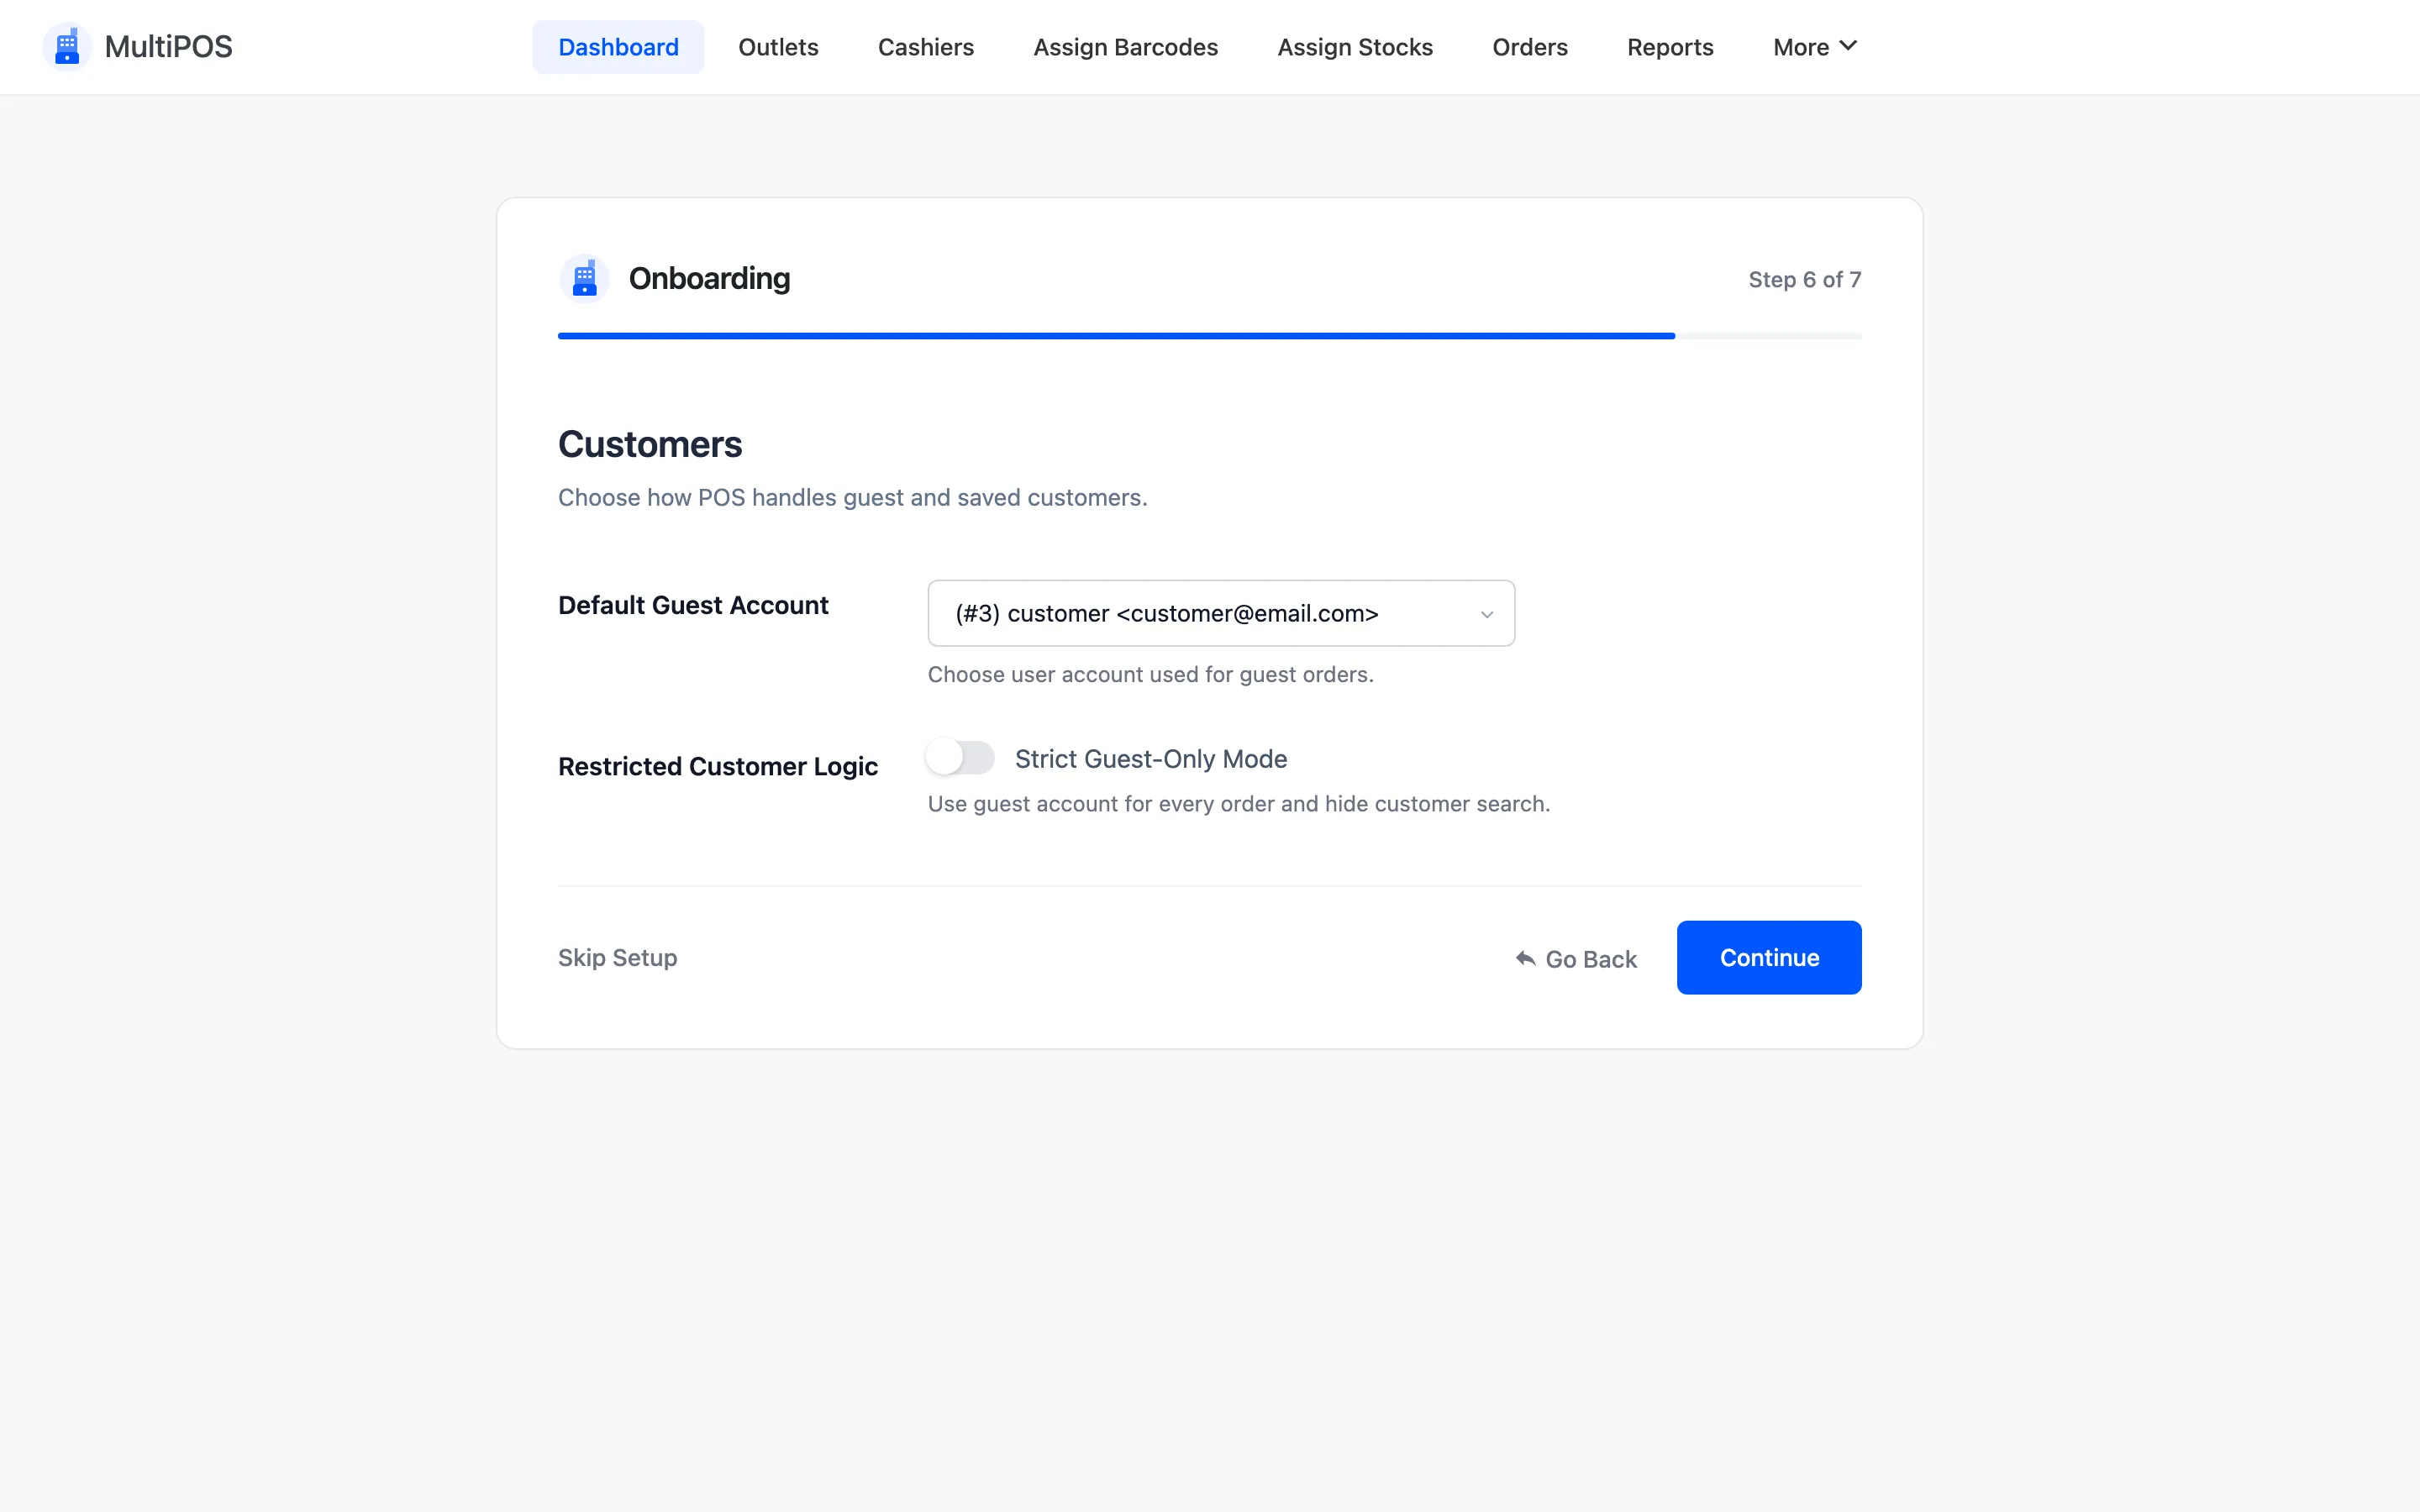
- Default Guest Account: The customer that walk-in sales are billed to. Create one account such as “Walk-in Customer” and choose it here.
- Restricted Customer Logic: Strict Guest-Only Mode bills every sale to the guest account and hides the customer search.
Every vendor’s POS shares this guest account. A vendor cannot edit or delete it from their POS.
Step 7: Ready
Section titled “Step 7: Ready”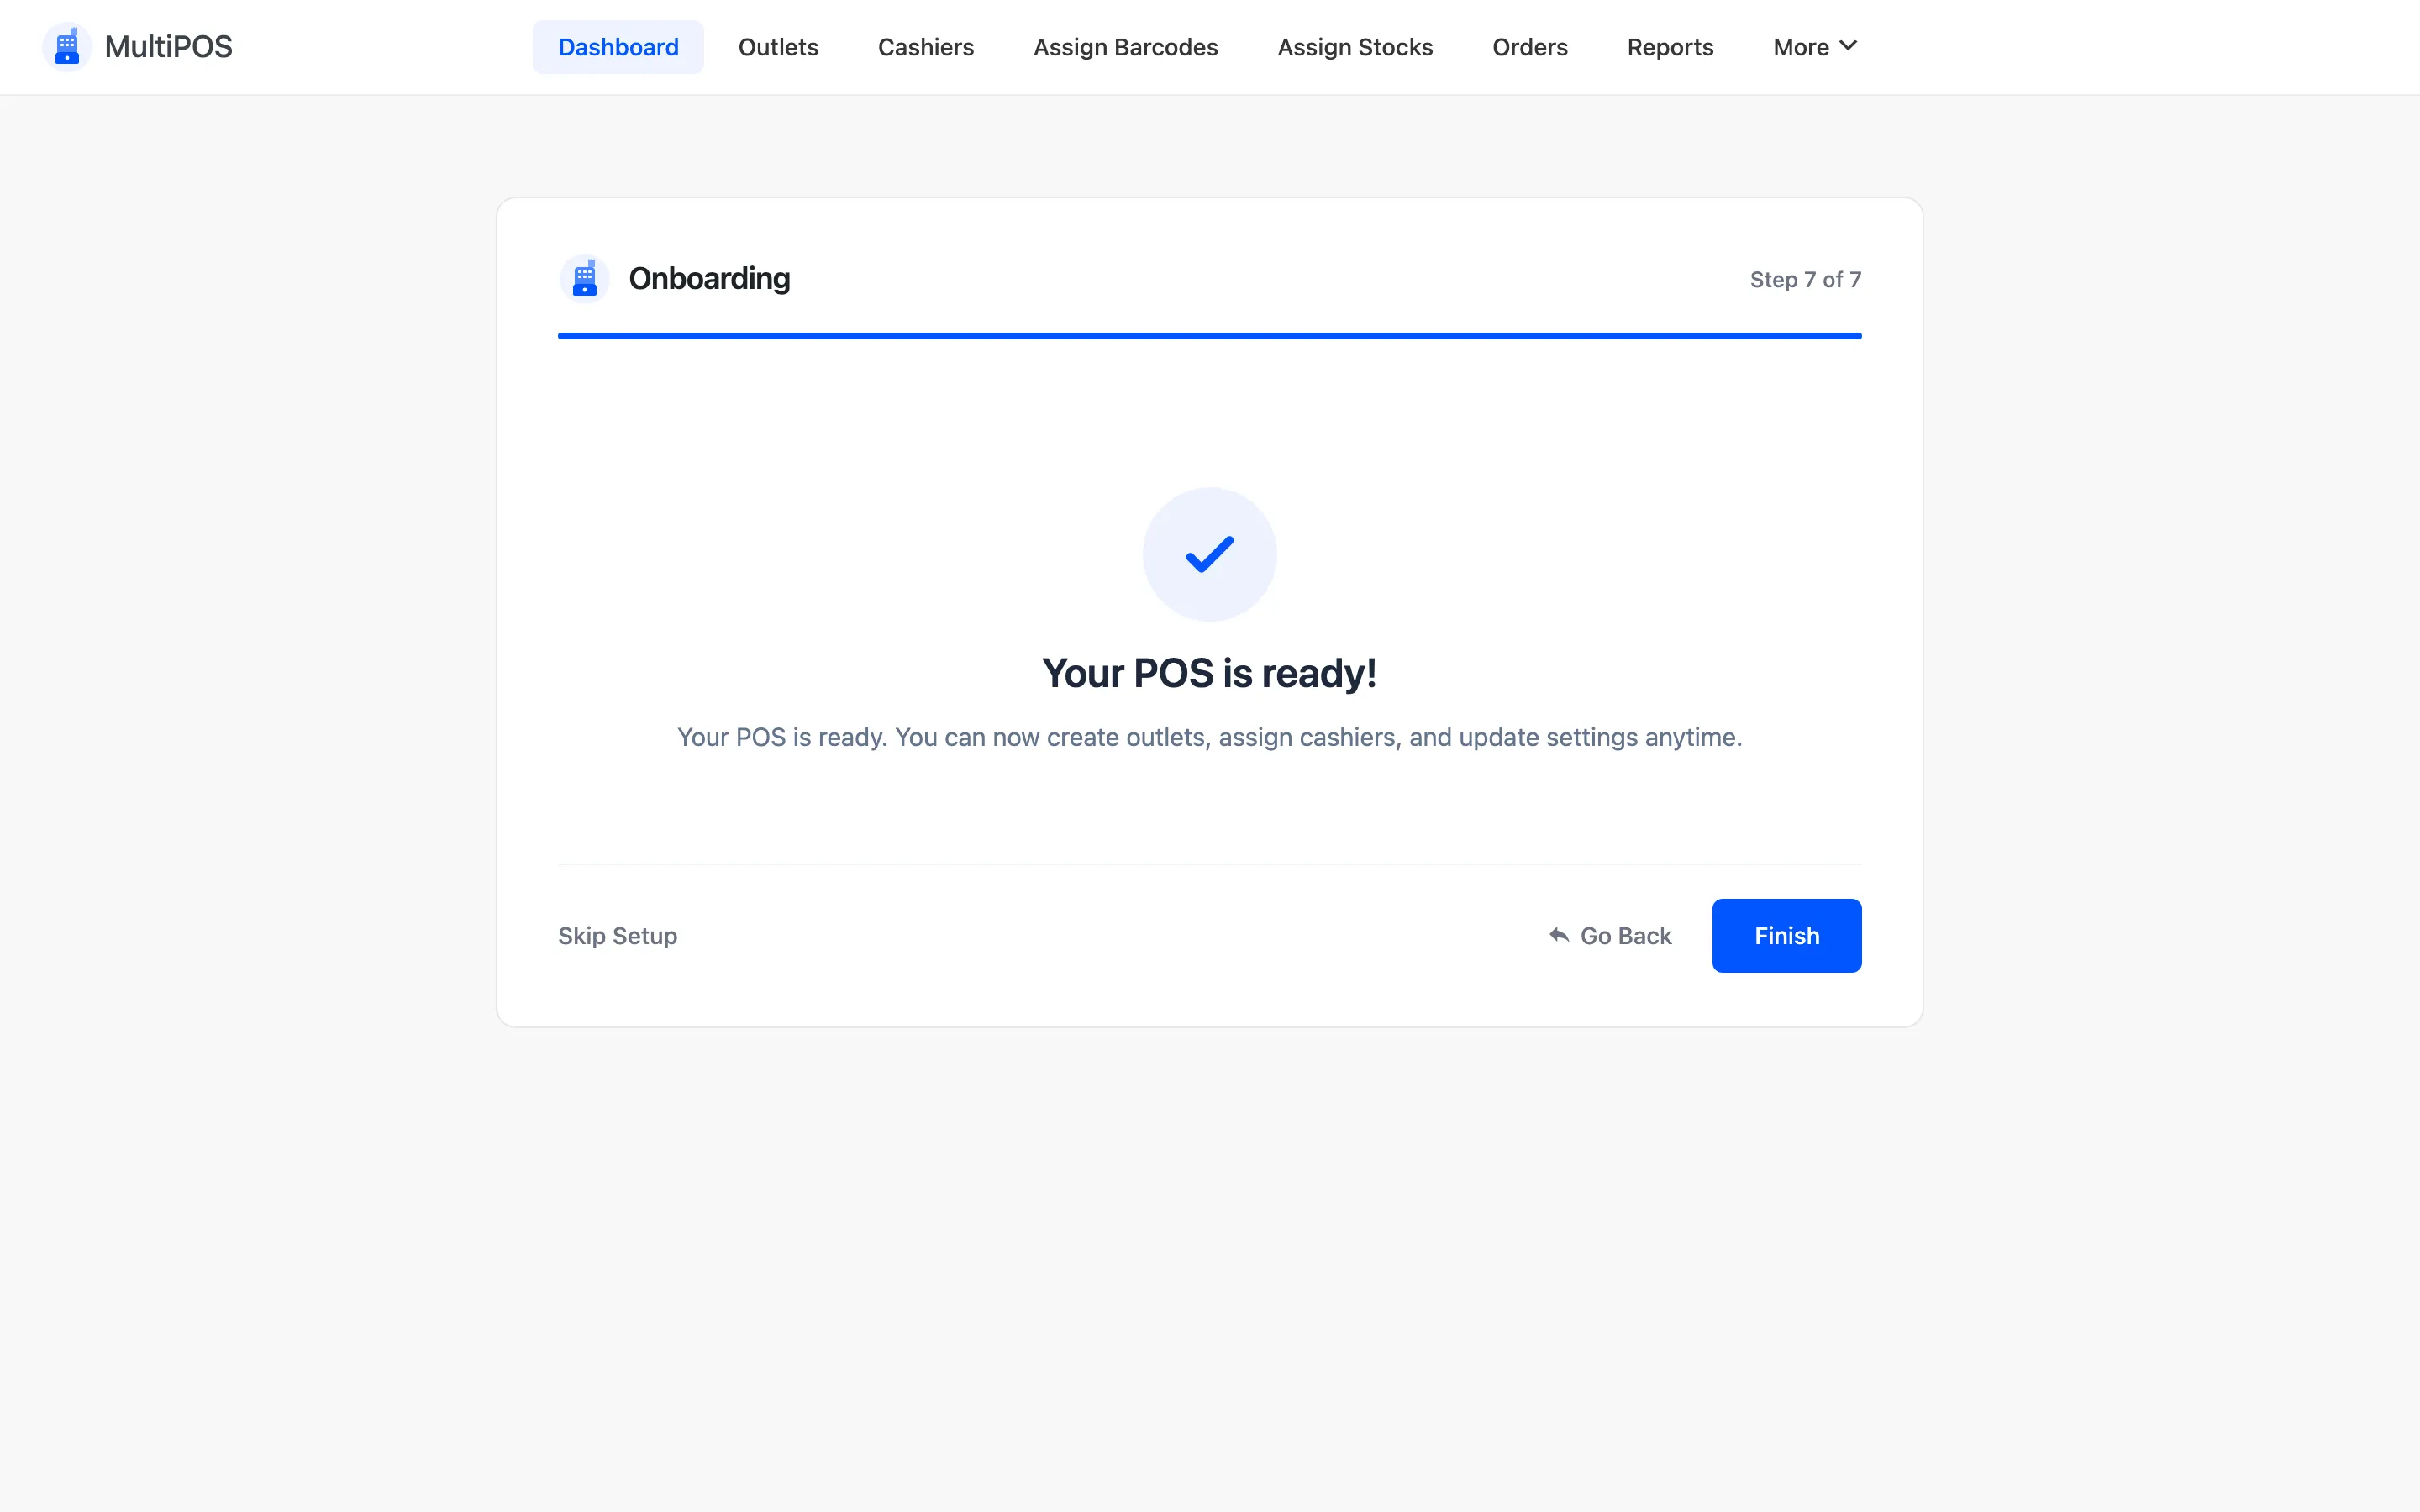
Click Finish to land on the MultiPOS dashboard.
What vendors inherit
Section titled “What vendors inherit”Everything the wizard sets is the marketplace’s value. A vendor who never changes a setting in their own Configuration uses yours. The POS address, the guest account and the plugin switch are yours alone; vendors cannot change them. See Vendor Settings.