

How to Assign an Outlet to a WCFM Vendor
Every outlet belongs to a store: the marketplace or one vendor. A vendor’s own outlets are theirs automatically. As the owner you can set up an outlet for a vendor, or move one between stores.
Step 1: Open the outlet
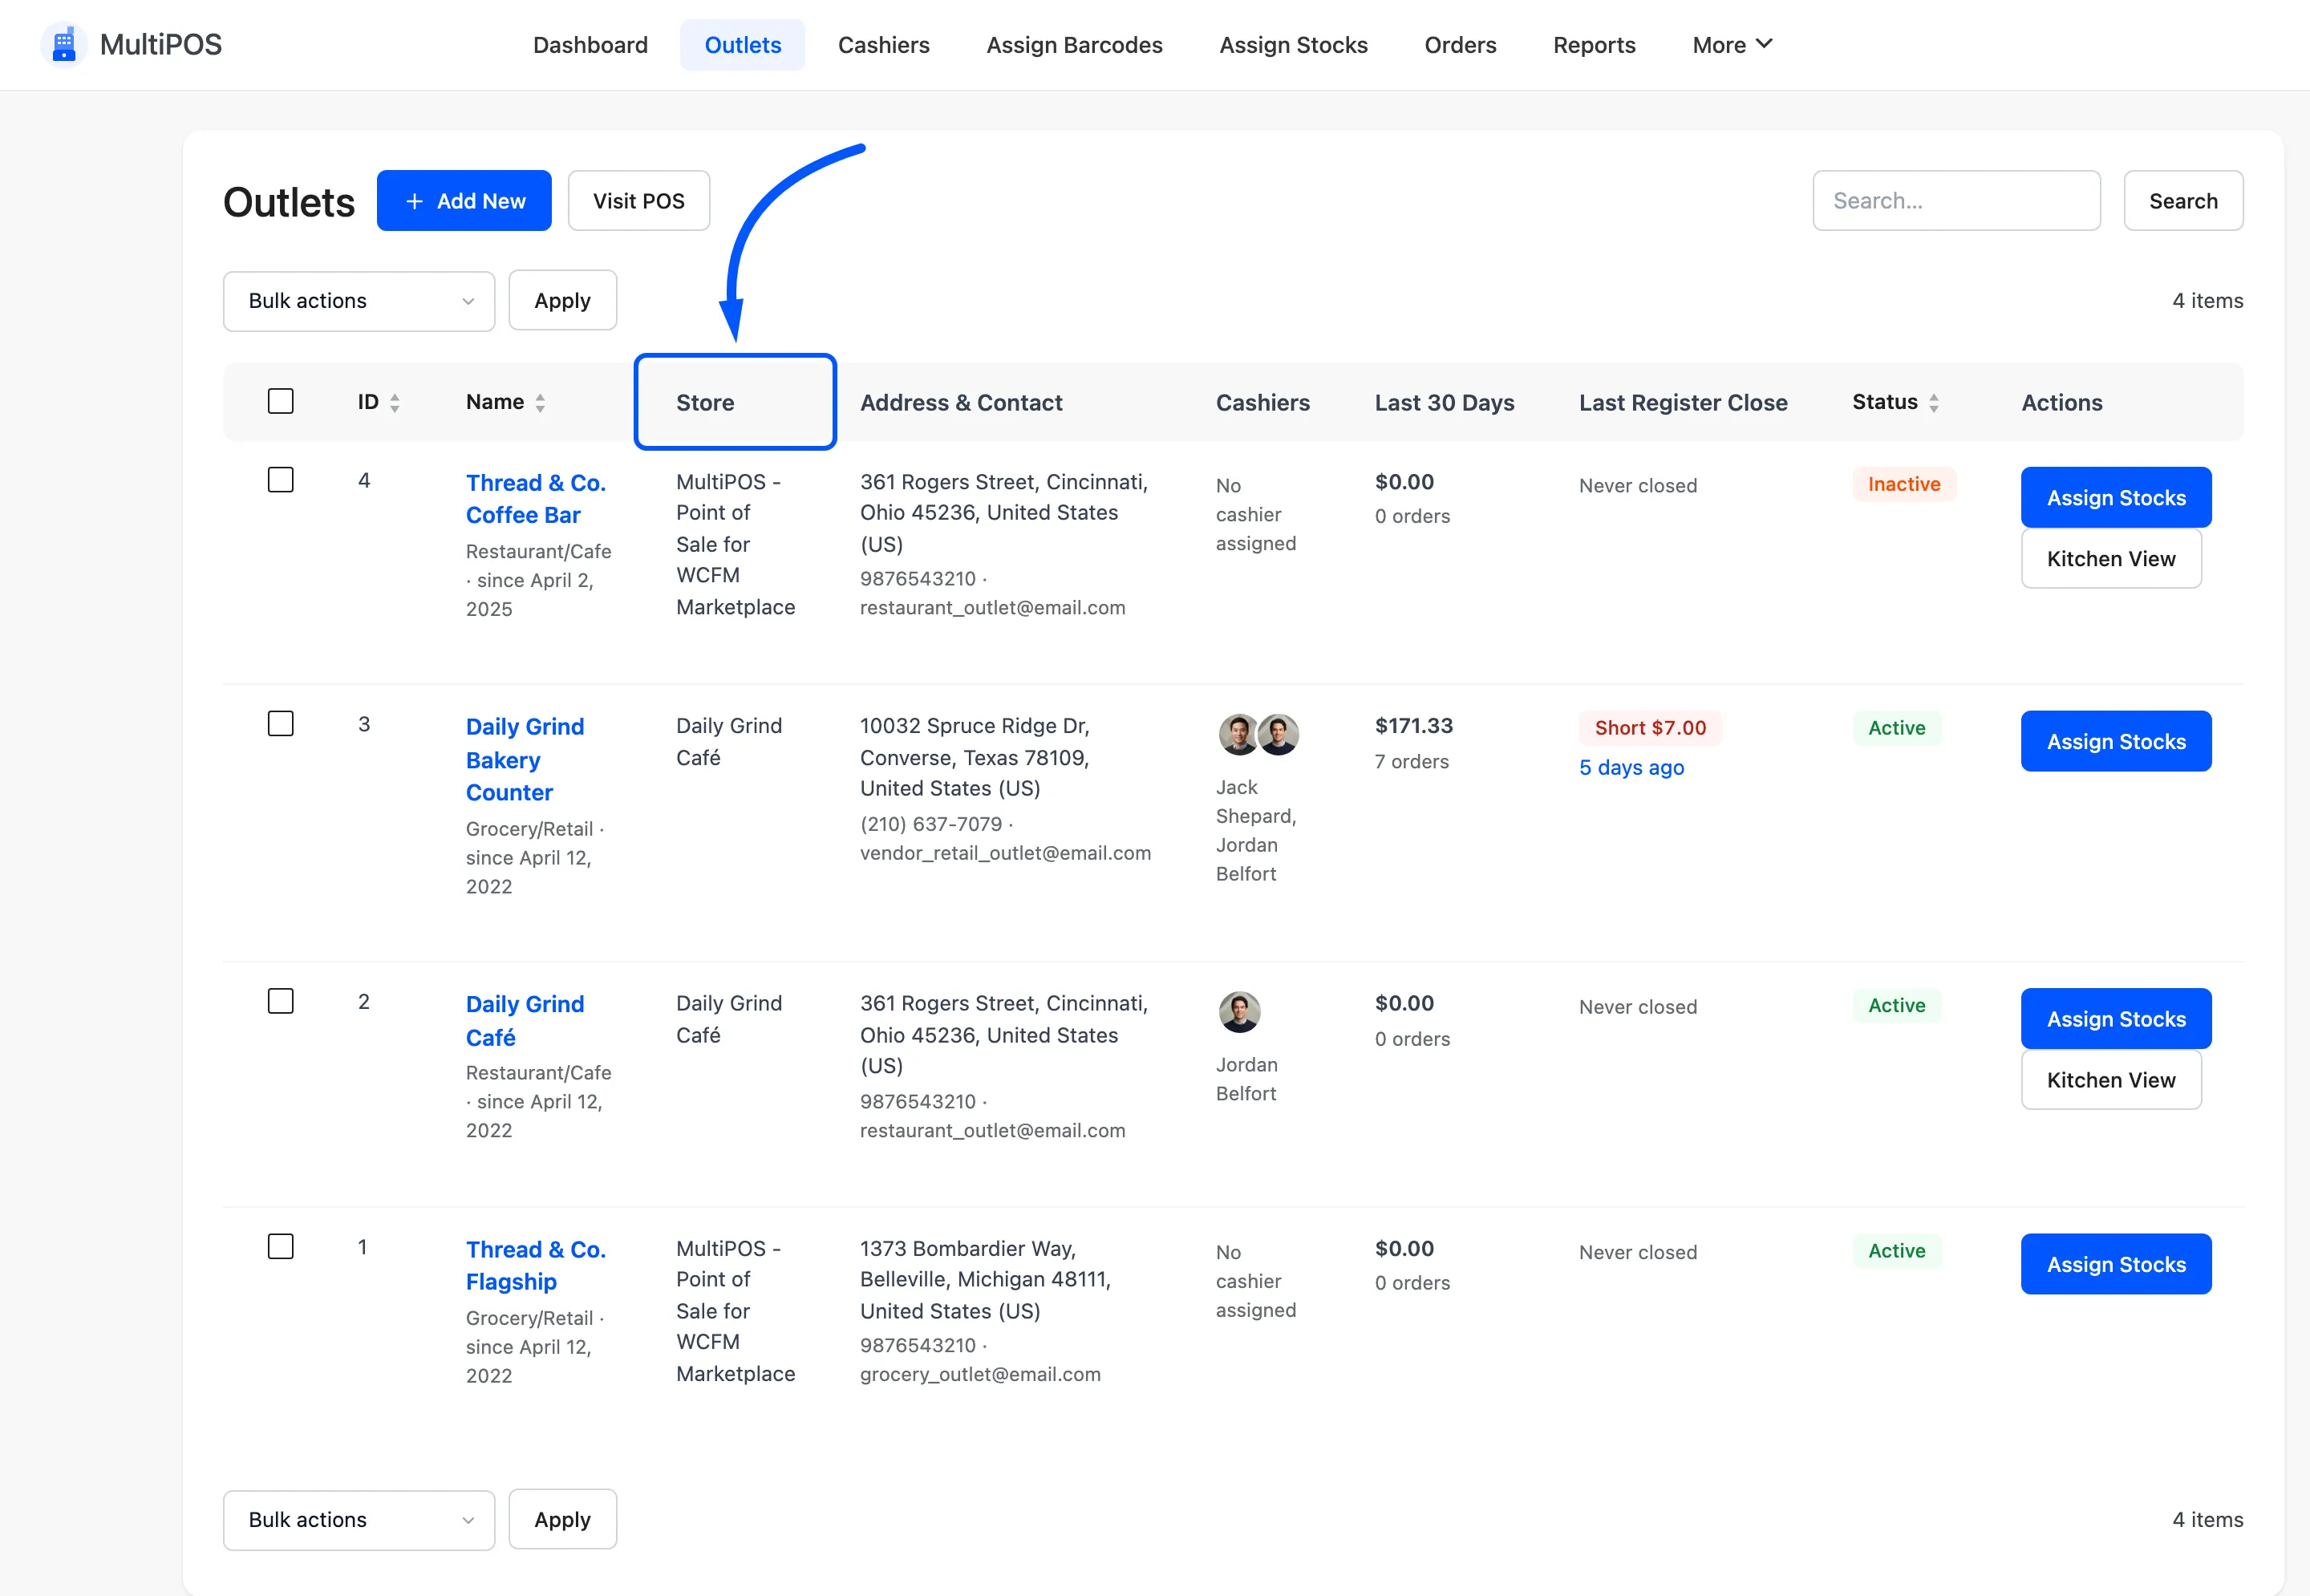
Section titled “Step 1: Open the outlet”Go to DevDiggers Plugins → MultiPOS → Outlets. The Store column shows where each outlet belongs. Click Edit under the outlet’s name, or Add New to make one.
Step 2: Choose the store
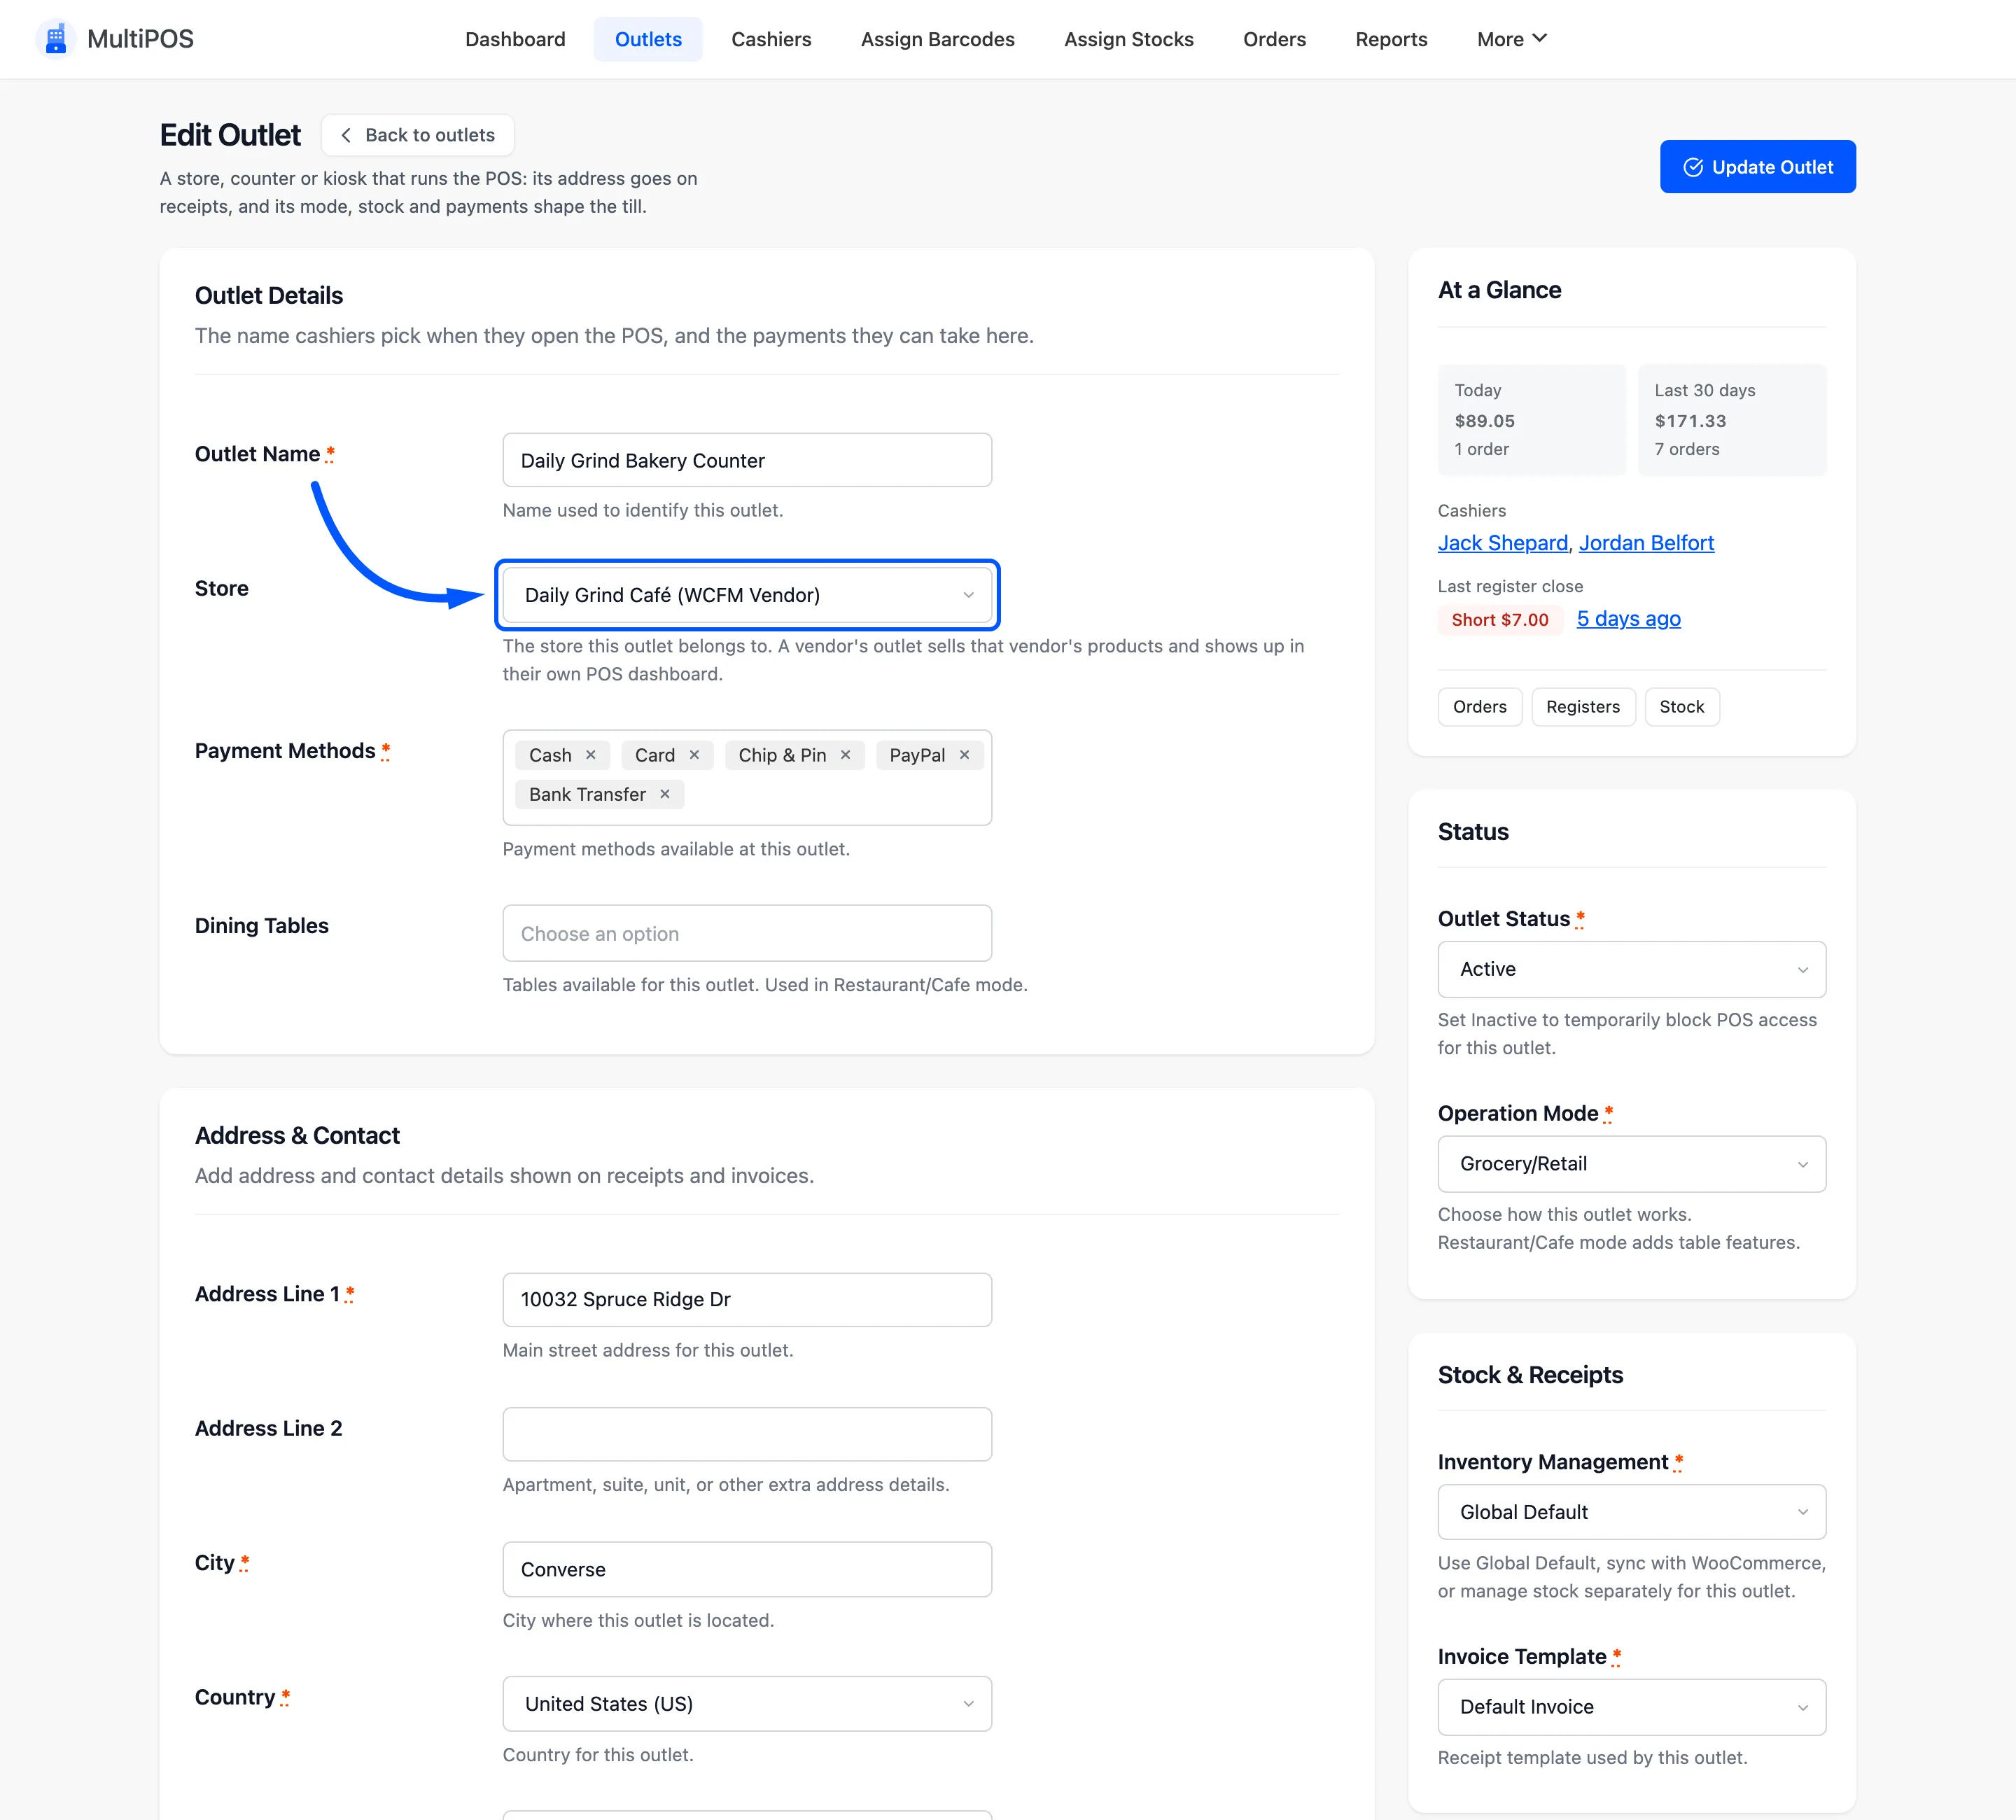
Section titled “Step 2: Choose the store”The Store field, below Outlet Name, lists the marketplace and every vendor by store name.
Step 3: Save
Section titled “Step 3: Save”Click Update Outlet, or Create Outlet on a new one.
Step 4: Check the result
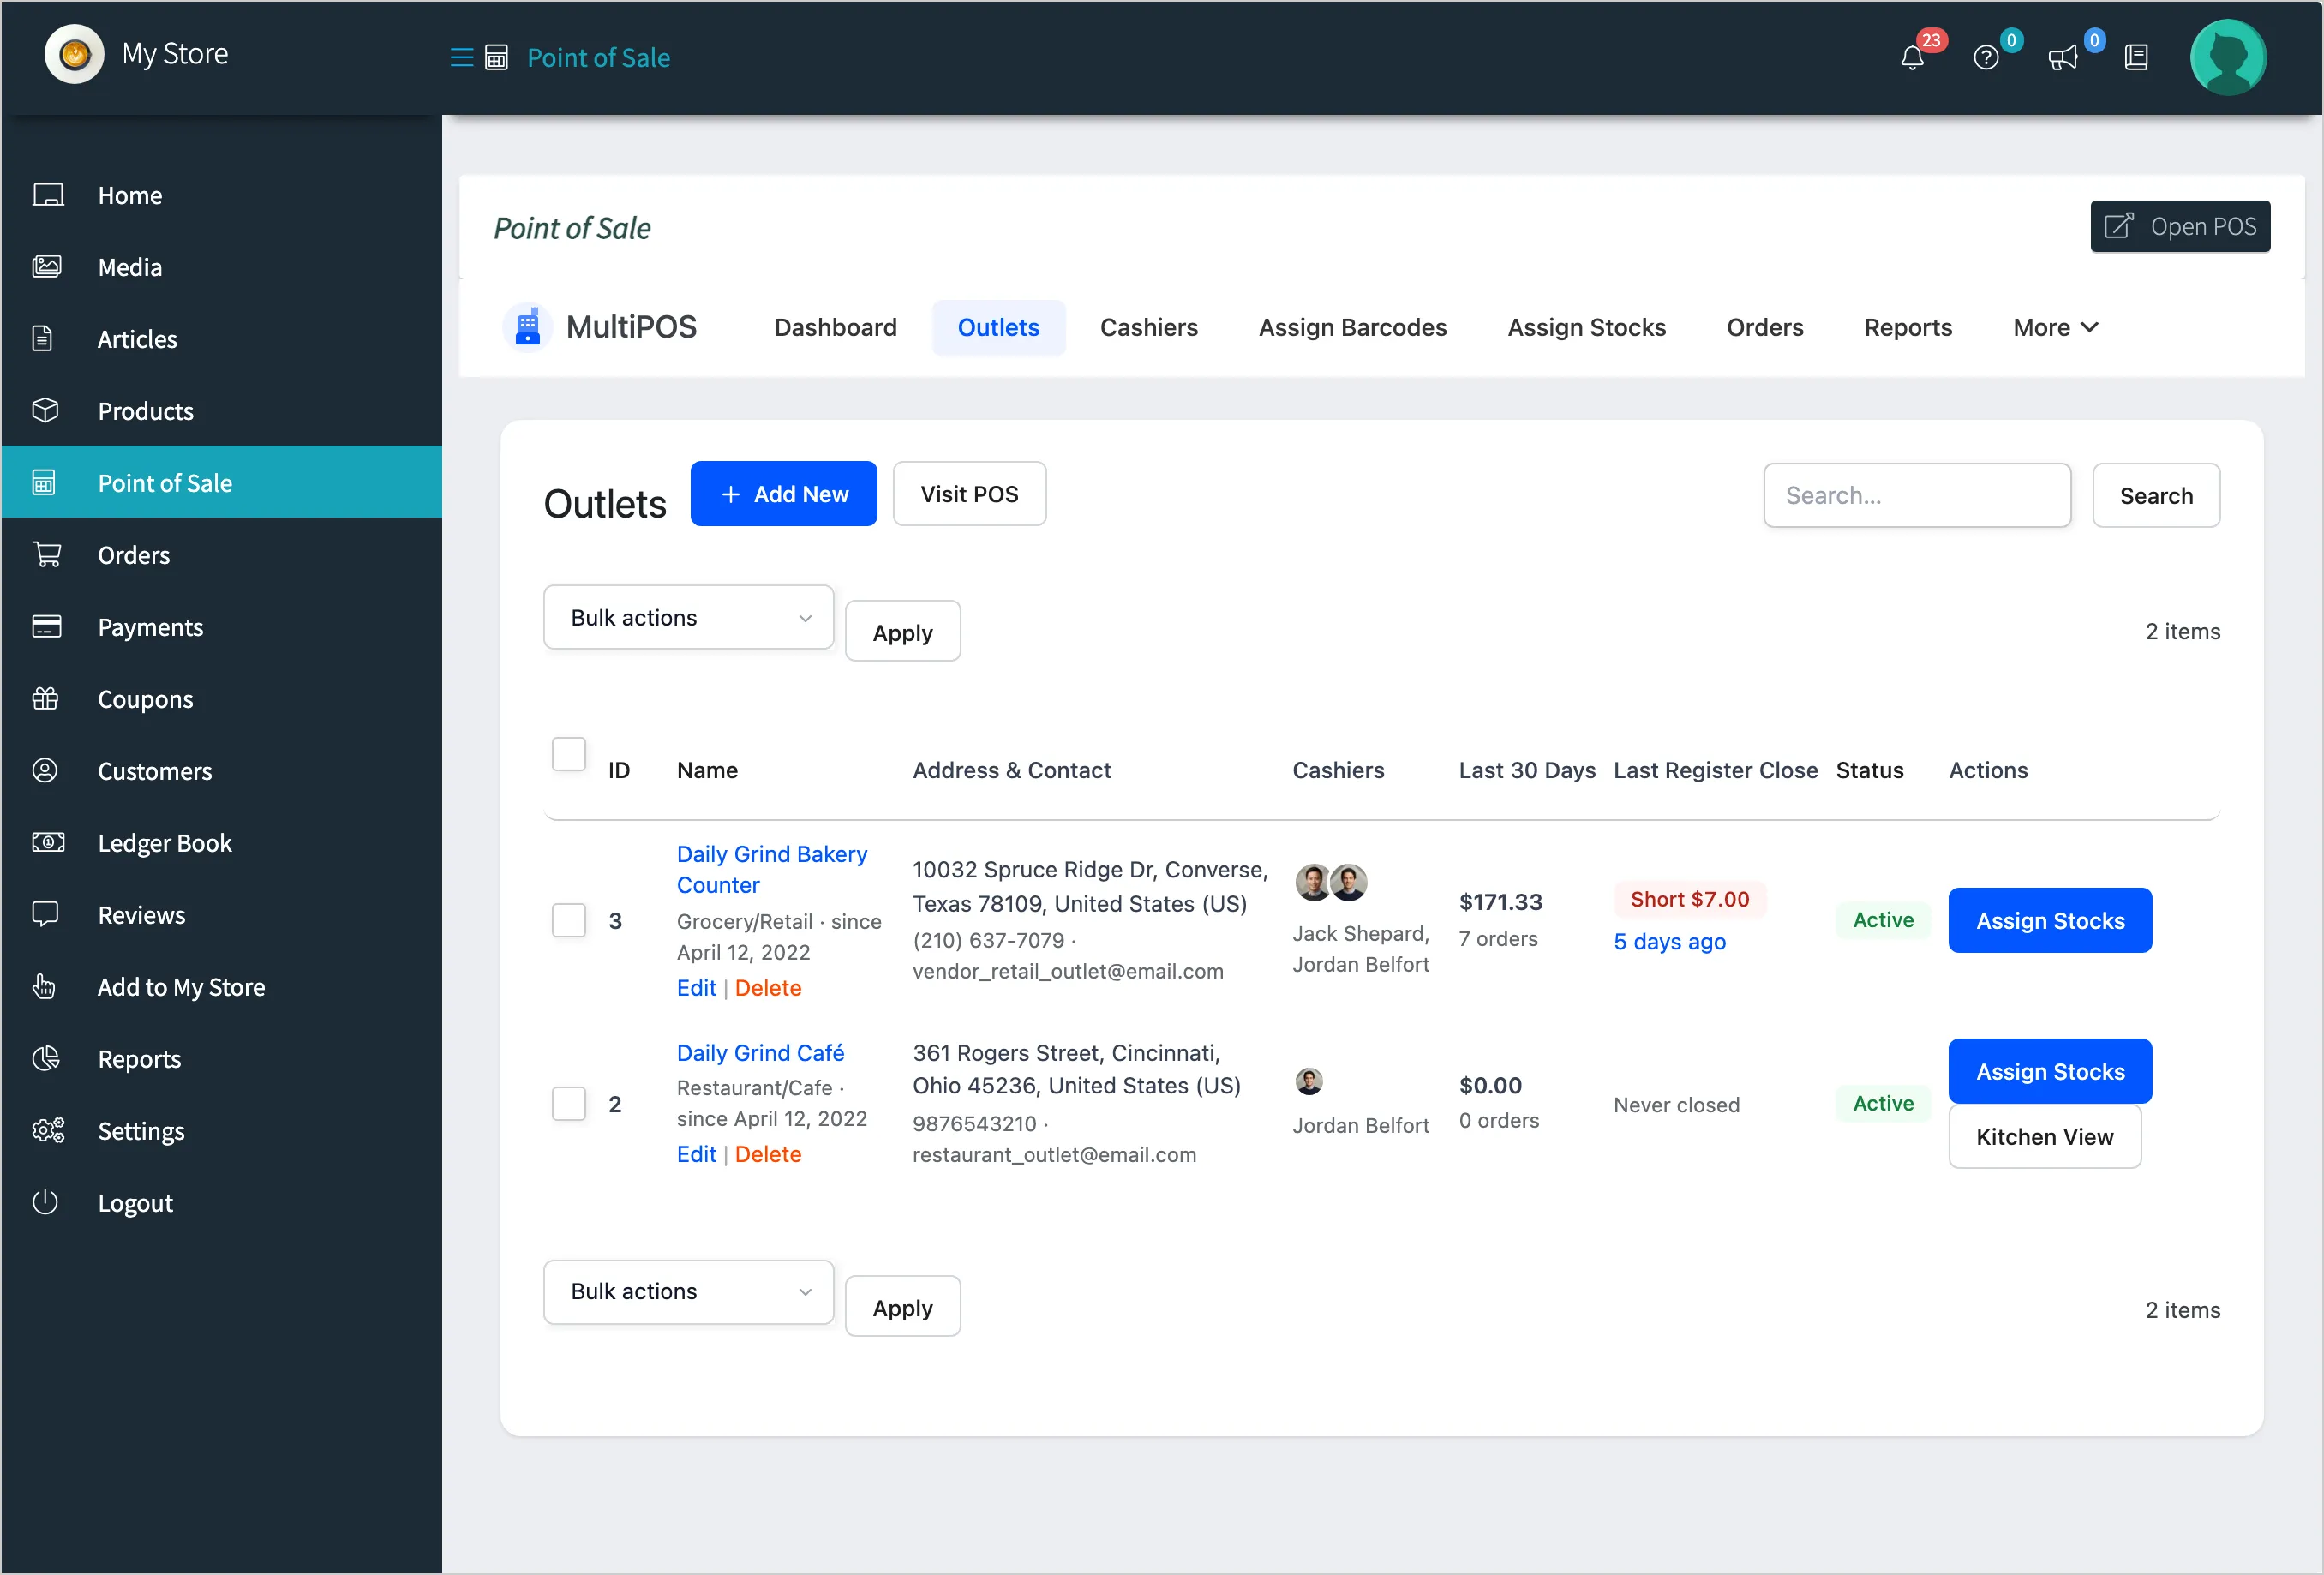
Section titled “Step 4: Check the result”The outlet shows the vendor’s store in the Store column, and appears in the vendor’s own Outlets screen in the store manager.
What changes when an outlet moves
Section titled “What changes when an outlet moves”- Products: It now sells the new store’s products. A marketplace outlet sells products made by administrators and shop managers; a vendor’s outlet sells the vendor’s.
- Who manages it: The vendor can edit it, close its registers and read its orders.
- Its history: Past orders, transactions and registers of the outlet move with it.
- Its cashiers: A cashier only works at outlets of their own store. Reassign the outlet’s cashiers if they belonged to the old store.
Vendors cannot change an outlet’s store. Their form has no Store field.