

How to Set Up a Vendor Outlet in the WCFM Store Manager
An outlet is one of your counters. This walkthrough adds a third counter for Daily Grind Café, a market stall, from the vendor’s store manager.
Step 1: Open your outlets
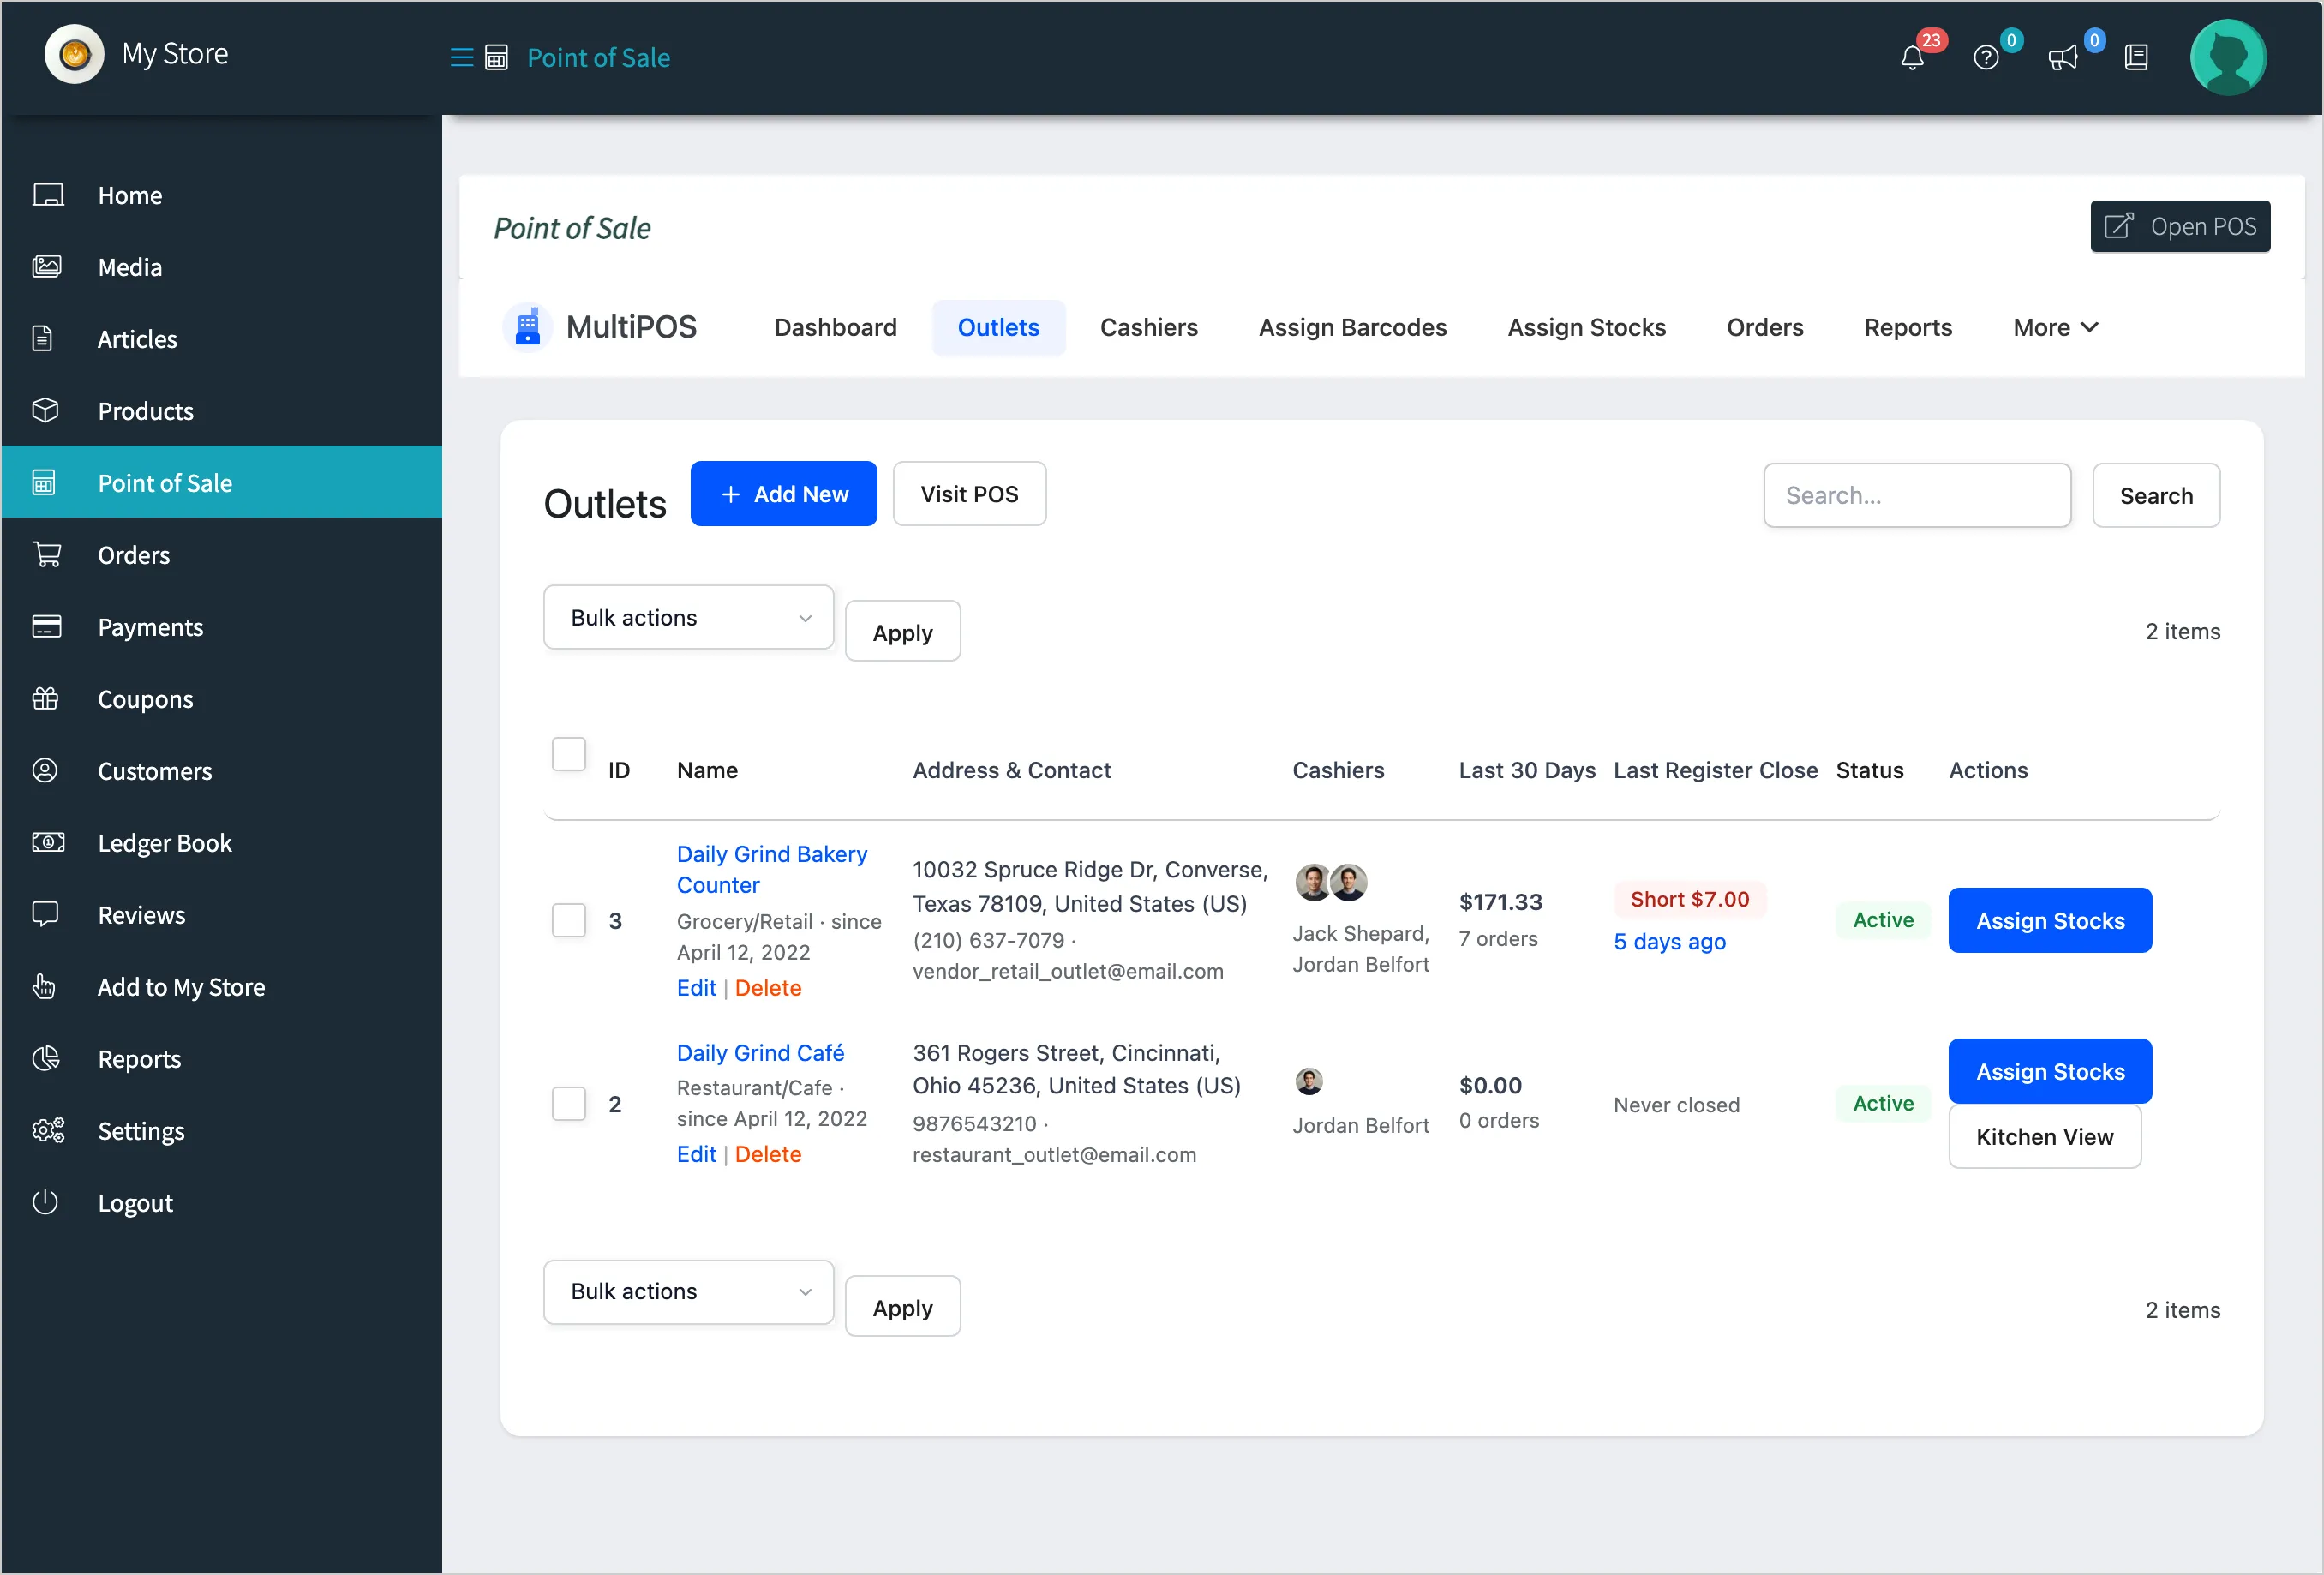
Section titled “Step 1: Open your outlets”In the store manager, click Point of Sale, then Outlets. Your outlets are listed with their cashiers, sales and last register close. Click Add New.
Step 2: Fill in the outlet details
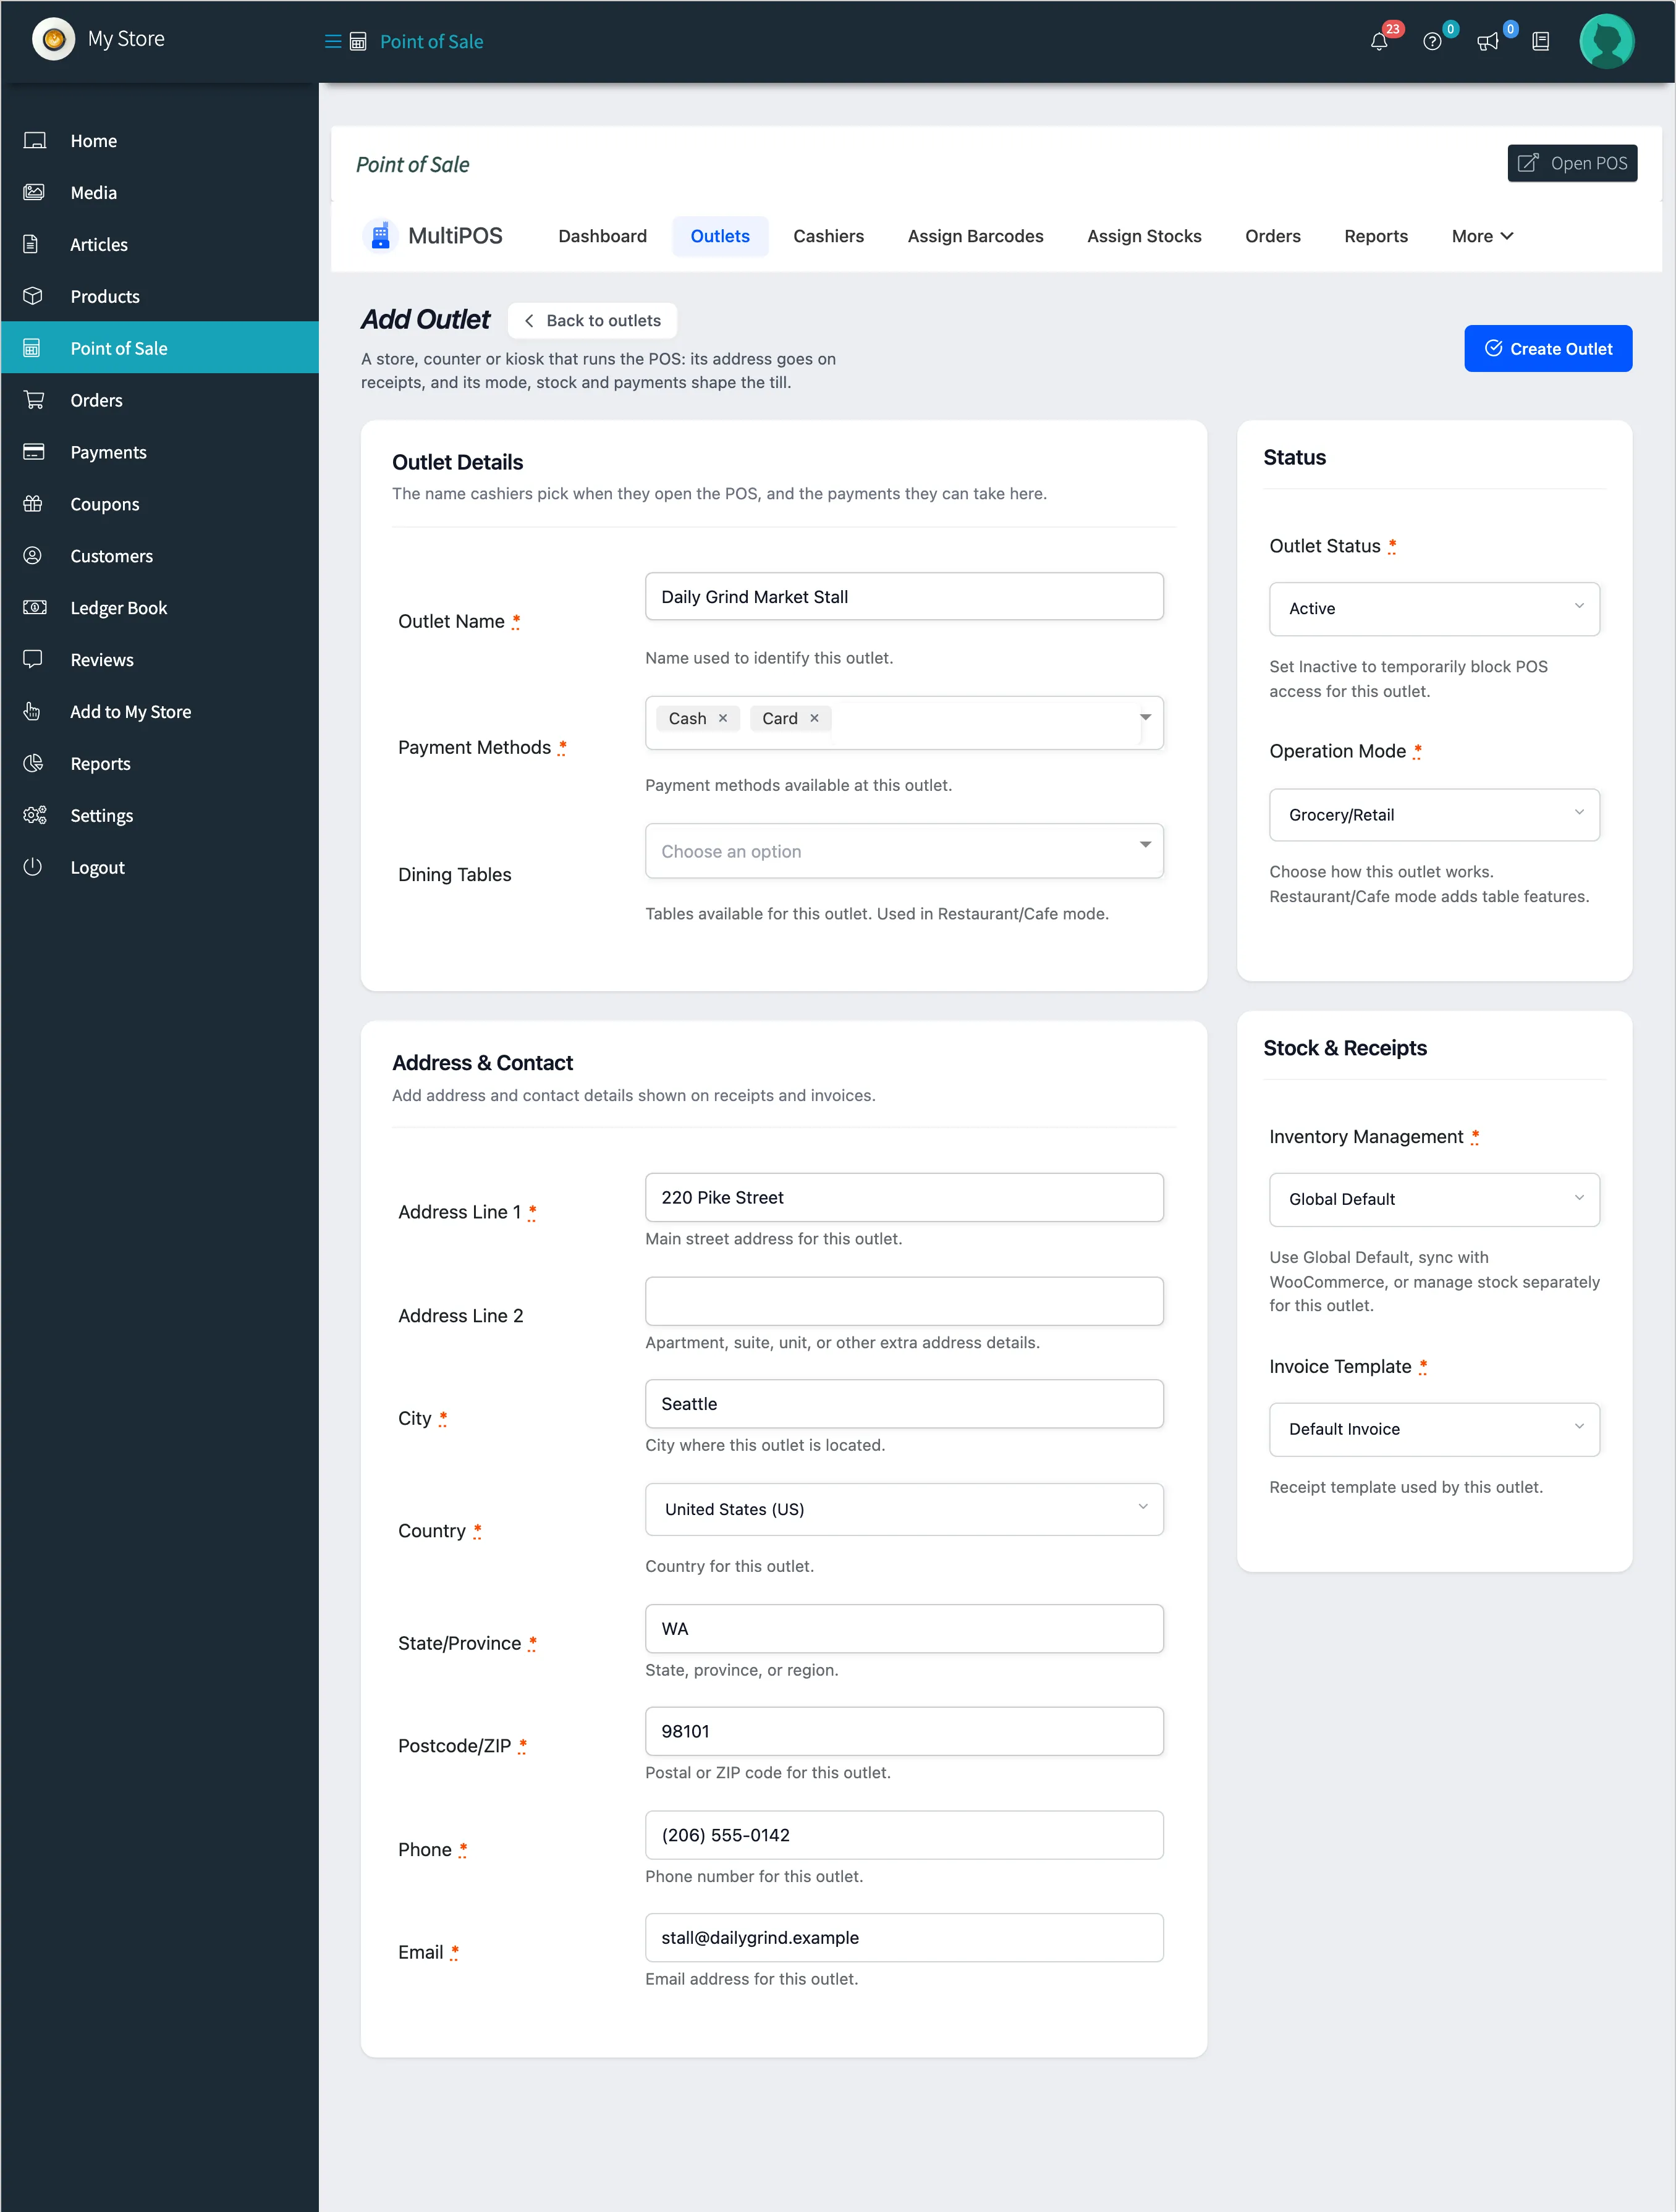
Section titled “Step 2: Fill in the outlet details”- Outlet Name: What cashiers pick at the POS, such as Daily Grind Market Stall.
- Payment Methods: Tick the methods this counter takes. The list comes from your Payments tab.
- Dining Tables: Only for a Restaurant/Cafe outlet.
Step 3: Enter the address
Section titled “Step 3: Enter the address”Address Line 1, City, Country, State/Province, Postcode/ZIP, Phone and Email are required. They print on the receipt, and taxes on sales here are worked out from them.
Step 4: Set the mode and stock
Section titled “Step 4: Set the mode and stock”- Outlet Status: Active to sell.
- Operation Mode: Grocery/Retail, or Restaurant/Cafe for tables and a kitchen screen.
- Inventory Management: Global Default follows your General tab. Custom keeps this outlet’s own count, set on Assign Stocks.
- Invoice Template: The receipt this counter prints.
Step 5: Create the outlet
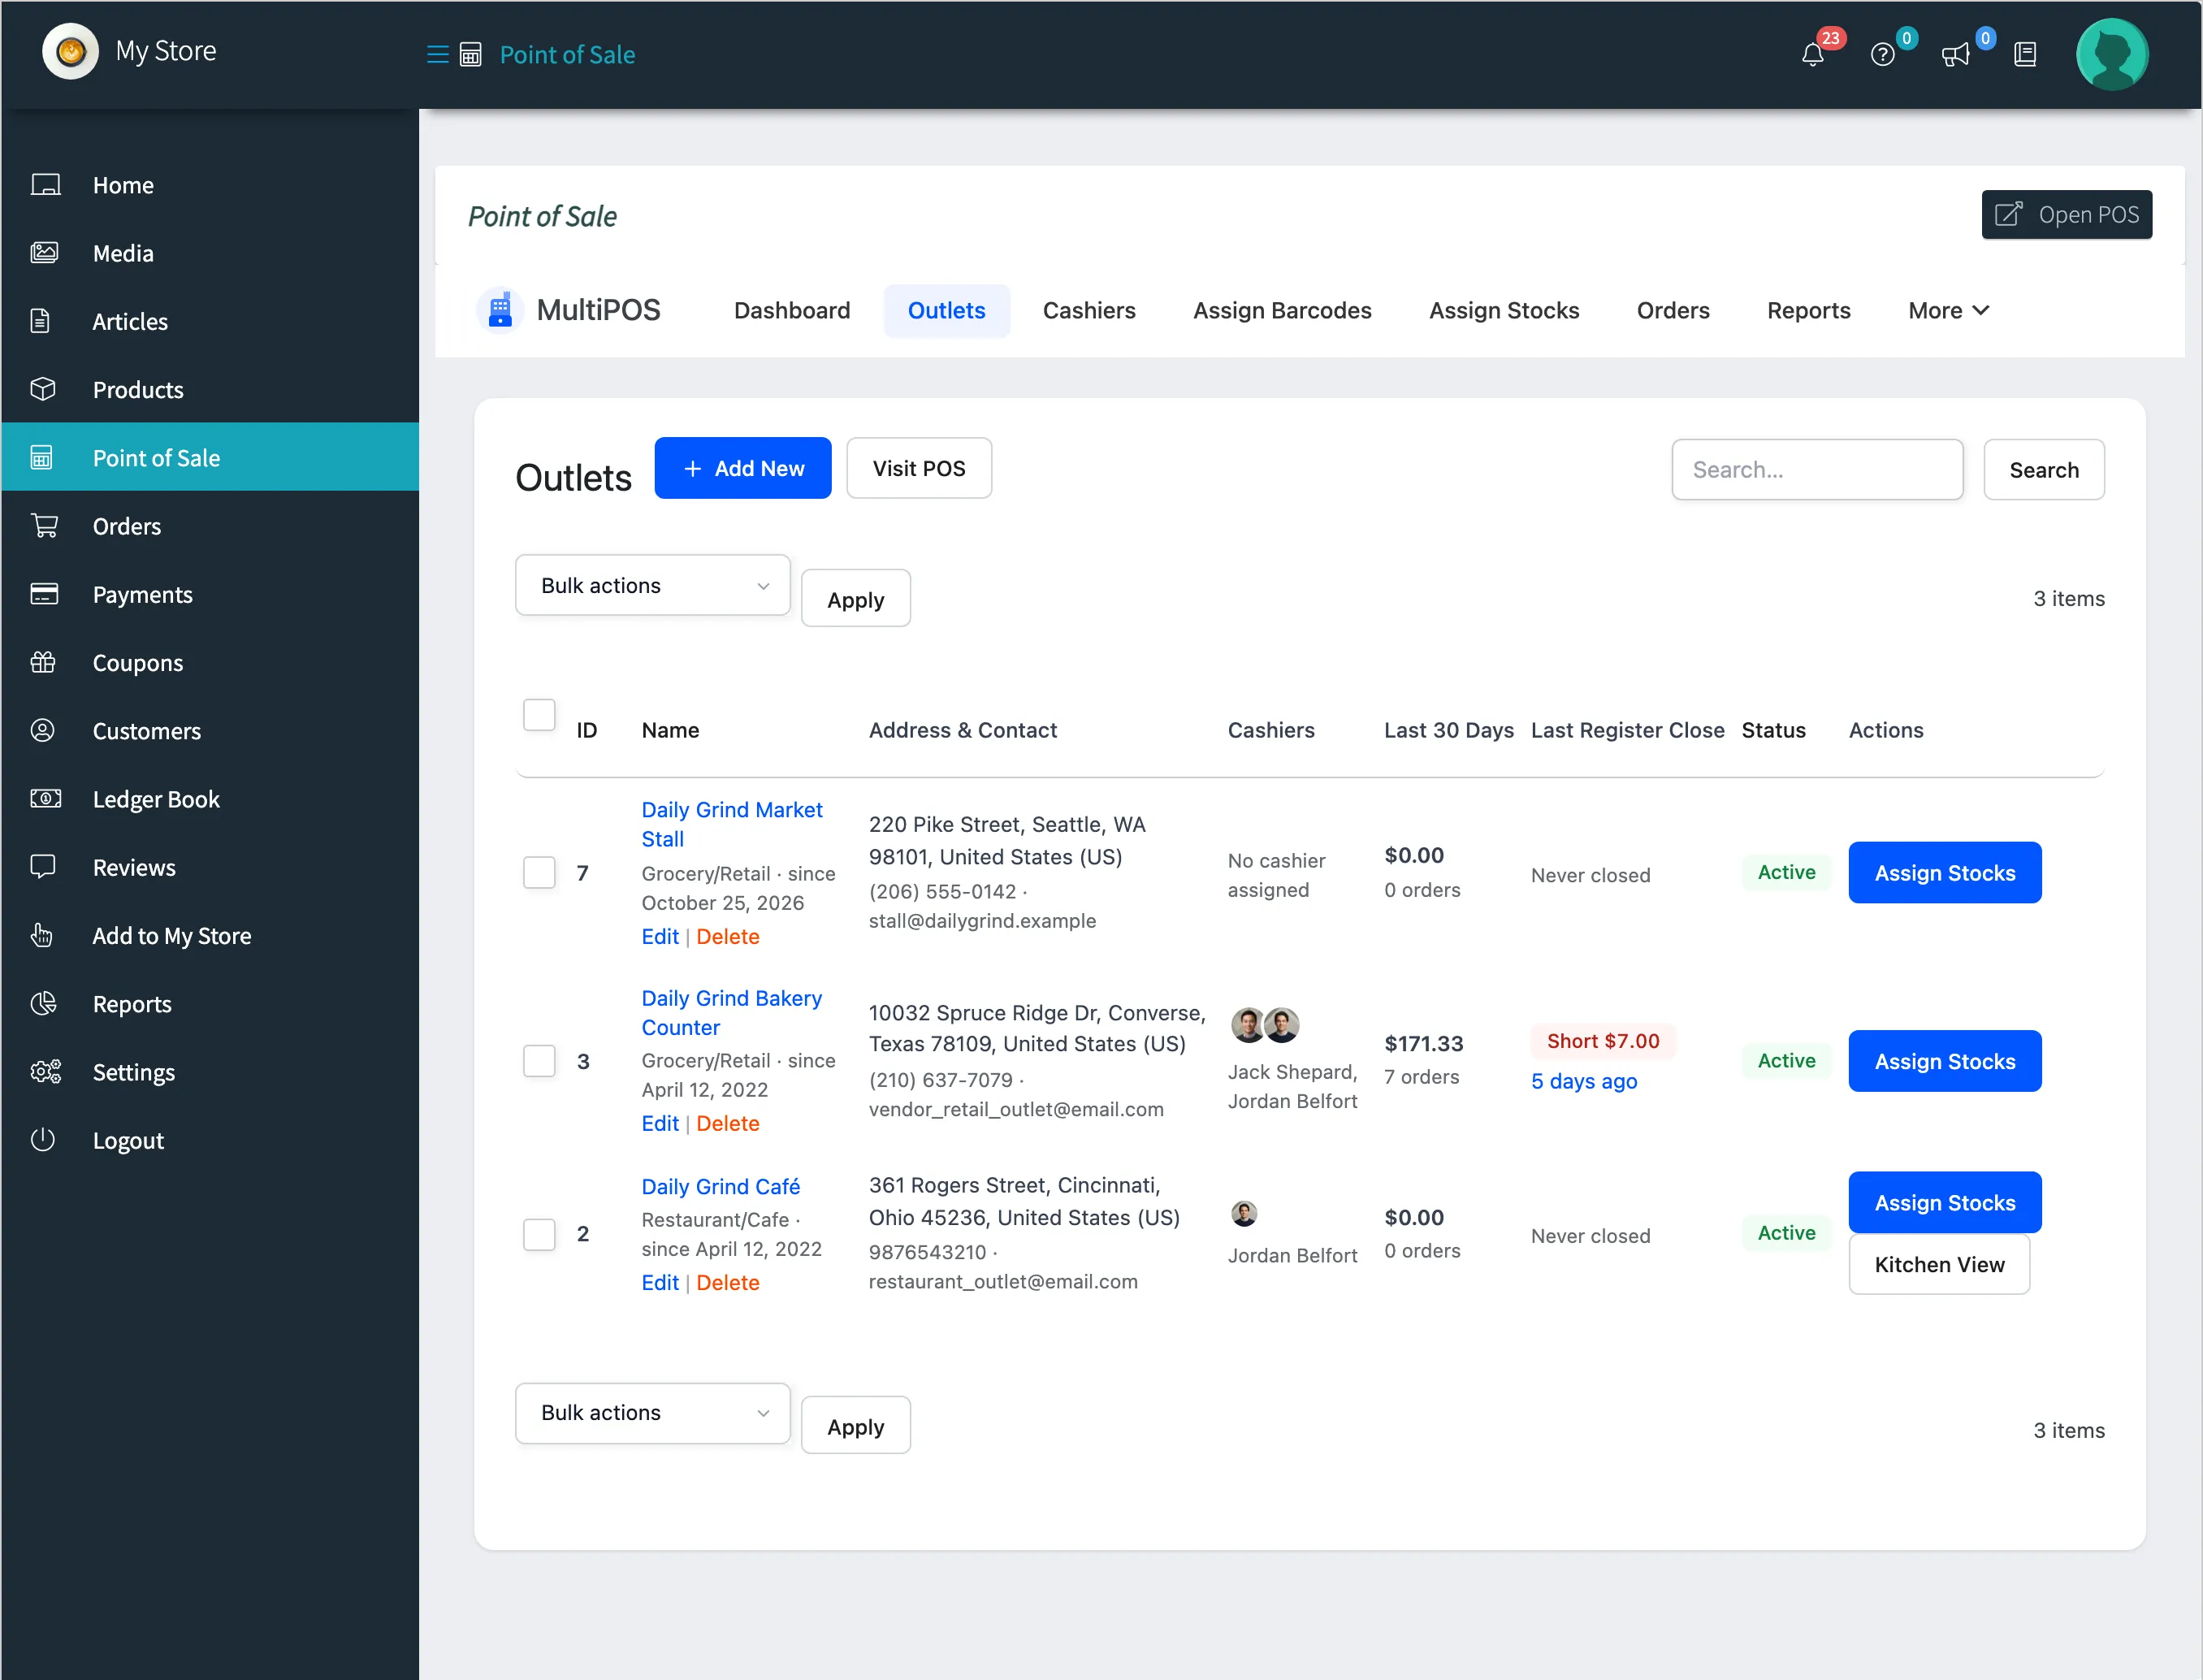
Section titled “Step 5: Create the outlet”Click Create Outlet. It joins your list, owned by your store.
Step 6: Open it at the POS
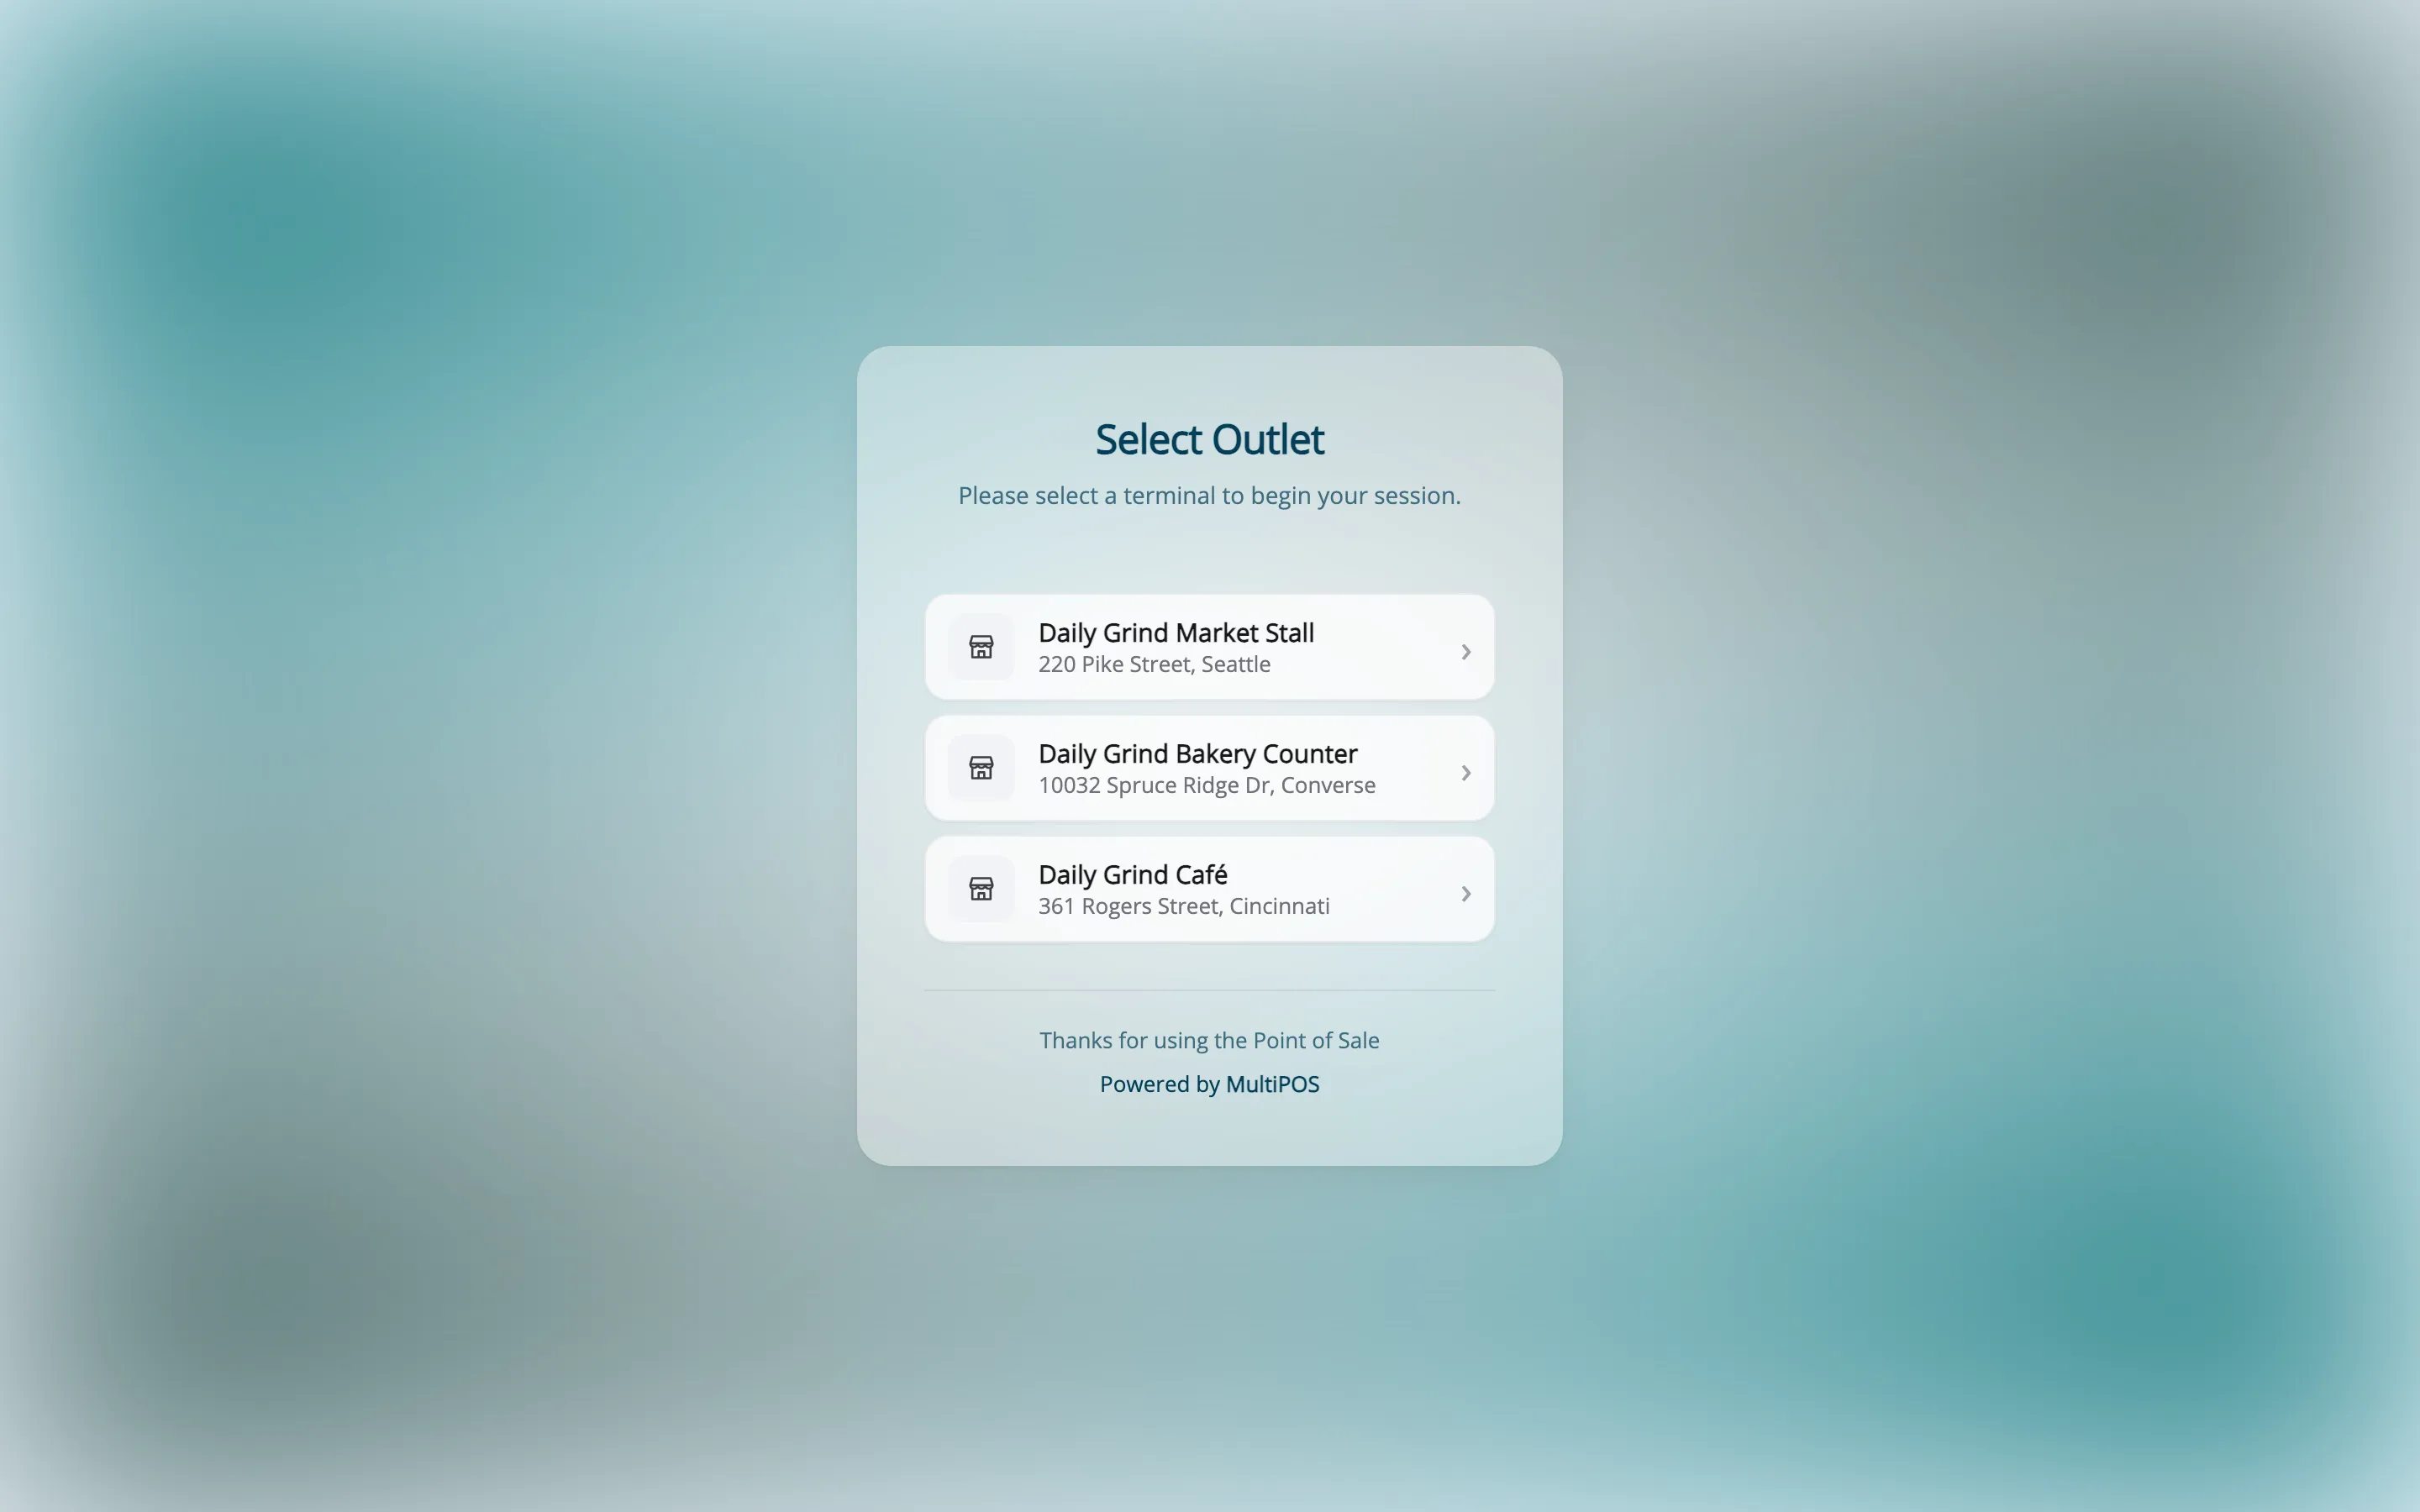
Section titled “Step 6: Open it at the POS”Click Open POS at the top right. The POS offers the new outlet beside the others.
Things to know
Section titled “Things to know”- It sells your products only. The POS lists your own products, never another store’s.
- On Custom stock, set counts first. A product with no count for the outlet does not appear in its POS. See How to Manage Stock Across Outlets.
- Give it cashiers. Tick it under Assigned Outlets on each cashier who works there.