

How to Add a Cashier to Your WCFM Store
A cashier is a person who sells at your POS under their own name. As a vendor you add them from the store manager, and they work for your store only.
Step 1: Open your cashiers
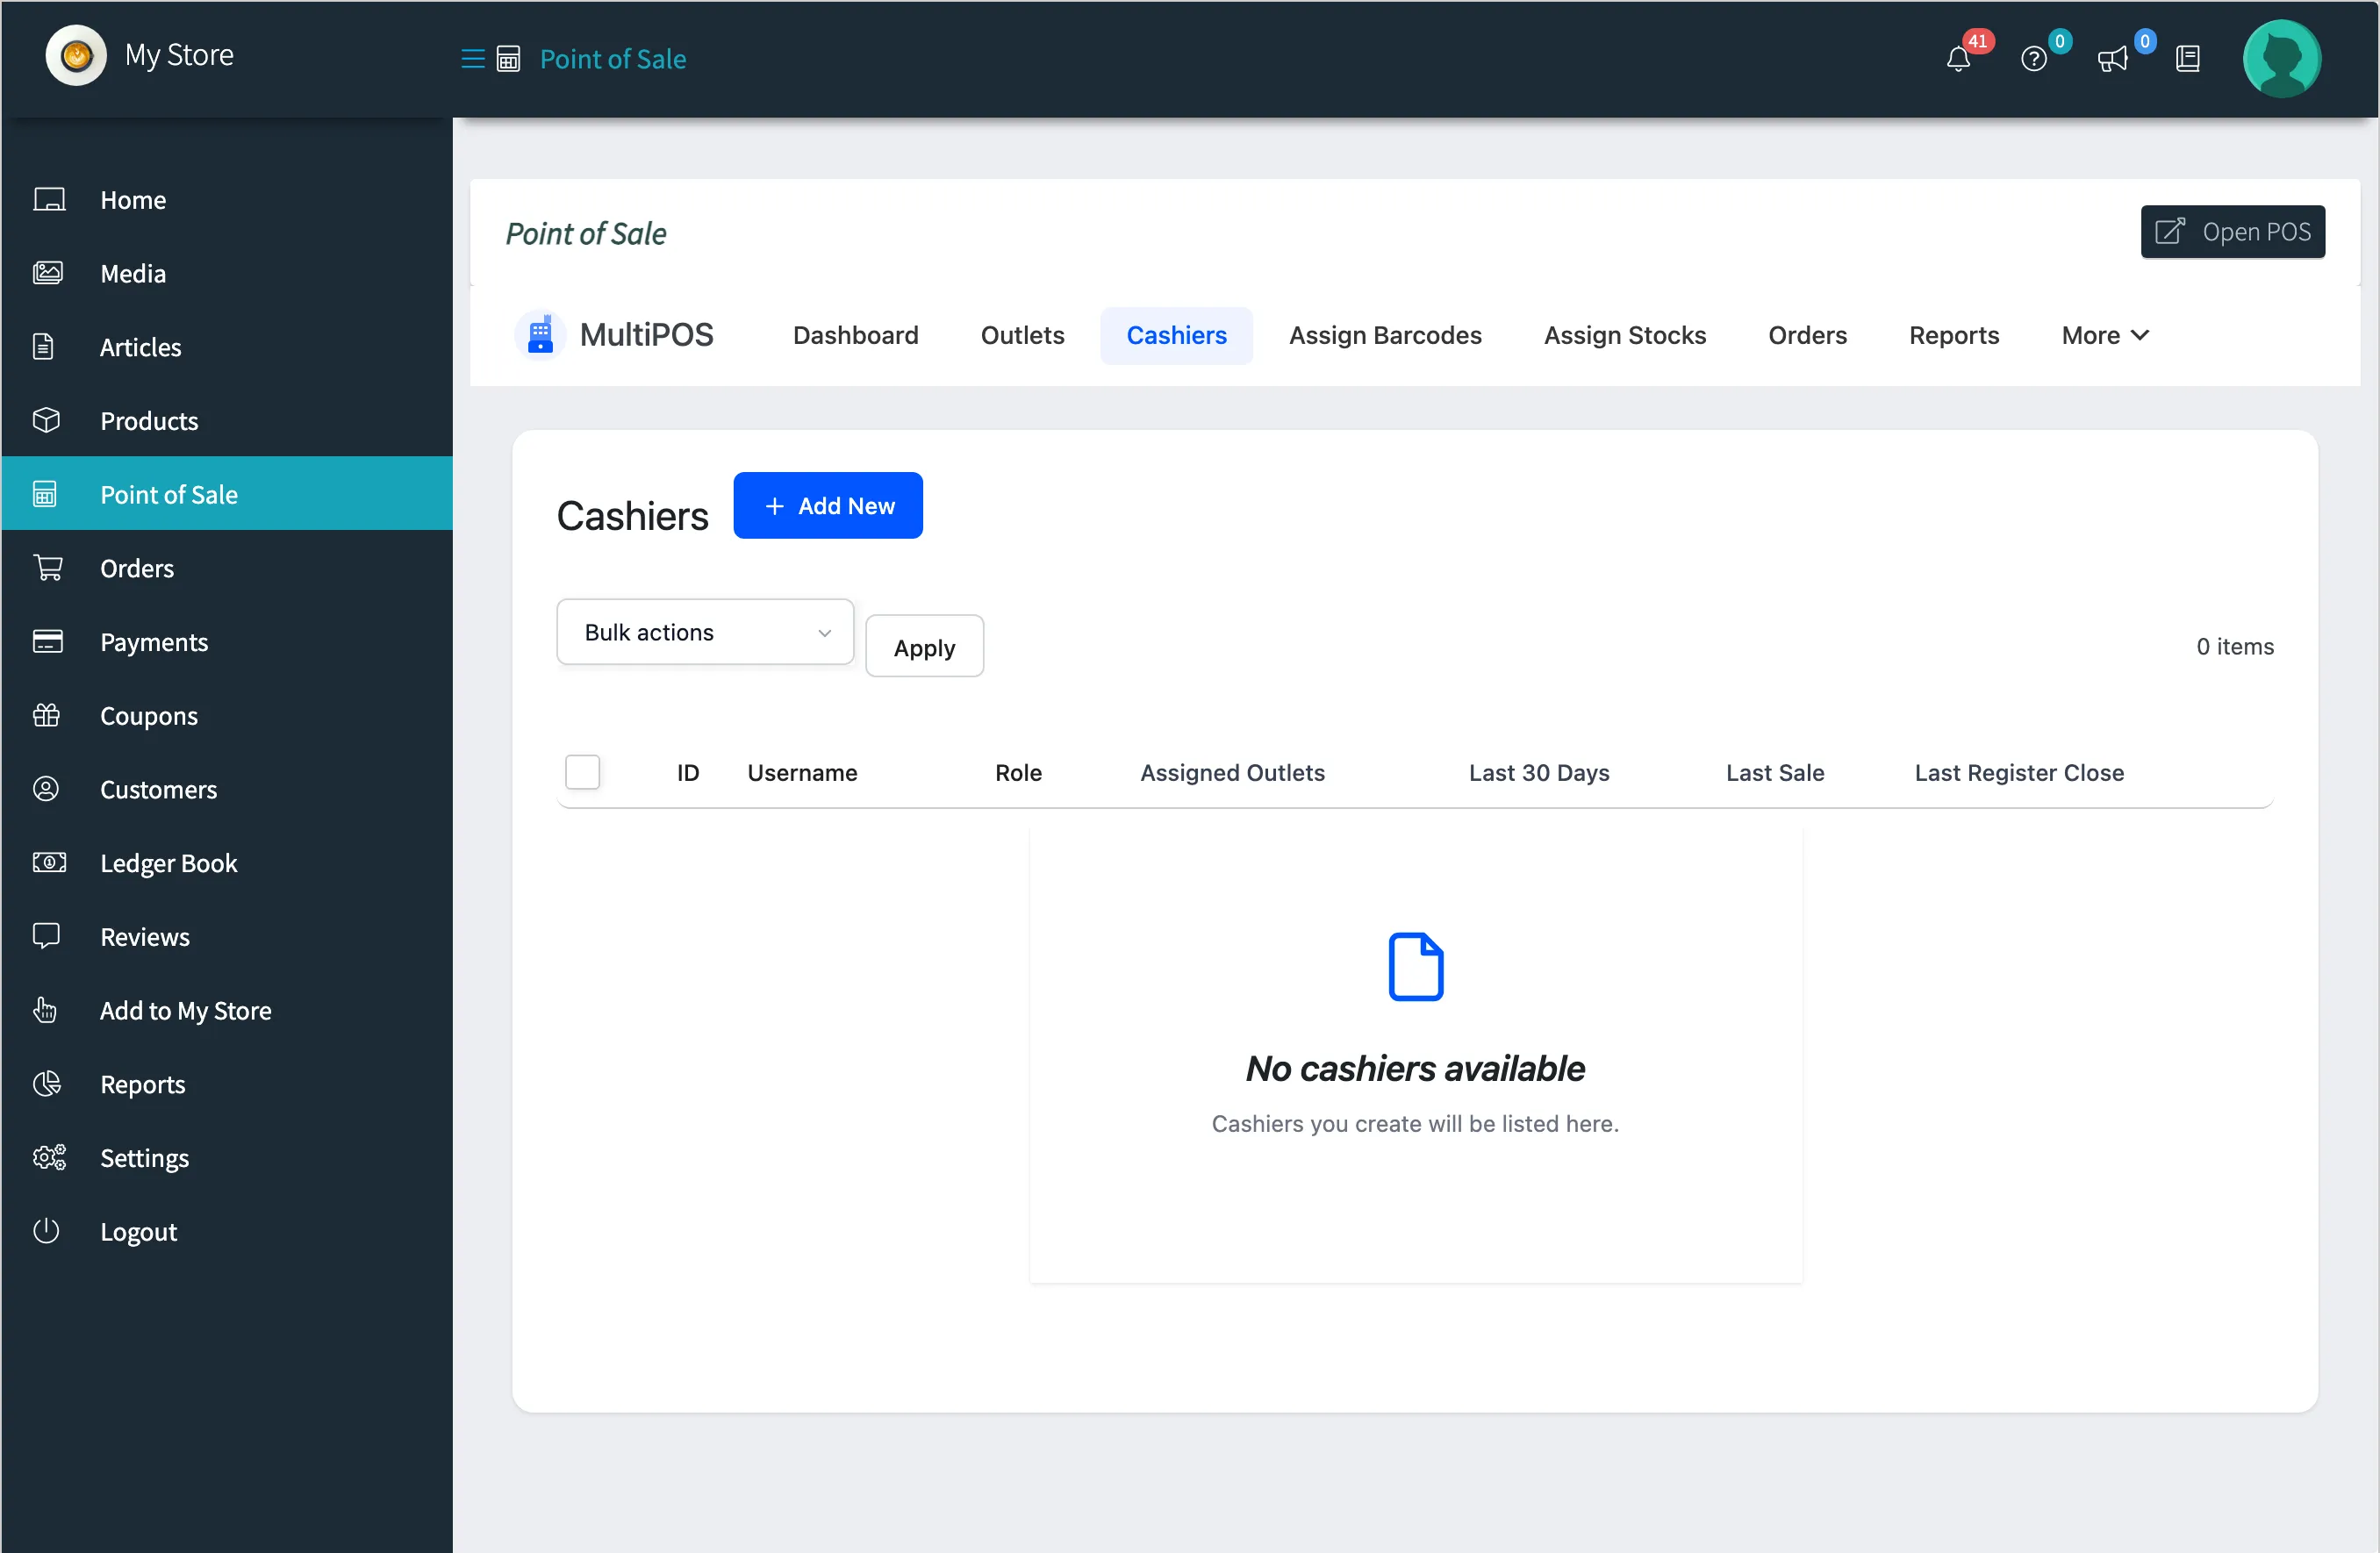
Section titled “Step 1: Open your cashiers”In the store manager, click Point of Sale, then Cashiers, then Add New.
Step 2: Fill in the account
Section titled “Step 2: Fill in the account”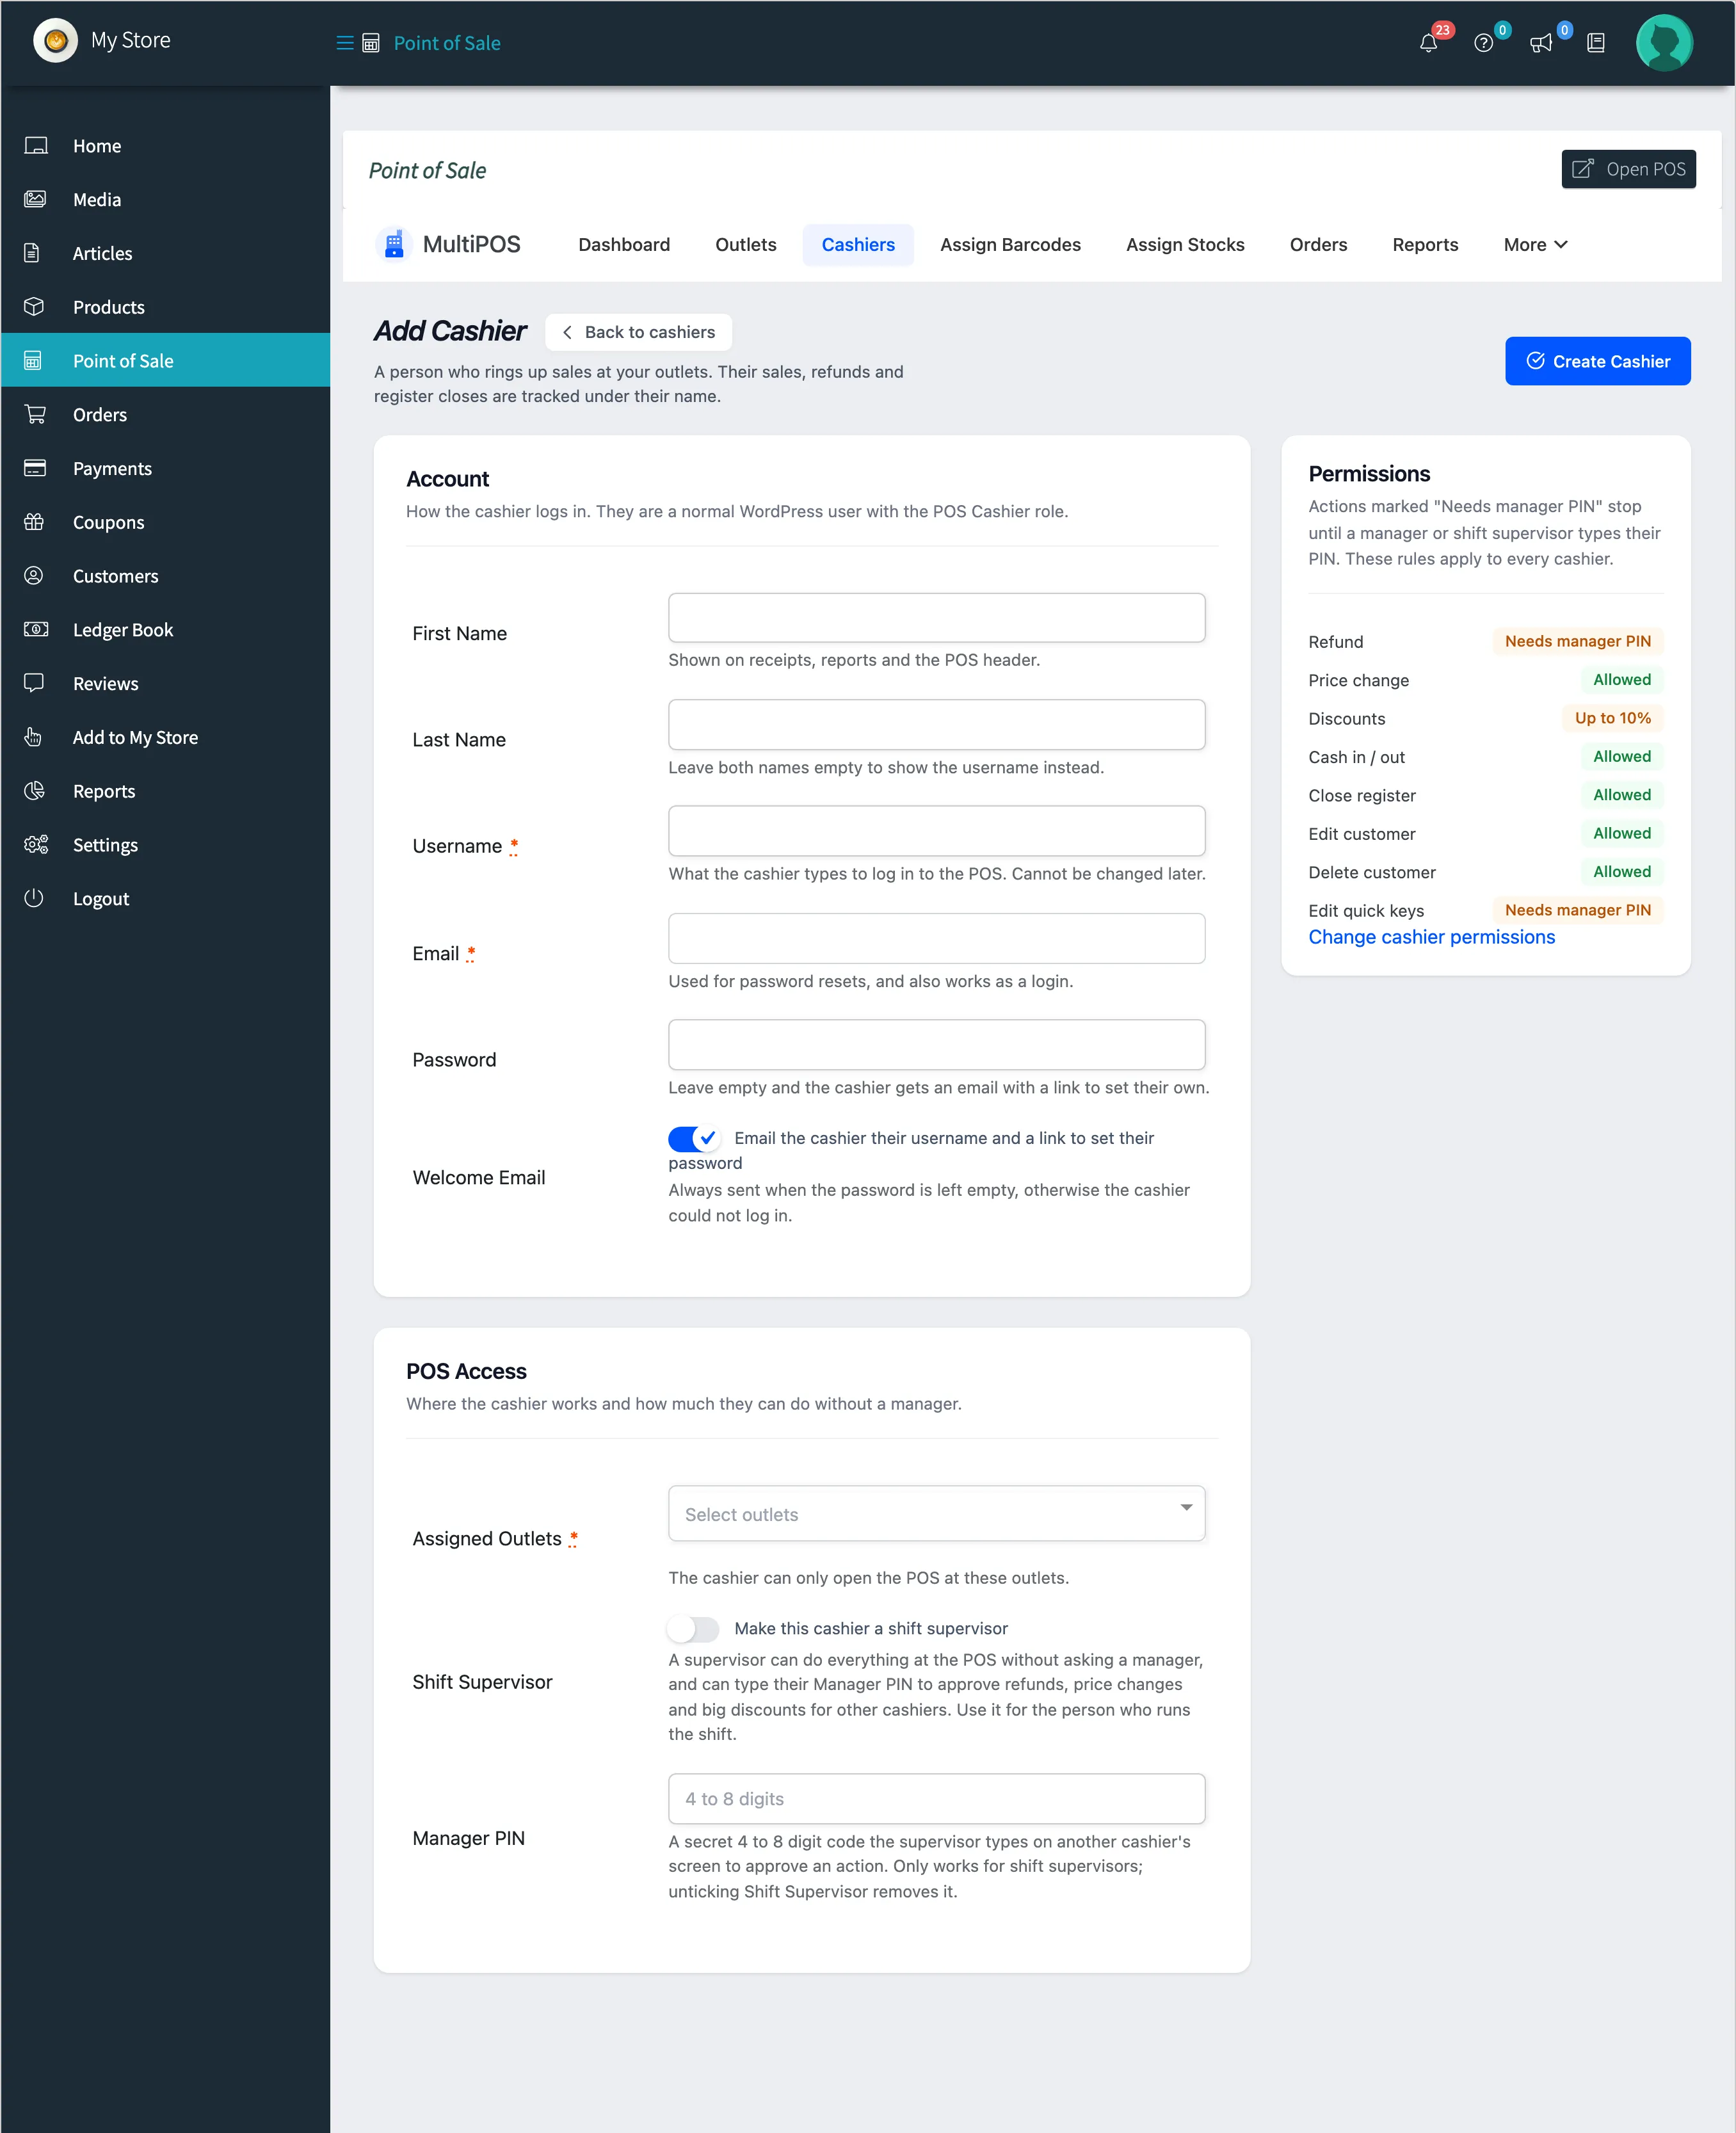
- First Name and Last Name: Shown on receipts and reports.
- Username: What they type to sign in. It cannot be changed later.
- Email: For password resets, and also works as a login.
- Password: Or leave it empty and the cashier gets a Welcome Email with a link to set one.
Step 3: Choose their outlets
Section titled “Step 3: Choose their outlets”Assigned Outlets lists your outlets only. The cashier can open the POS at these and nowhere else.
Step 4: Make them a supervisor if needed
Section titled “Step 4: Make them a supervisor if needed”Shift Supervisor lets them do everything at the POS without approval. They can also approve your other cashiers with their own Manager PIN of 4 to 8 digits. Use it for whoever runs the shift when you are not there.
The Permissions card on the right lists what every cashier may do alone, from your Permissions tab.
Step 5: Create the cashier
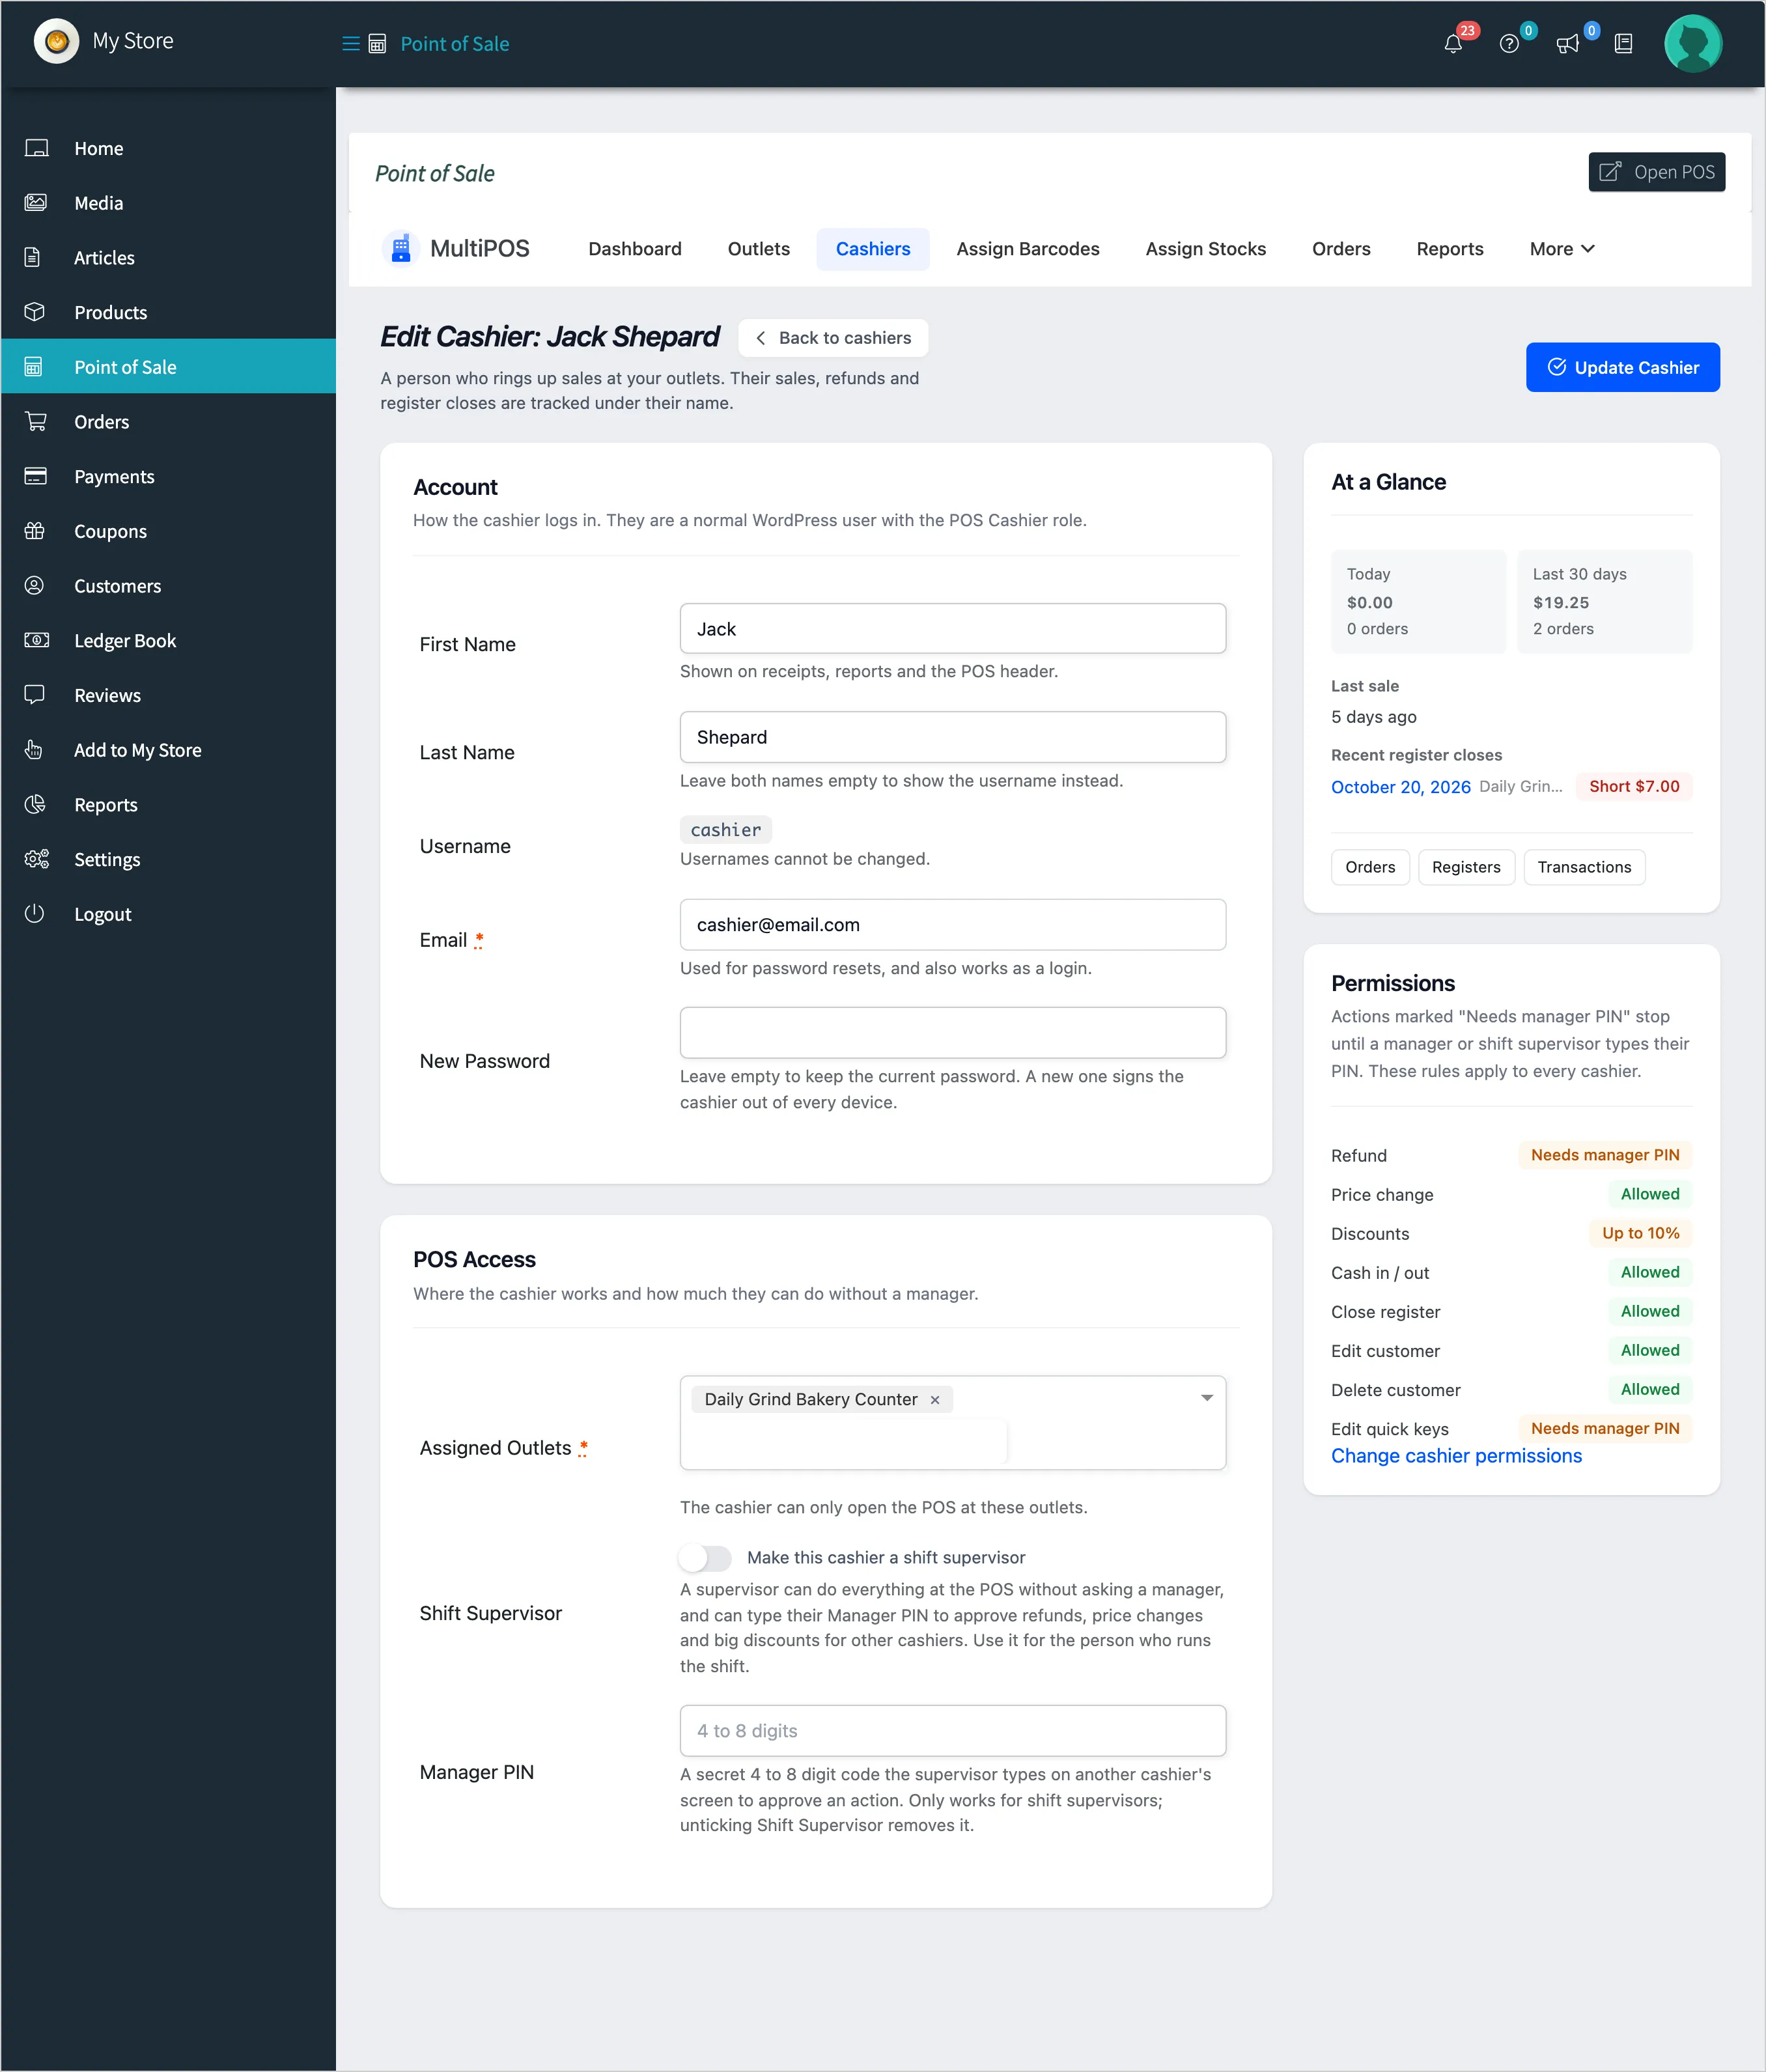
Section titled “Step 5: Create the cashier”Click Create Cashier. The cashier is a WordPress user with the POS Cashier role, linked to your store.
What your cashier can and cannot do
Section titled “What your cashier can and cannot do”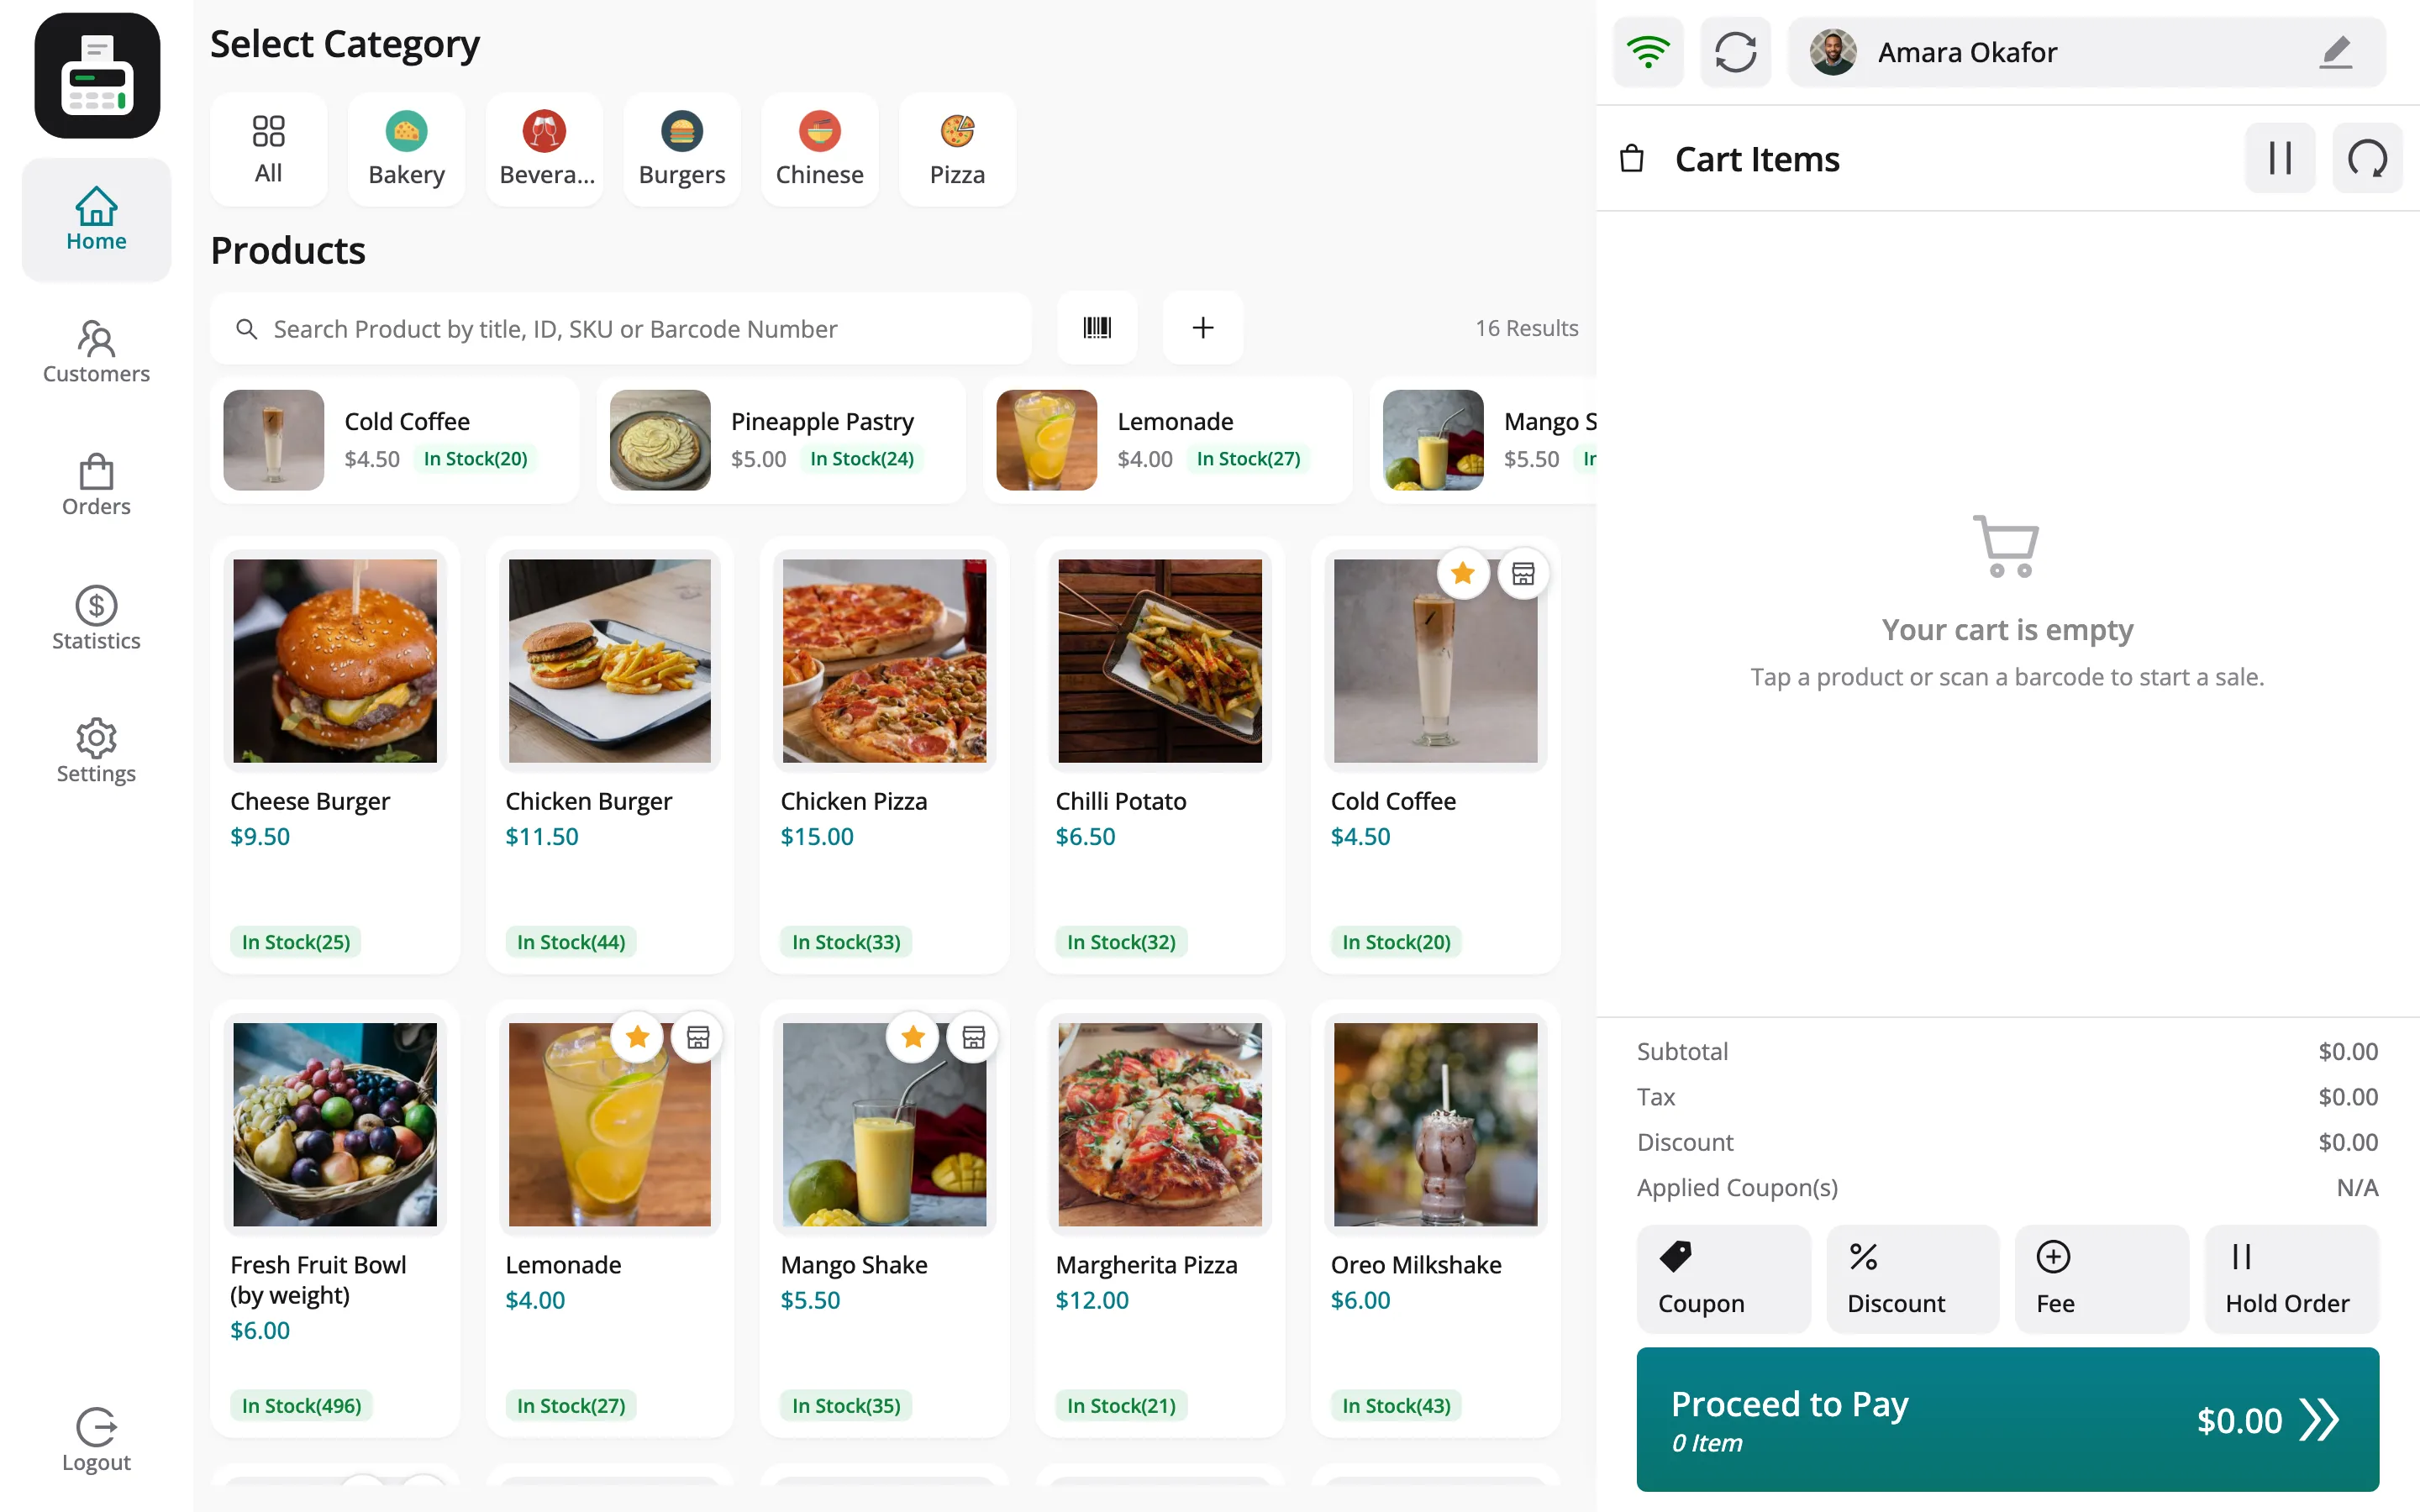
- They sign in at the POS address and pick one of their outlets.
- They sell your products to your customers, under your permission rules.
- They cannot open the store manager, wp-admin or any other store’s outlet.
- If the marketplace turns your POS off, they lose the POS too.
The marketplace owner sees your cashiers on their own Cashiers screen, labelled with your store name.