

Assign Barcodes in MultiPOS for WCFM
Assign Barcodes is where every product gets the code the POS scans, and where labels are printed. The owner opens it under DevDiggers Plugins → MultiPOS → Assign Barcodes. A vendor opens Point of Sale → Assign Barcodes, which lists their own products only.
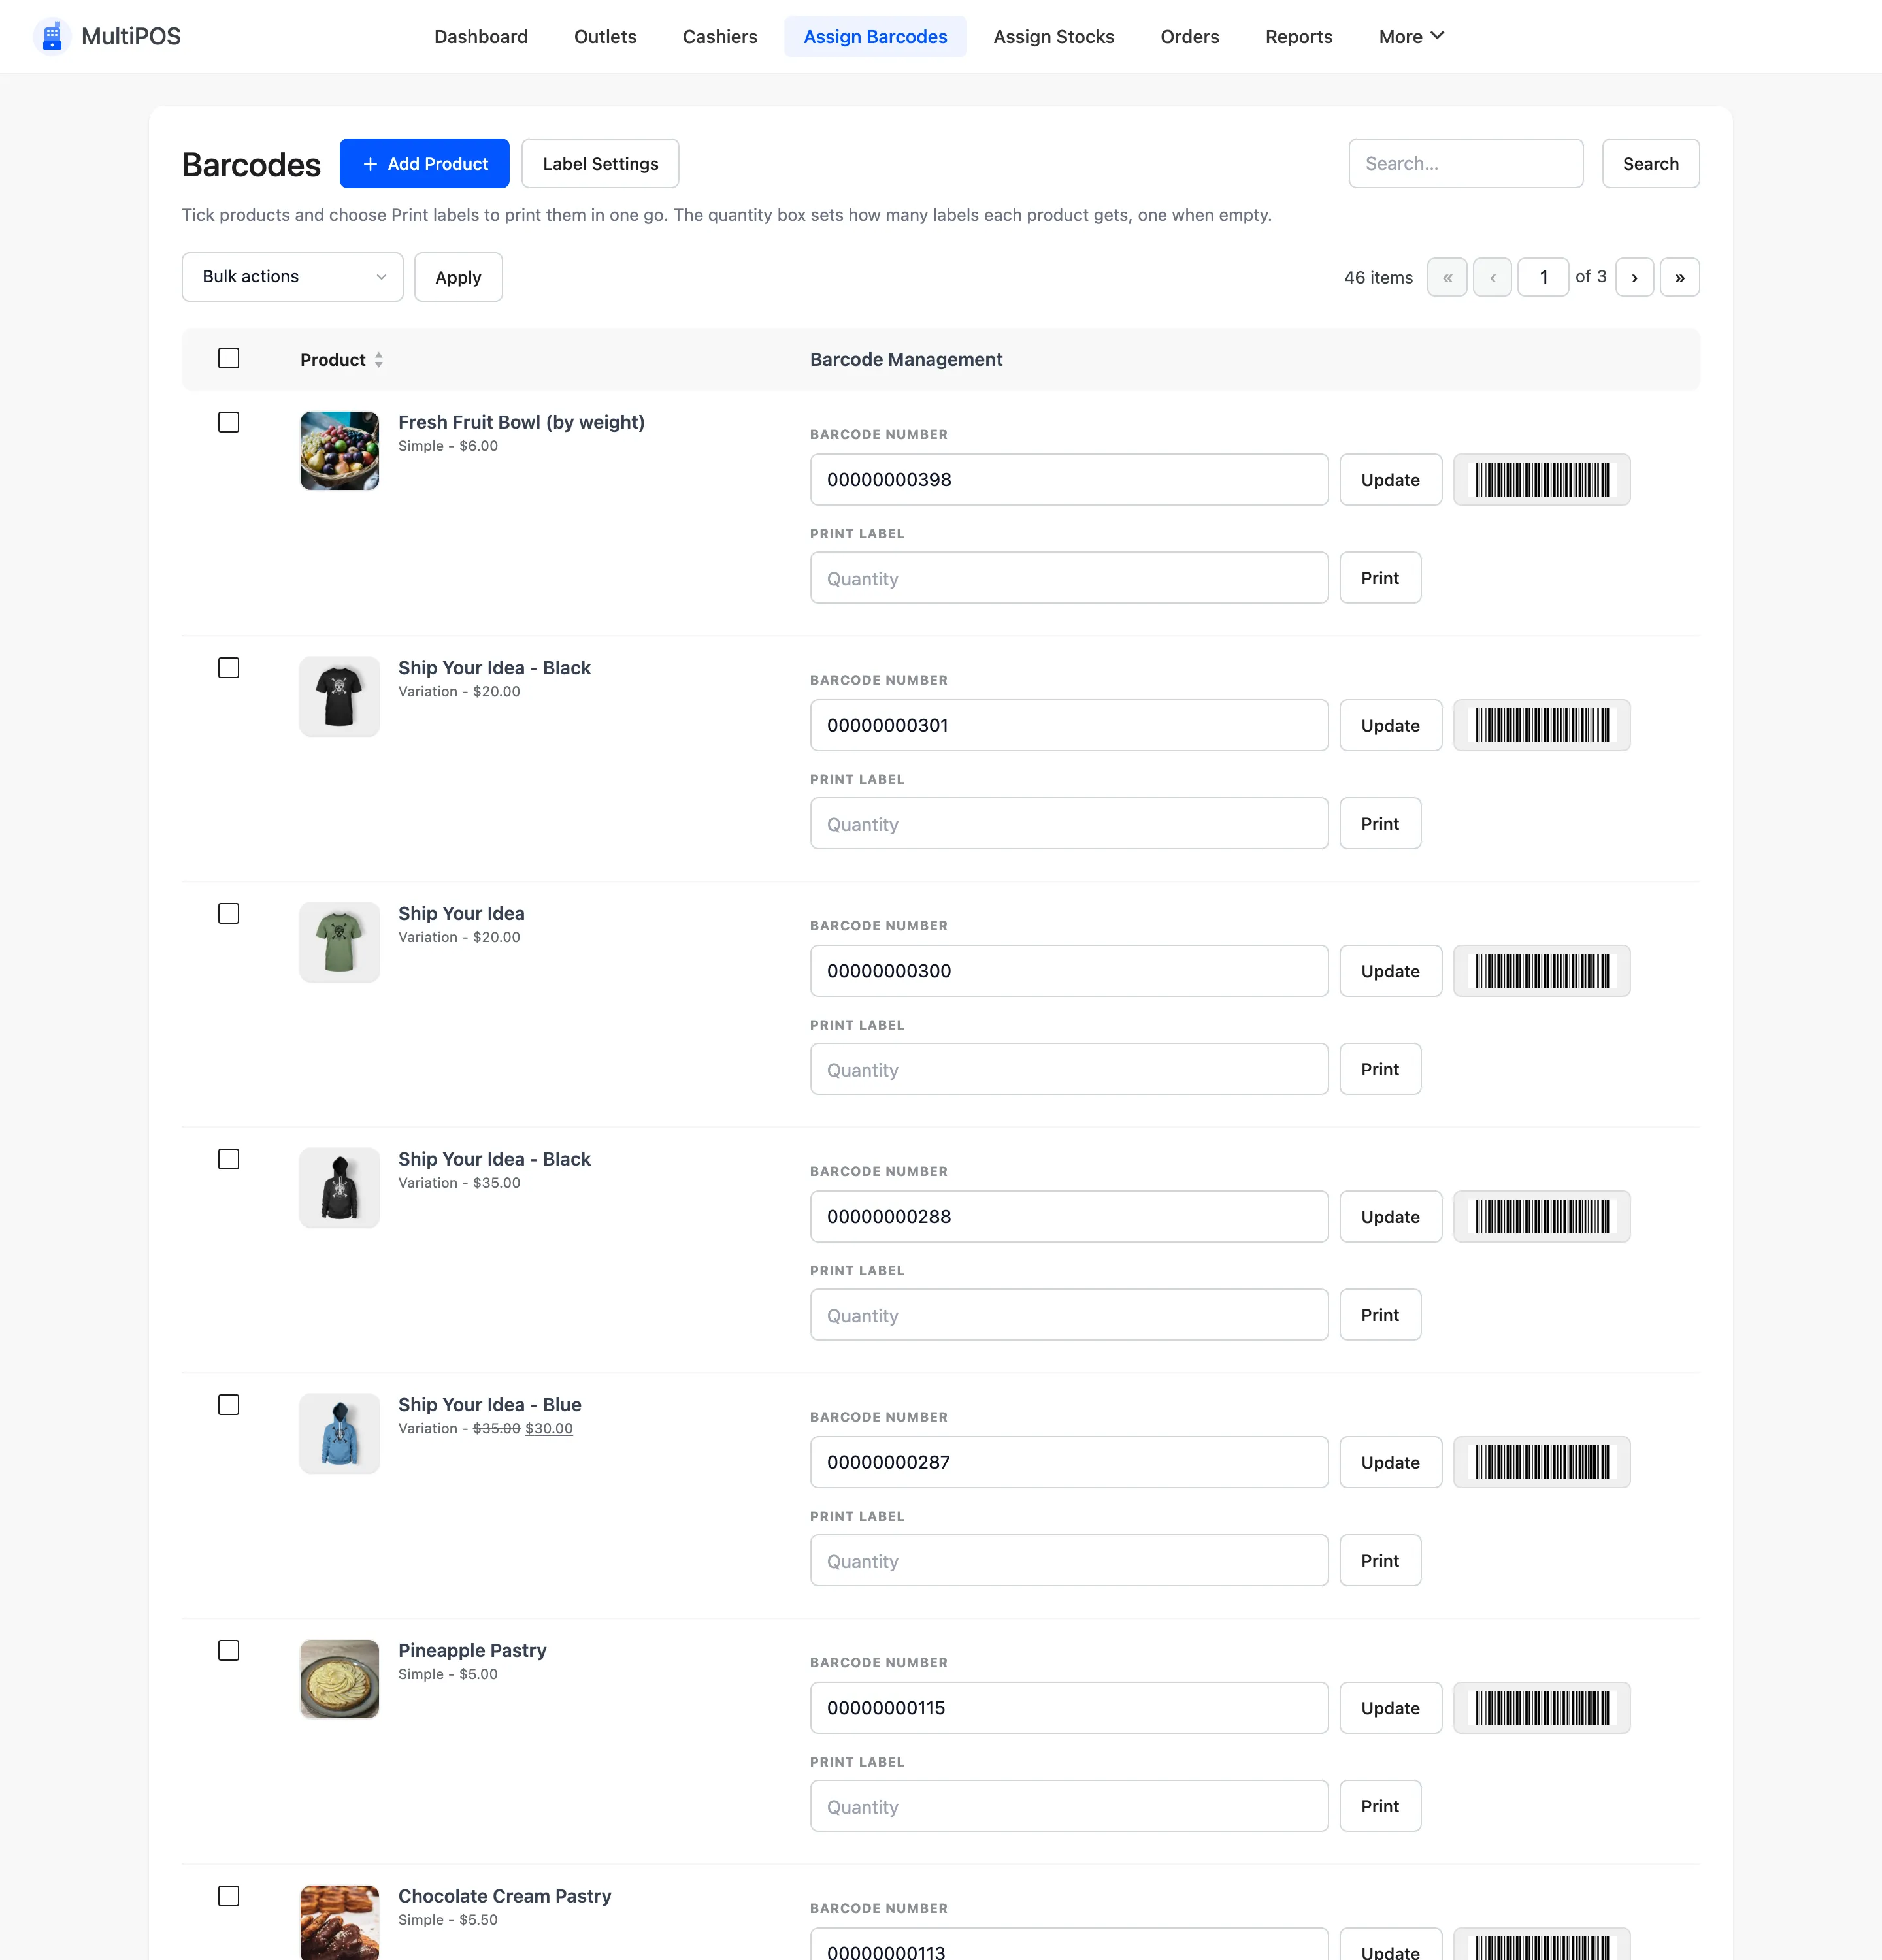
The columns
Section titled “The columns”- Product: The name, type, price and current barcode, with Edit and View links.
- Barcode Management: A barcode field with Update, and a label count with Print.
Set a barcode
Section titled “Set a barcode”Type or scan the code into the field and click Update. Leave it empty and the plugin builds one from the product ID or SKU, as set by Barcode Synchronization on the General tab.
Print labels
Section titled “Print labels”Enter how many labels you want and click Print. The labels come out at the size set on the Printer tab.
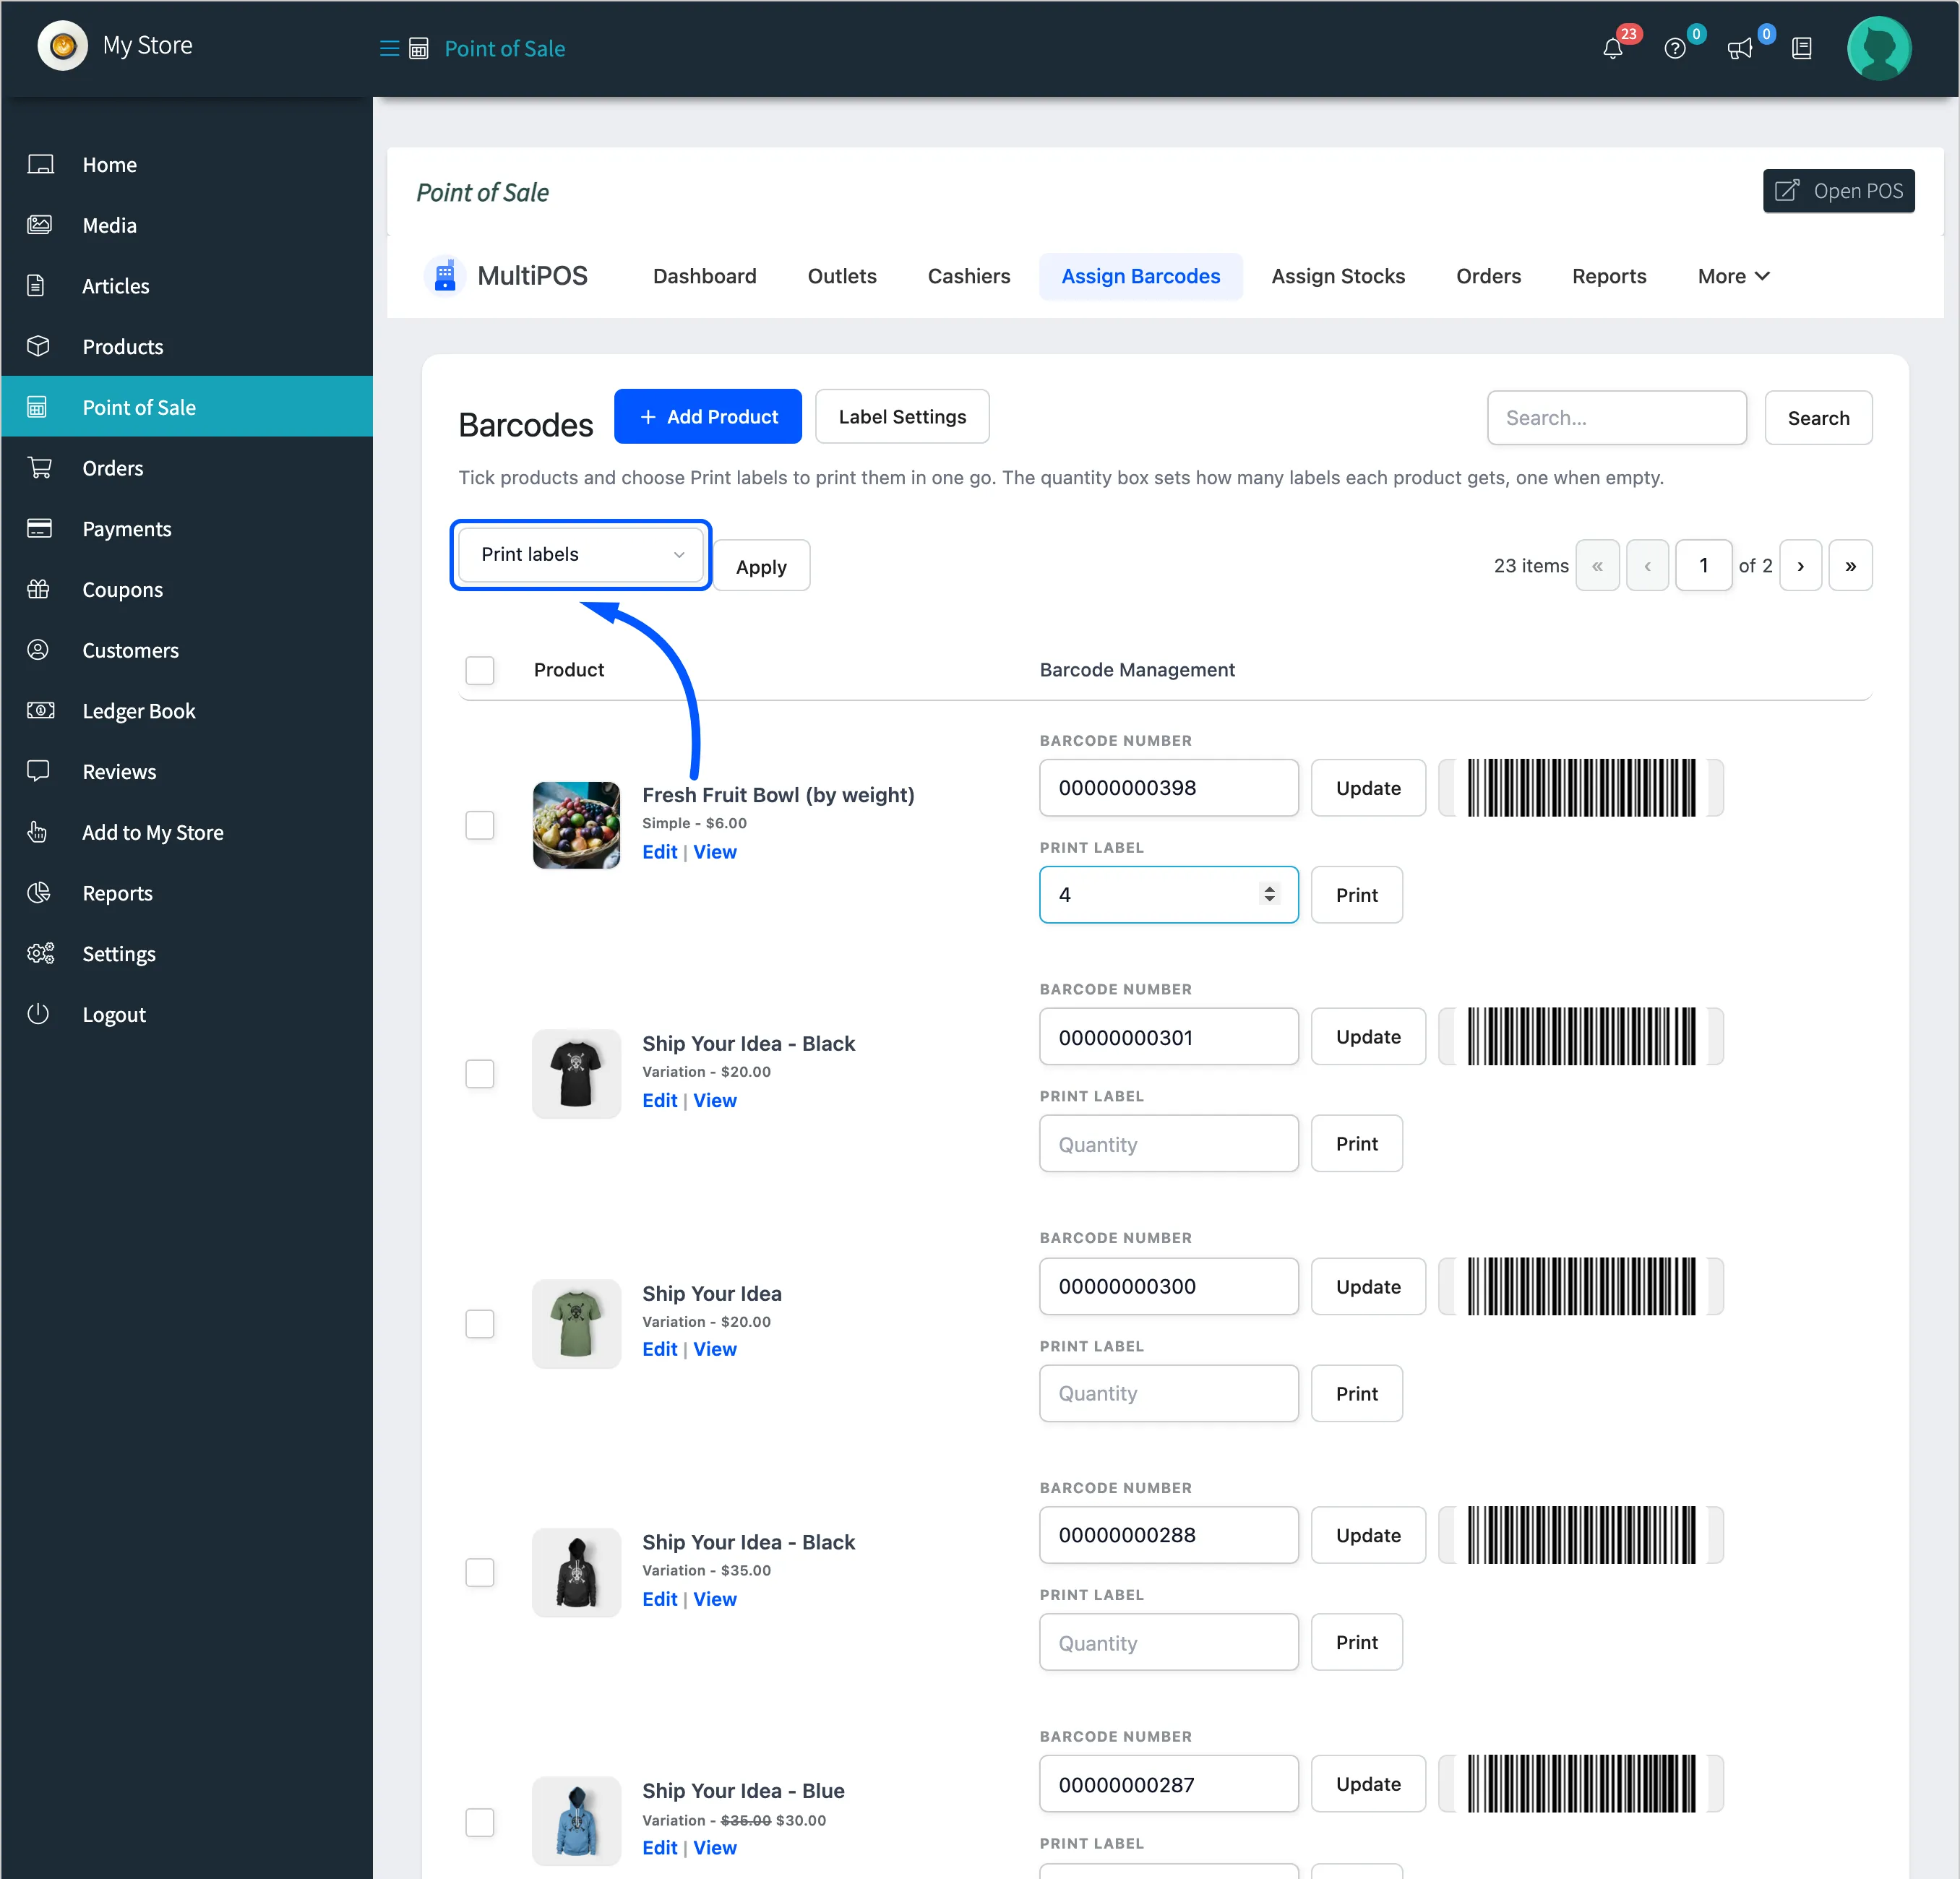
For several products at once, tick them, choose Print labels in the bulk actions and click Apply. An empty count prints one label each.
With Store name chosen under Label Details, each label prints the store that sells the product. A vendor’s product carries the vendor’s store name, and your own carries your site name.
The vendor’s screen
Section titled “The vendor’s screen”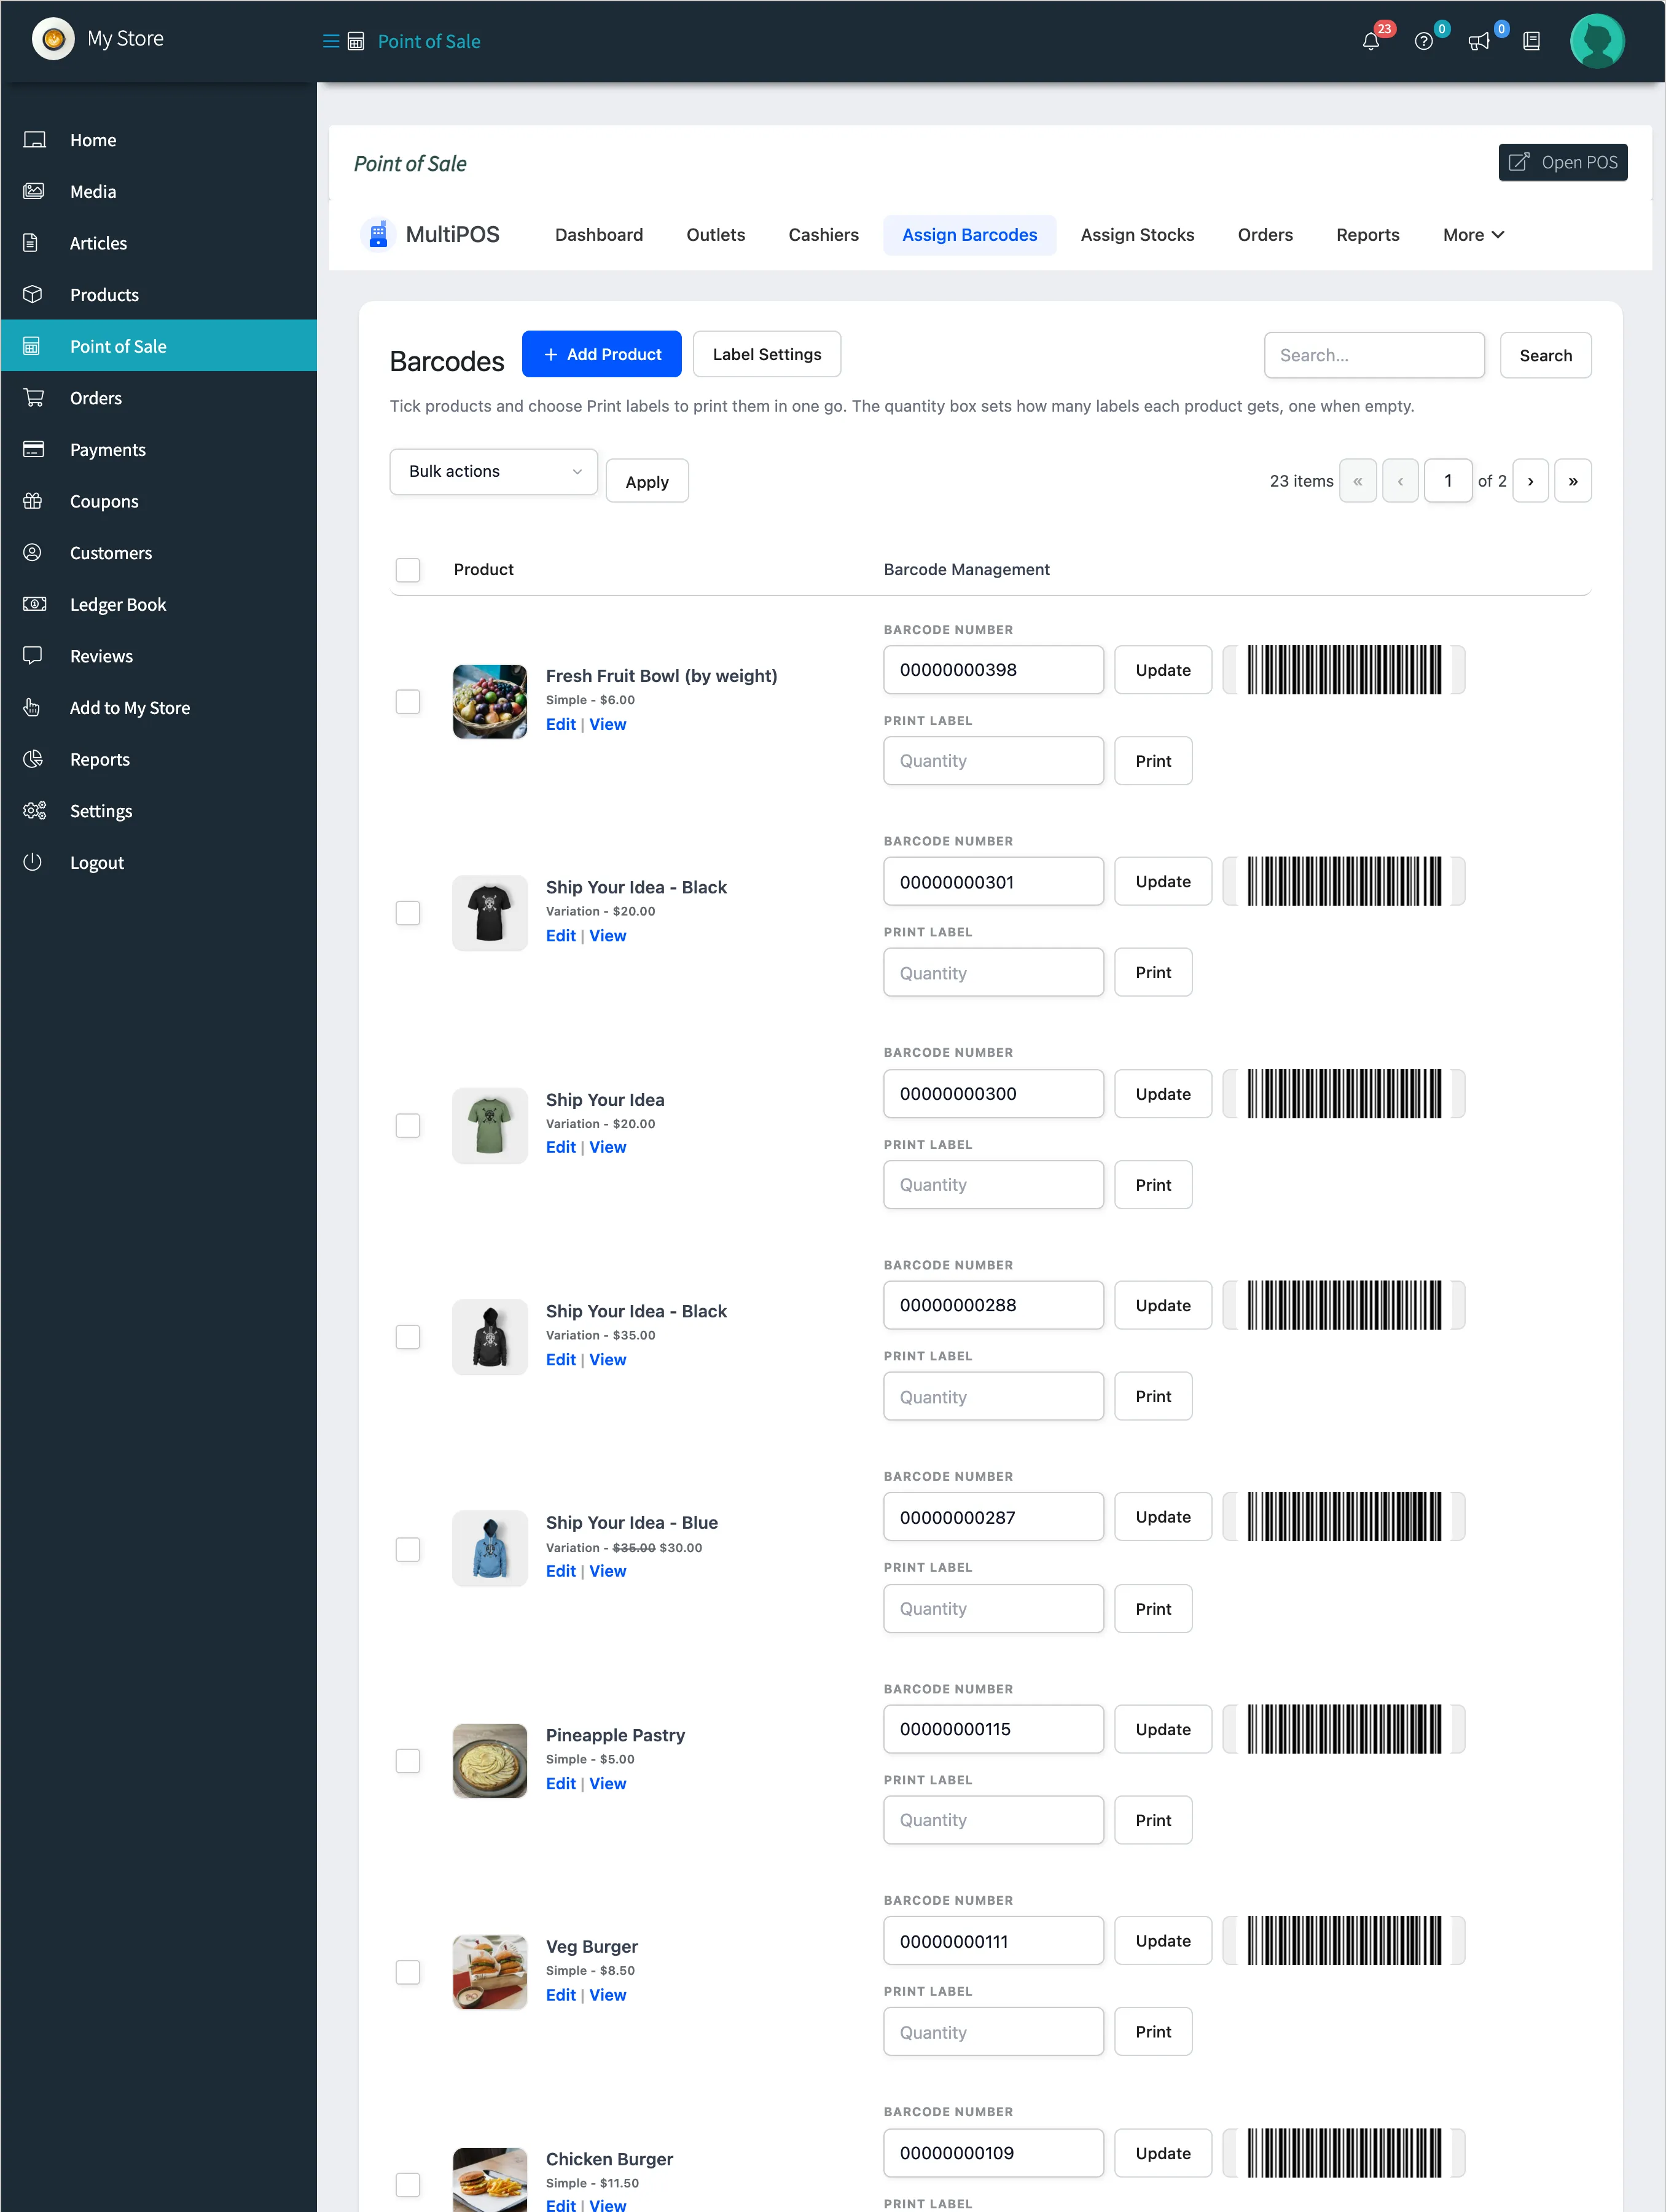
A vendor can only set barcodes and print labels for their own products. Edit on a row opens the product in the WCFM product editor.