

How to Customize Affiliate Emails (Pro)
Twelve emails cover the affiliate lifecycle. All twelve are on by default with working default copy, so this is about tuning rather than building from nothing.
Step 1: Open the emails tab
Section titled “Step 1: Open the emails tab”Go to DevDiggers Plugins → Affiliates → Configuration → Emails.
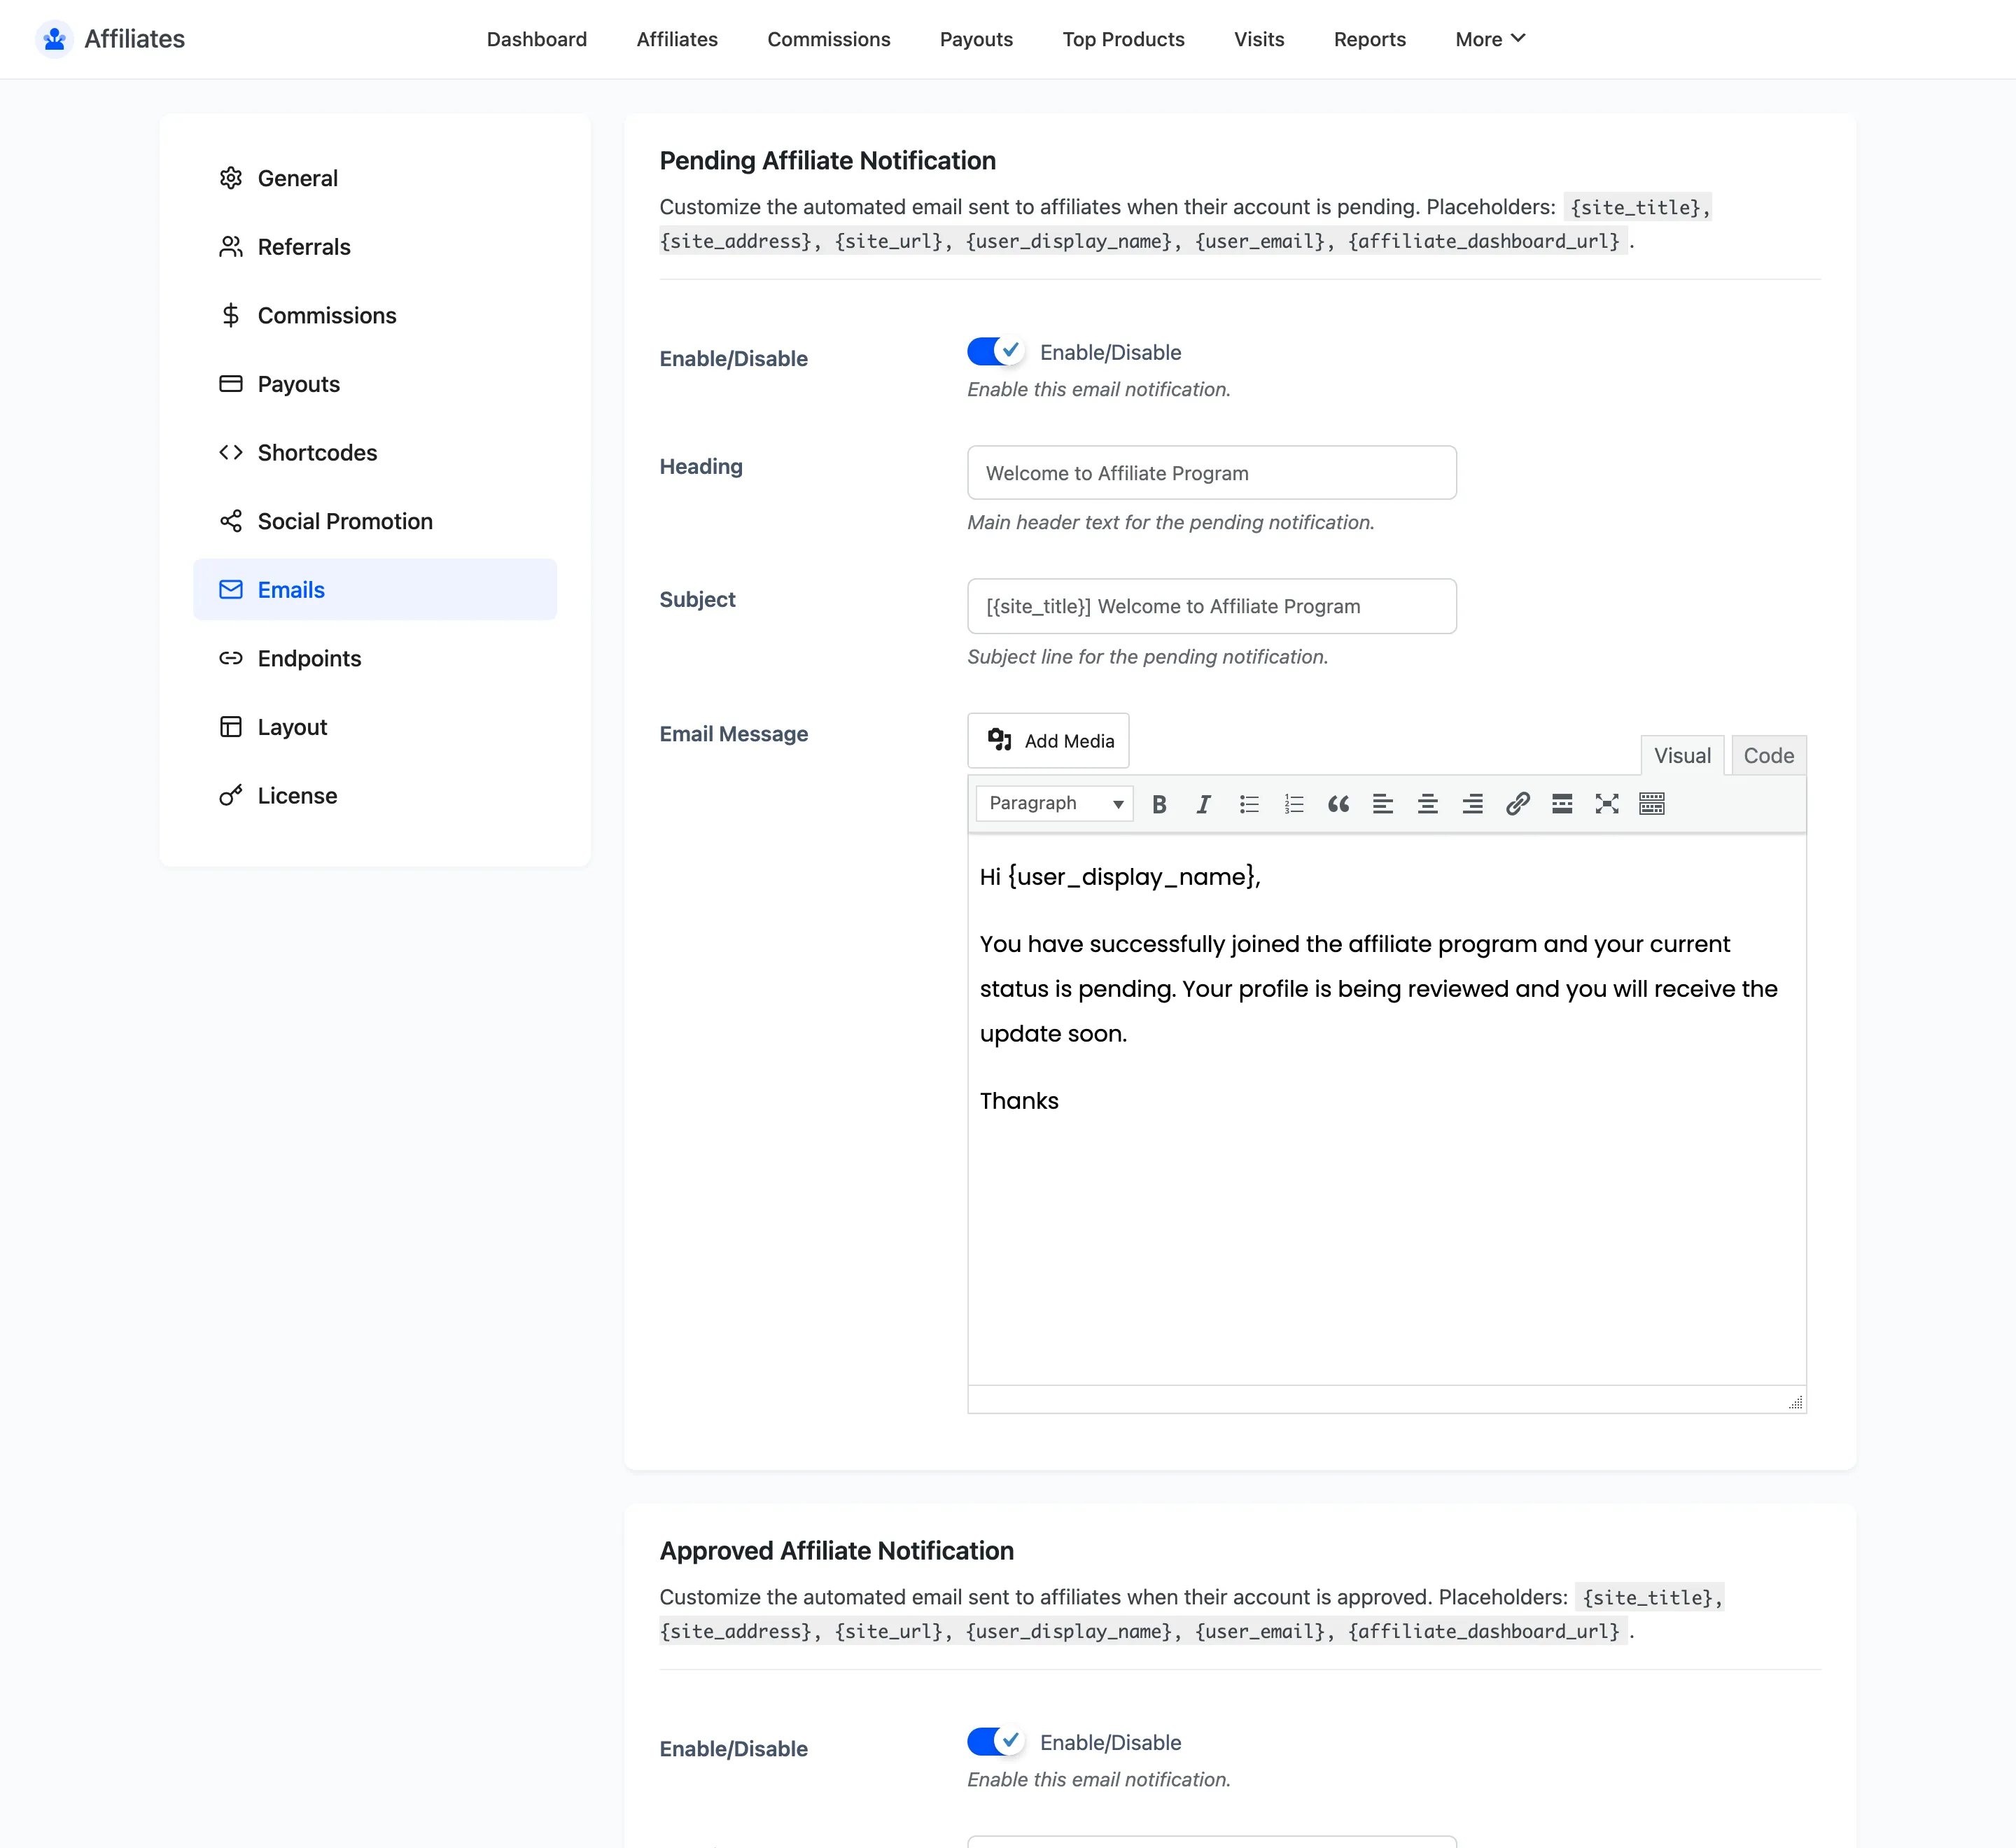
Each notification gets its own section with the same fields: Enable/Disable, Heading, Subject and Email Message. The admin notification adds a Recipient(s) field.
Step 2: Decide what should send at all
Section titled “Step 2: Decide what should send at all”Start by turning things off. Twelve emails is a lot for one affiliate to receive, and the ones that fire per commission are the noisiest.
The three worth reviewing first:
- New Commission fires on every commission created. For an affiliate driving several orders a day that is a stream of email, and each order can create several commissions.
- Commission Status Change fires on every other status move, which multiplies the same problem.
- Paid Commission fires per commission when a payout completes, so one payout covering twenty commissions can send twenty emails.
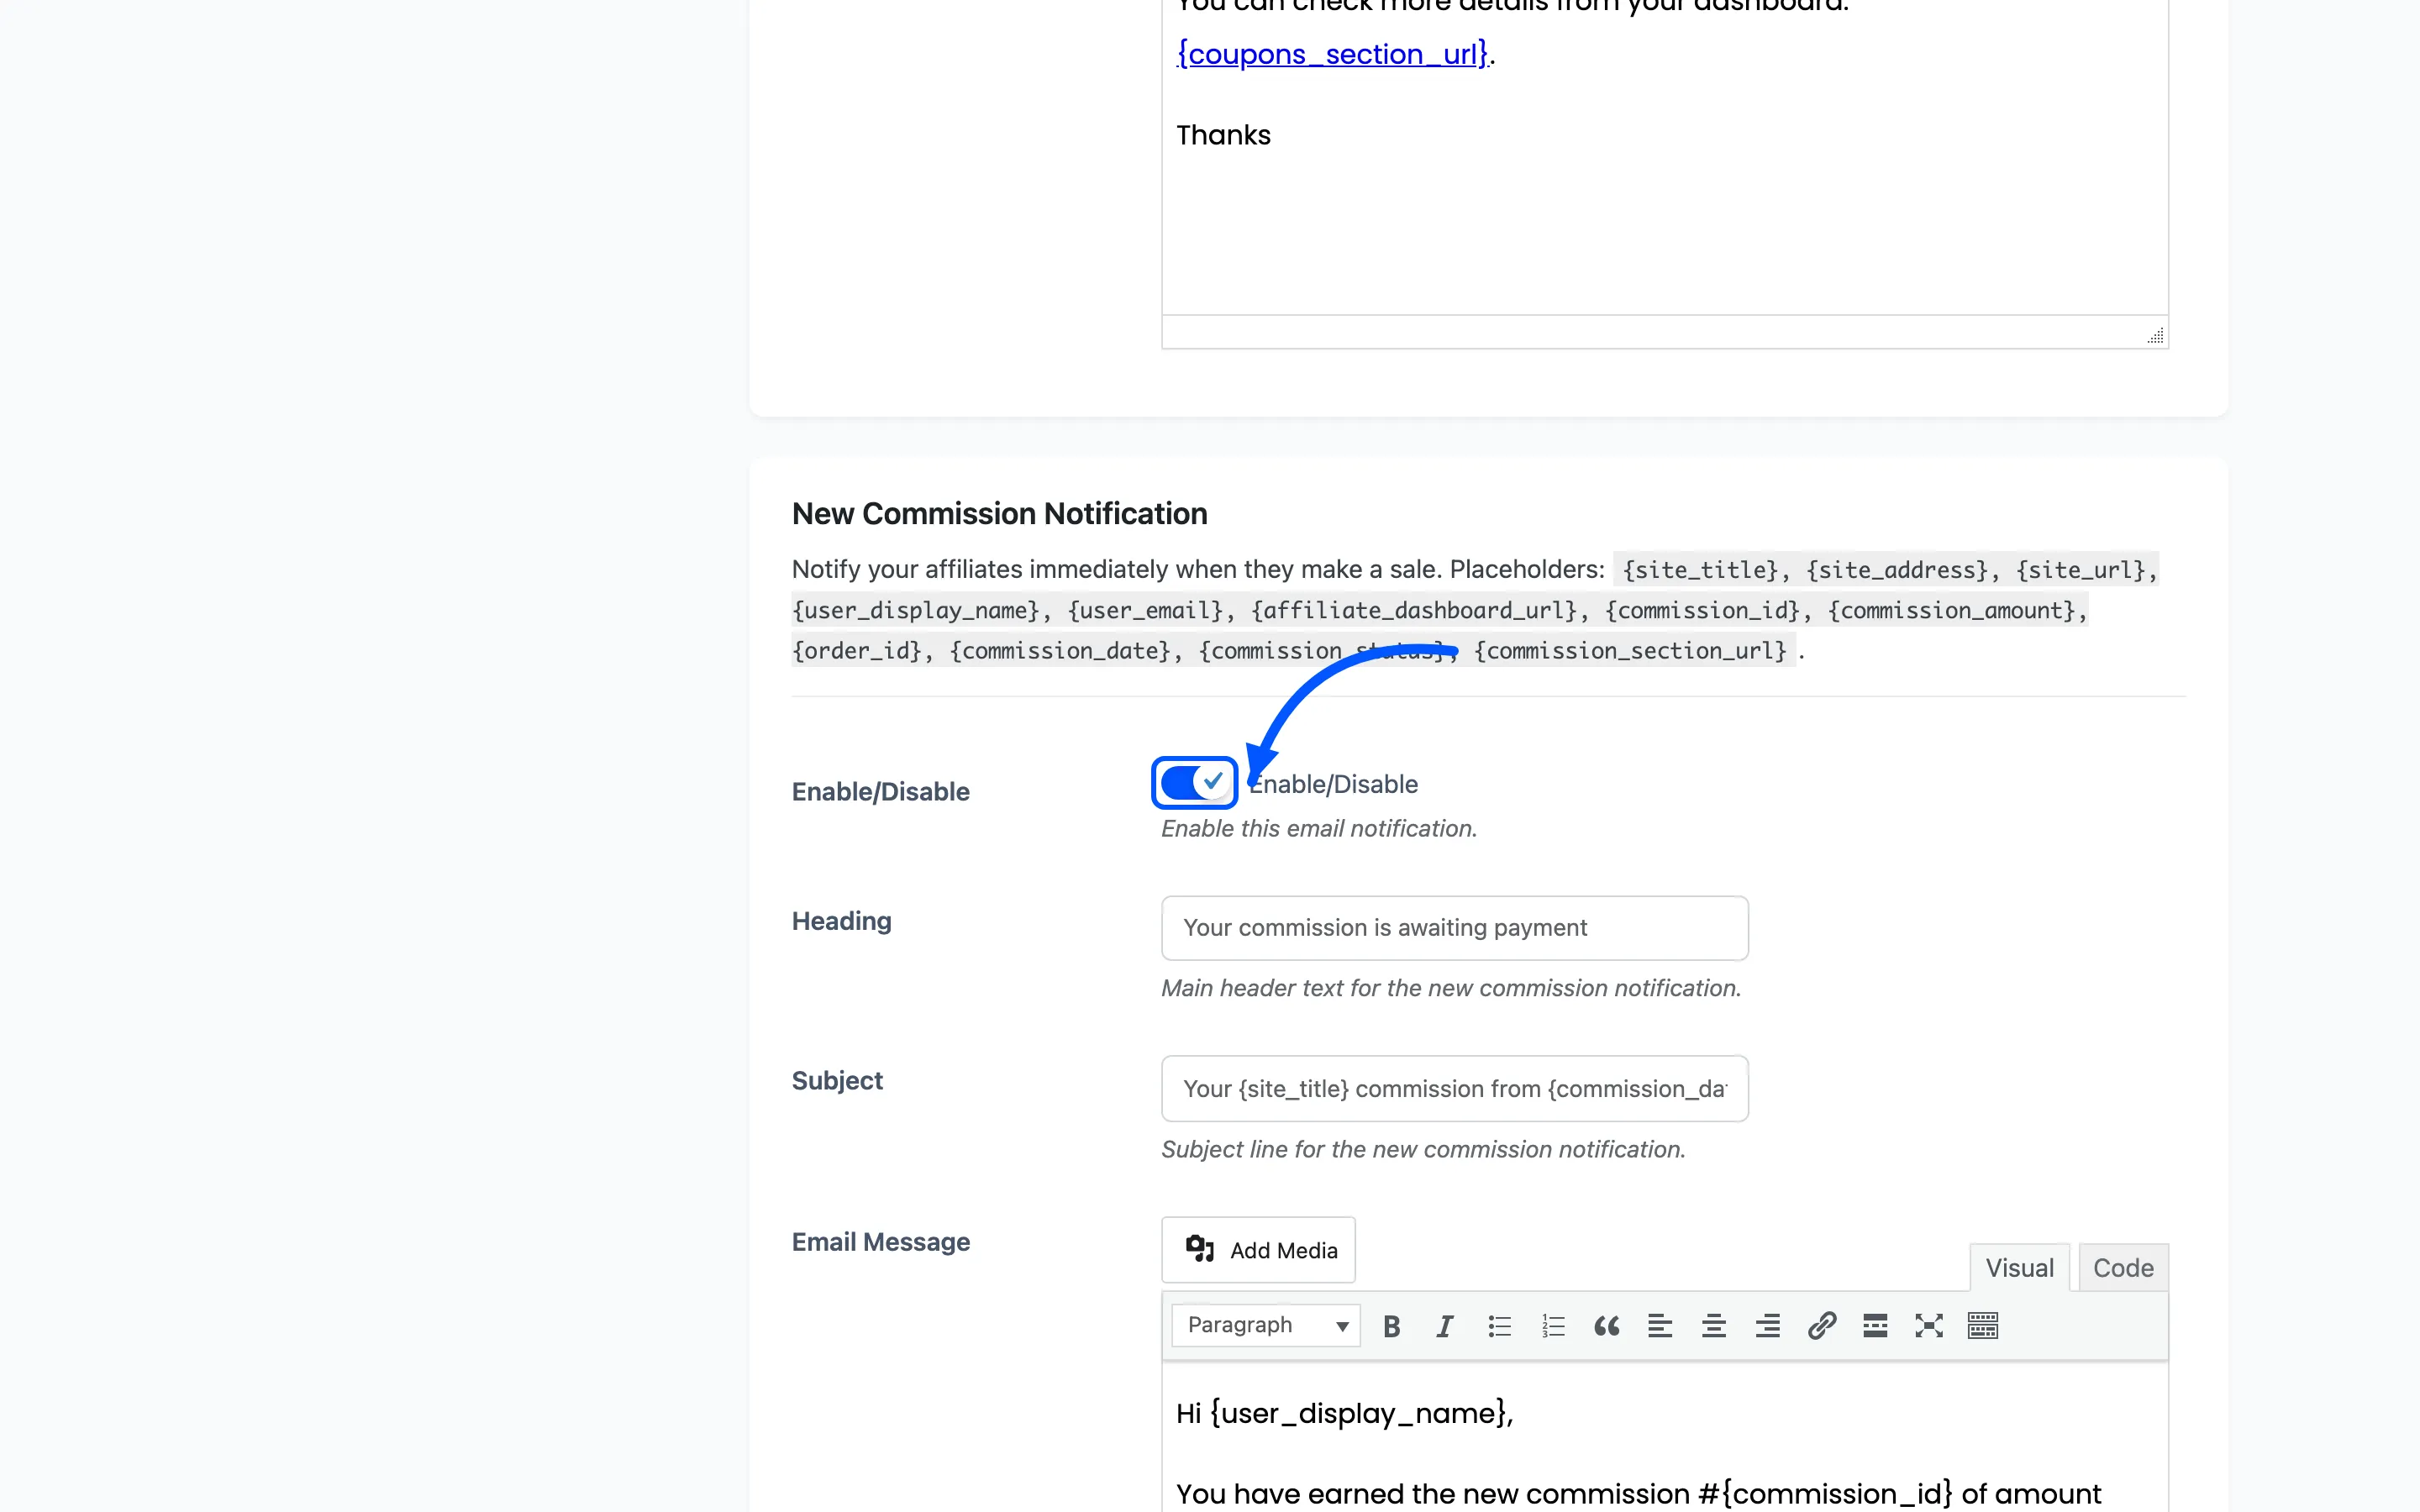
Turning the first two off and leaving Payout Completed on gives an affiliate the one message they actually care about: the money went out.
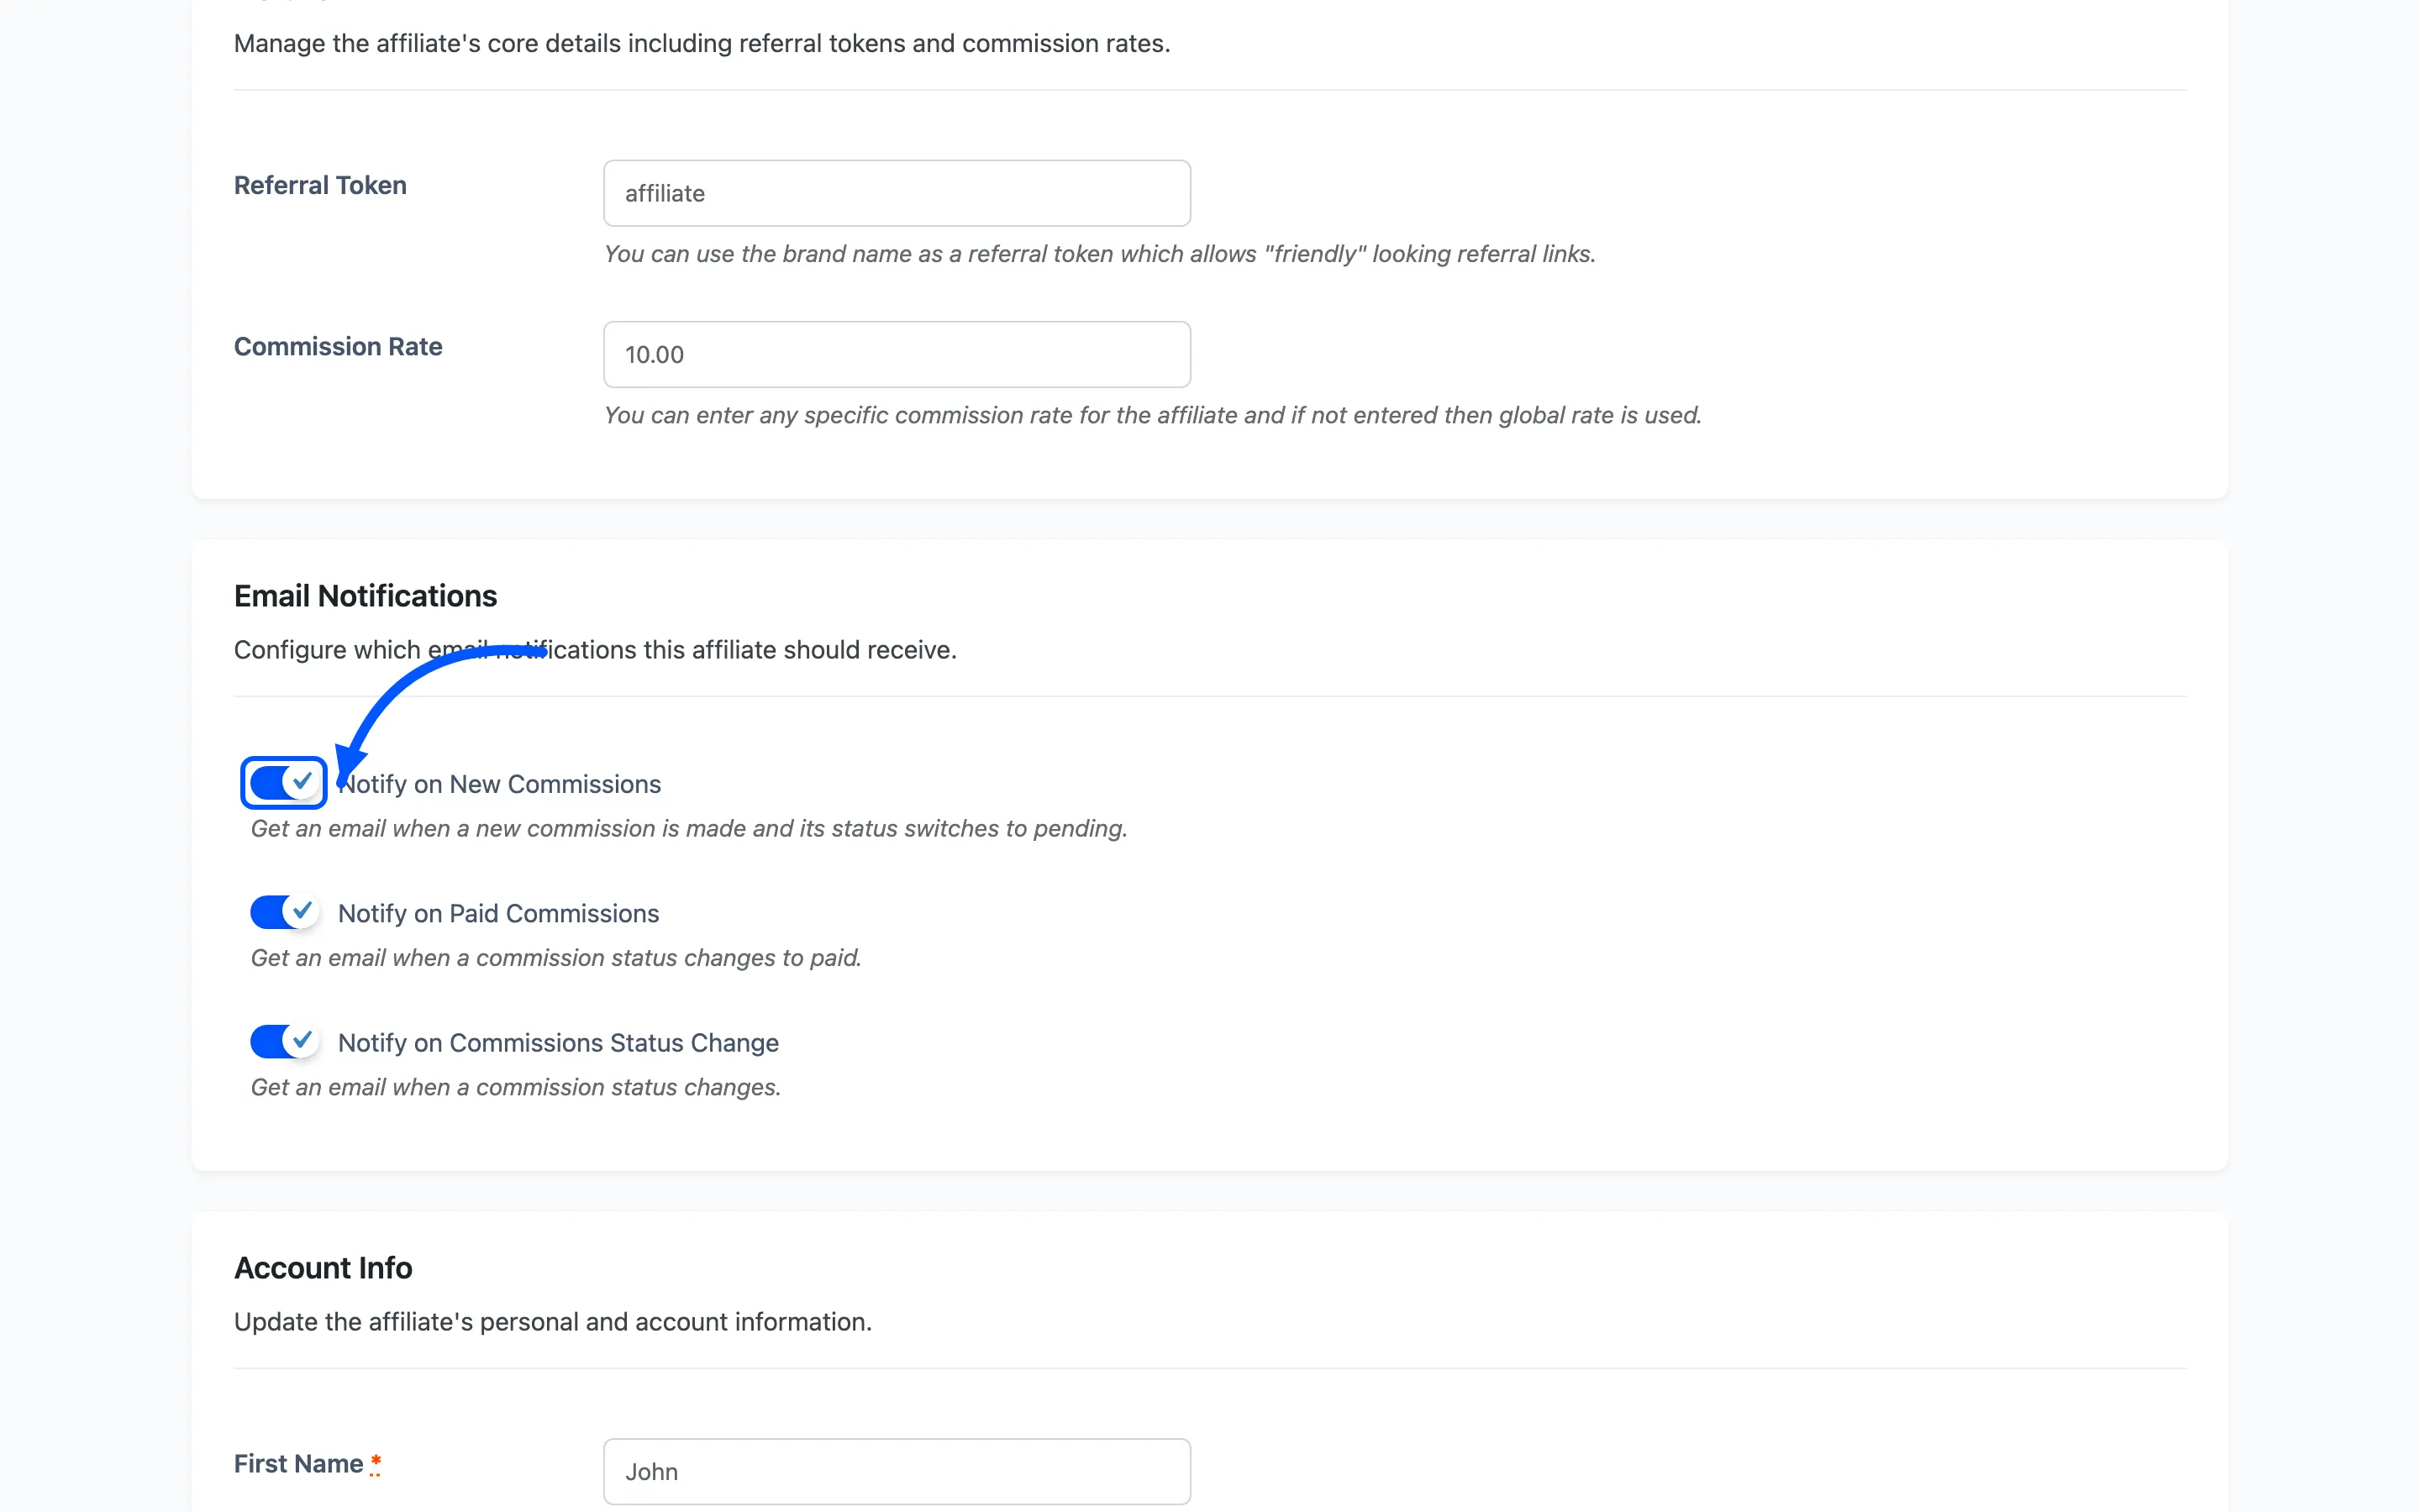
Affiliates can also opt out of those three themselves, from their dashboard settings. Your setting is the ceiling: off here means nobody gets it, whatever they chose.
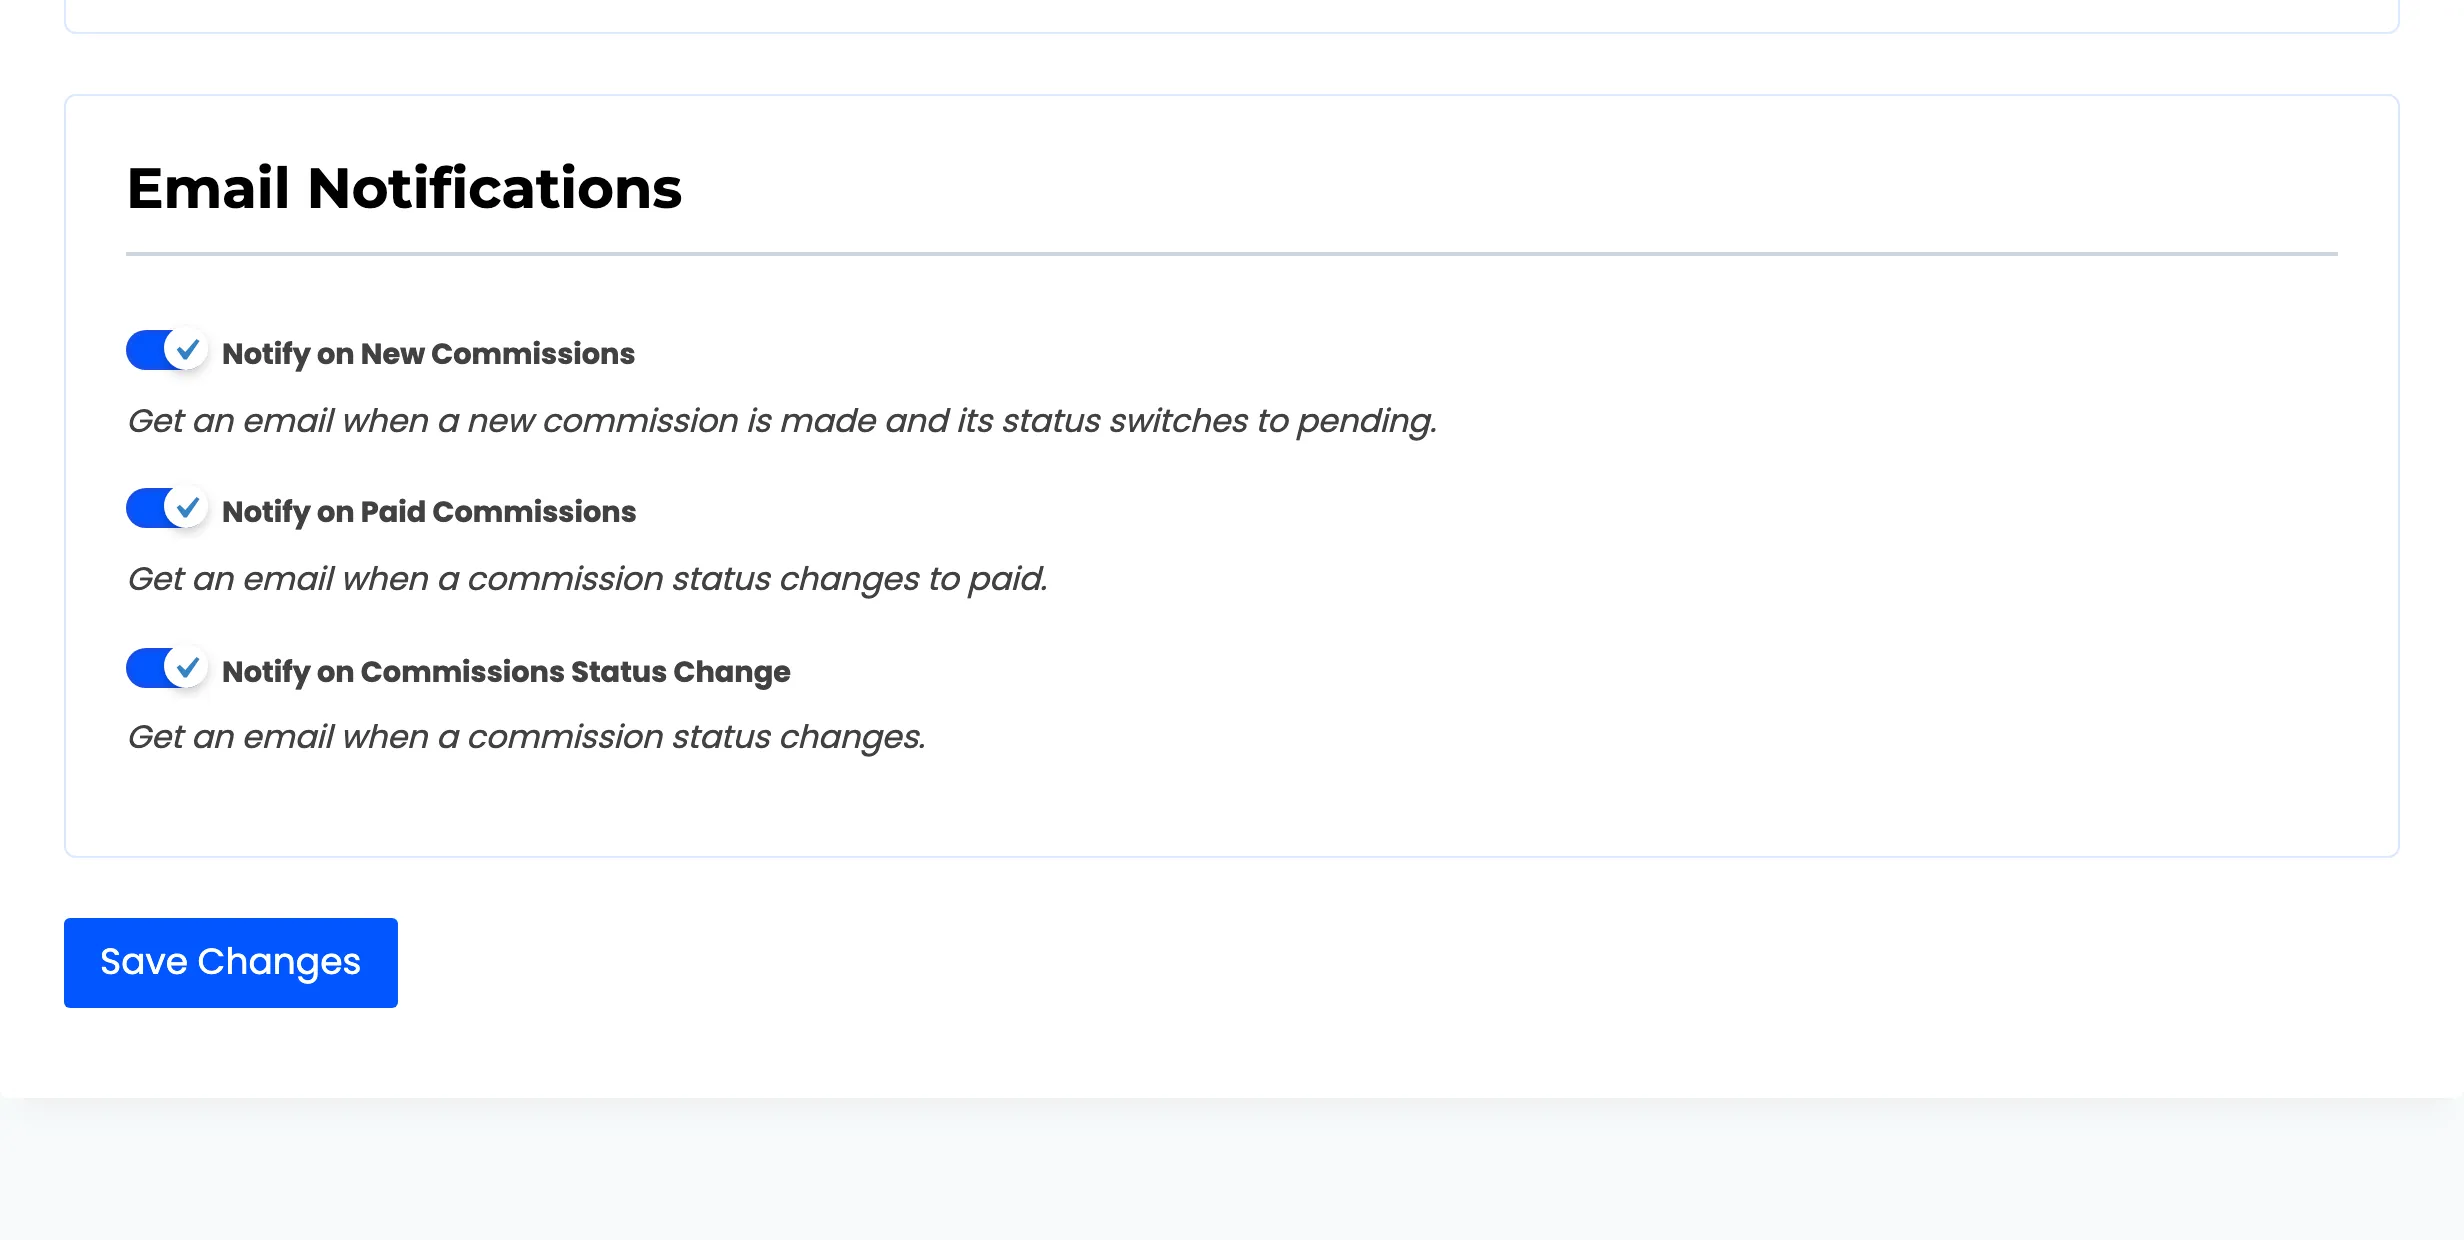
You can set the same three for a partner from their detail screen in your admin.
Step 3: Rewrite the approval email
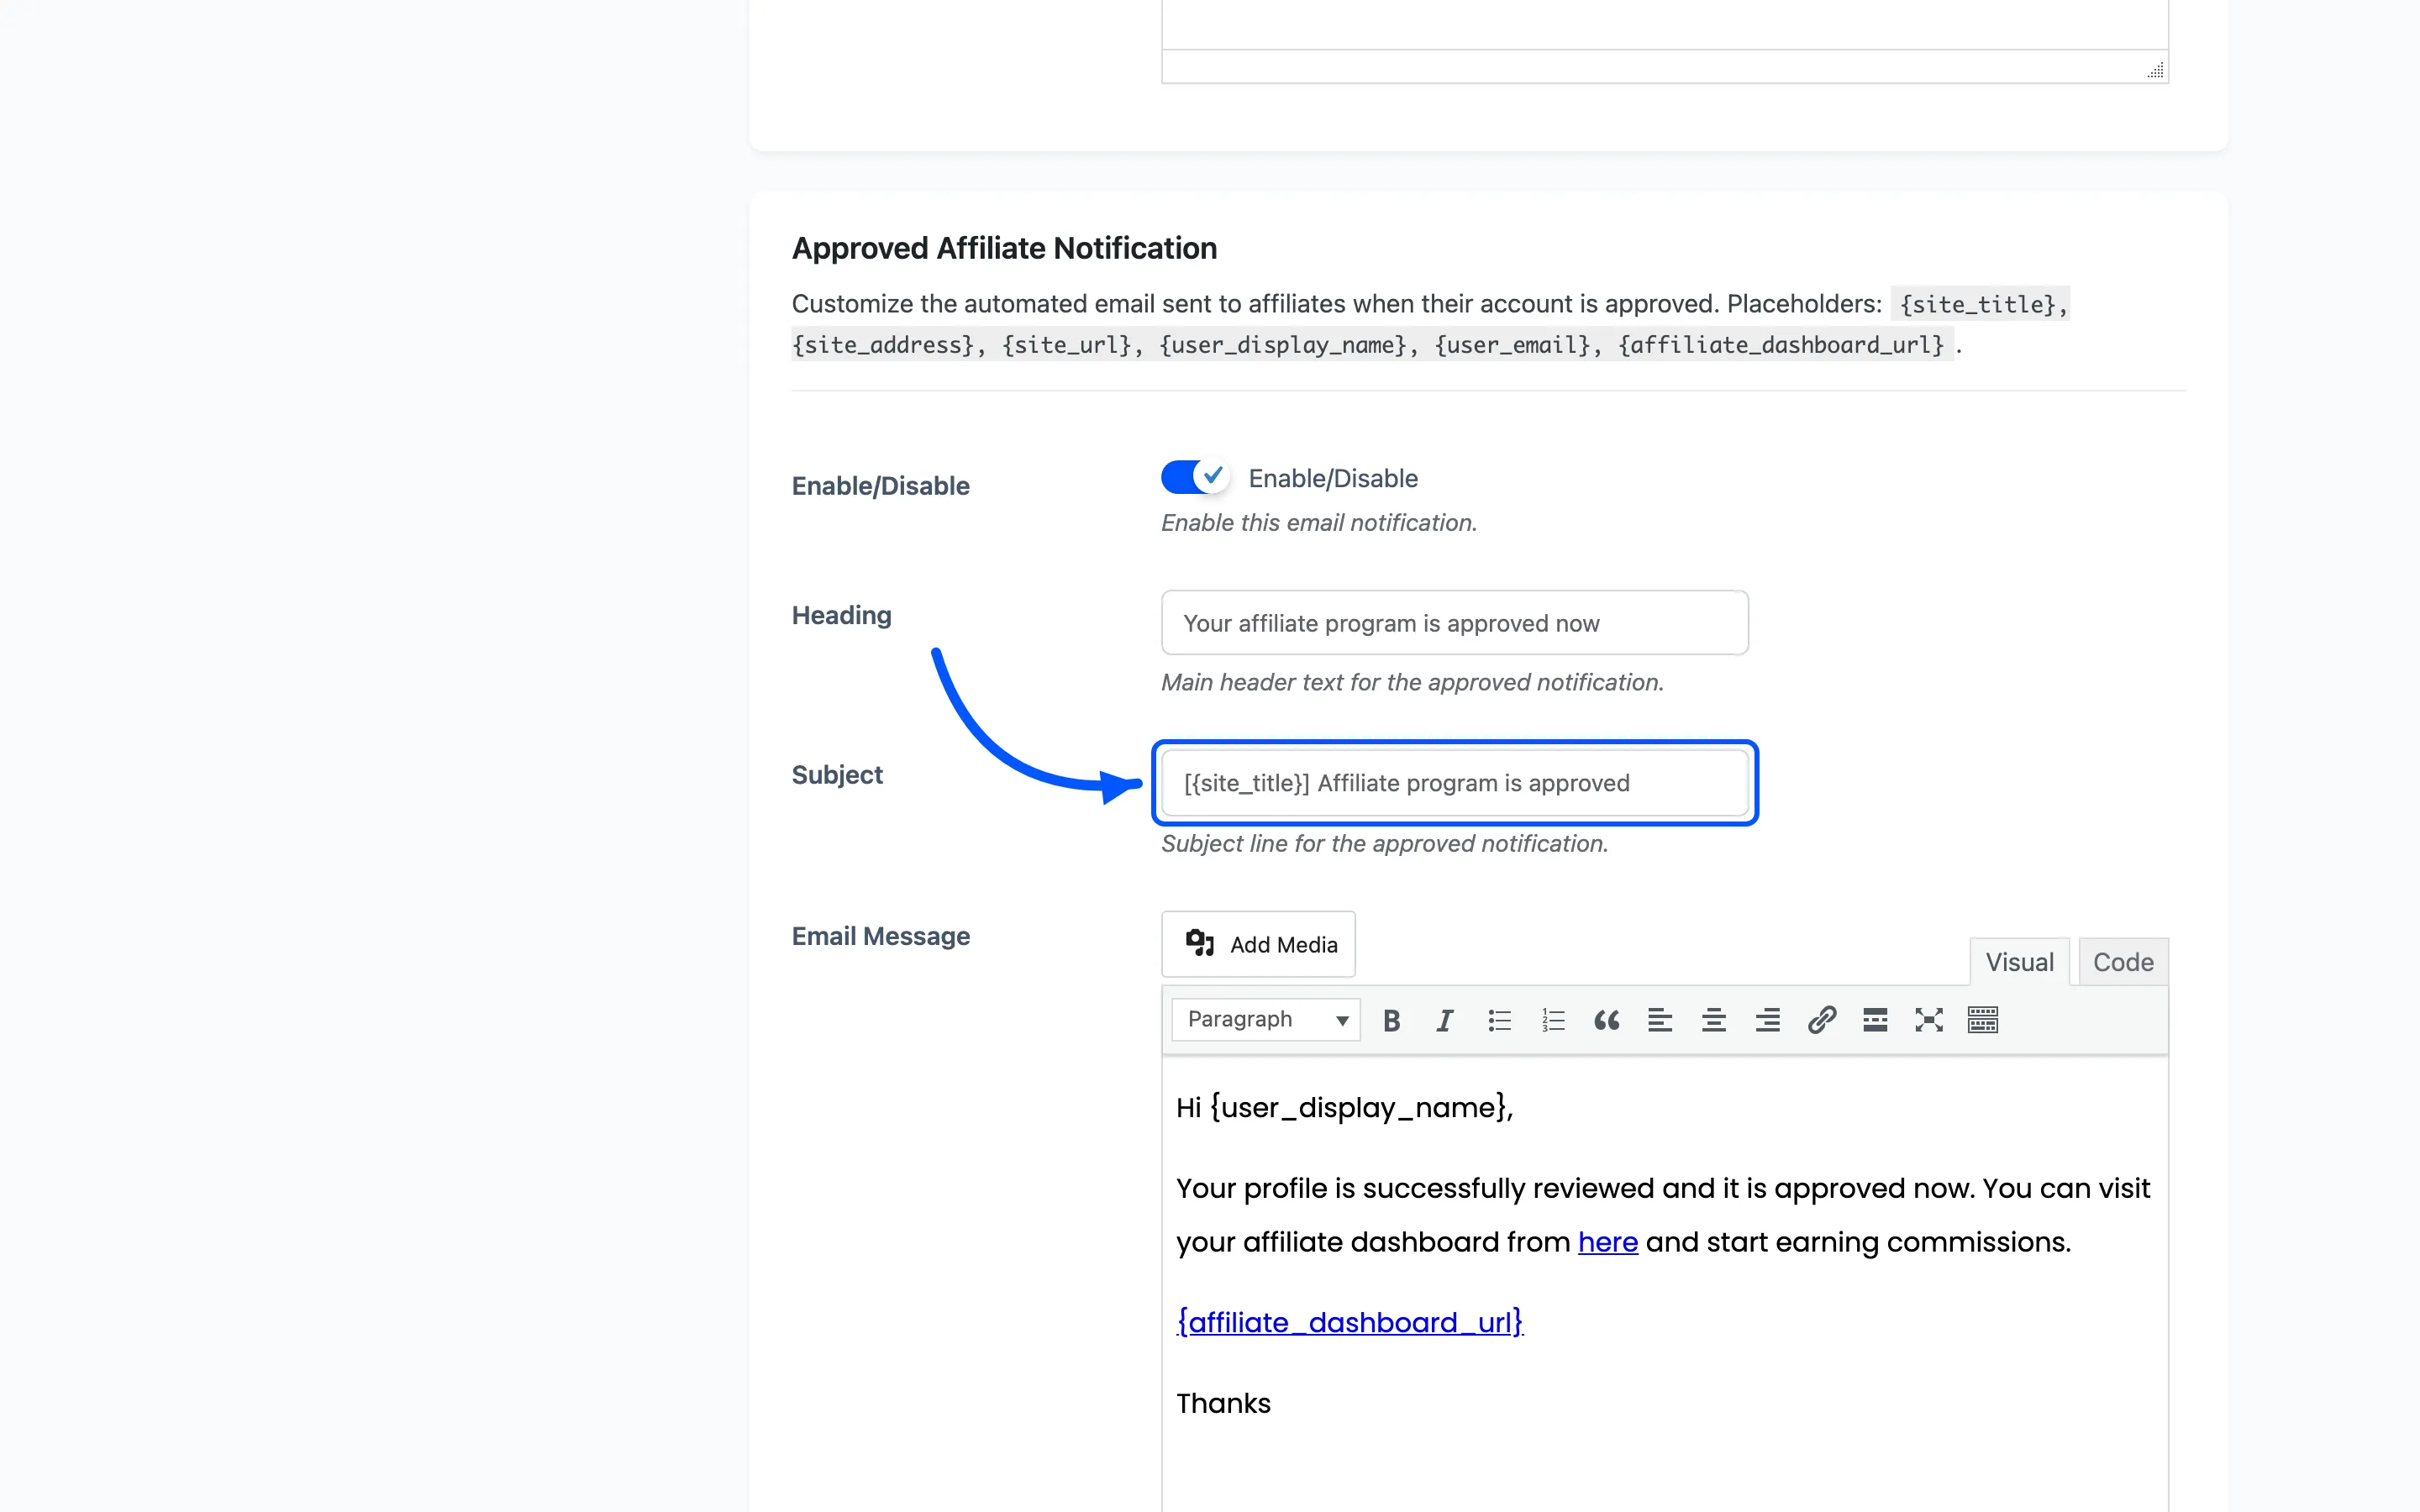
Section titled “Step 3: Rewrite the approval email”The Approved Affiliate notification is the one worth spending time on. It is the first message a new partner gets, and it decides whether they start promoting this week or forget about you.
Three things belong in it.
- Their dashboard link: Use
{affiliate_dashboard_url}, which the default copy already includes. - The commission rate: Write it as plain text; there is no placeholder for it.
- One next step: “Open your dashboard, copy your referral link, share it” beats a welcome paragraph.
Edit Heading, Subject and Email Message, then save.
Step 4: Use the right placeholders
Section titled “Step 4: Use the right placeholders”The plugin swaps placeholders in when it sends, but only the ones that event supplies. A placeholder the event knows nothing about is left in the email as literal text, which looks broken.
| Placeholder | Available in |
|---|---|
{site_title} |
Every notification |
{user_display_name} |
Every notification |
{user_email} |
Admin registration notification |
{affiliate_dashboard_url} |
Affiliate status notifications |
{coupon_code}, {coupons_section_url} |
Coupon assignment |
{commission_id}, {commission_amount}, {commission_date}, {commission_status}, {commission_section_url} |
Commission notifications |
{payout_id}, {payout_amount}, {payout_payment_method_title}, {payout_section_url} |
Payout notifications |
Check the row before you add a placeholder. Putting {payout_amount} in the approval email produces
an email with the literal text in it.
Step 5: Set your own recipient
Section titled “Step 5: Set your own recipient”Admin Affiliate Registration is the only notification that comes to you. It fires when someone signs up.
Set Recipient(s) to the address that should actually see it. Separate multiple addresses with commas. The default is your WordPress admin email, which on many stores is a mailbox nobody reads.
Its body carries {user_display_name} and {user_email}, so you can see who applied without
opening the admin.
Leave this one on. It is what stops applications sitting on Pending for a fortnight.
Step 6: Keep the payout emails informative
Section titled “Step 6: Keep the payout emails informative”The three payout notifications carry the details that stop support questions.
- Payout Pending should say the amount and the method, using
{payout_amount}and{payout_payment_method_title}, plus roughly how long the transfer takes. - Payout Completed should confirm the same and link to
{payout_section_url}. - Payout Cancelled should say what happens next. The default copy points people at your contact page, which is the right instinct; make sure that page exists.
Step 7: Check the styling
Section titled “Step 7: Check the styling”The emails use the WooCommerce email template. They inherit the header image, base colour and footer text you set under WooCommerce → Settings → Emails. You do not style them twice.
Send yourself a test by signing up with a throwaway address and approving it, then delete the test affiliate.
Step 8: Match the tone to the audience
Section titled “Step 8: Match the tone to the audience”Affiliates are running a business alongside yours. Write to them as partners, not customers.
- Lead with the fact, not a greeting. “Your February payout of 240.00 has been sent” tells them everything in one line.
- Keep it short. Nobody reads a four-paragraph commission notification.
- Sign it from a person with a real reply address. An affiliate with a question needs somewhere to send it.
Where to go next
Section titled “Where to go next”- Email Settings for the full field reference.
- Affiliate Details for the per-affiliate notification toggles.