

Affiliates List
The Affiliates screen is where applications are approved and partners are managed. Nothing in the program tracks until an affiliate on this list is approved.
Open the affiliates list
Section titled “Open the affiliates list”Go to DevDiggers Plugins → Affiliates → Affiliates.
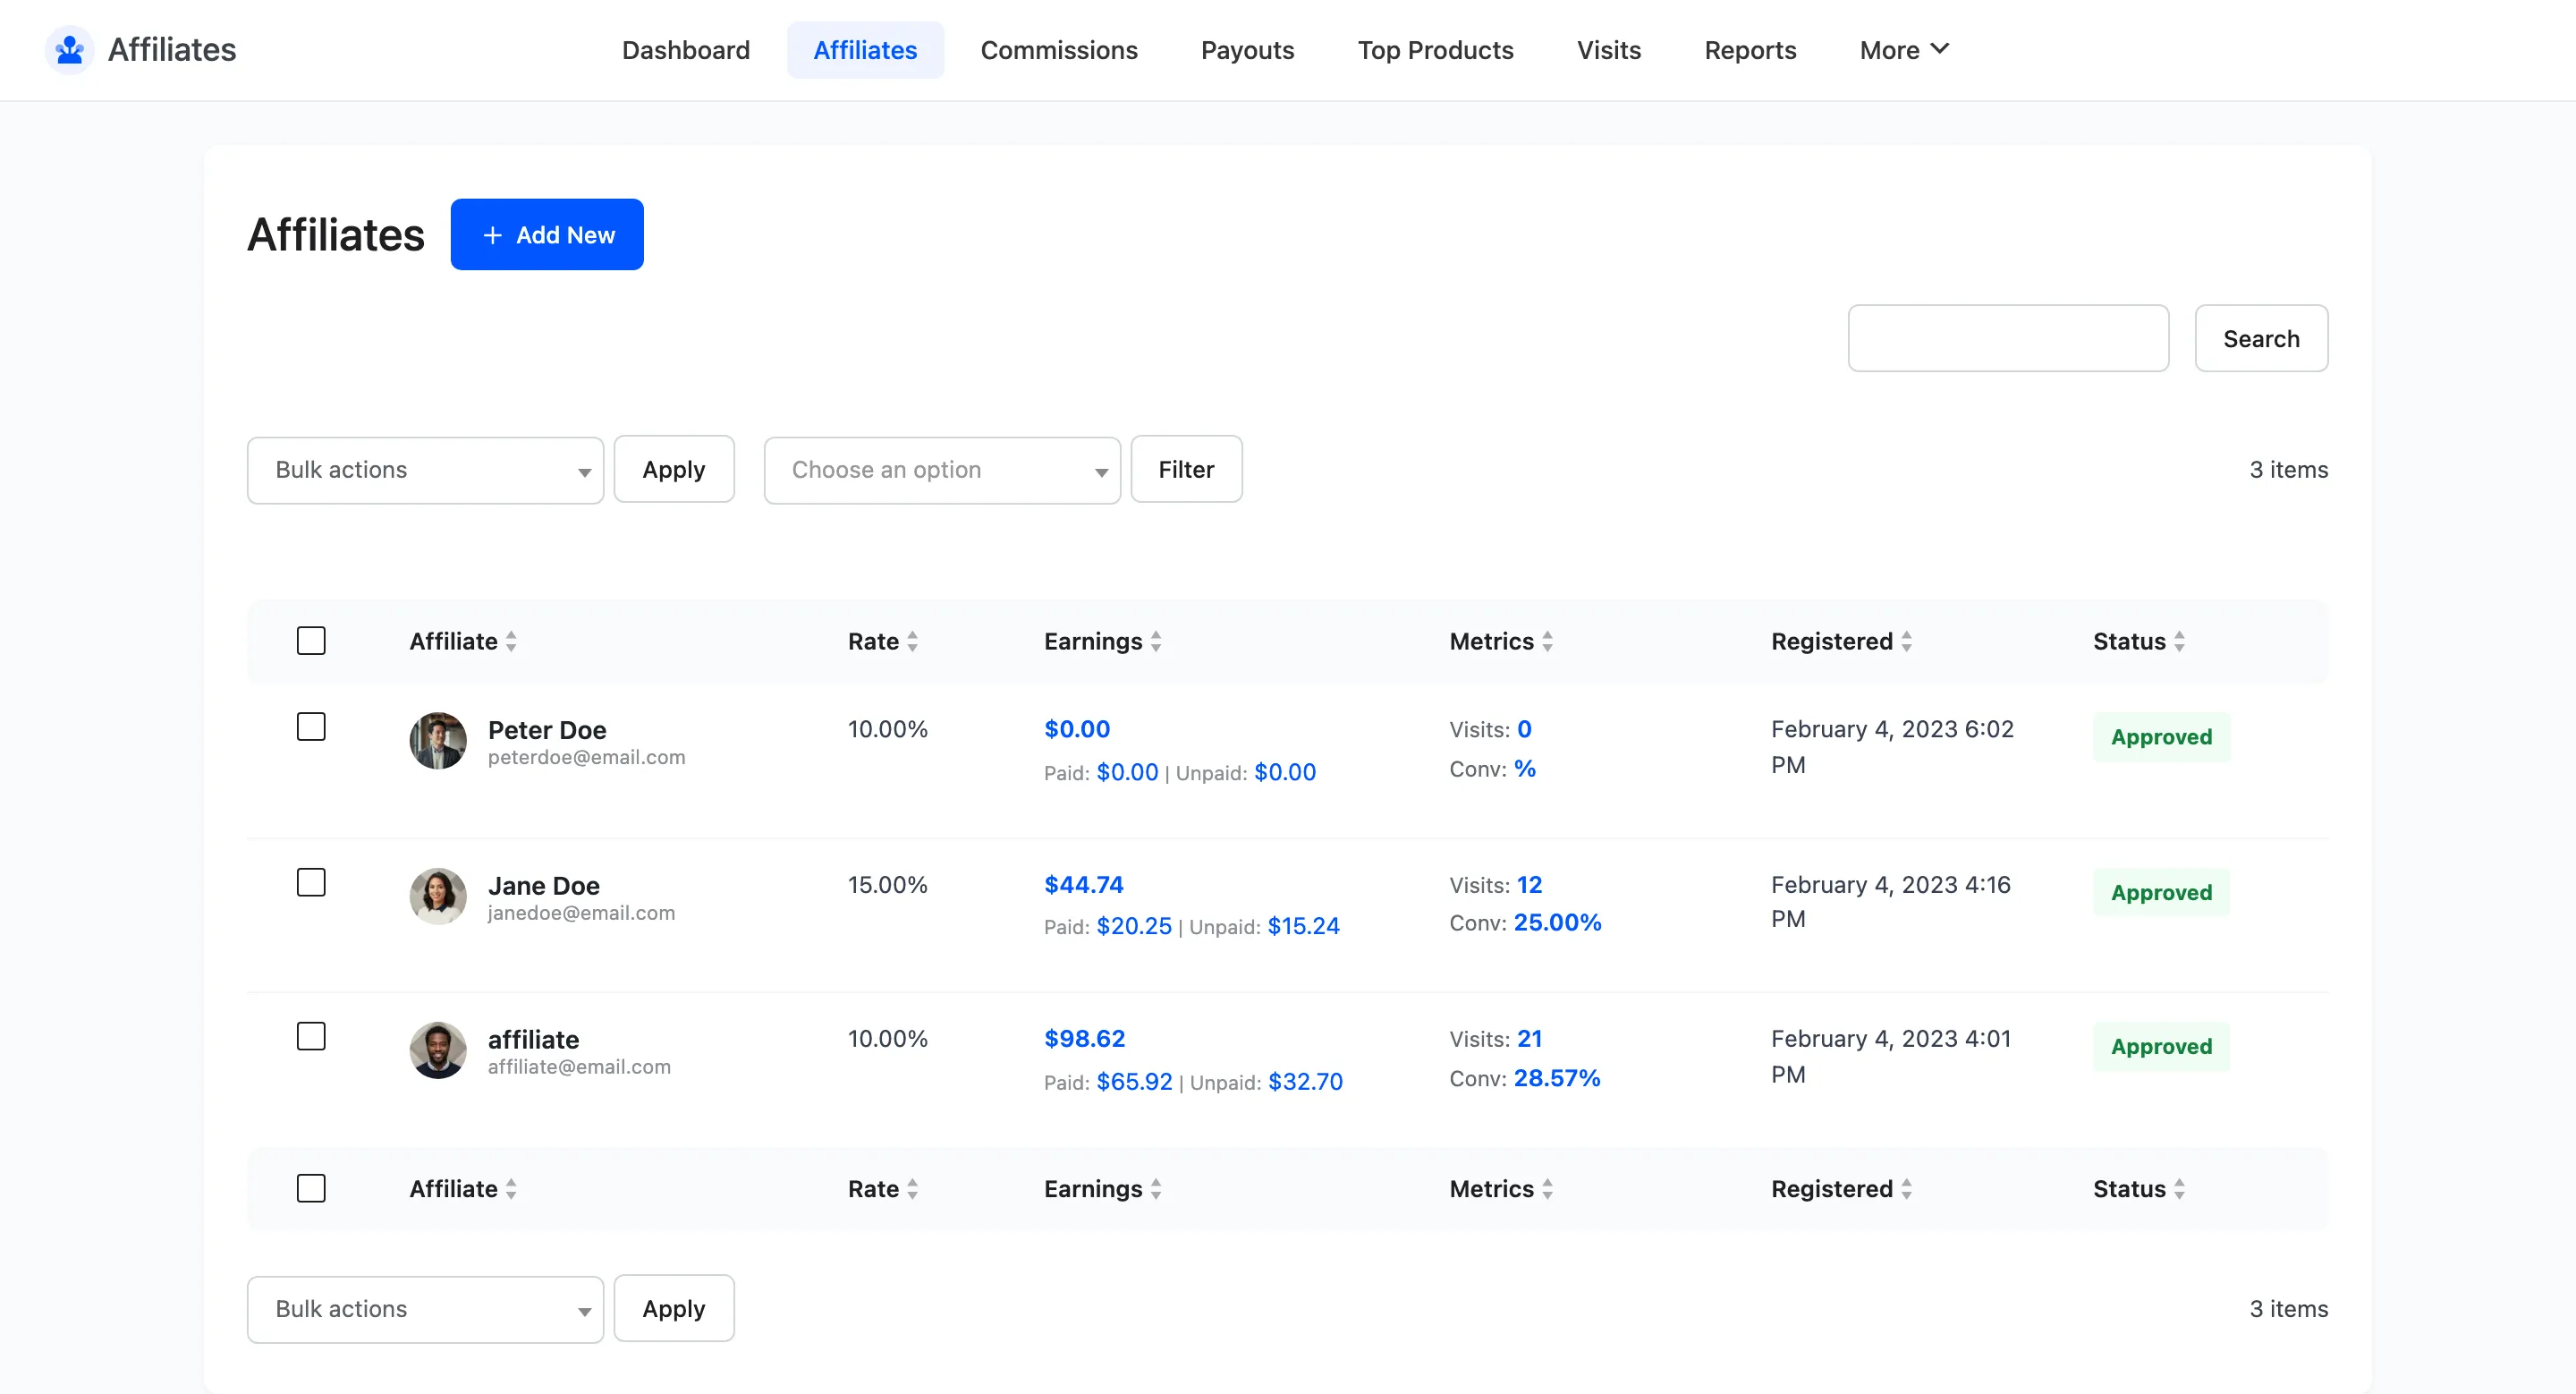
The columns
Section titled “The columns”| Column | What it shows |
|---|---|
| Affiliate | Name, email and user ID, with View and Delete row actions |
| Rate | That affiliate’s commission rate, or the global default if they have no override |
| Earnings | Total earned, split into Paid and Unpaid |
| Metrics | Visit count and conversion rate |
| Registered | When they signed up |
| Status | Pending, Approved, Rejected or Banned |
Click the affiliate name or the View row action to open their own screen.
The four statuses
Section titled “The four statuses”Status is the switch that decides whether an affiliate can earn.
- Pending is where every new signup lands in the free version. Their link resolves to nothing.
- Approved is the only status that earns. The referral token works, visits are logged and orders create commissions.
- Rejected turns tracking off. Use it for an application you do not want.
- Banned also turns tracking off. Use it for an affiliate who broke your terms, so the two reasons stay distinguishable later.
Only Approved tracks. The other three behave identically to a visitor; the difference is for your records.
Filtering the list
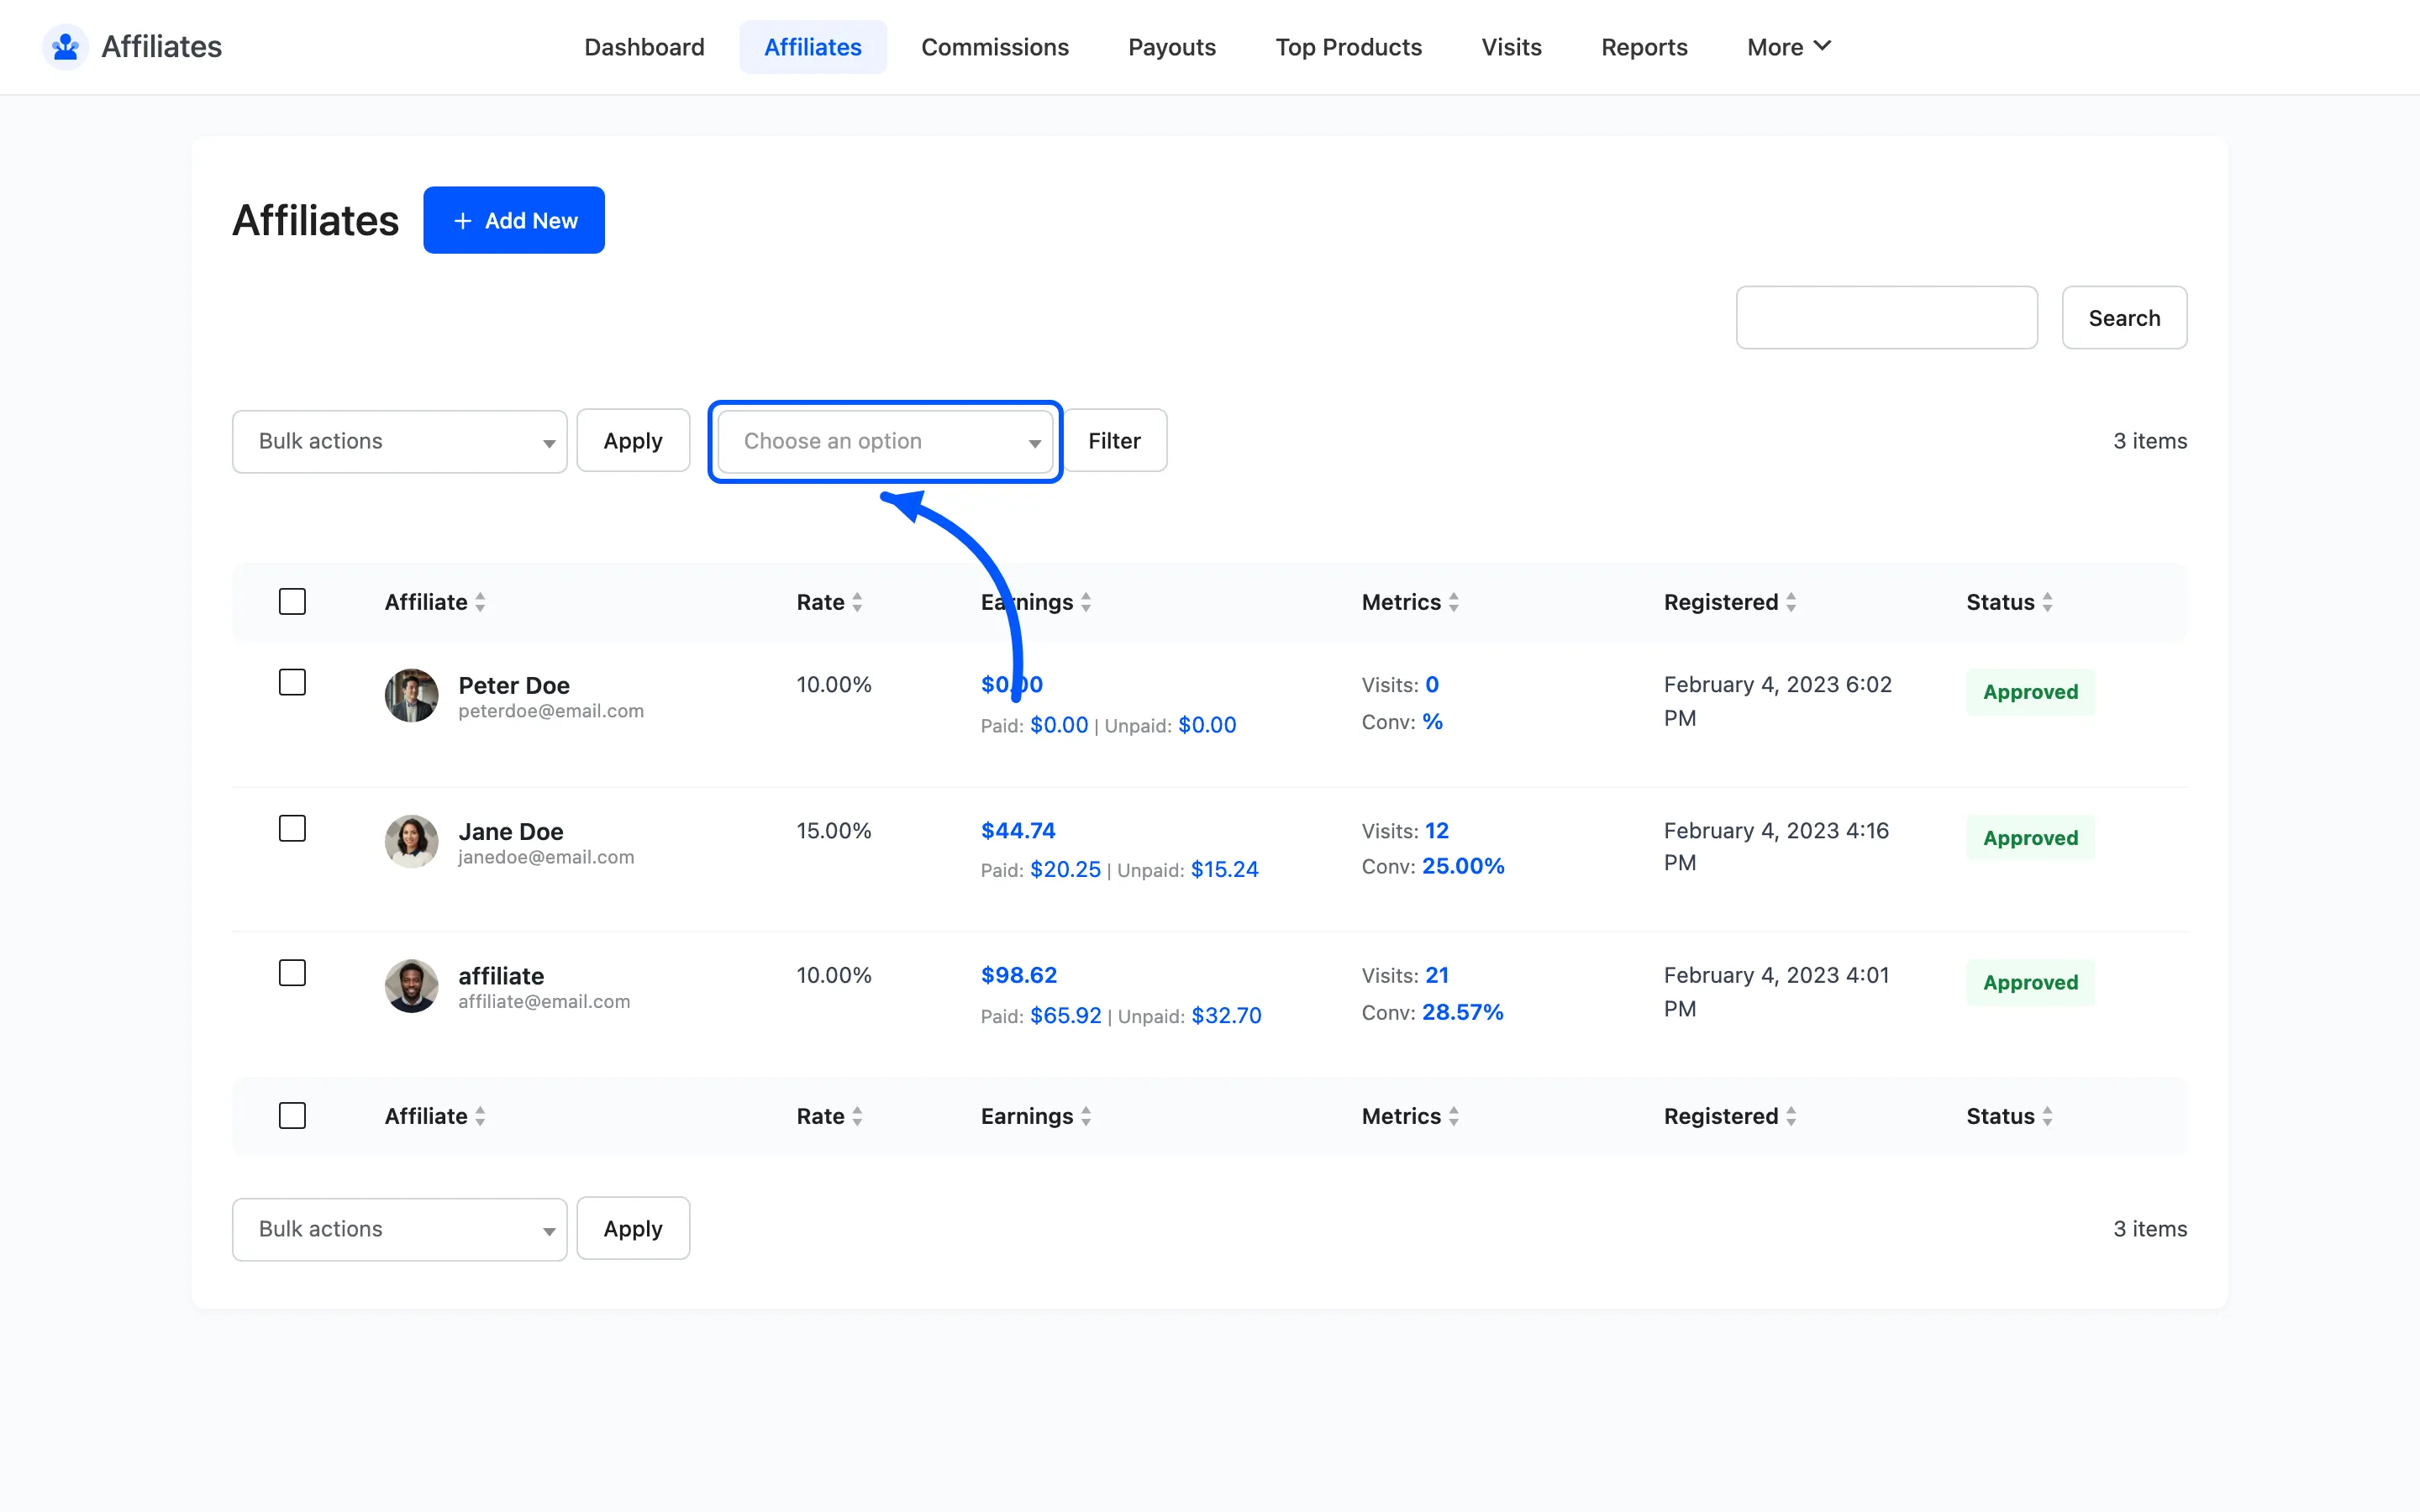
Section titled “Filtering the list”A status dropdown above the table filters to All Status, Pending, Approved, Rejected or Banned. Filter to Pending to work through new applications without scrolling past everyone else.
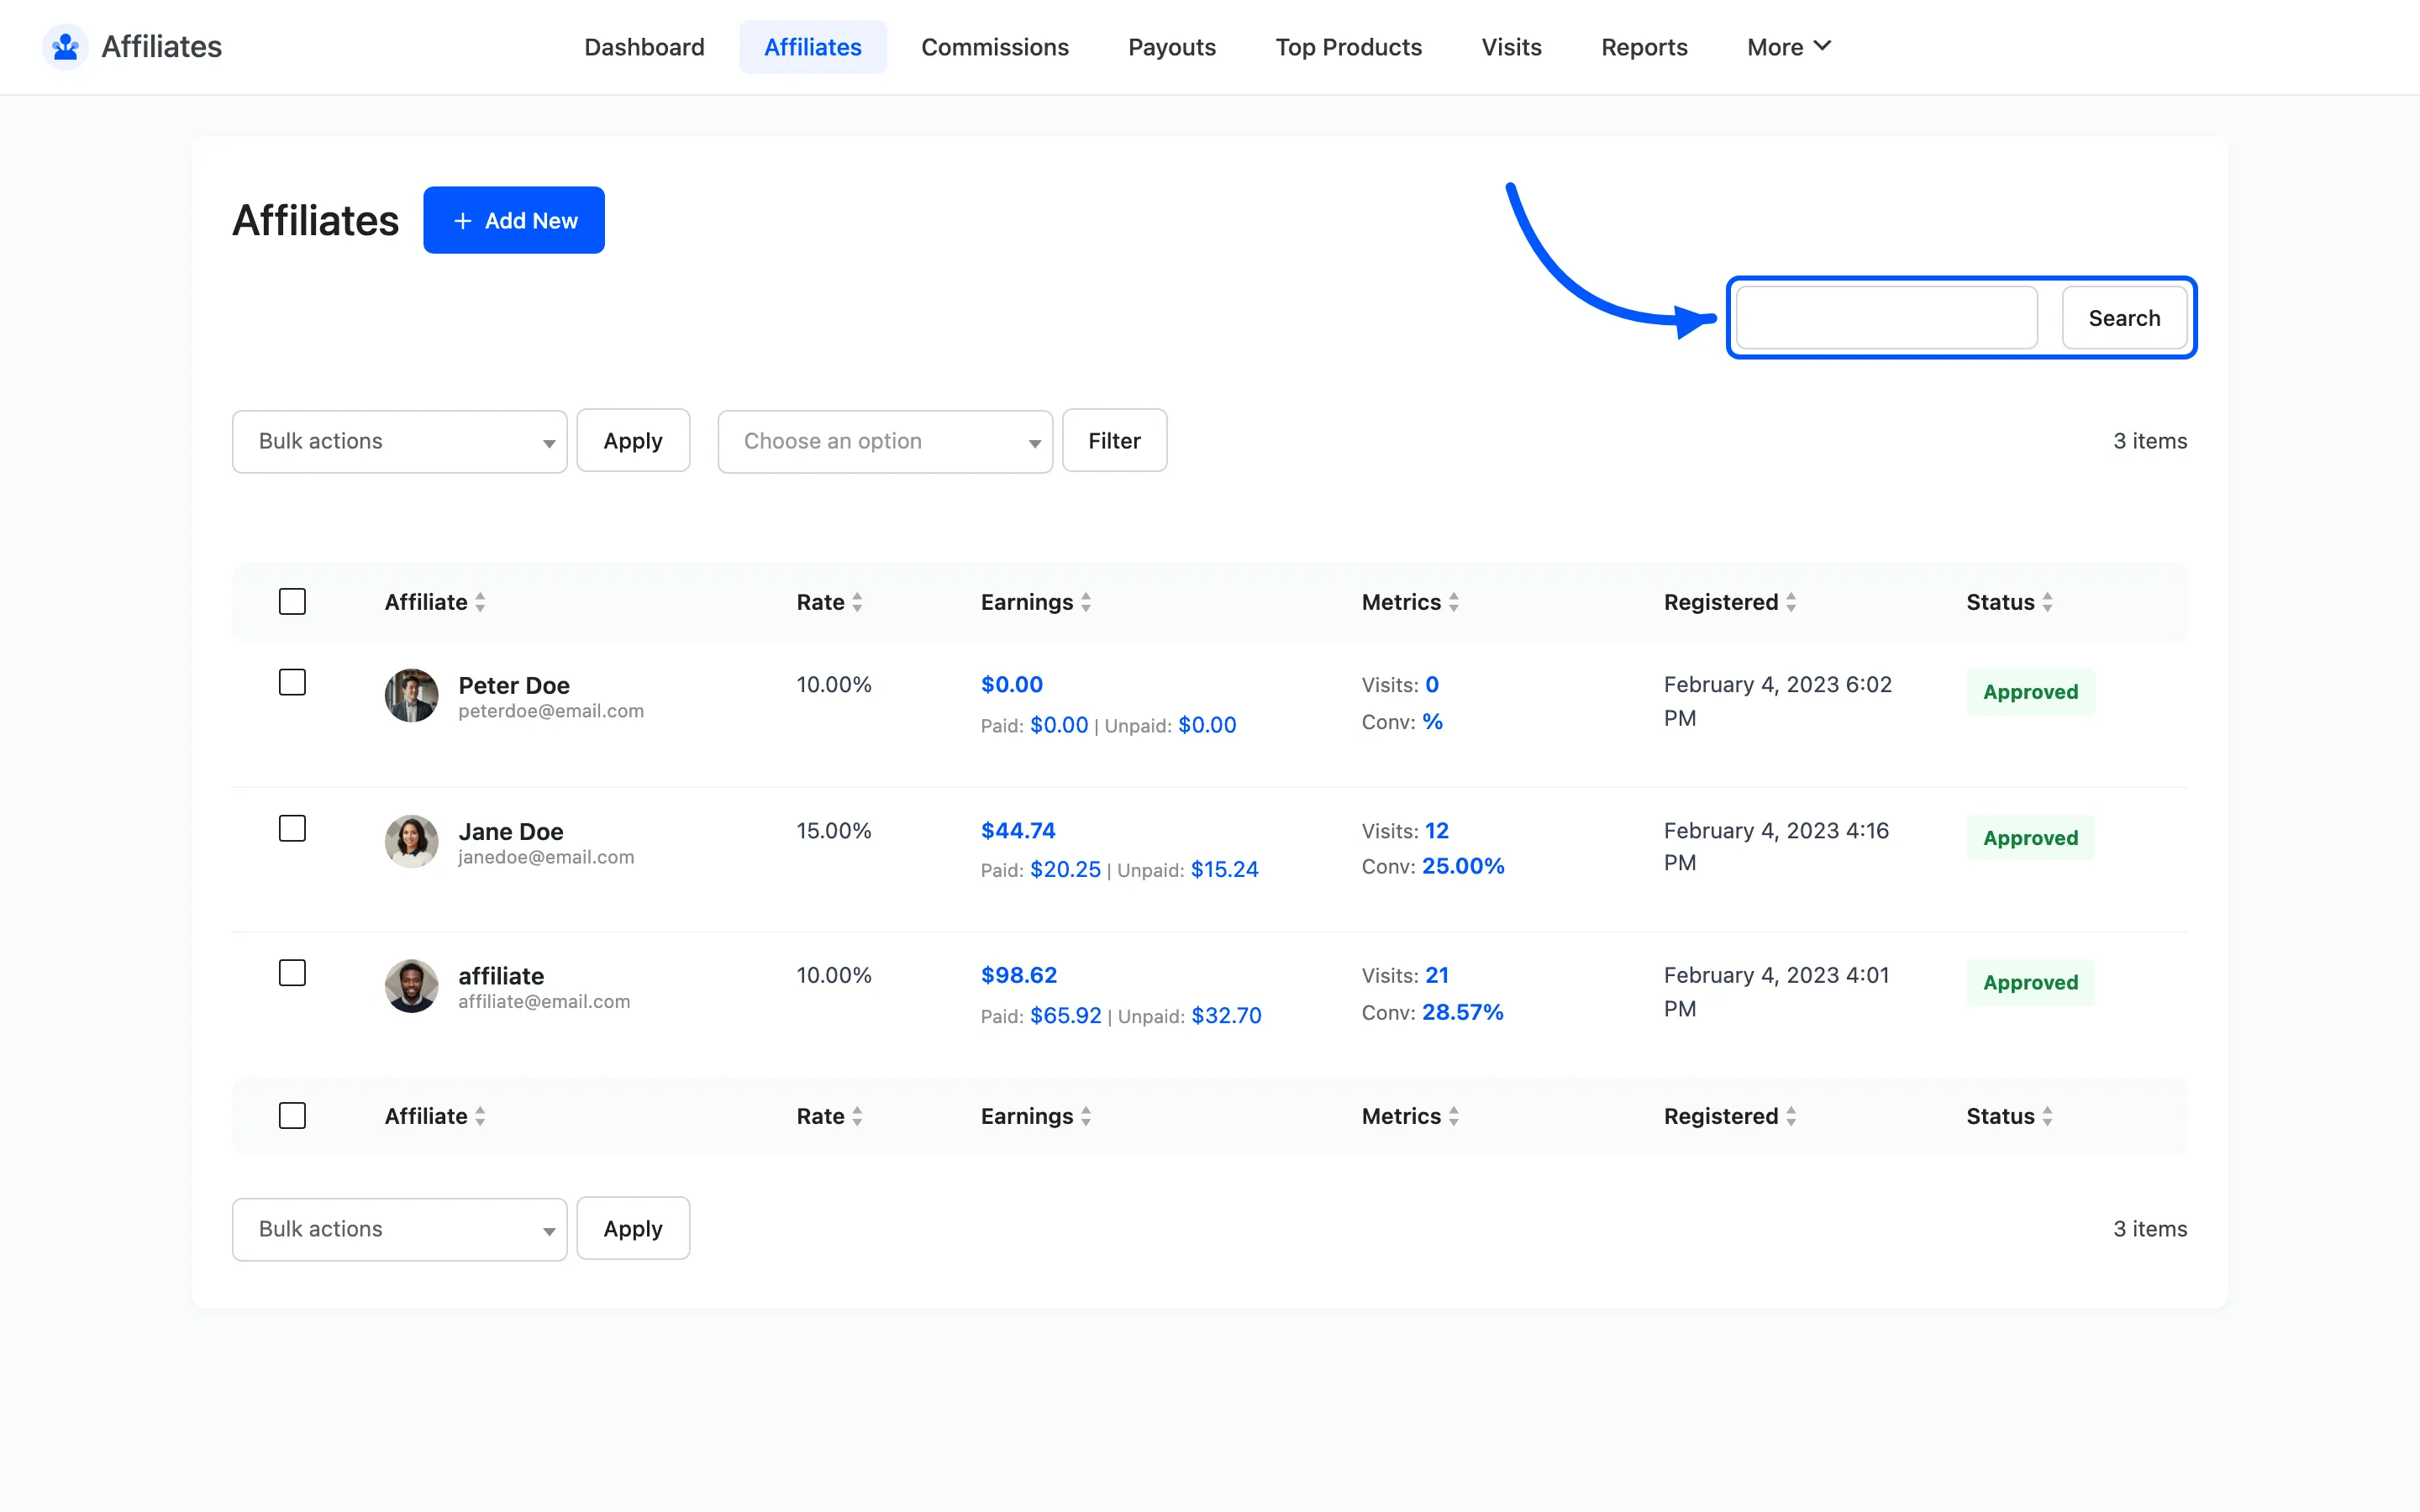
The search box matches on ID, name and email.
Bulk actions
Section titled “Bulk actions”Tick rows and pick an action.
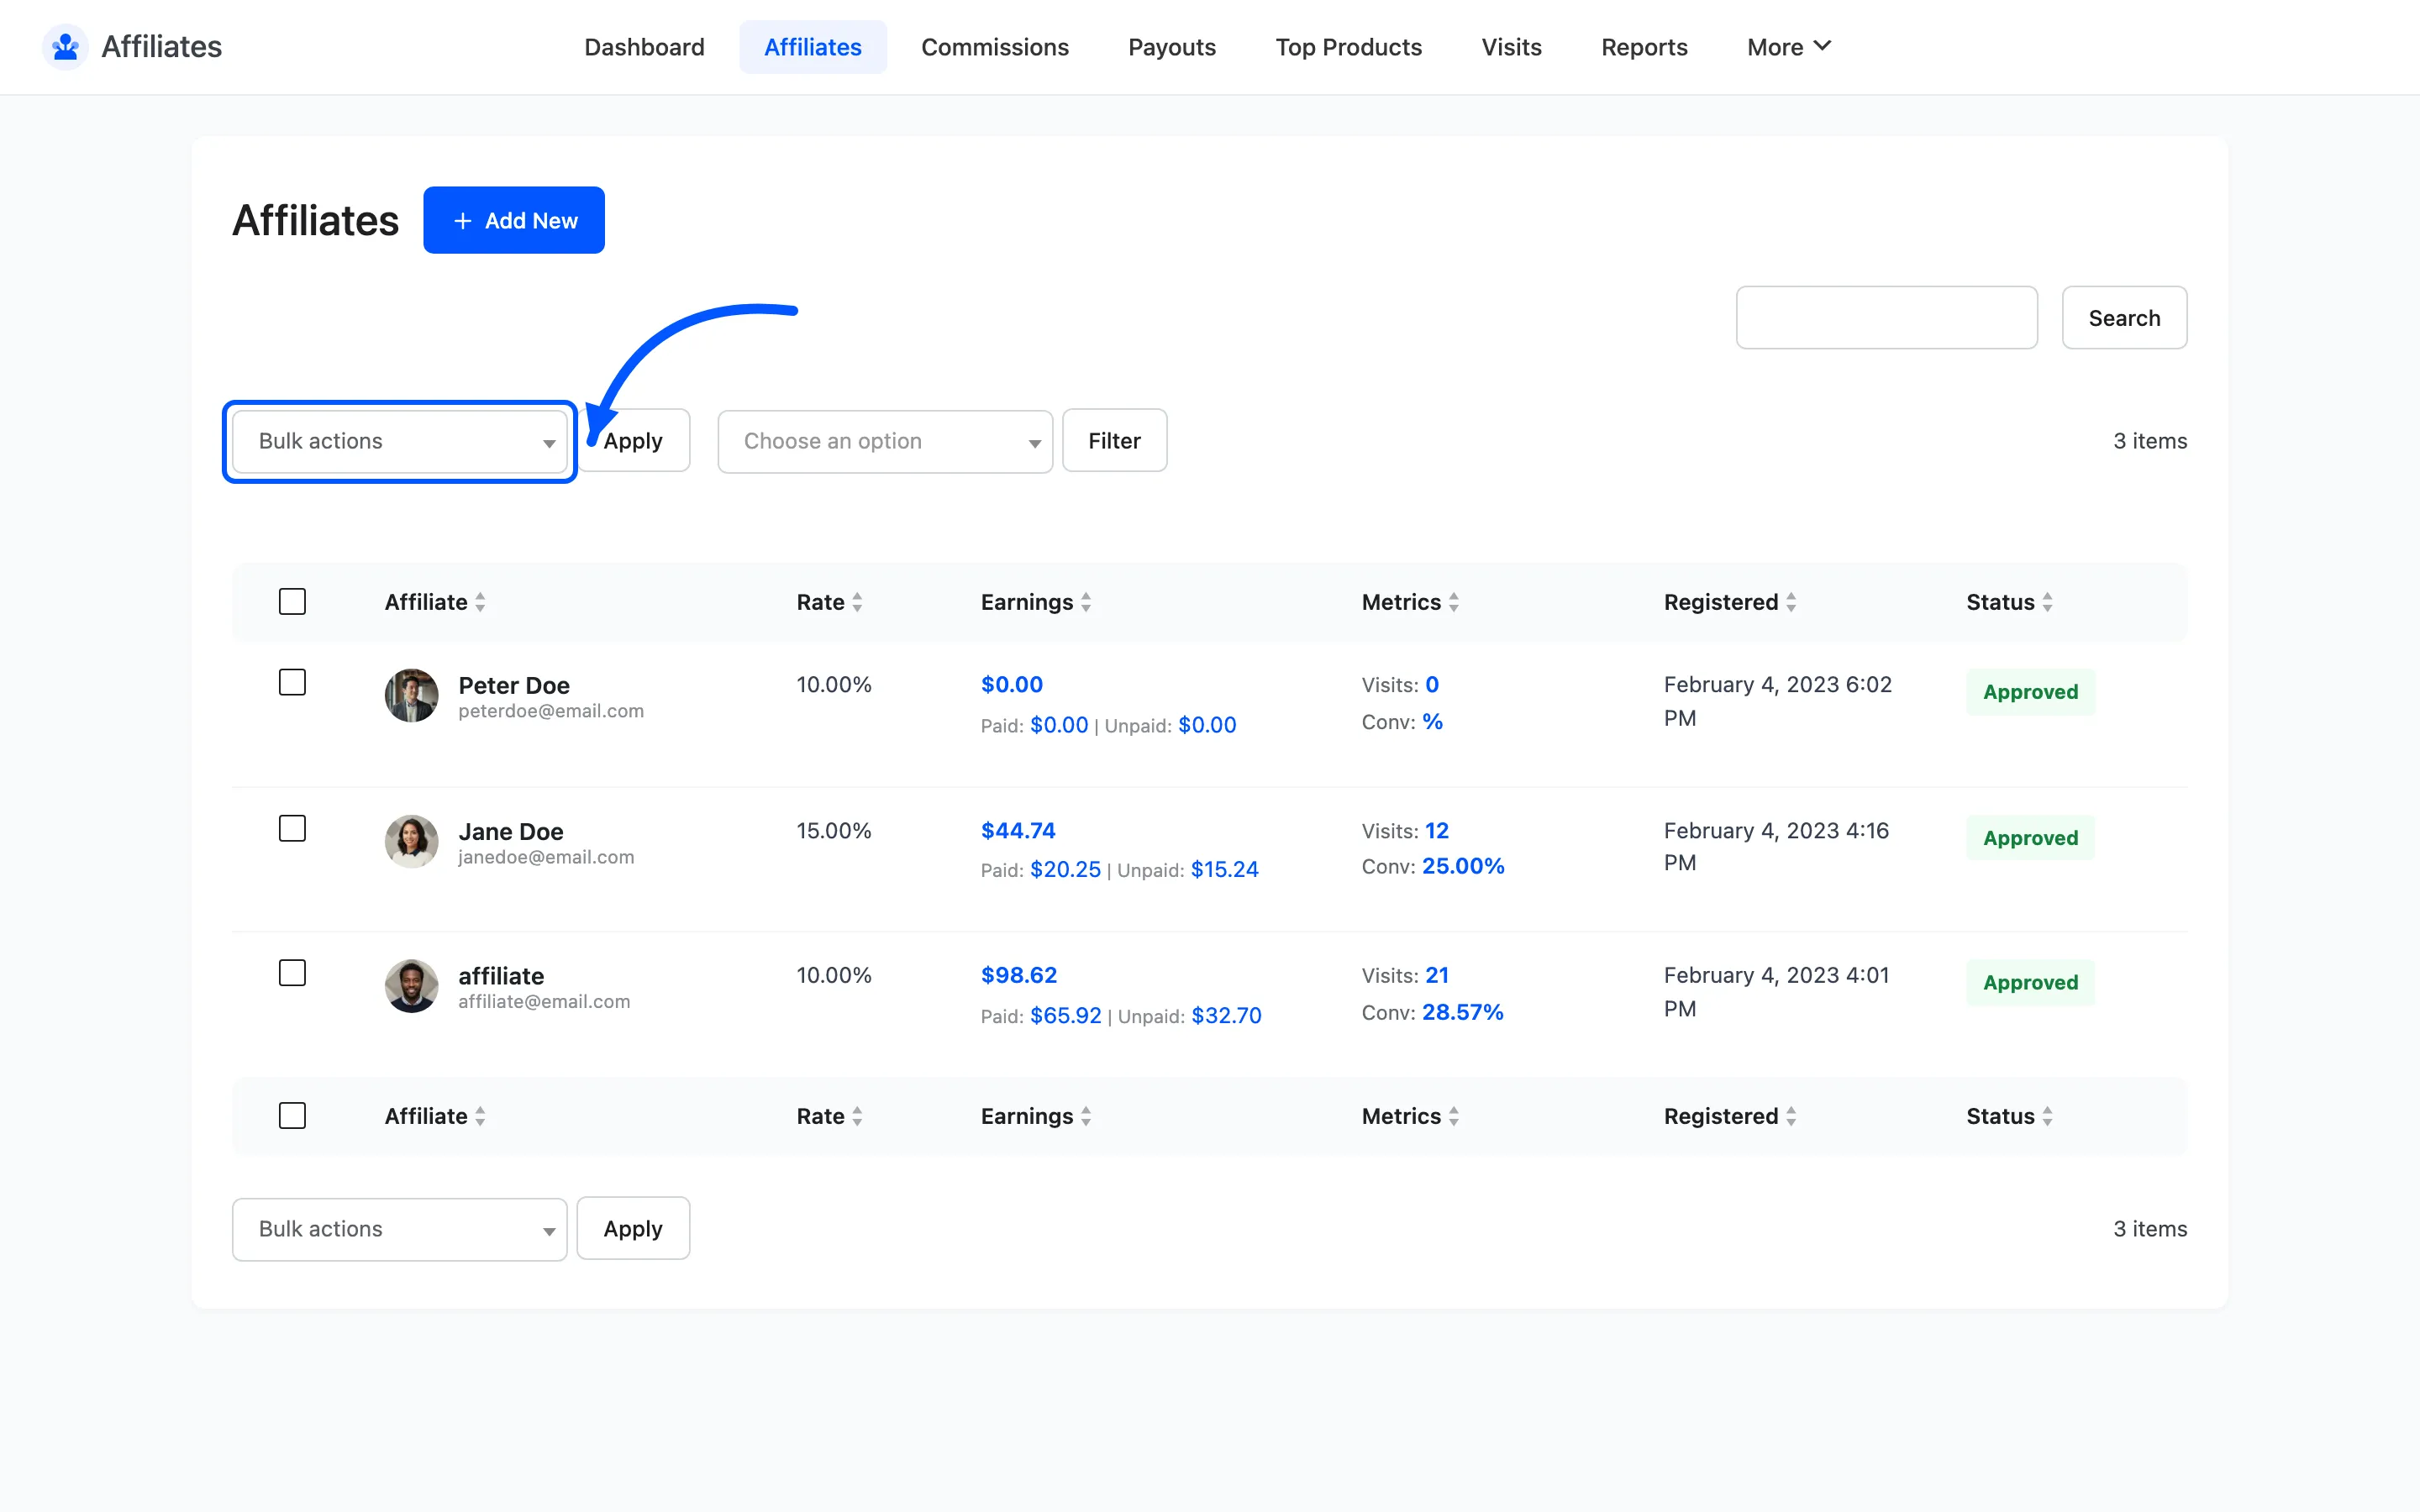
- Approve Affiliate
- Reject Affiliate
- Ban Affiliate
- Change Affiliate Status to Pending
- Delete
Approving in bulk is the normal way to clear a backlog.
Add an existing user as an affiliate
Section titled “Add an existing user as an affiliate”Click Add New at the top of the list. That opens the WordPress Add New User screen with the plugin’s affiliate fields added. An existing customer or a new person becomes an affiliate without going through the front-end signup form.
Set Role to Affiliate before you save. That role is what makes the record an affiliate. The new user then picks up whatever Default Affiliate Status is set to under Configuration → General.
This is the route for a partner you agreed terms with offline. They never see the application form and never wait for approval.
Where to go next
Section titled “Where to go next”- Affiliate Details for a single affiliate’s performance and settings.
- How to Approve and Manage Affiliates for the day-to-day routine.