

How to Use Pay Later with the Checkout Block
Pay Later works the same in the WooCommerce Checkout block as on the classic checkout page. There is nothing to switch on.
Step 1: Use the Checkout block
Section titled “Step 1: Use the Checkout block”A store whose checkout page uses the Checkout block gets Pay Later automatically. The demo switched its checkout page to the block for this walk-through.
Step 2: The customer picks Pay Later
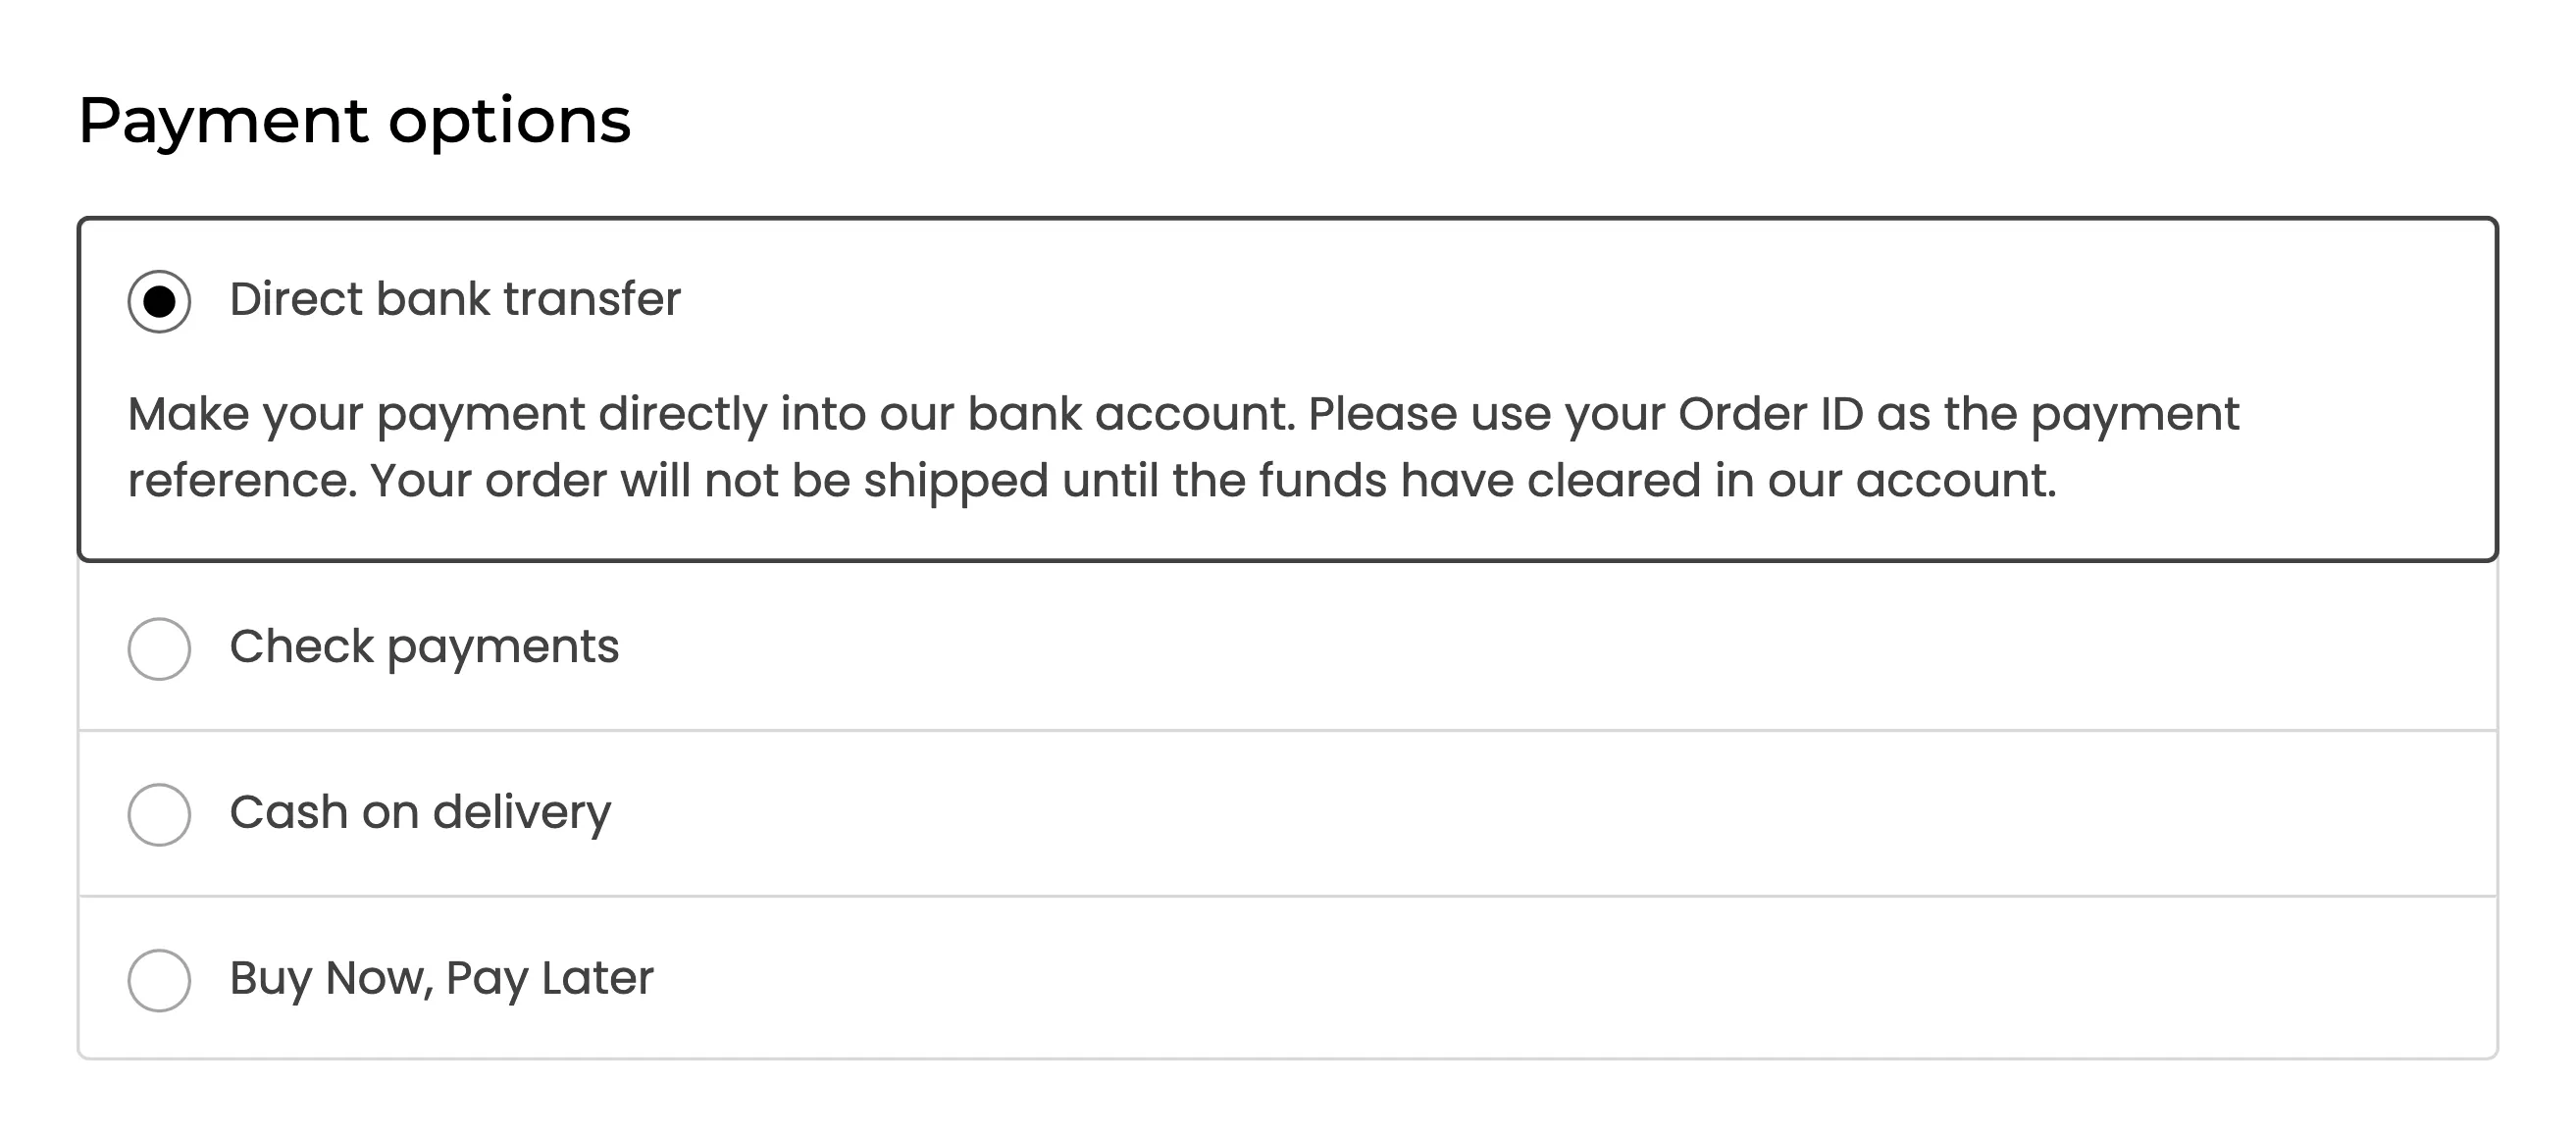
Section titled “Step 2: The customer picks Pay Later”Under Payment options, Buy Now, Pay Later sits with your other methods for any approved customer who has the credit. Guests do not see it.
Step 3: The customer picks a plan
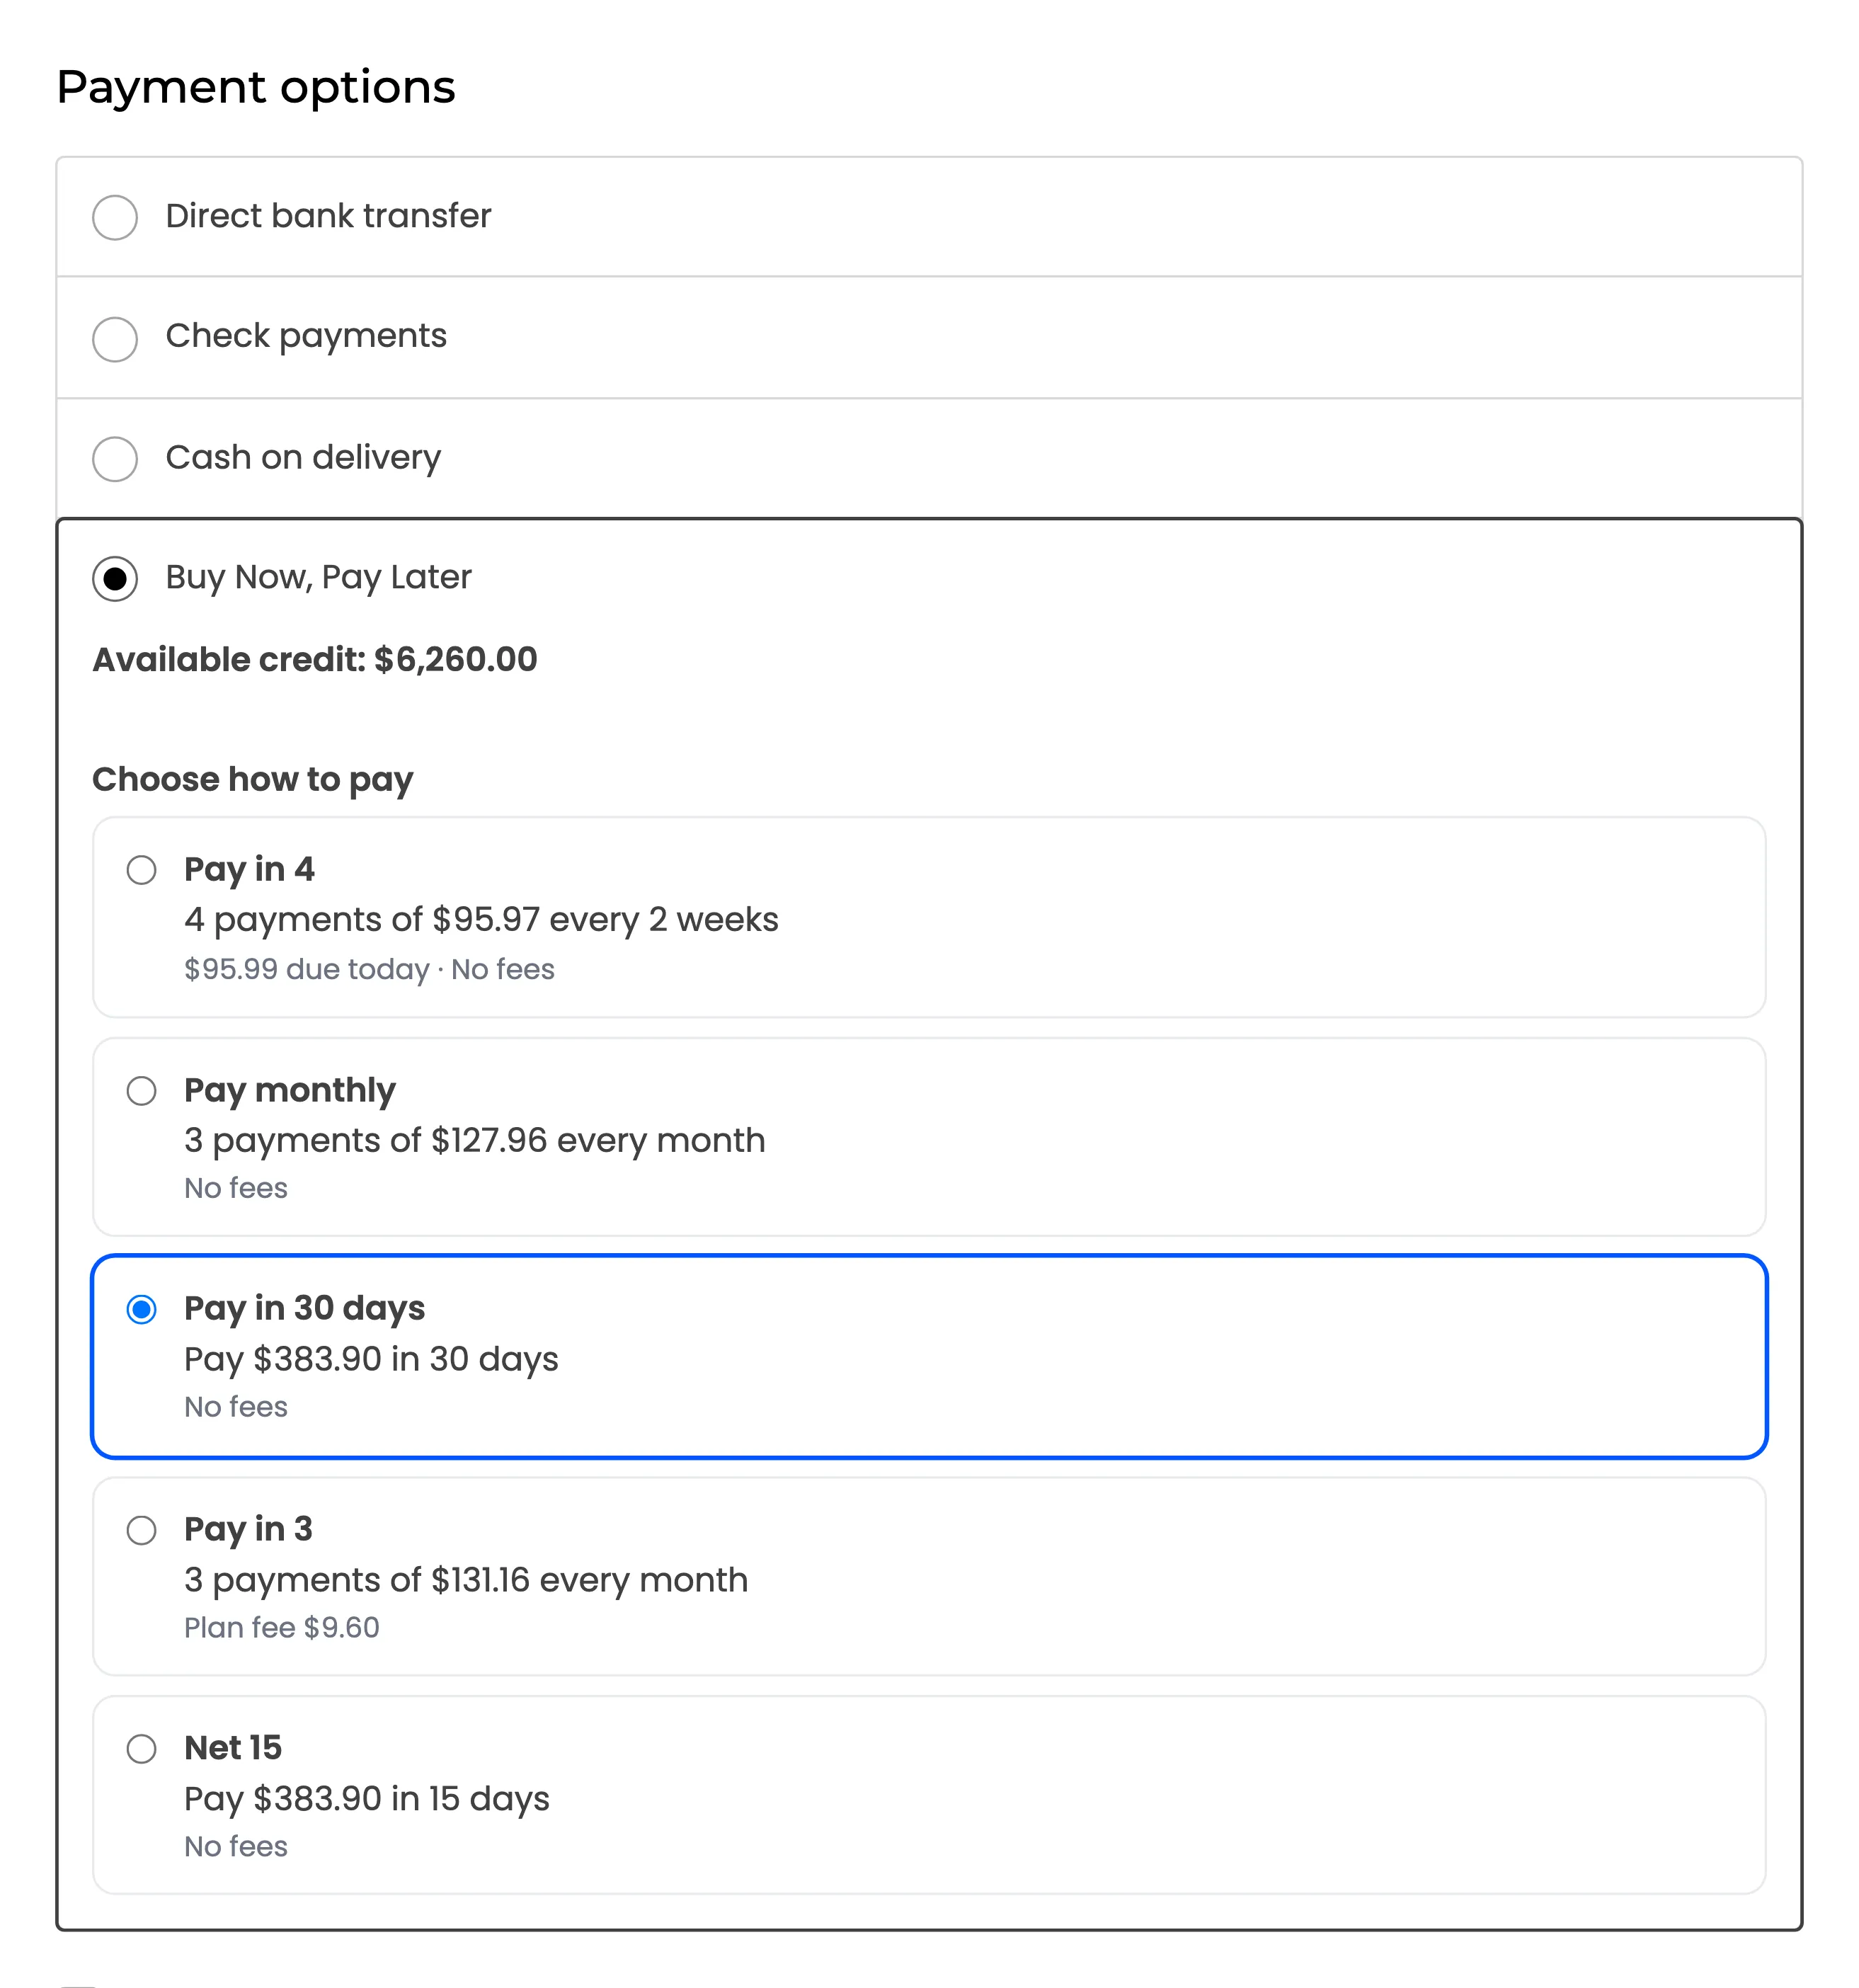
Section titled “Step 3: The customer picks a plan”Selecting it shows the description, the available credit and every plan that fits, with the payment amount, what is due today and any fee.
Step 4: Place the order
Section titled “Step 4: Place the order”Place order creates the order on the chosen plan. The thank you page, the confirmation email and My Account show the same schedule as with the classic checkout.
Differences from the classic checkout
Section titled “Differences from the classic checkout”- A plan without an upfront payment shows “No fees” or its fee, without the first payment’s date.
- The checkout re-checks the plan, the order range and the credit when the order is placed, so a stale page cannot place an order the customer can no longer afford.