
How to Show Installment Prices on Your Store
A price split into four is easier to say yes to. The installment message shows shoppers what a product costs per payment before they reach the checkout, with a Learn more link that explains Pay Later.
Step 1: Turn the message on
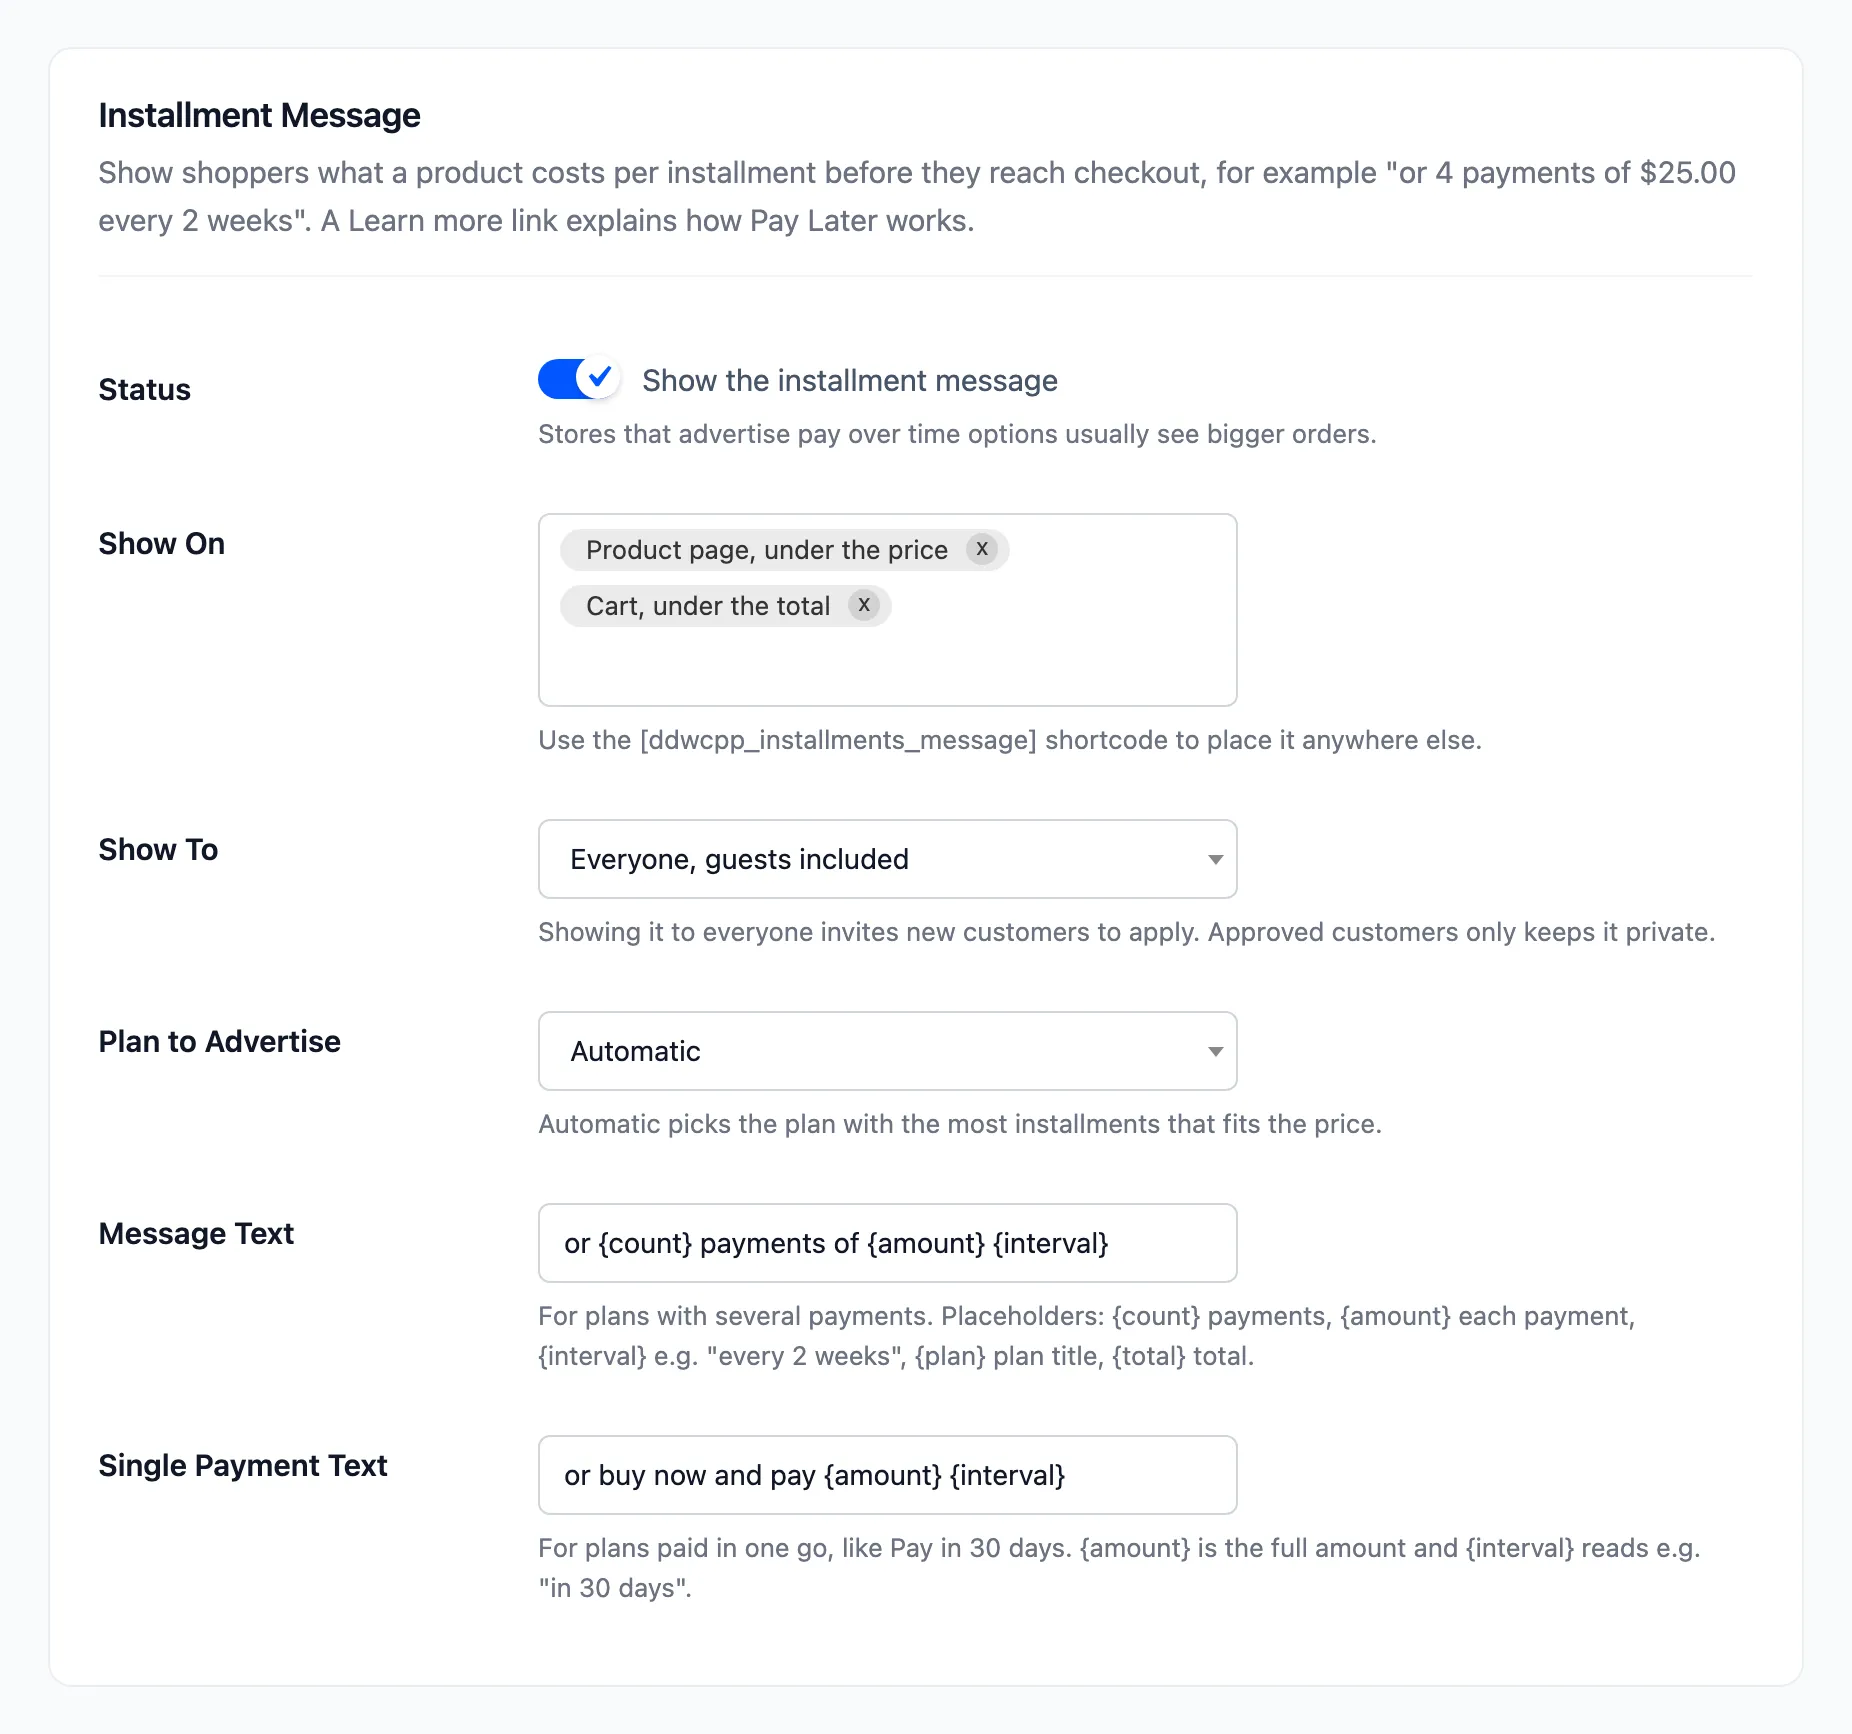
Section titled “Step 1: Turn the message on”Go to DevDiggers Plugins → Pay Later → Configuration → Messaging. Status is ticked by default.
Step 2: Choose where it shows
Section titled “Step 2: Choose where it shows”Show On offers three places:
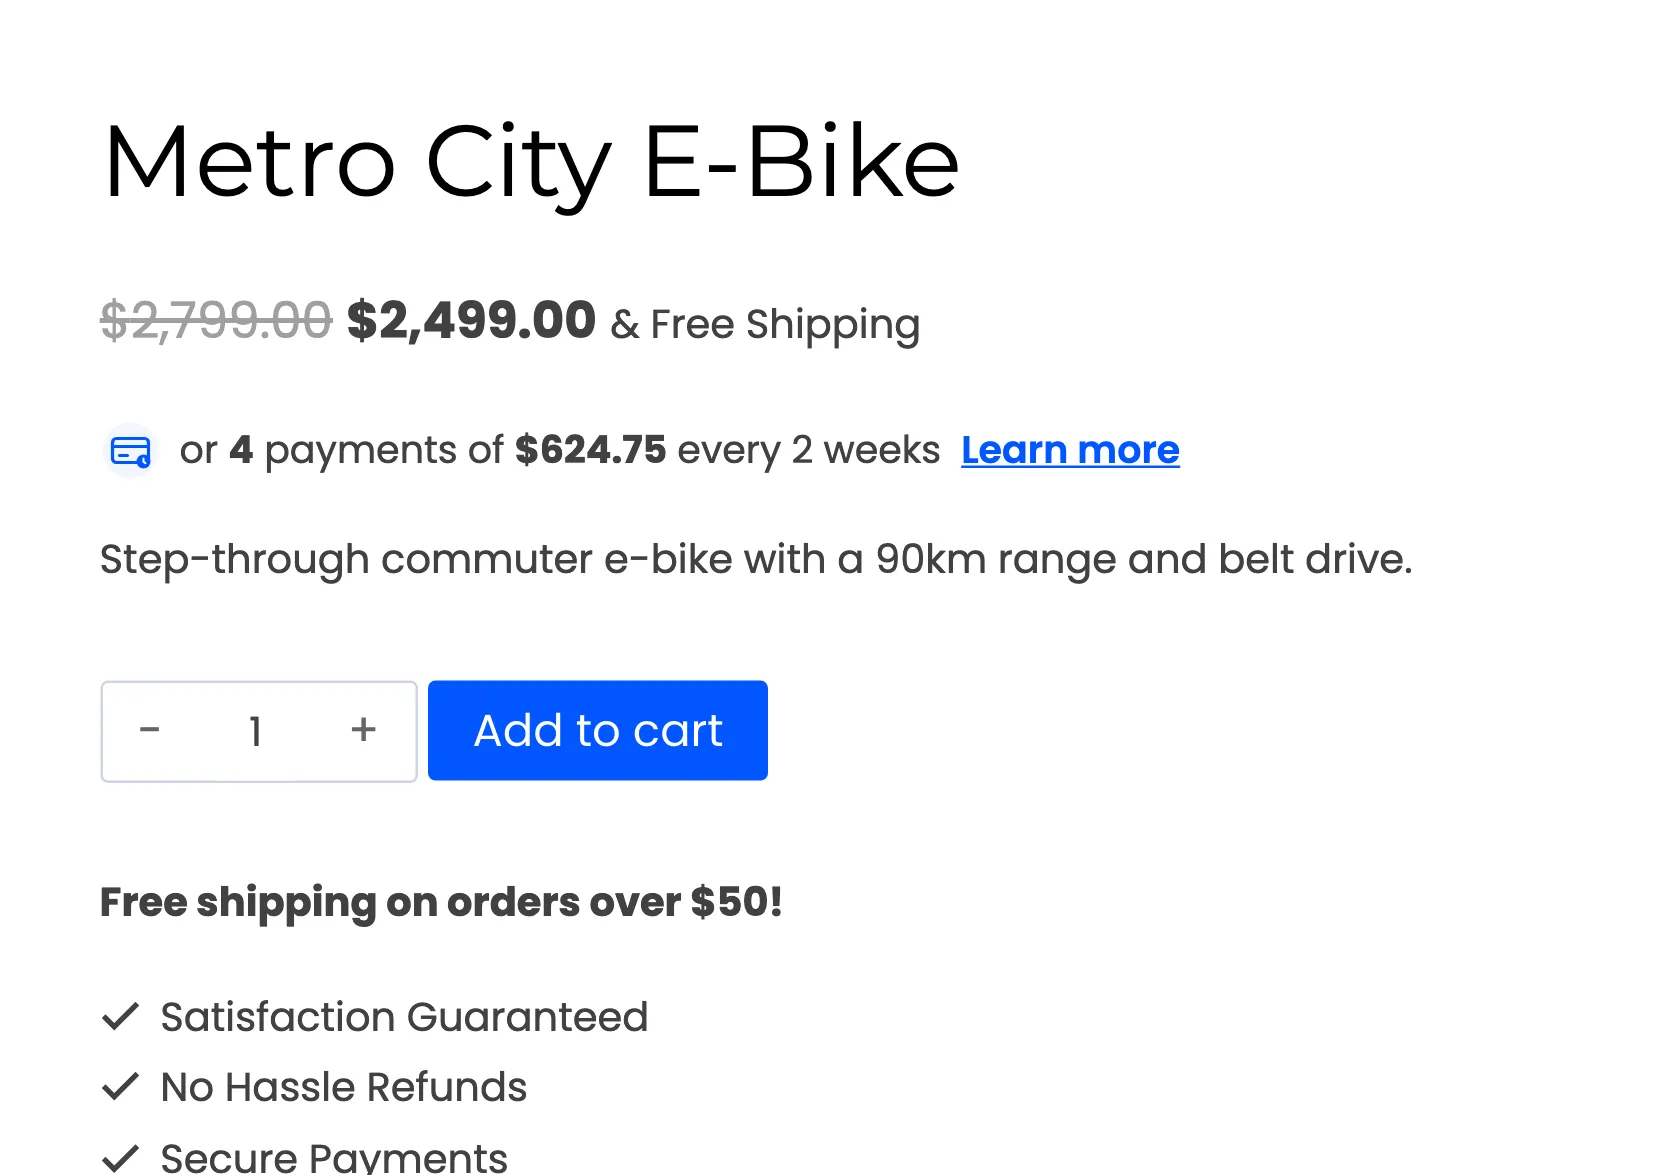
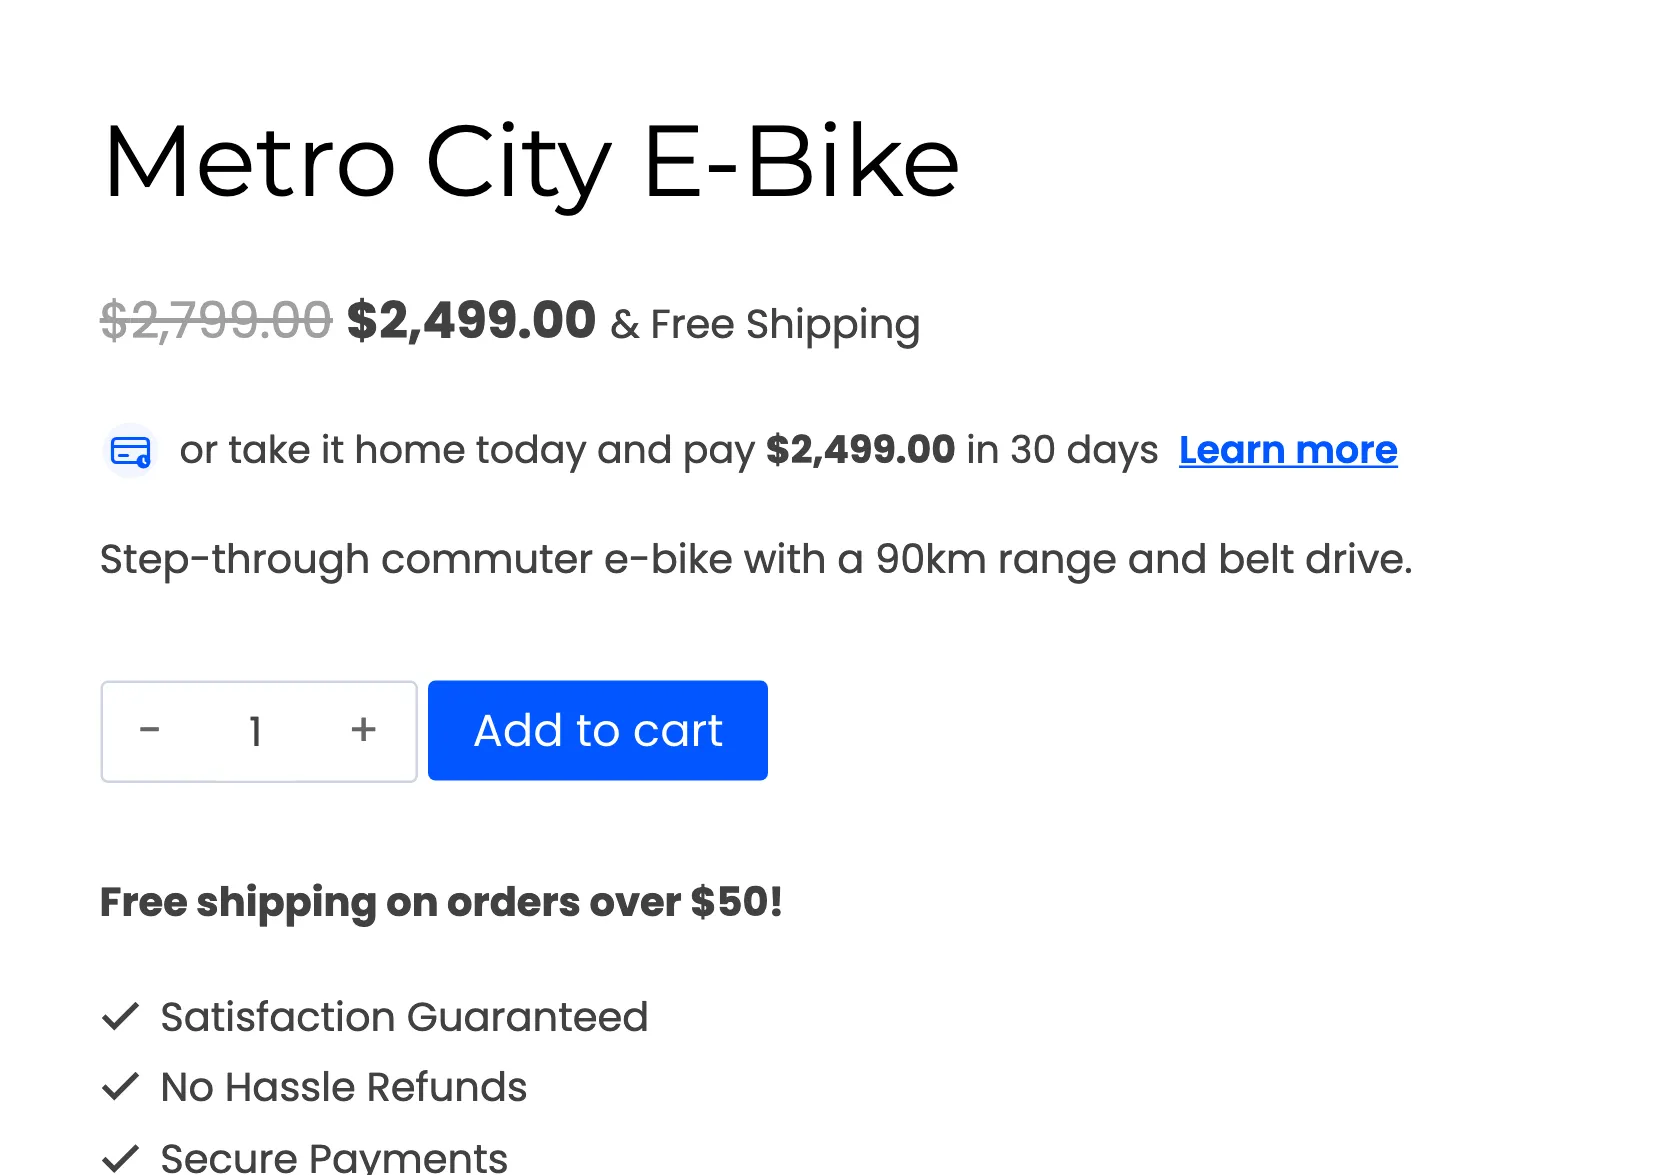
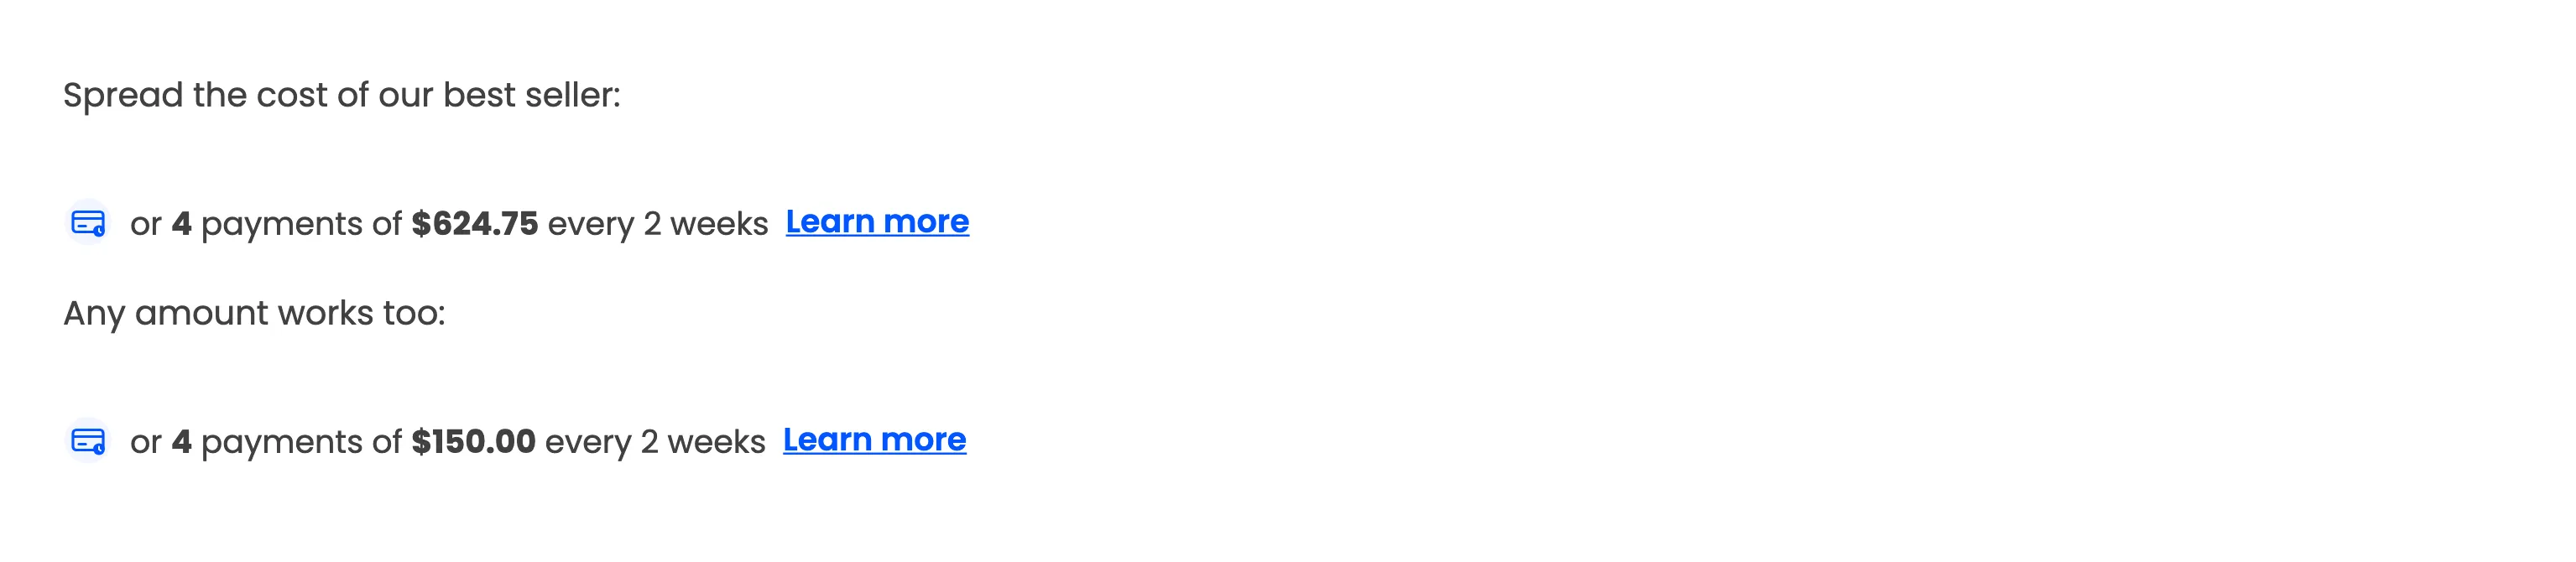
- Product page, under the price: “or 4 payments of $624.75 every 2 weeks”.
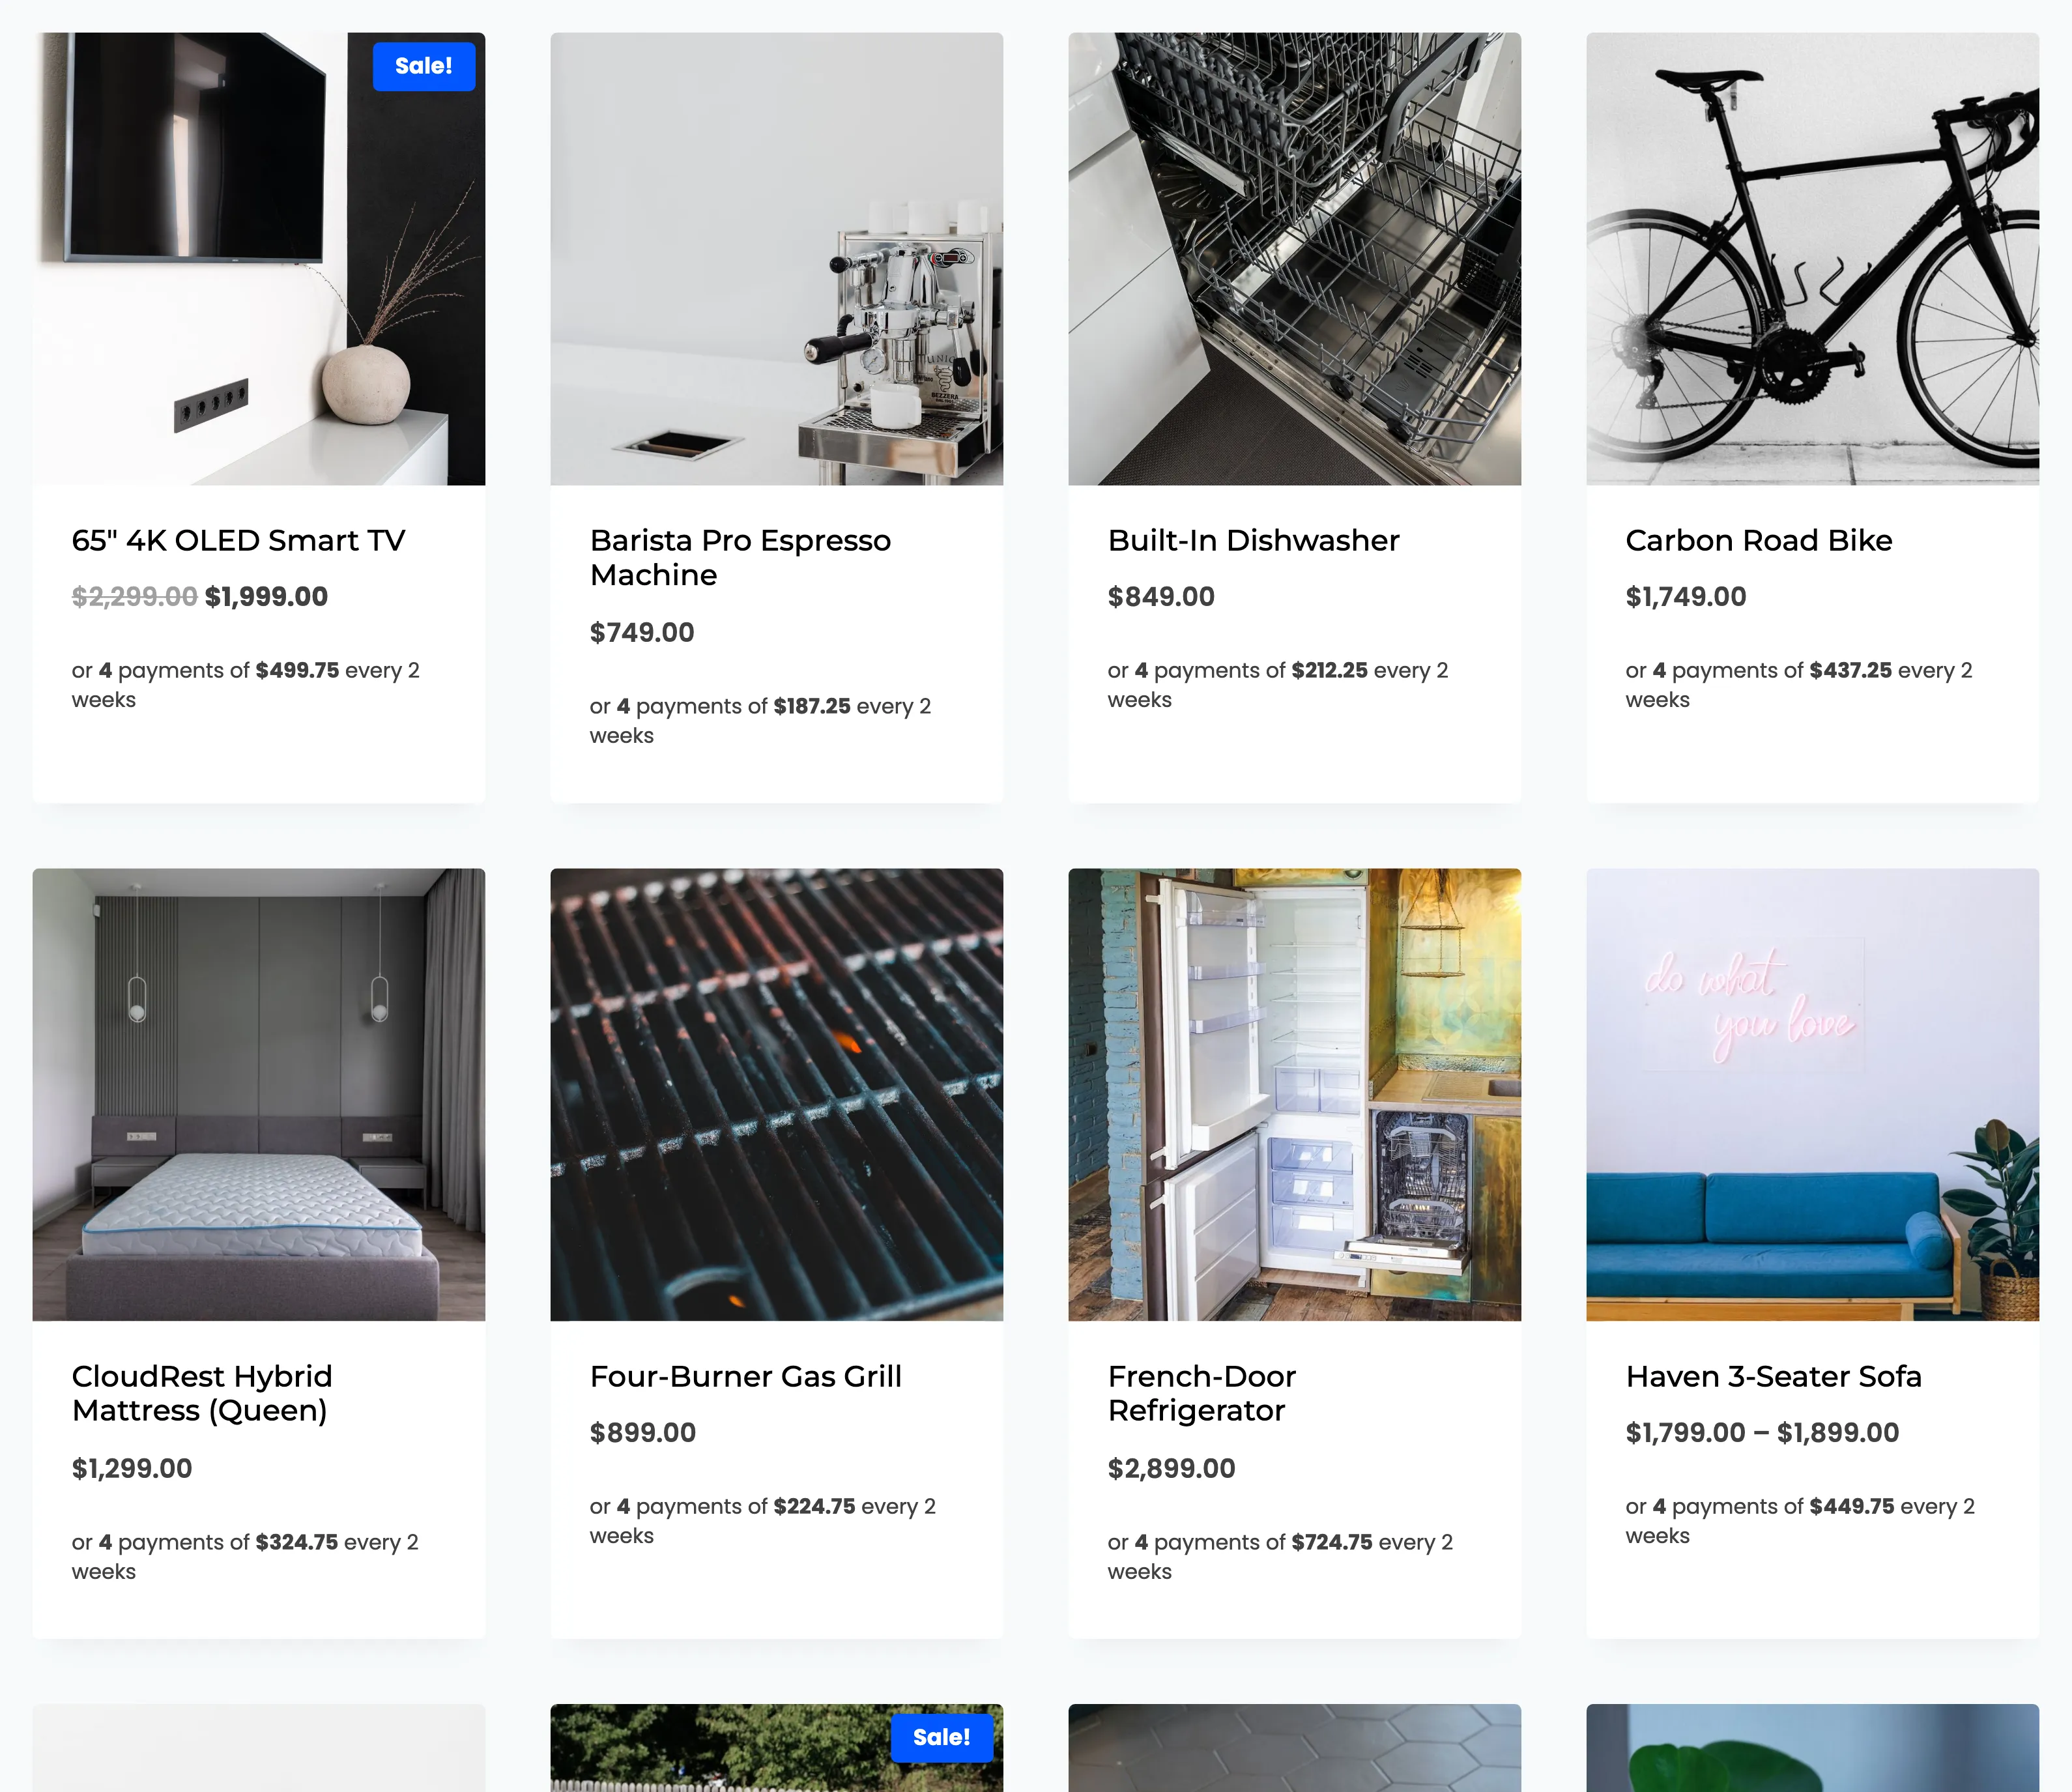
- Shop and category pages: A shorter line under each product in the grid.
- Cart, under the total: Worked out for the whole cart.
Click Save Changes.
Step 3: Adjust the wording
Section titled “Step 3: Adjust the wording”- Message Text: For plans with several payments. Default “or {count} payments of {amount} {interval}”.
- Single Payment Text: For one-payment plans. Default “or buy now and pay {amount} {interval}”.
Plan to Advertise (Pro) picks which plan the message works out. Automatic takes the plan with the most payments that fits the price. The demo pinned Pay in 30 days with its own single payment text.
Step 4: Place it anywhere else
Section titled “Step 4: Place it anywhere else”[ddwcpp_installments_message] prints the message anywhere shortcodes work. On a product template it uses
that product. Elsewhere, name one:
[ddwcpp_installments_message product_id="16"]: for product 16.[ddwcpp_installments_message amount="600"]: for any amount.
When the message hides itself
Section titled “When the message hides itself”- No active plan fits the price, for example a $50 product when every plan starts at $100.
- The product is excluded (Pro).
- Show To (Pro) is Approved customers only and the visitor is a guest or not approved.