

How to Customize the Learn More Window (Pro)
Learn more sits next to the installment message and opens a window that explains Pay Later in three steps and lists your plans. Make it sound like your store.
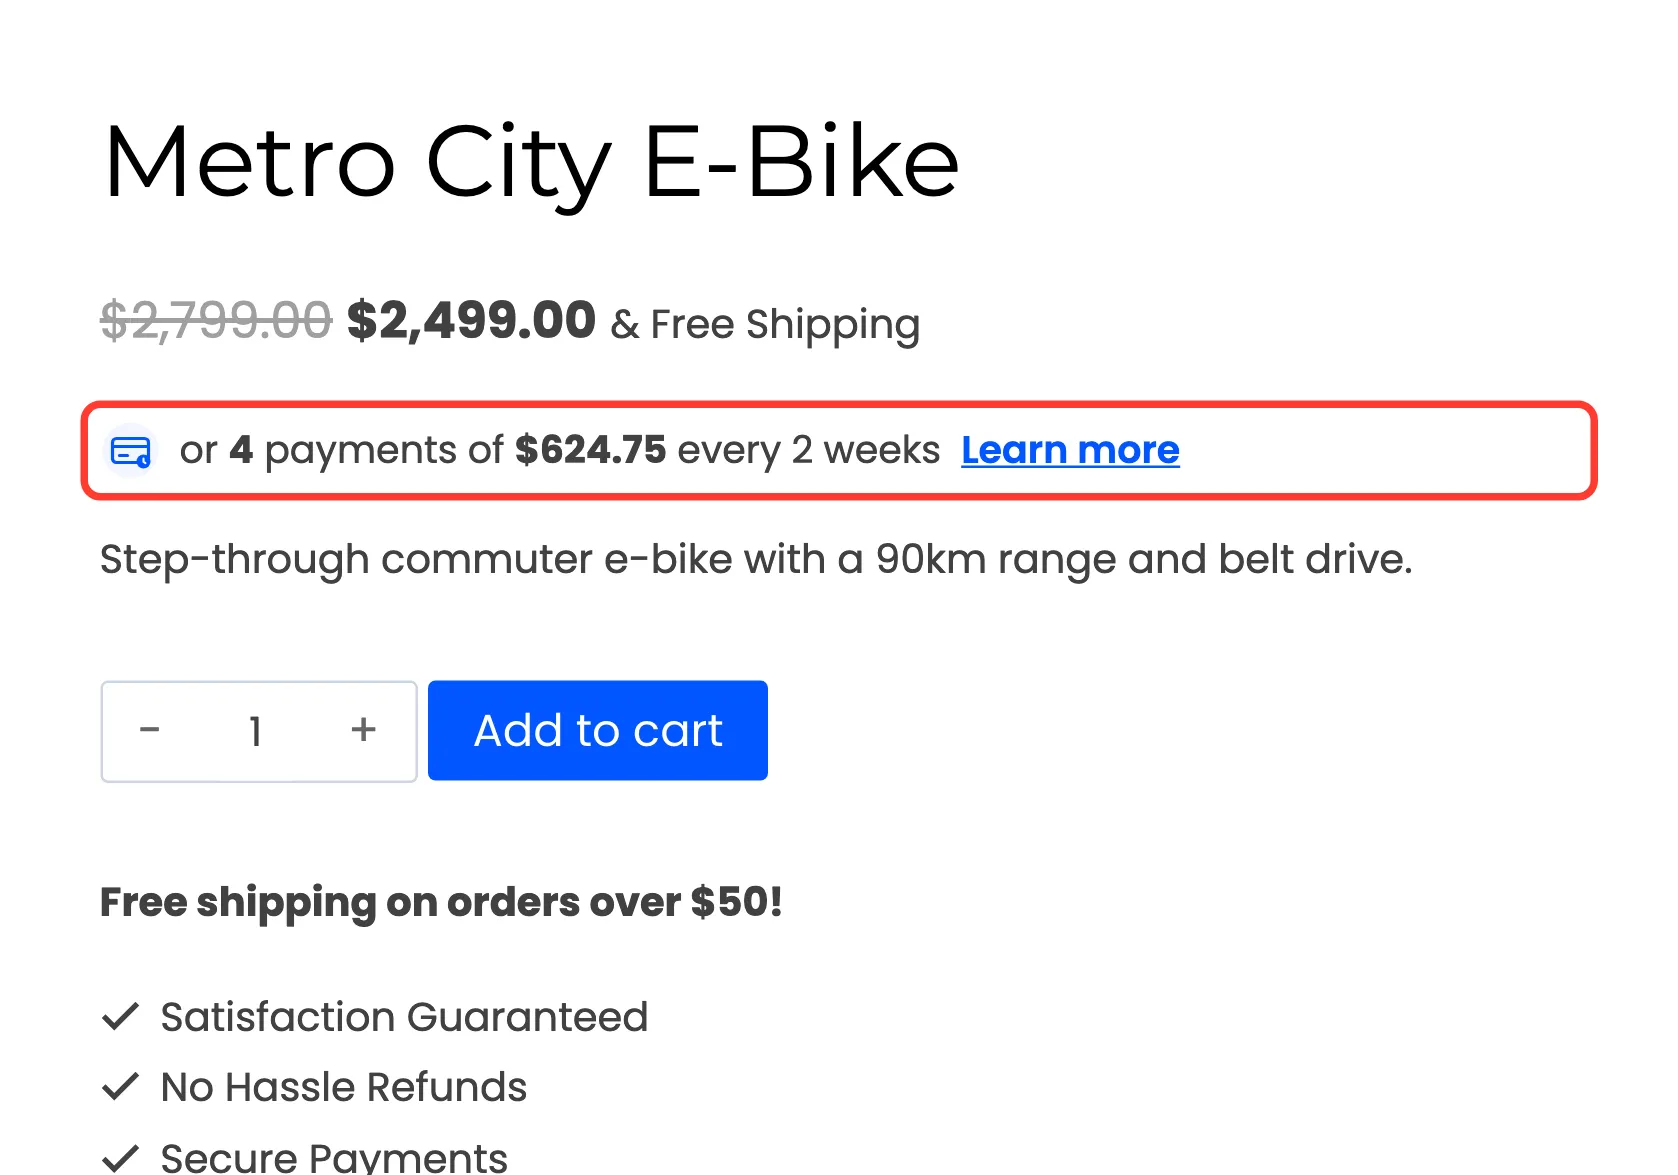
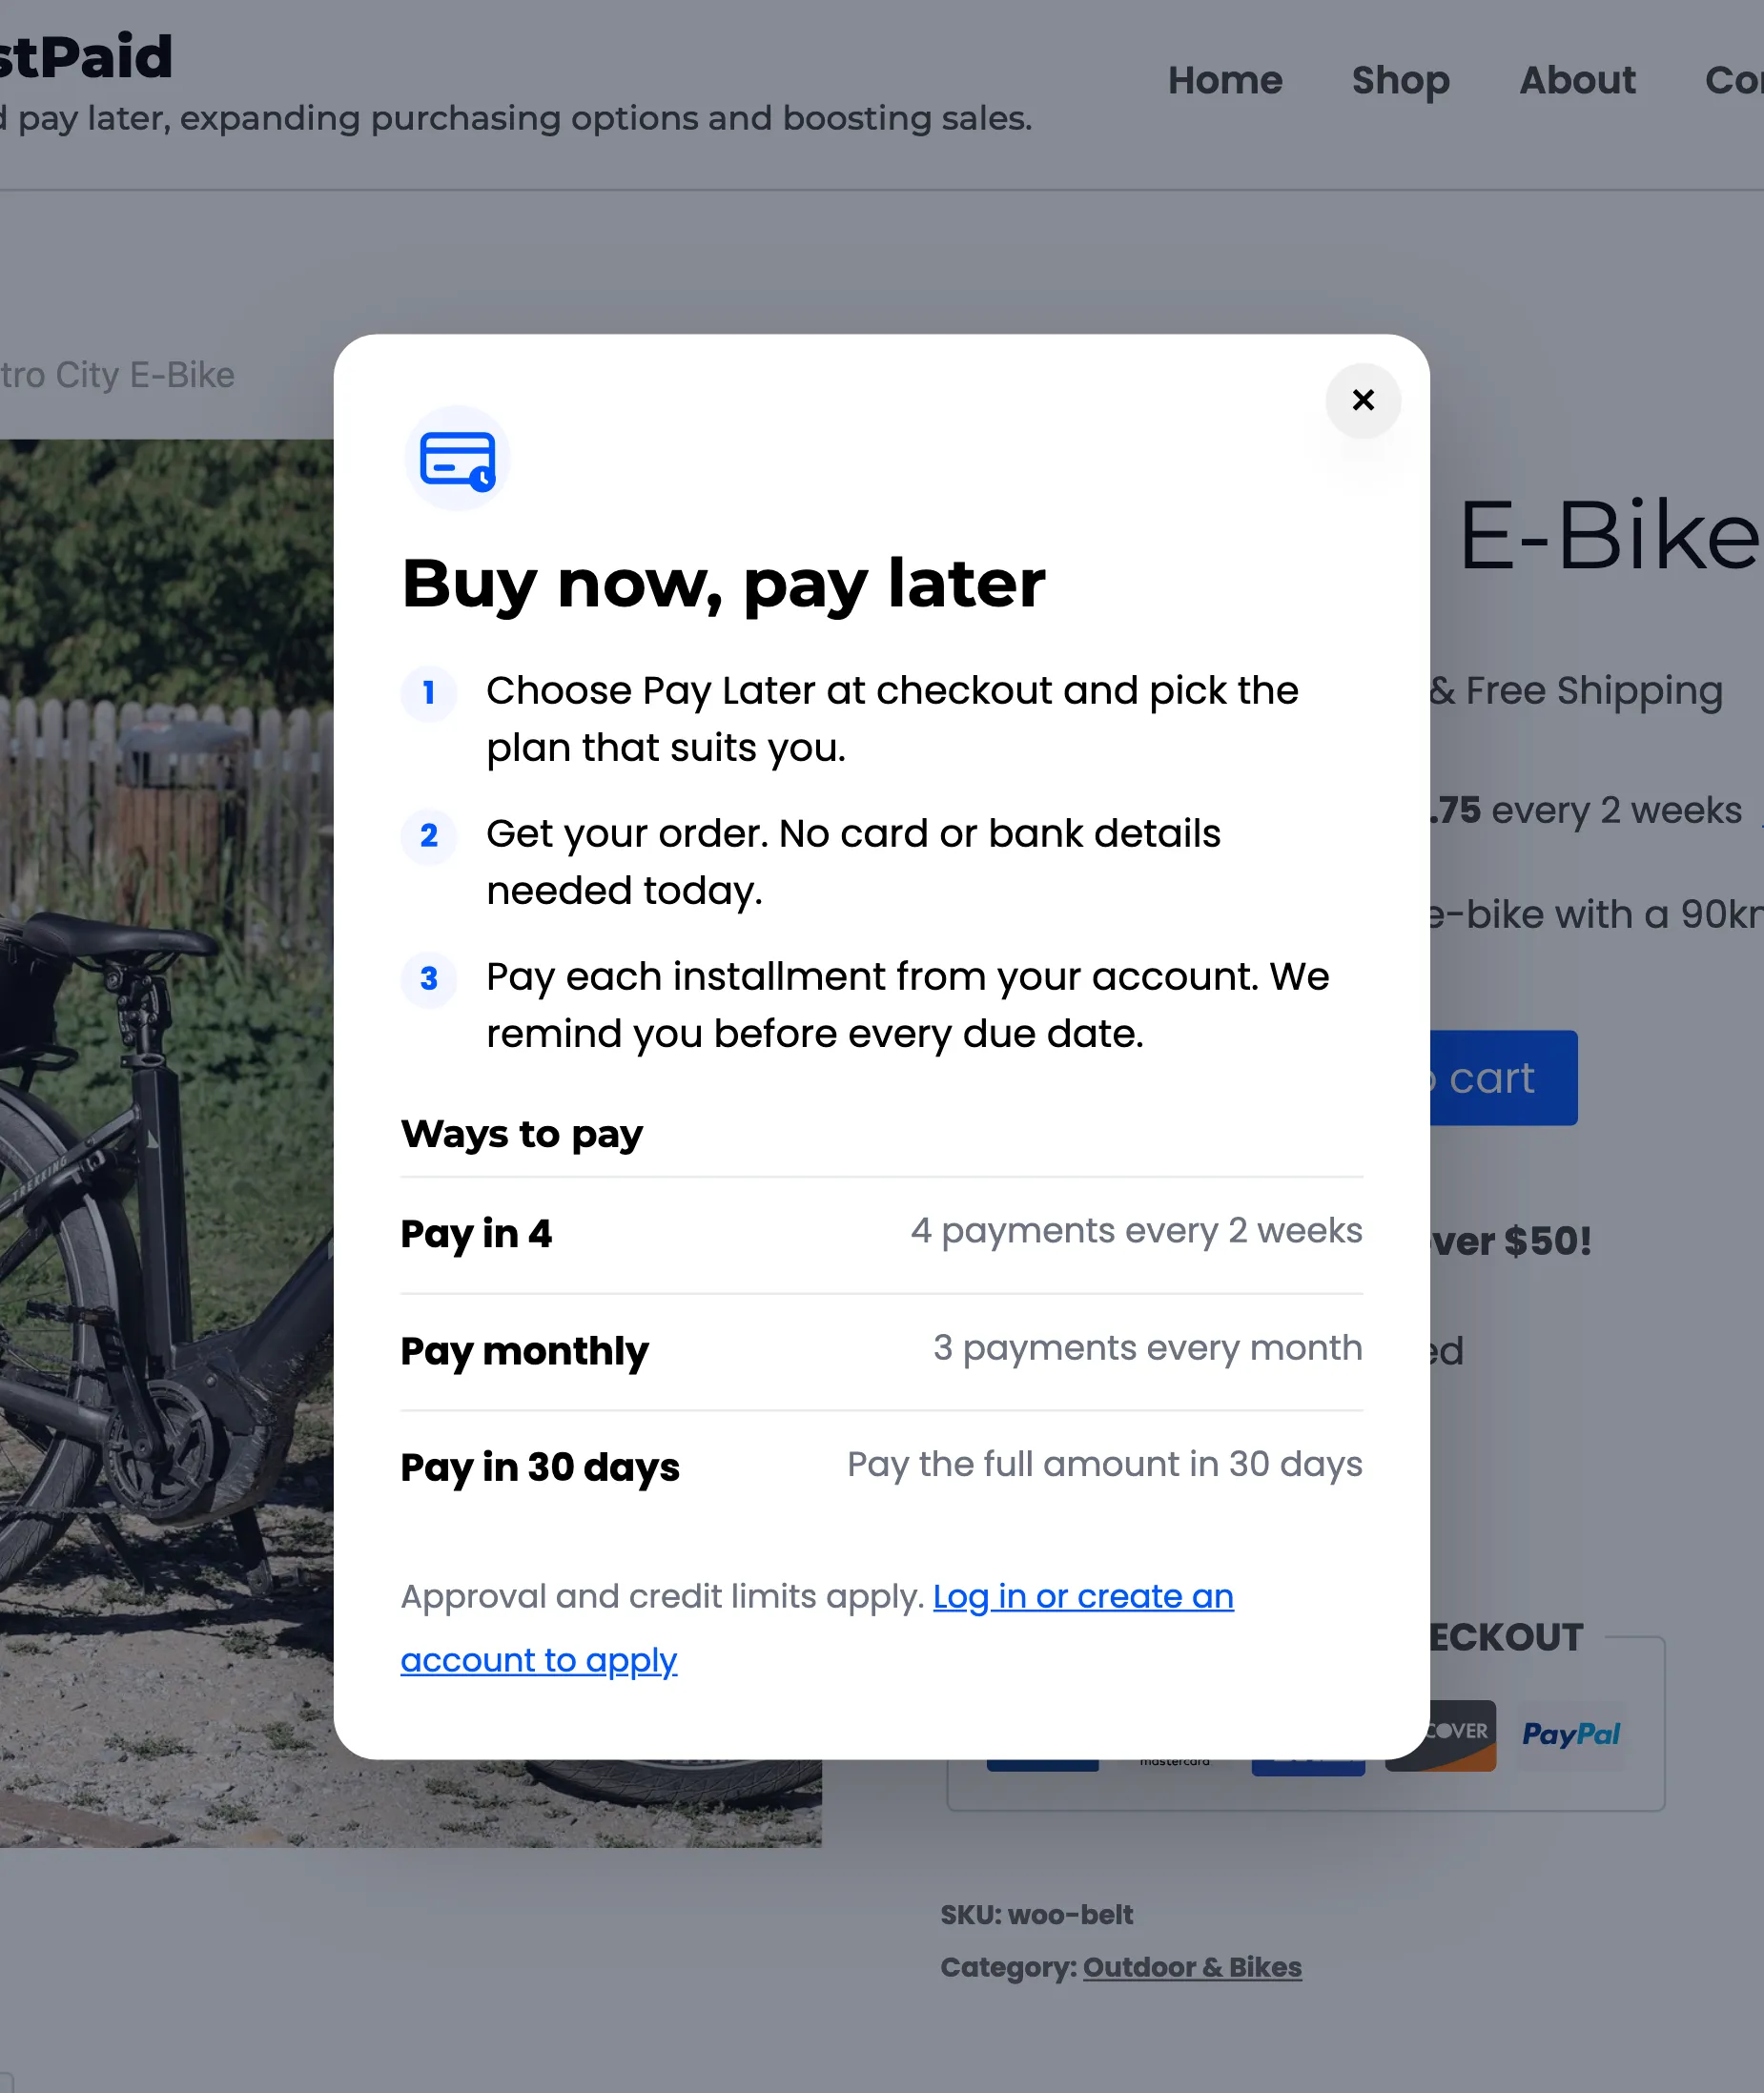
Step 1: Open the Learn More Dialog section
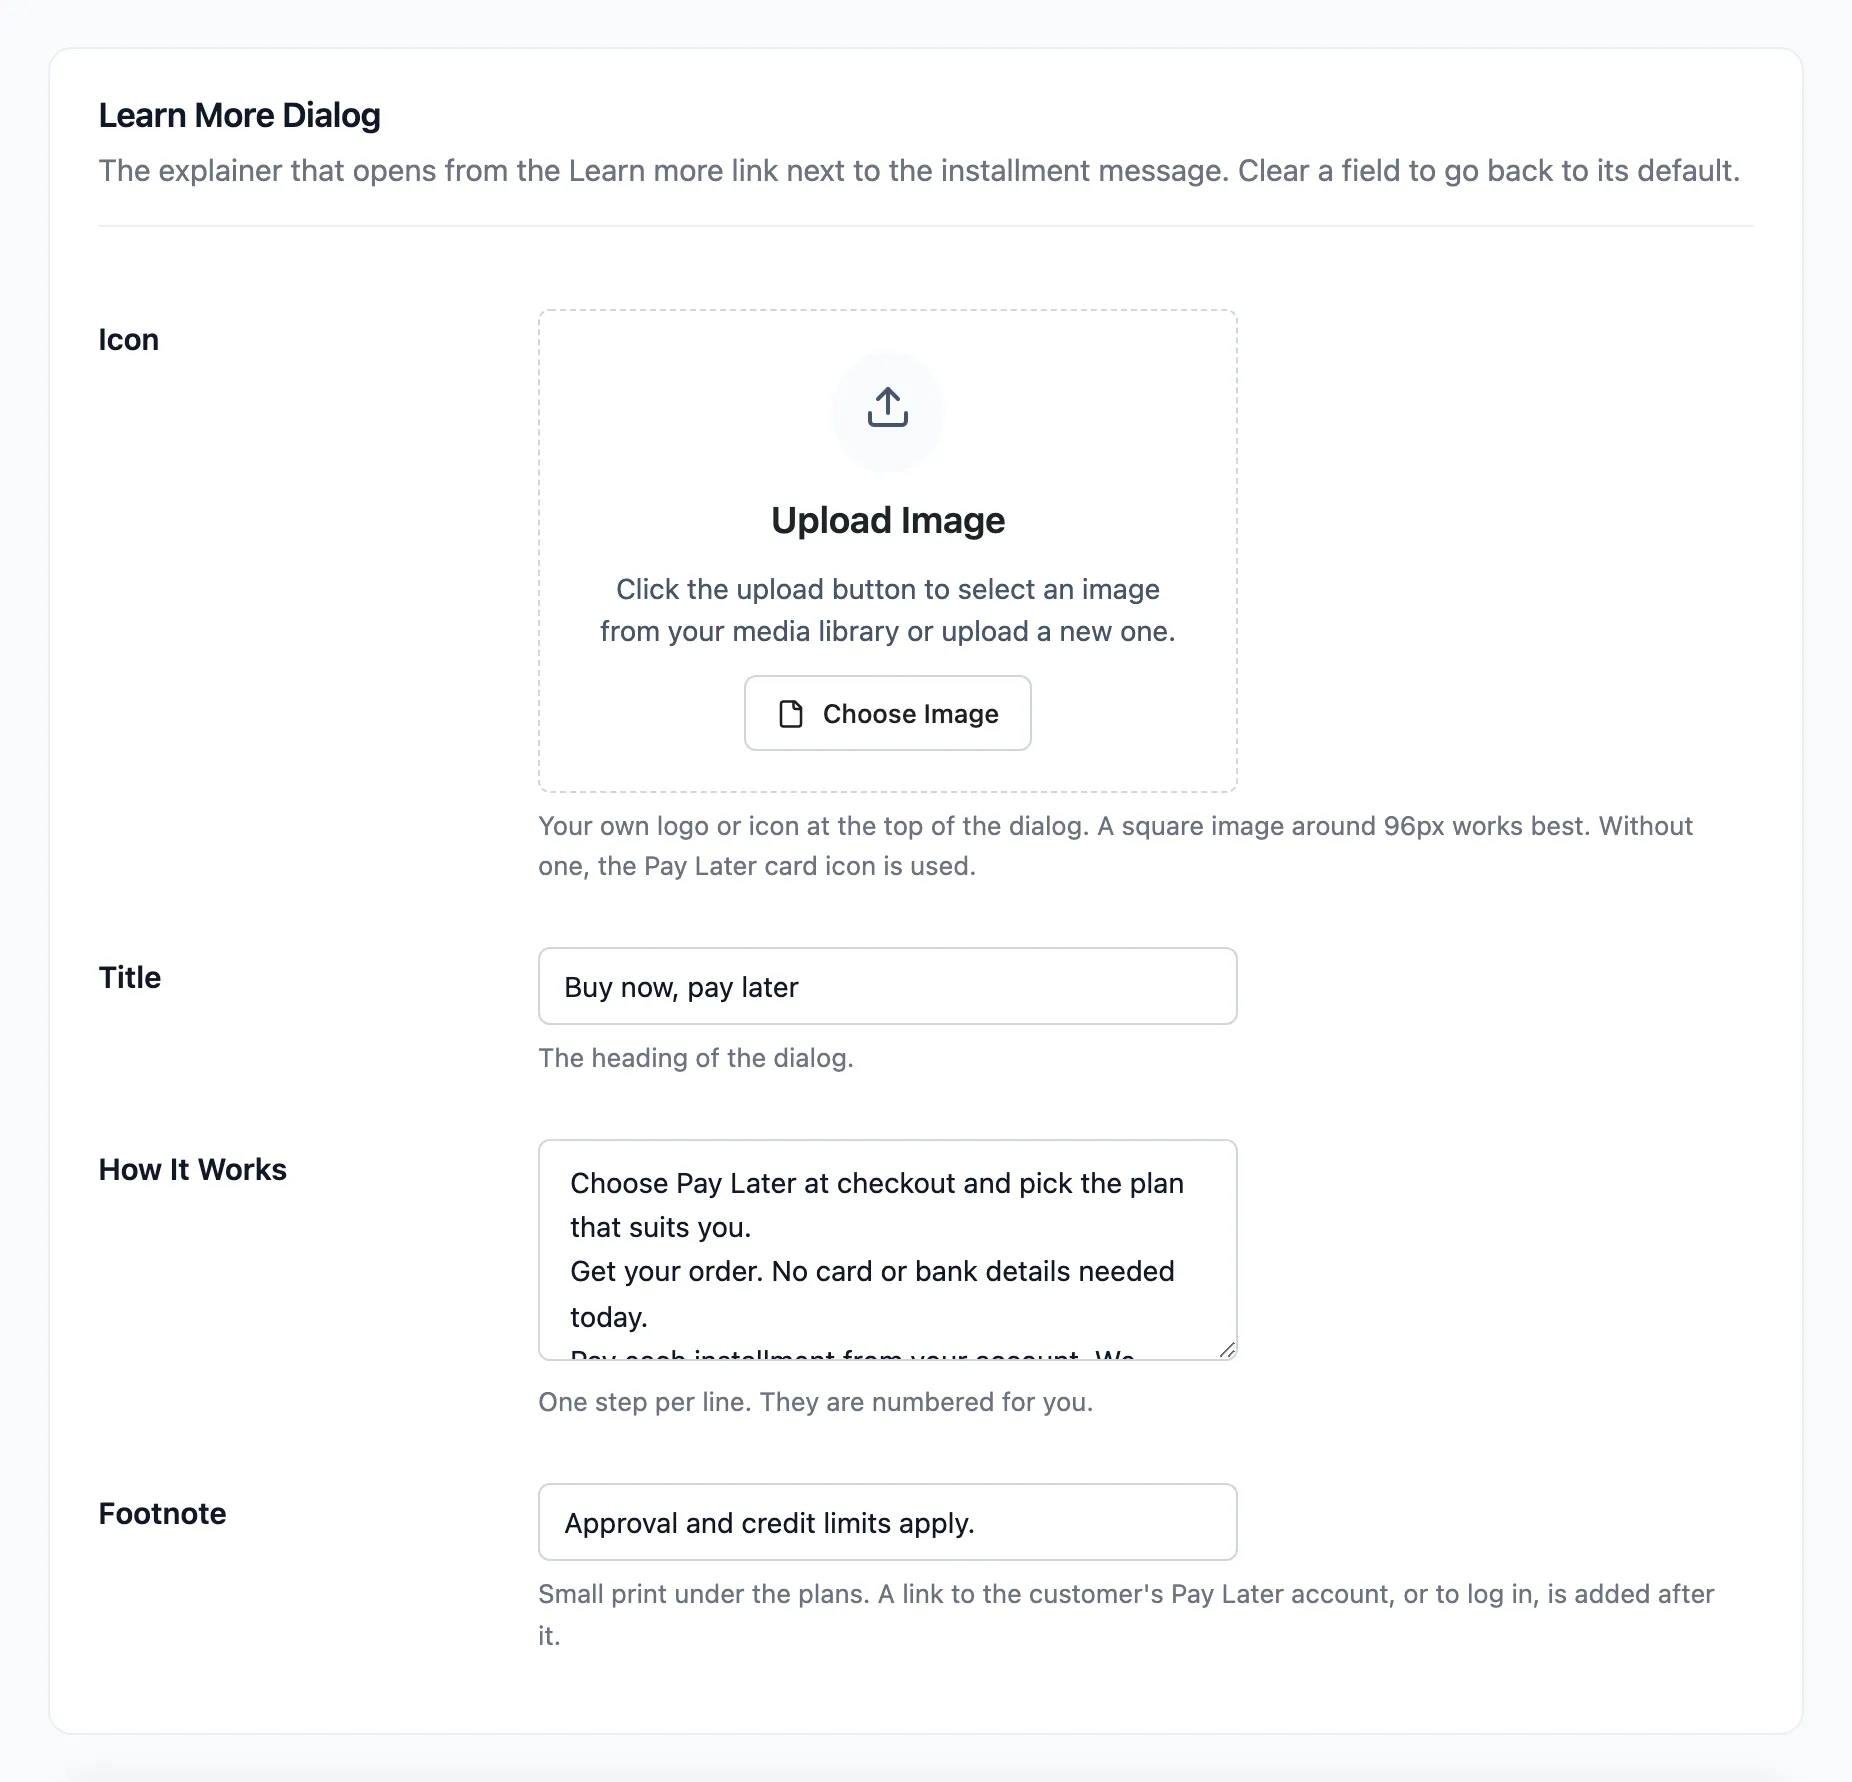
Section titled “Step 1: Open the Learn More Dialog section”Go to DevDiggers Plugins → Pay Later → Configuration → Messaging and scroll to Learn More Dialog.
Step 2: Add your icon
Section titled “Step 2: Add your icon”Click Upload Image under Icon and pick a square image, about 96px. Without one, the Pay Later card icon is used.
Step 3: Write the title and steps
Section titled “Step 3: Write the title and steps”- Title: The window’s heading. Default “Buy now, pay later”.
- How It Works: One step per line. They are numbered for you.
Step 4: Write the footnote
Section titled “Step 4: Write the footnote”Footnote is the small print under the plans. Default “Approval and credit limits apply.” A link to the customer’s Pay Later account follows it, or for guests “Log in or create an account to apply”.
Click Save Changes. Clear any field to go back to its default.
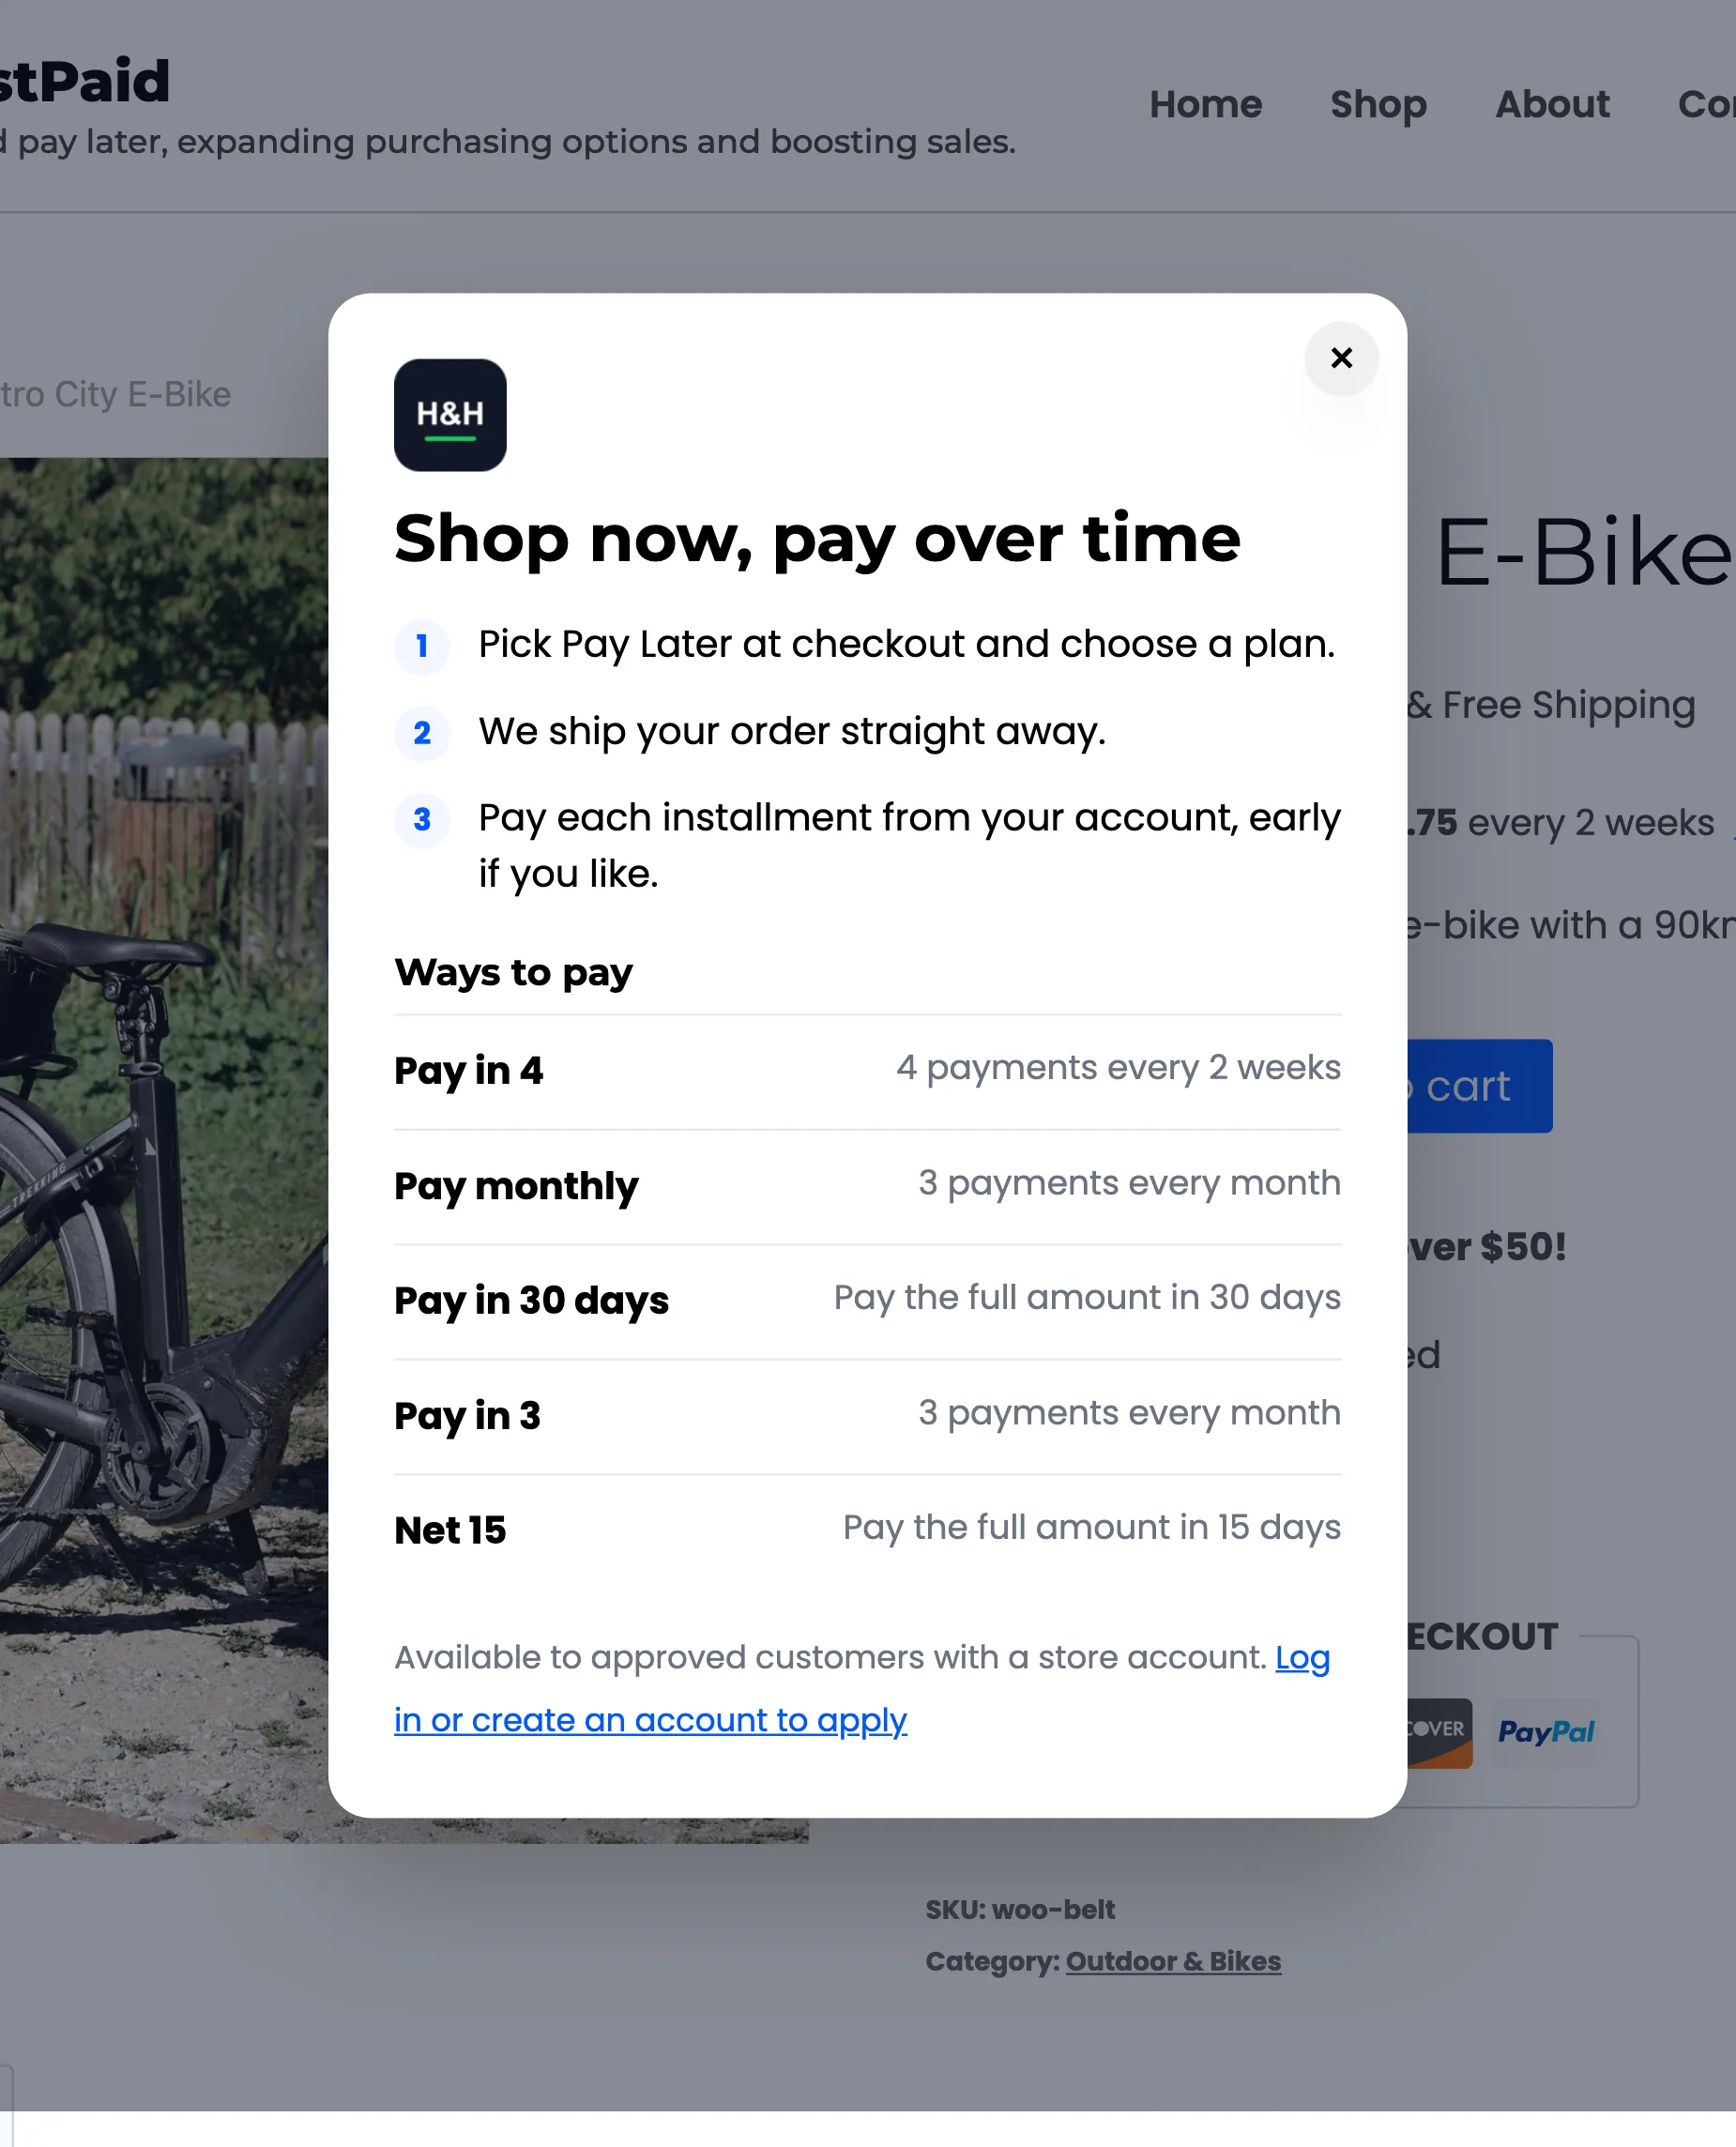
The Ways to pay list always shows your active plans and is not edited here. Change a plan’s title on the Plans screen.