

Email Settings
Pay Later sends nine emails, eight to the customer and one to the store. Each has its own switch, subject, heading and message. Open DevDiggers Plugins → Pay Later → Configuration → Emails.
Email Design
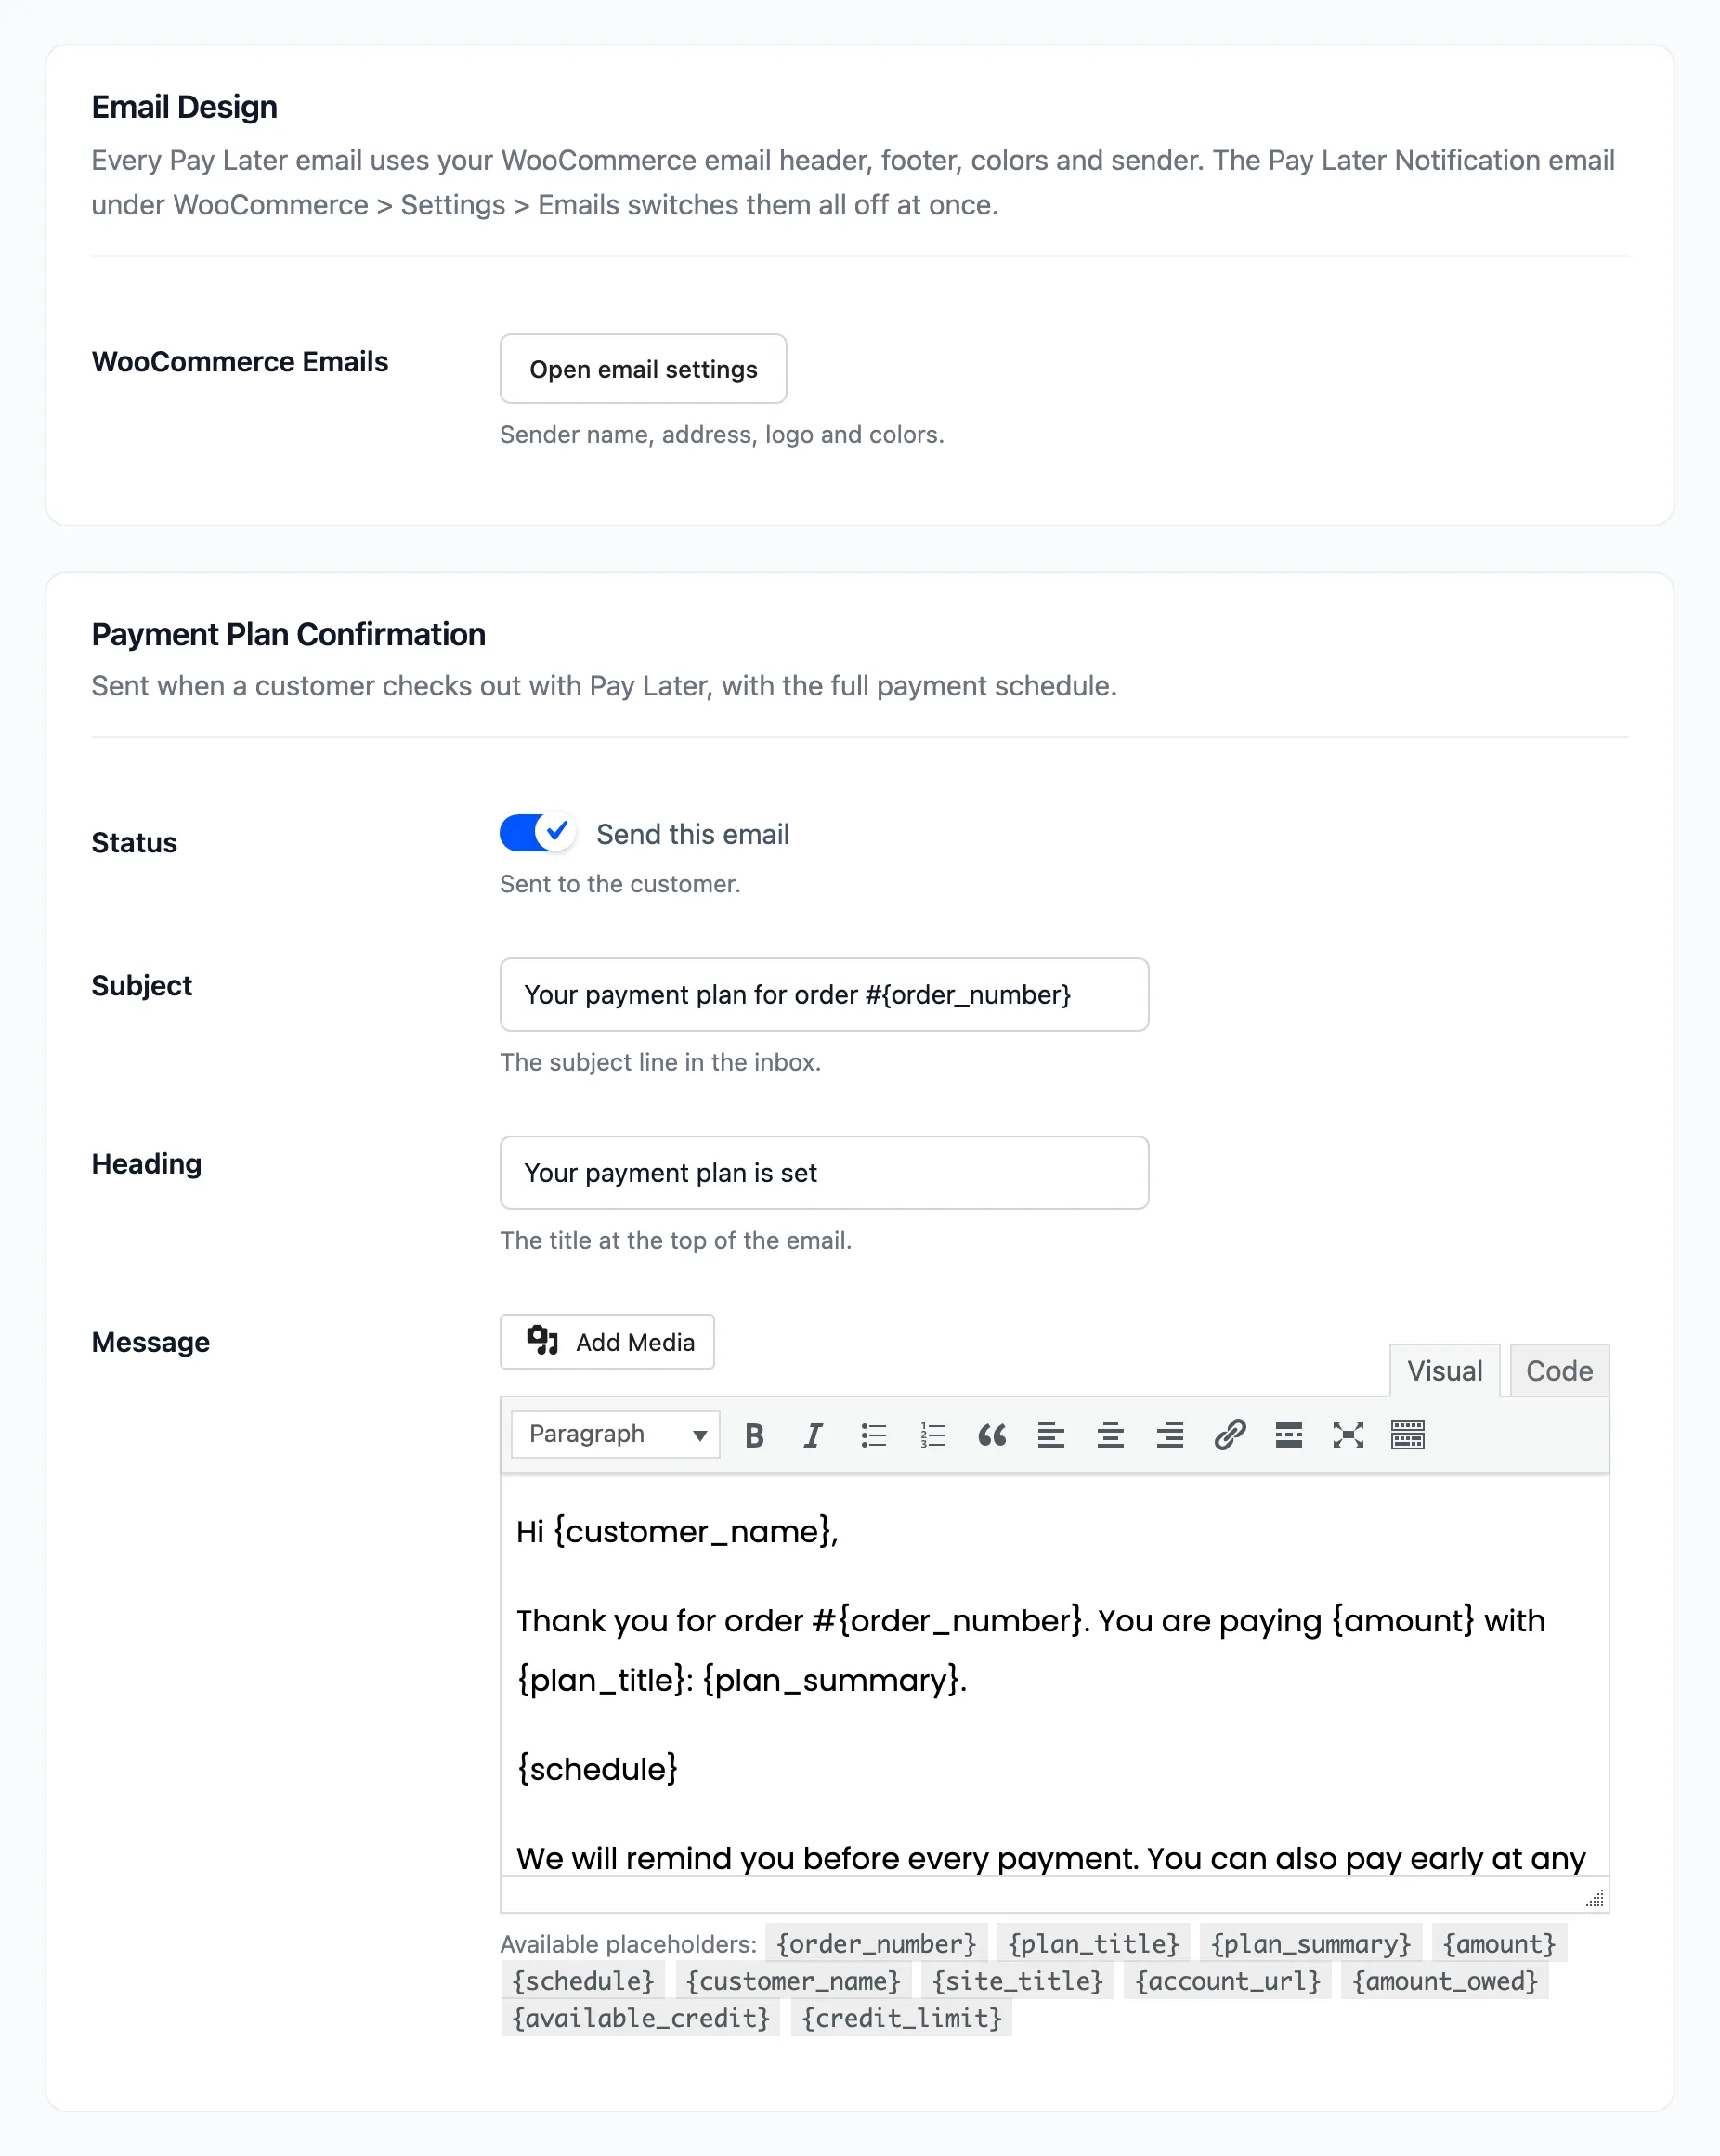
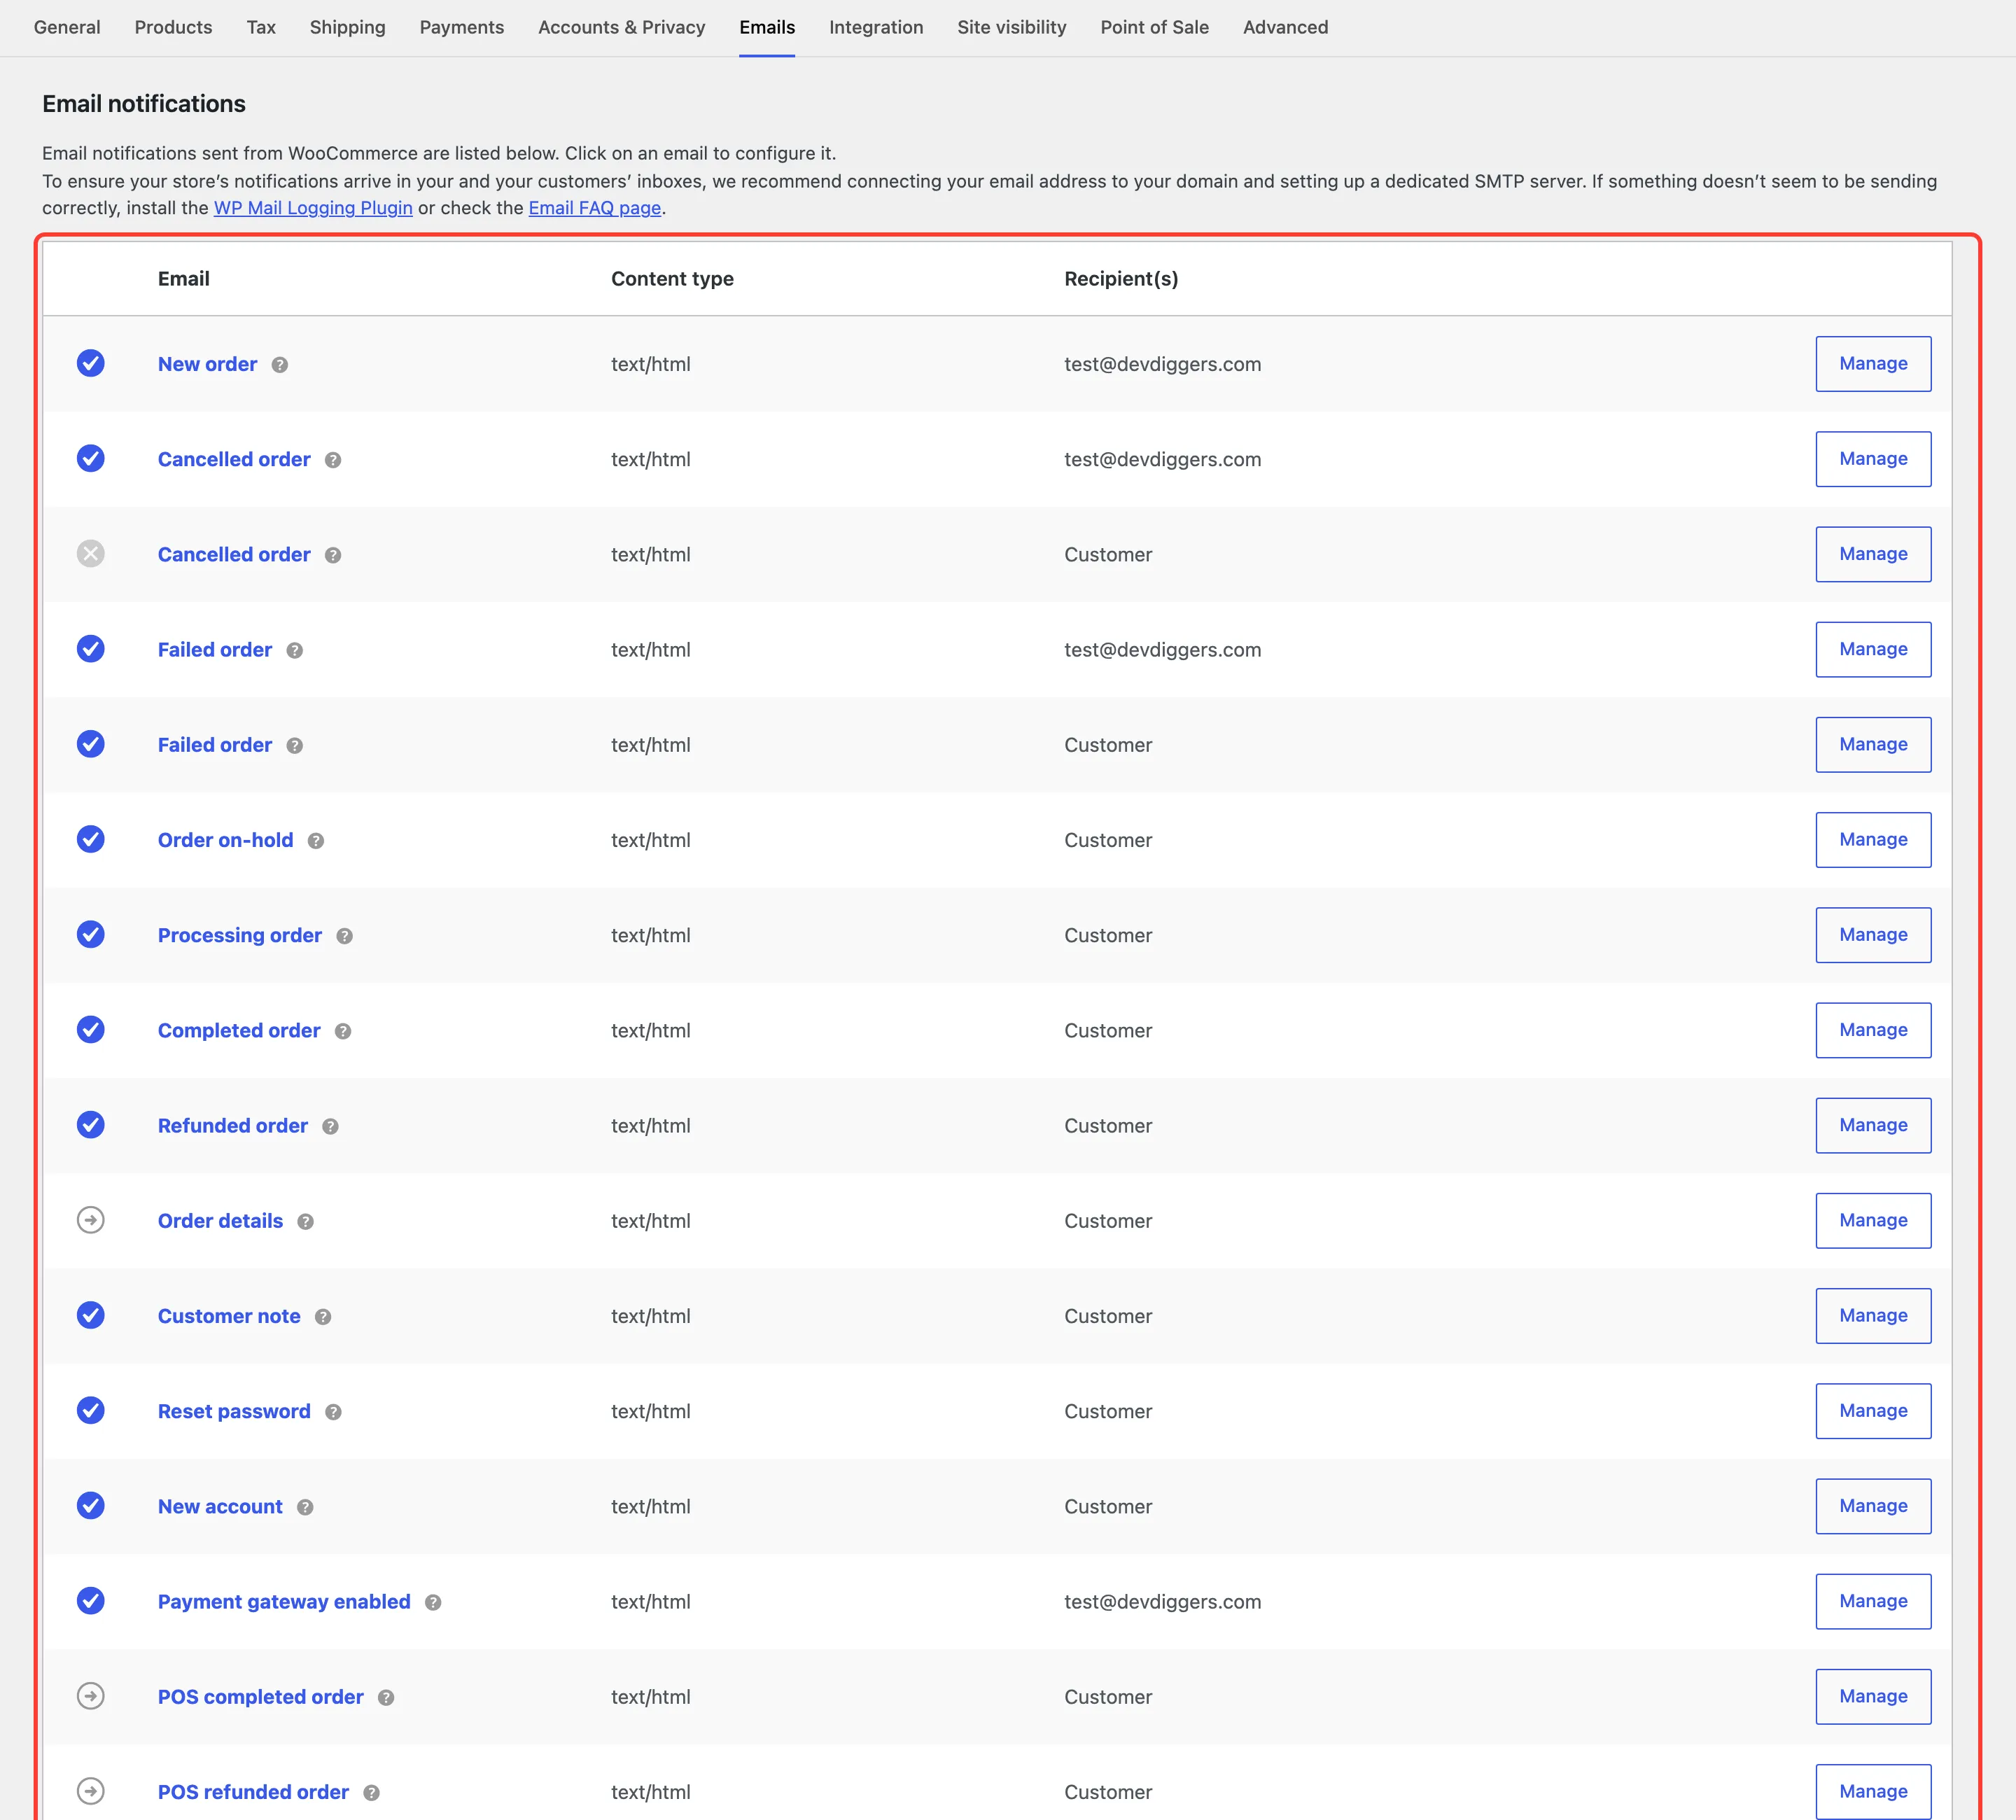
Section titled “Email Design”Every Pay Later email uses your WooCommerce email header, footer, colors and sender. WooCommerce Emails opens WooCommerce → Settings → Emails, where those are set. The Pay Later Notification entry there switches every Pay Later email off at once.
The emails
Section titled “The emails”Each section has the same four fields:
- Status: On by default for every email.
- Subject: The subject line in the inbox.
- Heading: The title at the top of the email.
- Message: The body, in a visual editor. Its placeholders are listed under the field.
| Sent to | When | Default subject | |
|---|---|---|---|
| Payment Plan Confirmation | Customer | They check out with Pay Later, with the full schedule | Your payment plan for order #{order_number} |
| Payment Reminder | Customer | The set number of days before an installment is due | Your payment of {amount} is due on {due_date} |
| Overdue Payment | Customer | Once, when an installment is missed, after any grace period | Your payment of {amount} is overdue |
| Payment Received | Customer | A repayment is paid, or you record a payment | We received your payment of {amount} |
| Refund or Cancellation | Customer | A Pay Later order is refunded or cancelled | Your Pay Later balance was updated for order #{order_number} |
| Balance Adjusted by the Store | Customer | You add or remove dues and tick Email the customer | Your Pay Later balance was adjusted |
| Application Approved | Customer | You approve them | You are approved for Pay Later |
| Application Not Approved | Customer | You reject them | An update on your Pay Later application |
| New Application (Store) | Store admin email | A customer applies | New Pay Later application from {customer_name} |
Placeholders
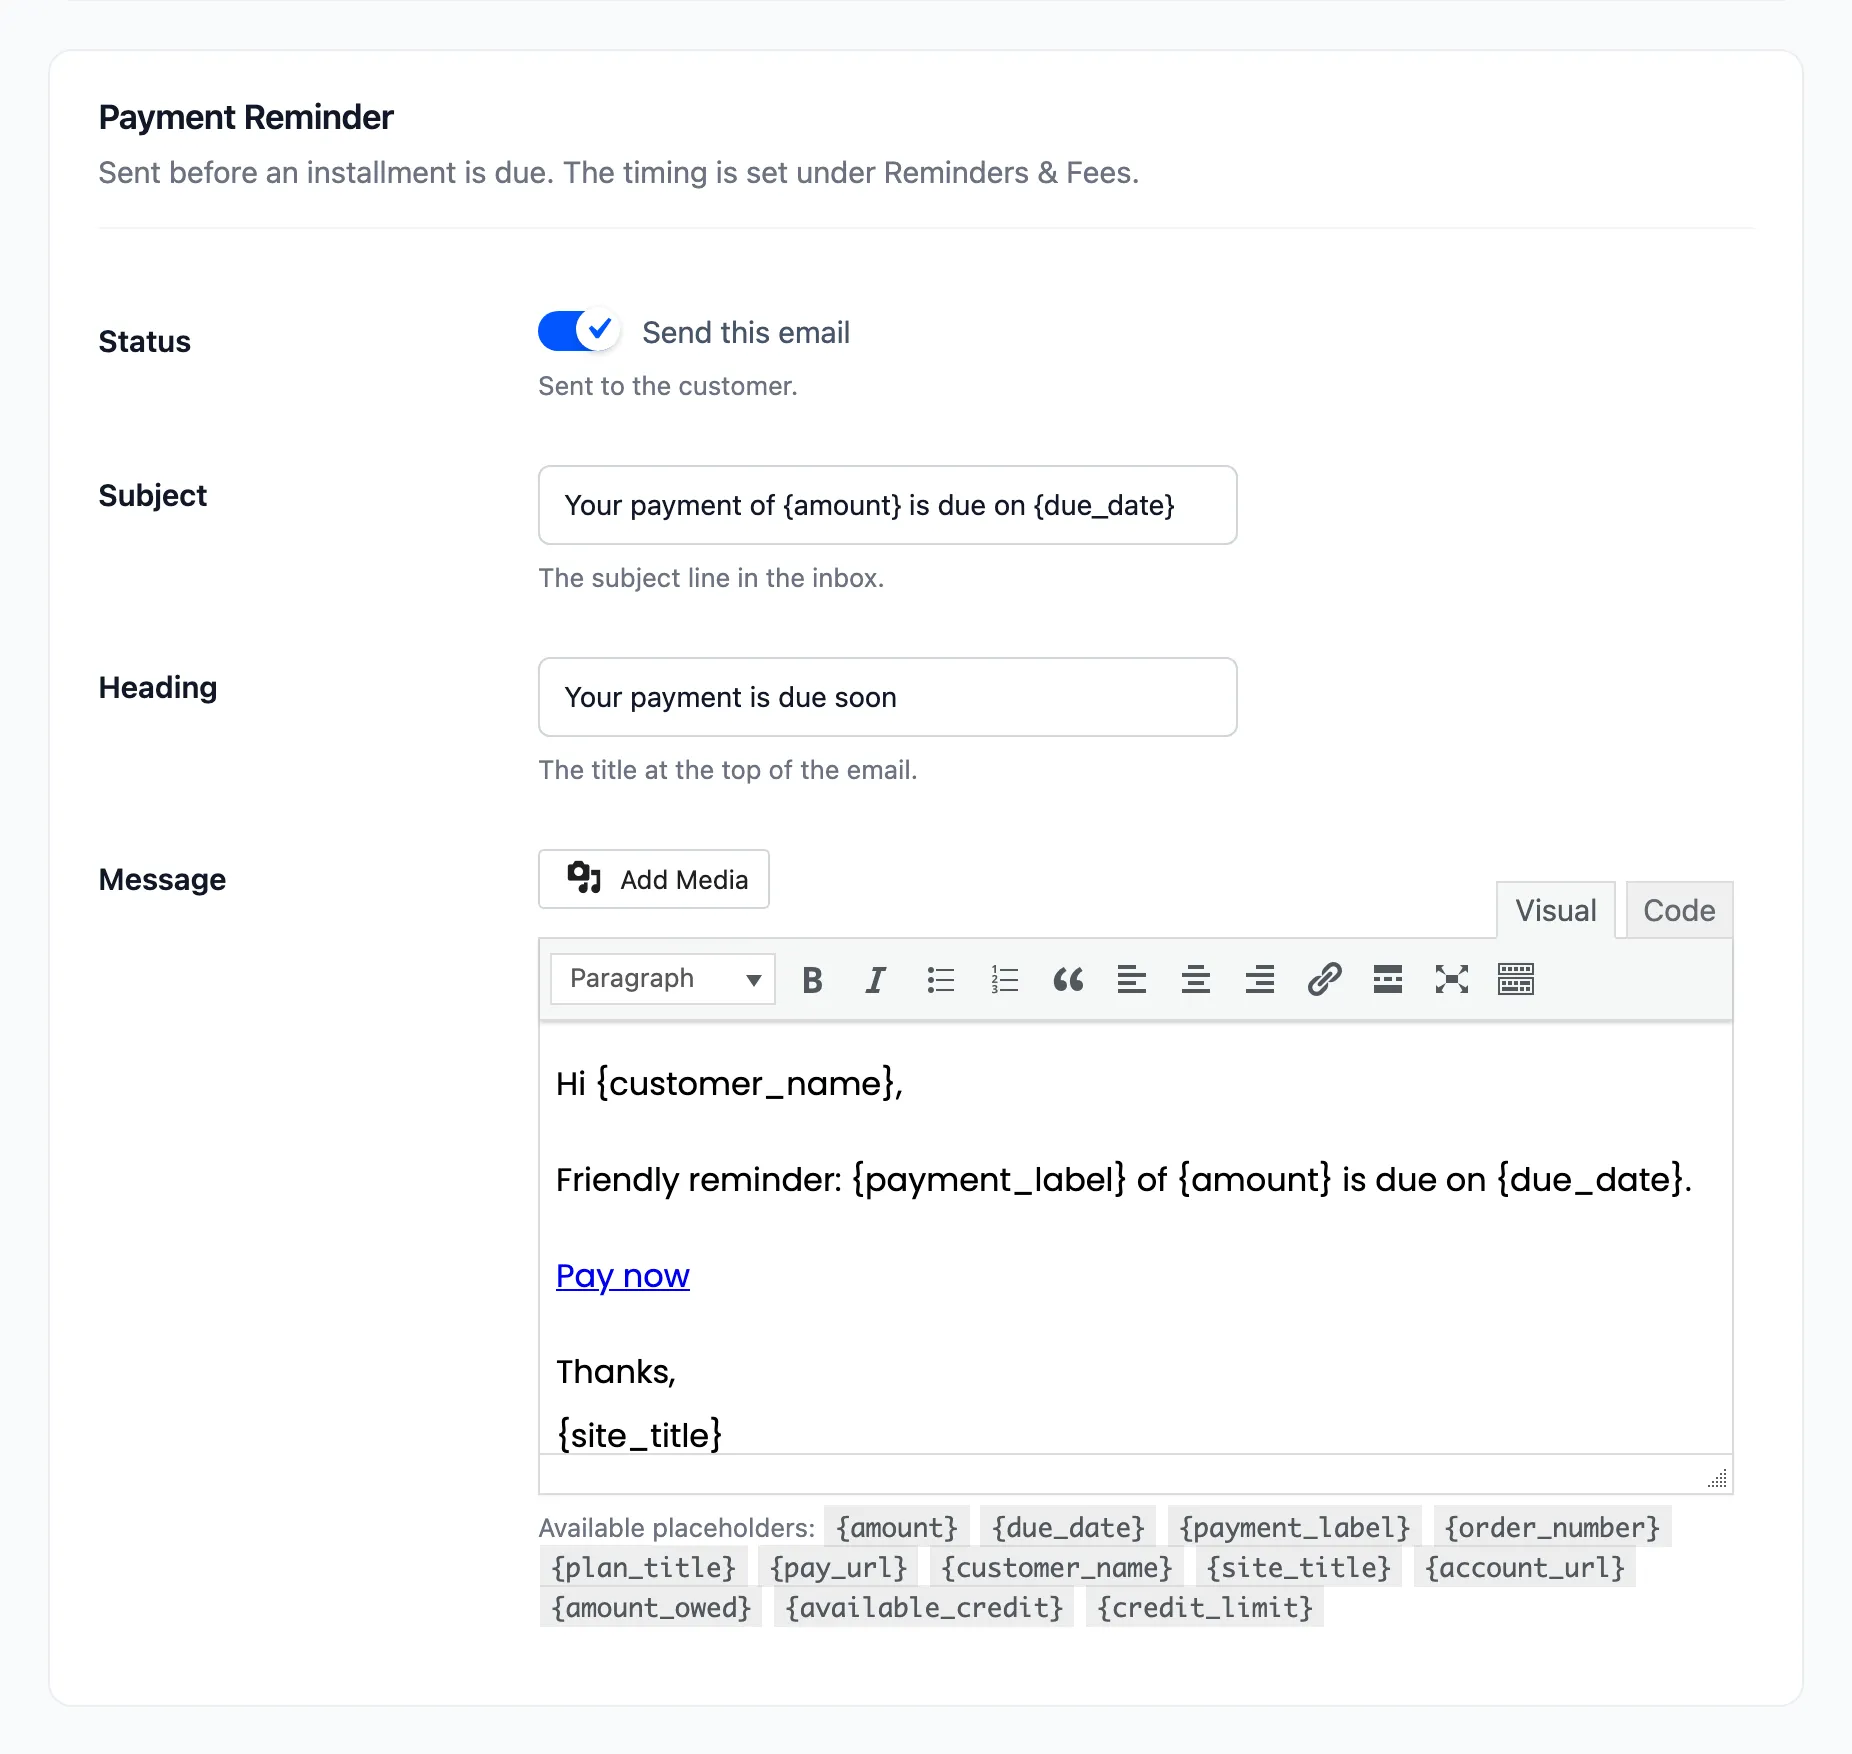
Section titled “Placeholders”Every email understands these:
{customer_name},{site_title}and{account_url}, a link to the Pay Later section.{amount_owed},{available_credit}and{credit_limit}, worked out when the email is sent.
Each email adds its own, such as {schedule} (the payment table) in the confirmation, {pay_url} in the
reminder and overdue emails, {late_fee} in the overdue email (Pro) and {review_url} in the store’s
email. Leave a subject, heading or message empty to use its default.
Click Save Changes at the bottom of the tab. See How to Customize the Pay Later Emails for every email as the customer receives it.