

How to Upgrade to Pro
Upgrading takes a minute and loses nothing. Both editions read the same settings, customers, installments and transactions.
Step 1: Keep the free plugin active
Section titled “Step 1: Keep the free plugin active”Pro is an add-on. Leave Buy Now Pay Later for WooCommerce installed and active.
Step 2: Install Pro
Section titled “Step 2: Install Pro”Upload dd-woocommerce-postpaid.zip under Plugins → Add New Plugin → Upload Plugin, click Install Now, then Activate Plugin. See Installing and Activating.
Step 3: Activate the license
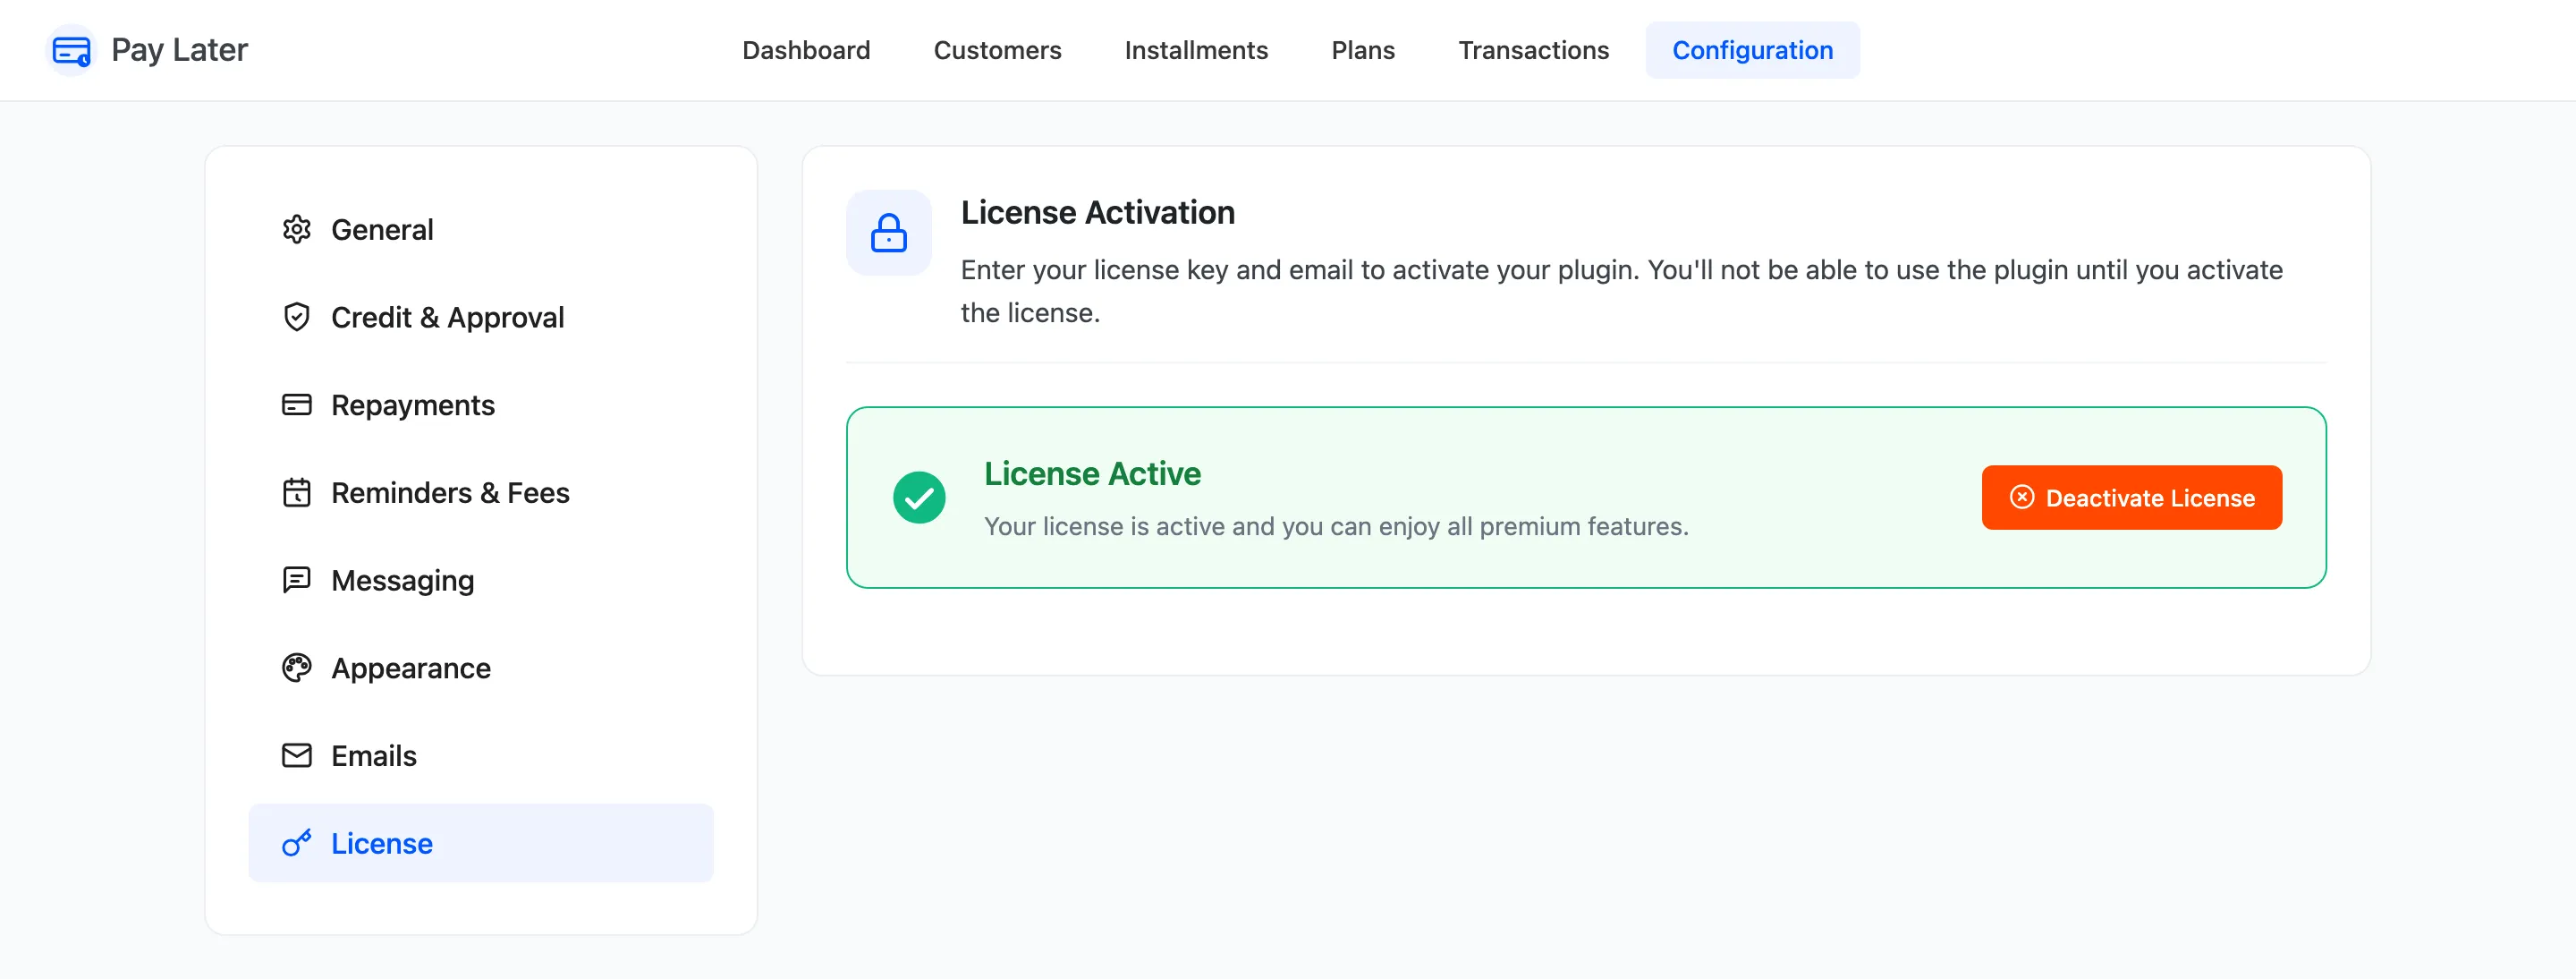
Section titled “Step 3: Activate the license”Go to DevDiggers Plugins → Pay Later → Configuration → License and enter your purchase code and email. See License Activation (Pro).
Step 4: Review the new settings
Section titled “Step 4: Review the new settings”What you set in the free version stays. Pro adds:
- Plans: Your two plans are there, and you can now add your own. See The Plans Screen (Pro).
- Credit & Approval: Document upload, reverification, allowed roles and excluded products.
- Repayments: Partial payments, a minimum repayment and interest.
- Reminders & Fees: Grace period and late fees.
- Messaging: Show To, Plan to Advertise and your own Learn more window.
- Appearance: The customer area’s layout, tab names and colors.
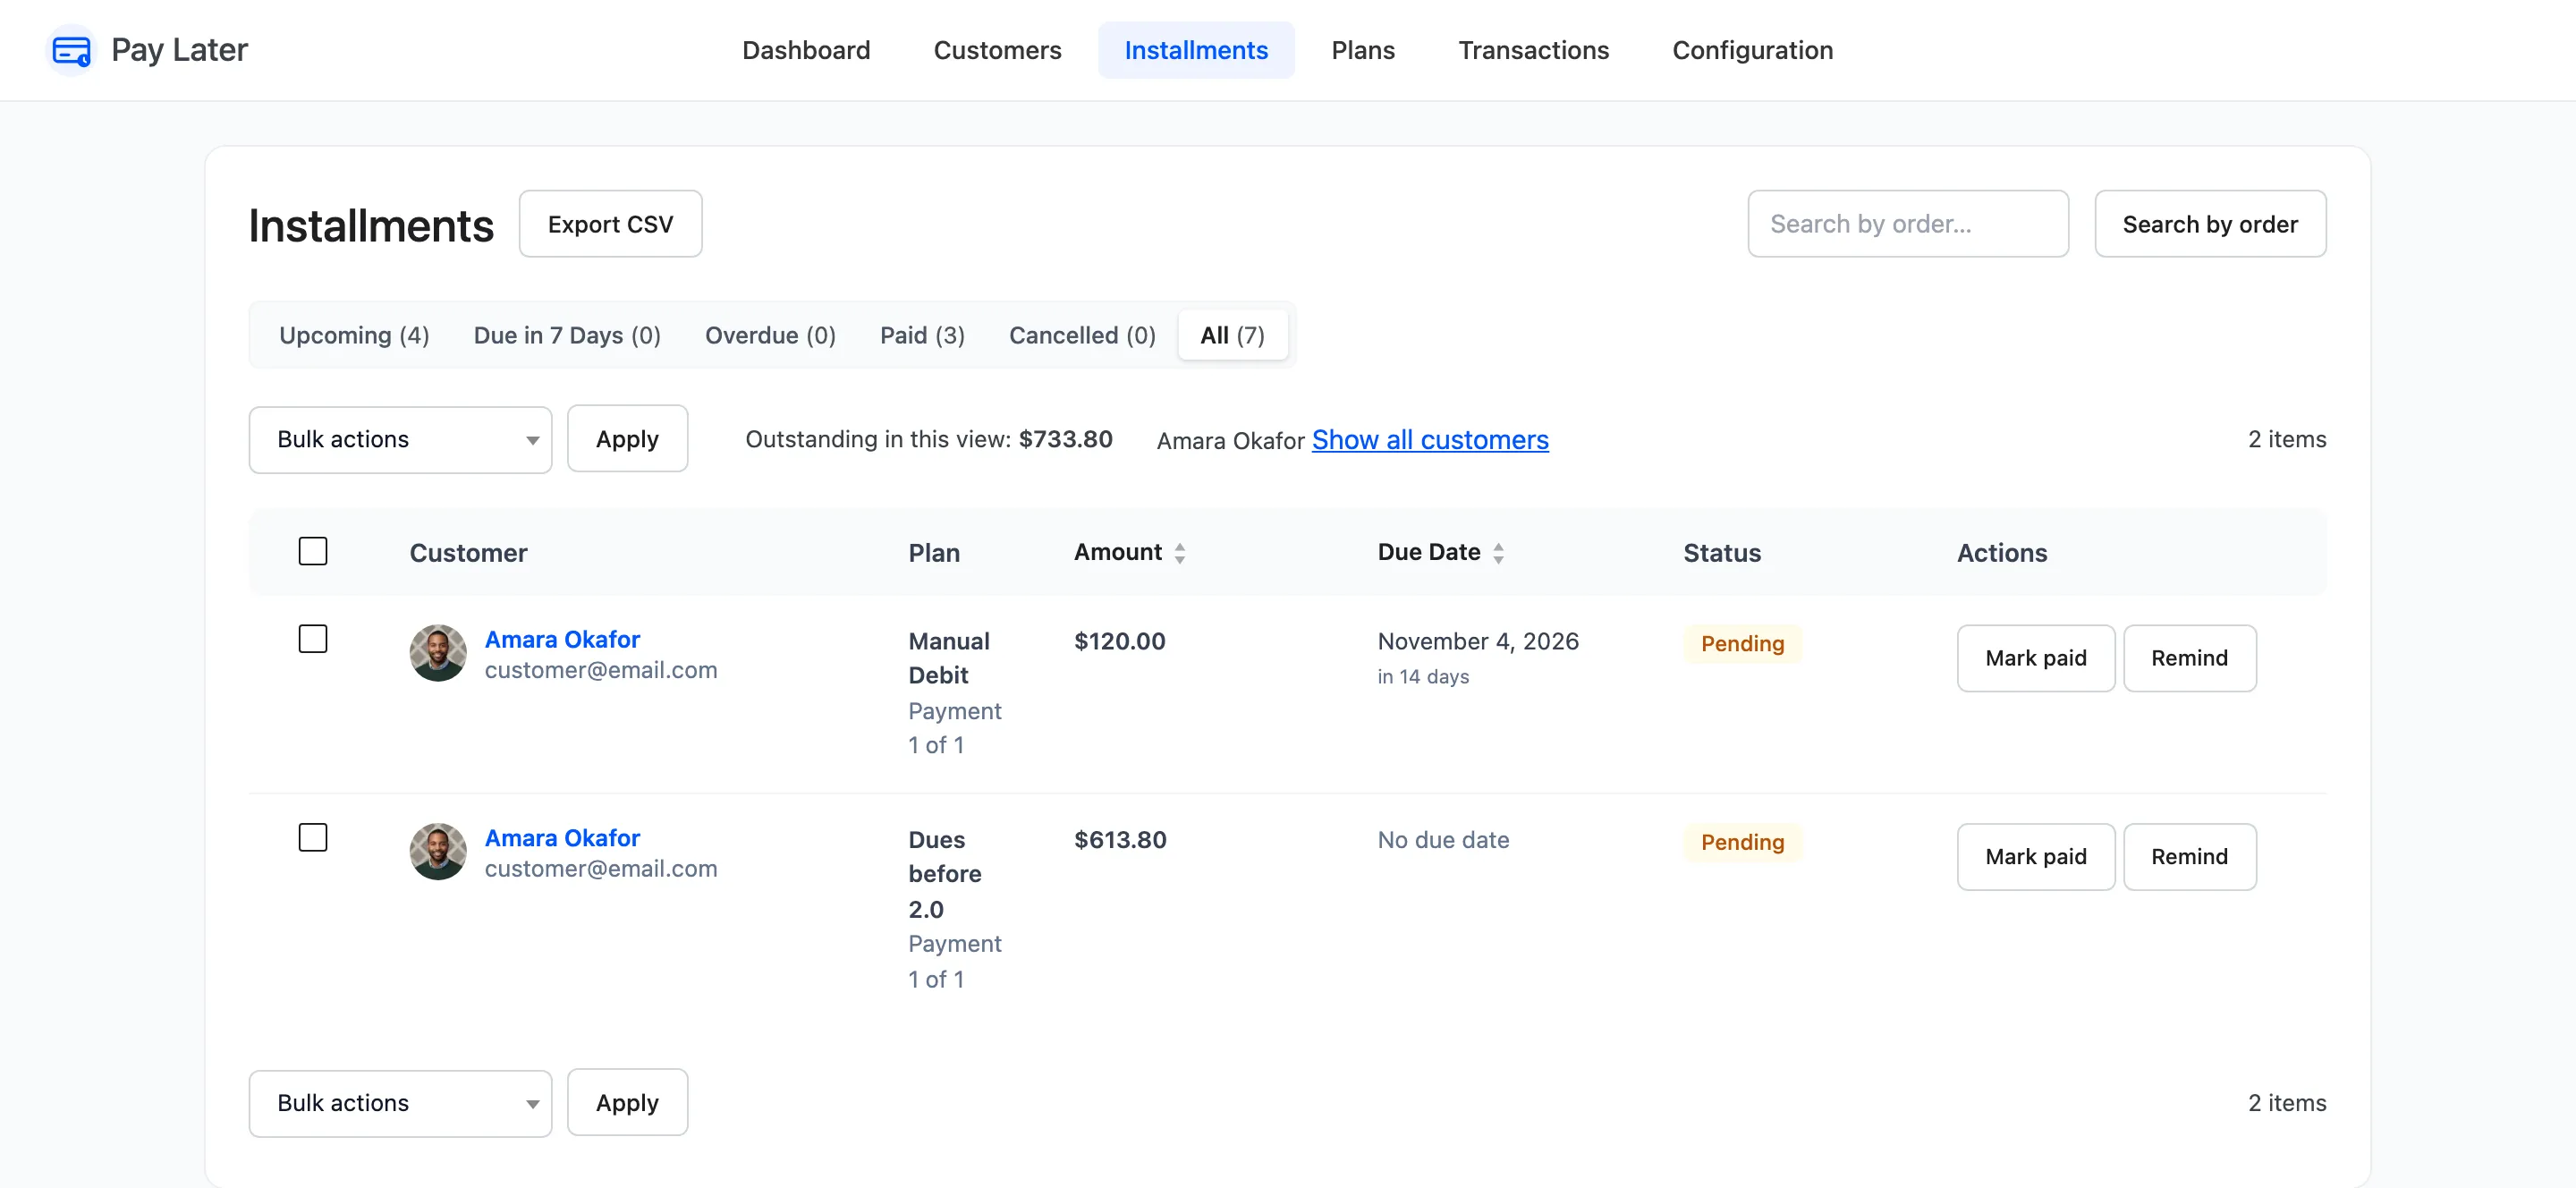
- Customers and Installments: Limits per customer, bulk actions, Remind and CSV export.
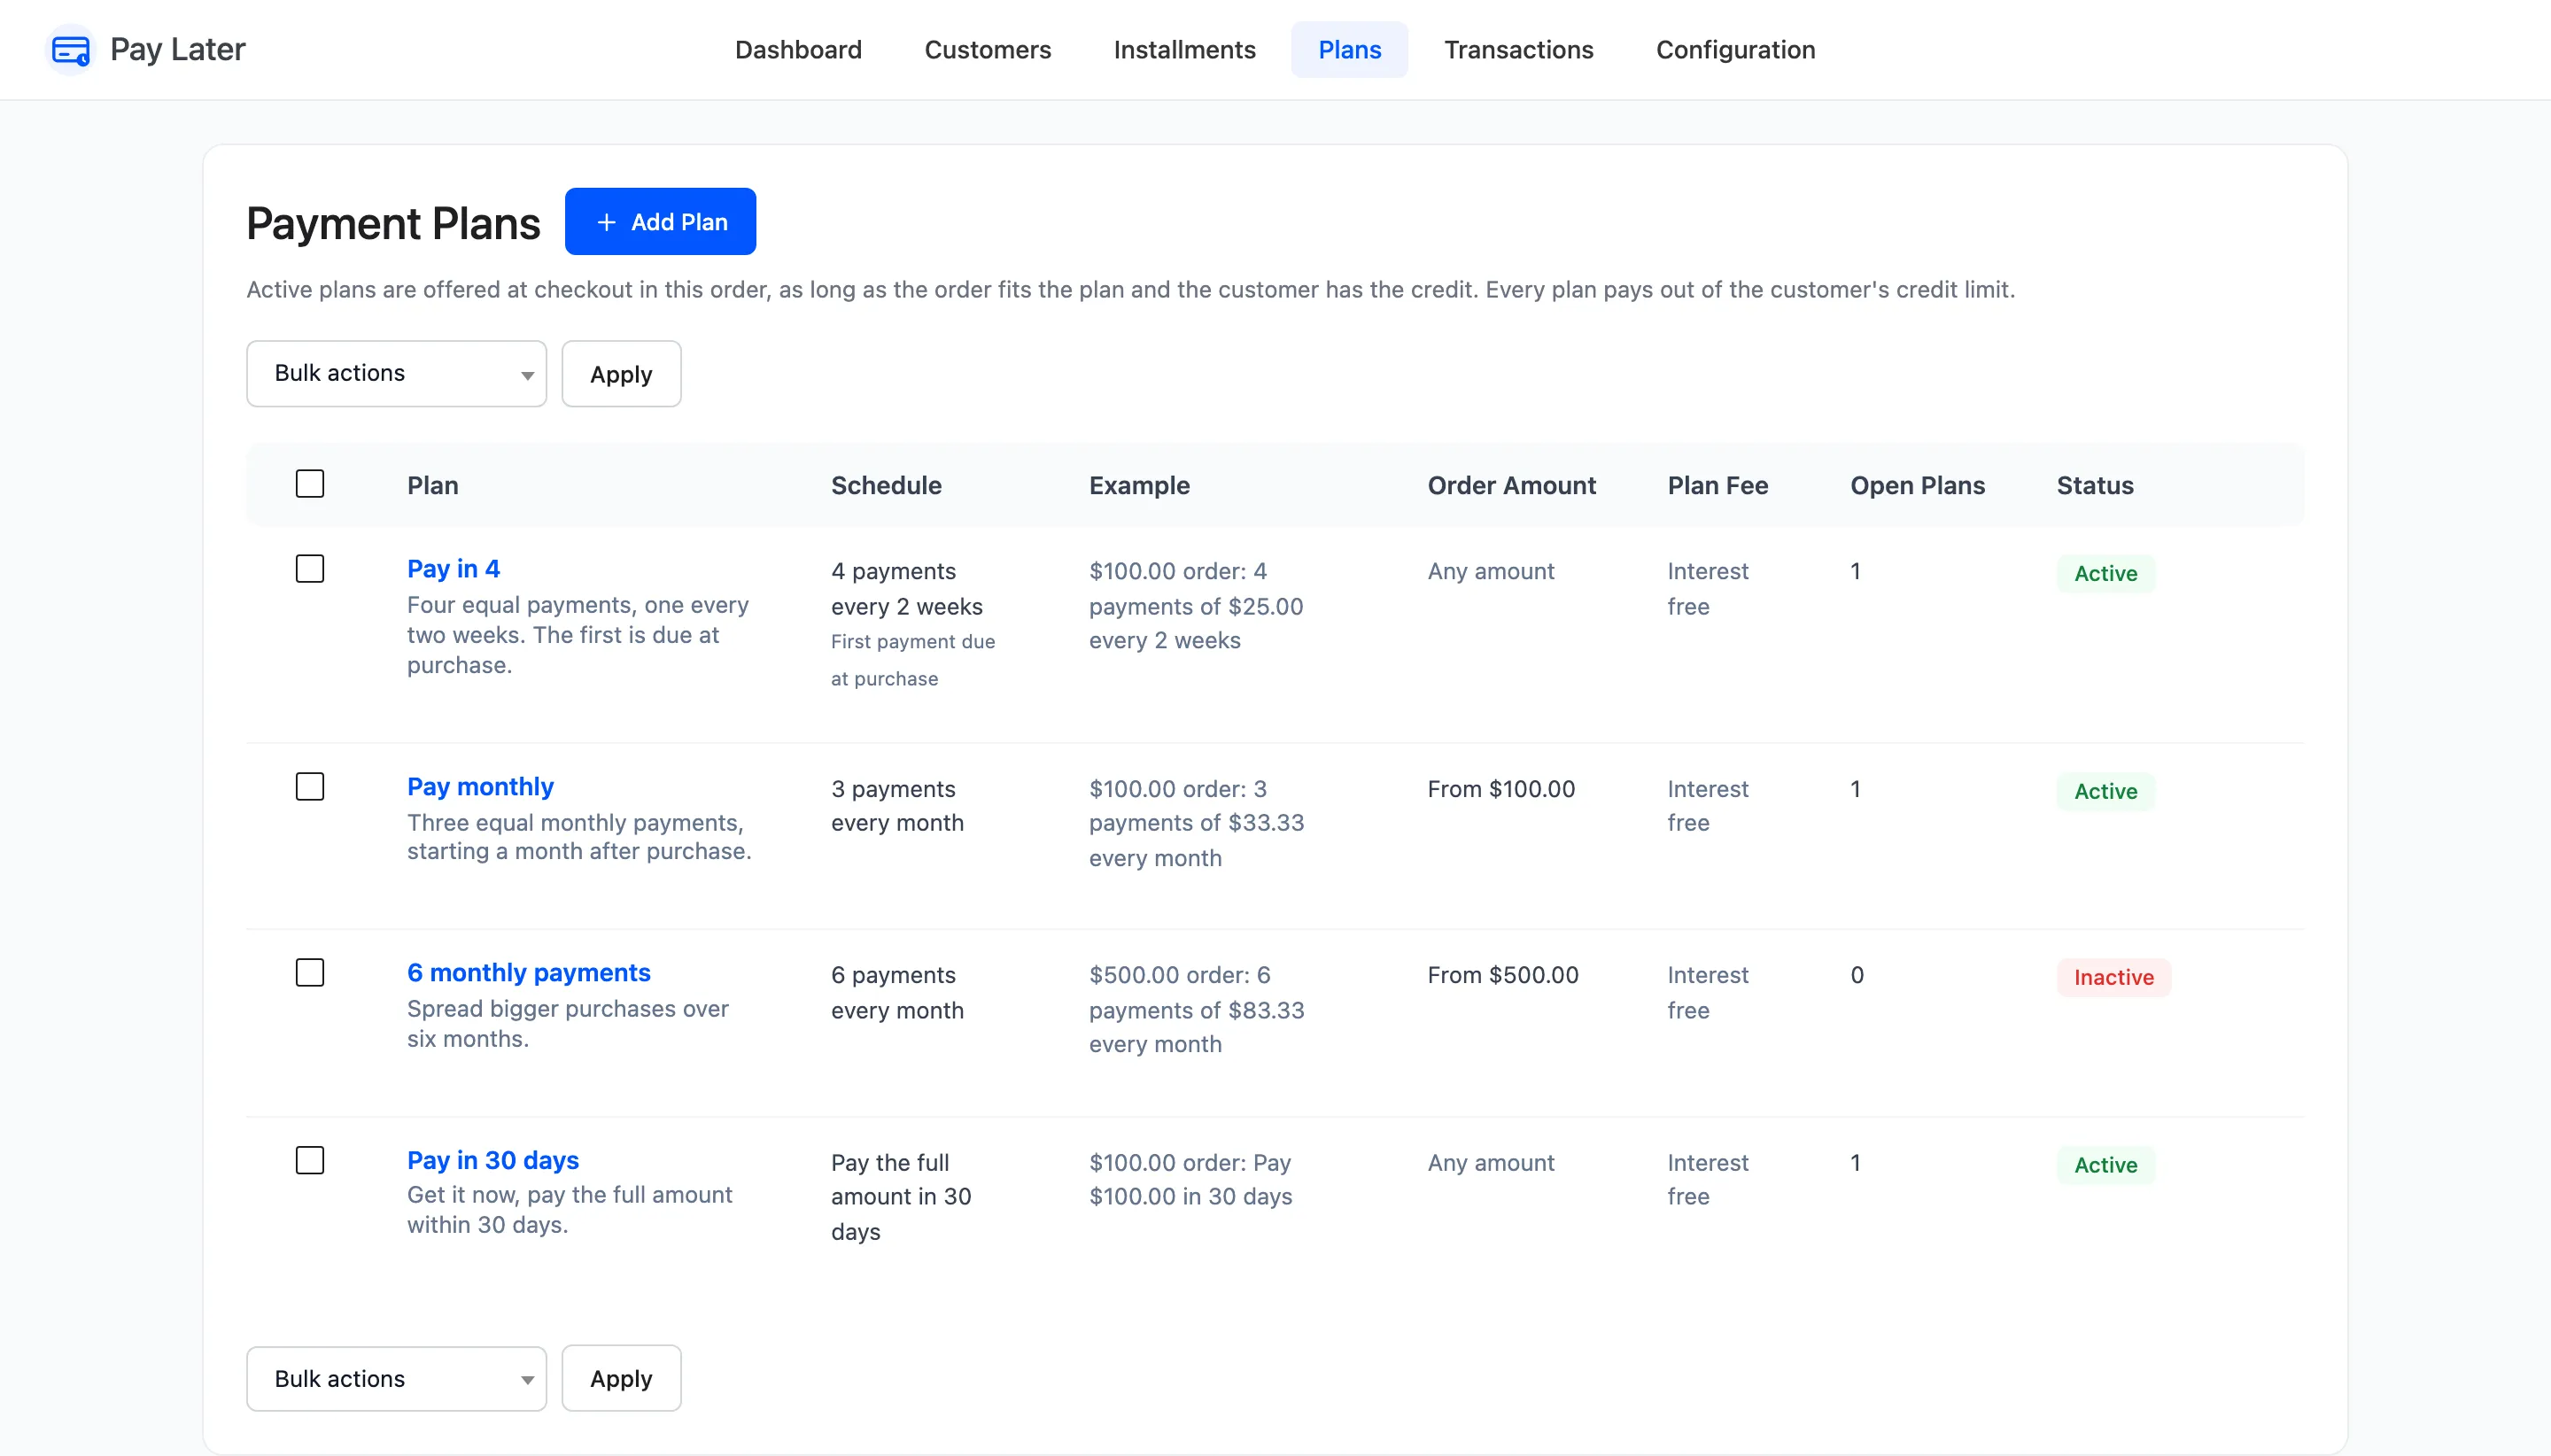
Partial payments are on by default in Pro, so customers start seeing Pay a different amount in My Account straight away. Untick it under Repayments if you would rather keep them to installments.
Going back to the free version
Section titled “Going back to the free version”Deactivating Pro keeps everything, but settings that only Pro has stop applying. A document upload falls back to administrator approval. Checkout offers only Pay in 4 and Pay in 30 days, with their original wording. Plans you created stay saved and come back with Pro.
Updating from WooCommerce PostPaid 1.x
Section titled “Updating from WooCommerce PostPaid 1.x”Buy Now Pay Later 2.0 is the next version of WooCommerce PostPaid. Updating keeps each customer’s limit, balance, verification status and history. What a customer owed becomes one installment called Dues before 2.0, with no due date, so no reminder or late fee is triggered by an old balance.
The My Account address moves from /my-account/ddwc-postpaid/ to /my-account/pay-later/. Rename it under
Configuration → General if you prefer. Check the plans on the Plans screen before customers next check
out: the ready-made plans are switched on.