

How to Add or Remove Dues by Hand
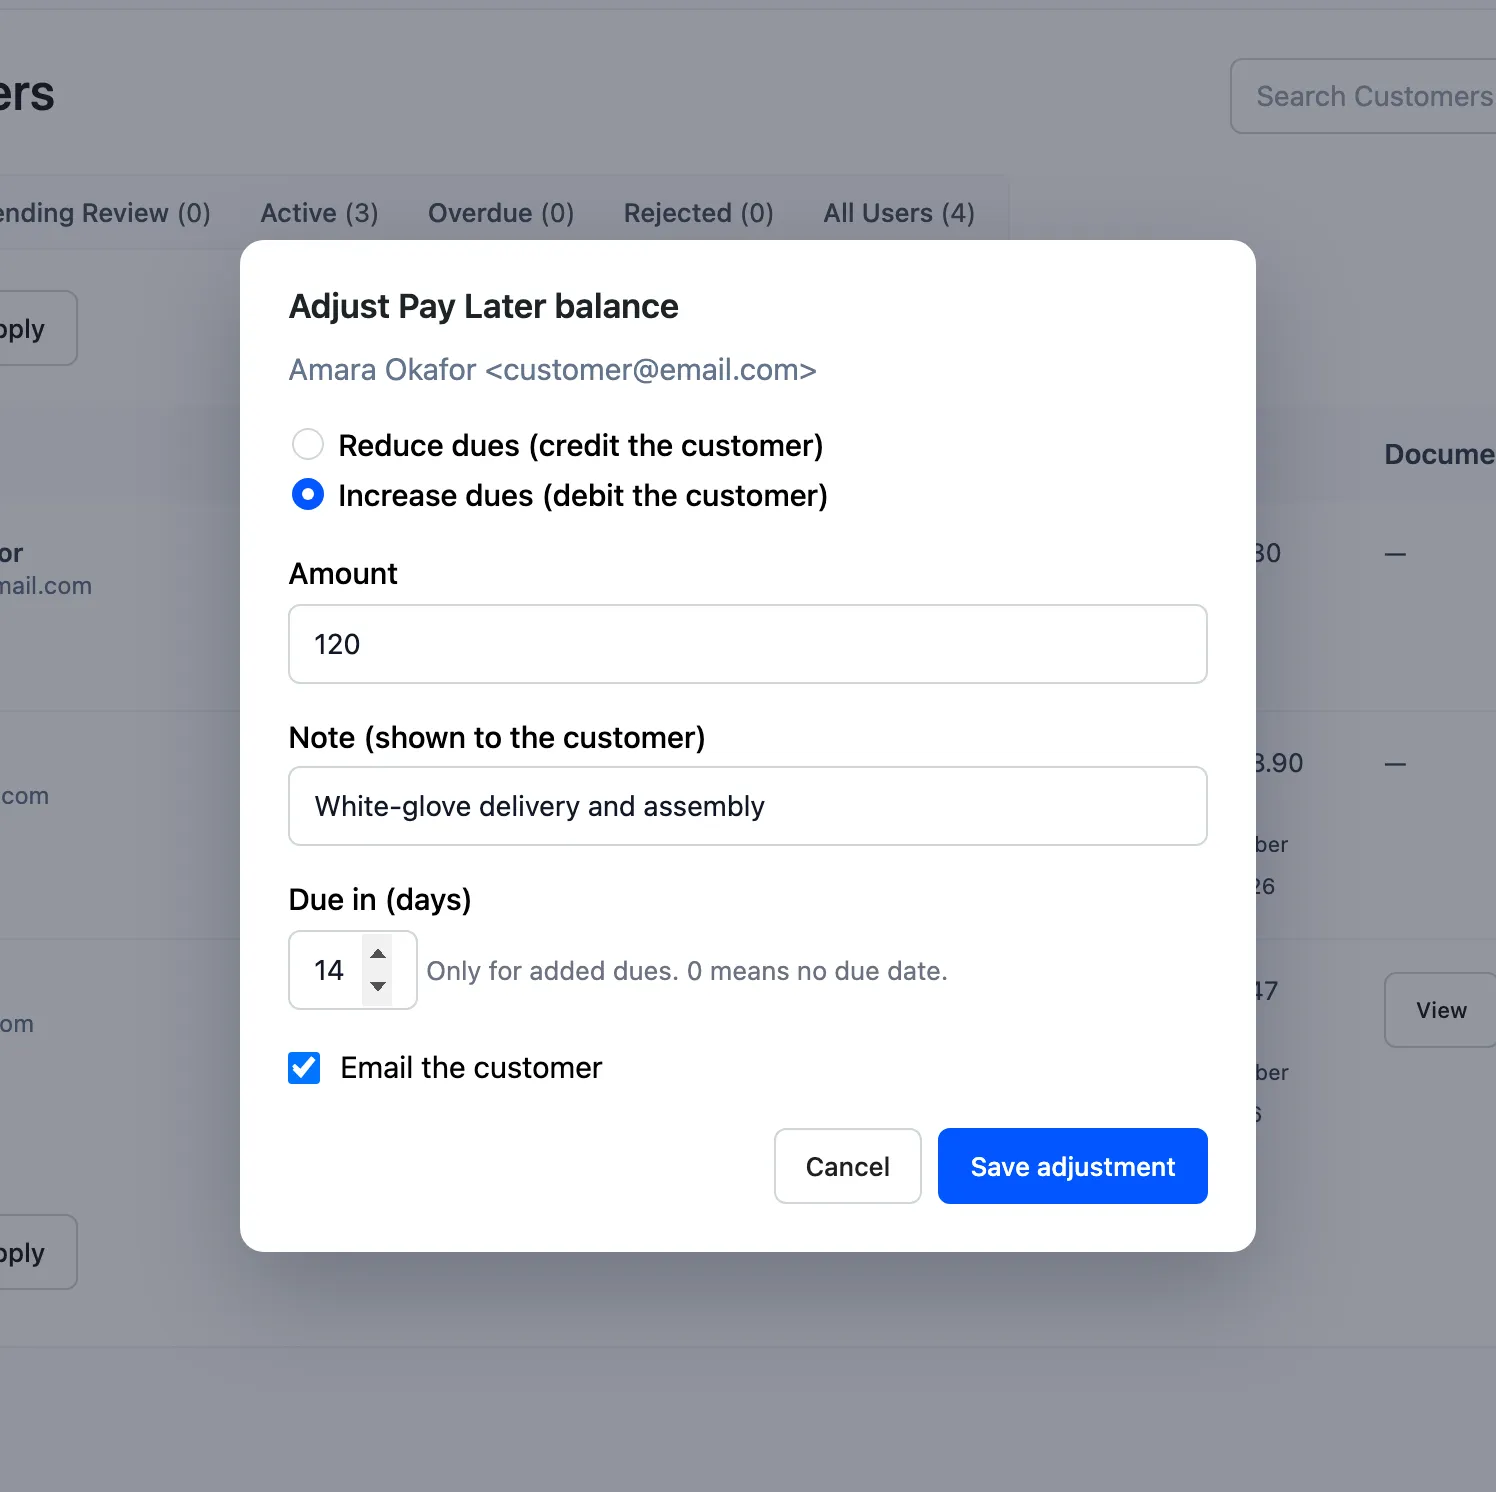
Adjust Balance records what did not come through a Pay Later order: delivery and assembly, a goodwill credit, or a correction. The demo charges Amara $120.00 for white-glove delivery and assembly, due in 14 days.
Step 1: Open Adjust Balance
Section titled “Step 1: Open Adjust Balance”Open DevDiggers Plugins → Pay Later → Customers and click Adjust Balance on the customer’s row.
Step 2: Choose the direction and amount
Section titled “Step 2: Choose the direction and amount”- Increase dues (debit the customer): They owe more.
- Reduce dues (credit the customer): They owe less.
Enter the Amount, and a Note. The note appears in their history and in the email.
Step 3: Set the due date
Section titled “Step 3: Set the due date”Due in (days) applies to added dues. It starts at Other Charges Due In (days) from the Reminders & Fees tab, 30 by default. 0 means no due date, so no reminder or late fee.
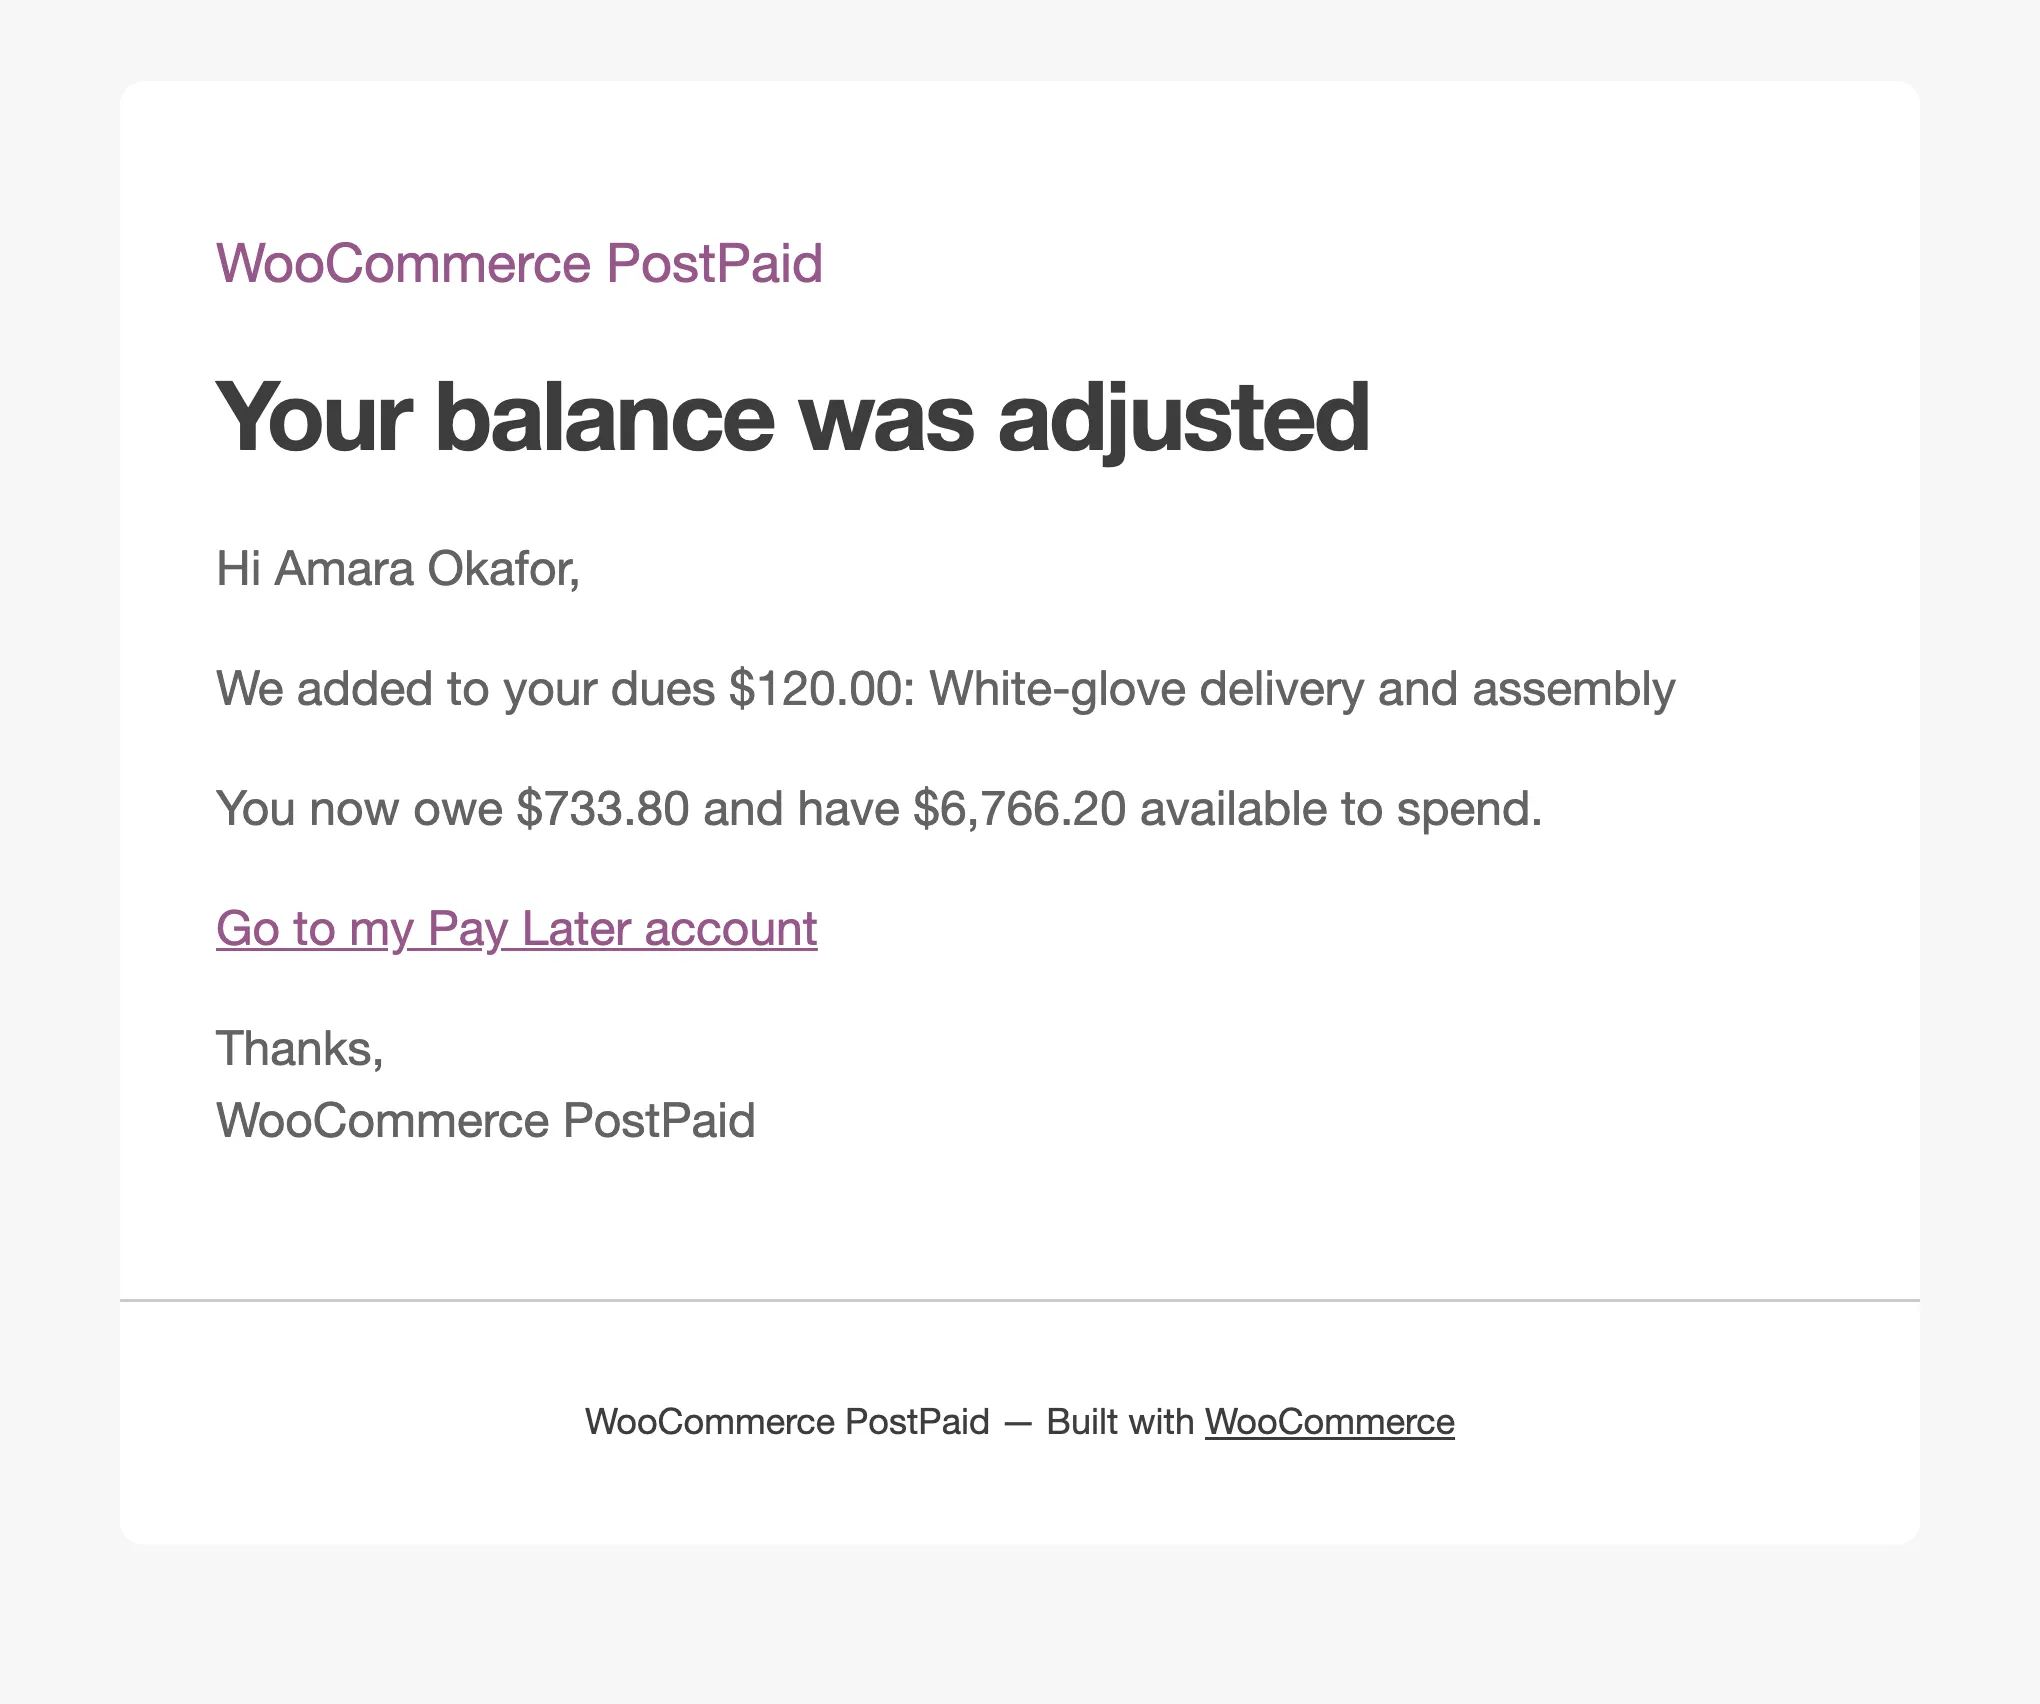
Leave Email the customer ticked to send Balance Adjusted by the Store.
Step 4: Save
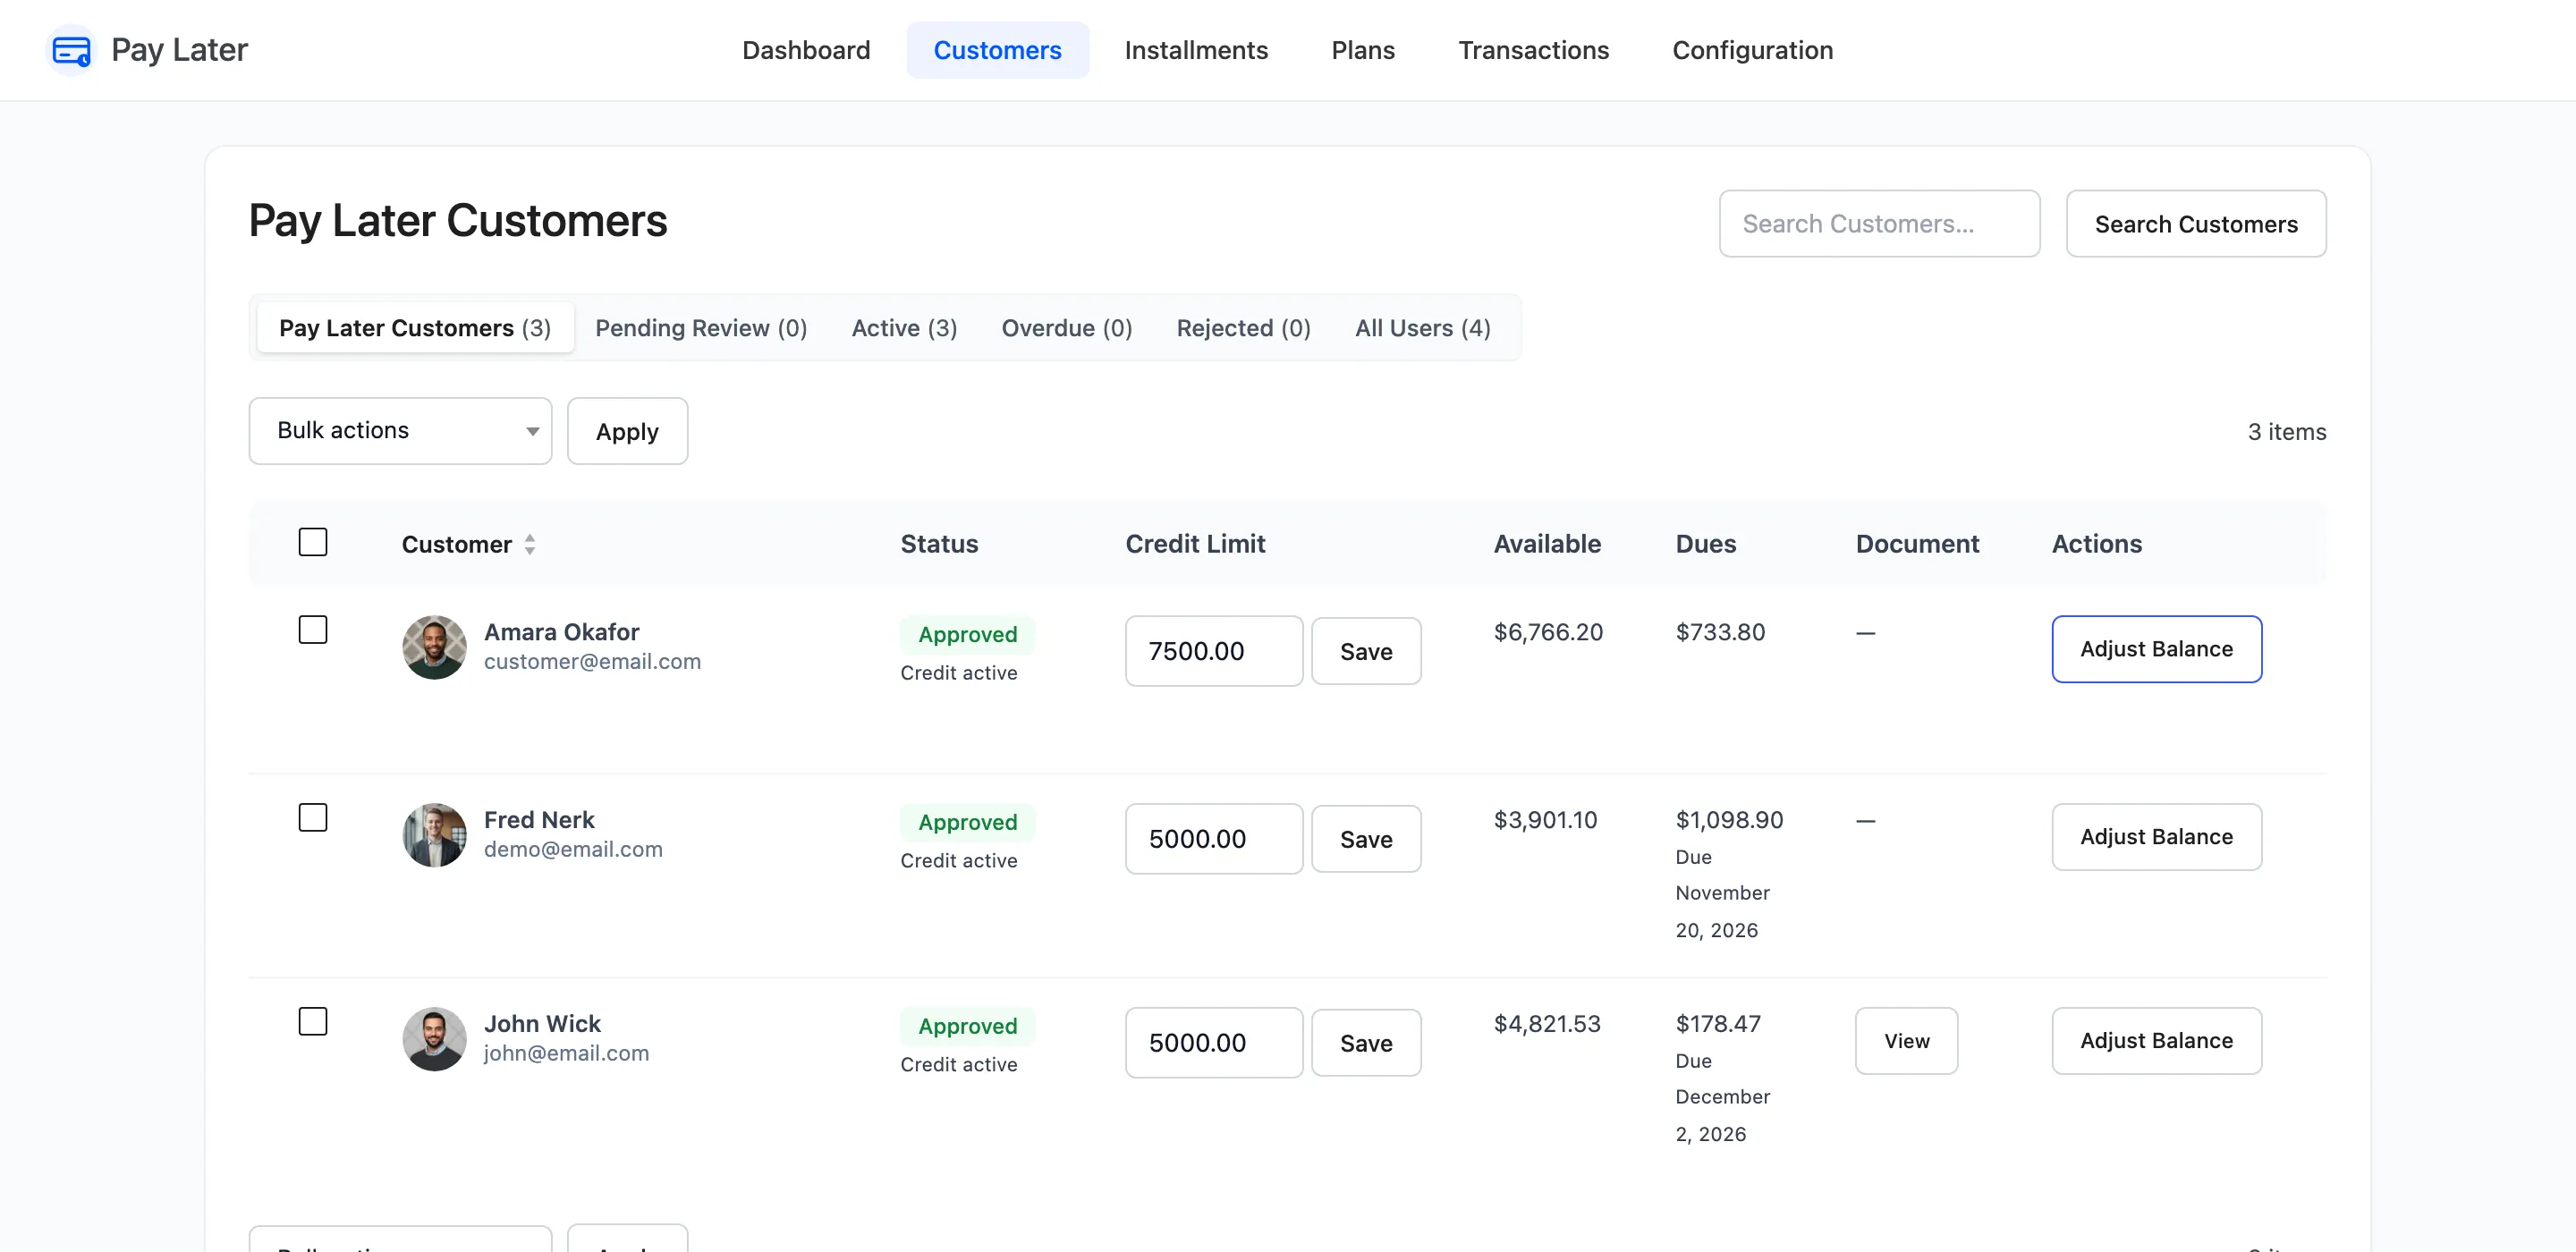
Section titled “Step 4: Save”Click Save adjustment. “Balance adjusted.” confirms it, and the row’s Available and Dues update.
Where it shows
Section titled “Where it shows”- Added dues: One installment named Manual Debit, with the due date you set. It is reminded, can go overdue and pays like any other.
- Reduced dues: Settle the customer’s earliest installments first, like a payment.
- Both: A Manual Debit or Manual Credit transaction with your note.
A customer whose credit had not started has it started by the adjustment.