

How to Ask for a Verification Document (Pro)
A document check suits stores that need proof of identity, or a trade licence before giving business customers terms. This walk-through follows John, who applies with his trading licence.
Step 1: Require a document
Section titled “Step 1: Require a document”Go to DevDiggers Plugins → Pay Later → Configuration → Credit & Approval. Set Approval Process to Upload a document, approved by an administrator. This is Pro’s default. Click Save Changes.
Step 2: The customer uploads it
Section titled “Step 2: The customer uploads it”John opens My Account → Pay Later. The page explains the offer and asks for a Verification document.
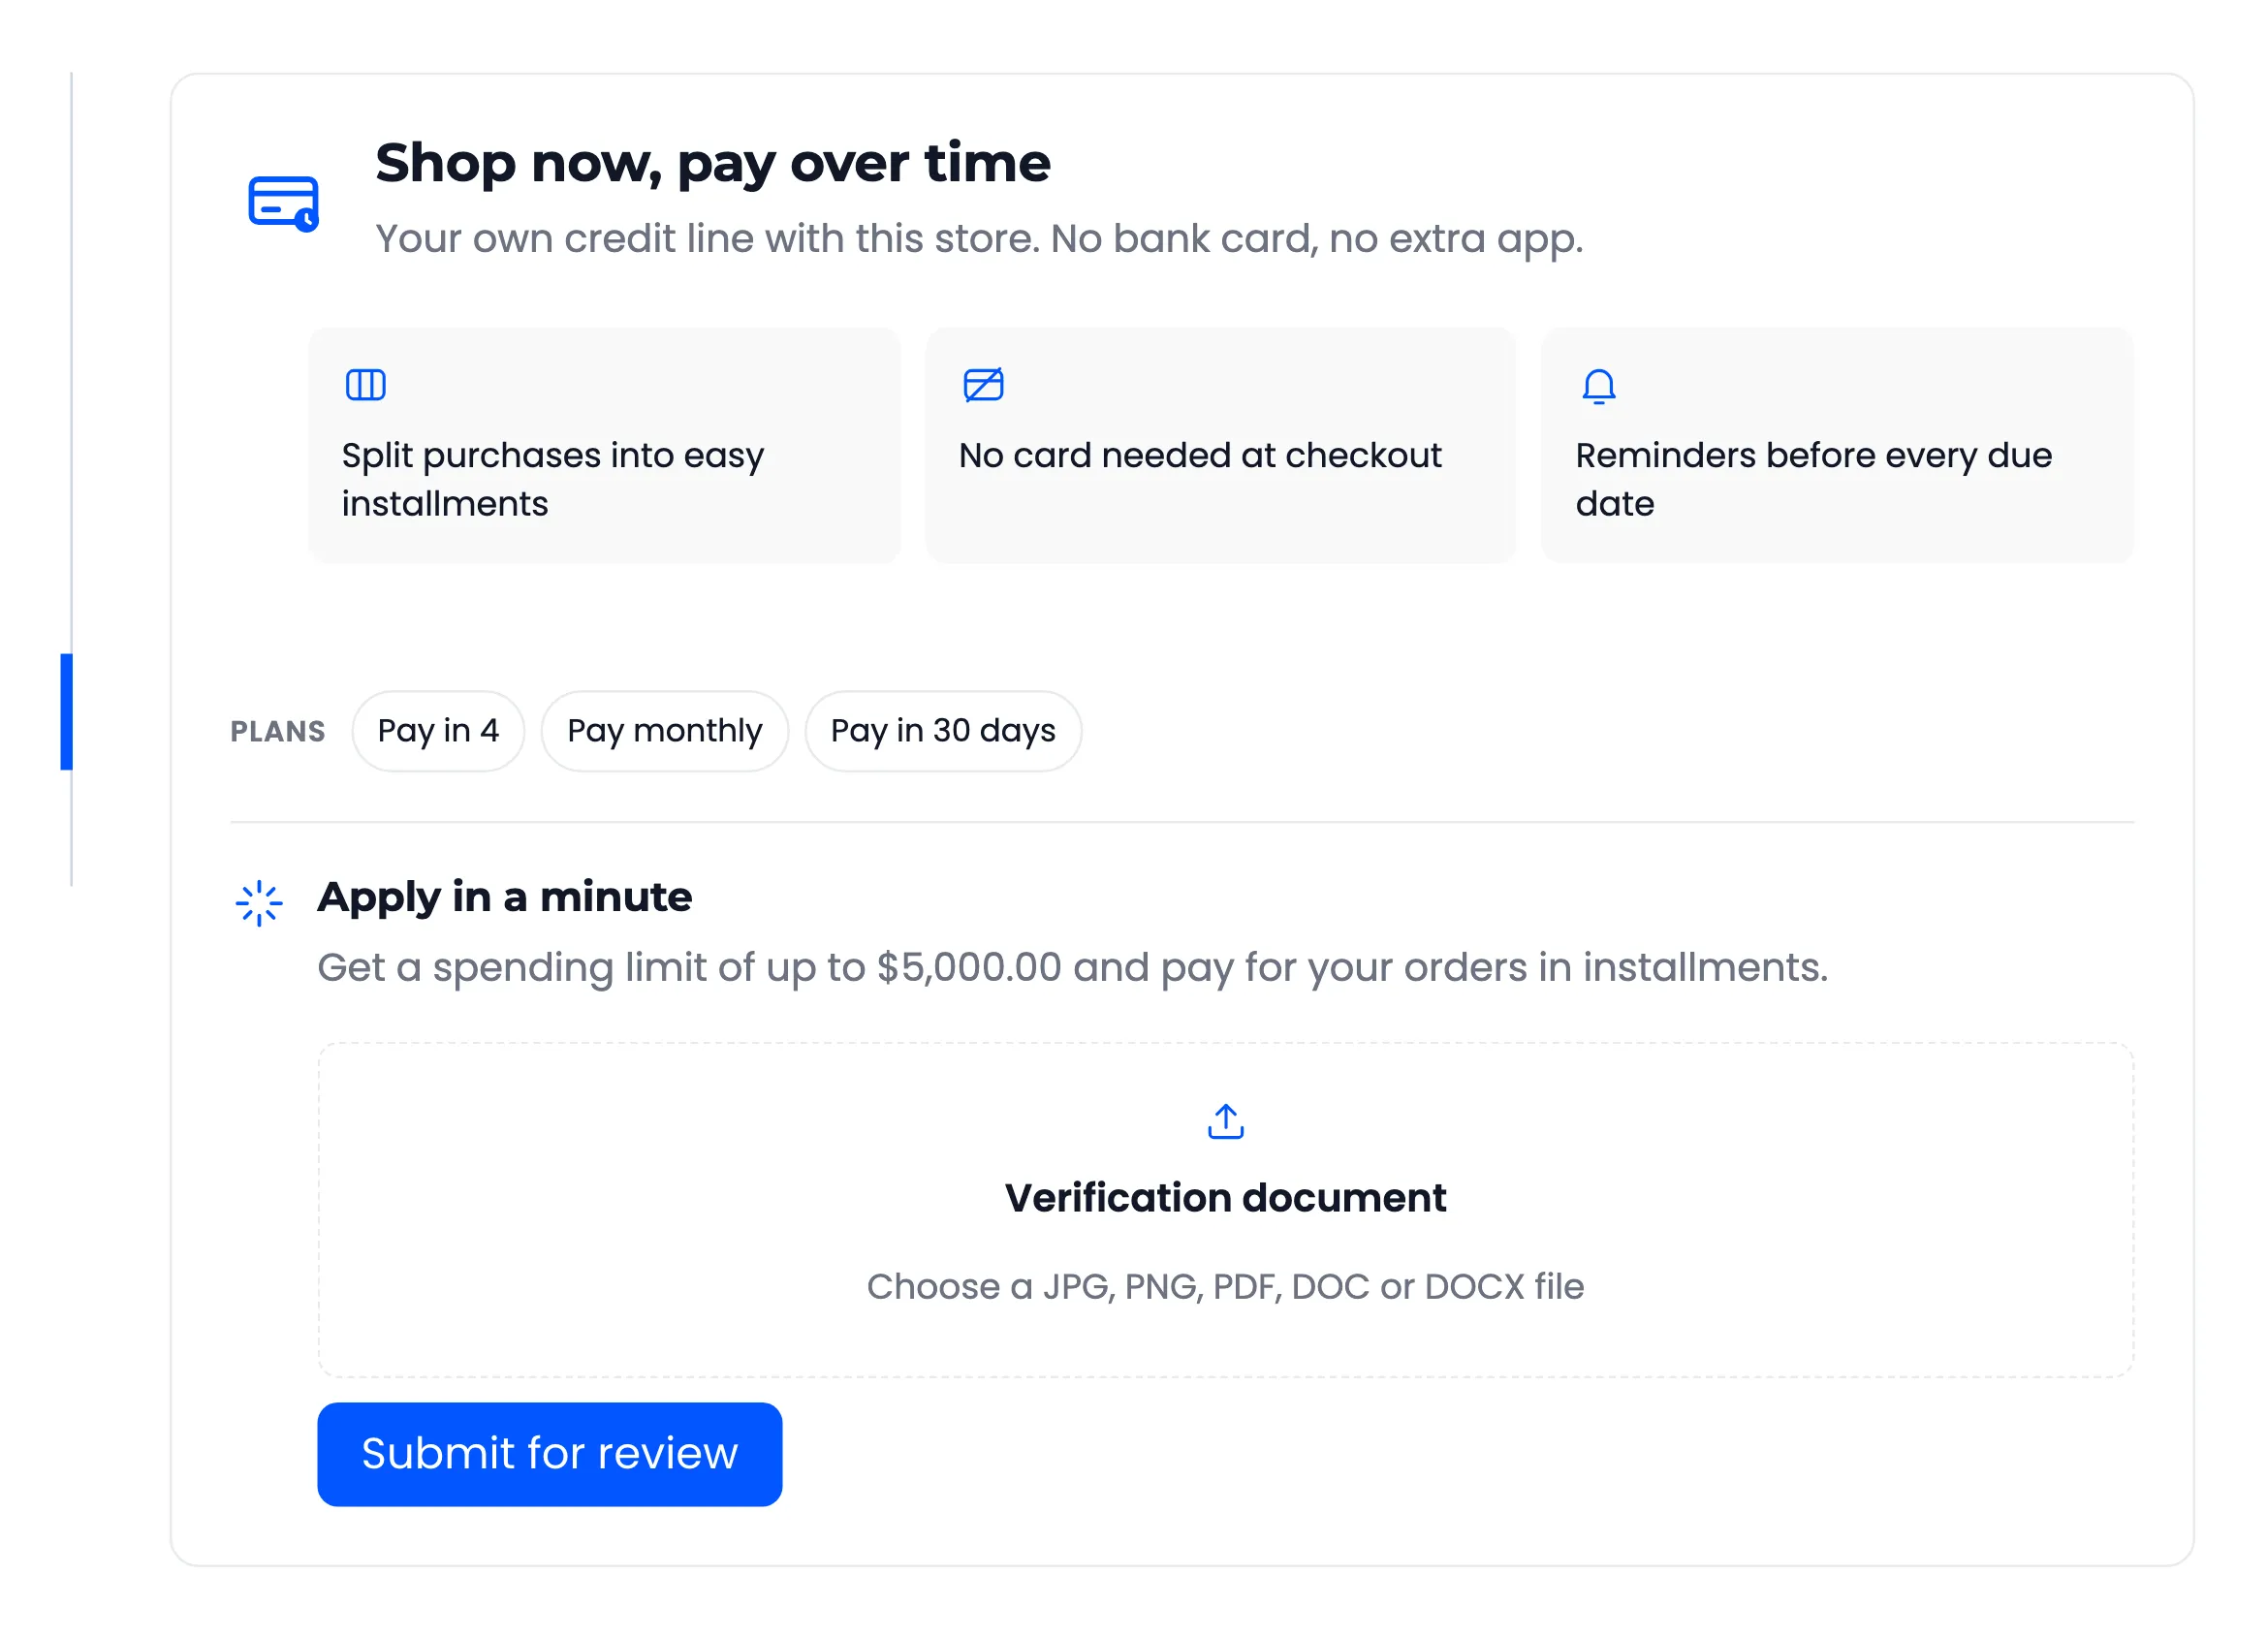
He clicks the box and picks his file. The box shows its name.
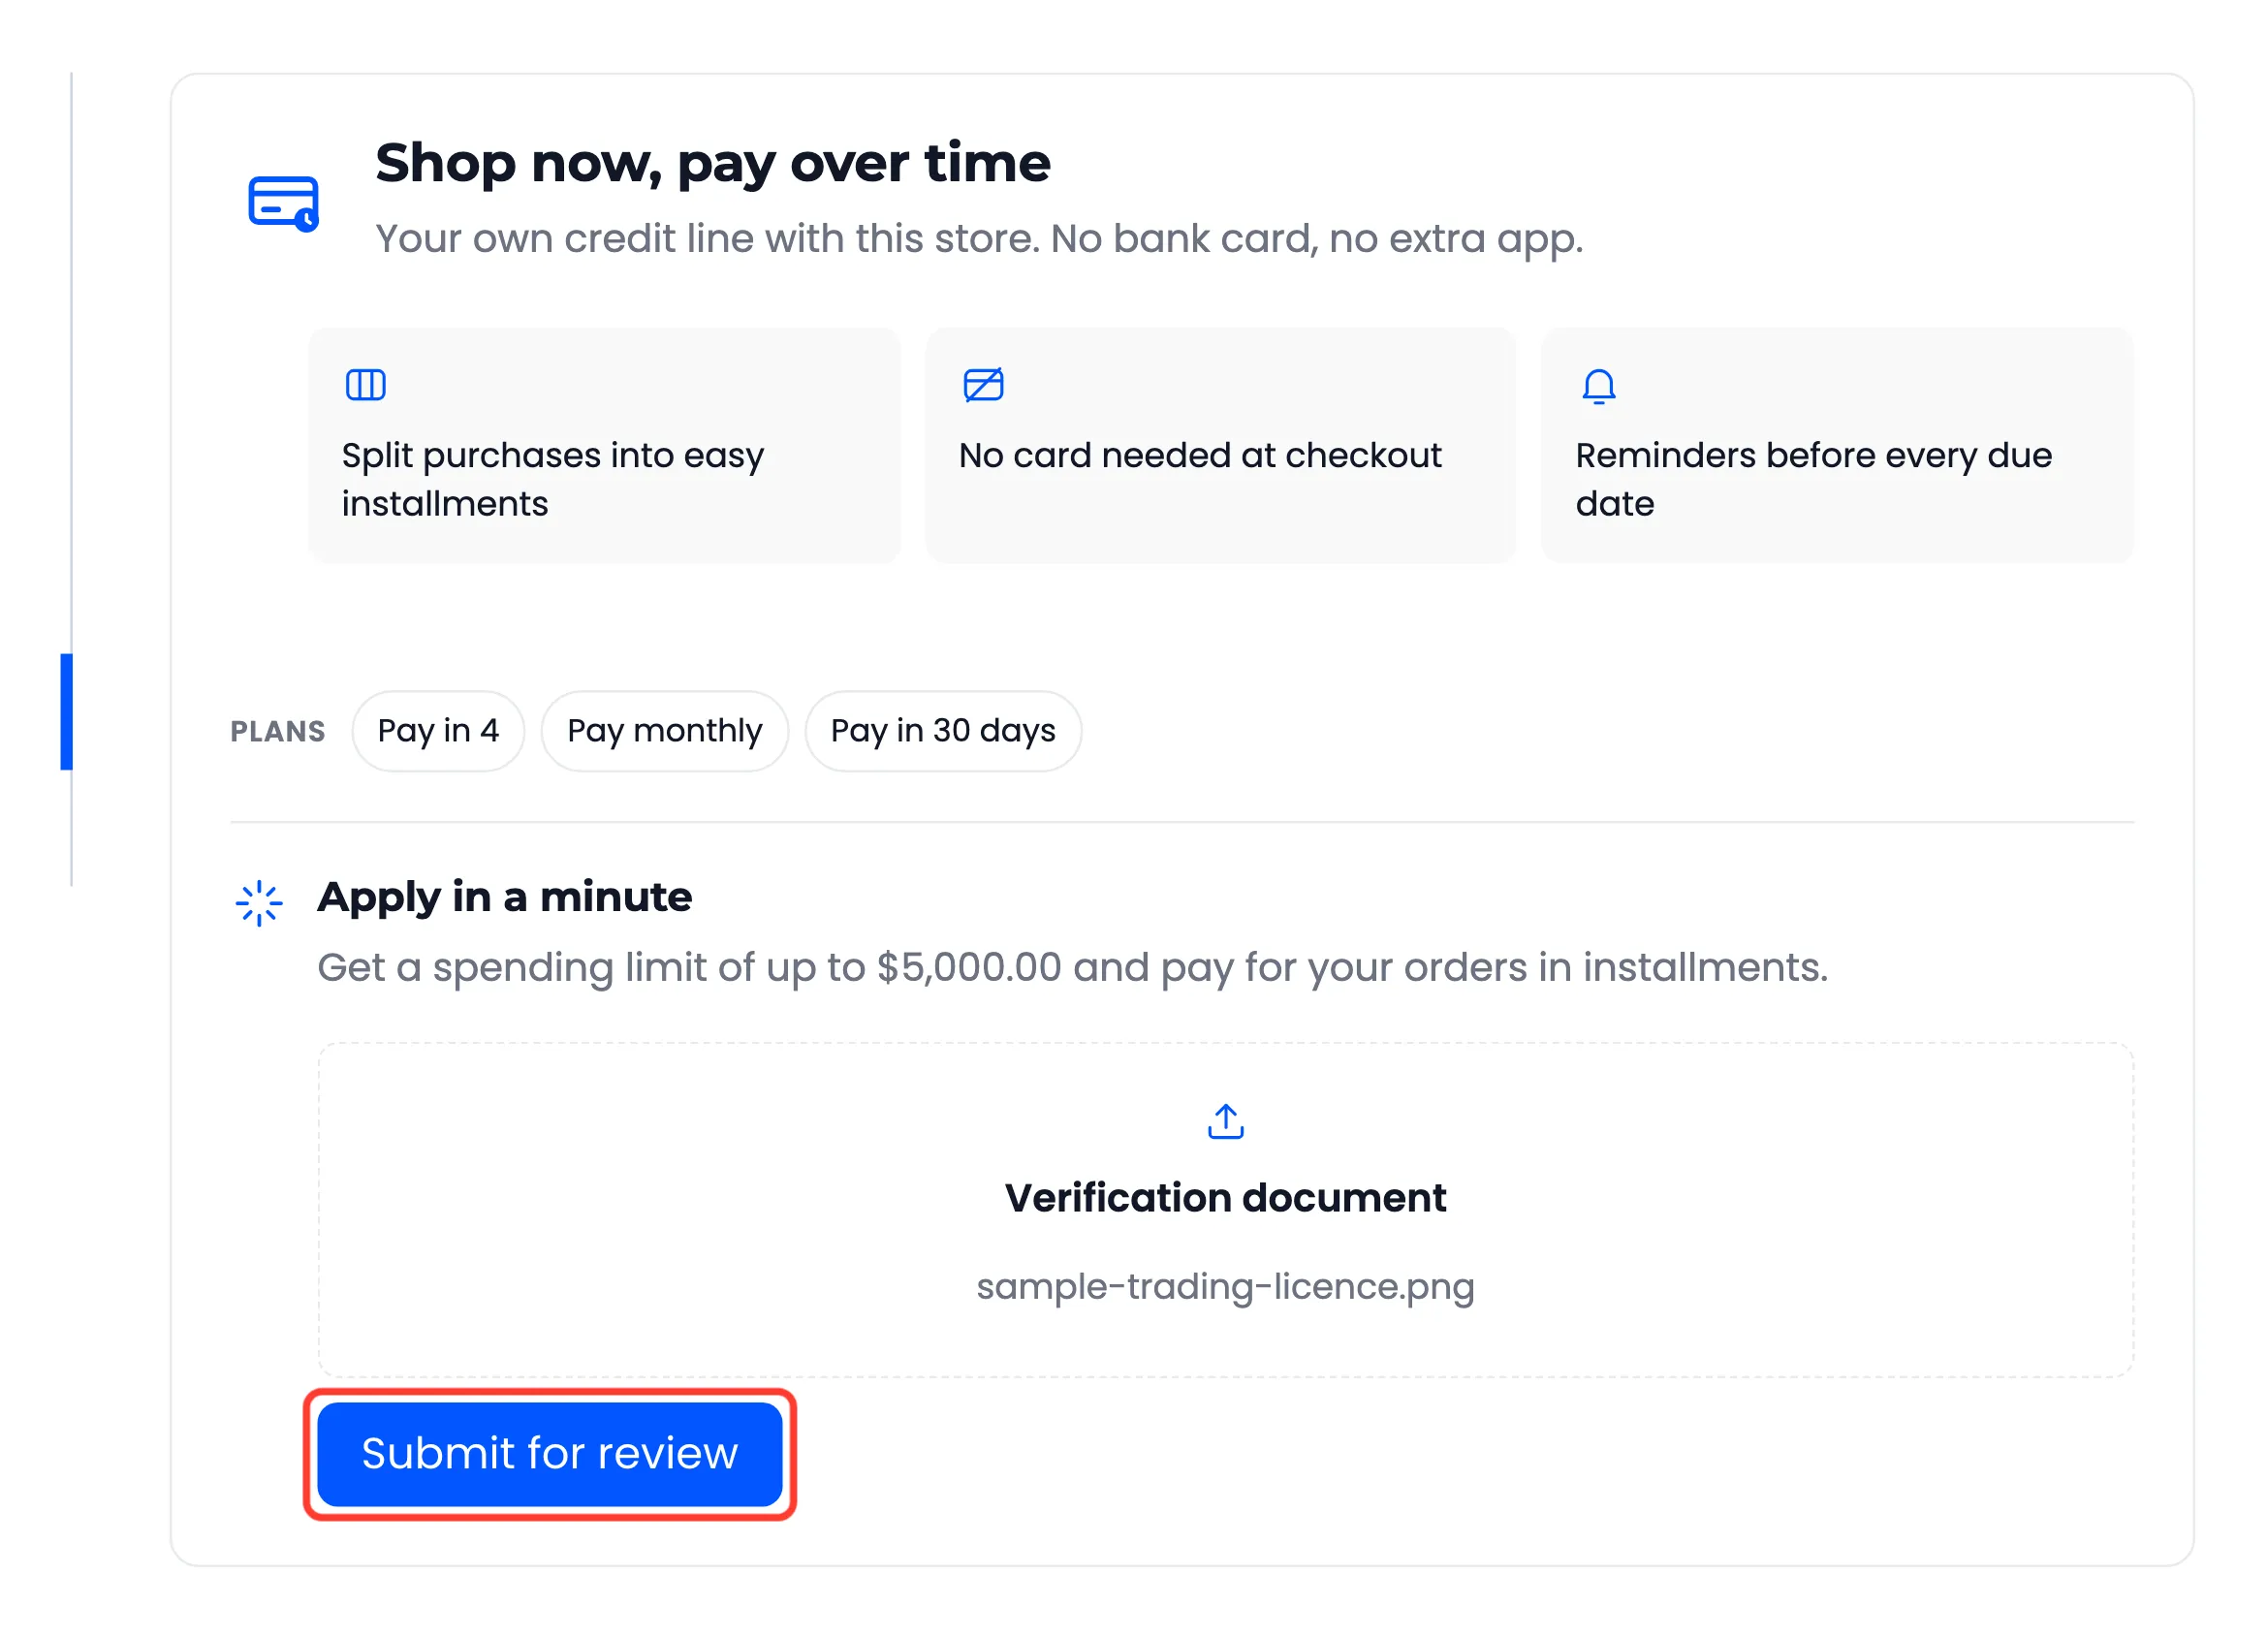
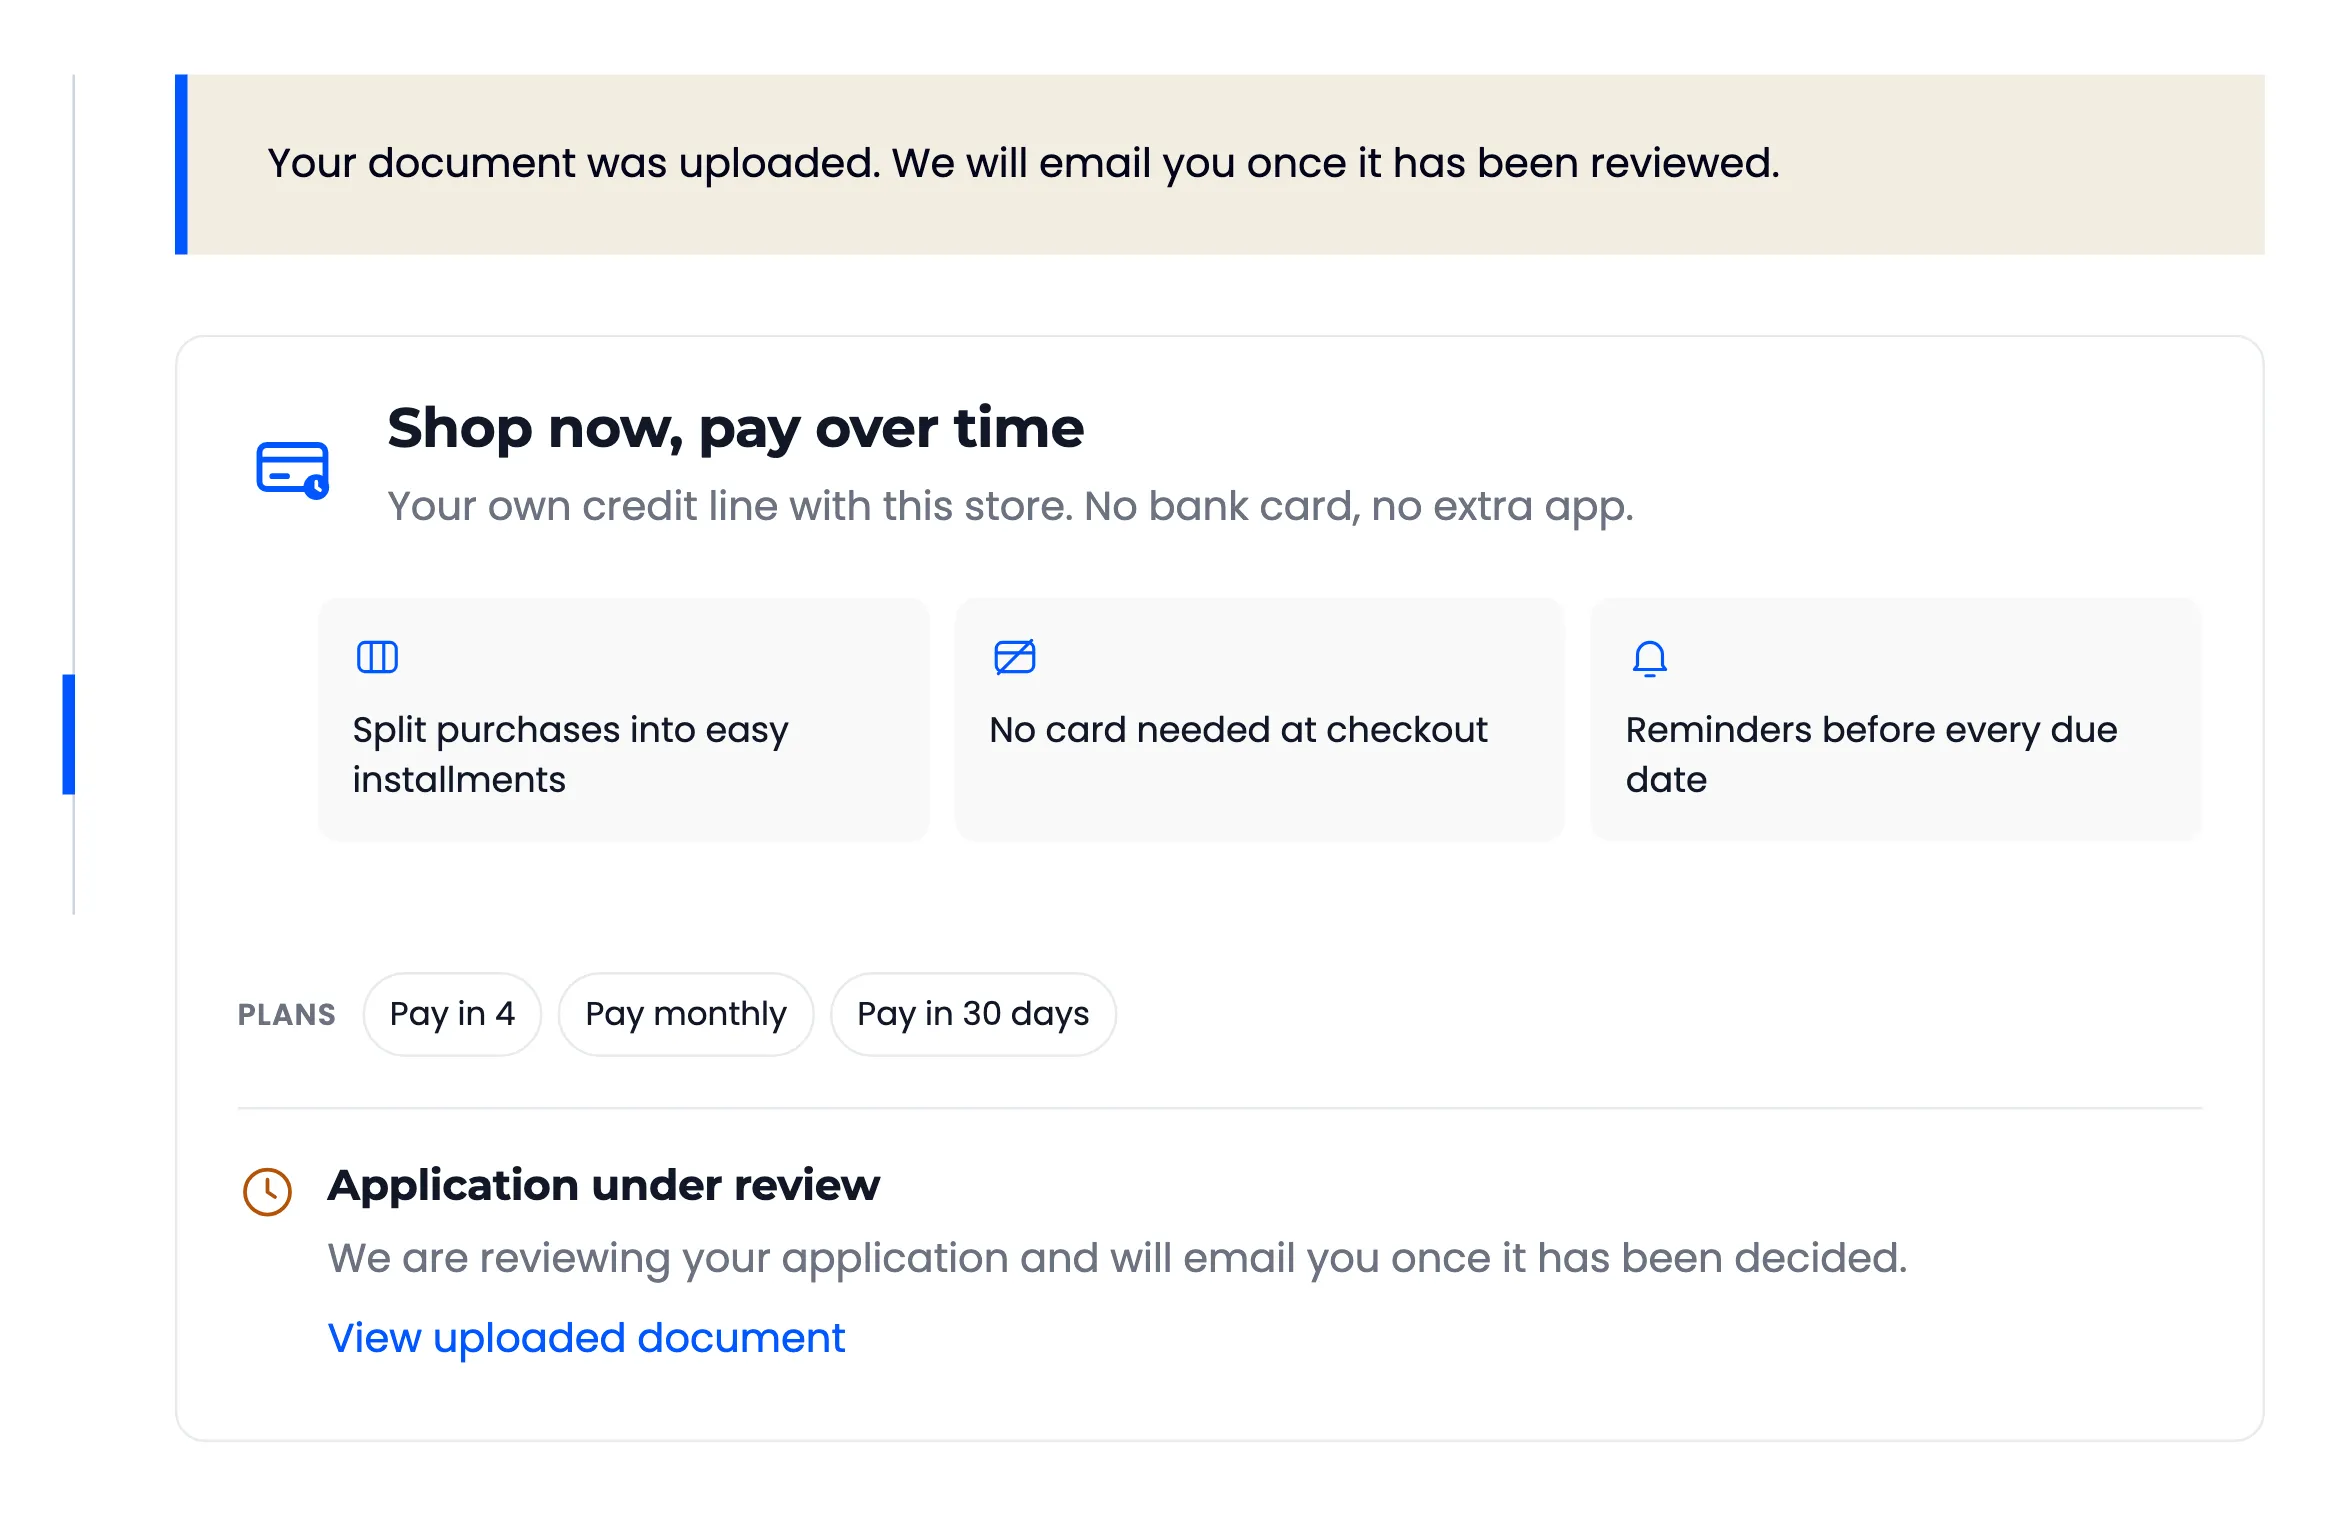
After Submit for review, the page says “Your document was uploaded. We will email you once it has been reviewed.” He can open what he sent with View uploaded document.
Accepted types are JPG, PNG, PDF, DOC and DOCX, up to your site’s upload limit. Each file gets a long
random name and goes to its own folder, wp-content/uploads/ddwcpp-documents/, never the media library.
The folder carries an .htaccess file that keeps it off the web on Apache, LiteSpeed and OpenLiteSpeed.
Nginx ignores that file, so on Nginx ask your host to deny web access to the folder.
Step 3: Open the document
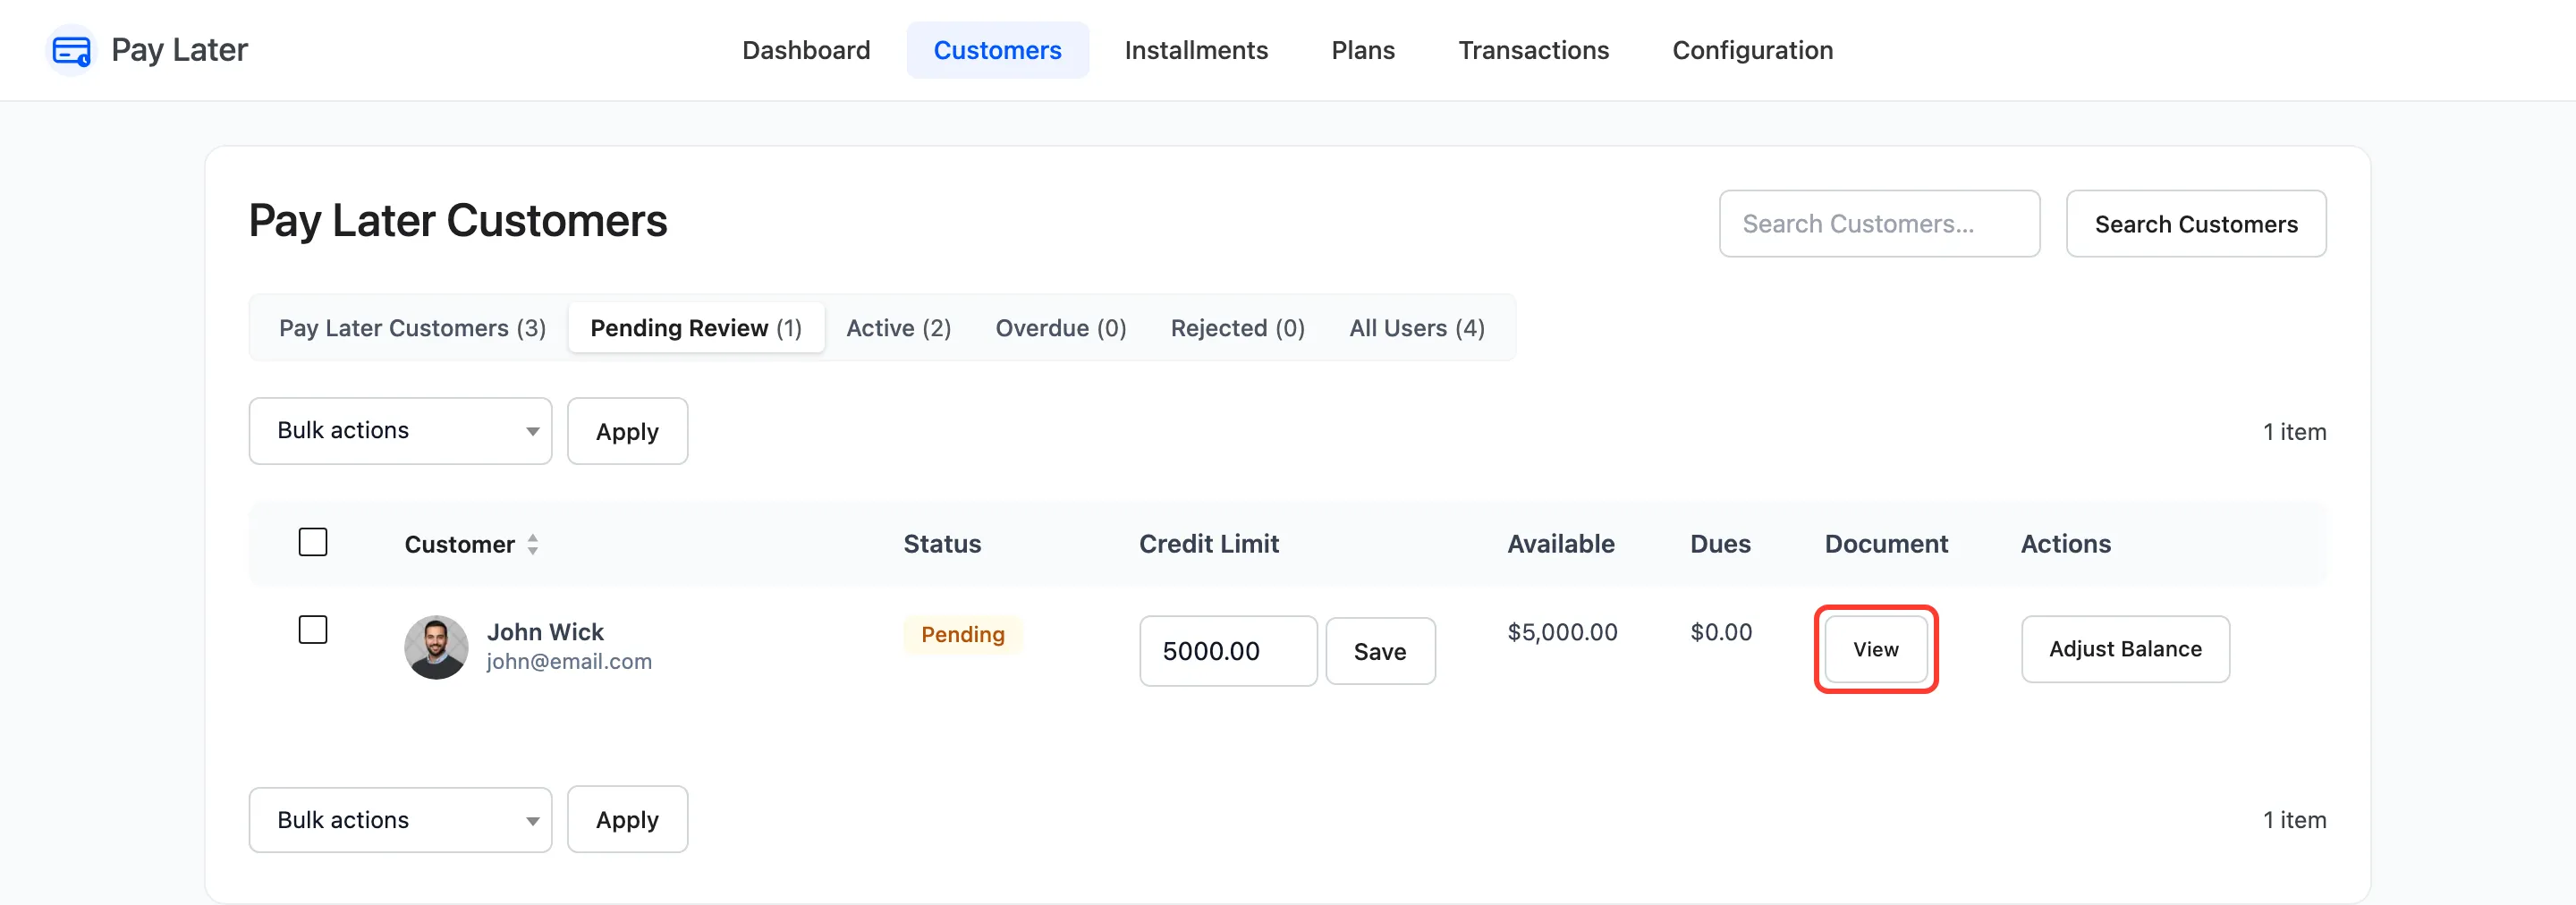
Section titled “Step 3: Open the document”You get the New Application (Store) email. Open Pay Later → Customers → Pending Review and click View in the Document column. The file opens in a new tab.
Step 4: Decide
Section titled “Step 4: Decide”Hover the customer and click Approve or Reject. See How to Approve Customers for Pay Later for what each one sends. To let a rejected customer try again with a better document, see How to Let Rejected Customers Apply Again (Pro).