
Messaging Settings
The Messaging tab controls the line that shows shoppers what a product costs per installment, and the Learn more window it opens. Open DevDiggers Plugins → Pay Later → Configuration → Messaging.
Installment Message
Section titled “Installment Message”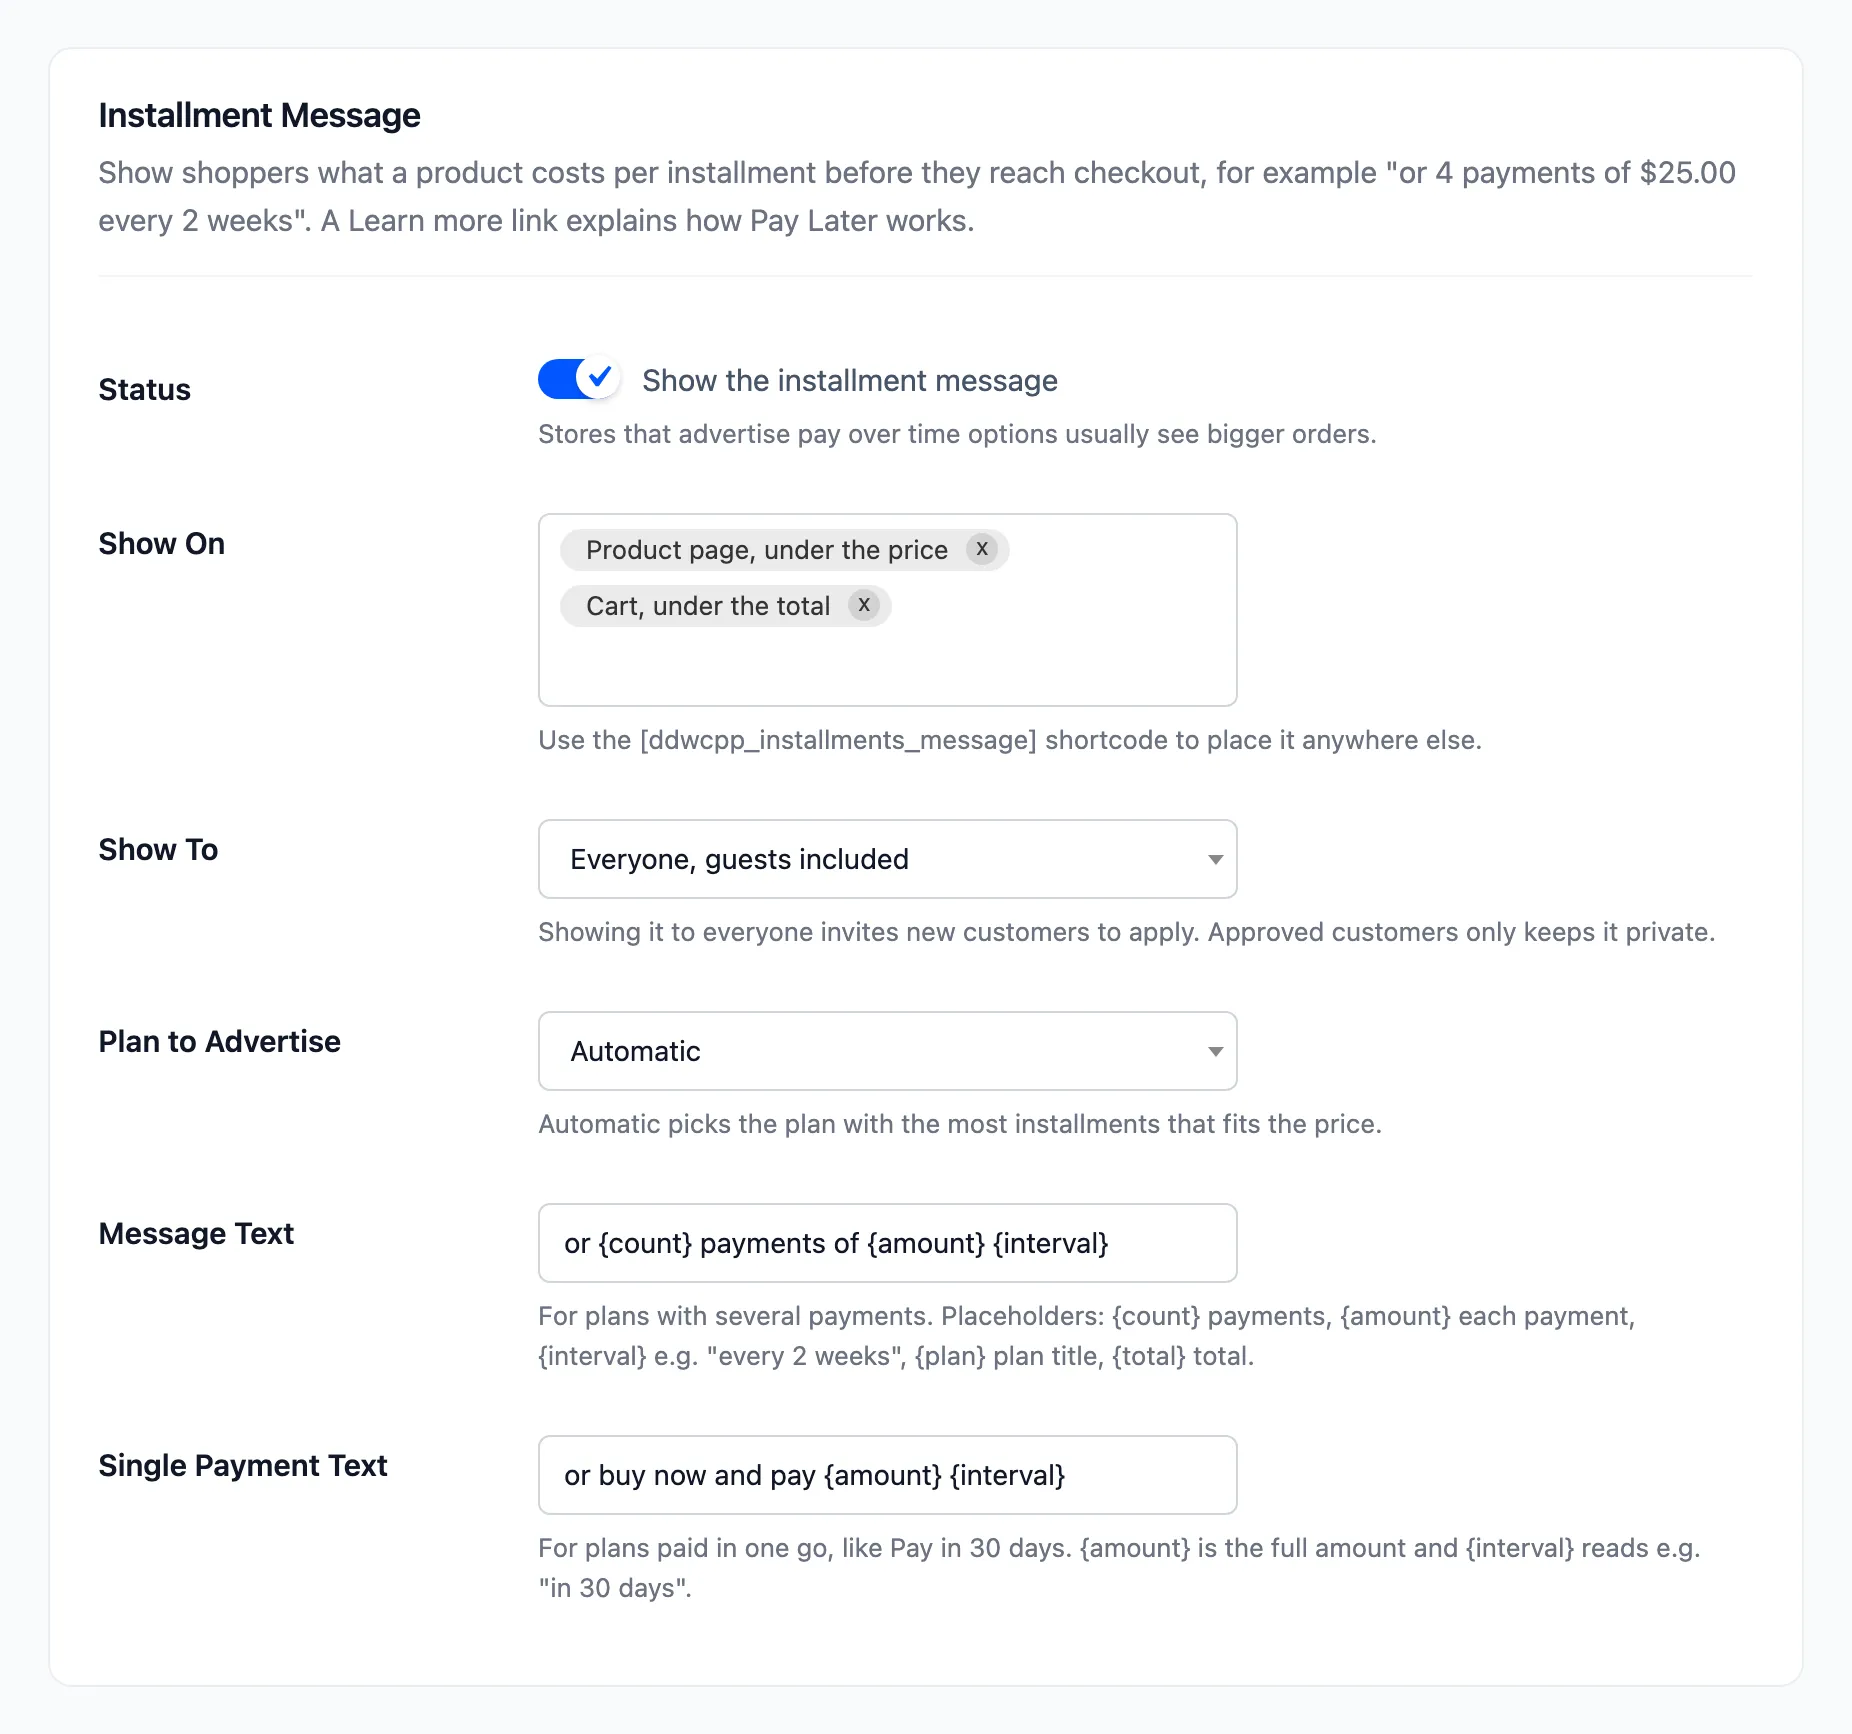
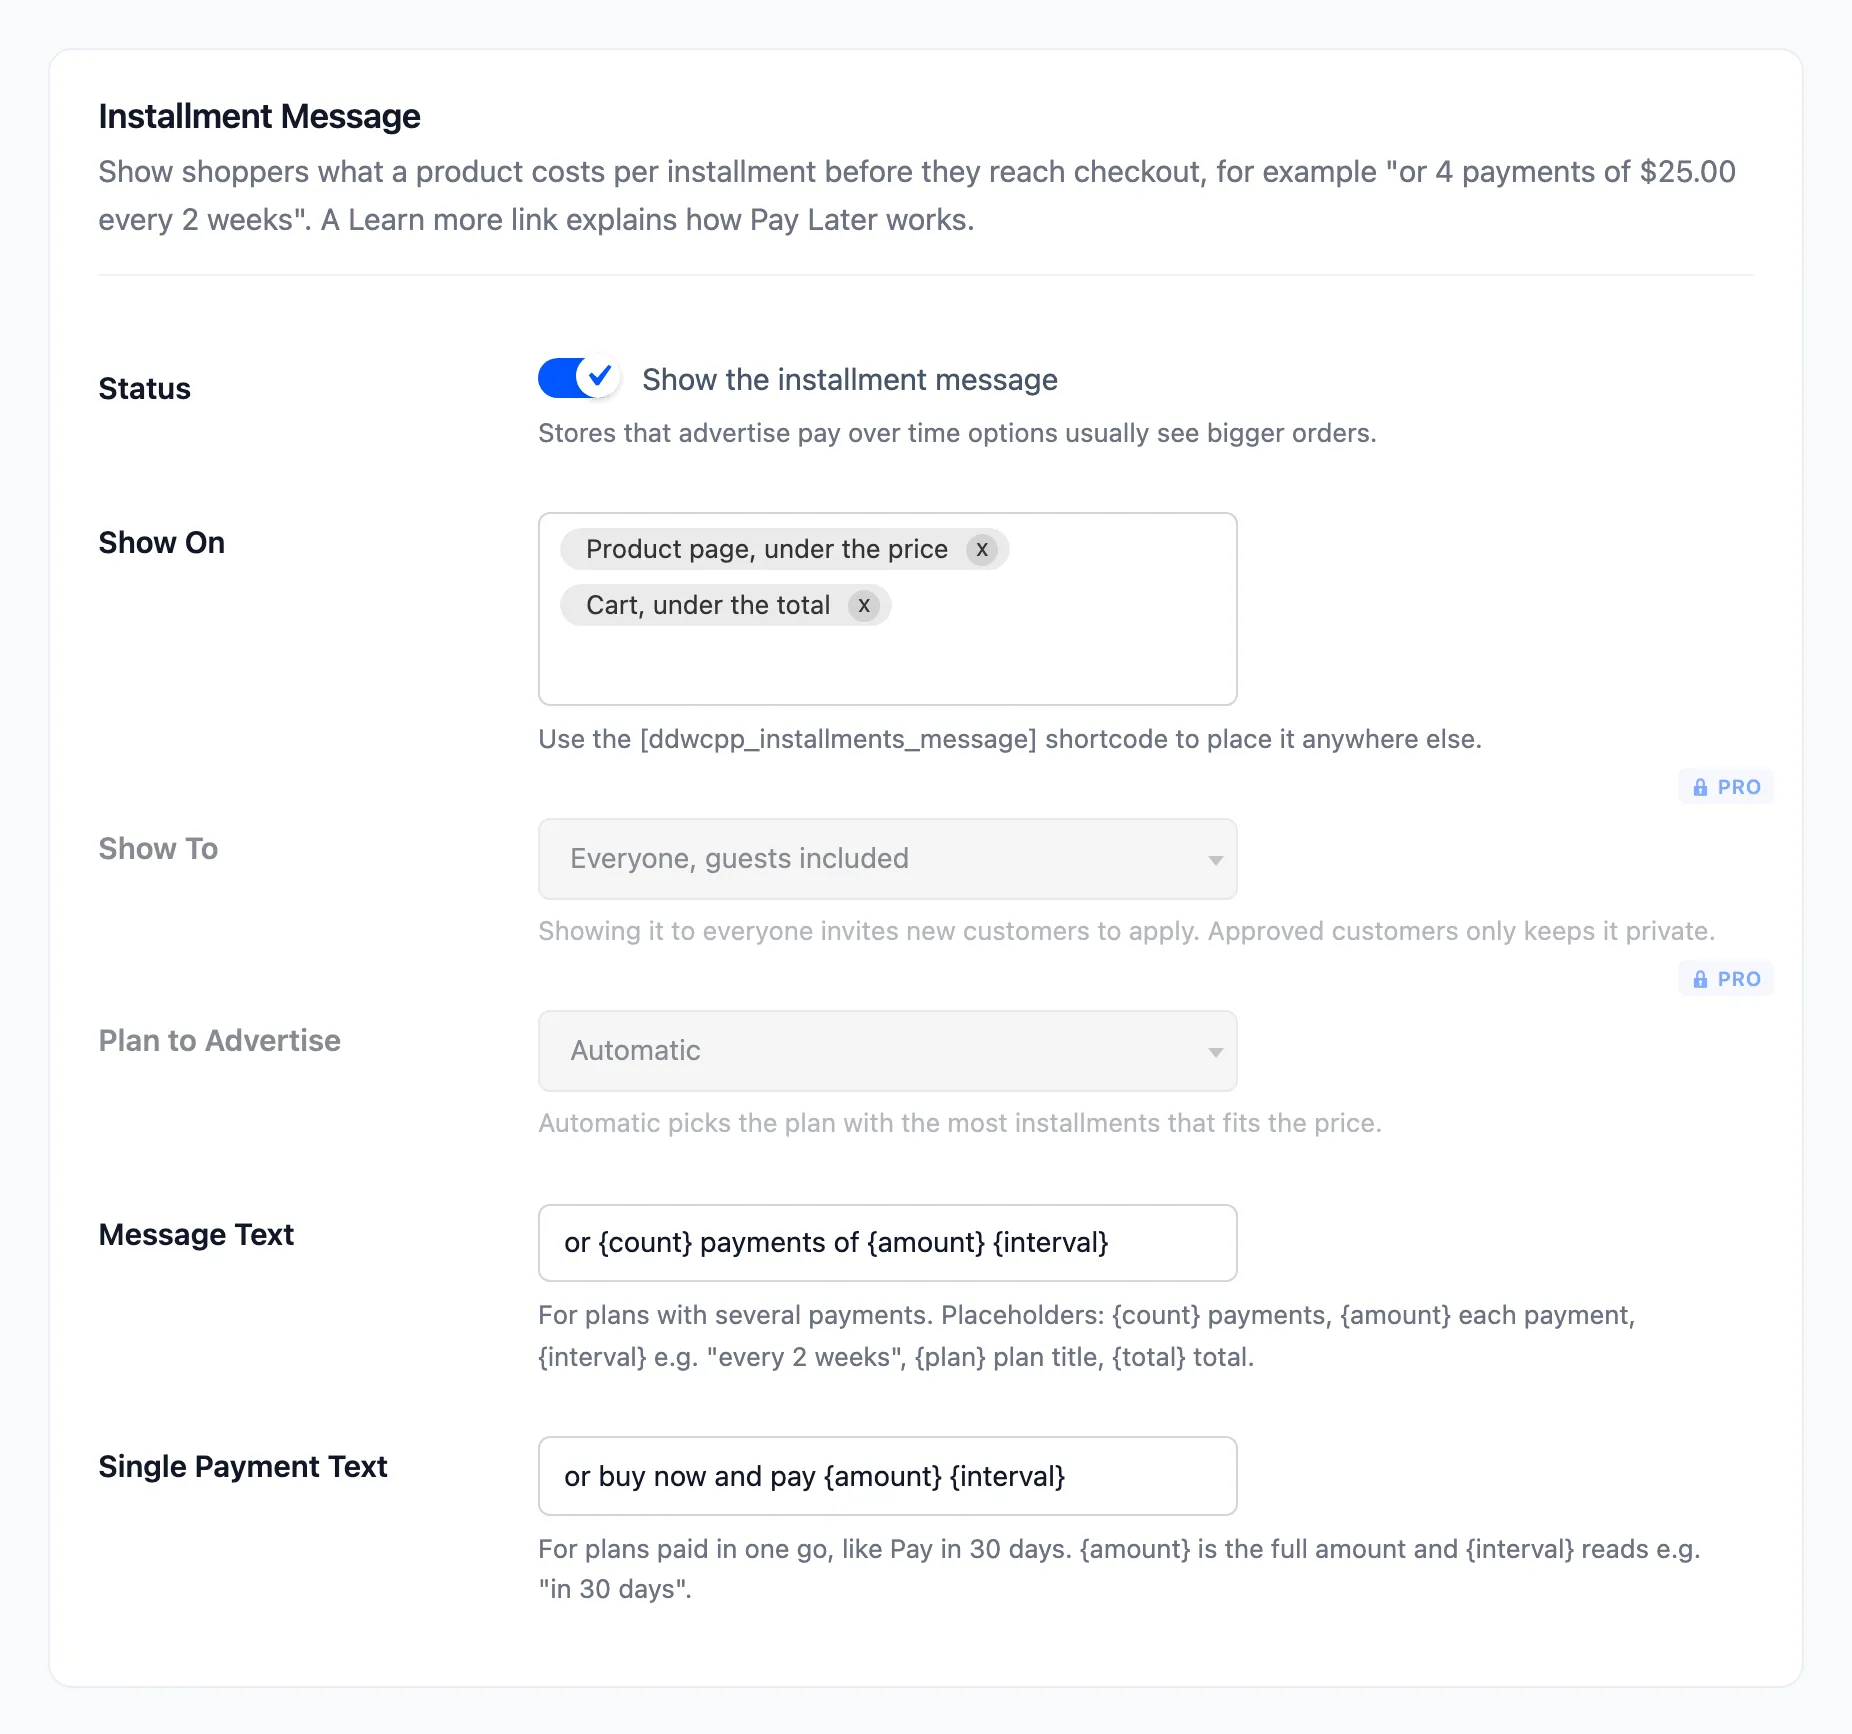
- Status: “Show the installment message”. On by default.
- Show On: Where it appears. Product page, under the price and Cart, under the total by
default. Shop and category pages adds a short version under each product in the grid. The
[ddwcpp_installments_message]shortcode places it anywhere else. - Show To (Pro): Everyone, guests included (default), or Approved customers only.
- Plan to Advertise (Pro): Automatic (default) picks the plan with the most payments that fits the price. Or name one plan.
- Message Text: For plans with several payments. Default “or {count} payments of {amount} {interval}”.
- Single Payment Text: For plans paid in one go, like Pay in 30 days. Default “or buy now and pay {amount} {interval}”.
Placeholders in both texts:
{count}: the number of payments.{amount}: each payment, or the full amount for a single payment plan.{interval}: “every 2 weeks”, or “in 30 days” for a single payment plan.{plan}: the plan’s title.{total}: the total, plan fee included.
The message hides itself when no active plan fits the price, on excluded products (Pro), and for logged-in customers outside the allowed roles (Pro). See How to Show Installment Prices on Your Store.
Learn More Dialog (Pro)
Section titled “Learn More Dialog (Pro)”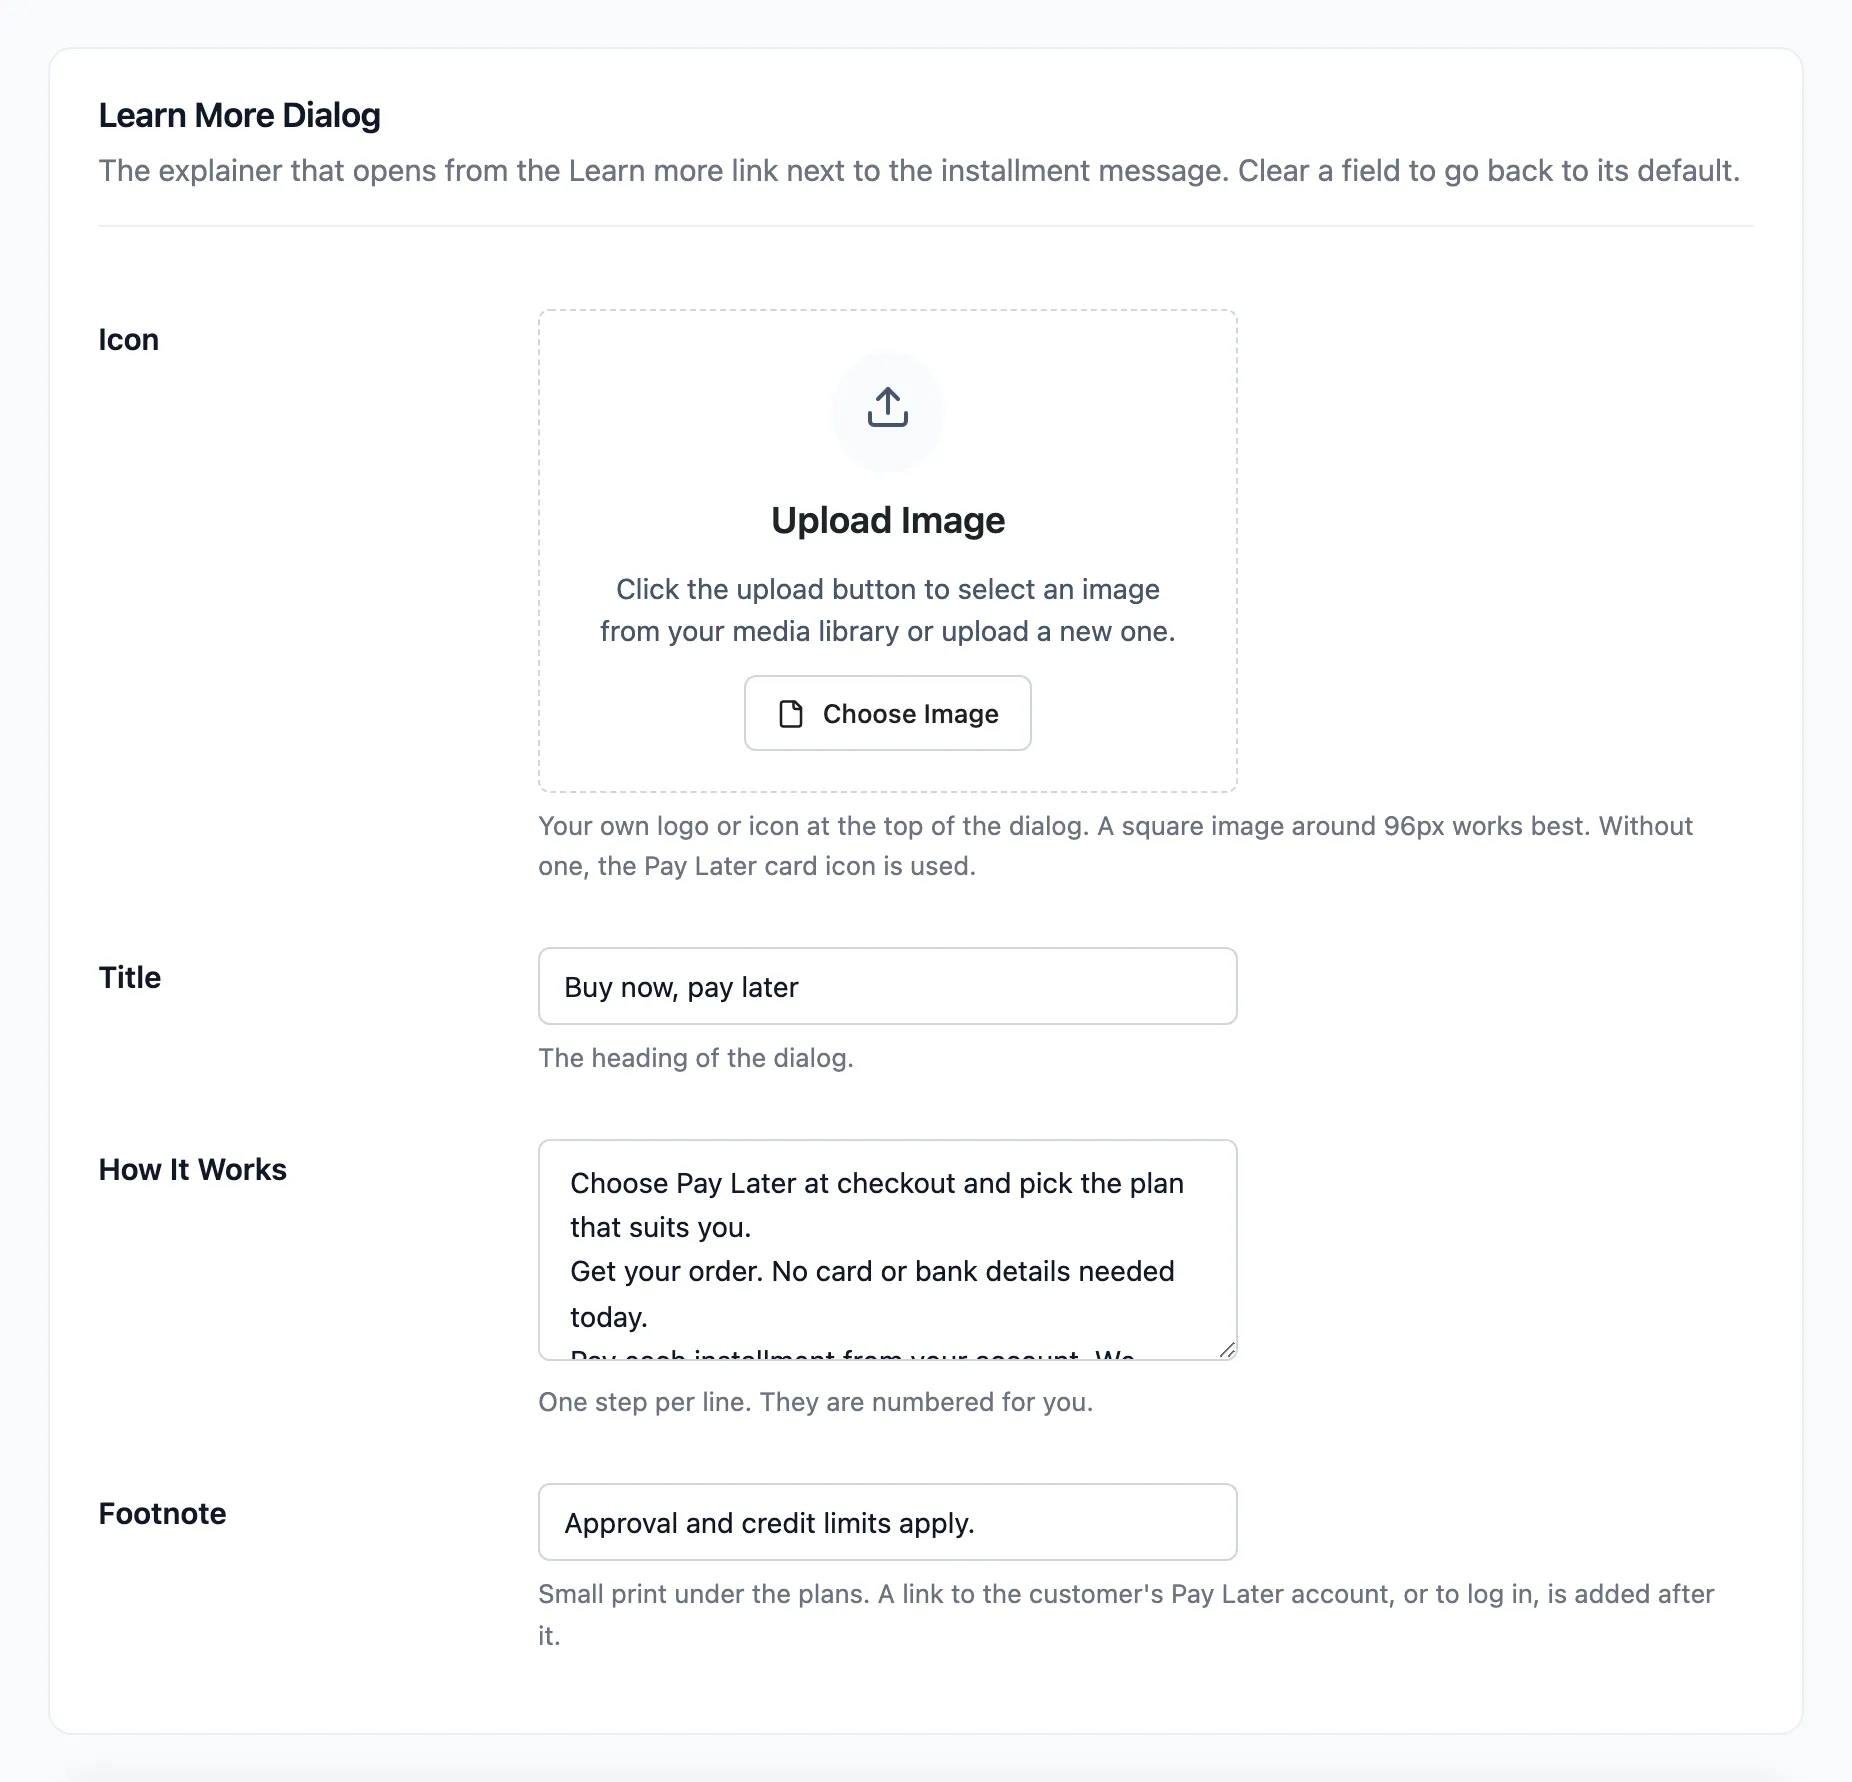
- Icon: Your own logo at the top of the window. A square image around 96px works best. Without one, the Pay Later card icon is used.
- Title: Default “Buy now, pay later”.
- How It Works: One step per line, numbered for you. Three steps by default.
- Footnote: Small print under the plans. Default “Approval and credit limits apply.” A link to the customer’s Pay Later account, or to log in, follows it.
Clear a field to go back to its default. The window always lists your active plans under Ways to pay. See How to Customize the Learn More Window (Pro).
Click Save Changes at the bottom of the tab.
In the free version
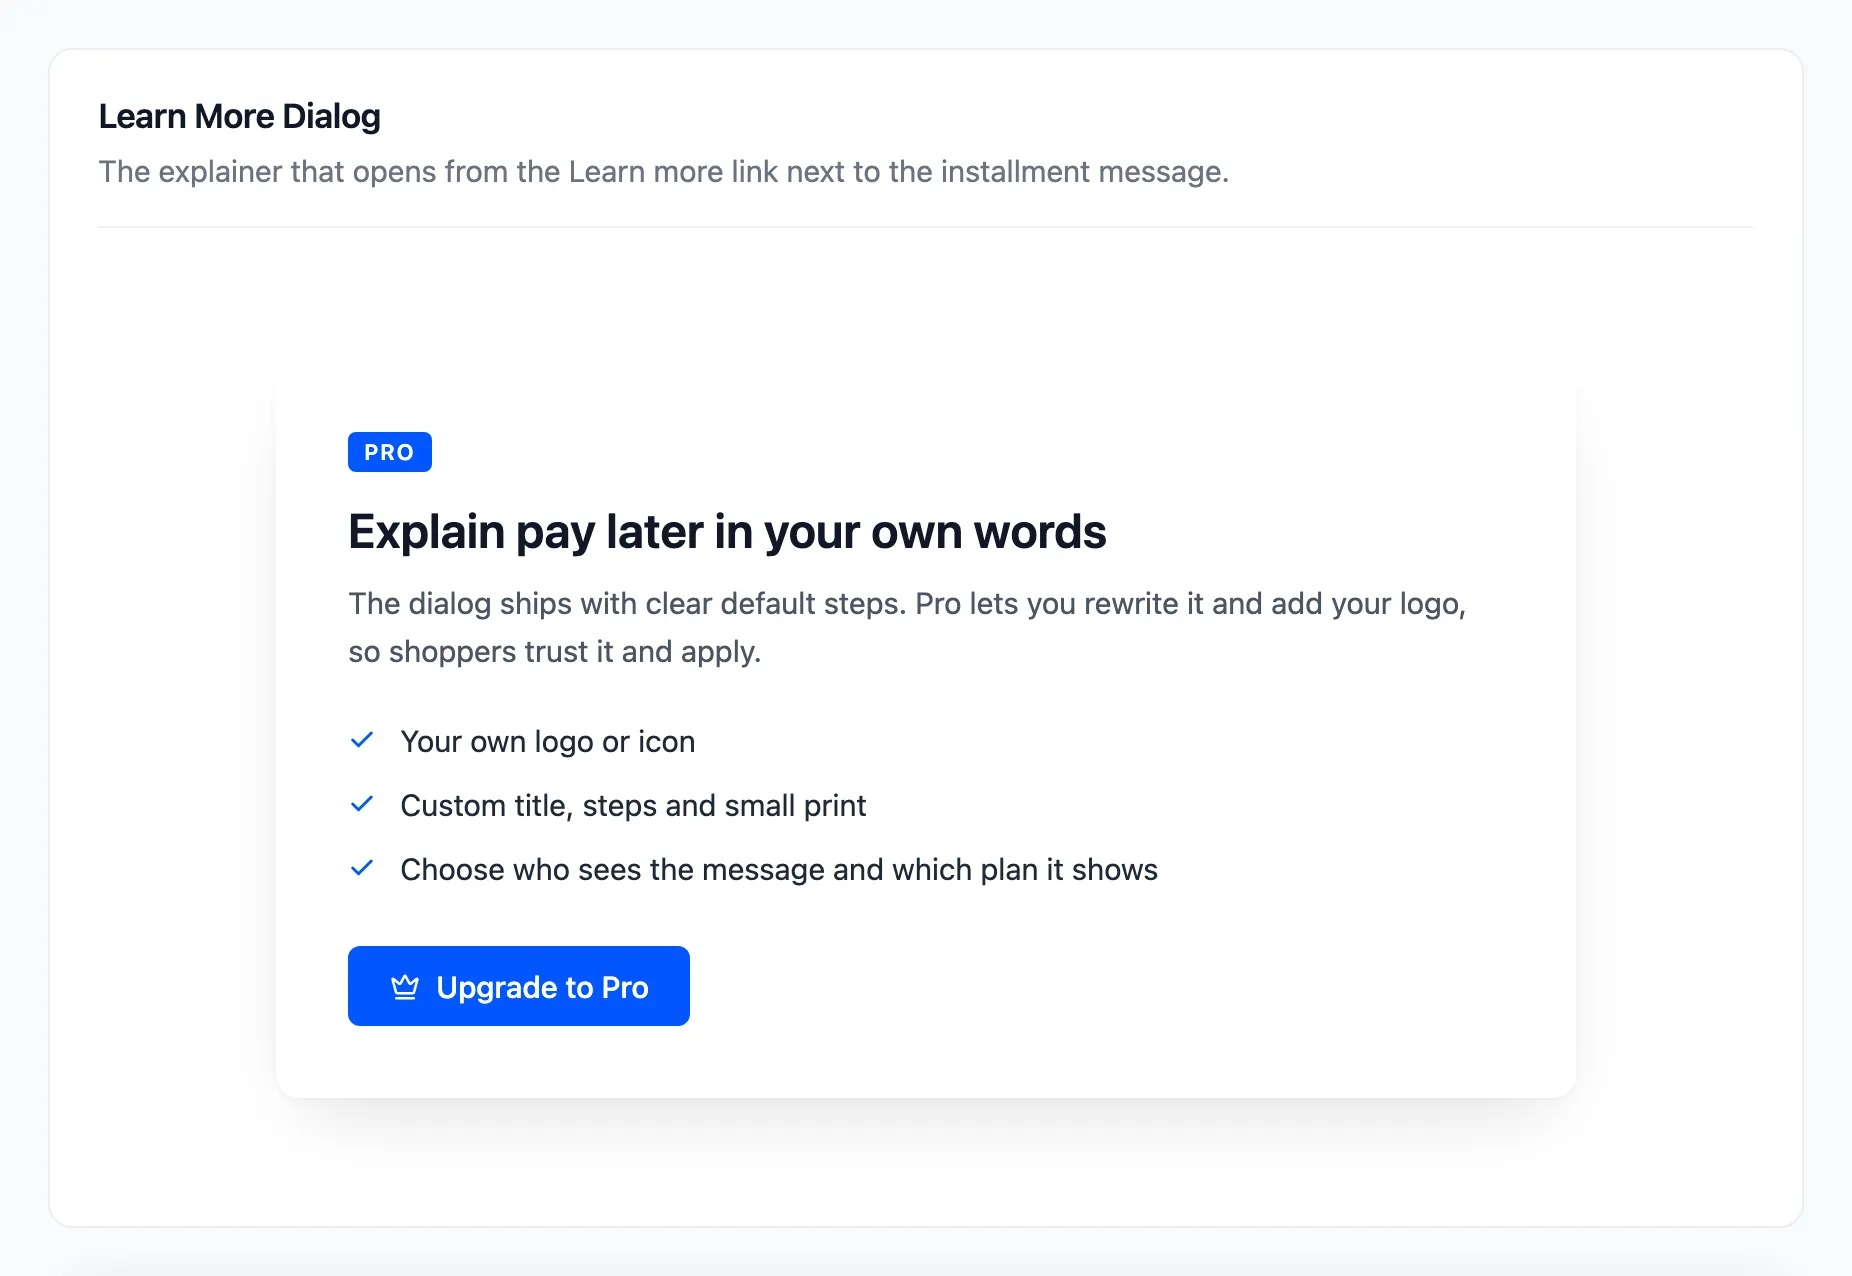
Section titled “In the free version”The free version has the message with its default window. Show To and Plan to Advertise show as locked rows, and the Learn More Dialog as an upgrade card.