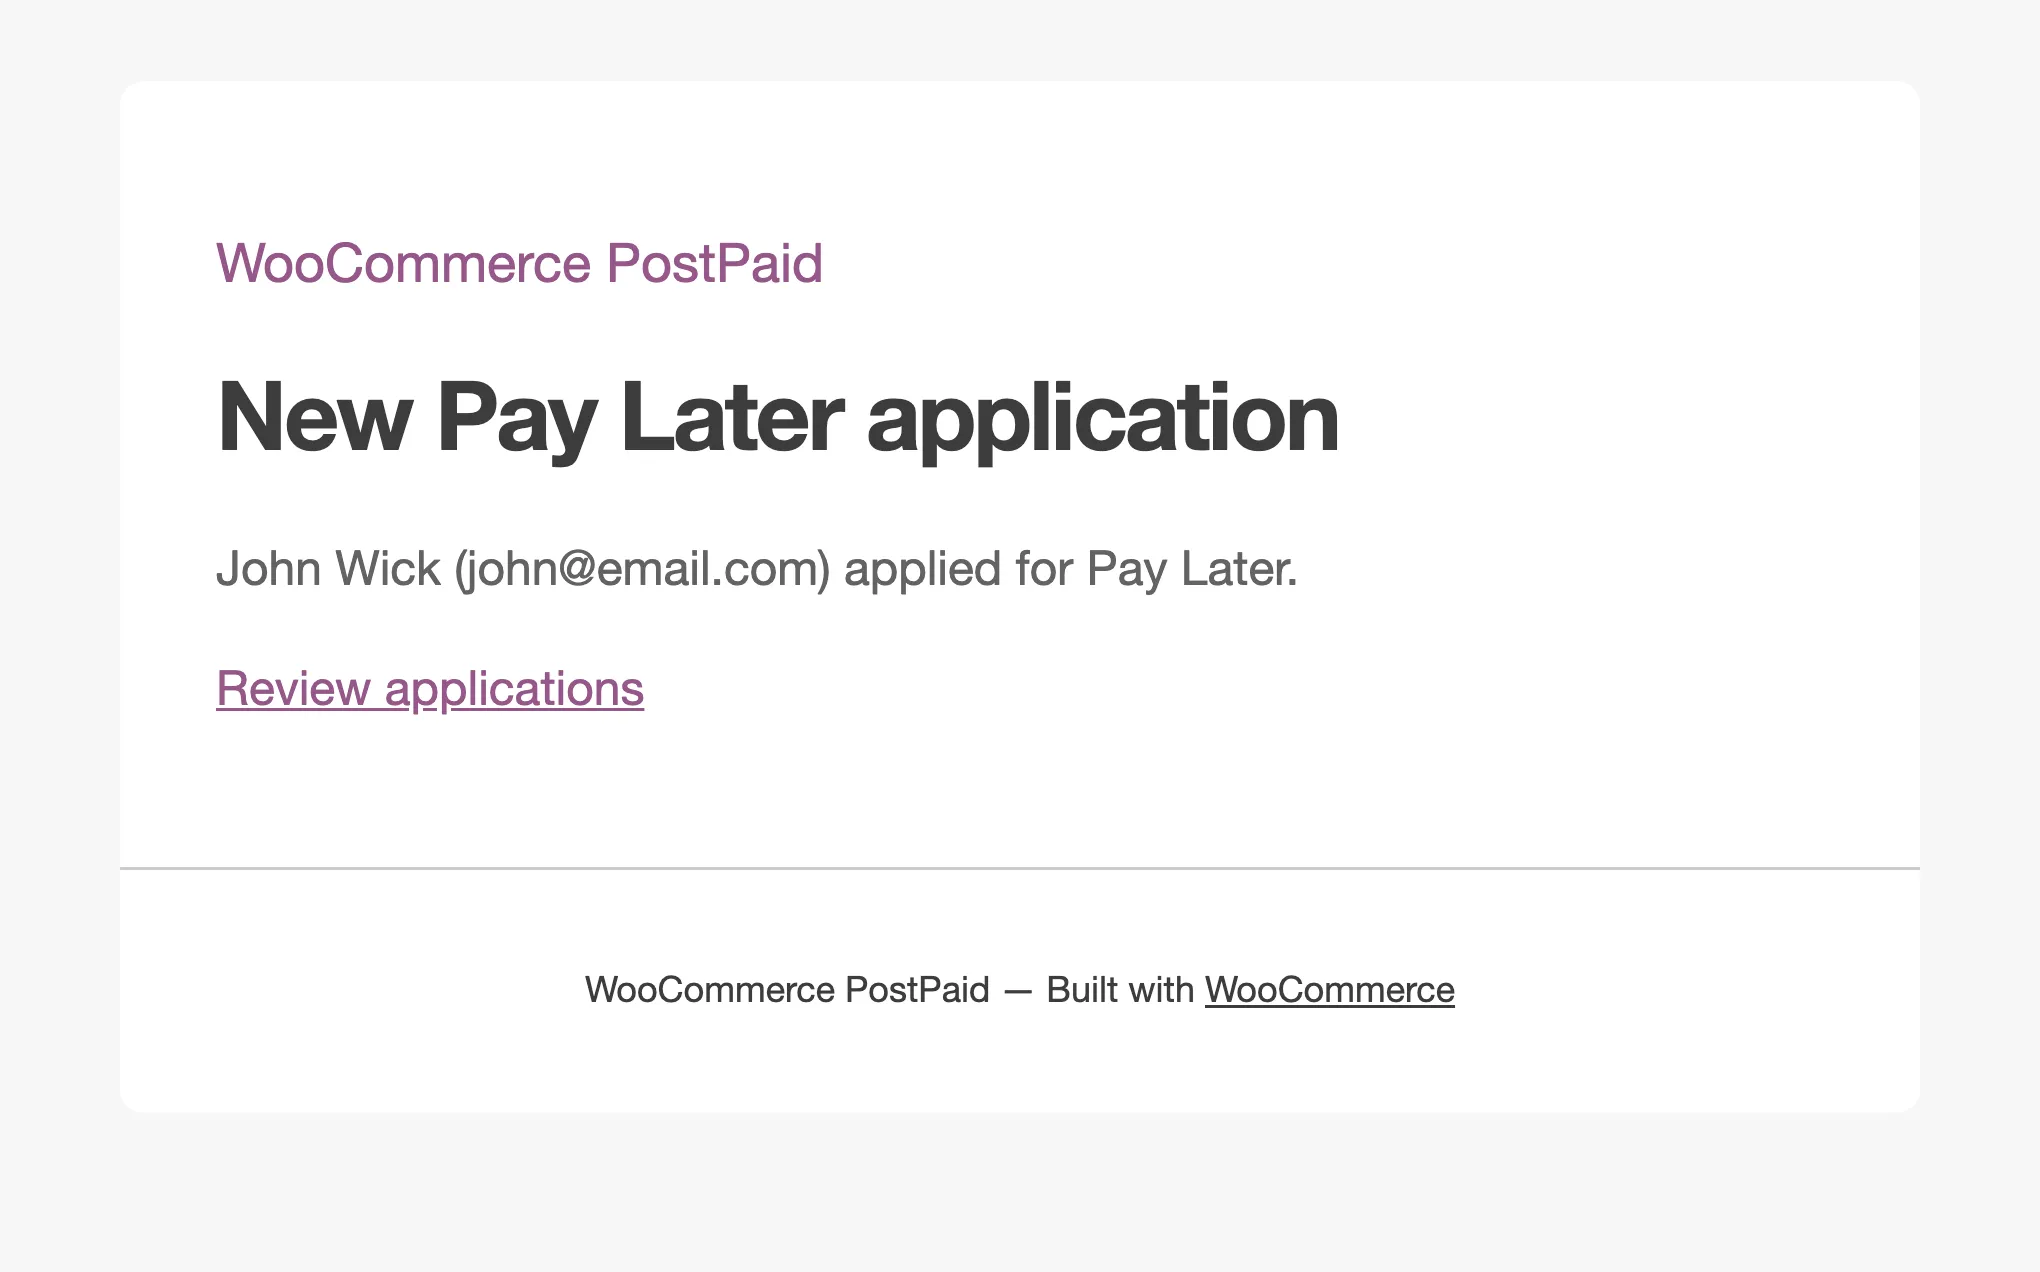

How to Customize the Pay Later Emails
Every Pay Later email can be reworded or switched off. They all use your WooCommerce email design, so they look like the rest of your store’s emails.
Step 1: Open the Emails tab
Section titled “Step 1: Open the Emails tab”Go to DevDiggers Plugins → Pay Later → Configuration → Emails.
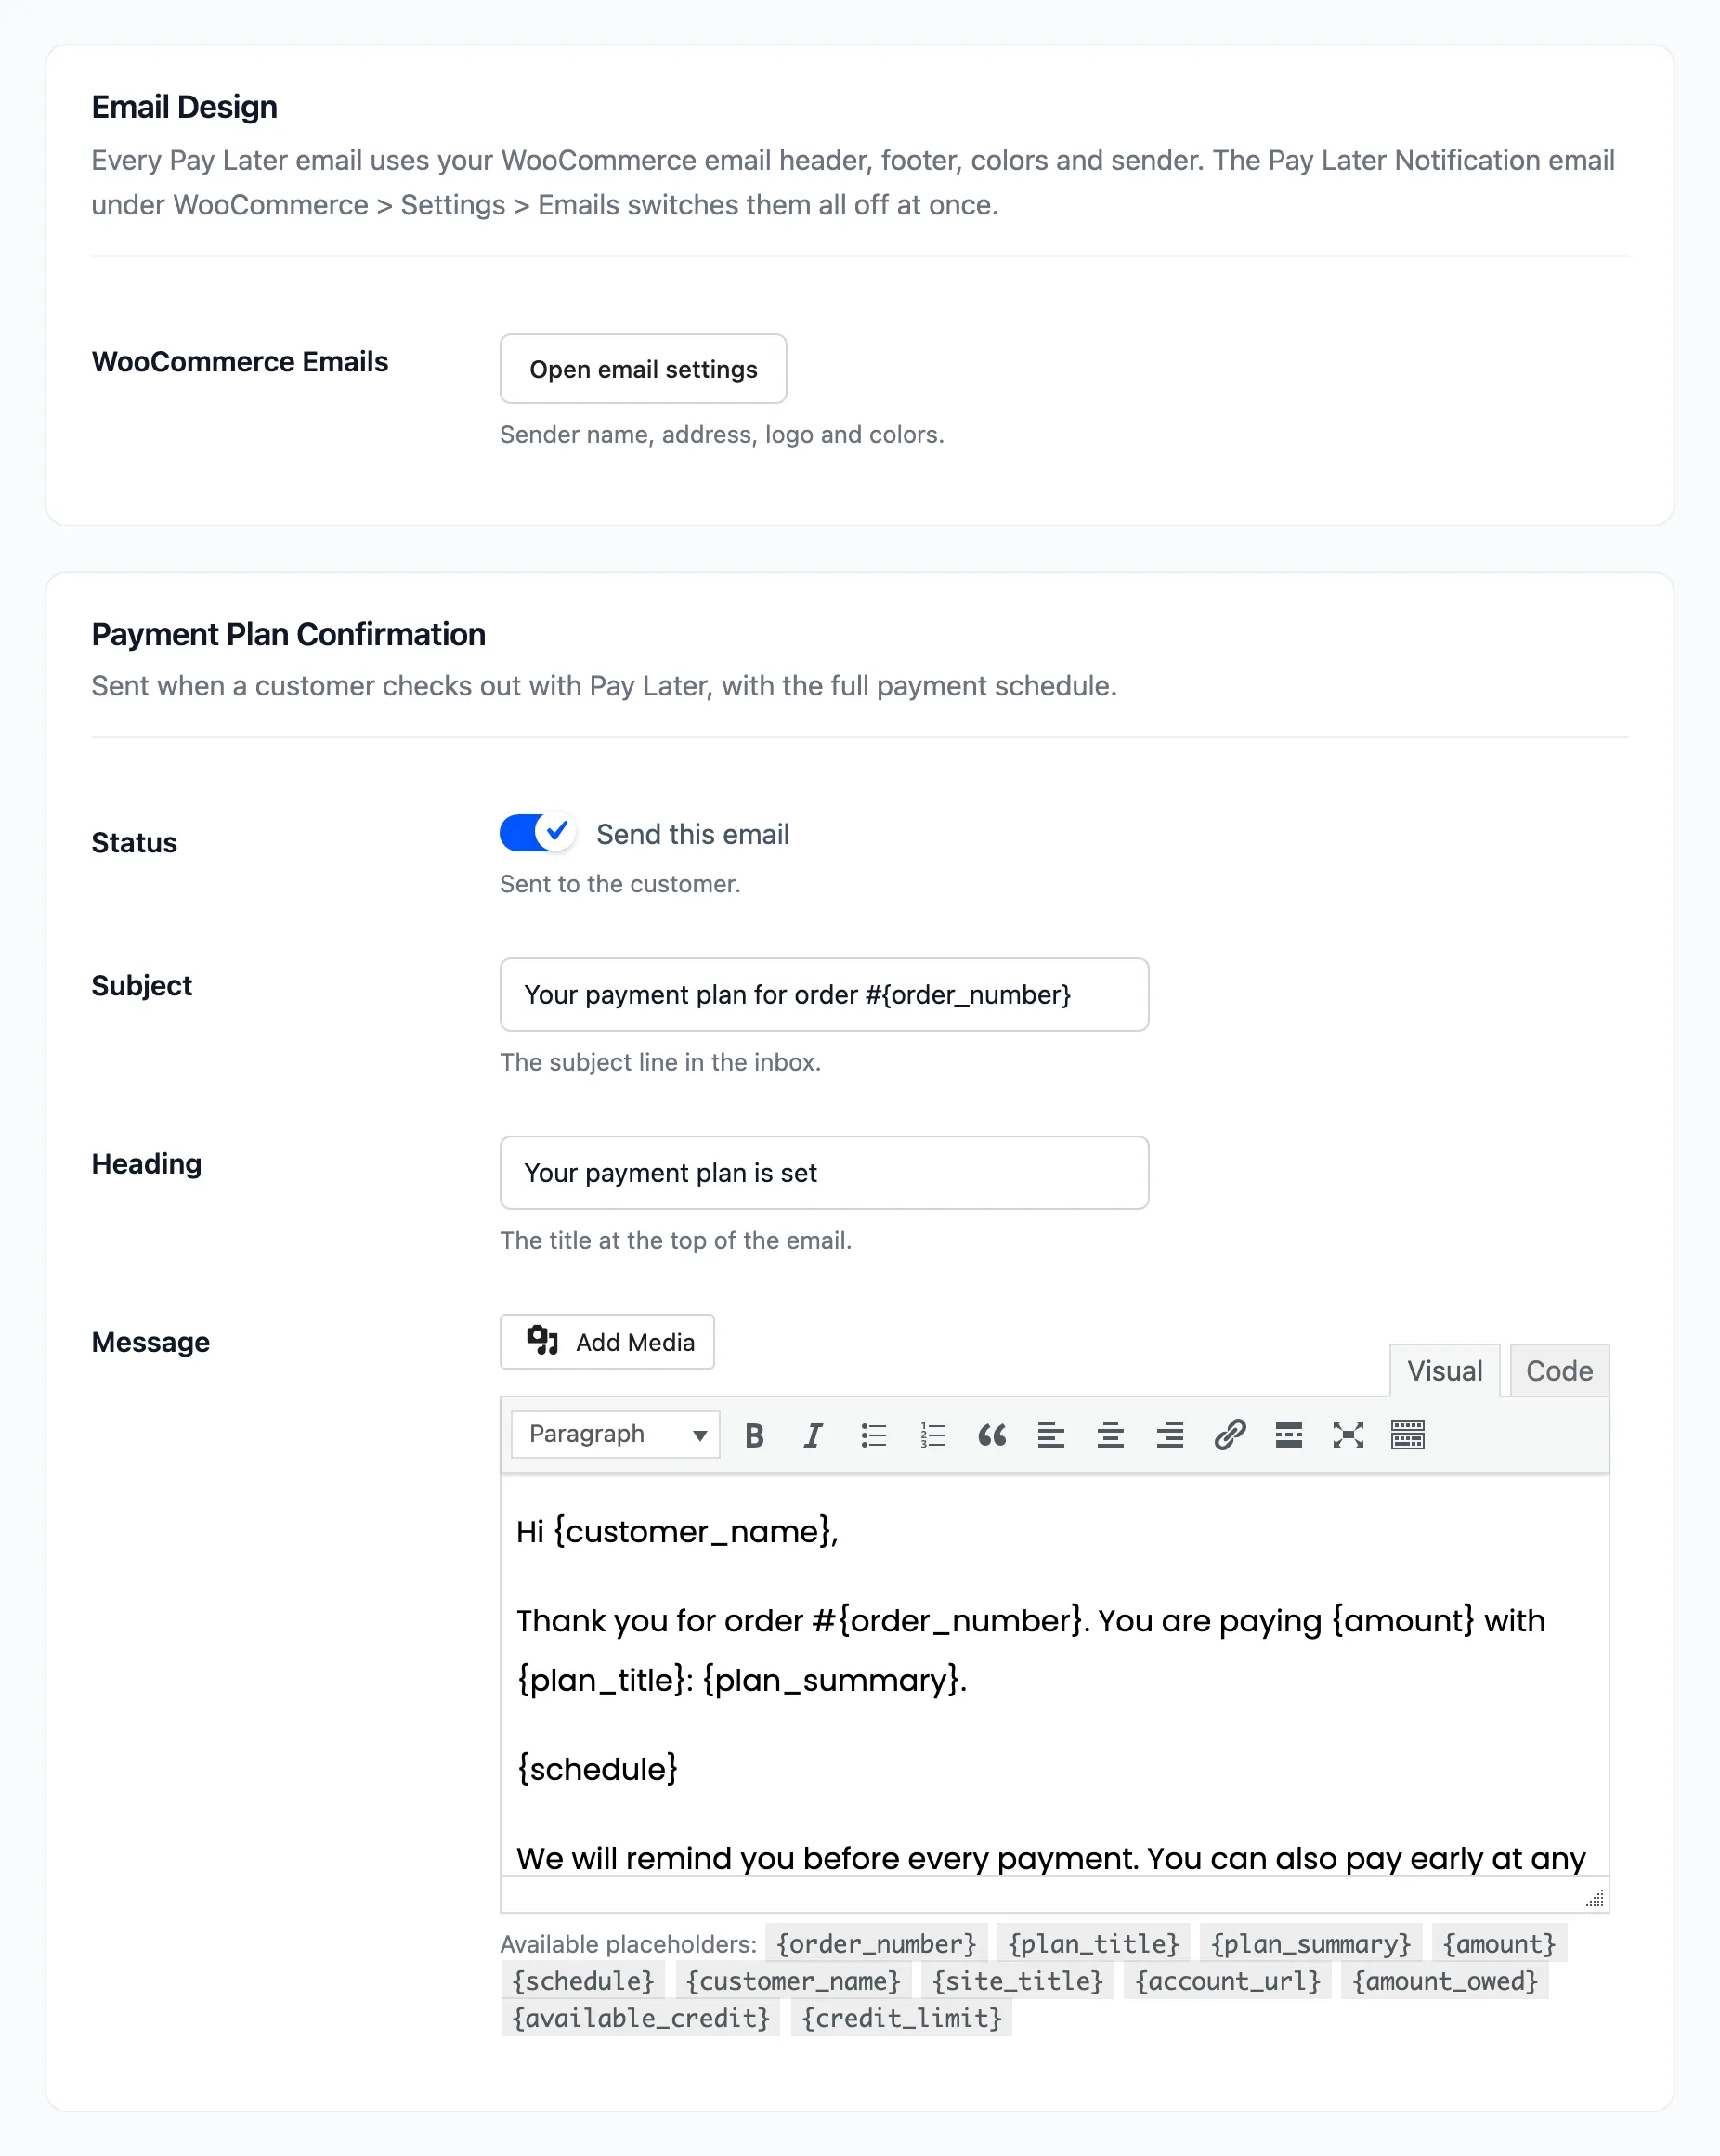
Step 2: Pick the email
Section titled “Step 2: Pick the email”Each of the nine emails has its own section: Status, Subject, Heading and Message. See Email Settings for when each one is sent.
Step 3: Edit the wording
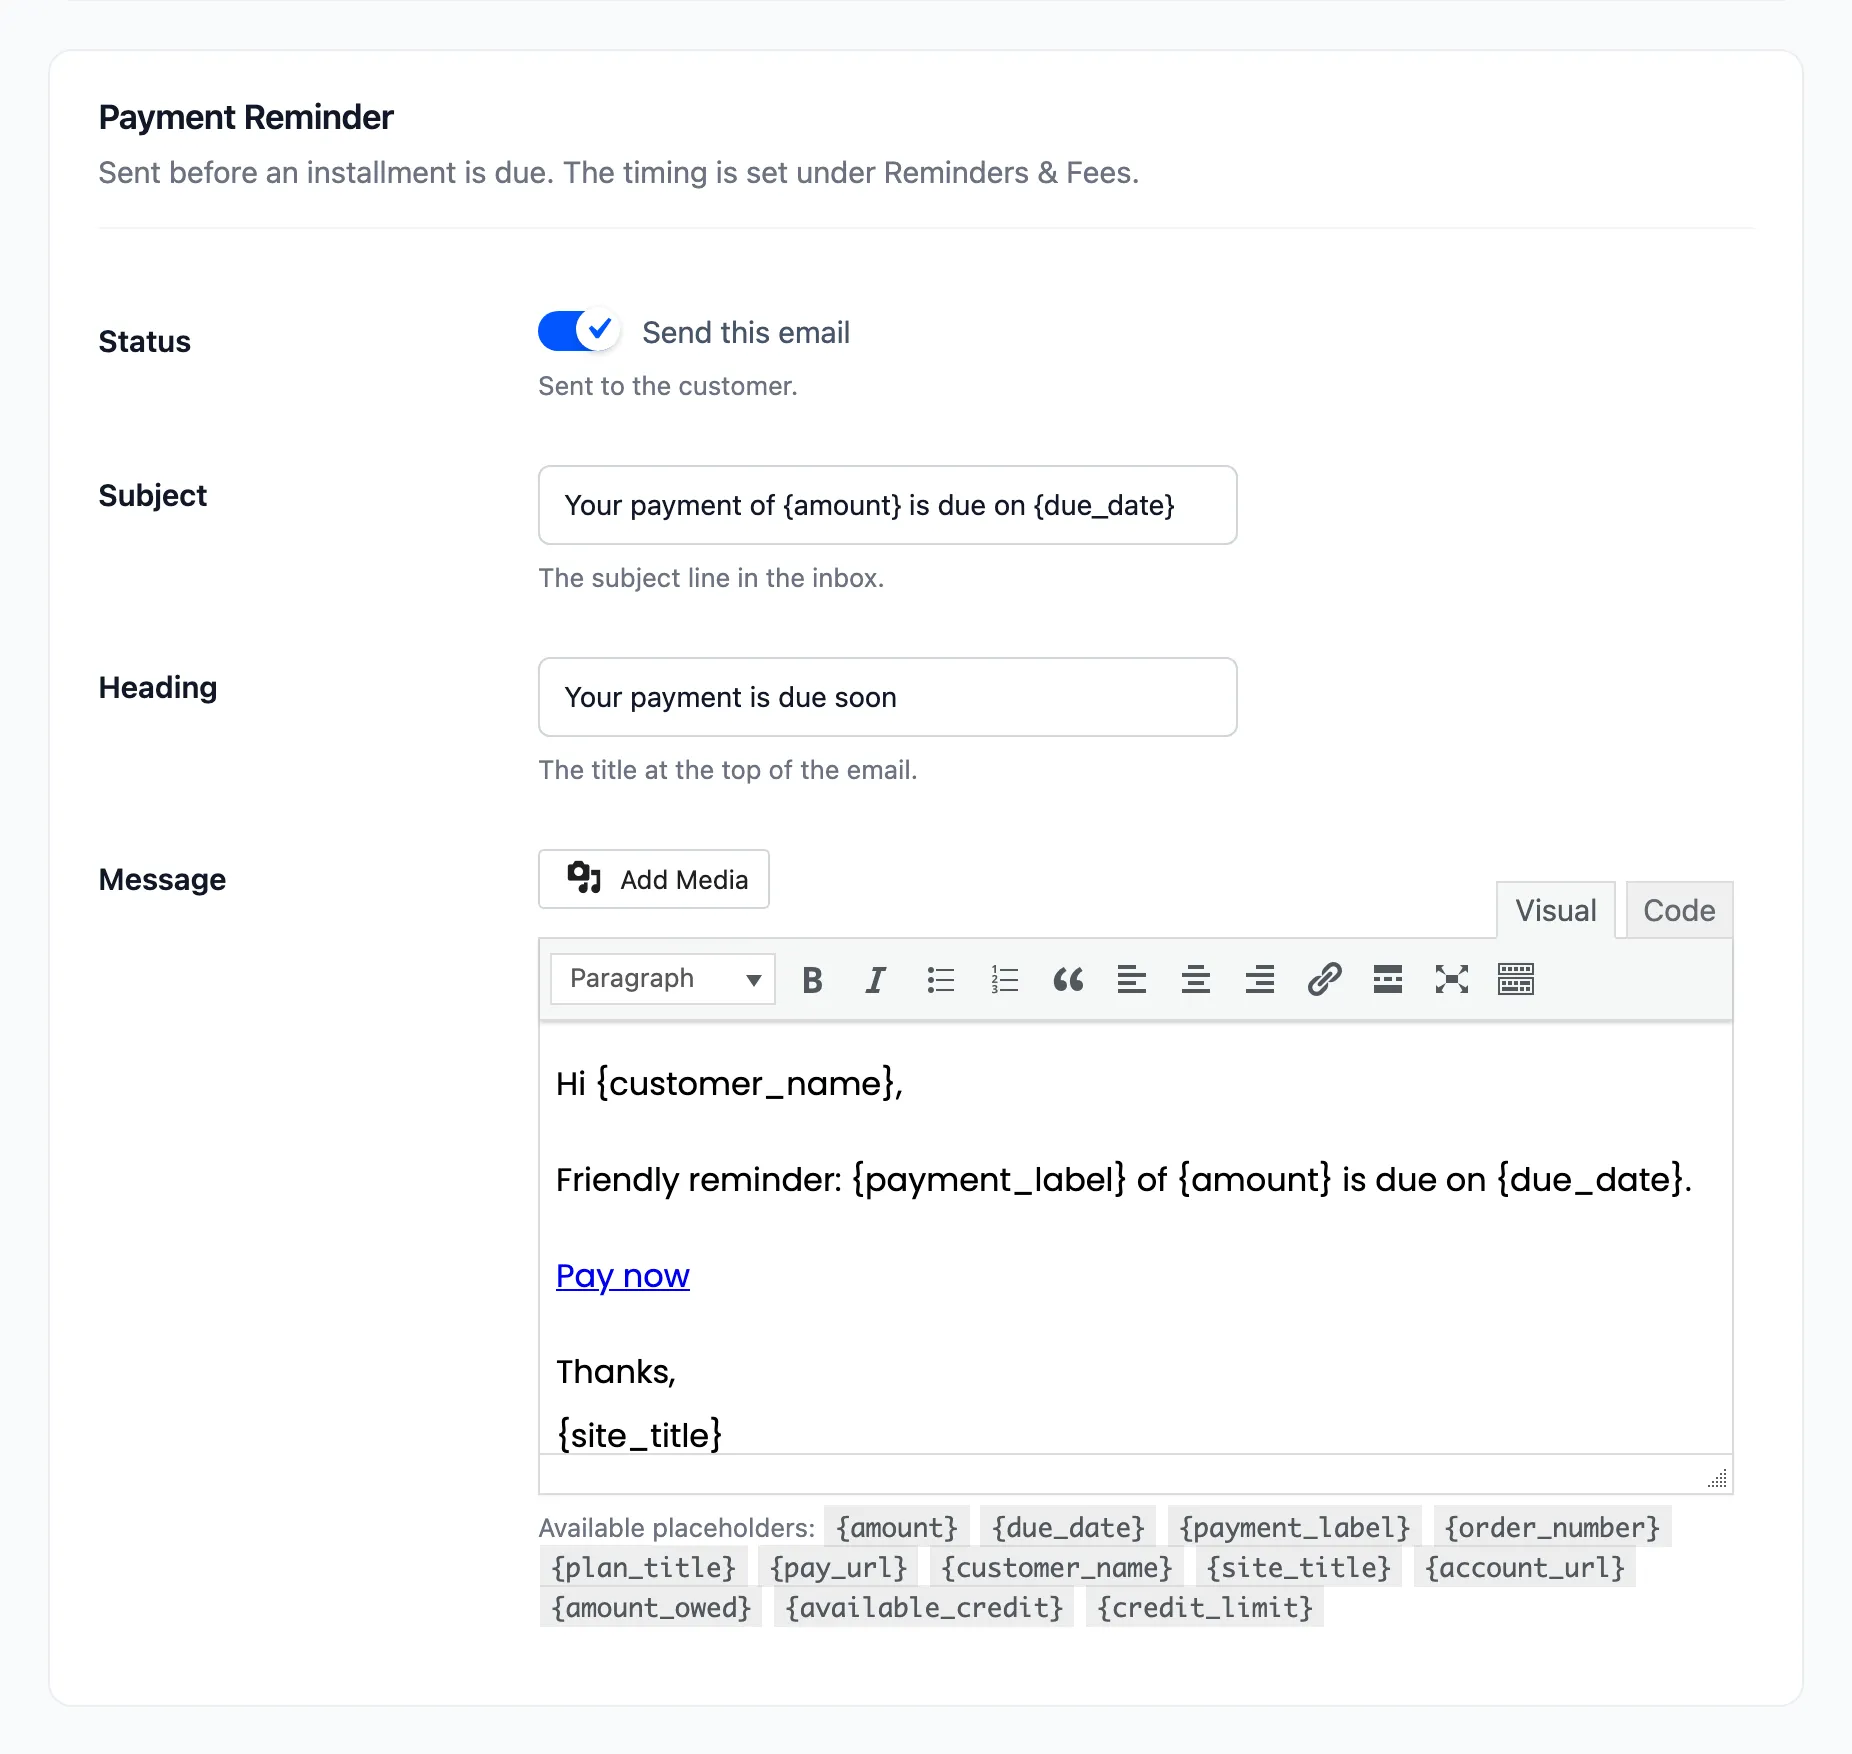
Section titled “Step 3: Edit the wording”Change the text in the visual editor. Placeholders like {amount} and {due_date} are filled when the
email is sent, and the ones each email understands are listed under its Message. Leave a field empty to
use the default. Click Save Changes.
Step 4: Set the design in WooCommerce
Section titled “Step 4: Set the design in WooCommerce”Header image, colors, footer text and the sender come from WooCommerce → Settings → Emails. The Pay Later Notification row there switches every Pay Later email off at once.
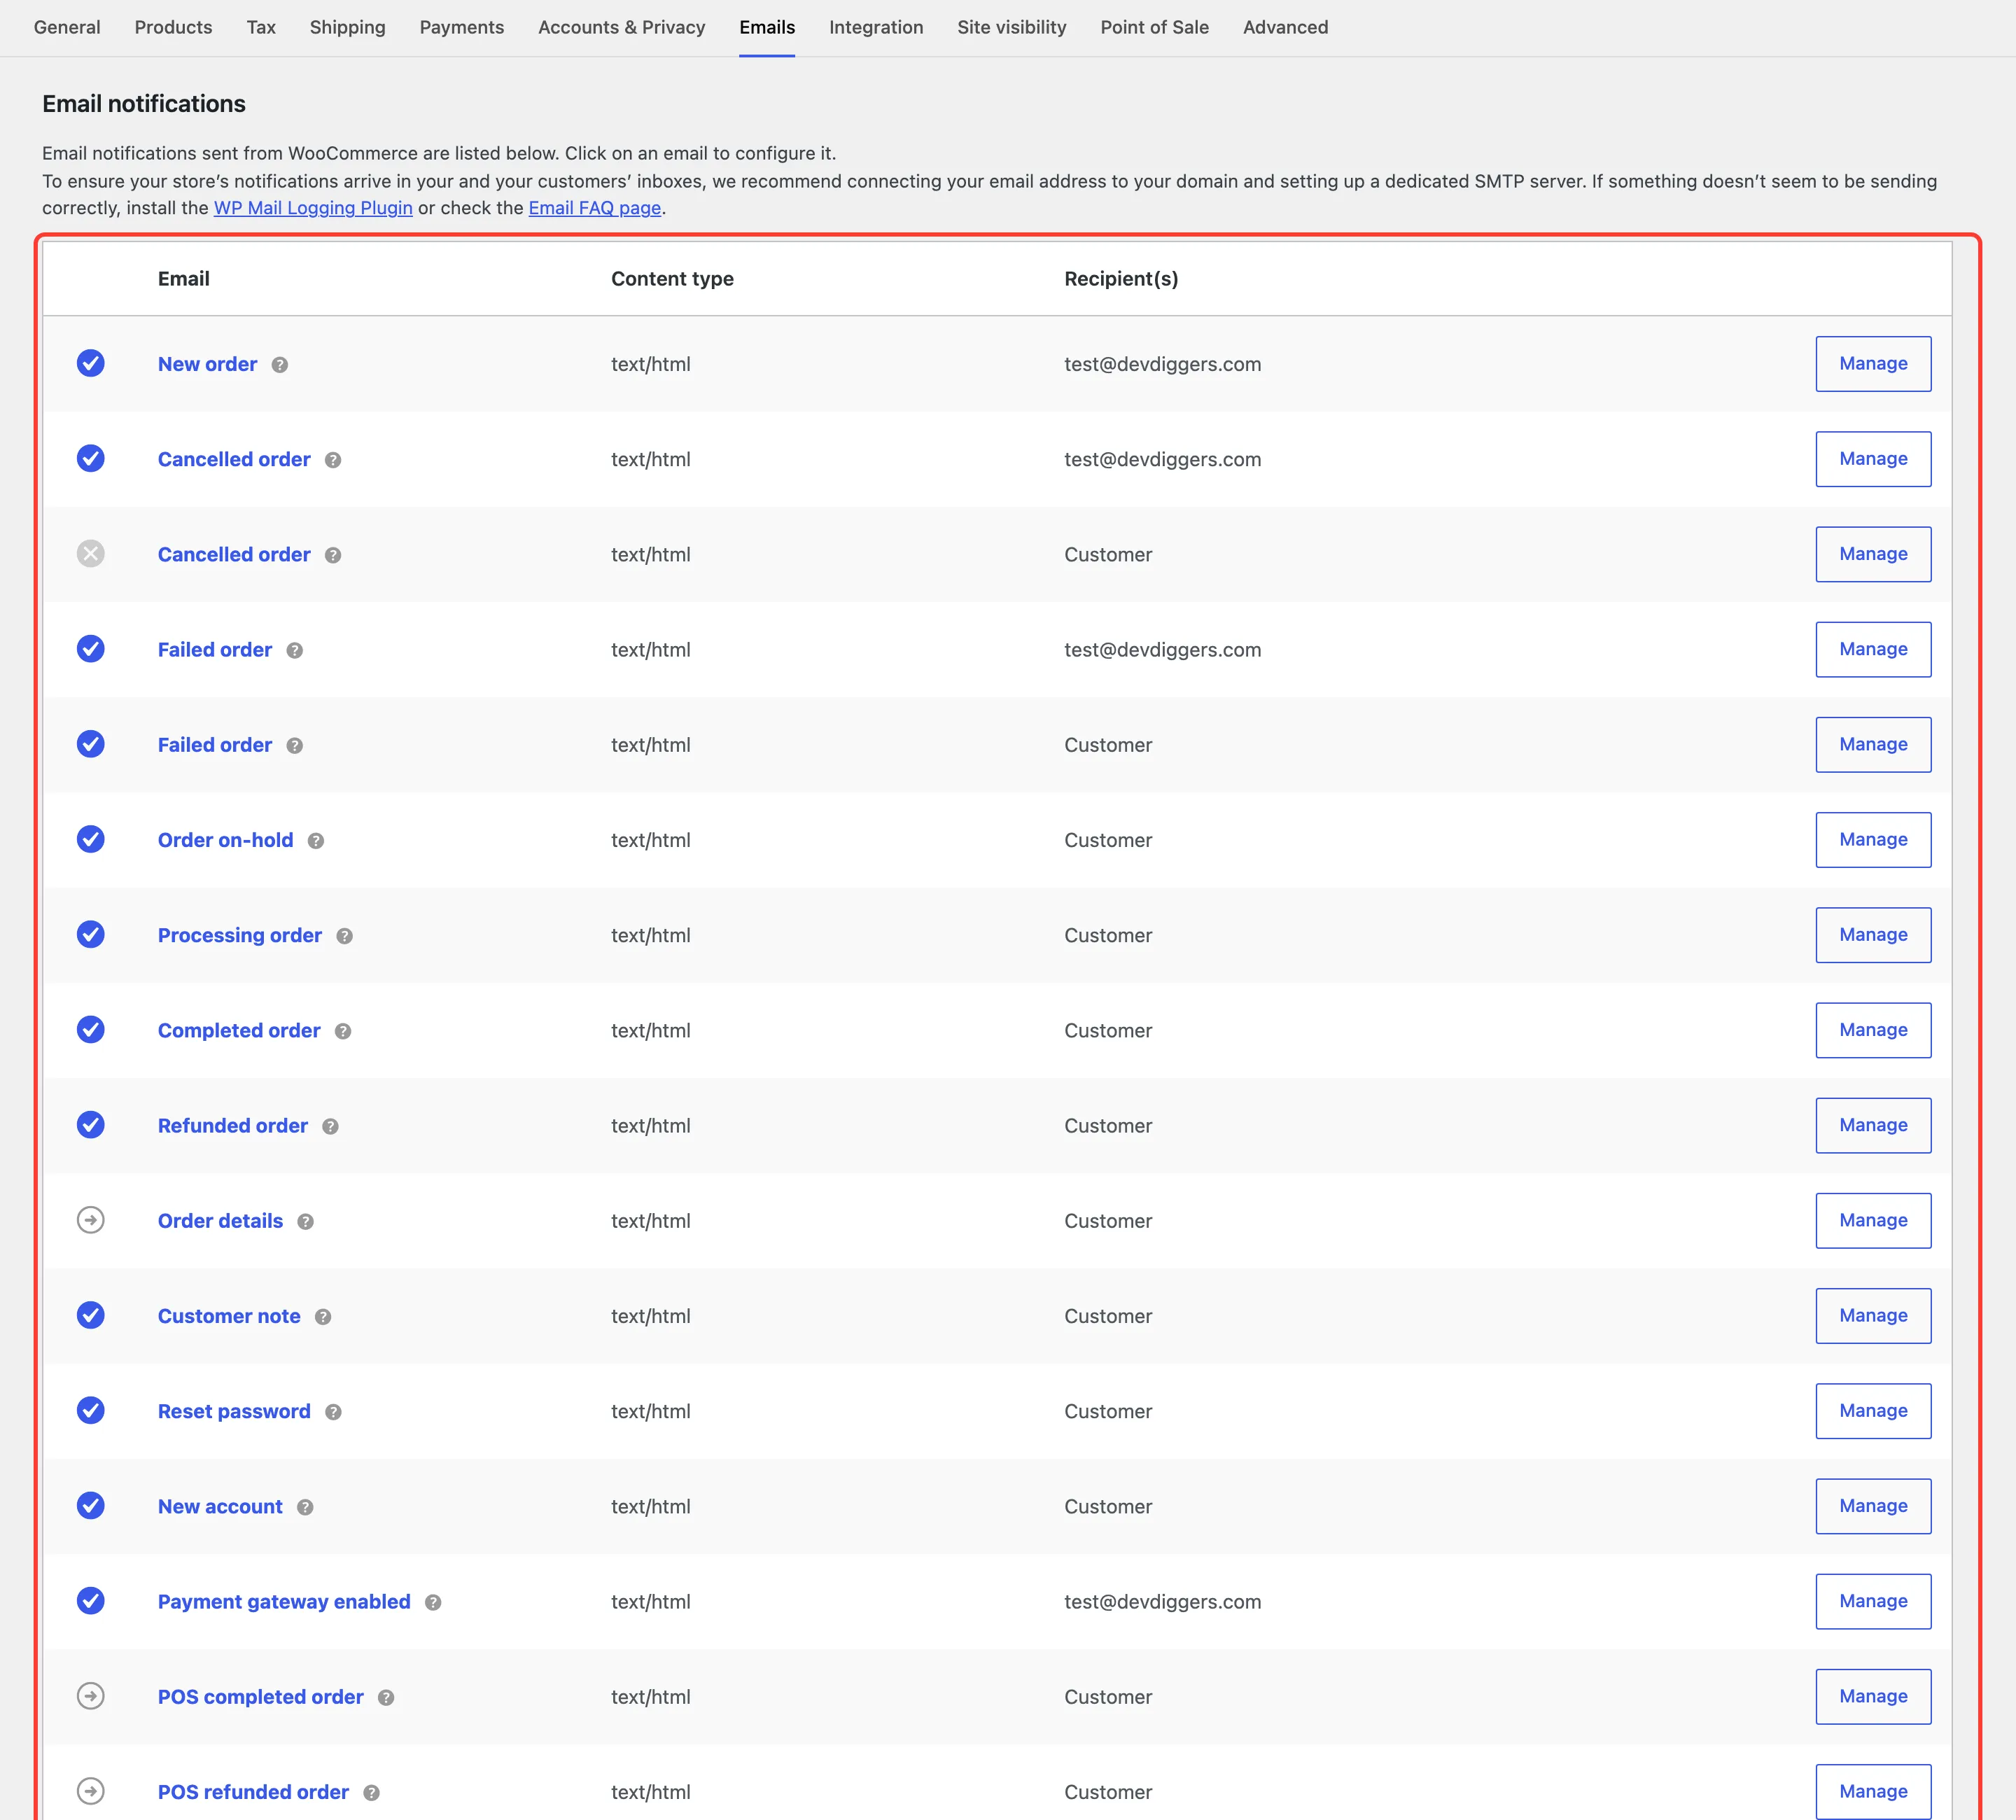
Every email, as sent
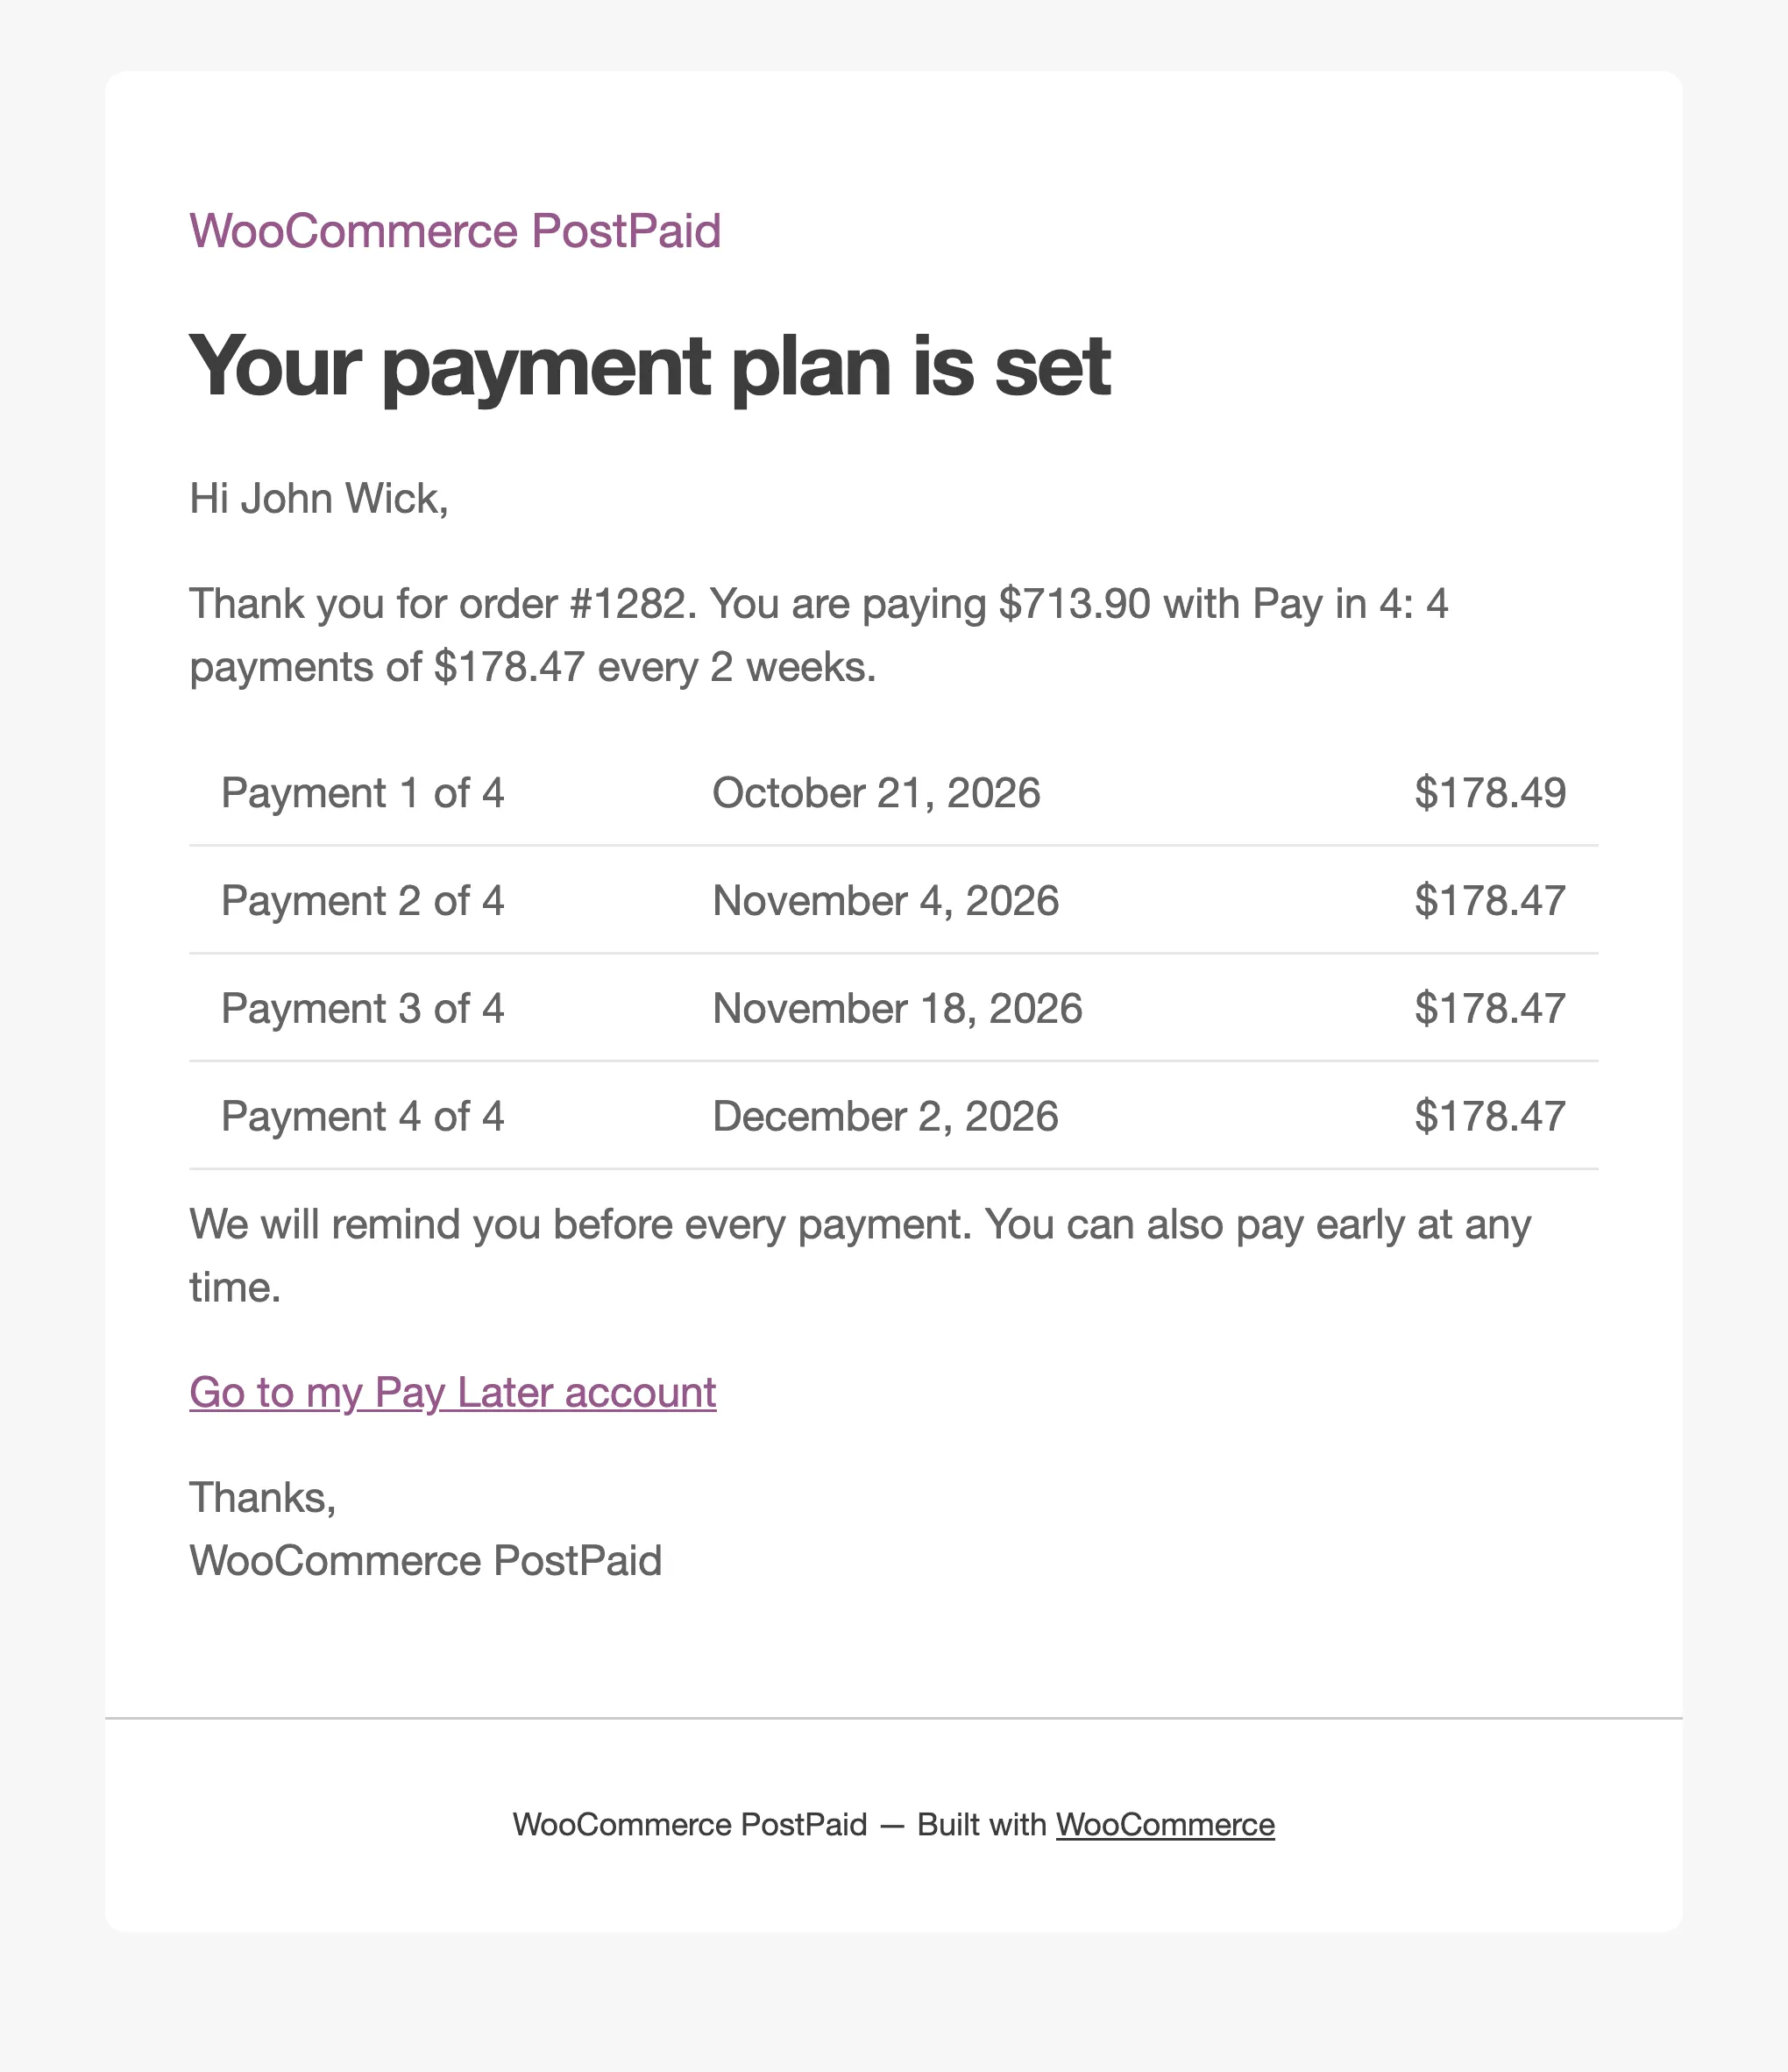
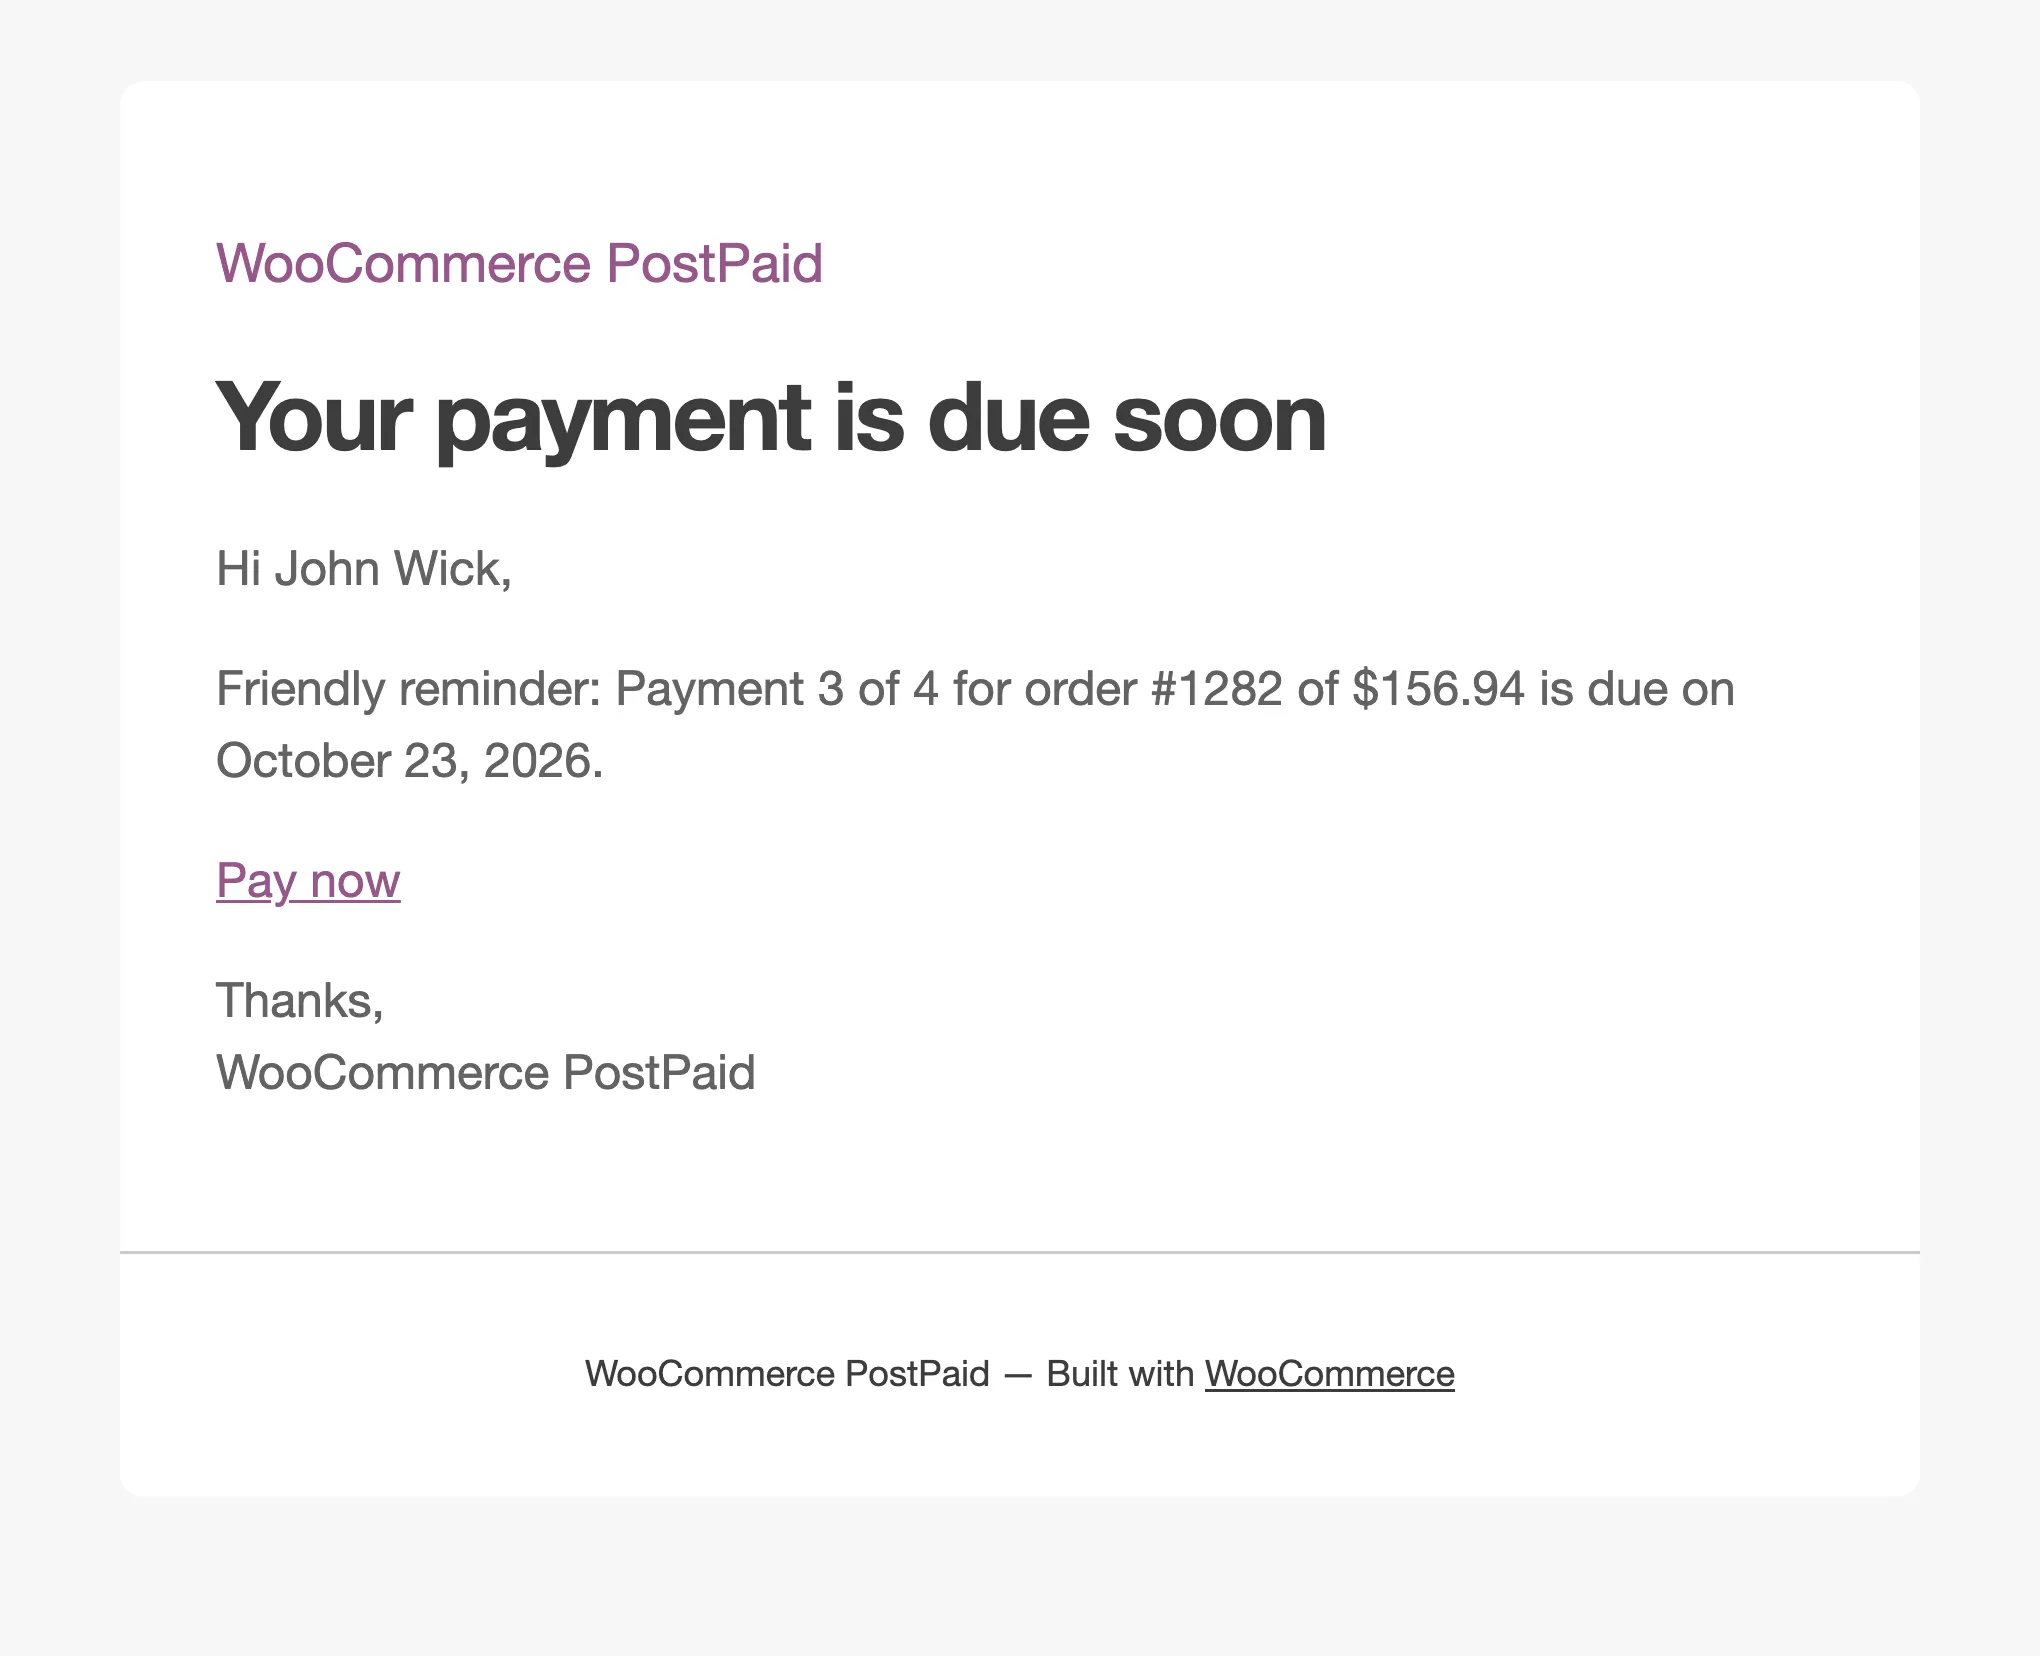
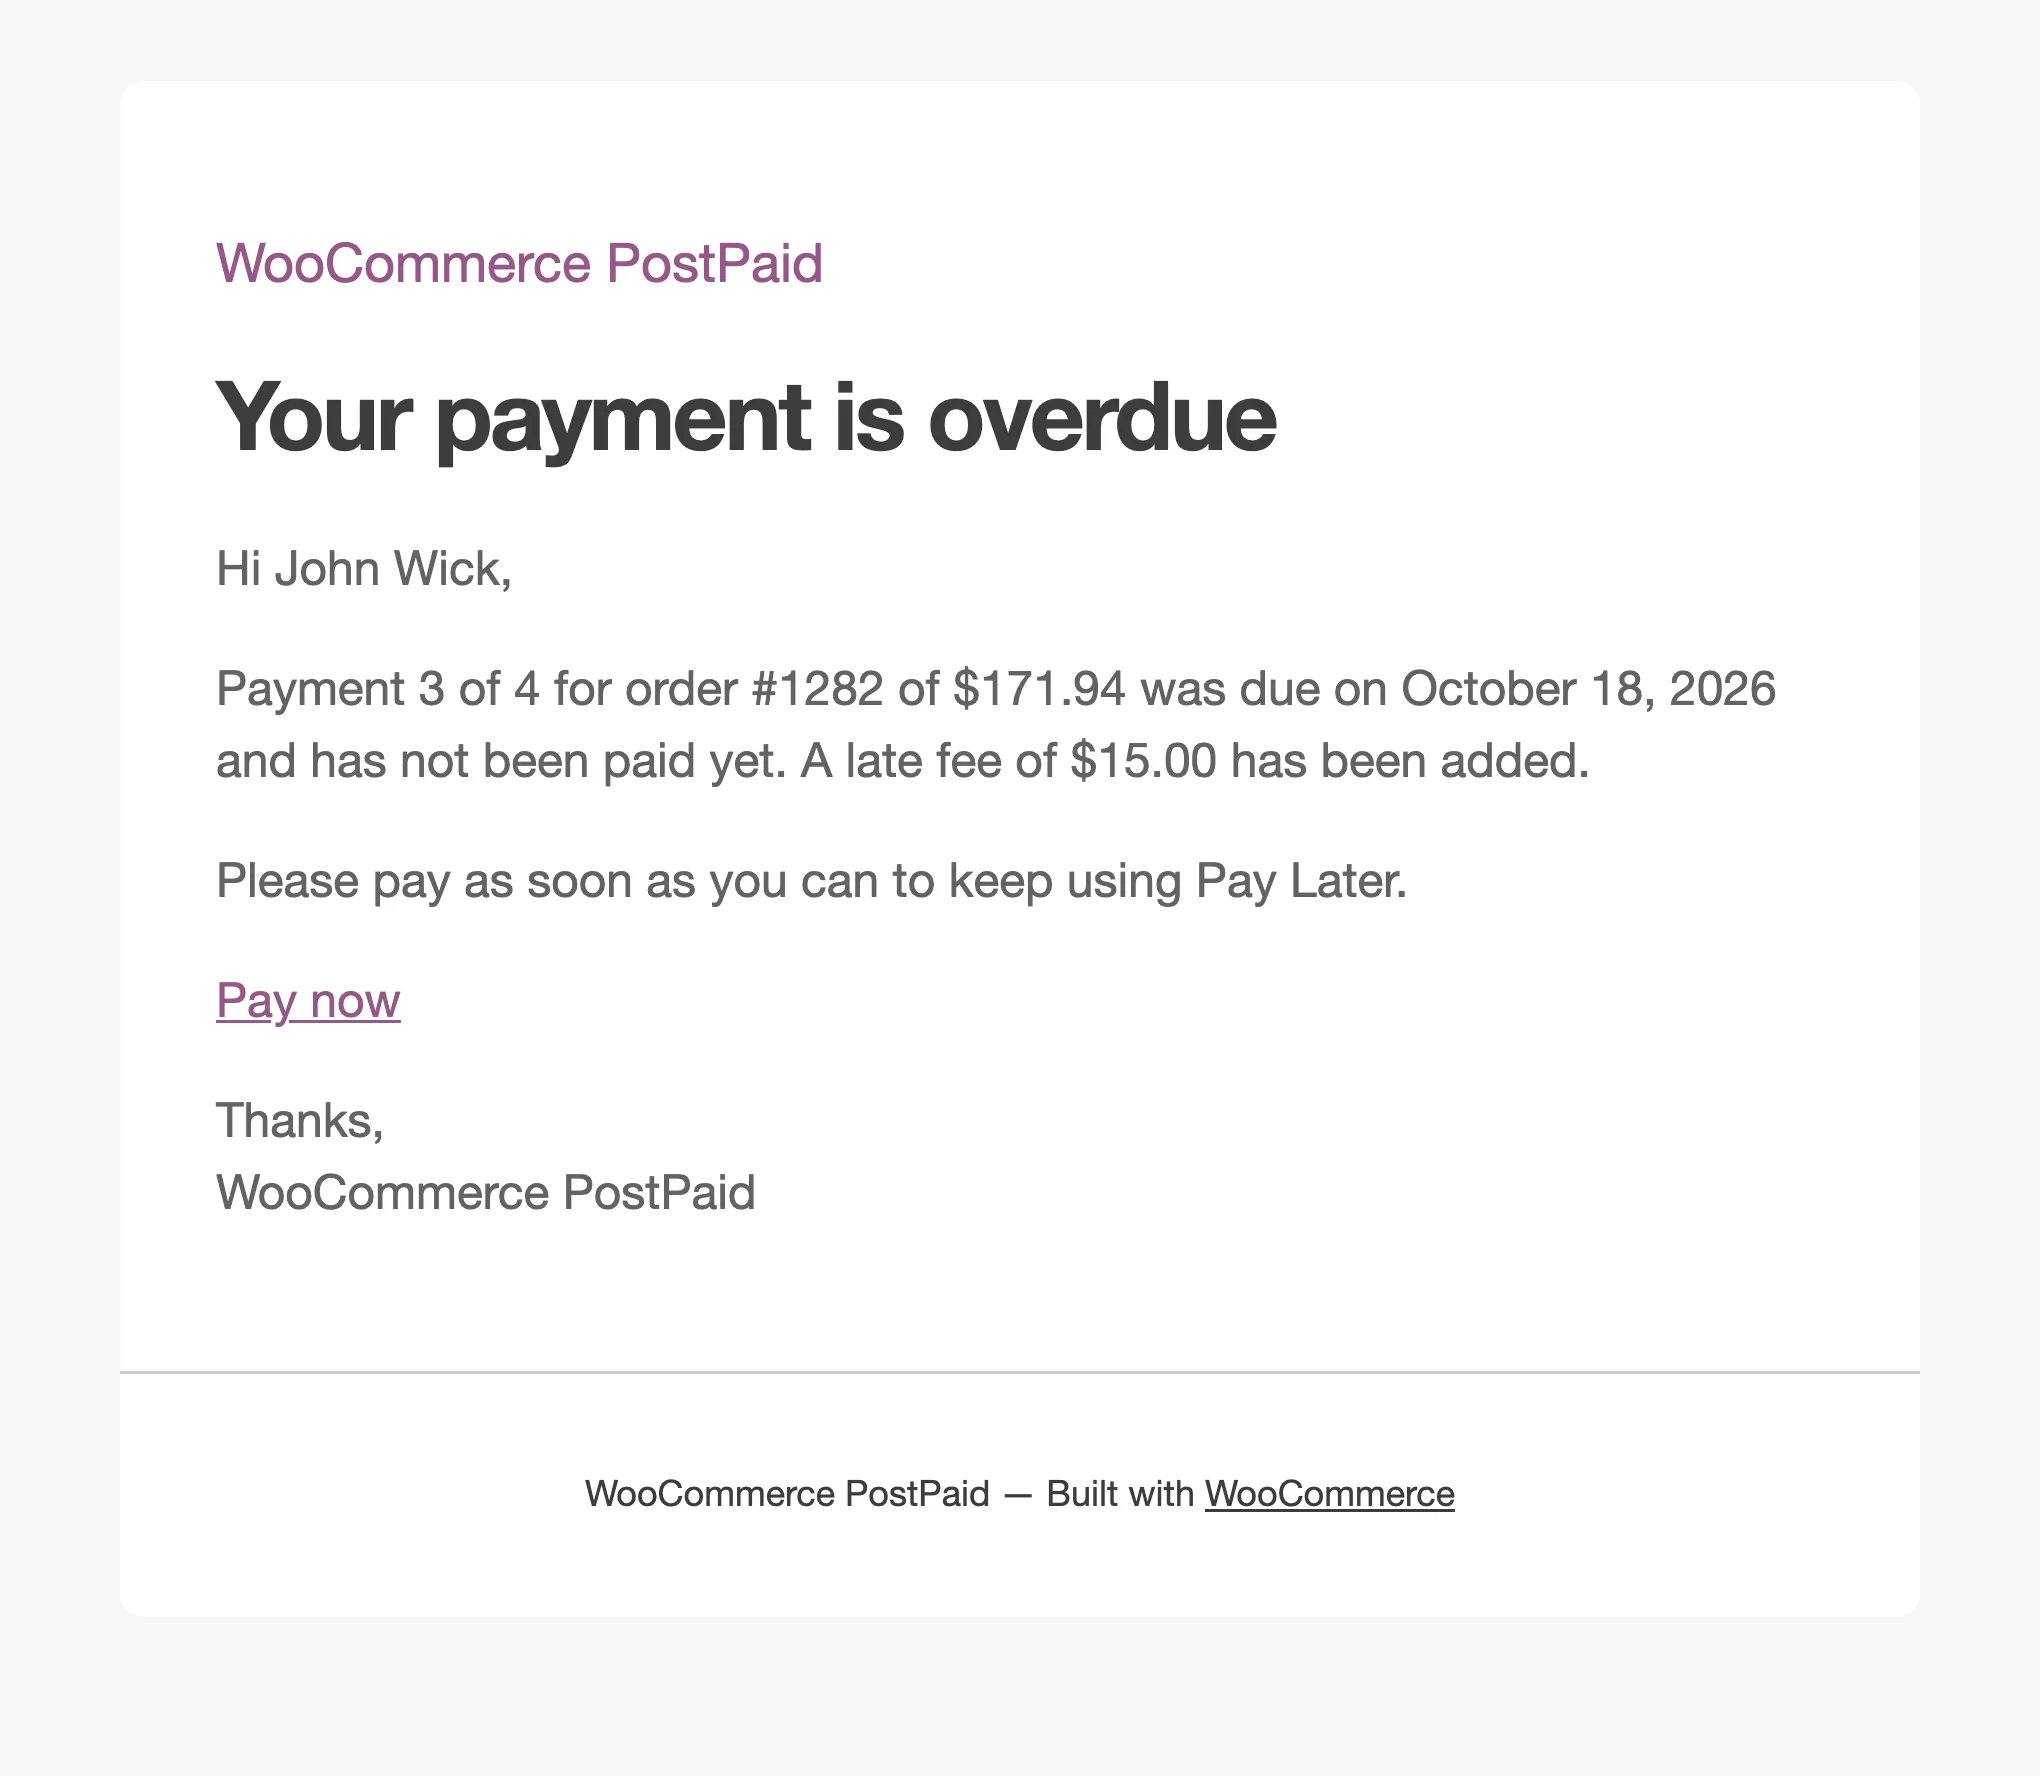
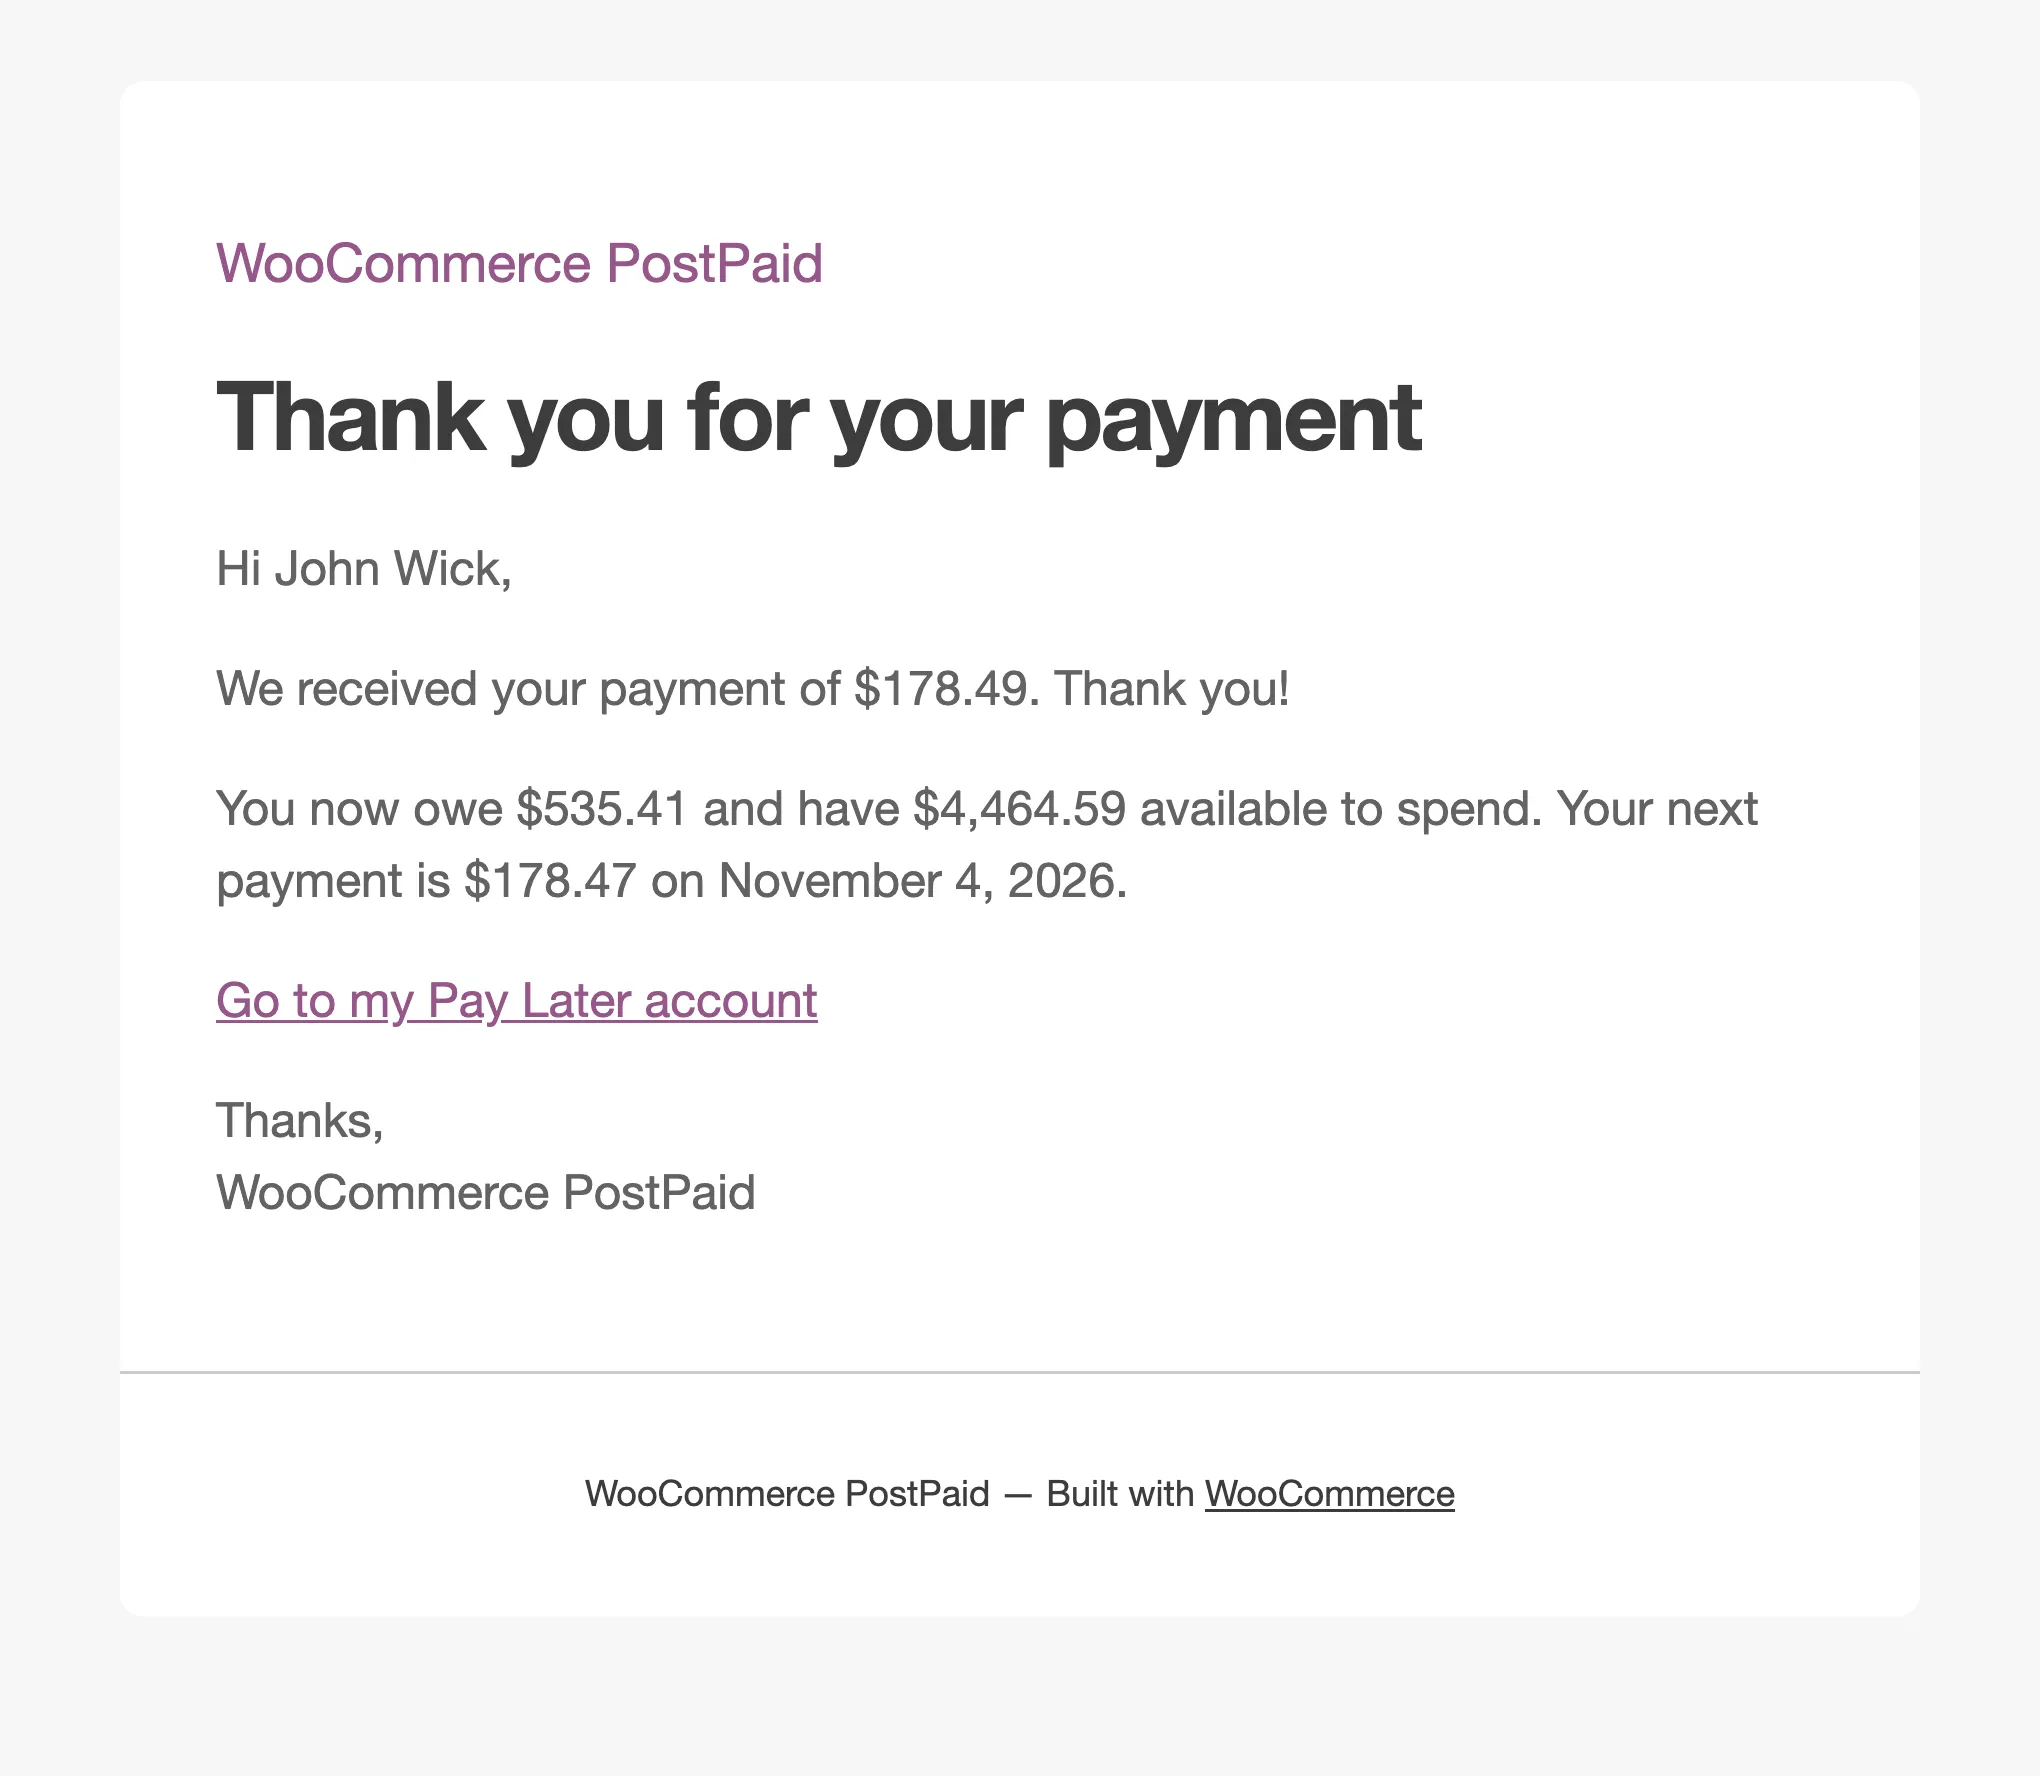
Section titled “Every email, as sent”These are the real emails from the demo store, with the default wording.
Payment Plan Confirmation, at checkout:
Payment Reminder, before a due date:
Overdue Payment, when one is missed:
Payment Received, after a payment:
Refund or Cancellation:
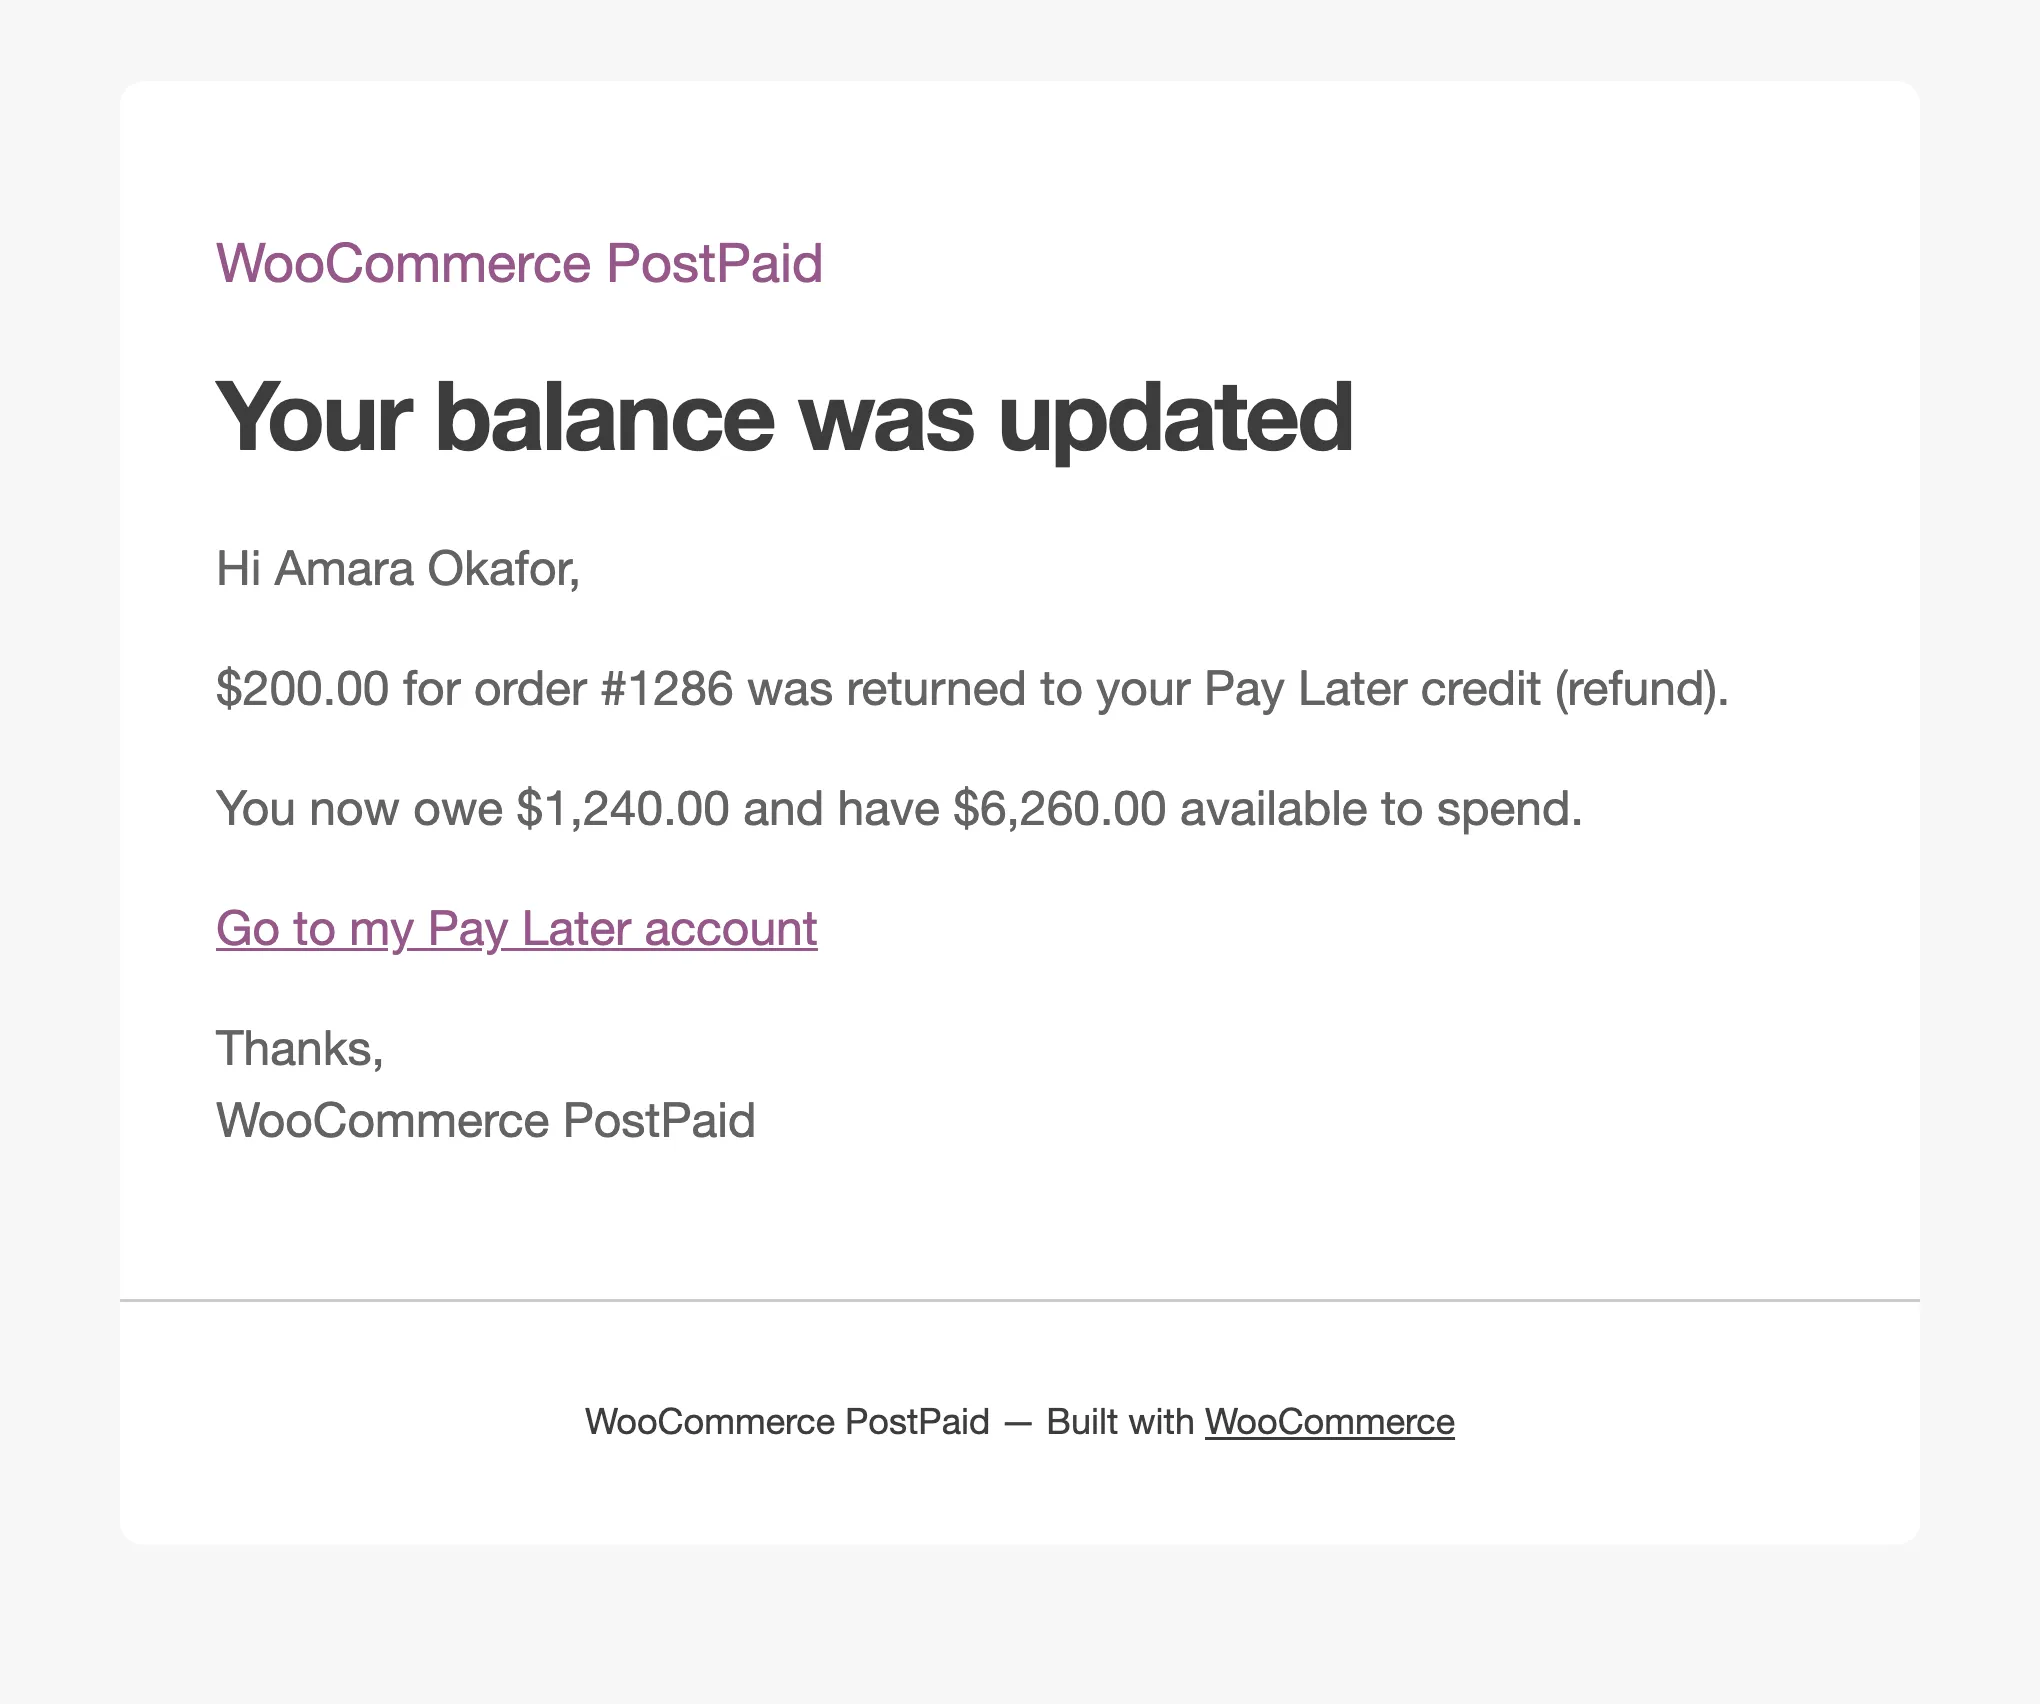
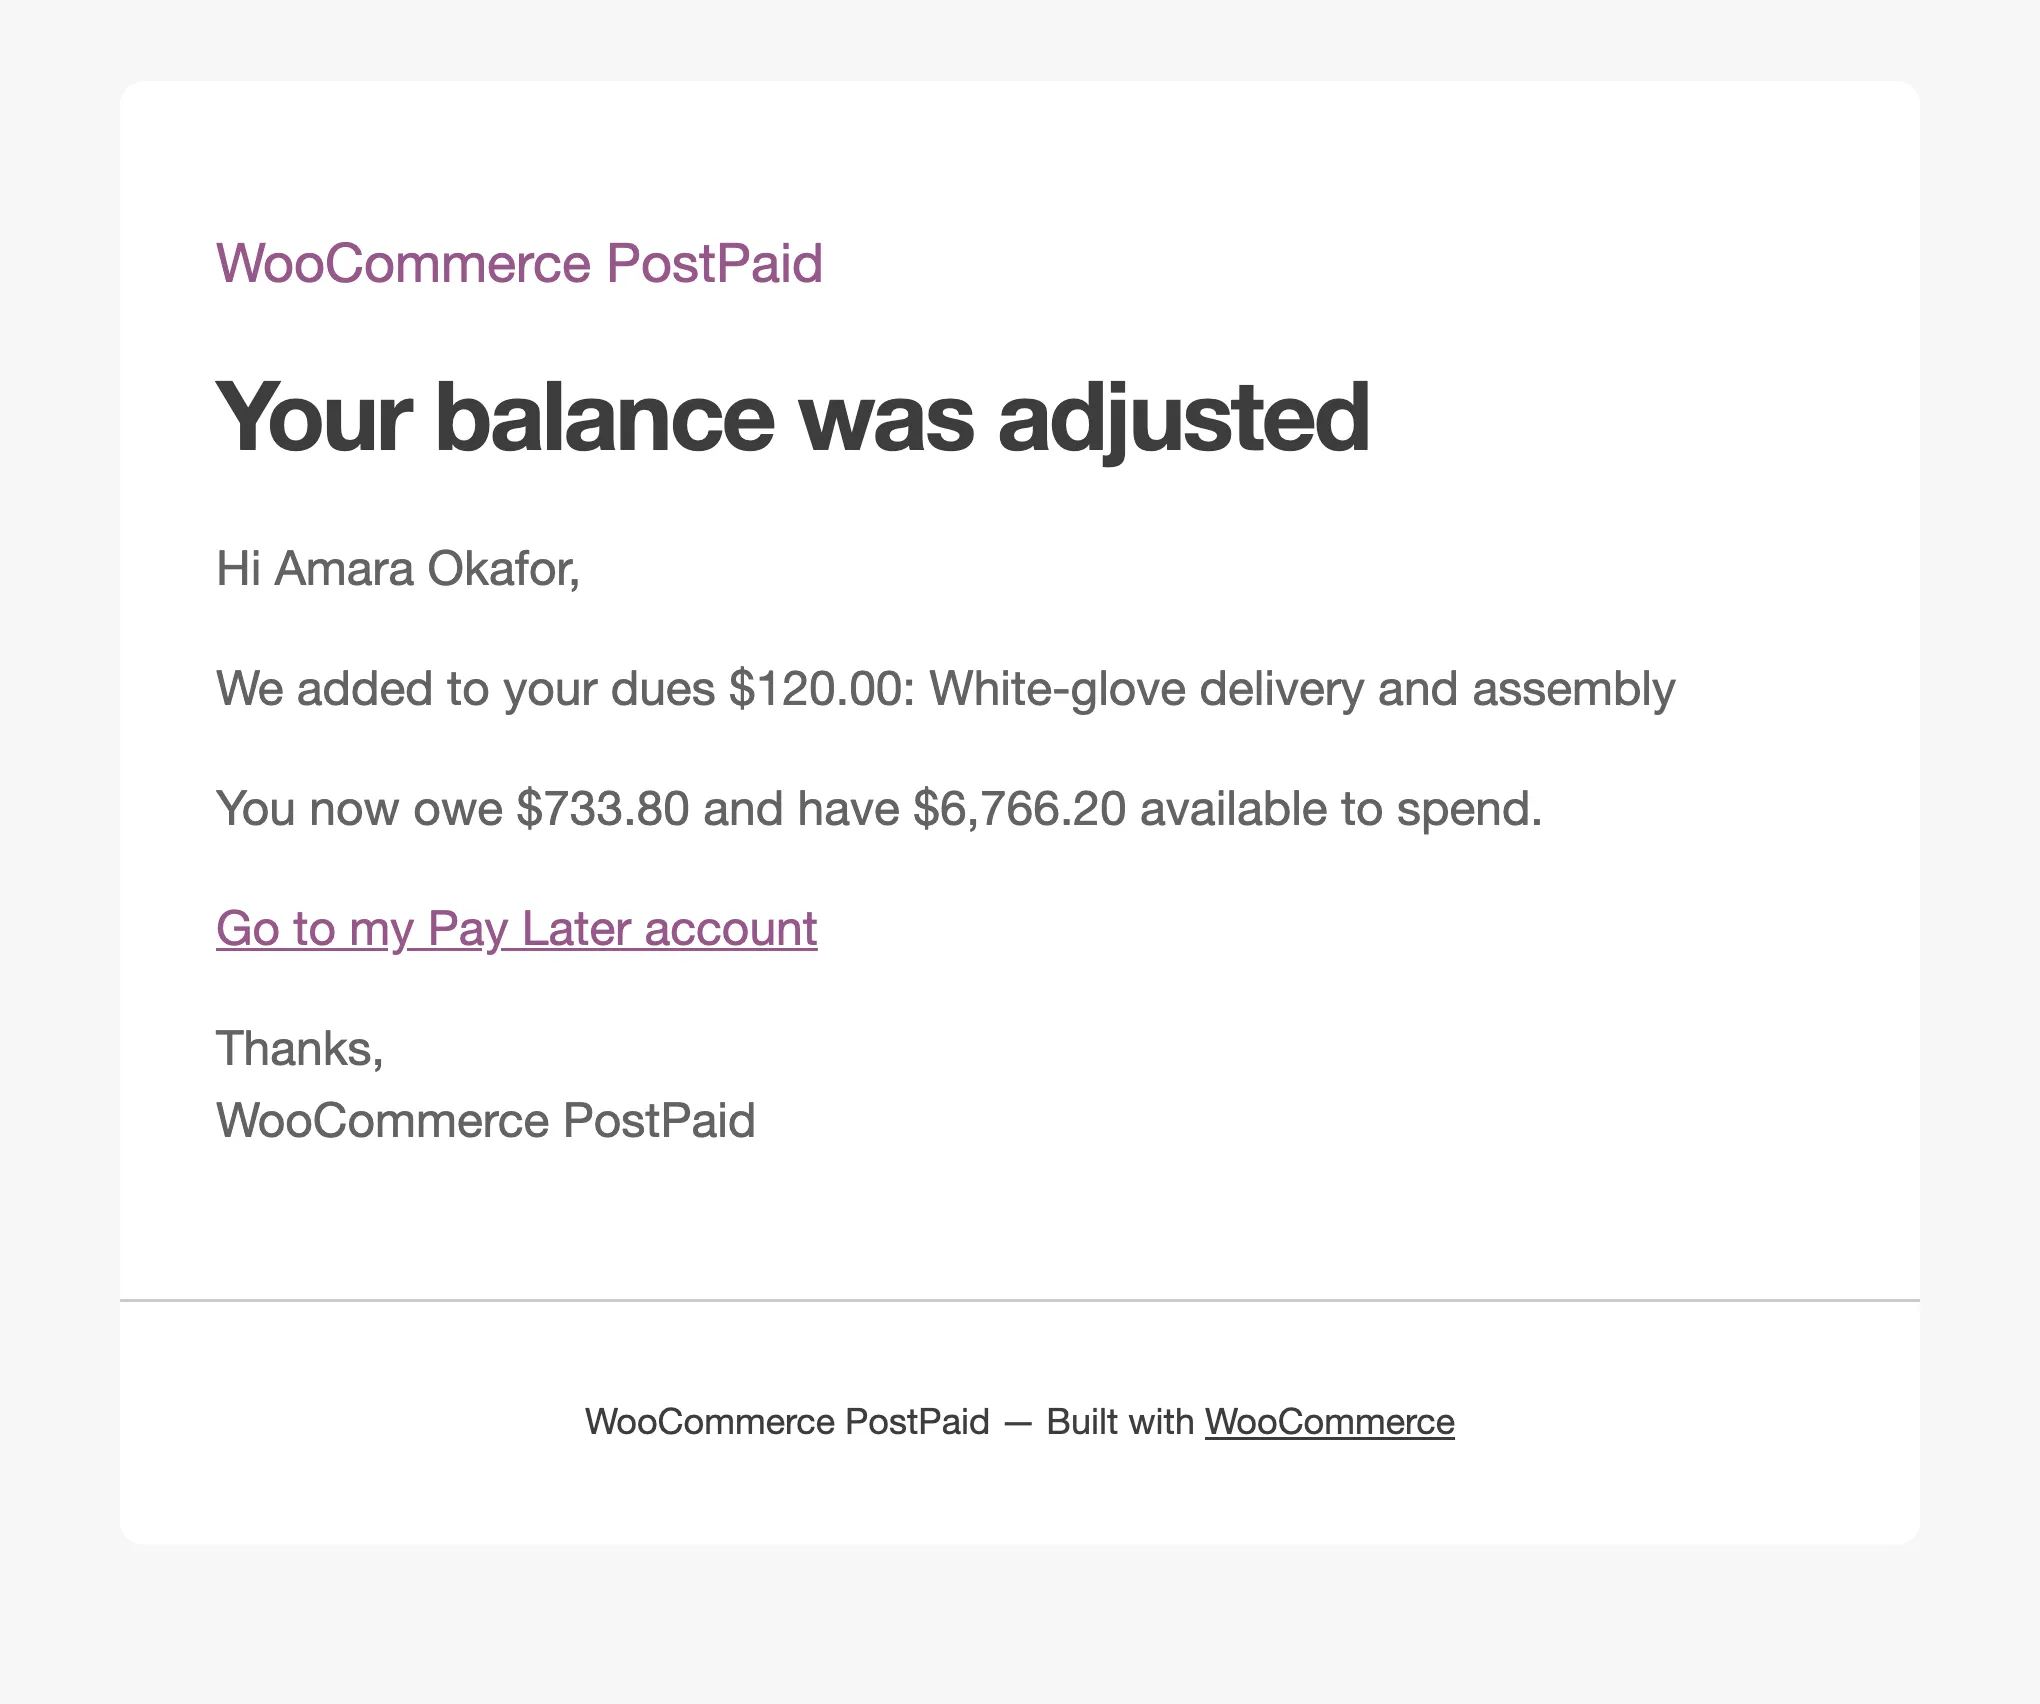
Balance Adjusted by the Store:
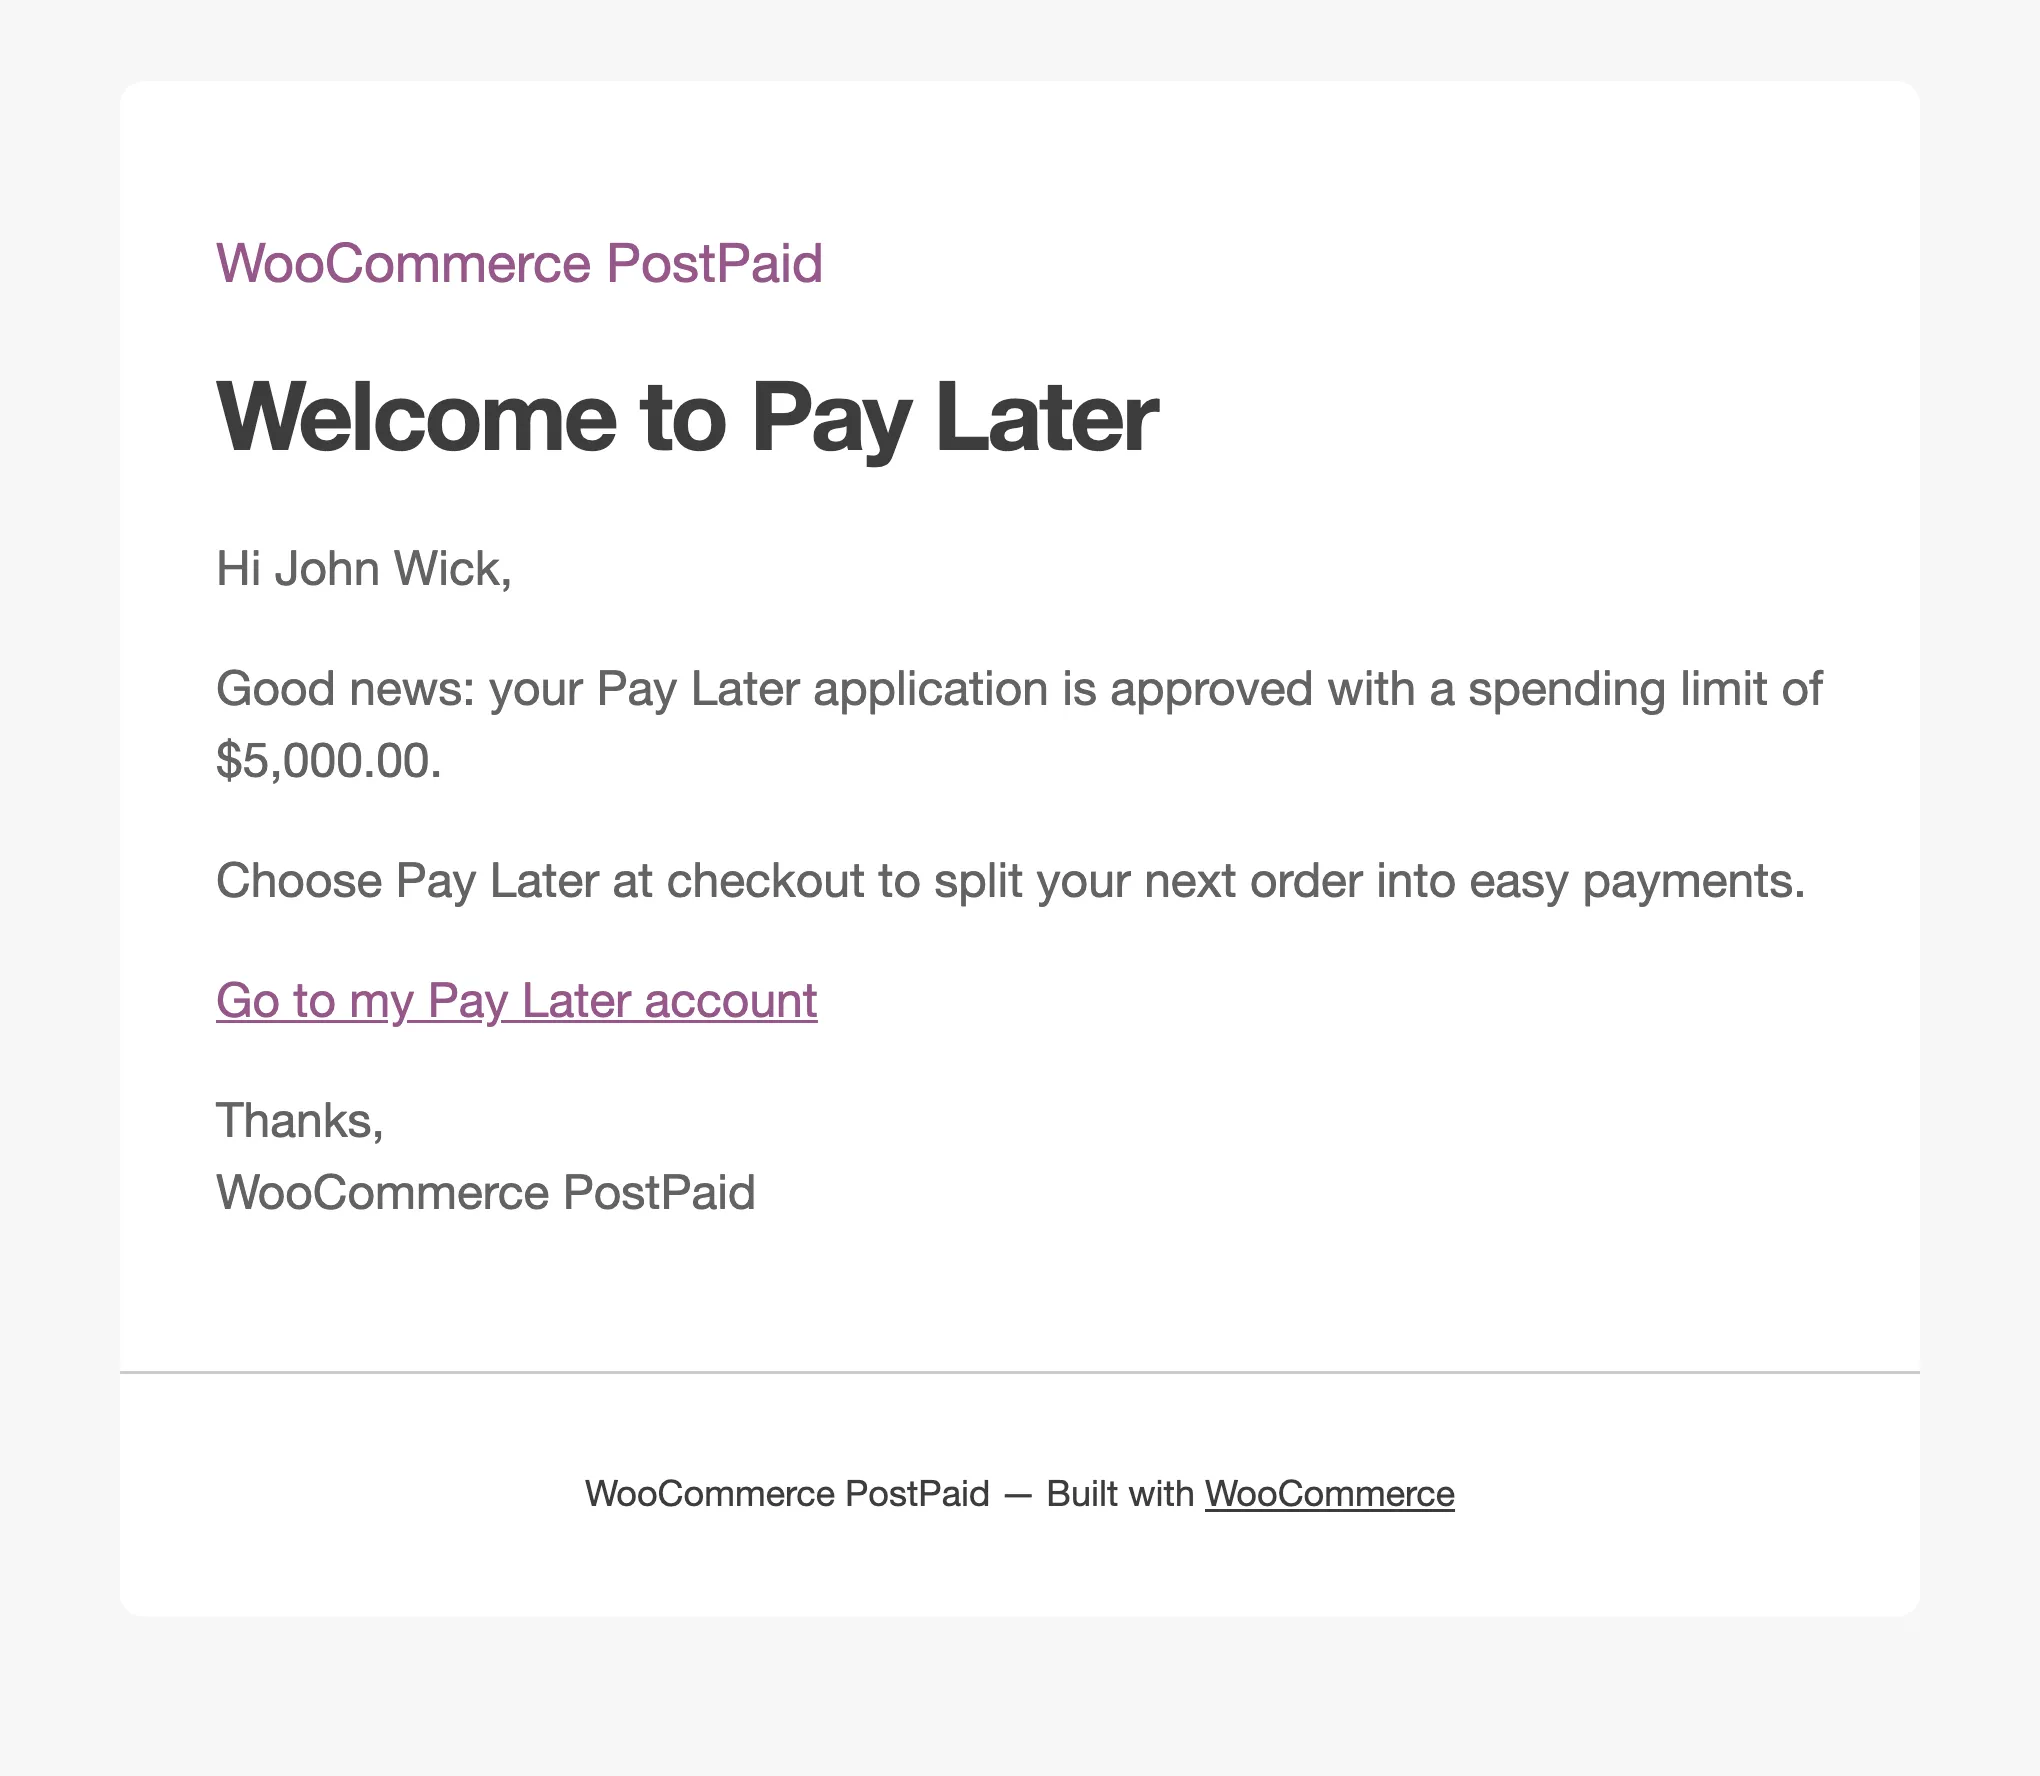
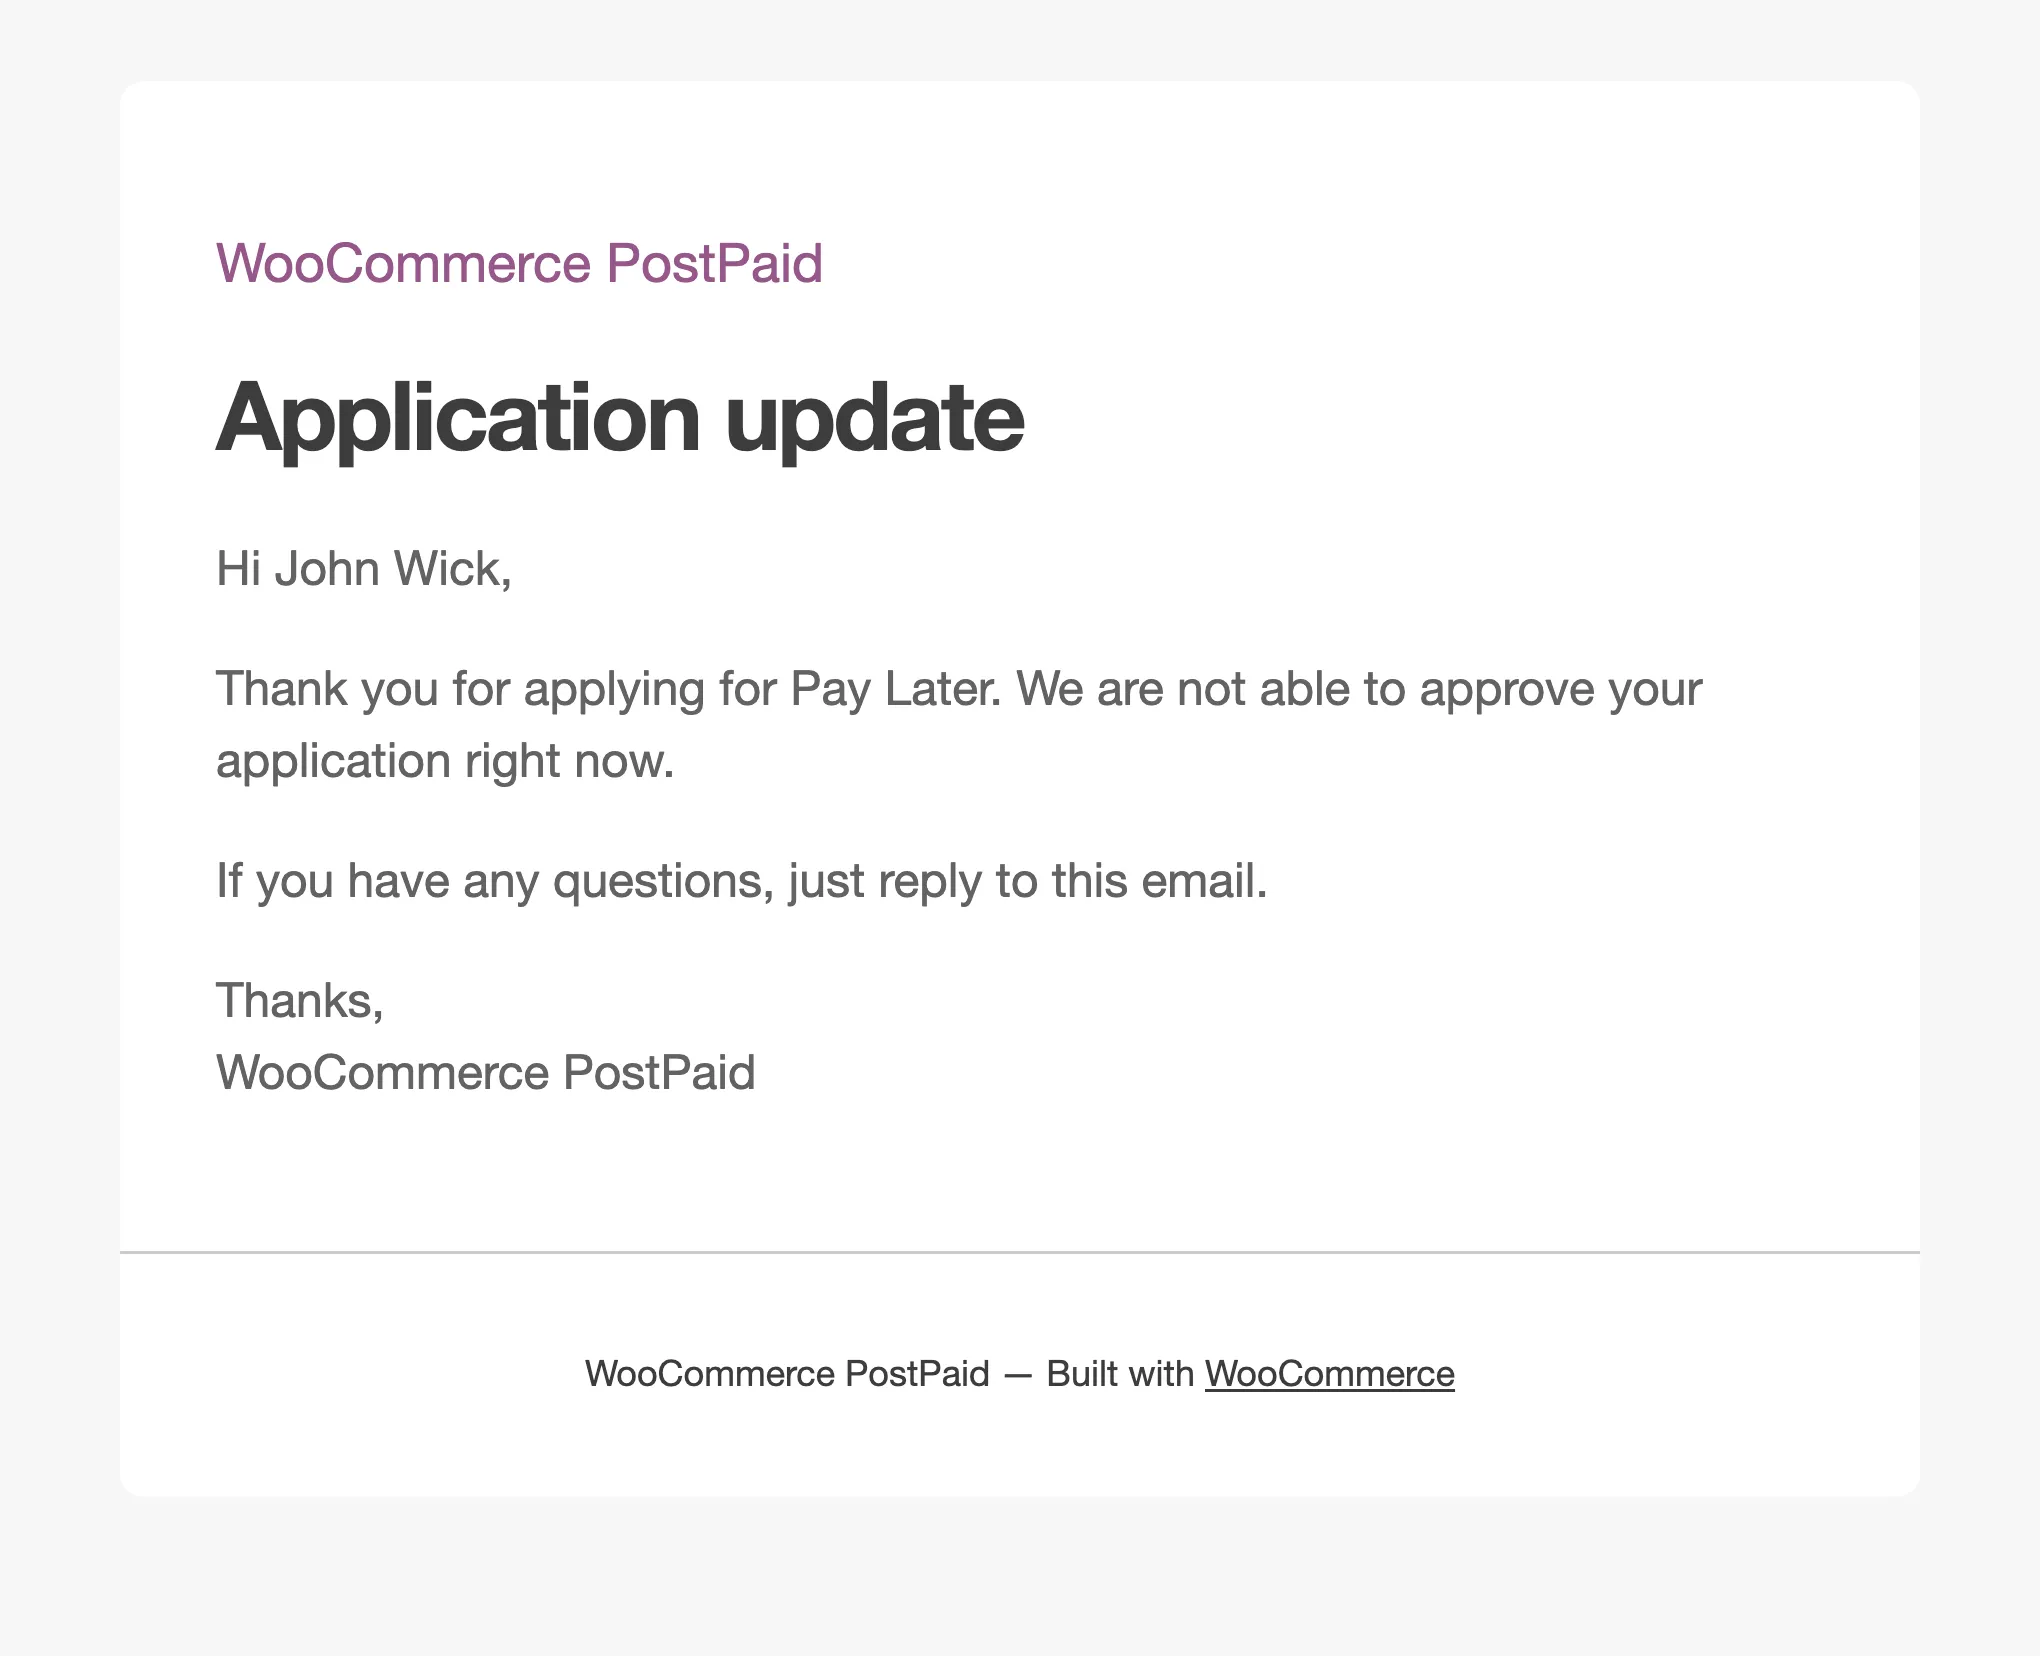
Application Approved and Application Not Approved:
New Application (Store), to your admin email: