

How to Send a Test Message (Pro)
The connection test proves two things before any customer depends on them. Your credentials work, and a WhatsApp message really reaches a phone.
Step 1: Save your Twilio settings
Section titled “Step 1: Save your Twilio settings”The test uses what is saved, not what is typed. On Purchase via WhatsApp → Configuration → Twilio, fill in the credentials and the sender number and click Save Changes first.
Step 2: Check the credentials only
Section titled “Step 2: Check the credentials only”Scroll to Test Your Connection. Leave the number empty and click Run Test.
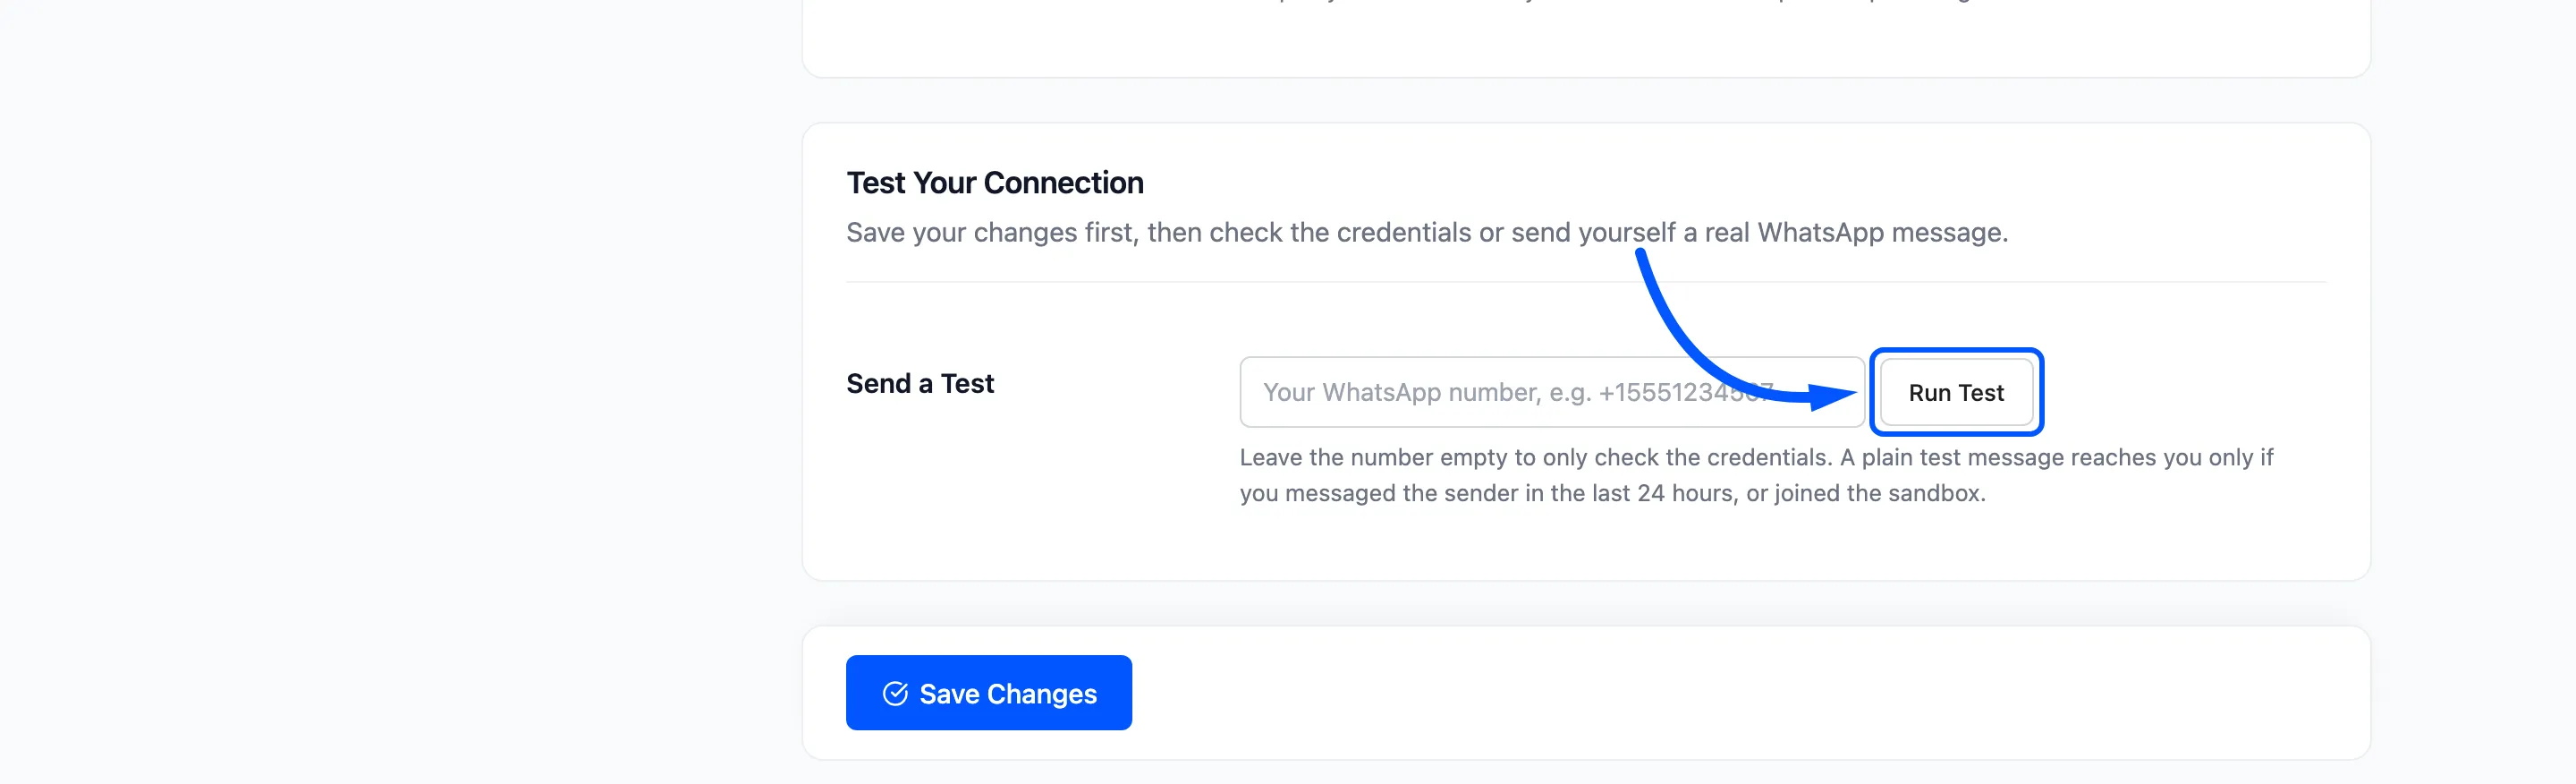
A working connection answers with your Twilio account name. On the demo it read Connected to the Twilio account "WhatsApp Plugin Testing". With an API Key it answers “Connected to Twilio with your API Key.”
With a key saved and no Auth Token, it also reminds you to add the token. Without it, customer replies are refused.
A wrong value names the Twilio error and its code. Error 20003 means the SID or token is wrong.
Step 3: Send a real message
Section titled “Step 3: Send a real message”Type your own WhatsApp number with the country code, such as +15551234567, and click Run Test.
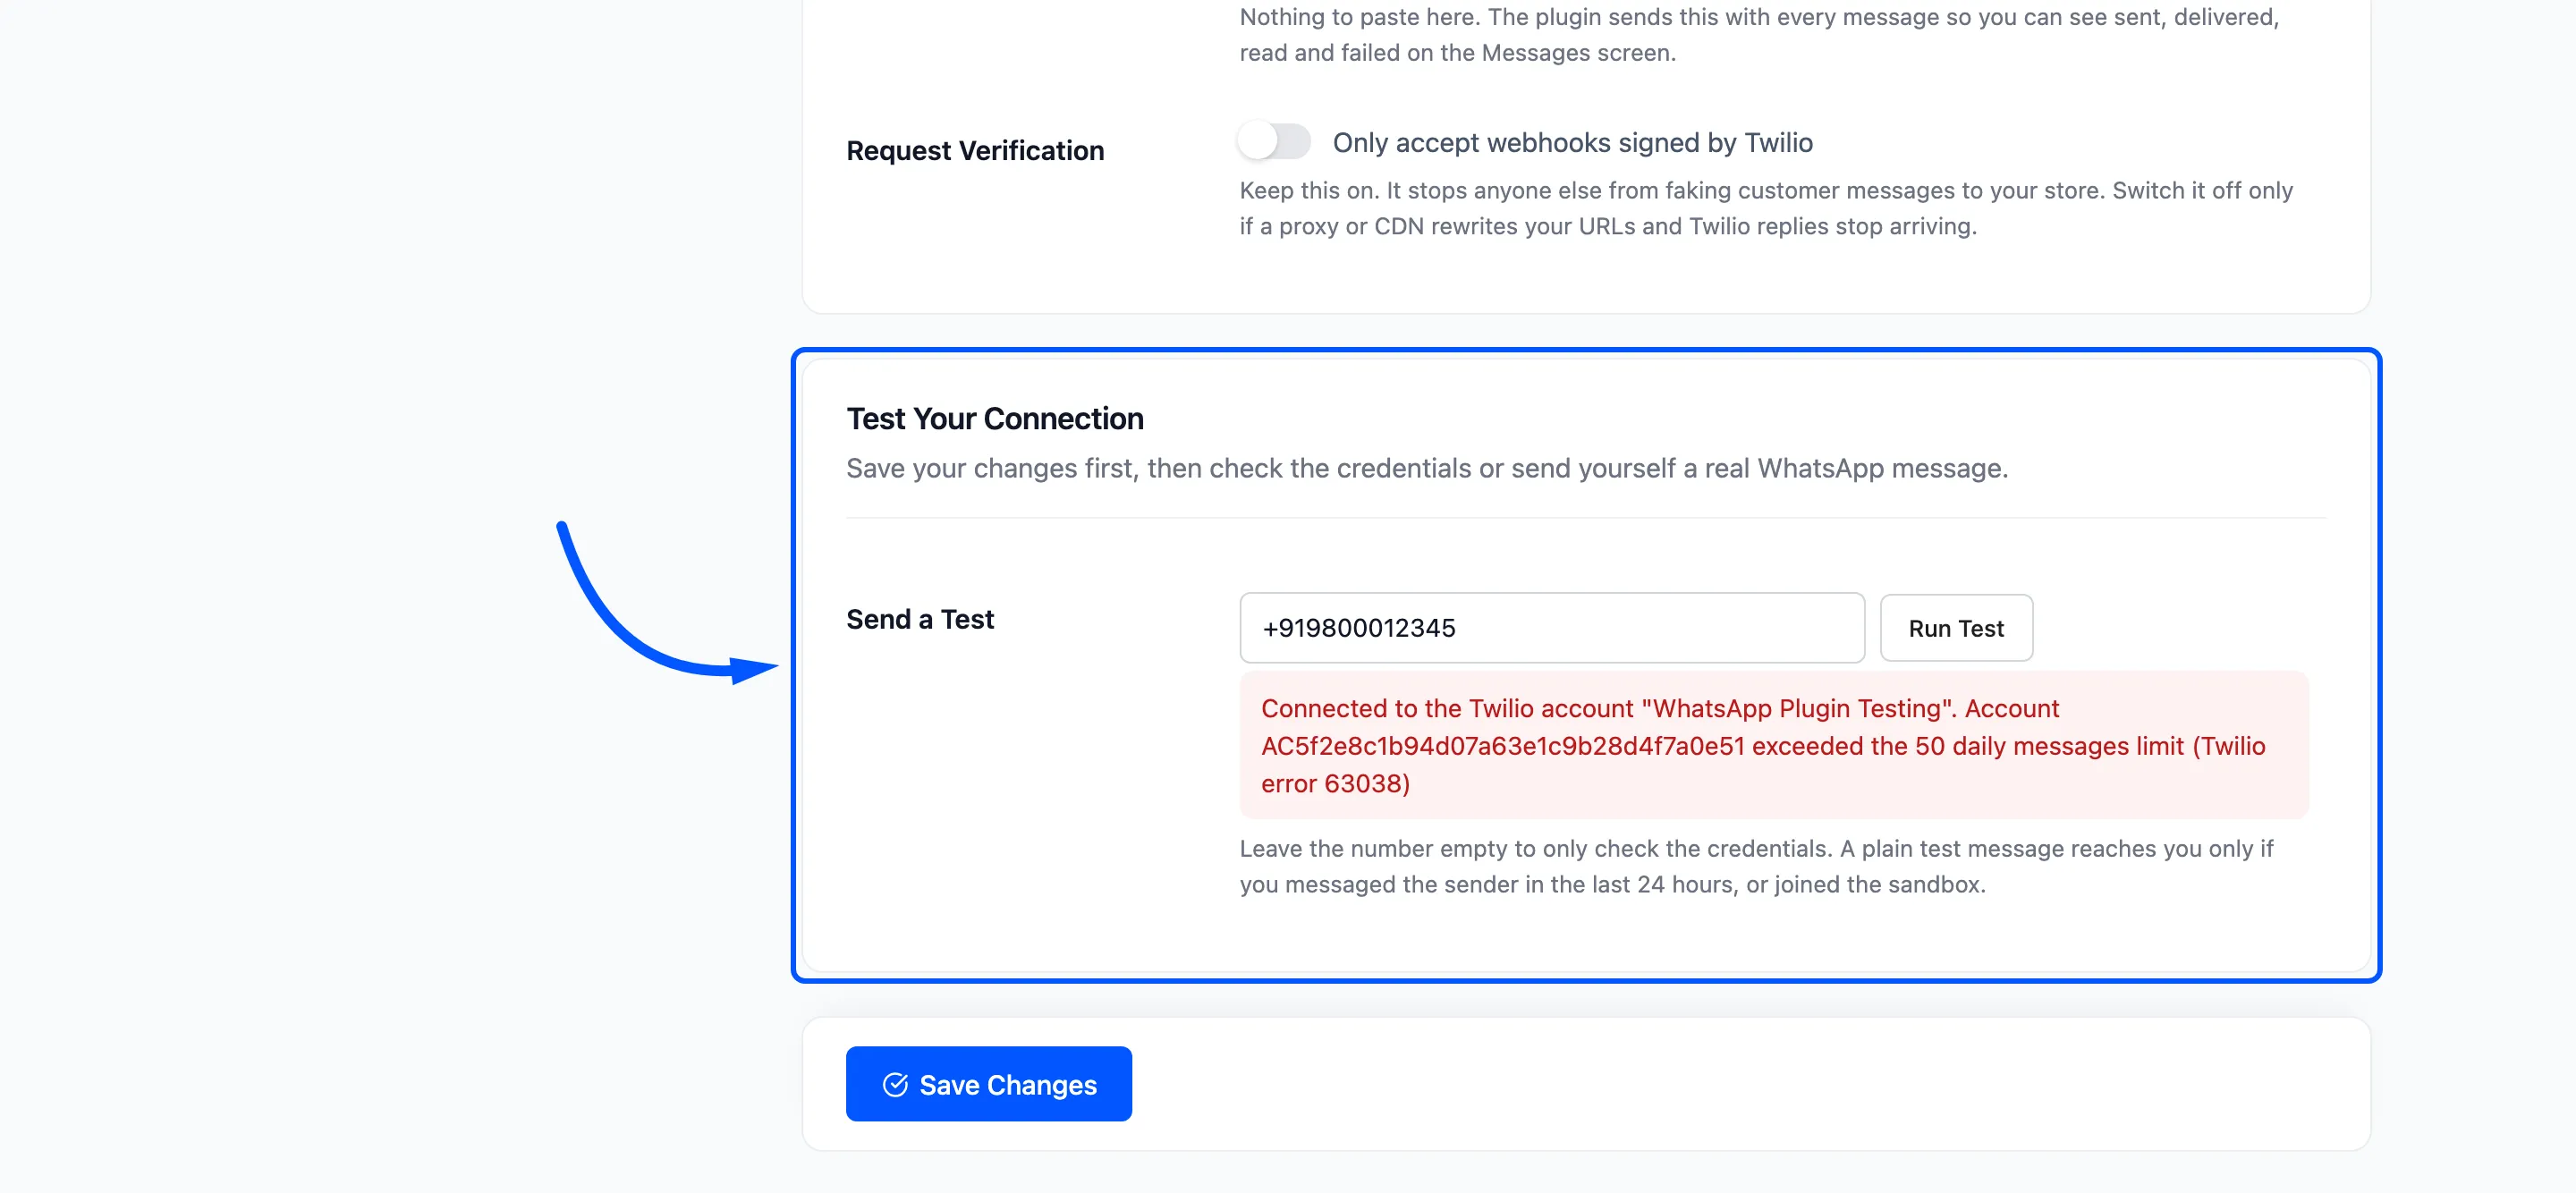
The result reads “Test message accepted by Twilio. Check the phone, and the Messages screen for the delivery status.”
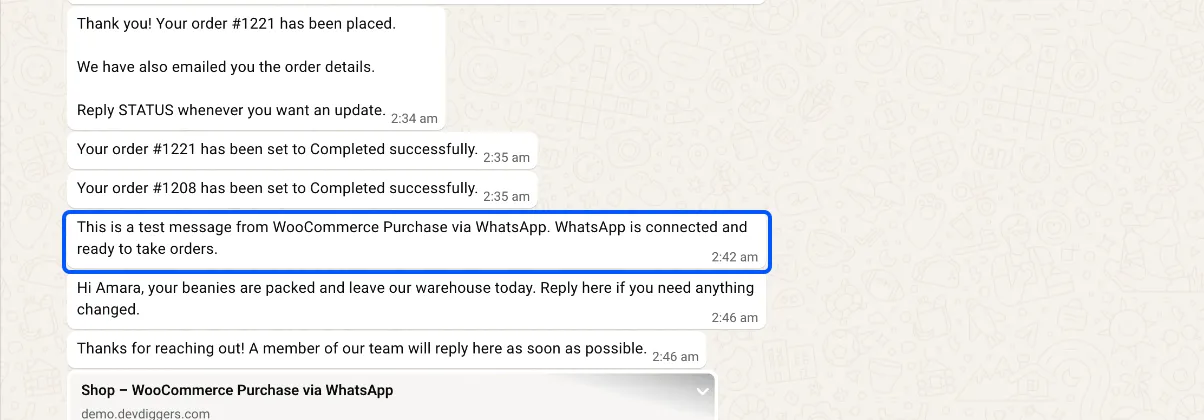
On the phone the message reads “This is a test message from” your site name. It ends with “WhatsApp is connected and ready to take orders.”
Step 4: Confirm the delivery
Section titled “Step 4: Confirm the delivery”Open Purchase via WhatsApp → Messages. The test is listed with the type Test. Within a few seconds its status moves to Delivered, or Read once you open it.
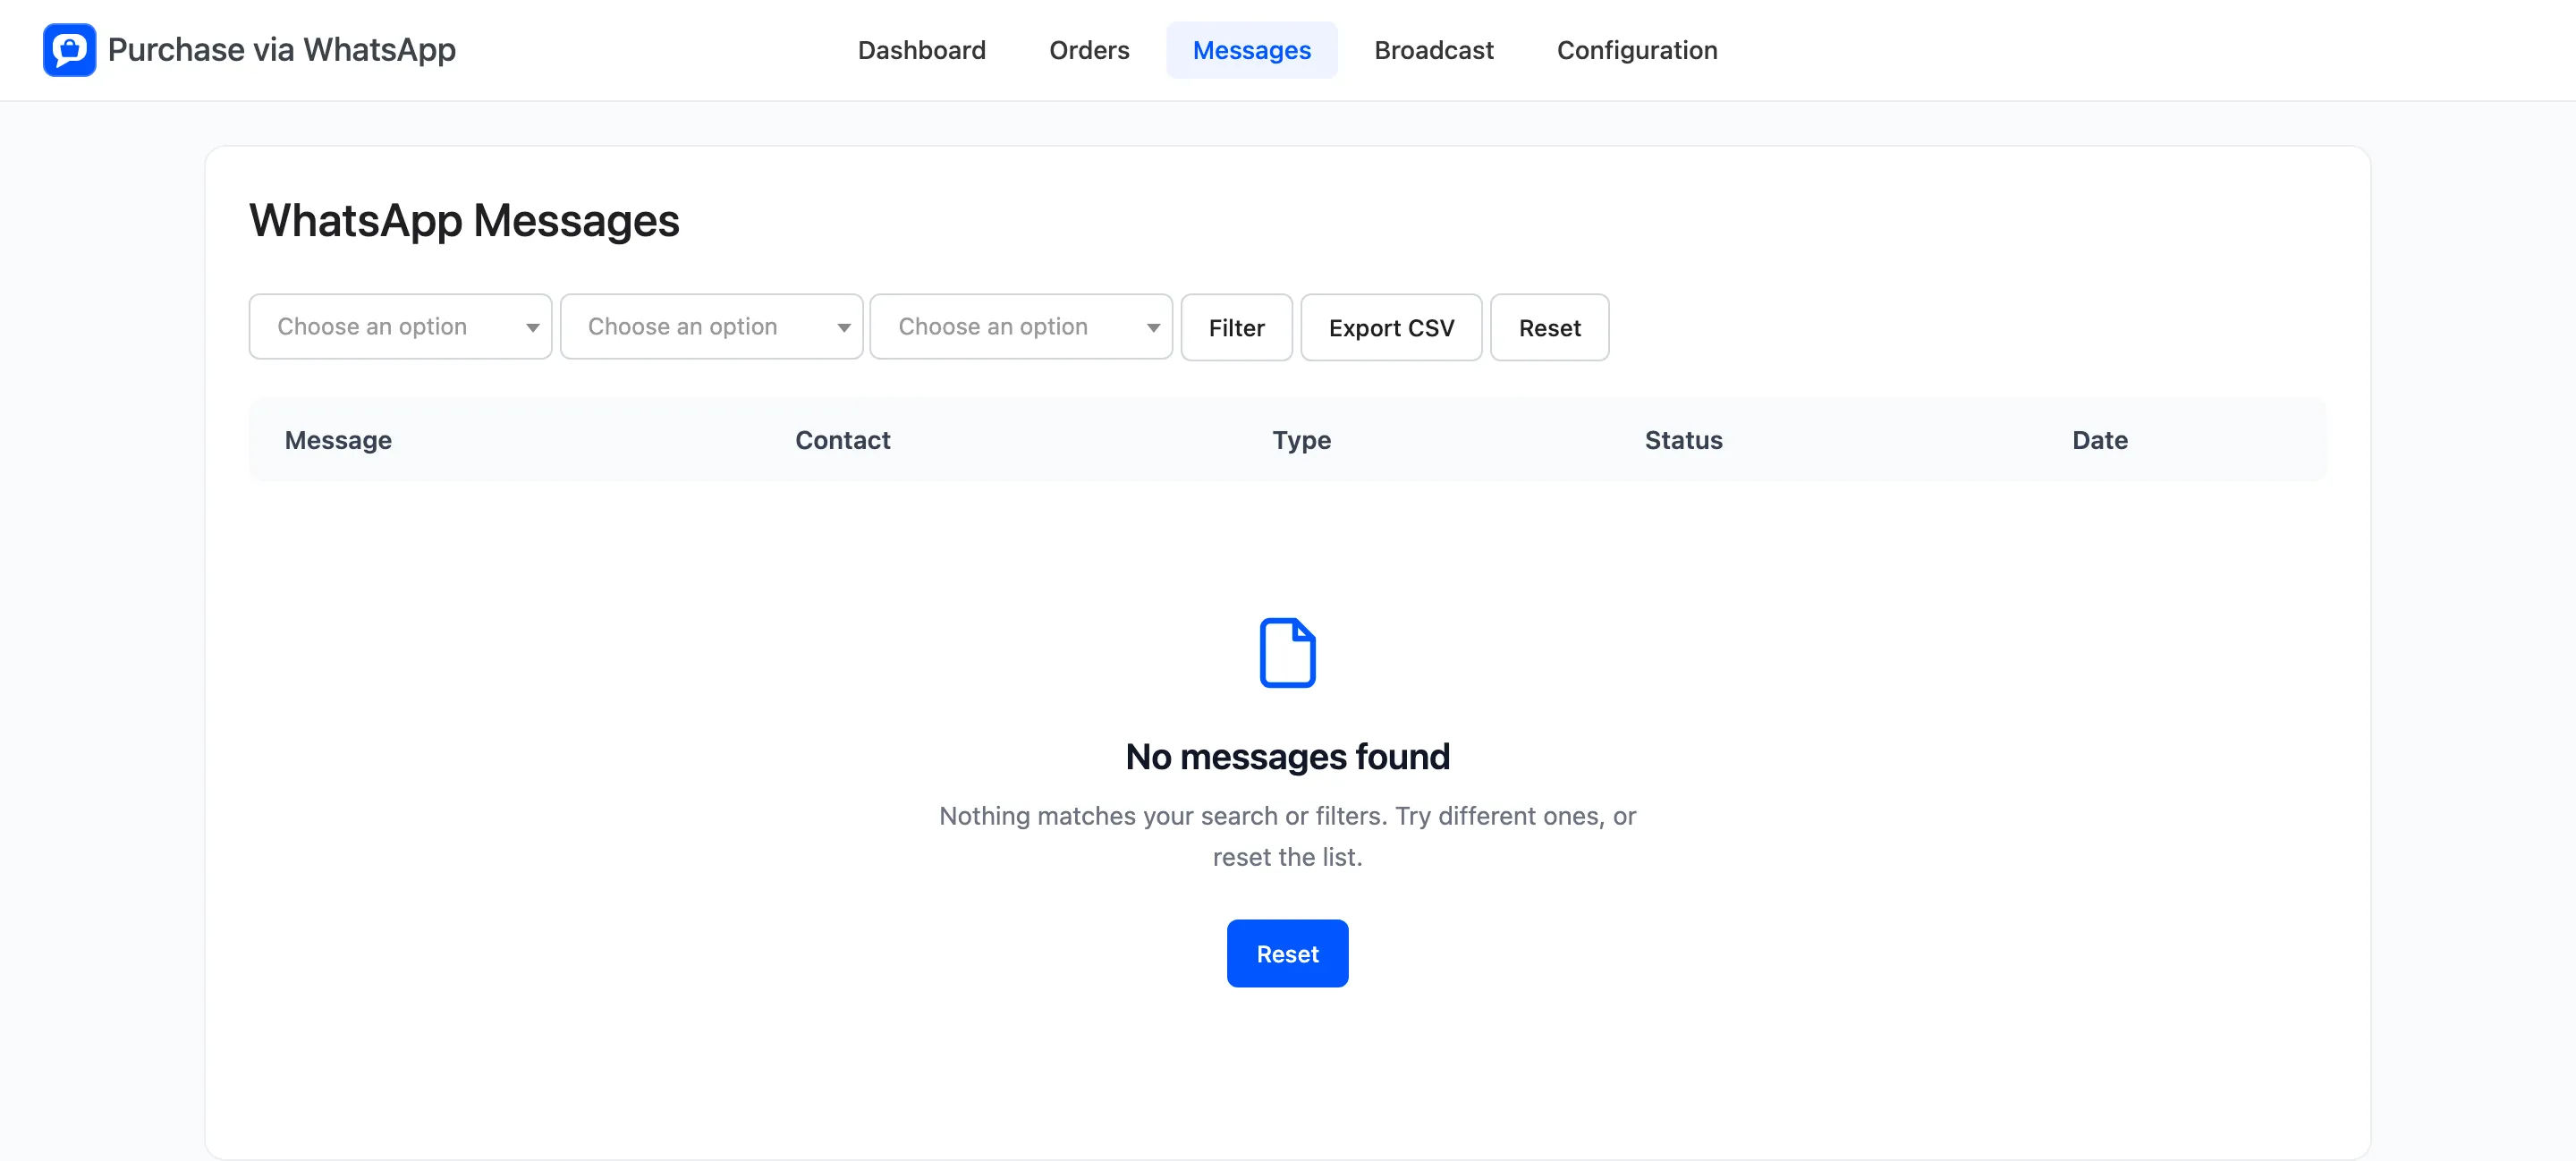
A test sent to a phone that has not joined the sandbox fails. The row explains it: “You are using the Twilio sandbox and this customer has not joined it yet.”
The dashboard ticks Send a test message once a test goes through.