Setup Wizard
The setup wizard opens by itself the first time you activate the plugin. It asks for the few settings an order needs and leaves everything else at its default.
To open it again later, go to Plugins → Installed Plugins and click Setup Wizard under the plugin’s
name. The address is wp-admin/admin.php?page=ddwcpvw-dashboard&setup-wizard=true.
Skip Setup at the bottom of each step leaves the wizard, and Go Back returns to the step before.
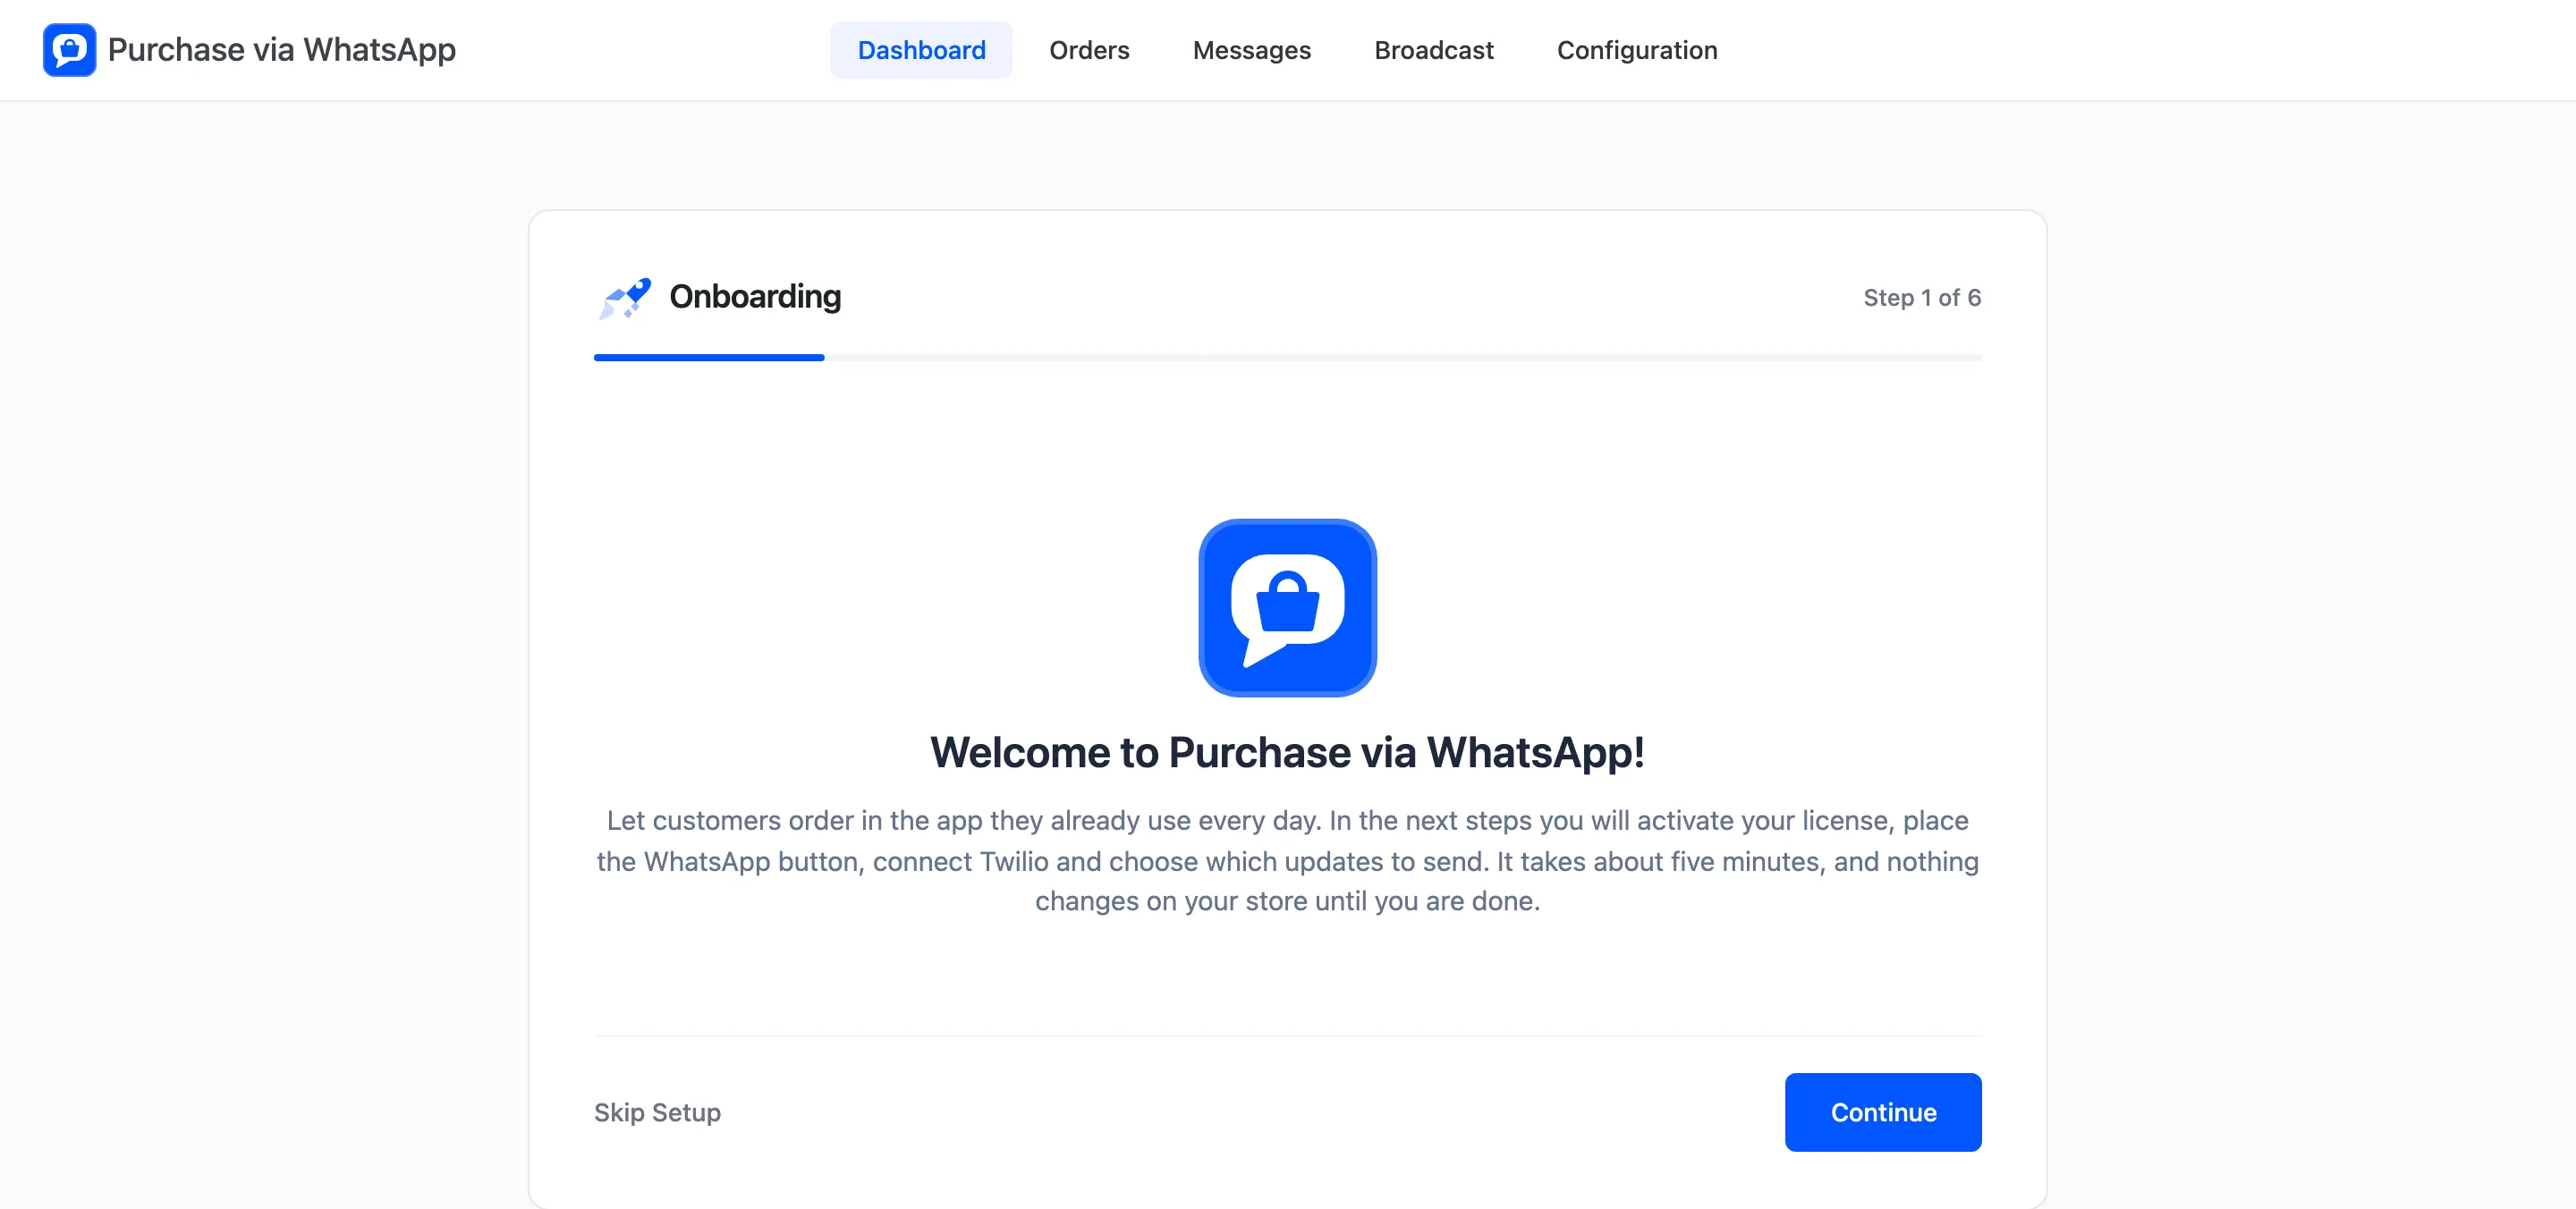
Step 1: Welcome
Section titled “Step 1: Welcome”The first screen says what the plugin does. Click Continue.
Step 2: License
Section titled “Step 2: License”Paste the license key and the email from your purchase, then activate. The wizard does not move on until the license is active, and it says “Please activate your license to continue.”
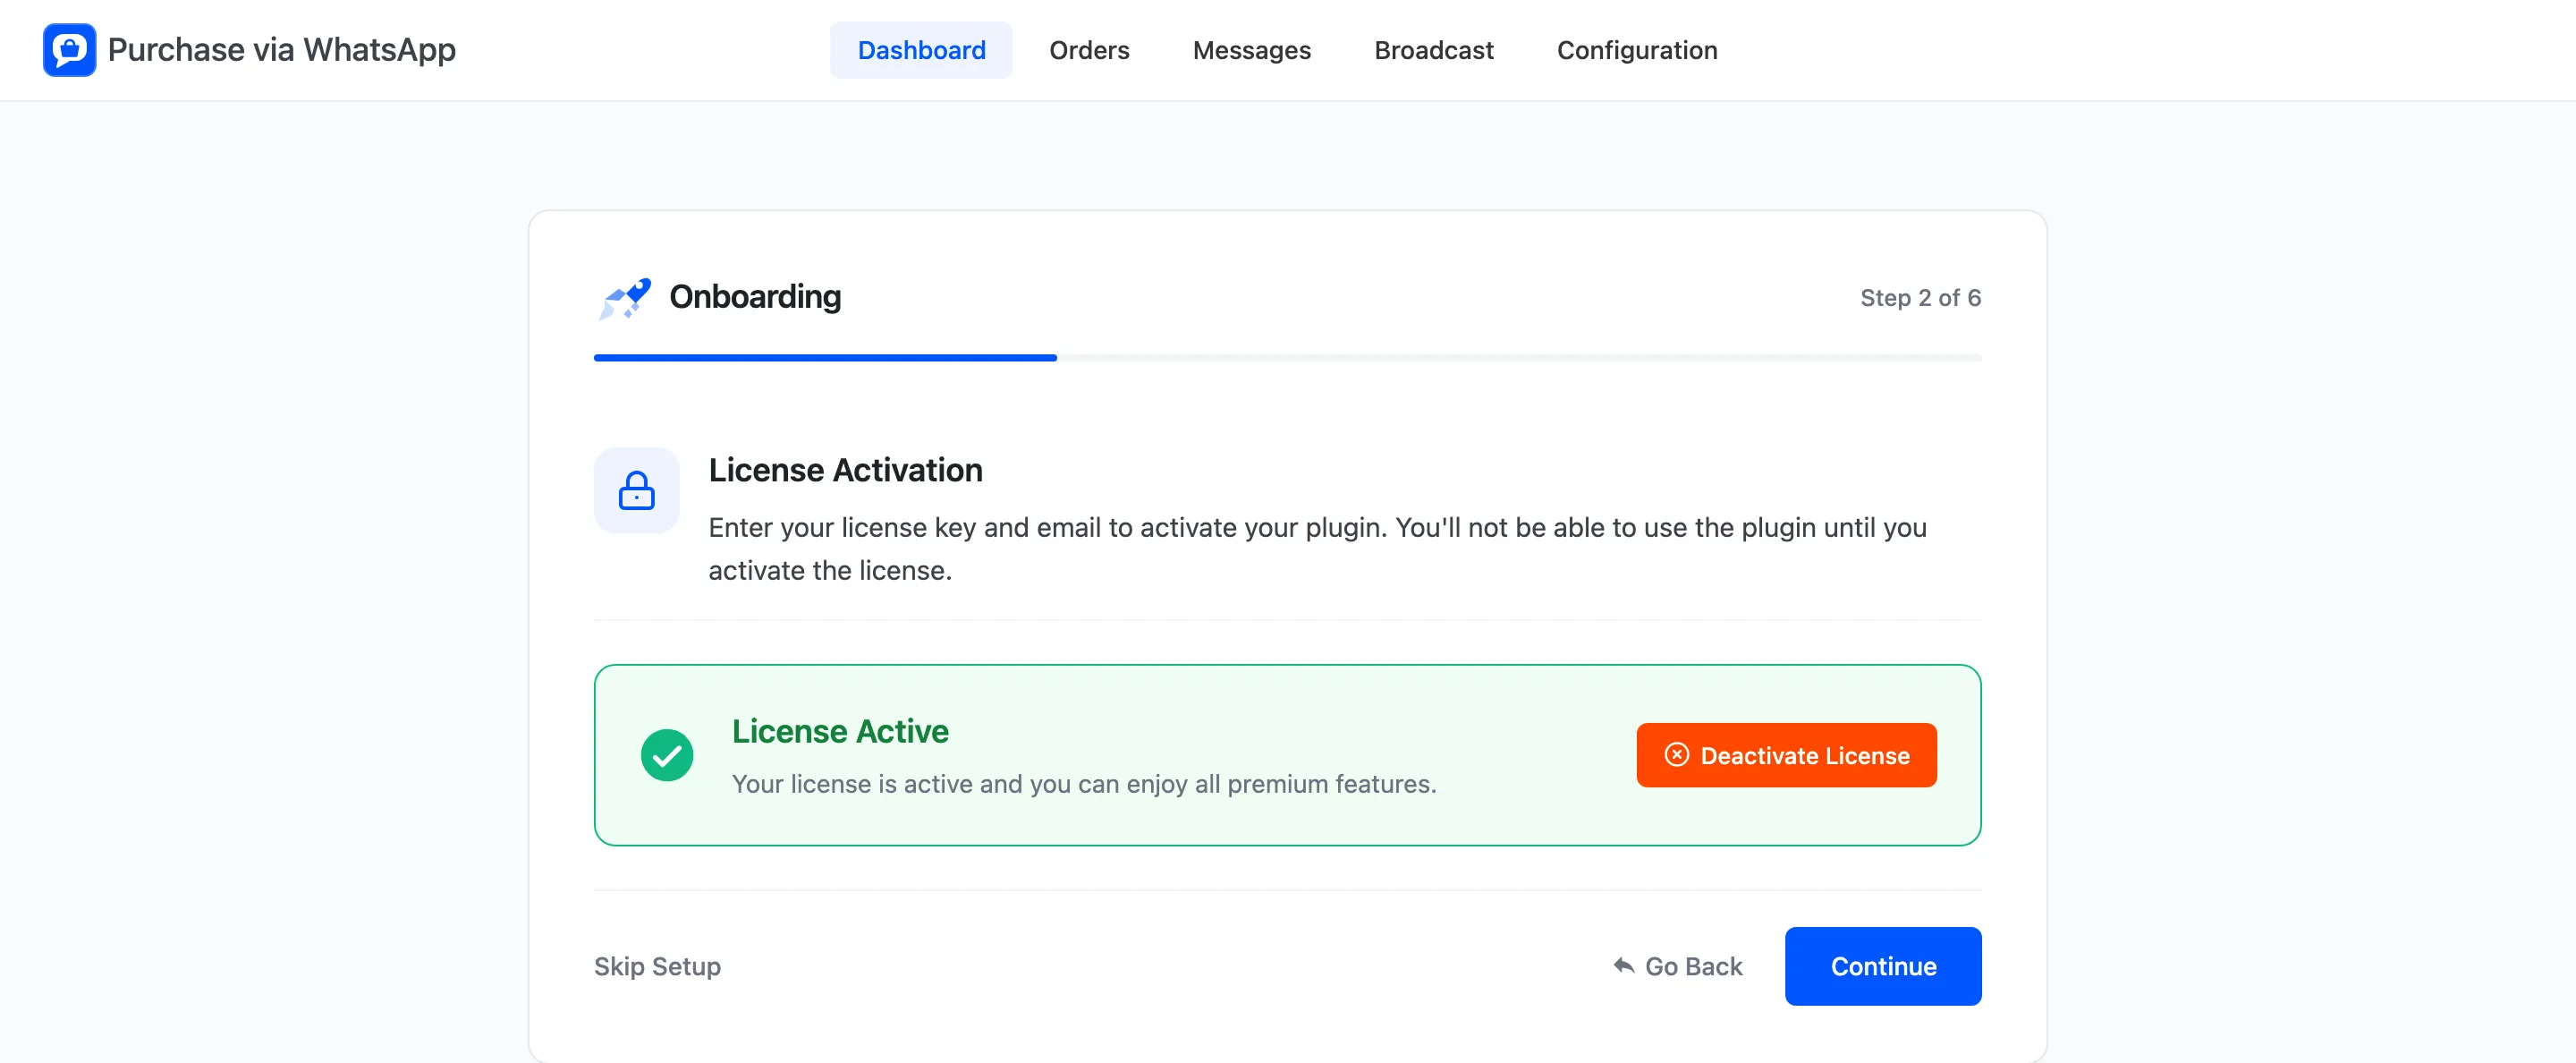
The storefront button only appears once the license is active. See License Activation.
Step 3: Where customers can order
Section titled “Step 3: Where customers can order”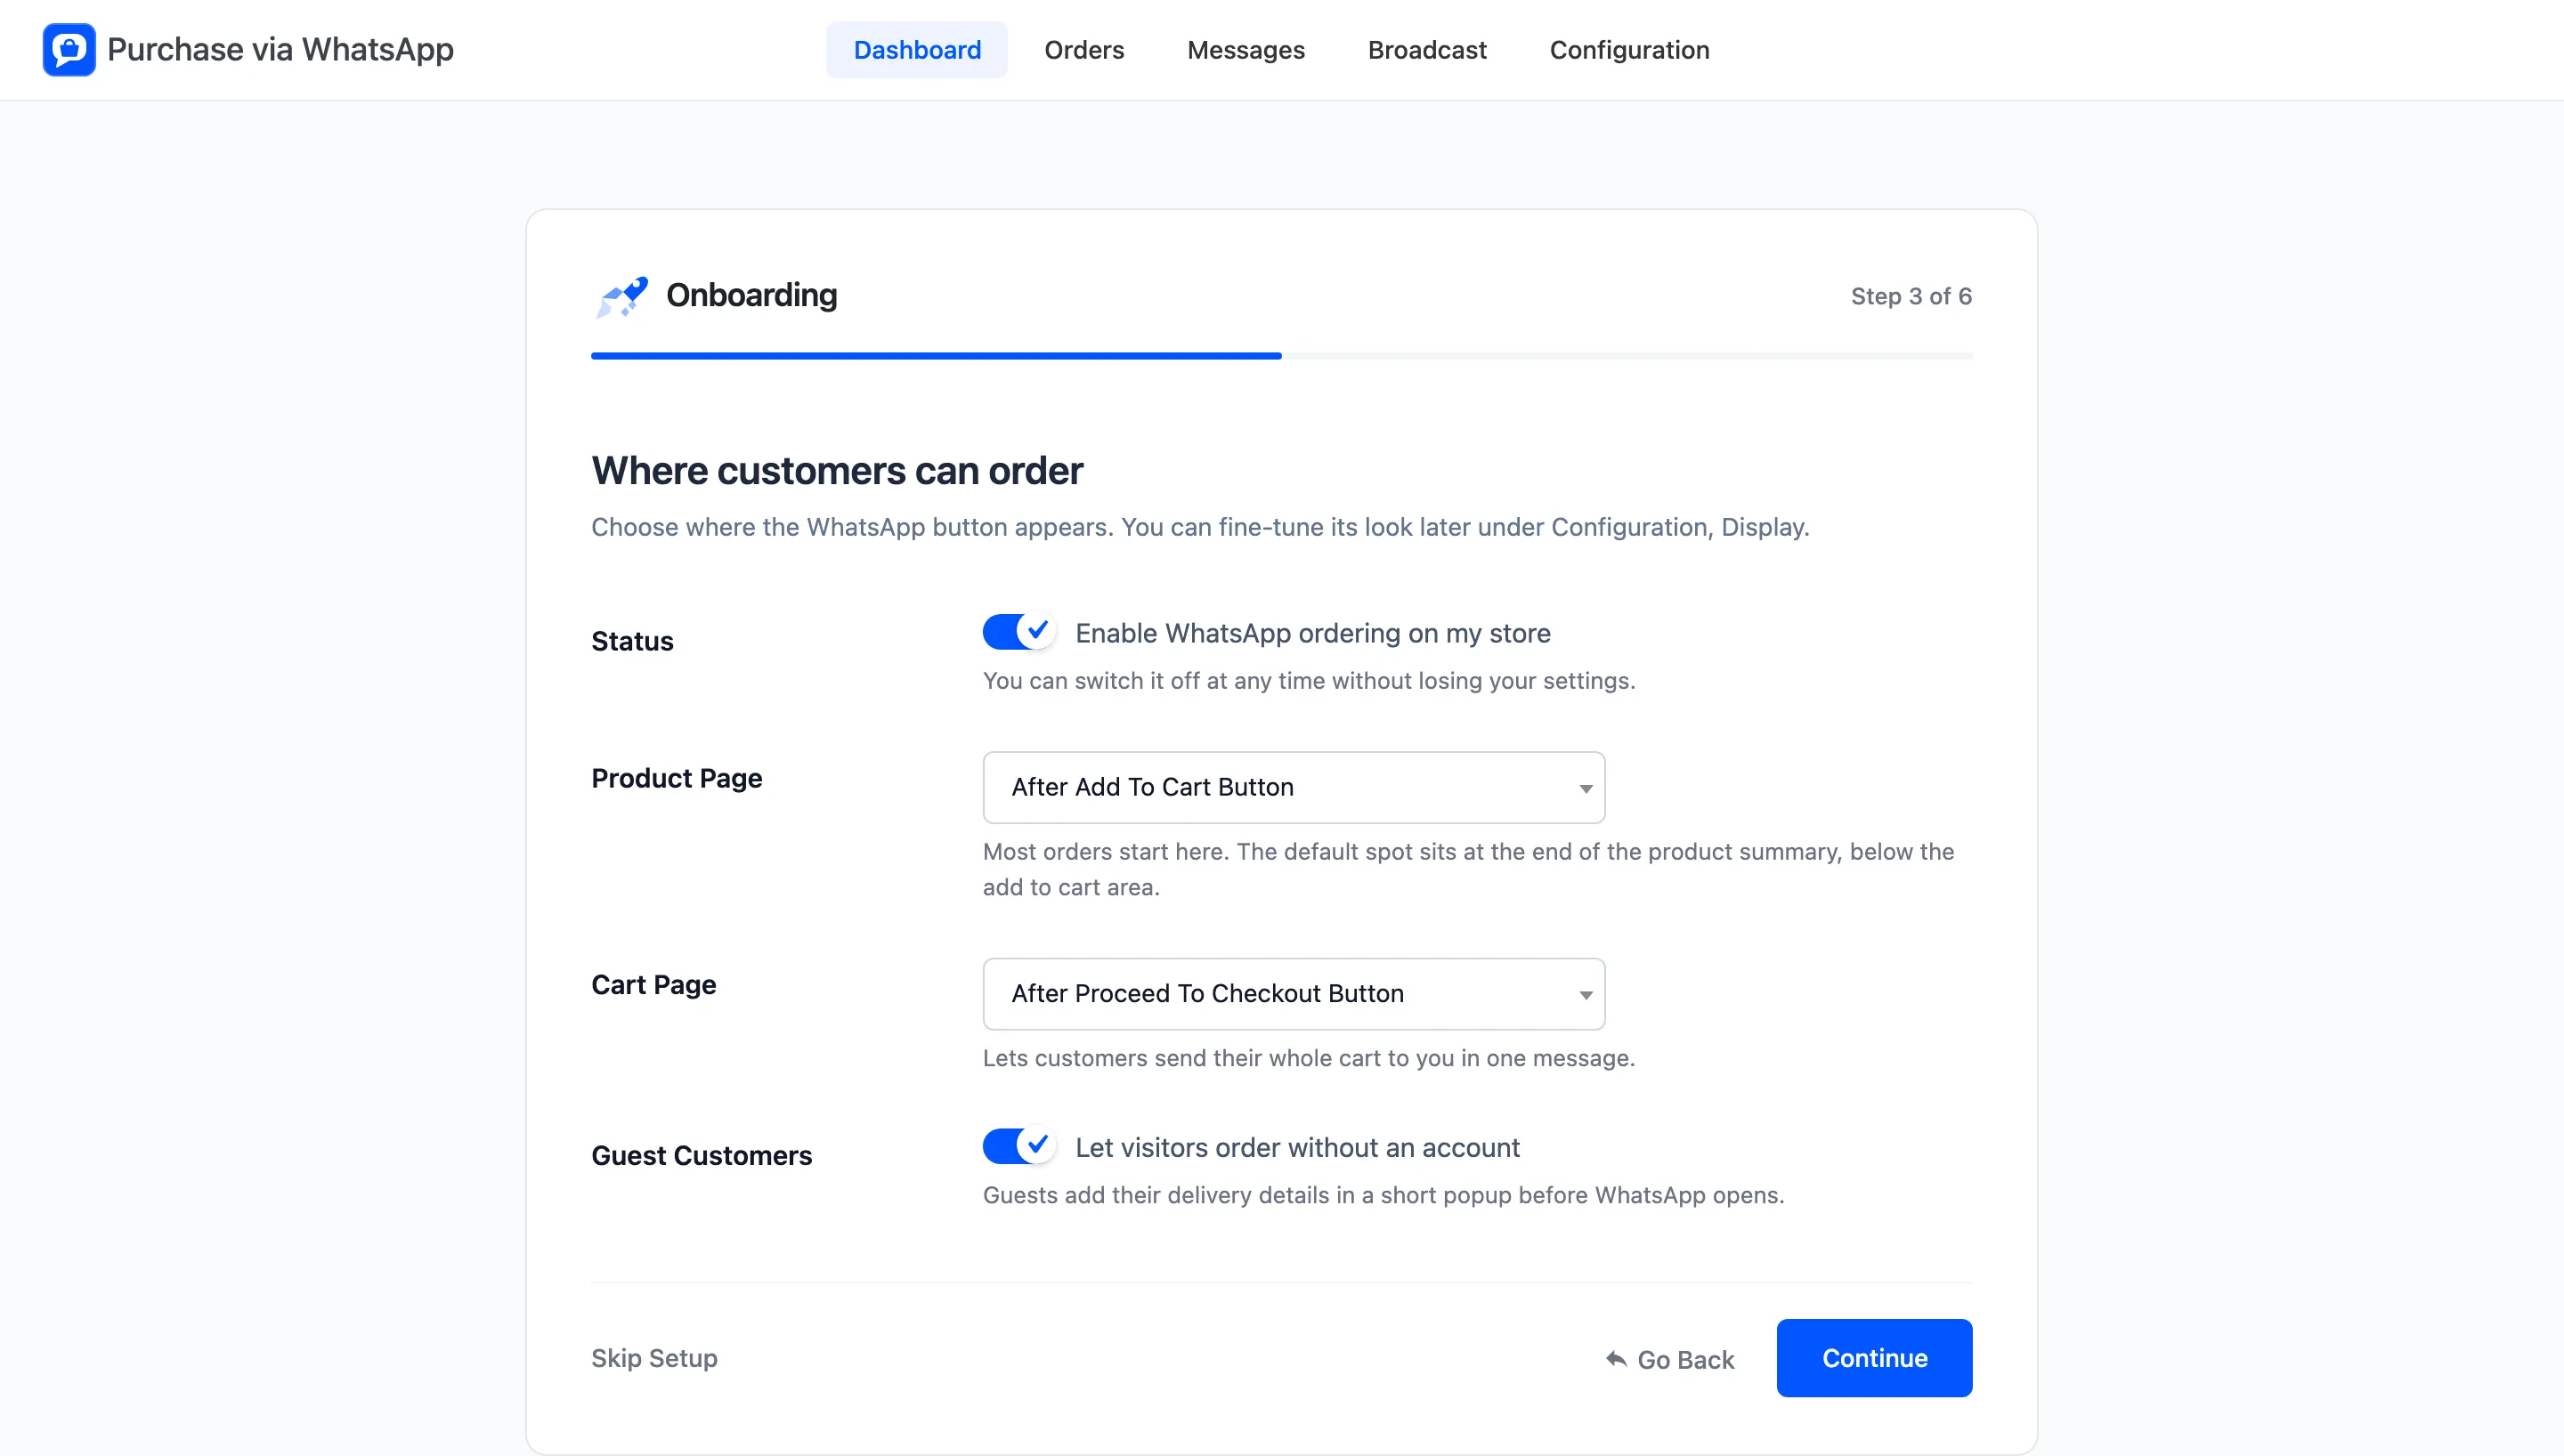
- Status: “Enable WhatsApp ordering on my store”. On by default.
- Product Page: Where the button sits on a product page. The default is the end of the summary, under the add to cart area.
- Cart Page: Before or after Proceed to checkout. The default is after it.
- Guest Customers: “Let visitors order without an account”. On by default. Guests type their delivery details into a short popup before WhatsApp opens.
Shop page buttons, colours and the floating chat bubble are on the Display tab.
Step 4: Connect your WhatsApp number
Section titled “Step 4: Connect your WhatsApp number”This step takes the values from your Twilio account. If you do not have one yet, follow How to Create a Twilio Account and Find Your Credentials first and come back.
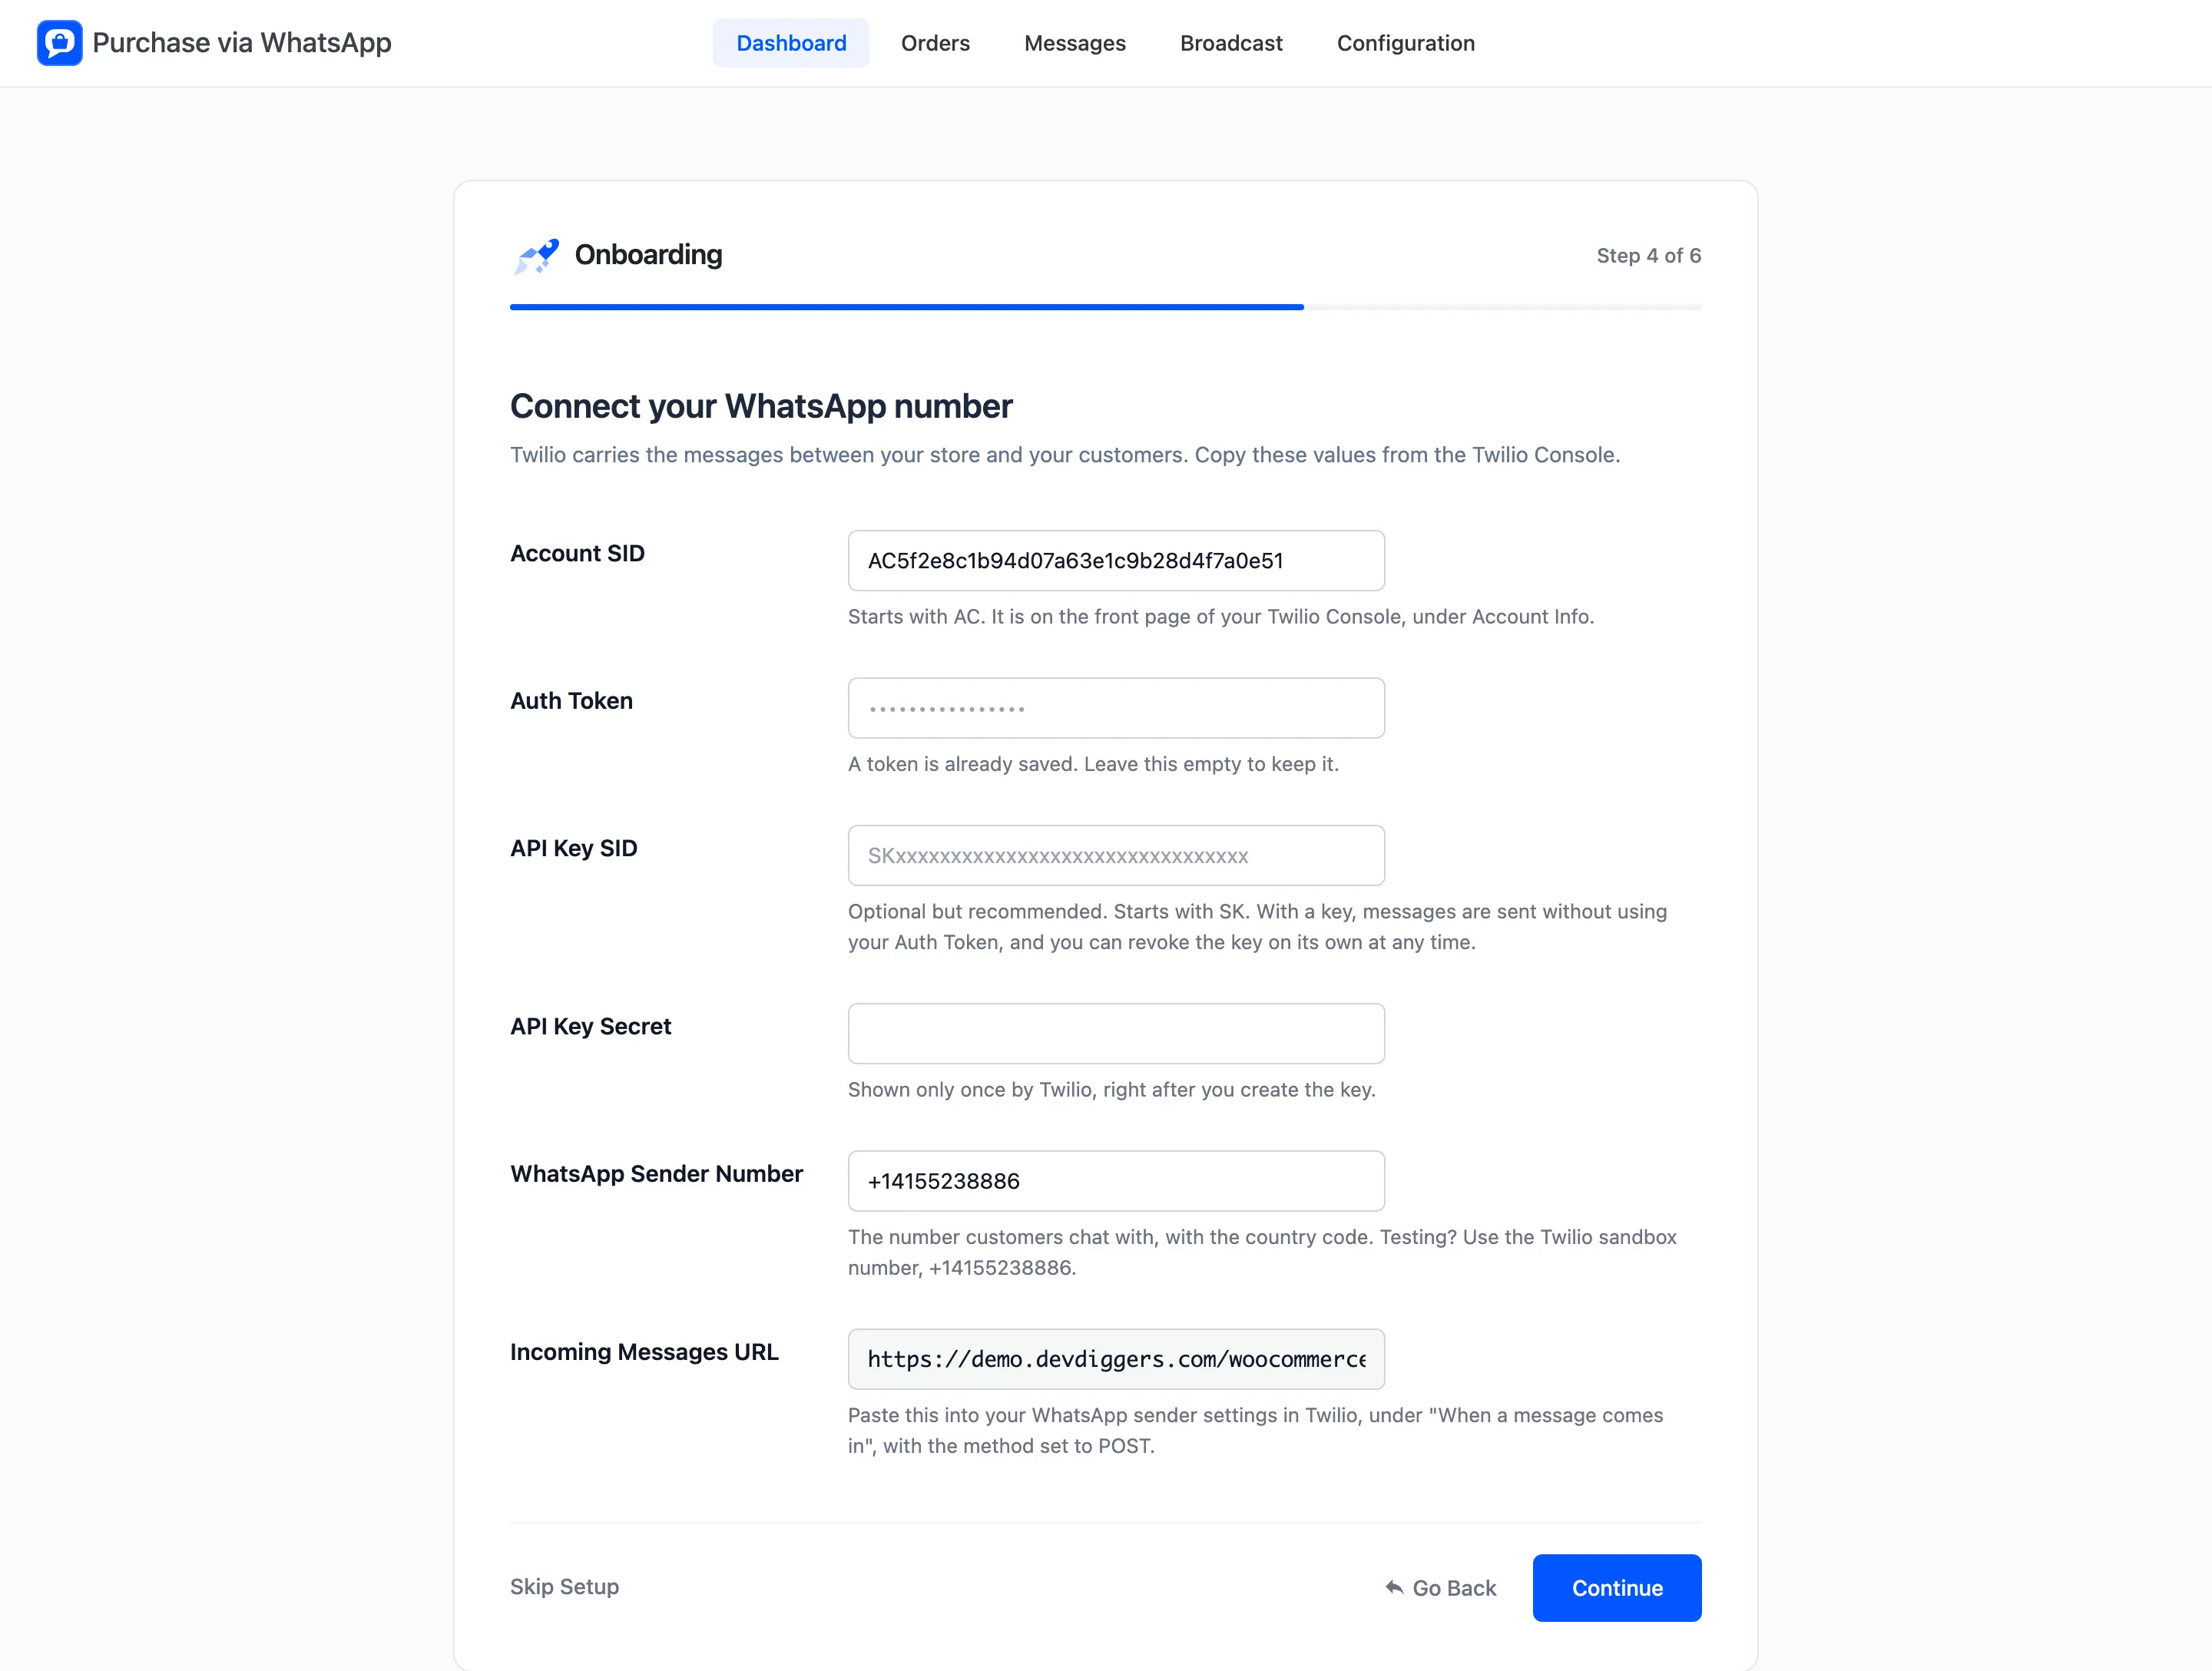
- Account SID: Starts with AC. It is on the front page of the Twilio Console.
- Auth Token: Also on the front page of the Console. Once saved, the field shows dots, and leaving it empty keeps the saved token.
- API Key SID and API Key Secret: Optional. With a key, messages are sent without your Auth Token. The plugin still needs the Auth Token to check that incoming messages really come from Twilio.
- WhatsApp Sender Number: The number customers chat with, with the country code. To test, use the Twilio sandbox number, +14155238886.
- Incoming Messages URL: Read only. Copy it into Twilio under “When a message comes in”, with the method set to POST. Without it, customer replies never reach your store.
The Twilio tab has a Copy button next to this URL, and a test you can run. The wizard has neither, so check the connection there once the wizard is done.
Step 5: Keep everyone in the loop
Section titled “Step 5: Keep everyone in the loop”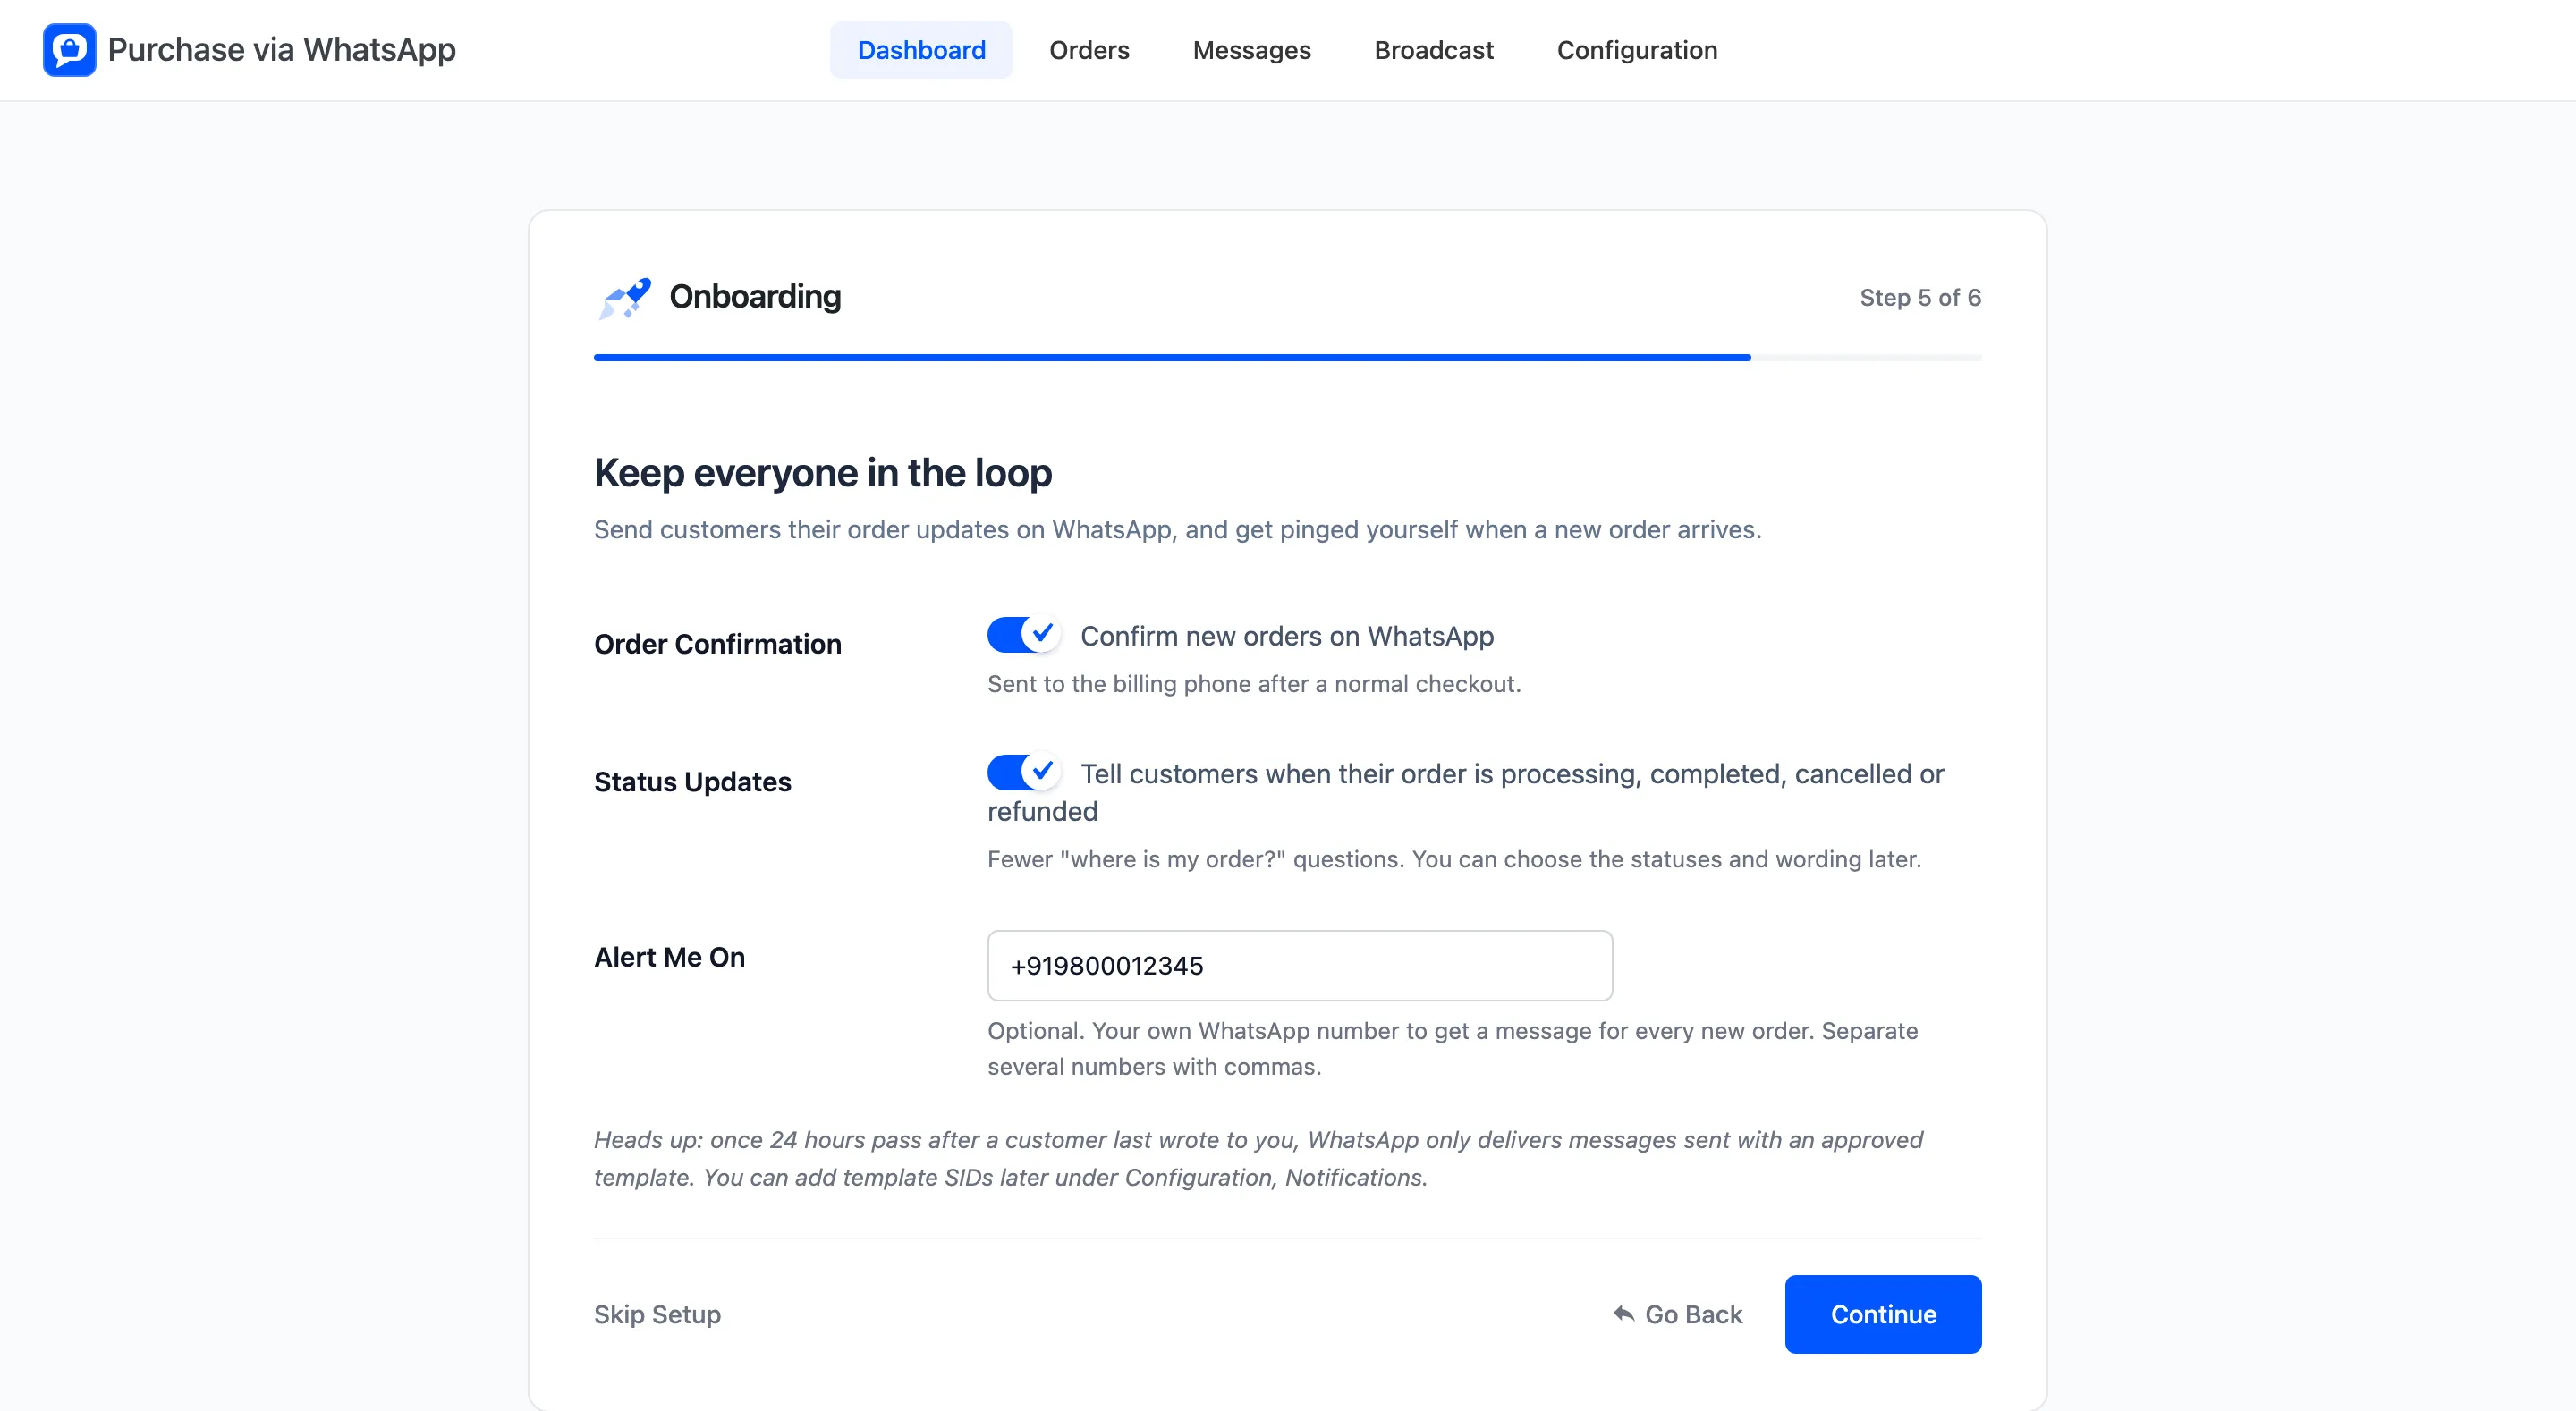
- Order Confirmation: “Confirm new orders on WhatsApp”. Sent to the billing phone of orders placed through your normal checkout.
- Status Updates: “Tell customers when their order is processing, completed, cancelled or refunded”.
- Alert Me On: One or more of your own WhatsApp numbers, separated by commas. Each new order is sent there.
The note on this step matters. WhatsApp only delivers a message your store starts in two cases. Either the customer wrote to you in the last 24 hours, or the message uses a template WhatsApp approved.
Order updates usually arrive later than that, so add templates on the Notifications tab.
Typing a number into Alert Me On switches the alerts on, and clearing it switches them off.
Step 6: Ready
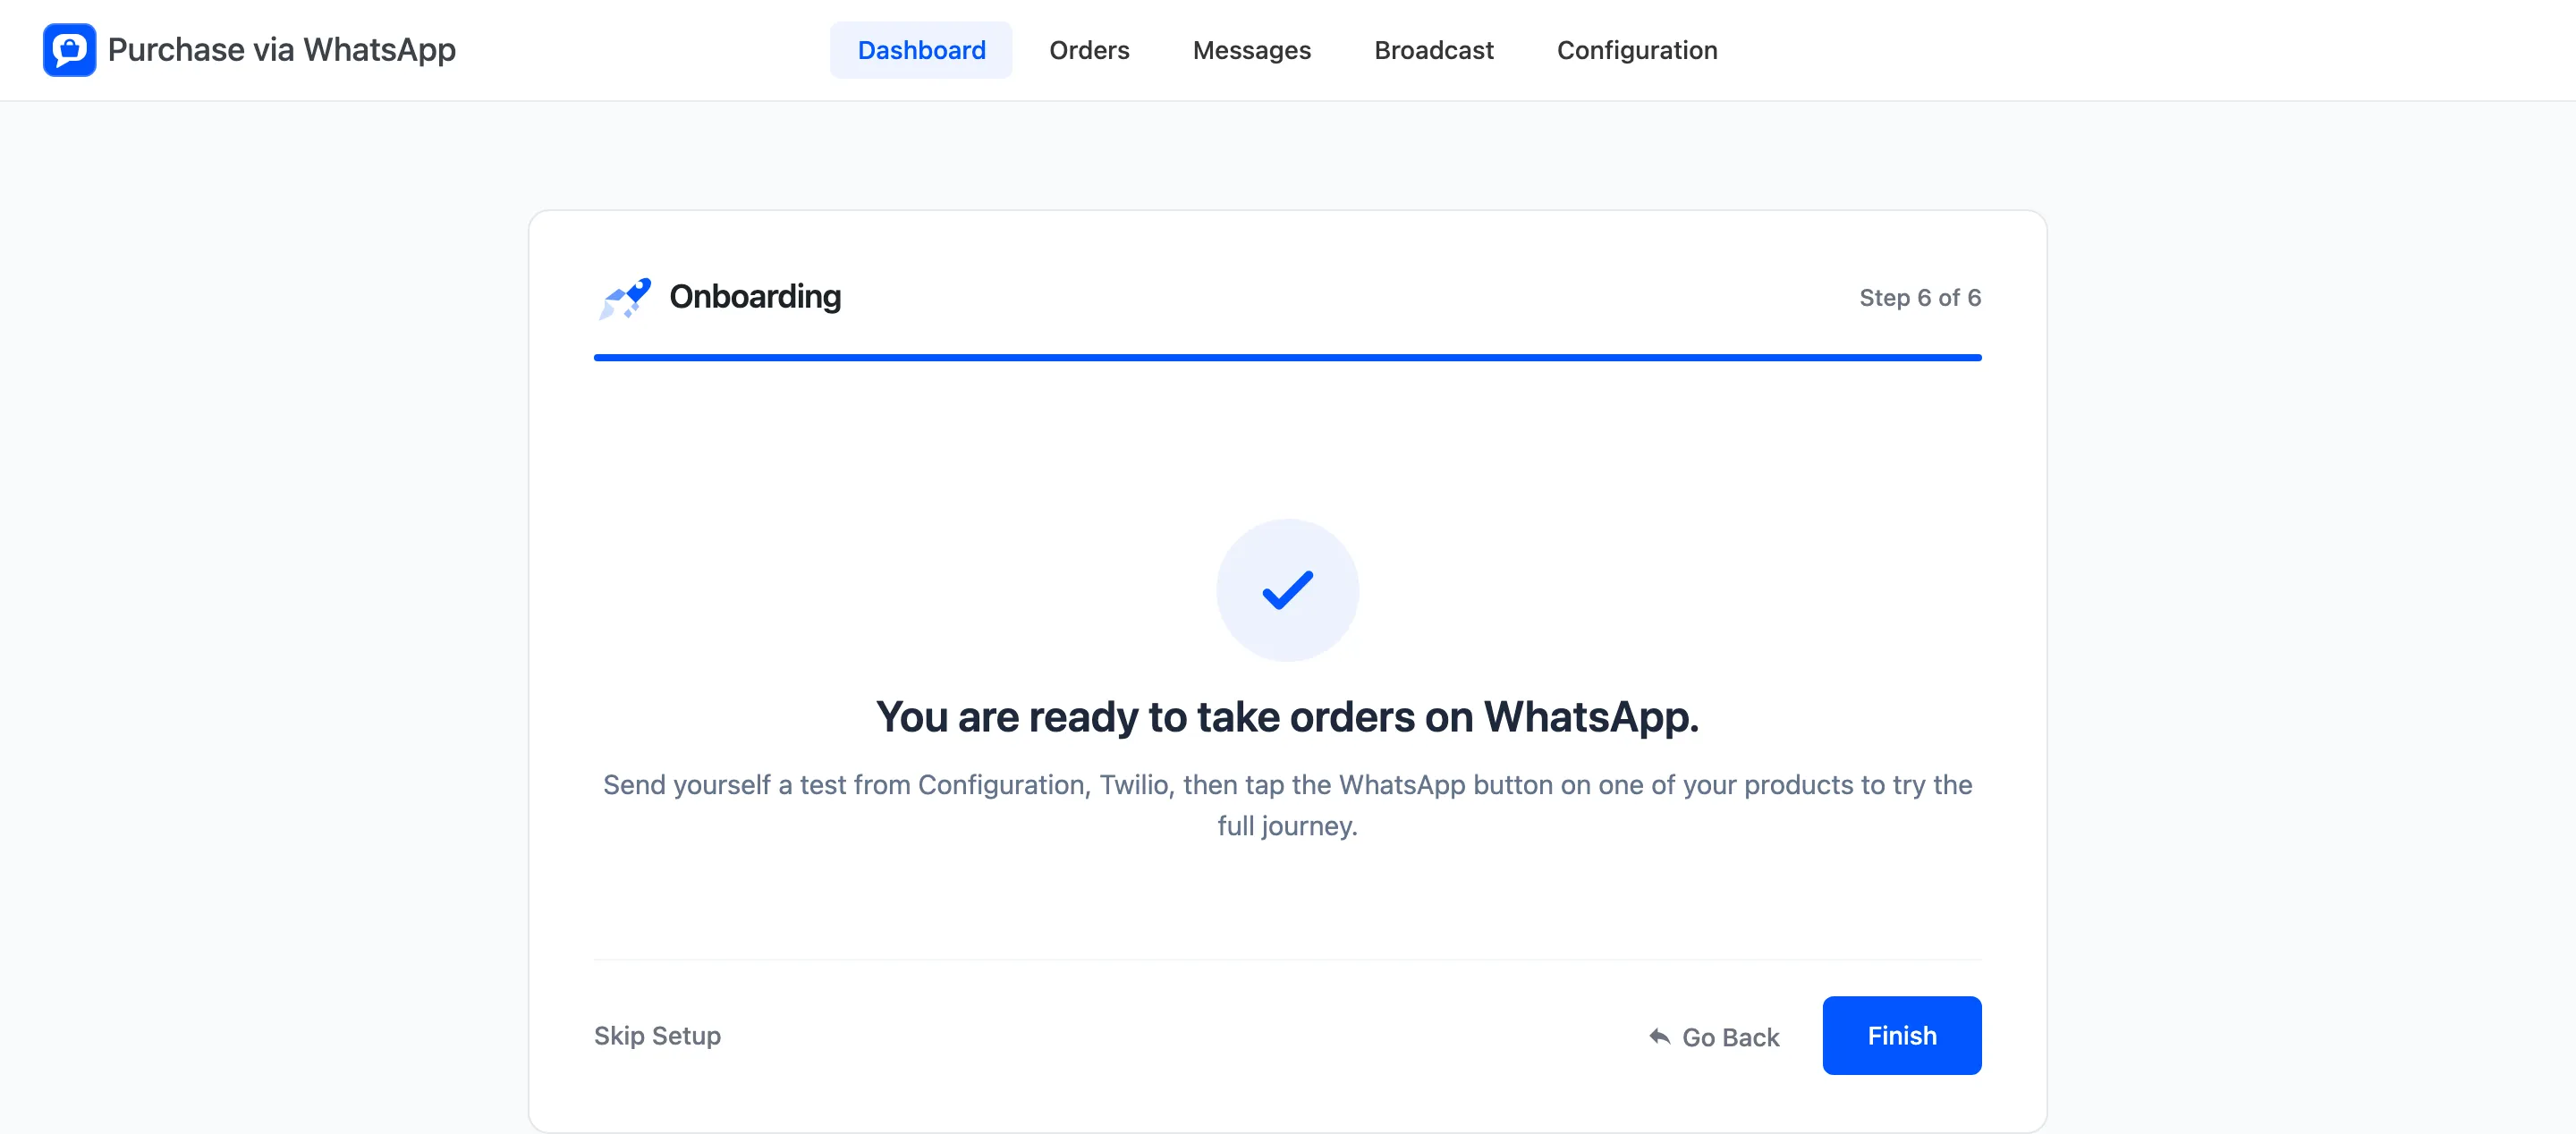
Section titled “Step 6: Ready”The last screen reads “You are ready to take orders on WhatsApp.” It suggests two checks, and both are worth doing before you tell customers.