

How to Secure Wallet Transfers with OTP (Pro)
A wallet balance is money. Anyone who gets into a customer’s account can move it in one click, and nothing about a password tells you the person typing it is the account holder. OTP puts an emailed code between the button and the transfer.
Step 1: Open the OTP tab
Section titled “Step 1: Open the OTP tab”Go to DevDiggers Plugins → Wallet → Configuration → OTP.
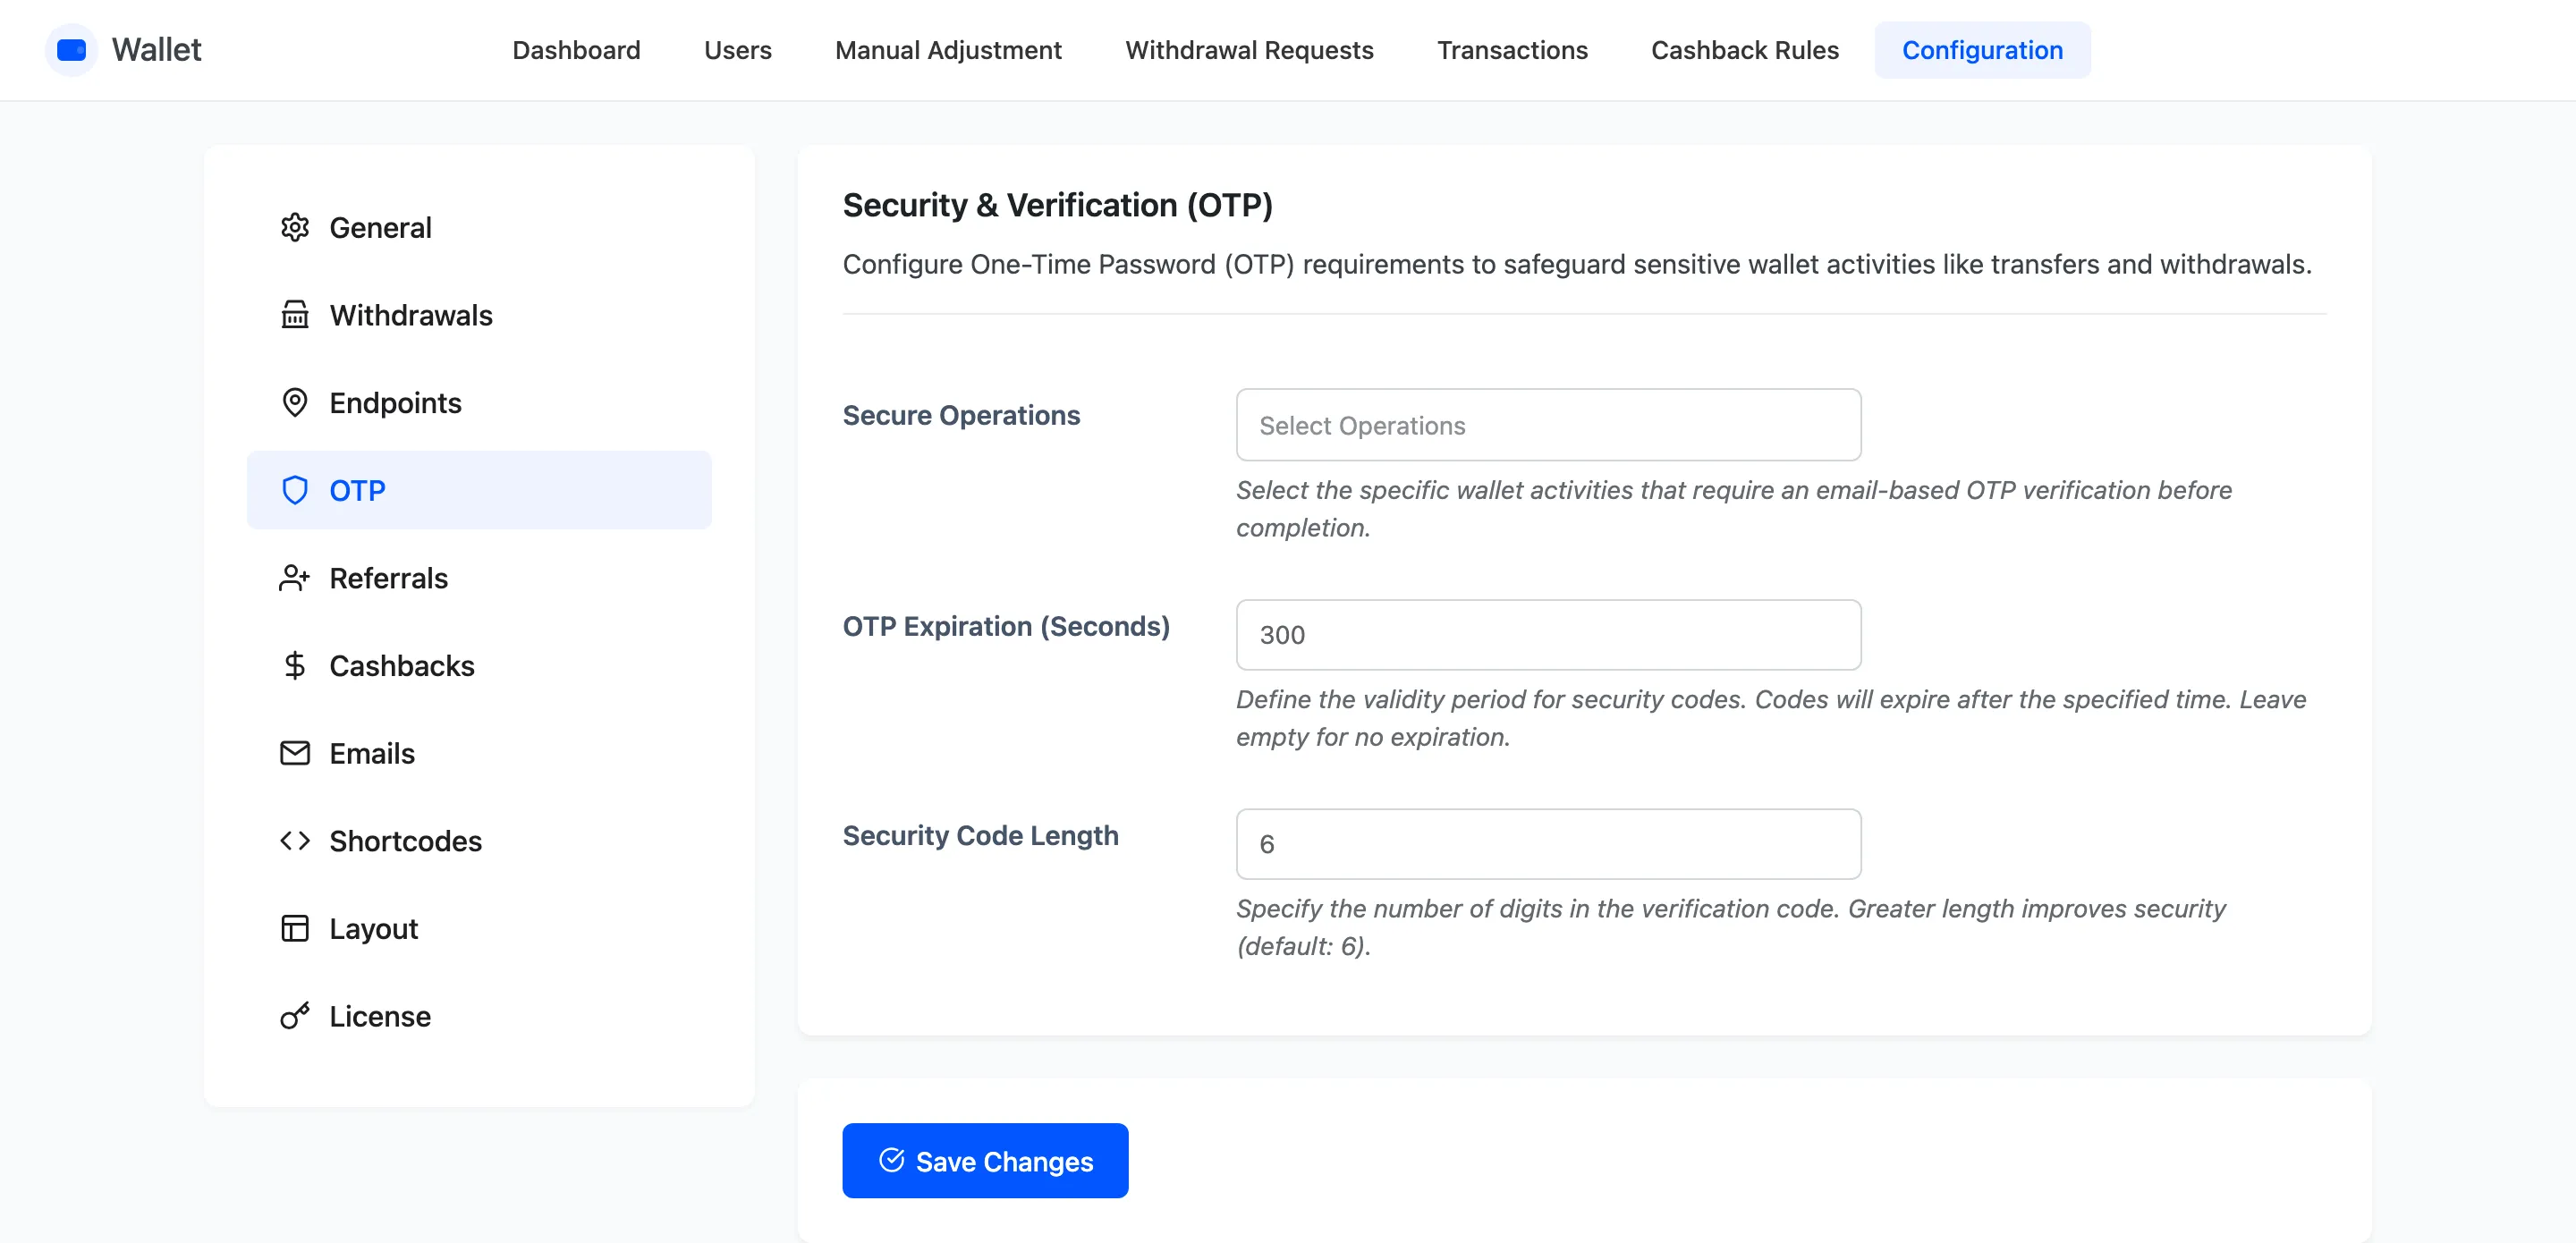
Nothing here is on by default. The tab ships with Secure Operations empty, which means no operation ever asks for a code.
Step 2: Choose which operations need a code
Section titled “Step 2: Choose which operations need a code”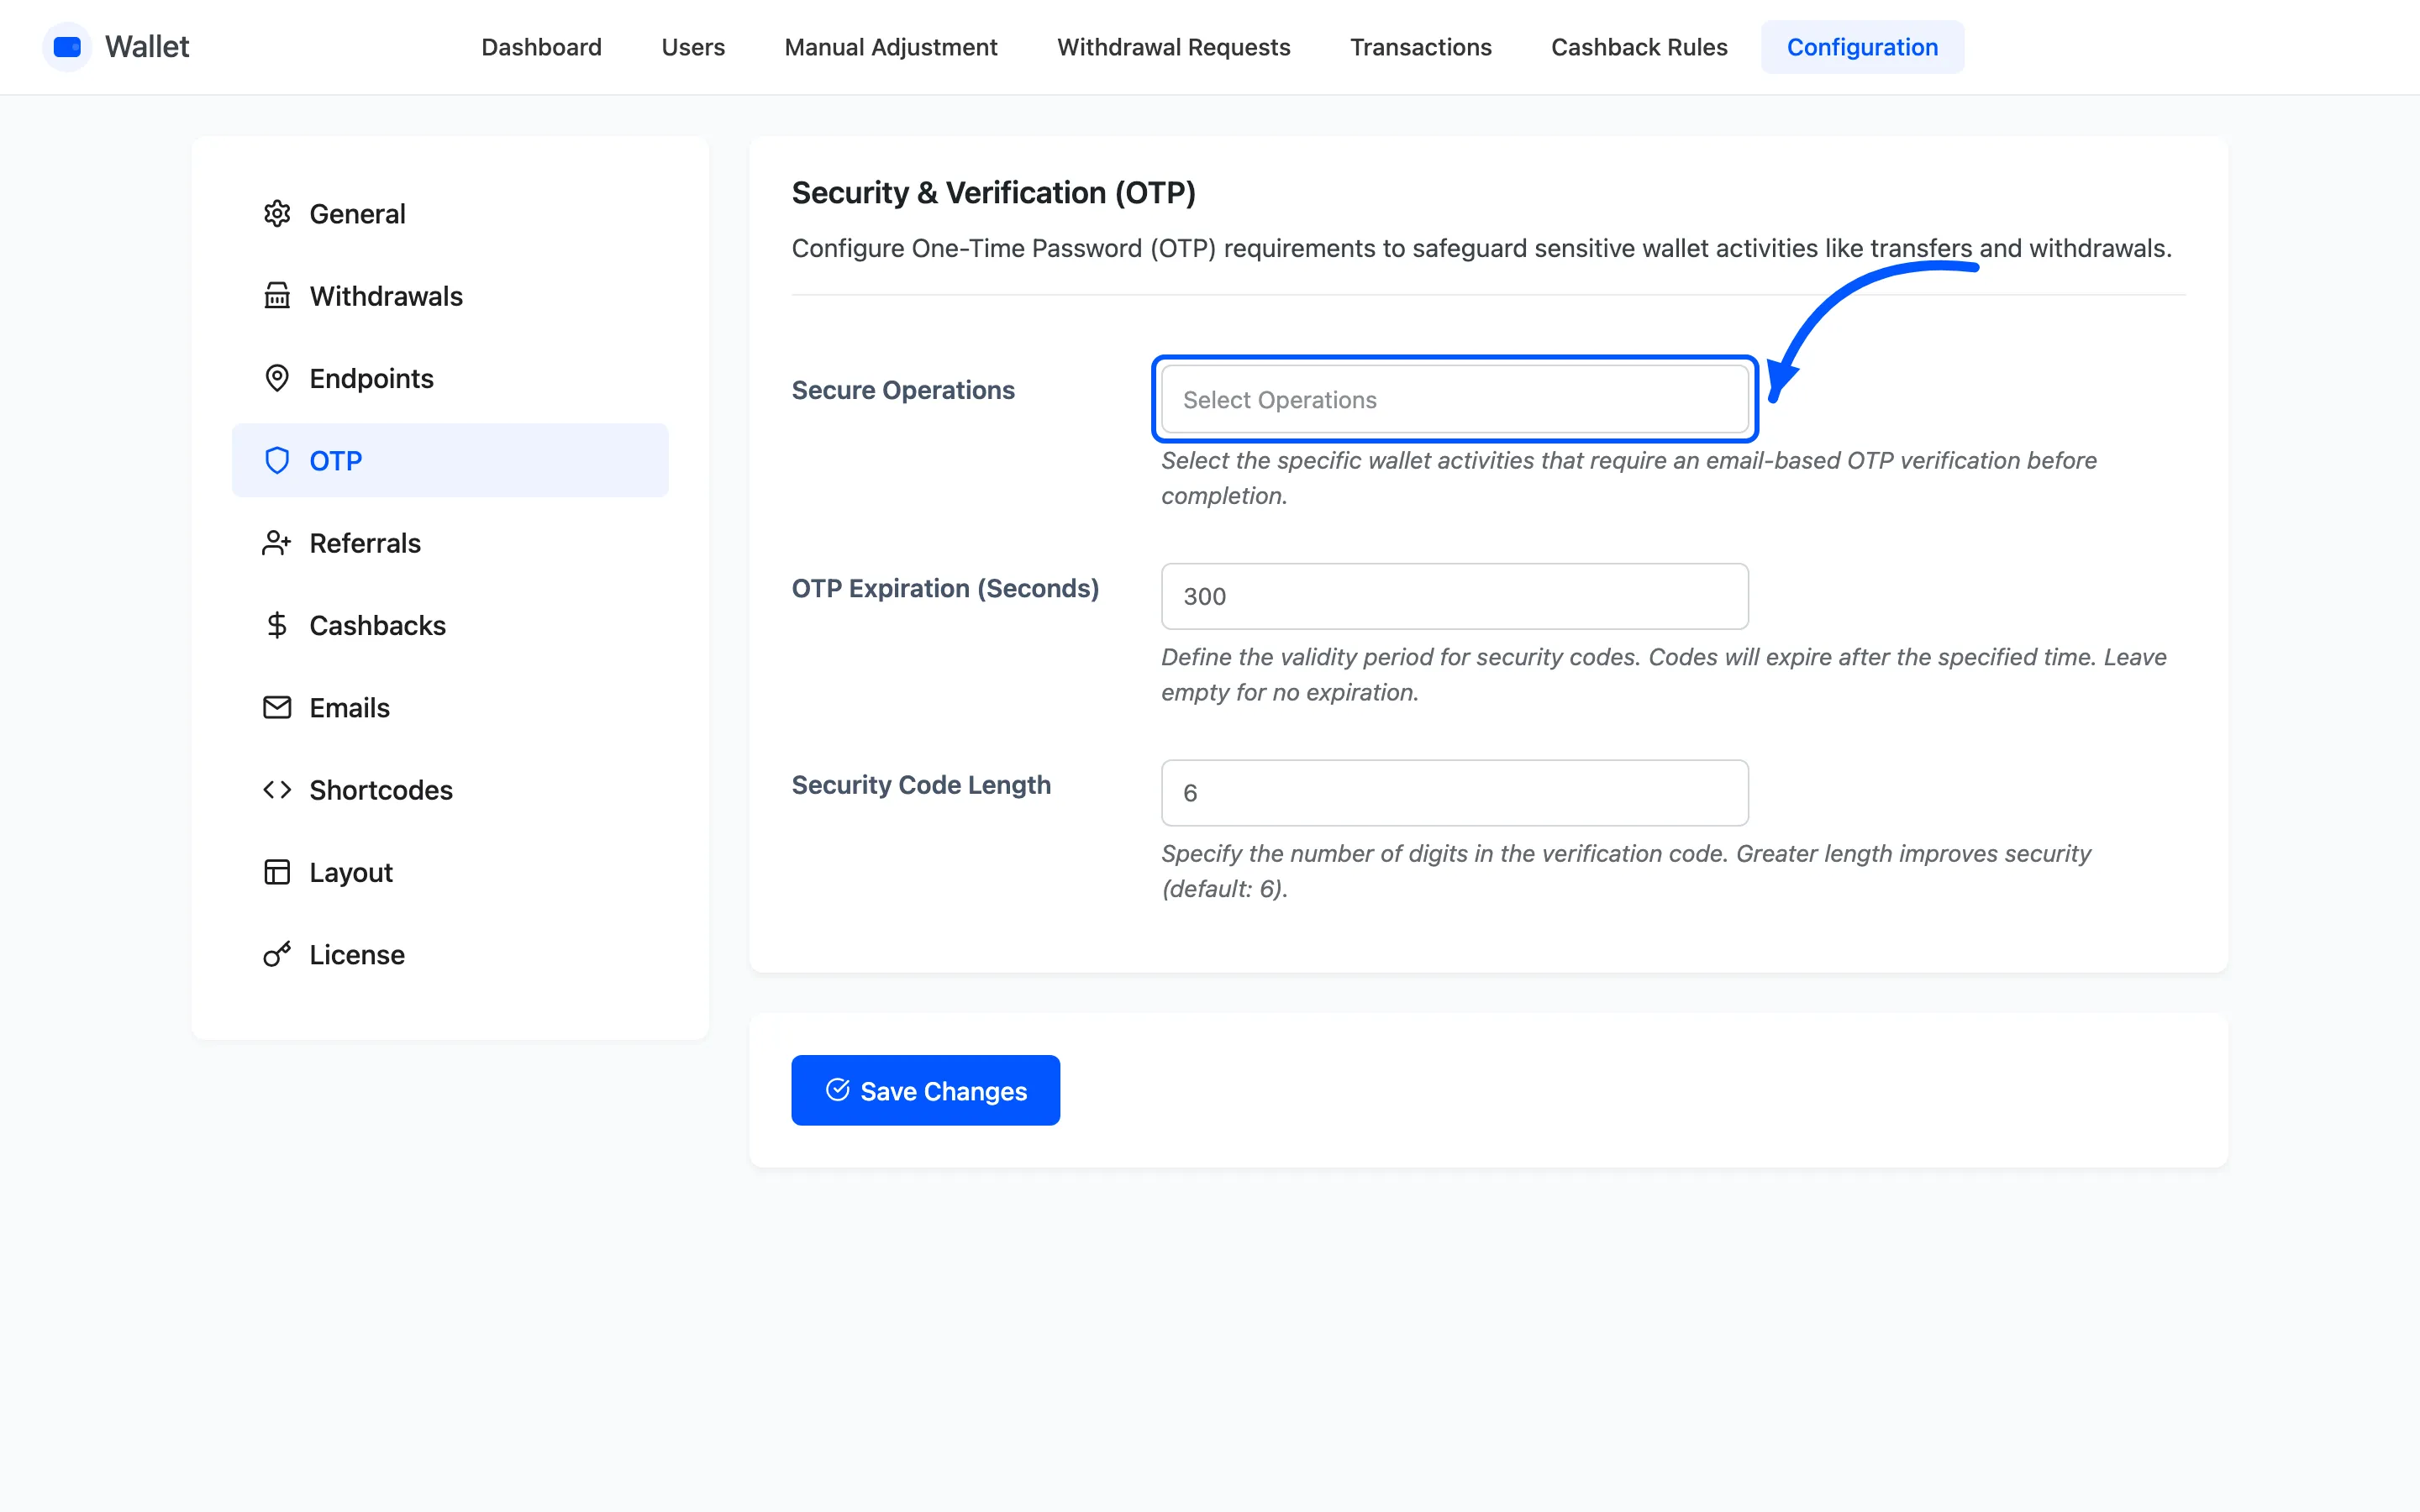
Three operations can be guarded, in any combination.
- Send Money moves balance to another customer.
- Request Money asks another customer for balance.
- Withdrawals takes money out of your store.
Start with Withdrawals. It is the only one of the three where money leaves the business rather than moving between two of your own customers. If a hijacked account drains a balance into another account on your store, you can reverse it with a manual adjustment. Once you have paid a withdrawal out, you cannot.
Request Money is the weakest case. A request moves nothing on its own, and the person who pays it has to press Pay themselves.
Step 3: Set how long a code lasts
Section titled “Step 3: Set how long a code lasts”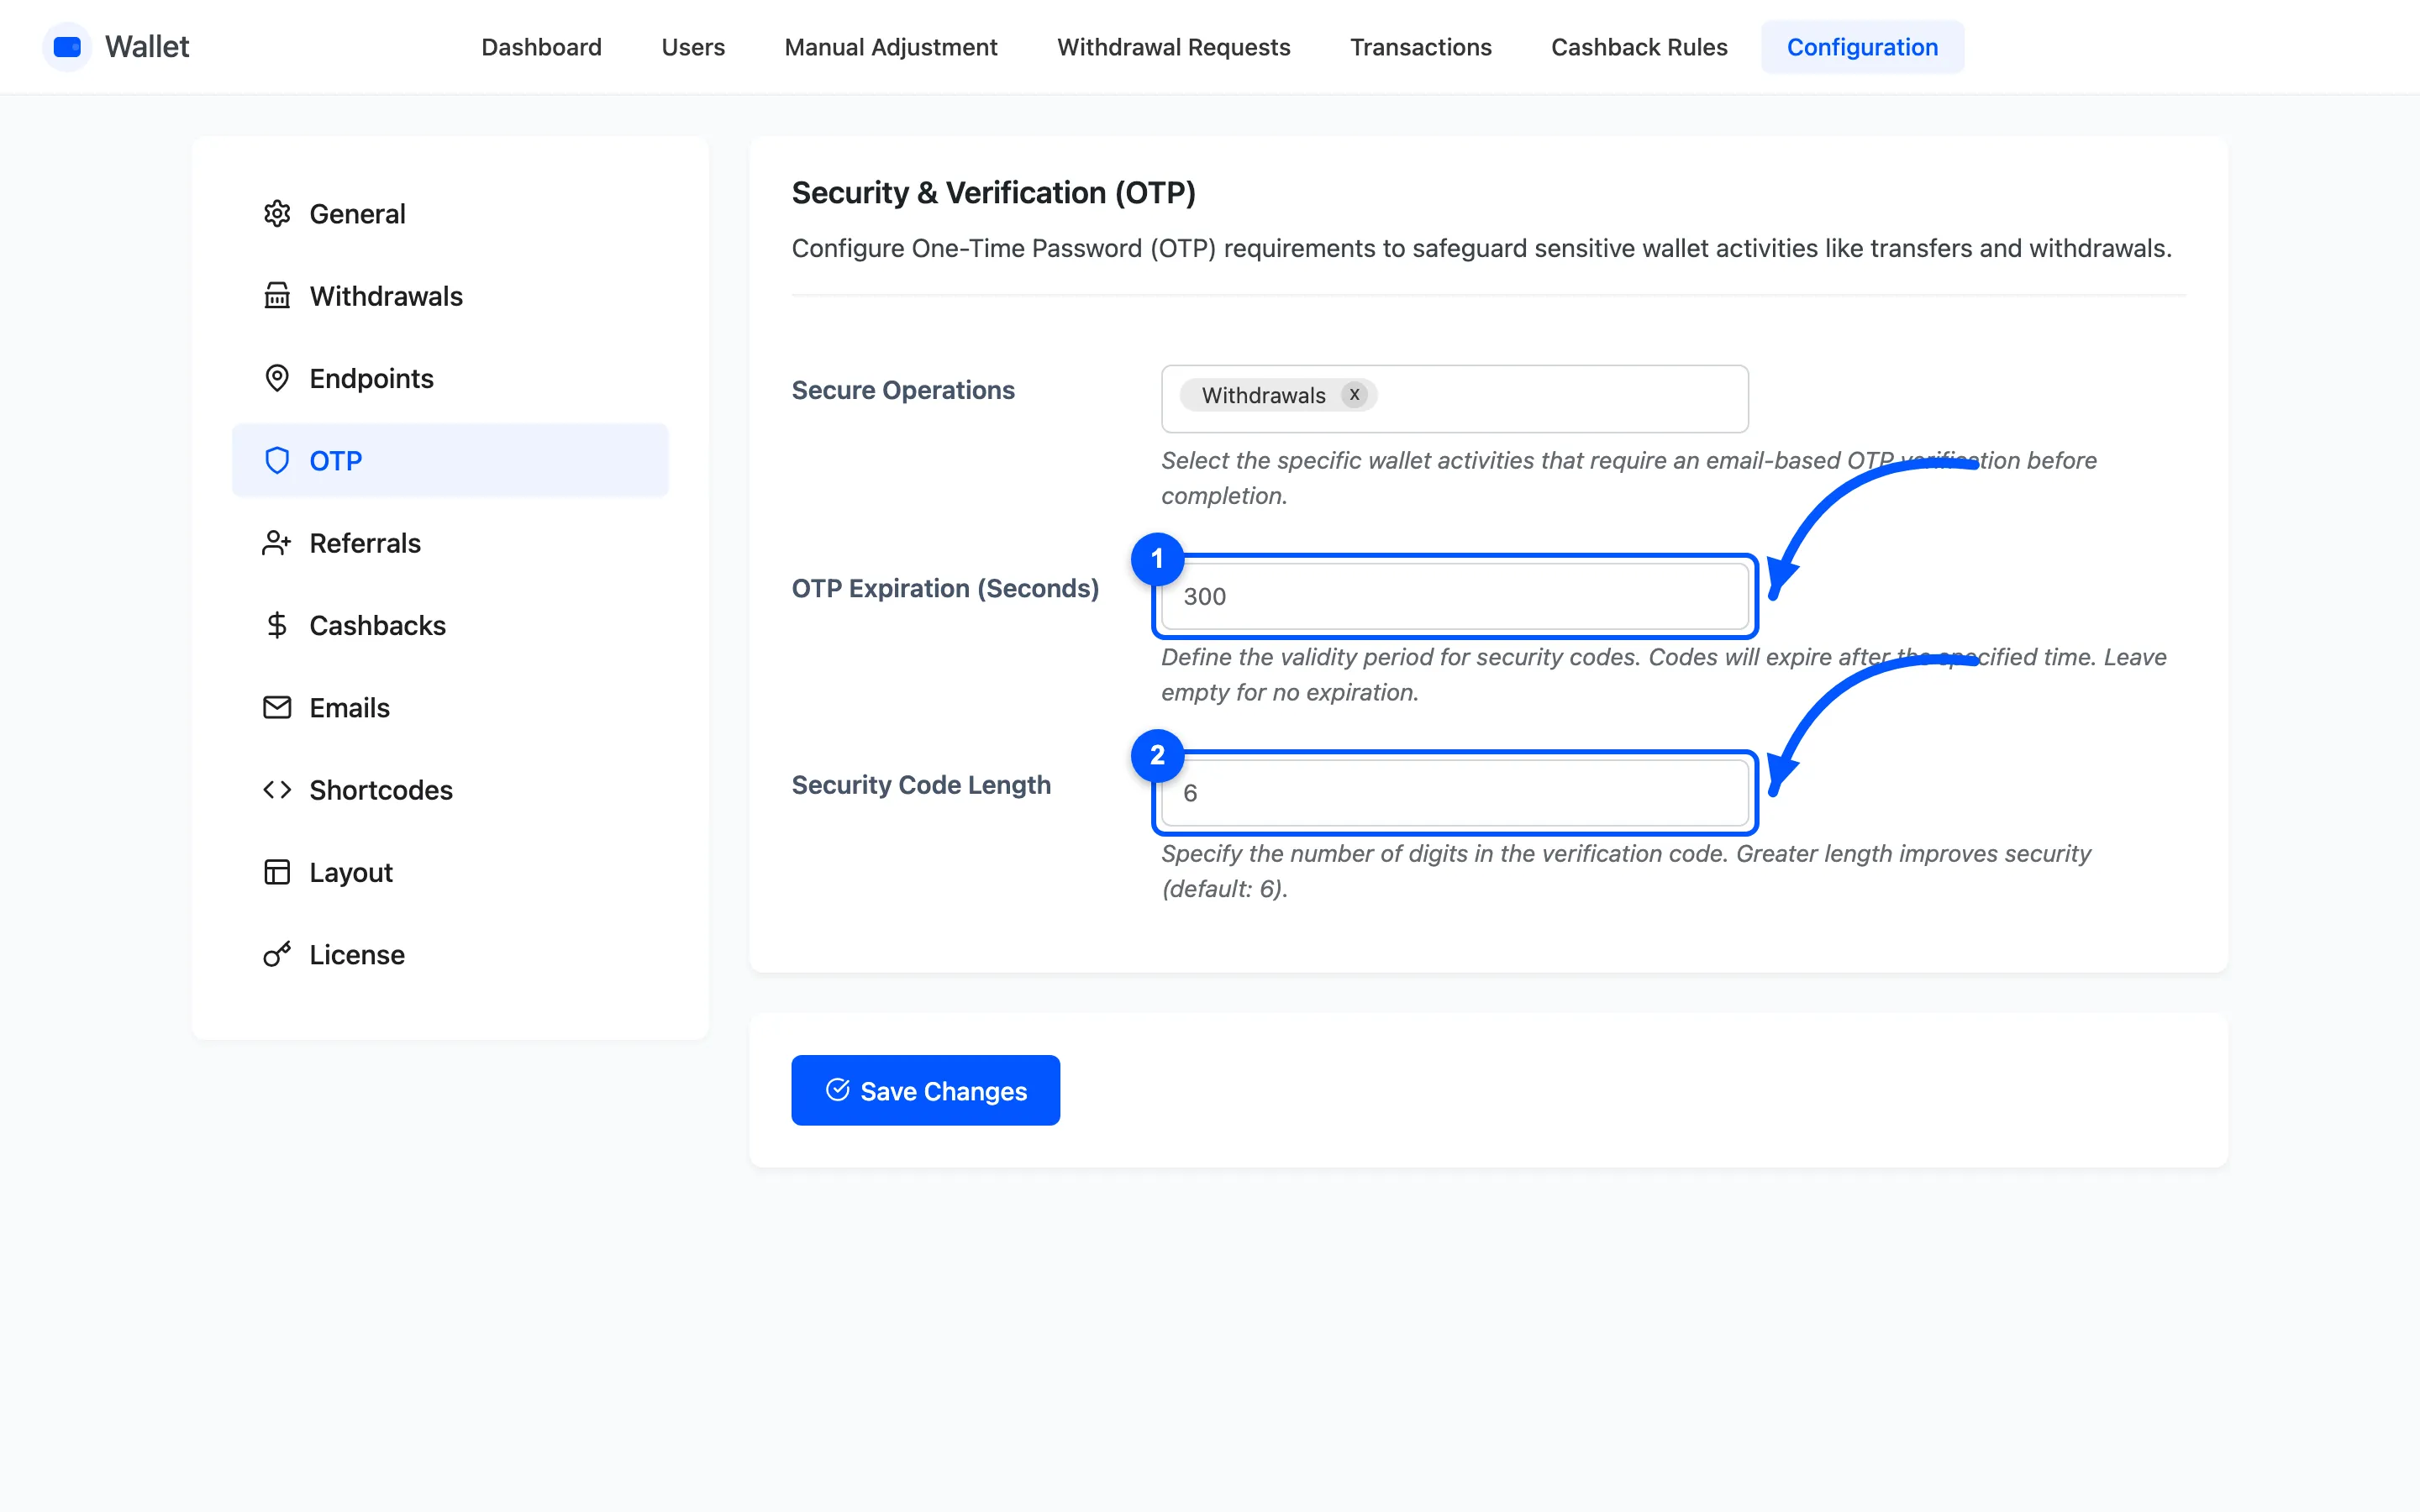
OTP Expiration (Seconds) is how long the code stays valid. Leave it empty and the code never expires, which throws away most of what OTP buys you.
Five minutes is the number to use. It is long enough for someone to switch to their inbox and back, and short enough that a code sitting in an old email is useless.
Step 4: Set the code length
Section titled “Step 4: Set the code length”Security Code Length is how many digits, default 6.
Six is what people expect and what they can hold in their head between two tabs. Longer is safer and more annoying, and the annoyance is what makes customers give up halfway through a transfer.
Step 5: Save and test it as a customer
Section titled “Step 5: Save and test it as a customer”Press Save Changes, then open the wallet page as a customer and start one of the operations you guarded.
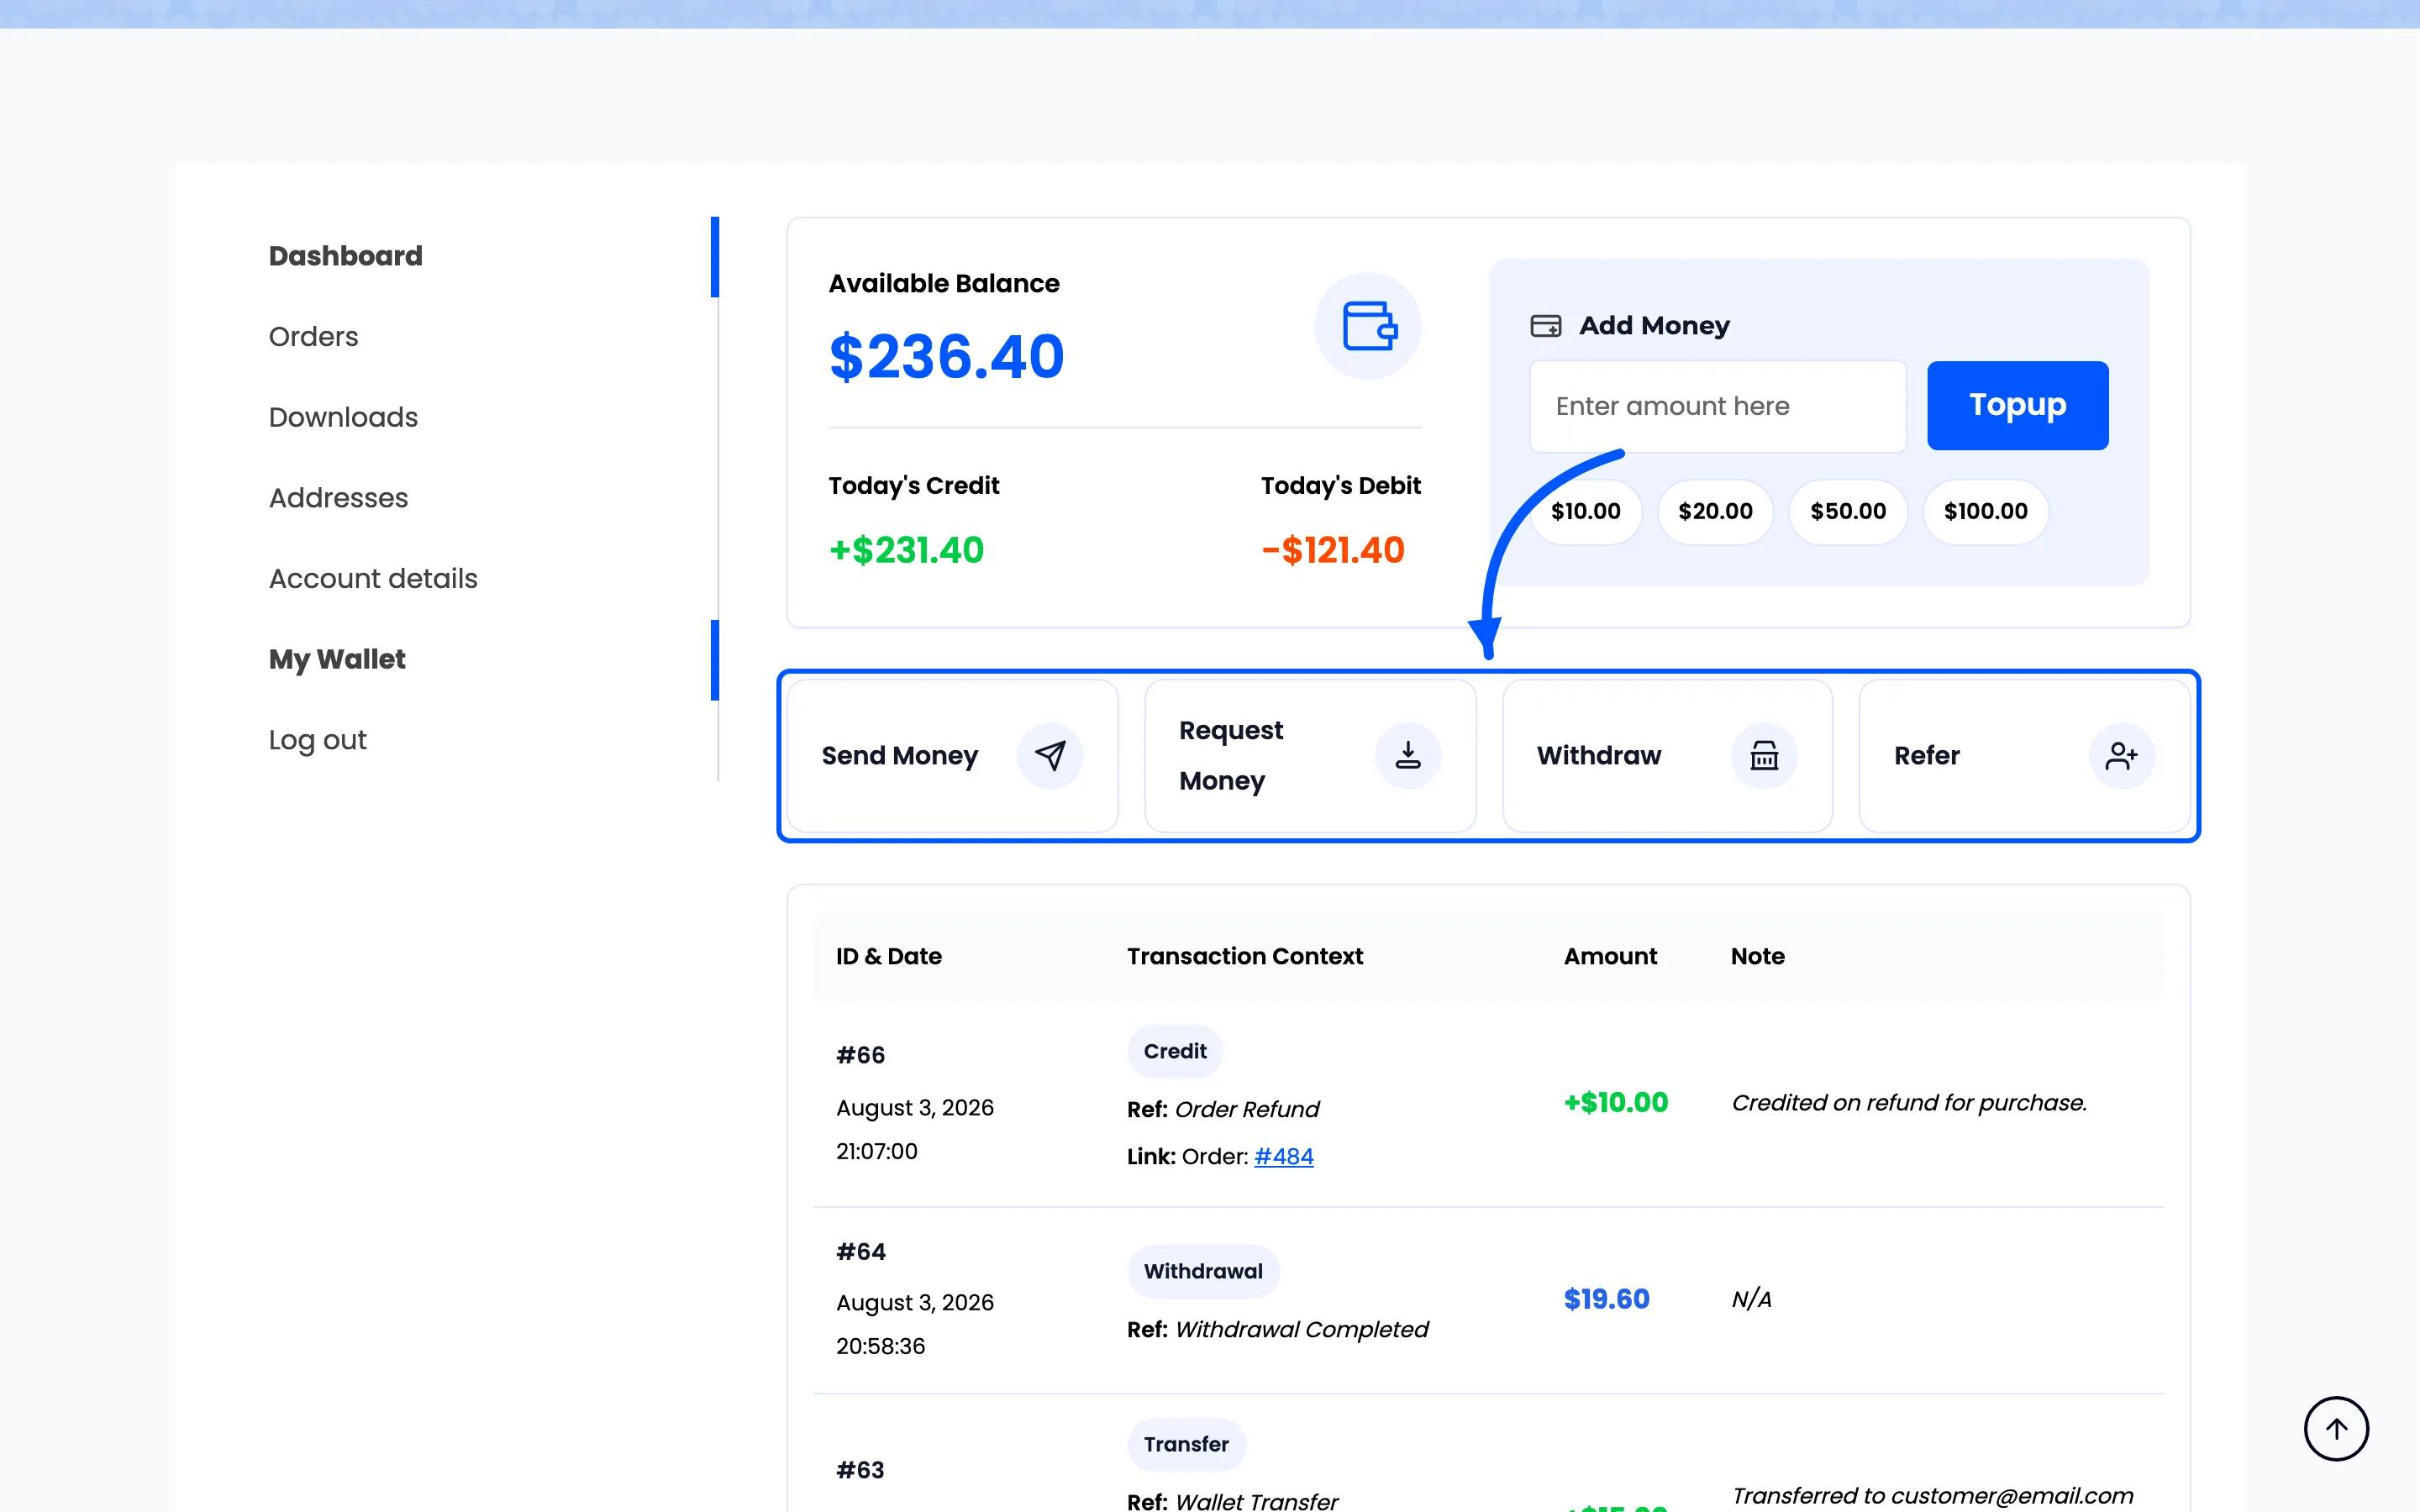
Fill the form in and submit it as usual. Instead of completing, the popup swaps to a Verify OTP panel: a line saying the code has been sent and how long it lasts, one field for the code, and a Verify & Proceed button.
Entering the code completes the operation. Closing the popup abandons it, and nothing has moved.
The email is Security OTP Verification under Configuration → Emails.
Send a test email before you switch it on
Section titled “Send a test email before you switch it on”OTP is only as reliable as your store’s email. A store whose transactional mail lands in spam puts every guarded transfer behind a code nobody receives, and the customer cannot tell the difference between that and a broken wallet.
Send yourself a real test through whatever sends your WooCommerce mail, then run one guarded operation end to end on your own account, before you turn OTP on for anyone else.