

How to Import Wallet Balances
The route for a migration from another system, or for giving a few hundred people a different amount each. It is free, unlike the export half.
Step 1: Open the import wizard
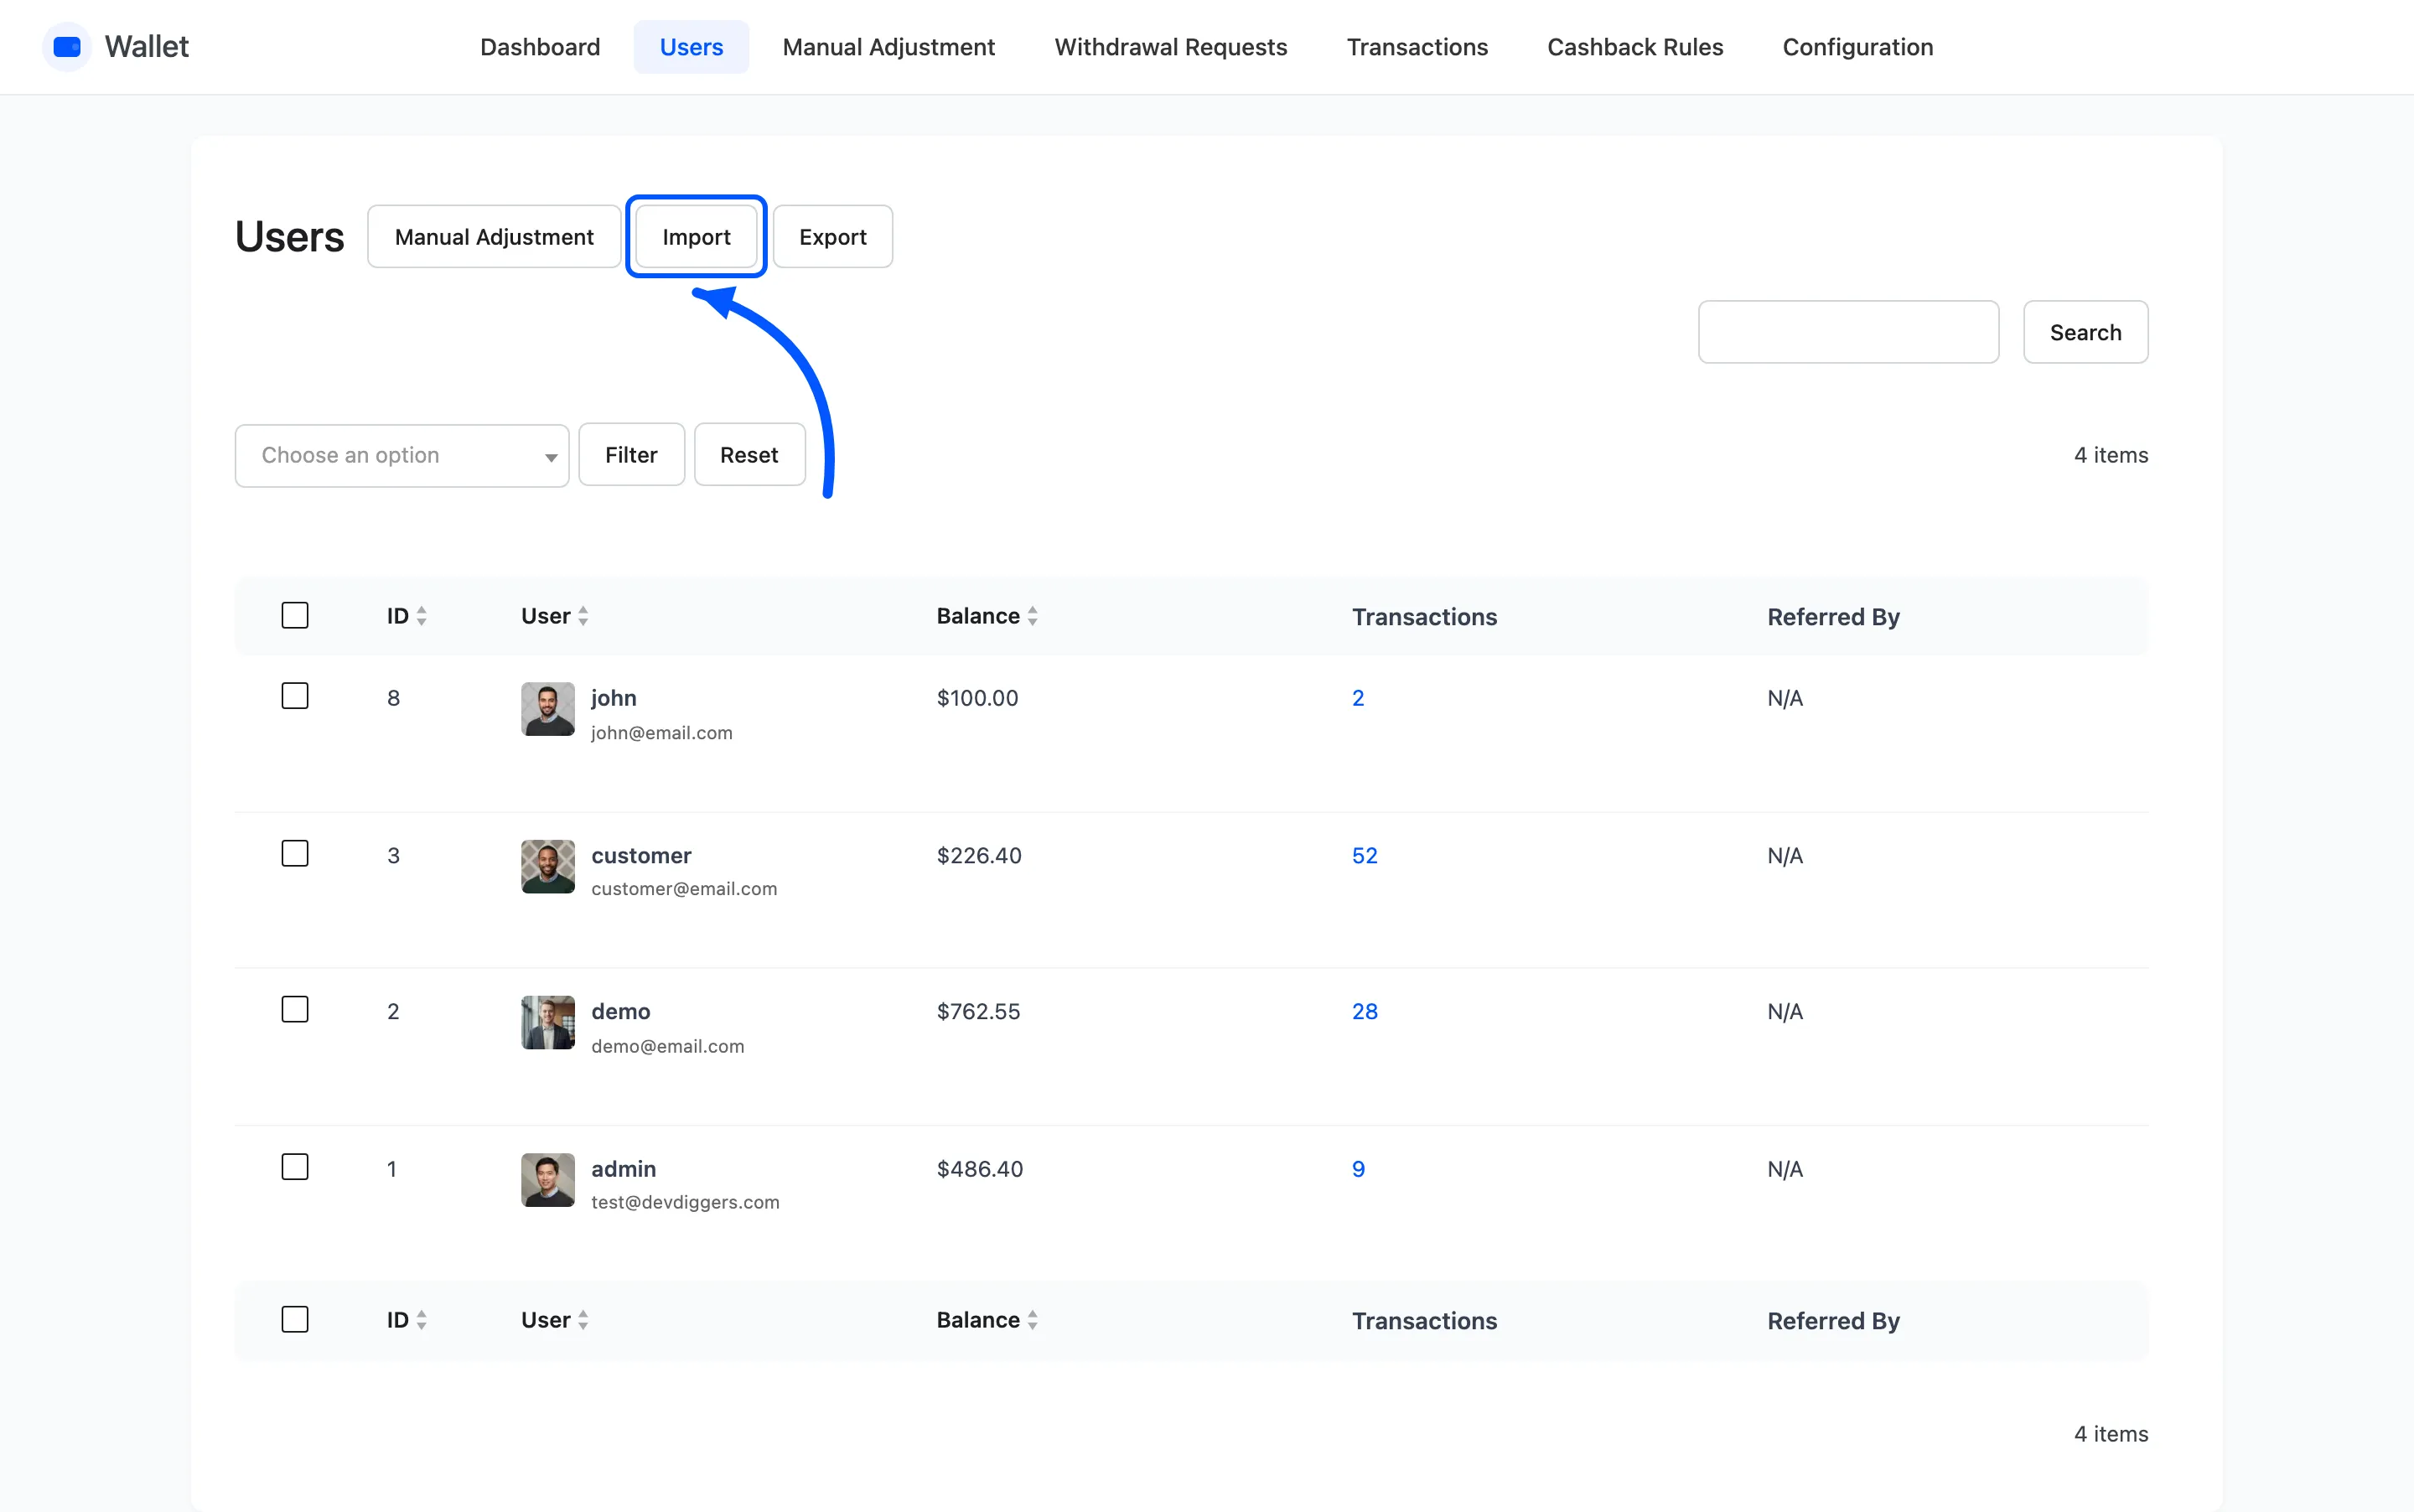
Section titled “Step 1: Open the import wizard”On DevDiggers Plugins → Wallet → Users, press Import.
Step 2: Start from the sample CSV
Section titled “Step 2: Start from the sample CSV”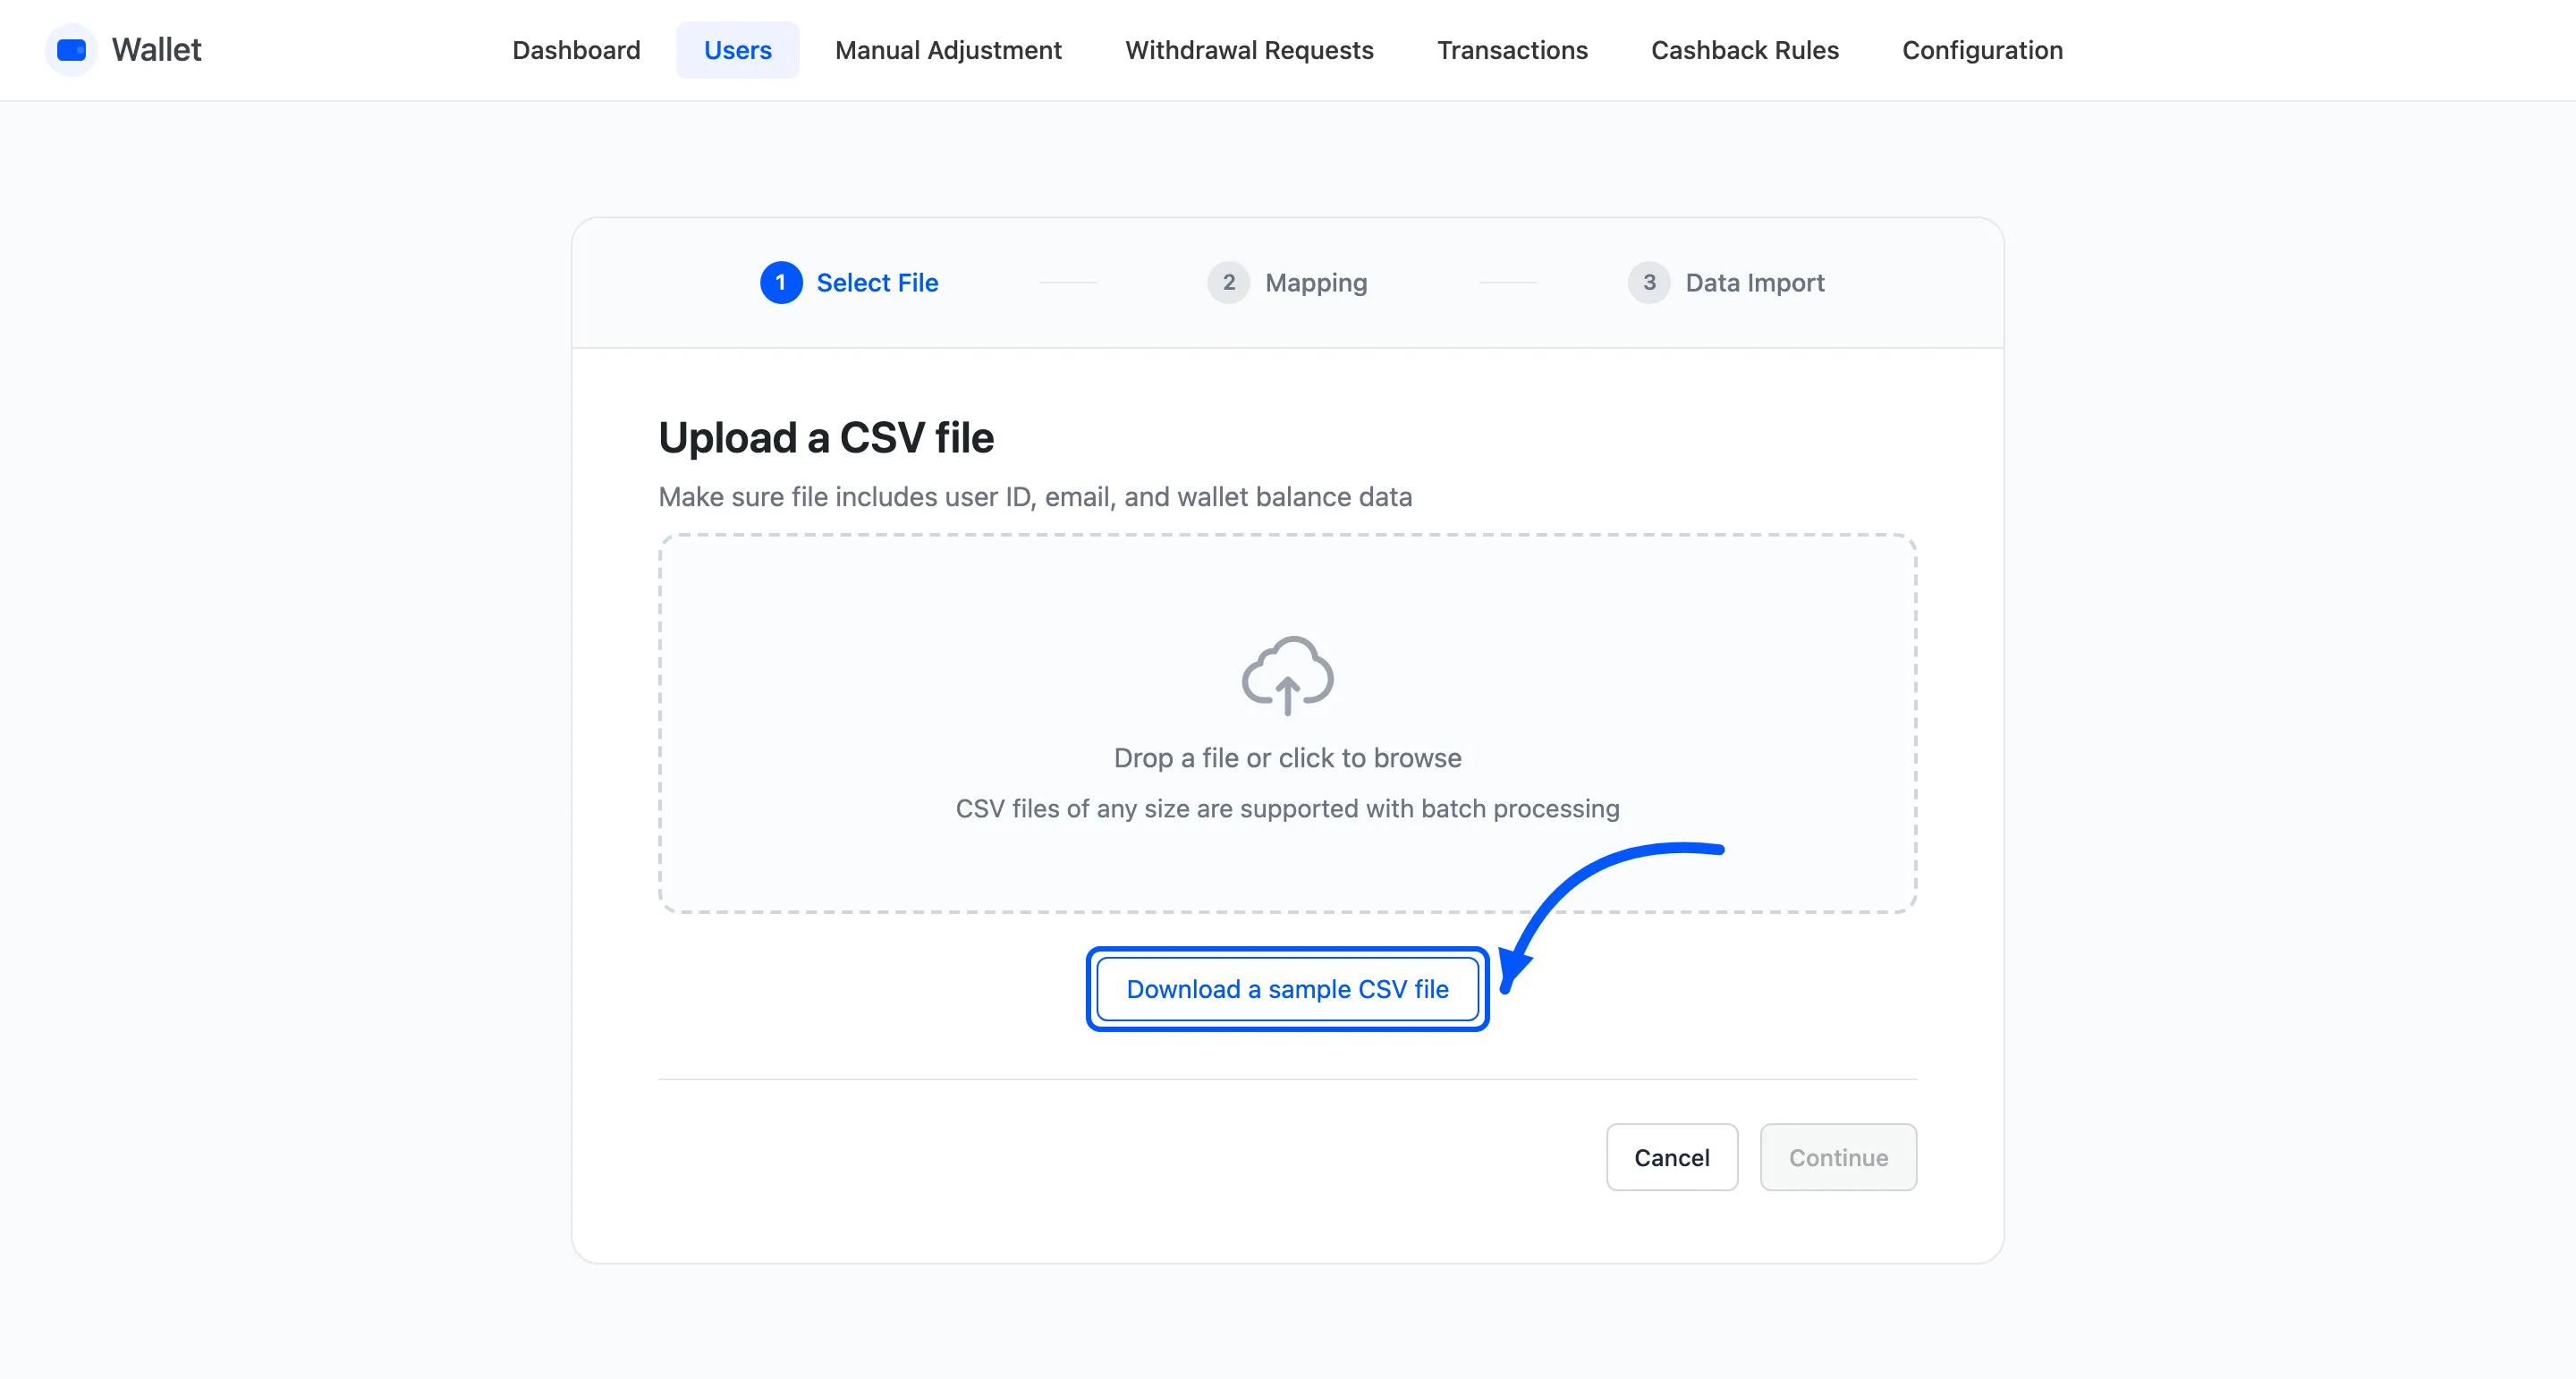
Download a sample CSV file gives you a file in the right shape. Start from it. The mapping step is more forgiving than the file format, and a sample saves an argument about quoting and encoding.
Step 3: Upload your file
Section titled “Step 3: Upload your file”Drop it on the upload area, or click it and browse.
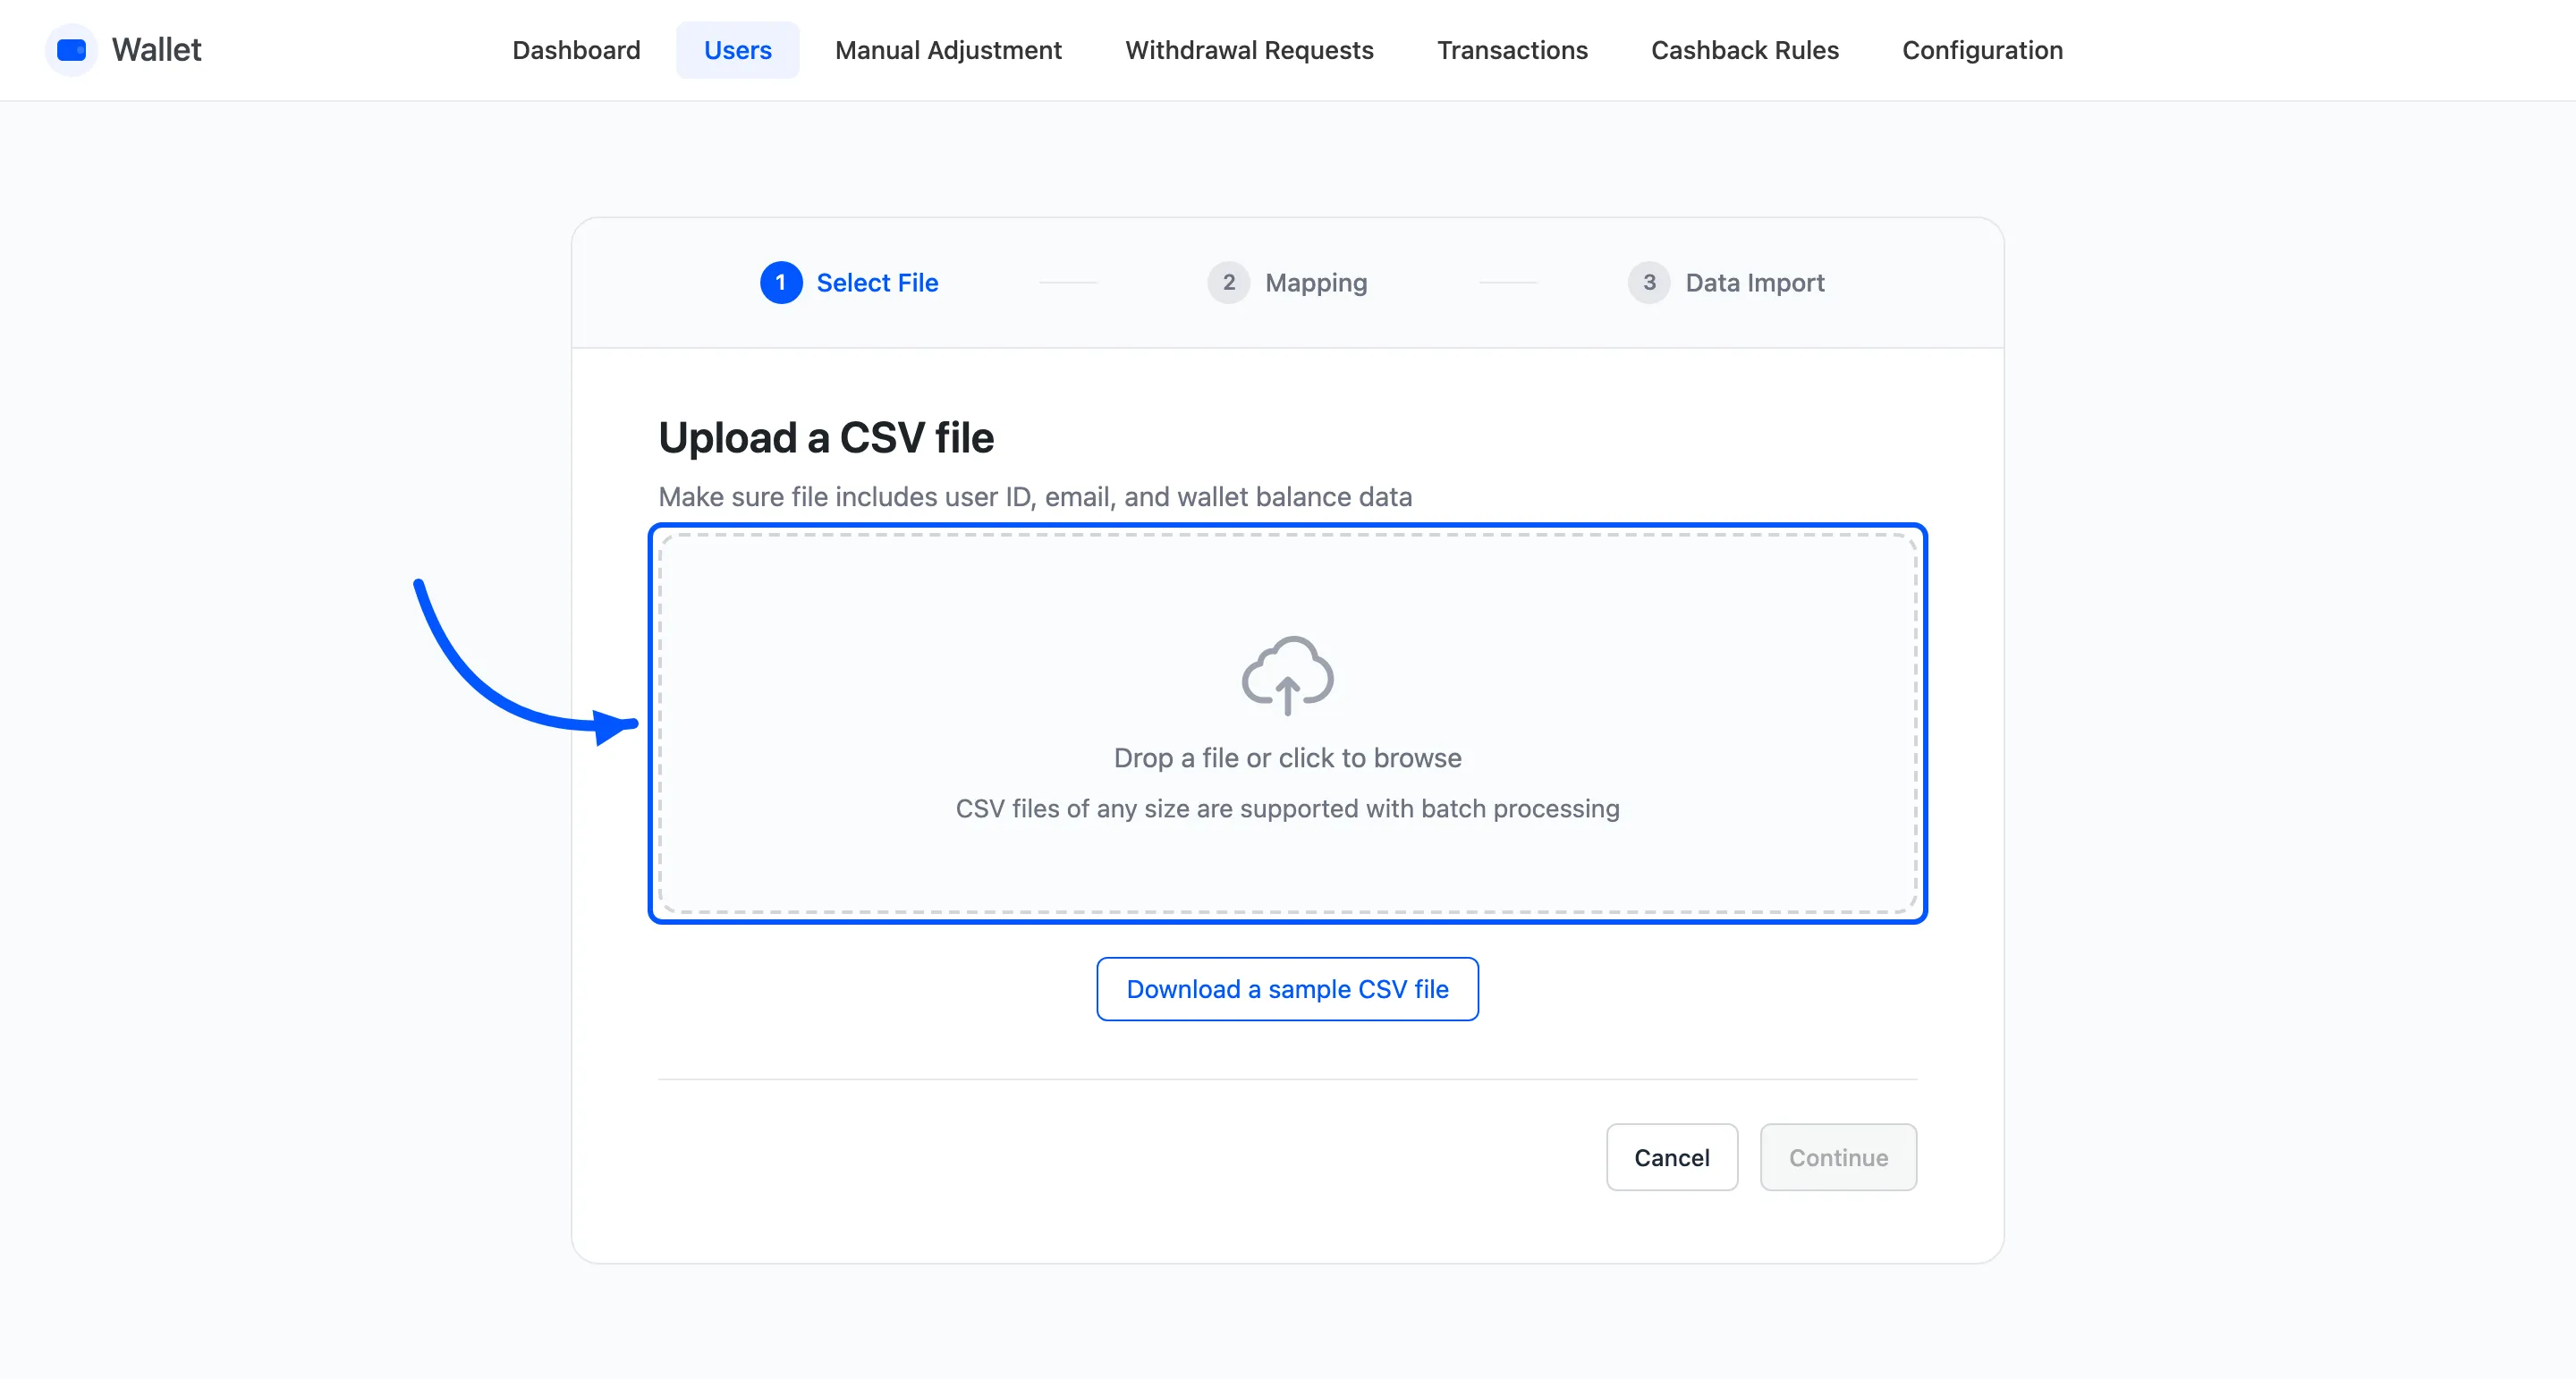
Any size works. The wizard reads it in batches, so a file of thousands of rows does not time out.
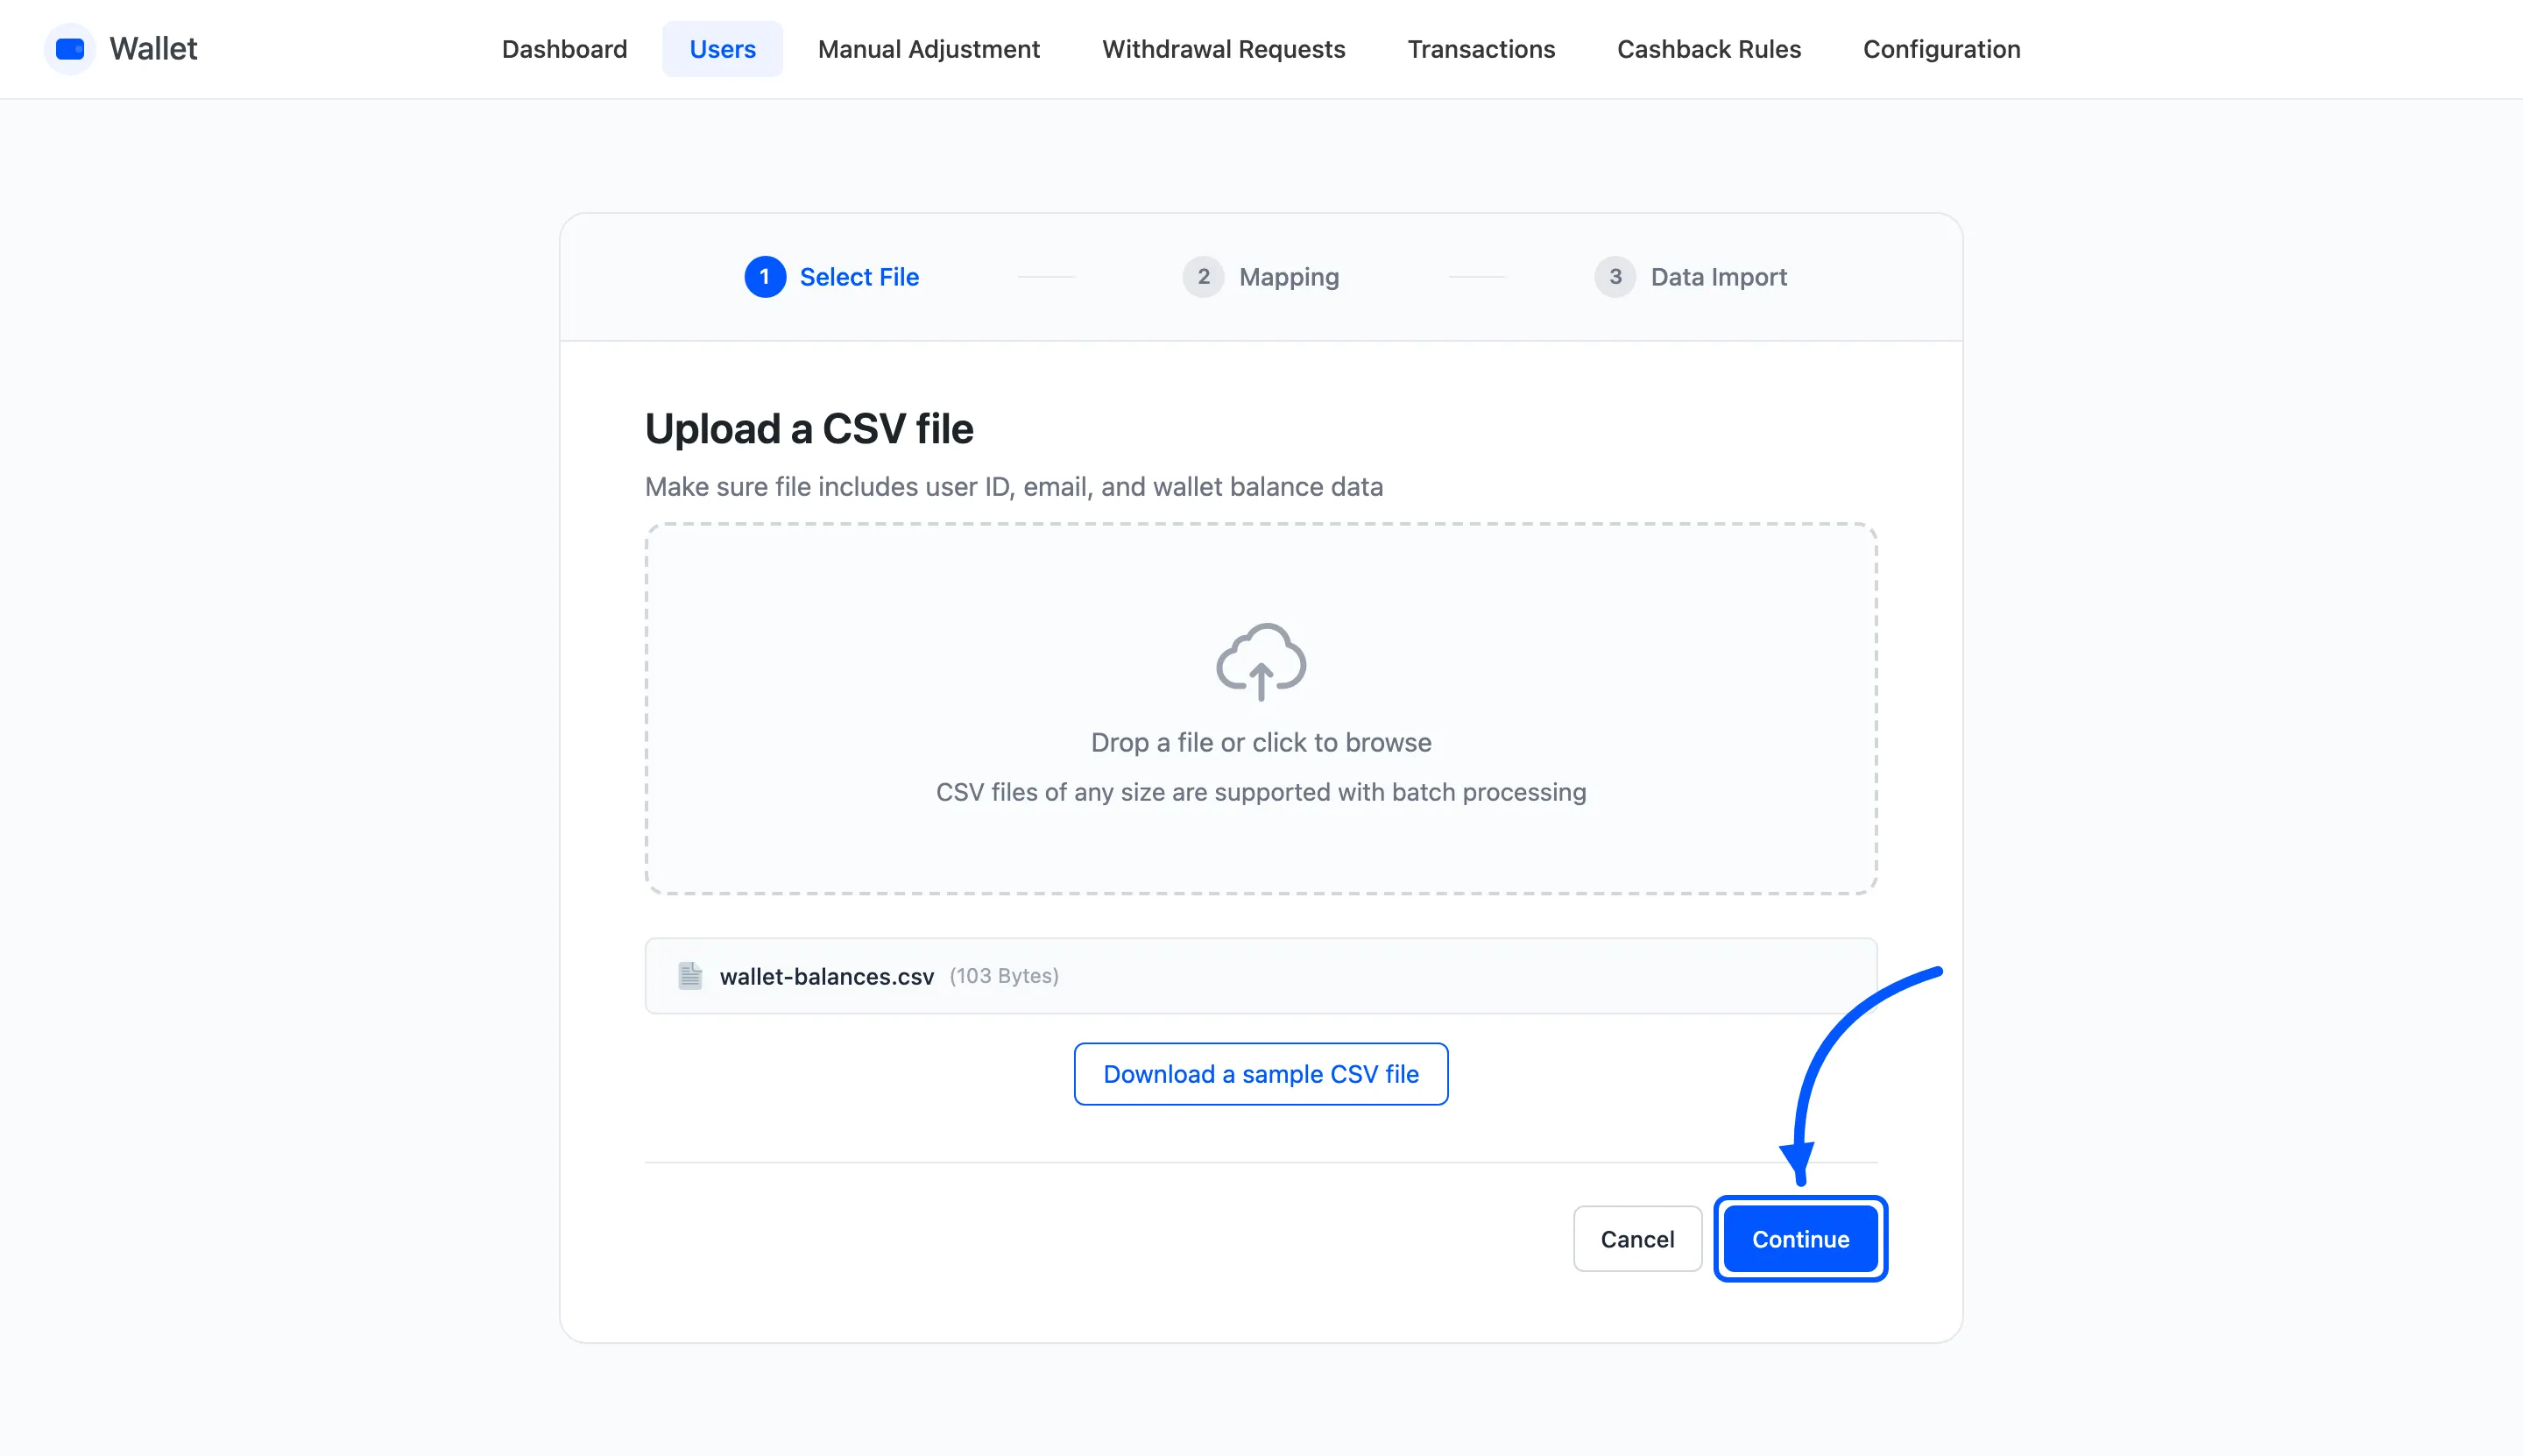
The file name and its size appear under the upload area, and Continue turns blue. It stays greyed out until a file has been read, so a live Continue button is your confirmation that the file parsed.
Step 4: Map the columns
Section titled “Step 4: Map the columns”Mapping is a three-column table: the plugin’s field, a dropdown of your CSV columns, and real sample values pulled from your own file.
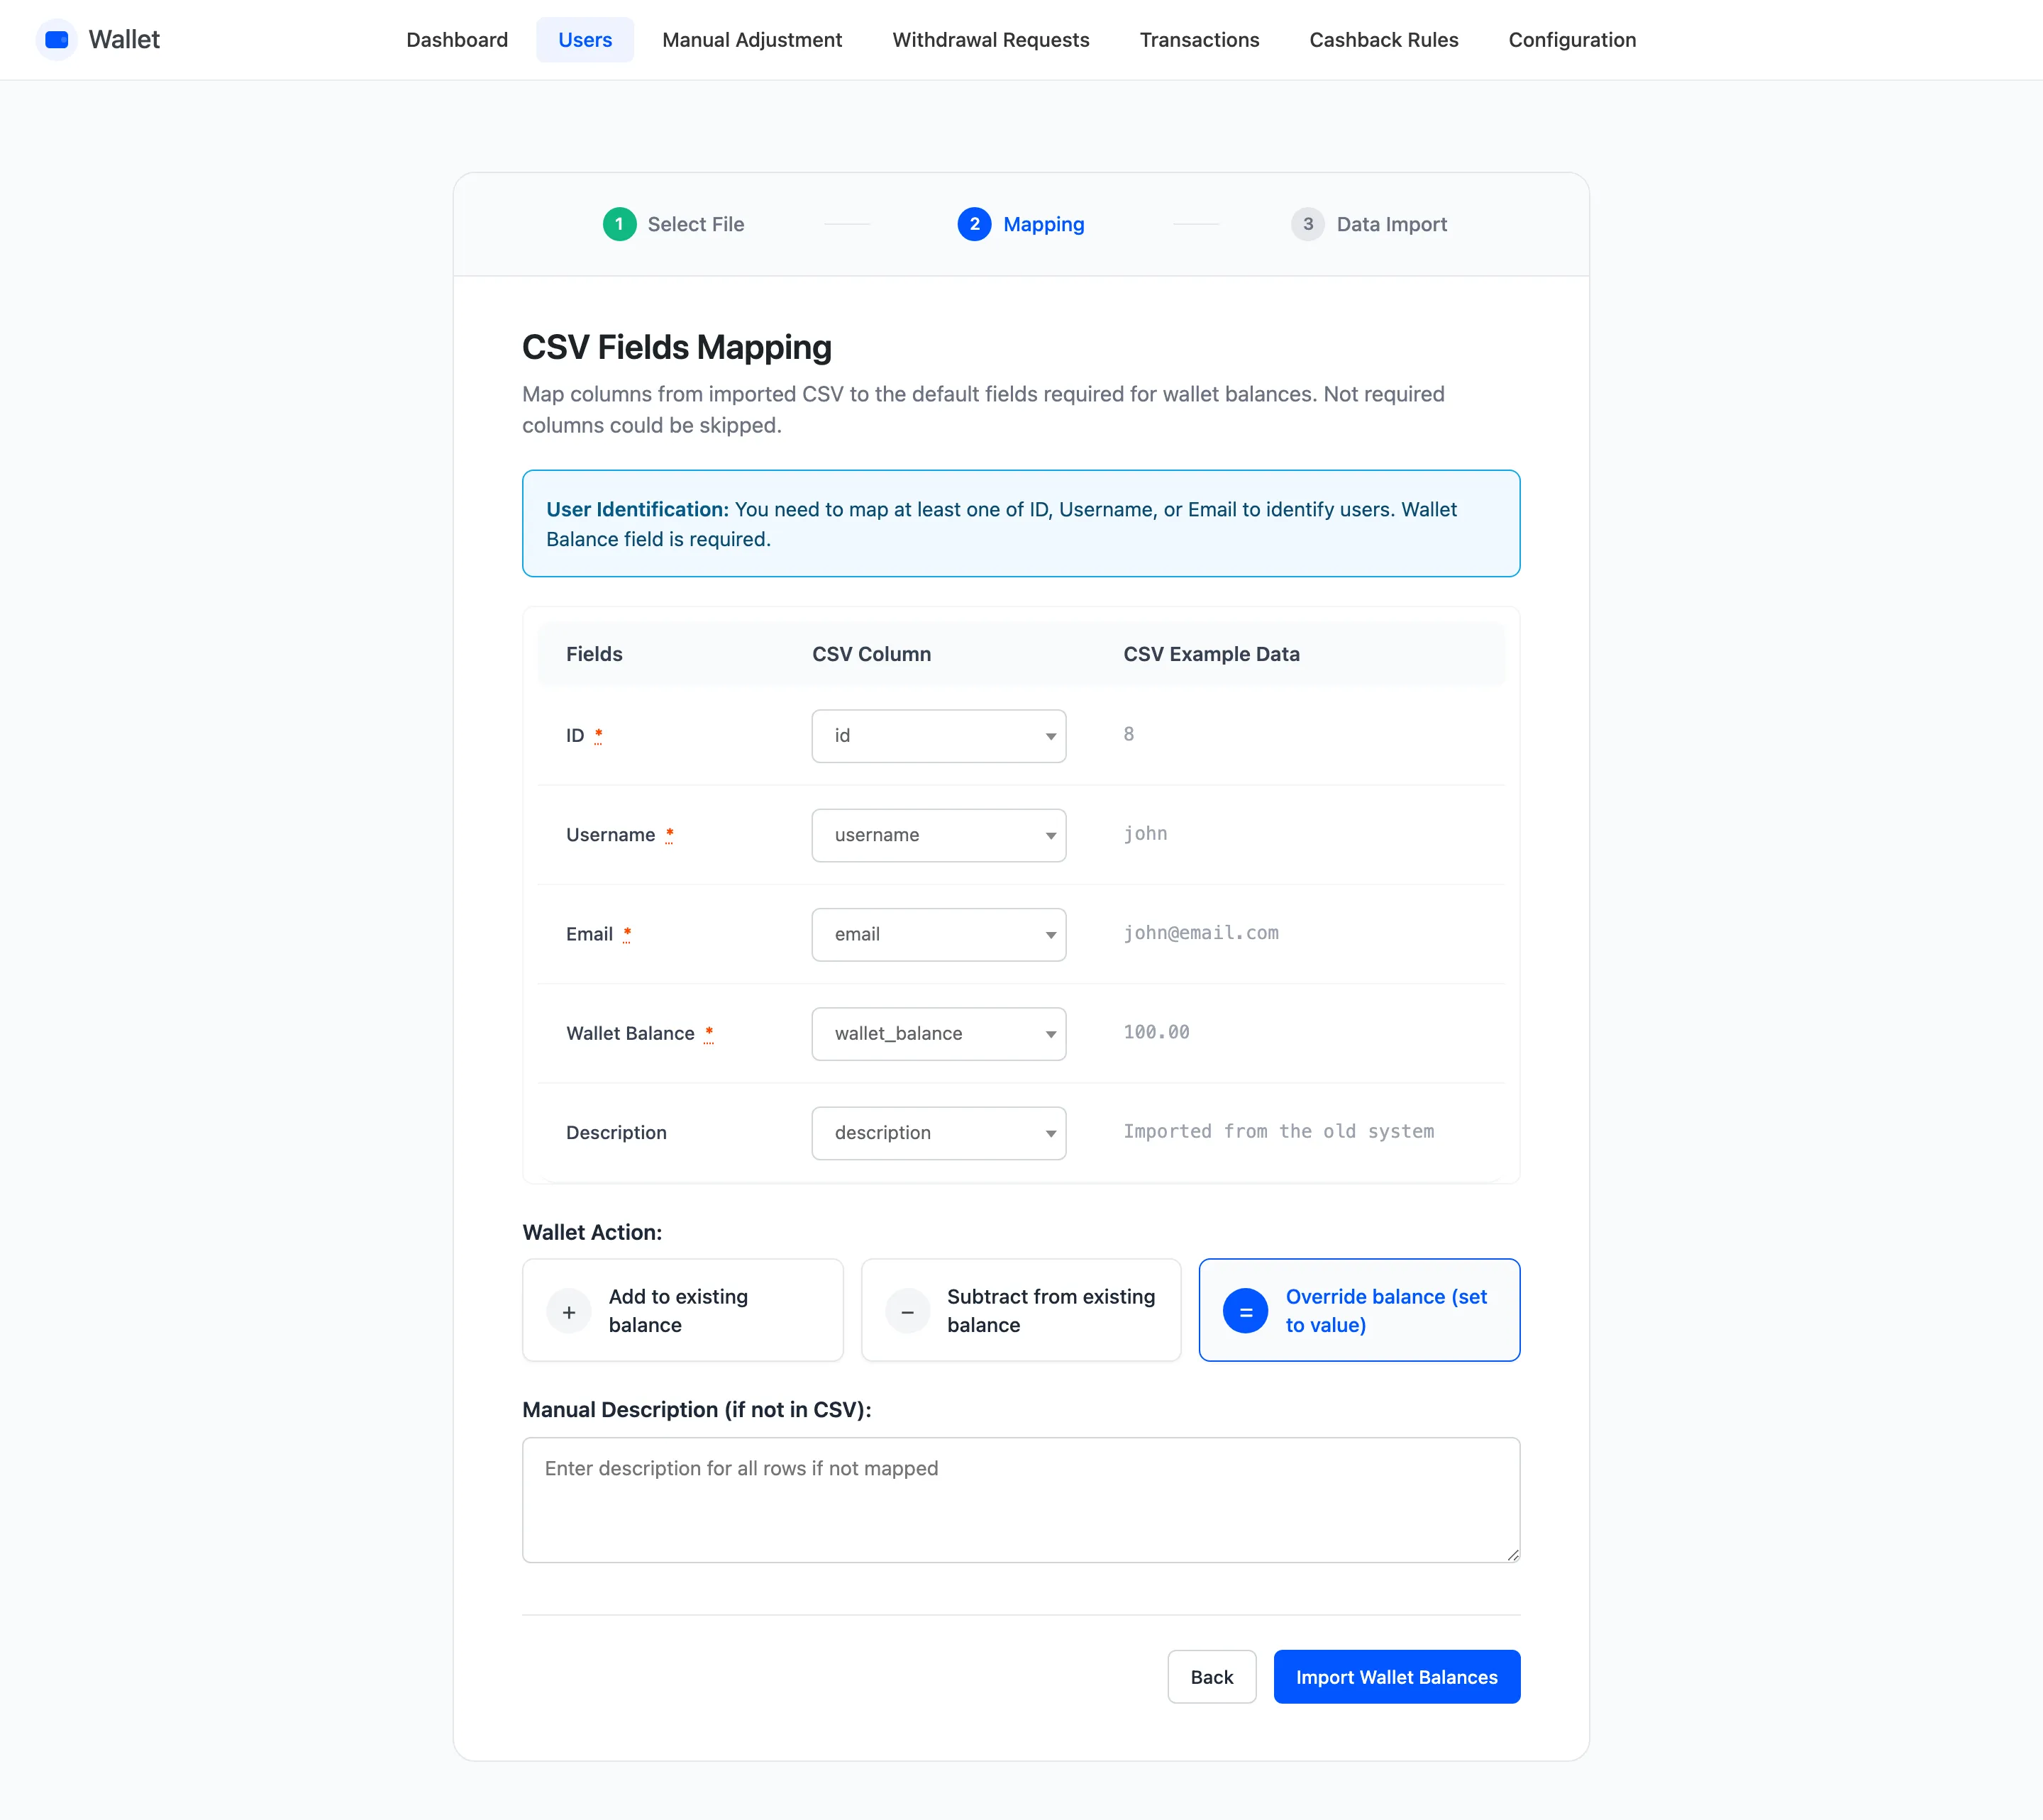
Columns whose headings already match the plugin’s field names are mapped for you. The sample column is how you check it guessed right before anything is written.
You are mapping five plugin fields onto your columns.
- ID, Username and Email identify the customer. At least one is required.
- Wallet Balance is required. It is the number the action works on.
- Description is optional, and lands as the note on the transaction row.
Anything you do not map is ignored, so a file exported from another system can go in as it is.
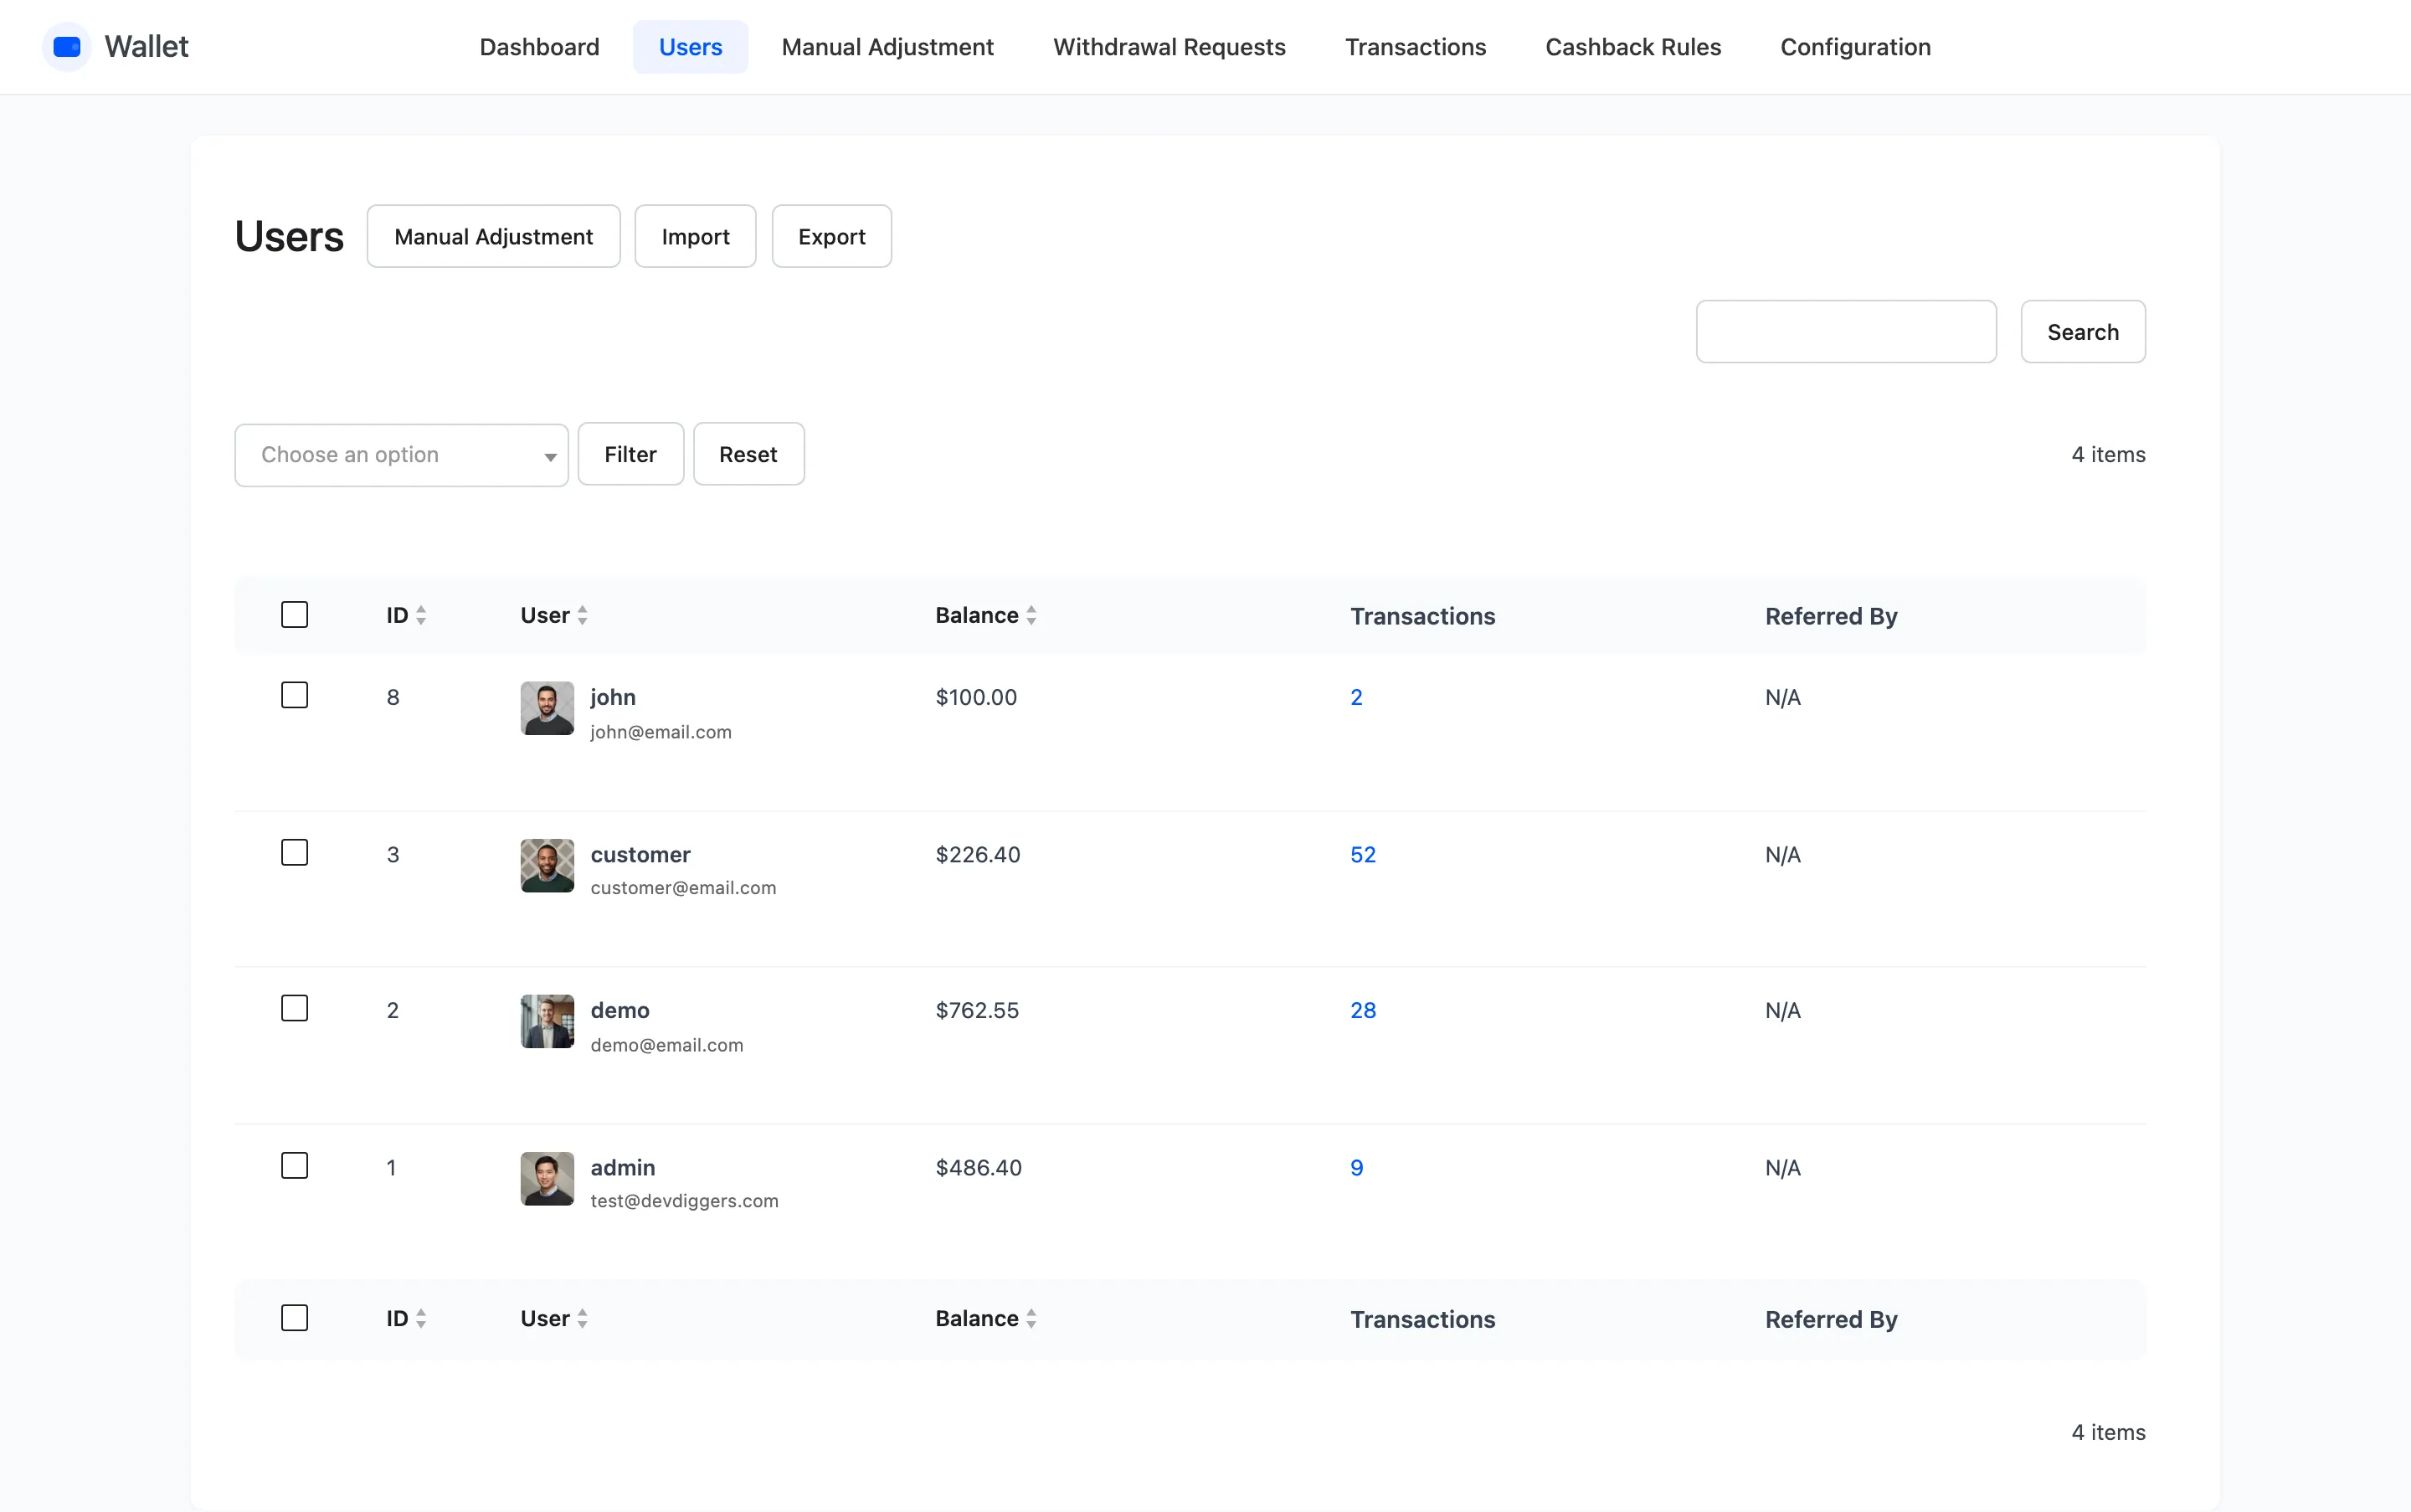
Map ID when you have it. Usernames and email addresses change, IDs do not. A mismatched email is a row that silently fails rather than one that goes to the wrong person.
The IDs to match against are the first column of the Users list.
Step 5: Choose add, subtract or override
Section titled “Step 5: Choose add, subtract or override”The action cards sit under the mapping table, on the same step. Override balance is selected for you, so check this before pressing the button rather than after.
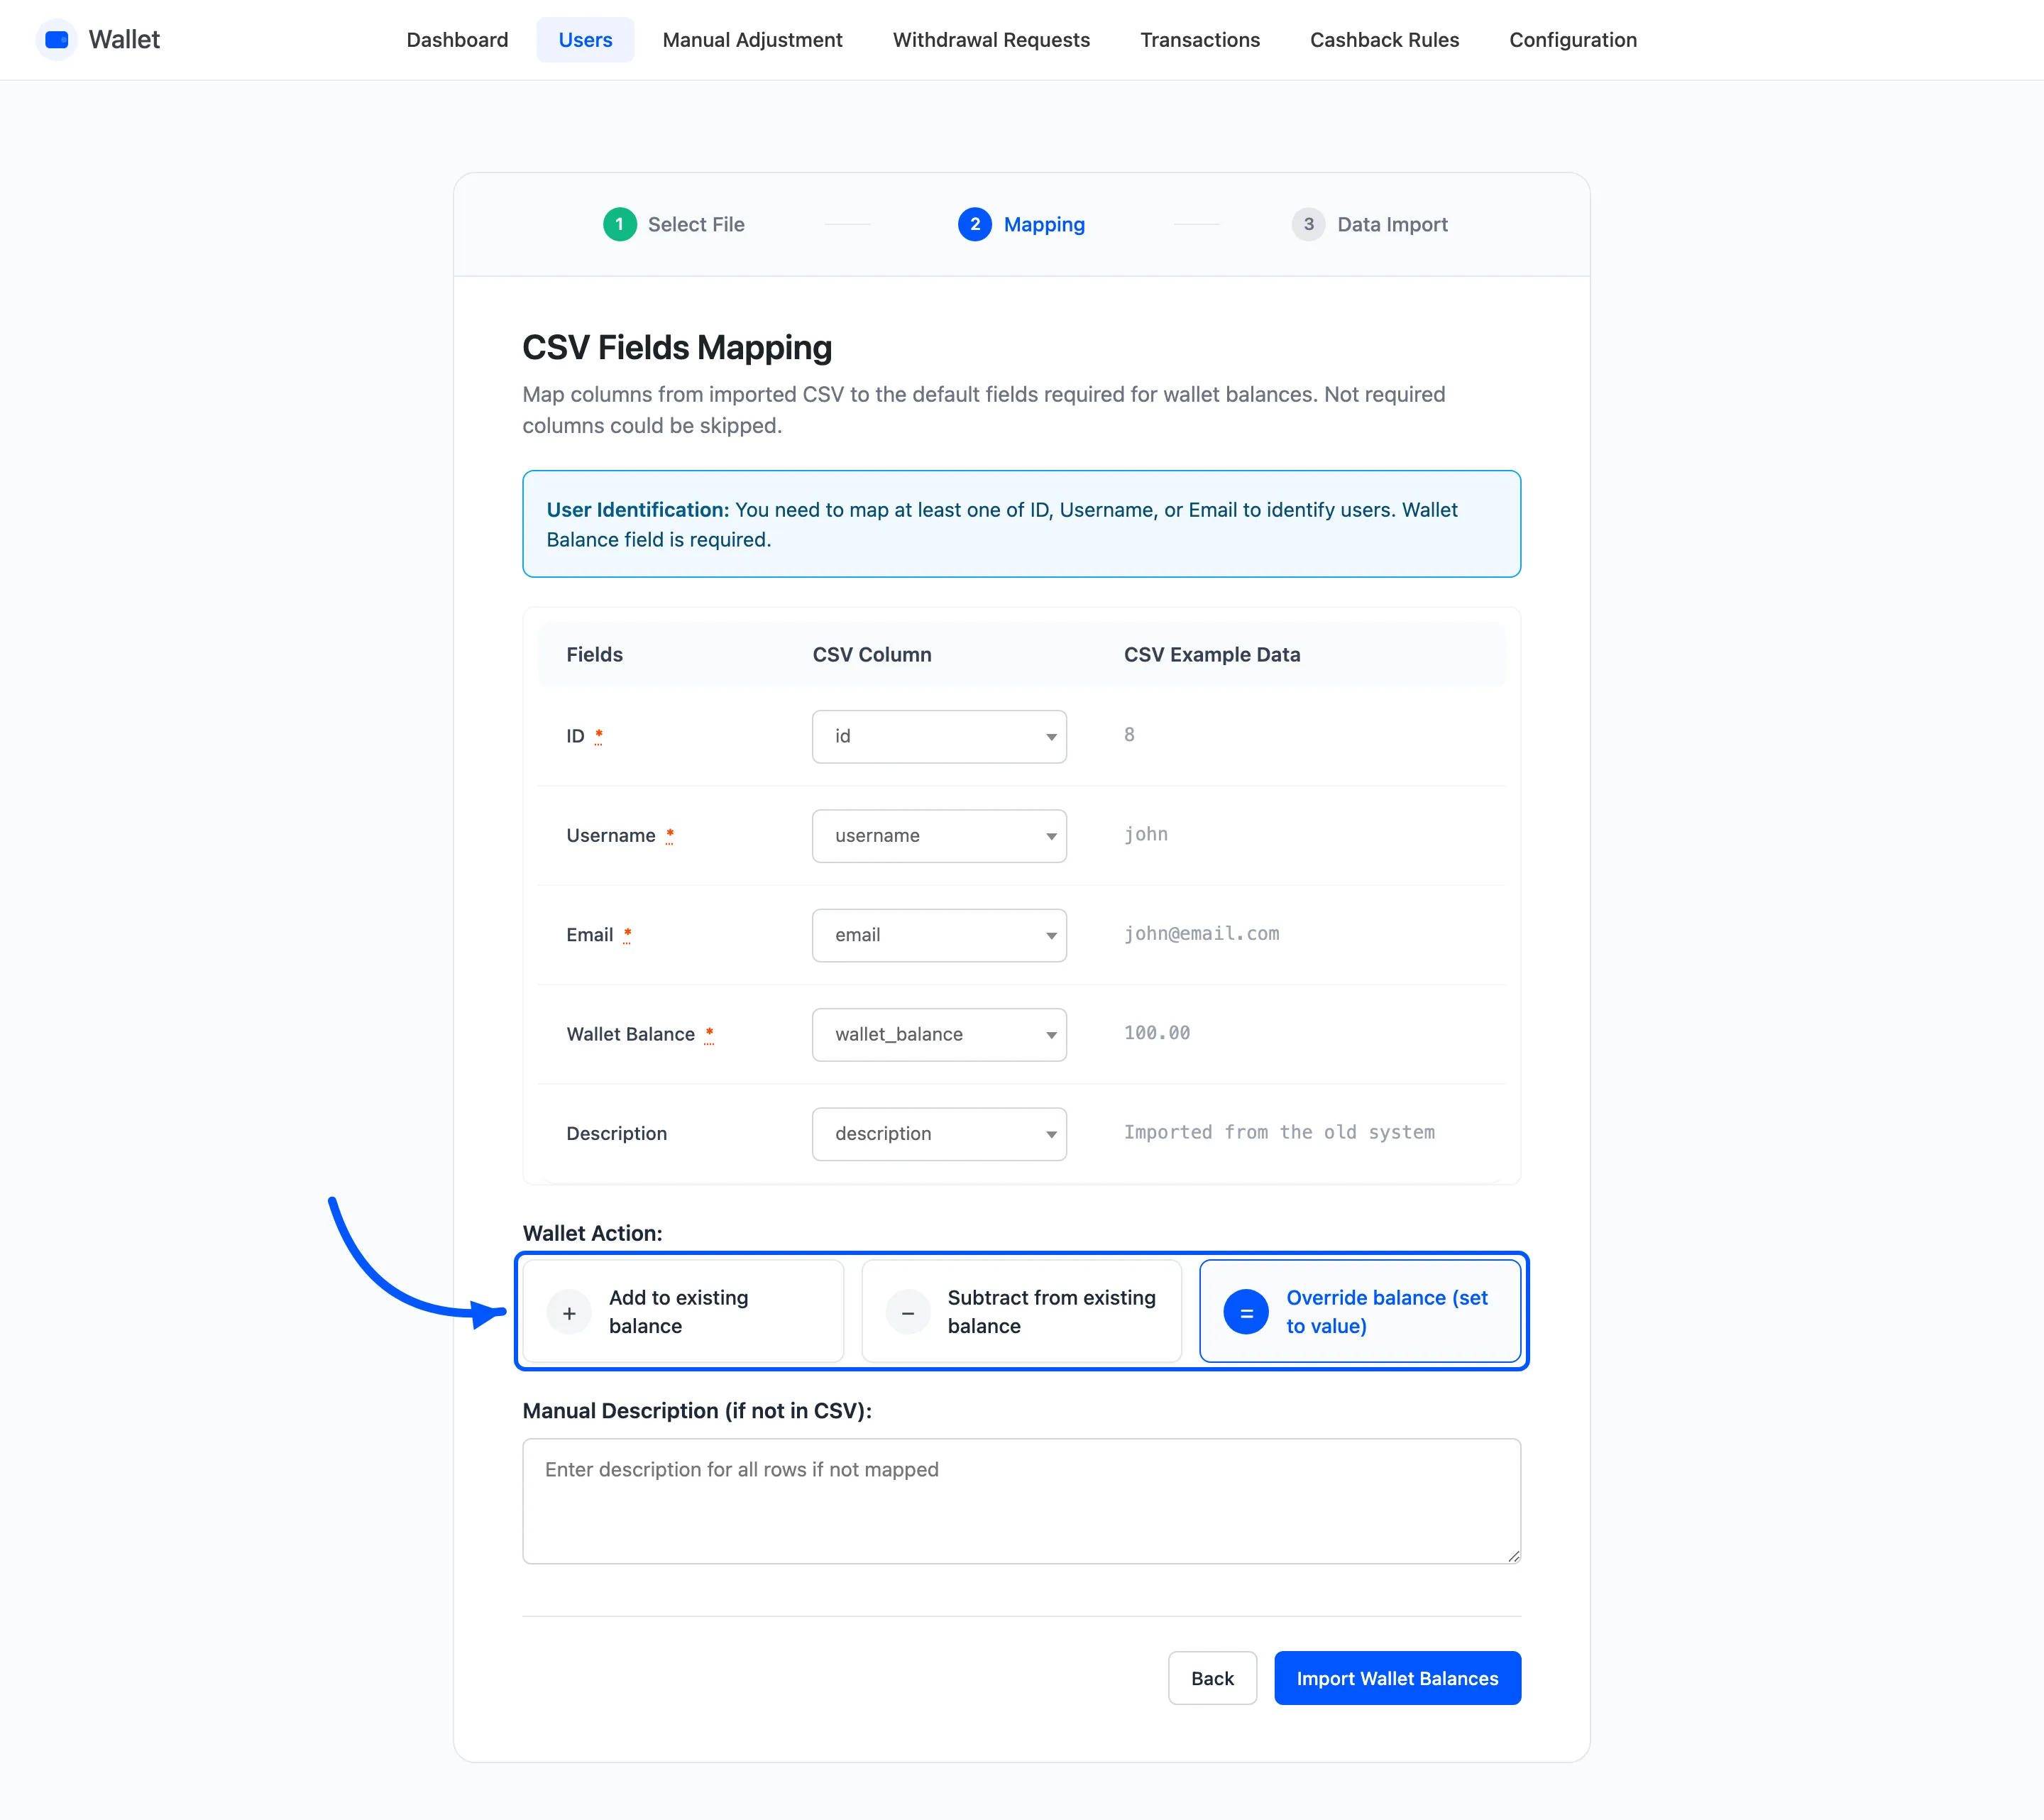
One choice, and it decides what your number means.
- Add adds it to the existing balance.
- Subtract takes it off.
- Override makes the balance equal to it, crediting or debiting the difference.
Override for a migration, because the result does not depend on what was already there. Add for a bulk gift.
Getting this wrong is the expensive mistake. Add on a file of intended final balances doubles everybody who already had money.
Step 6: Run it and read the summary
Section titled “Step 6: Run it and read the summary”Import Wallet Balances runs it. The wizard moves to Data Import, fills a progress bar in batches, and lands on a summary.
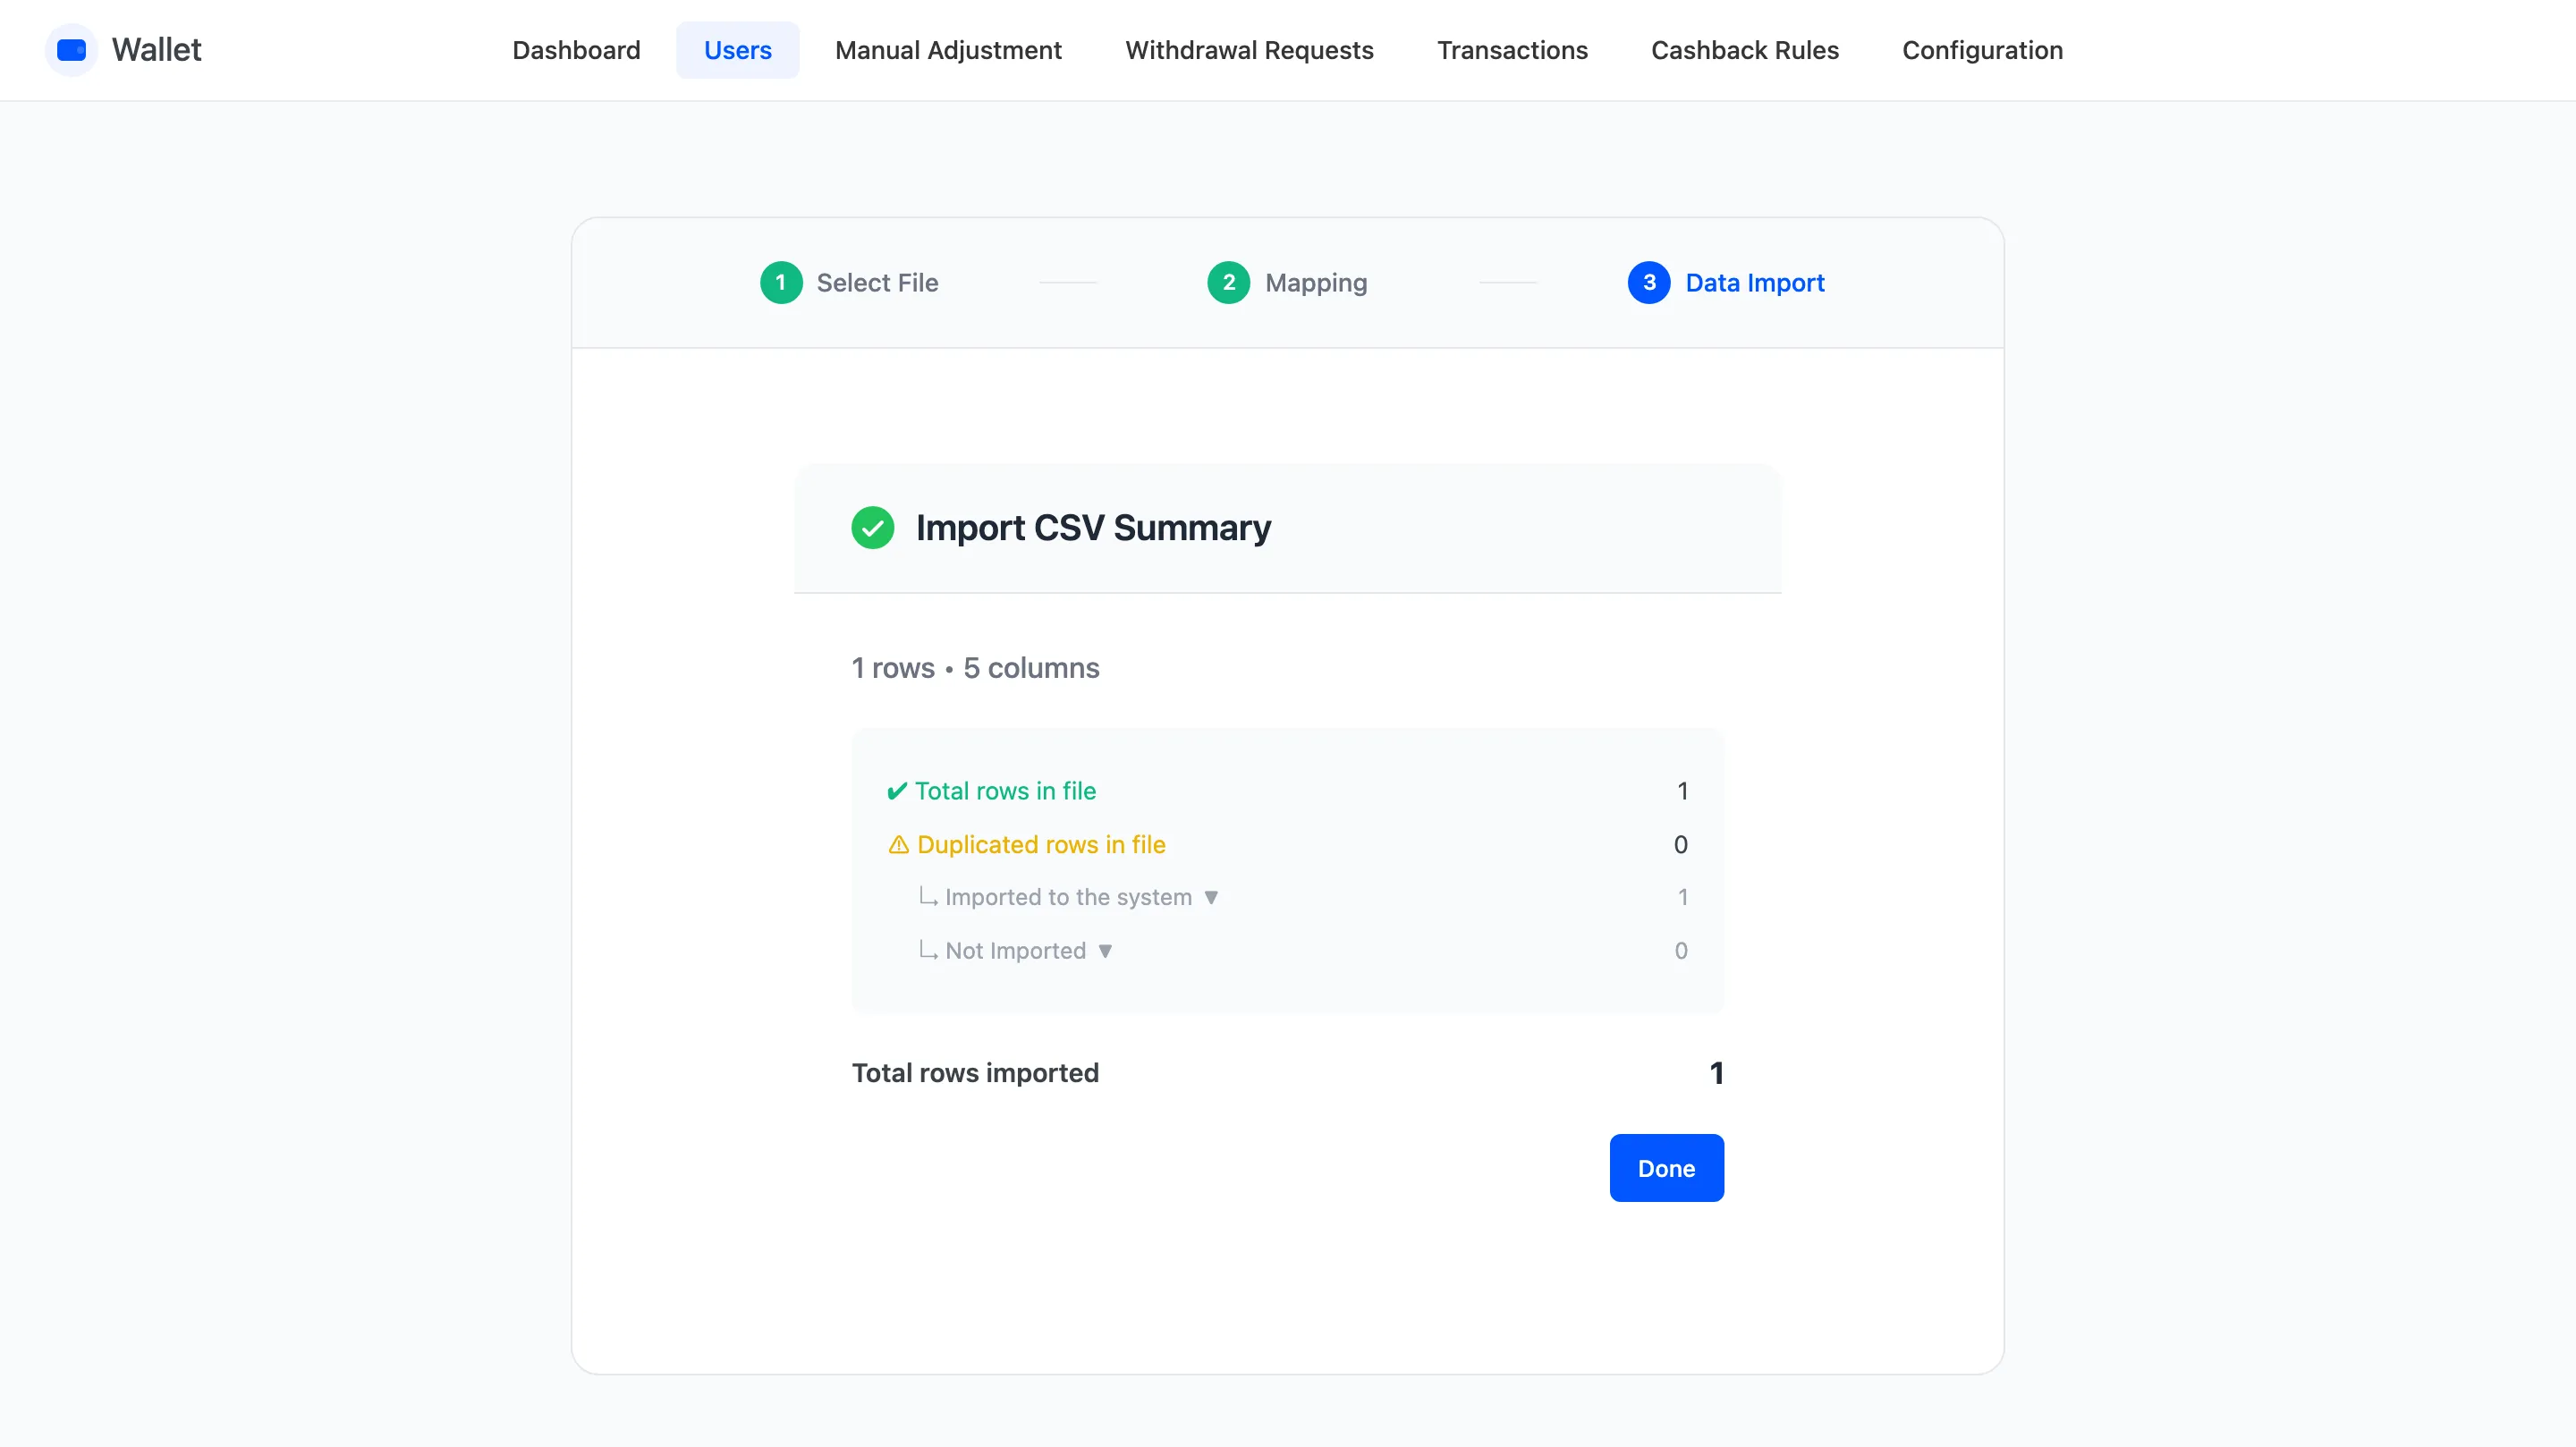
It gives the row count, duplicated rows, rows imported and rows not imported, with expandable lists of each. Rows fail for two reasons: no matching user, or a balance that is not a number.
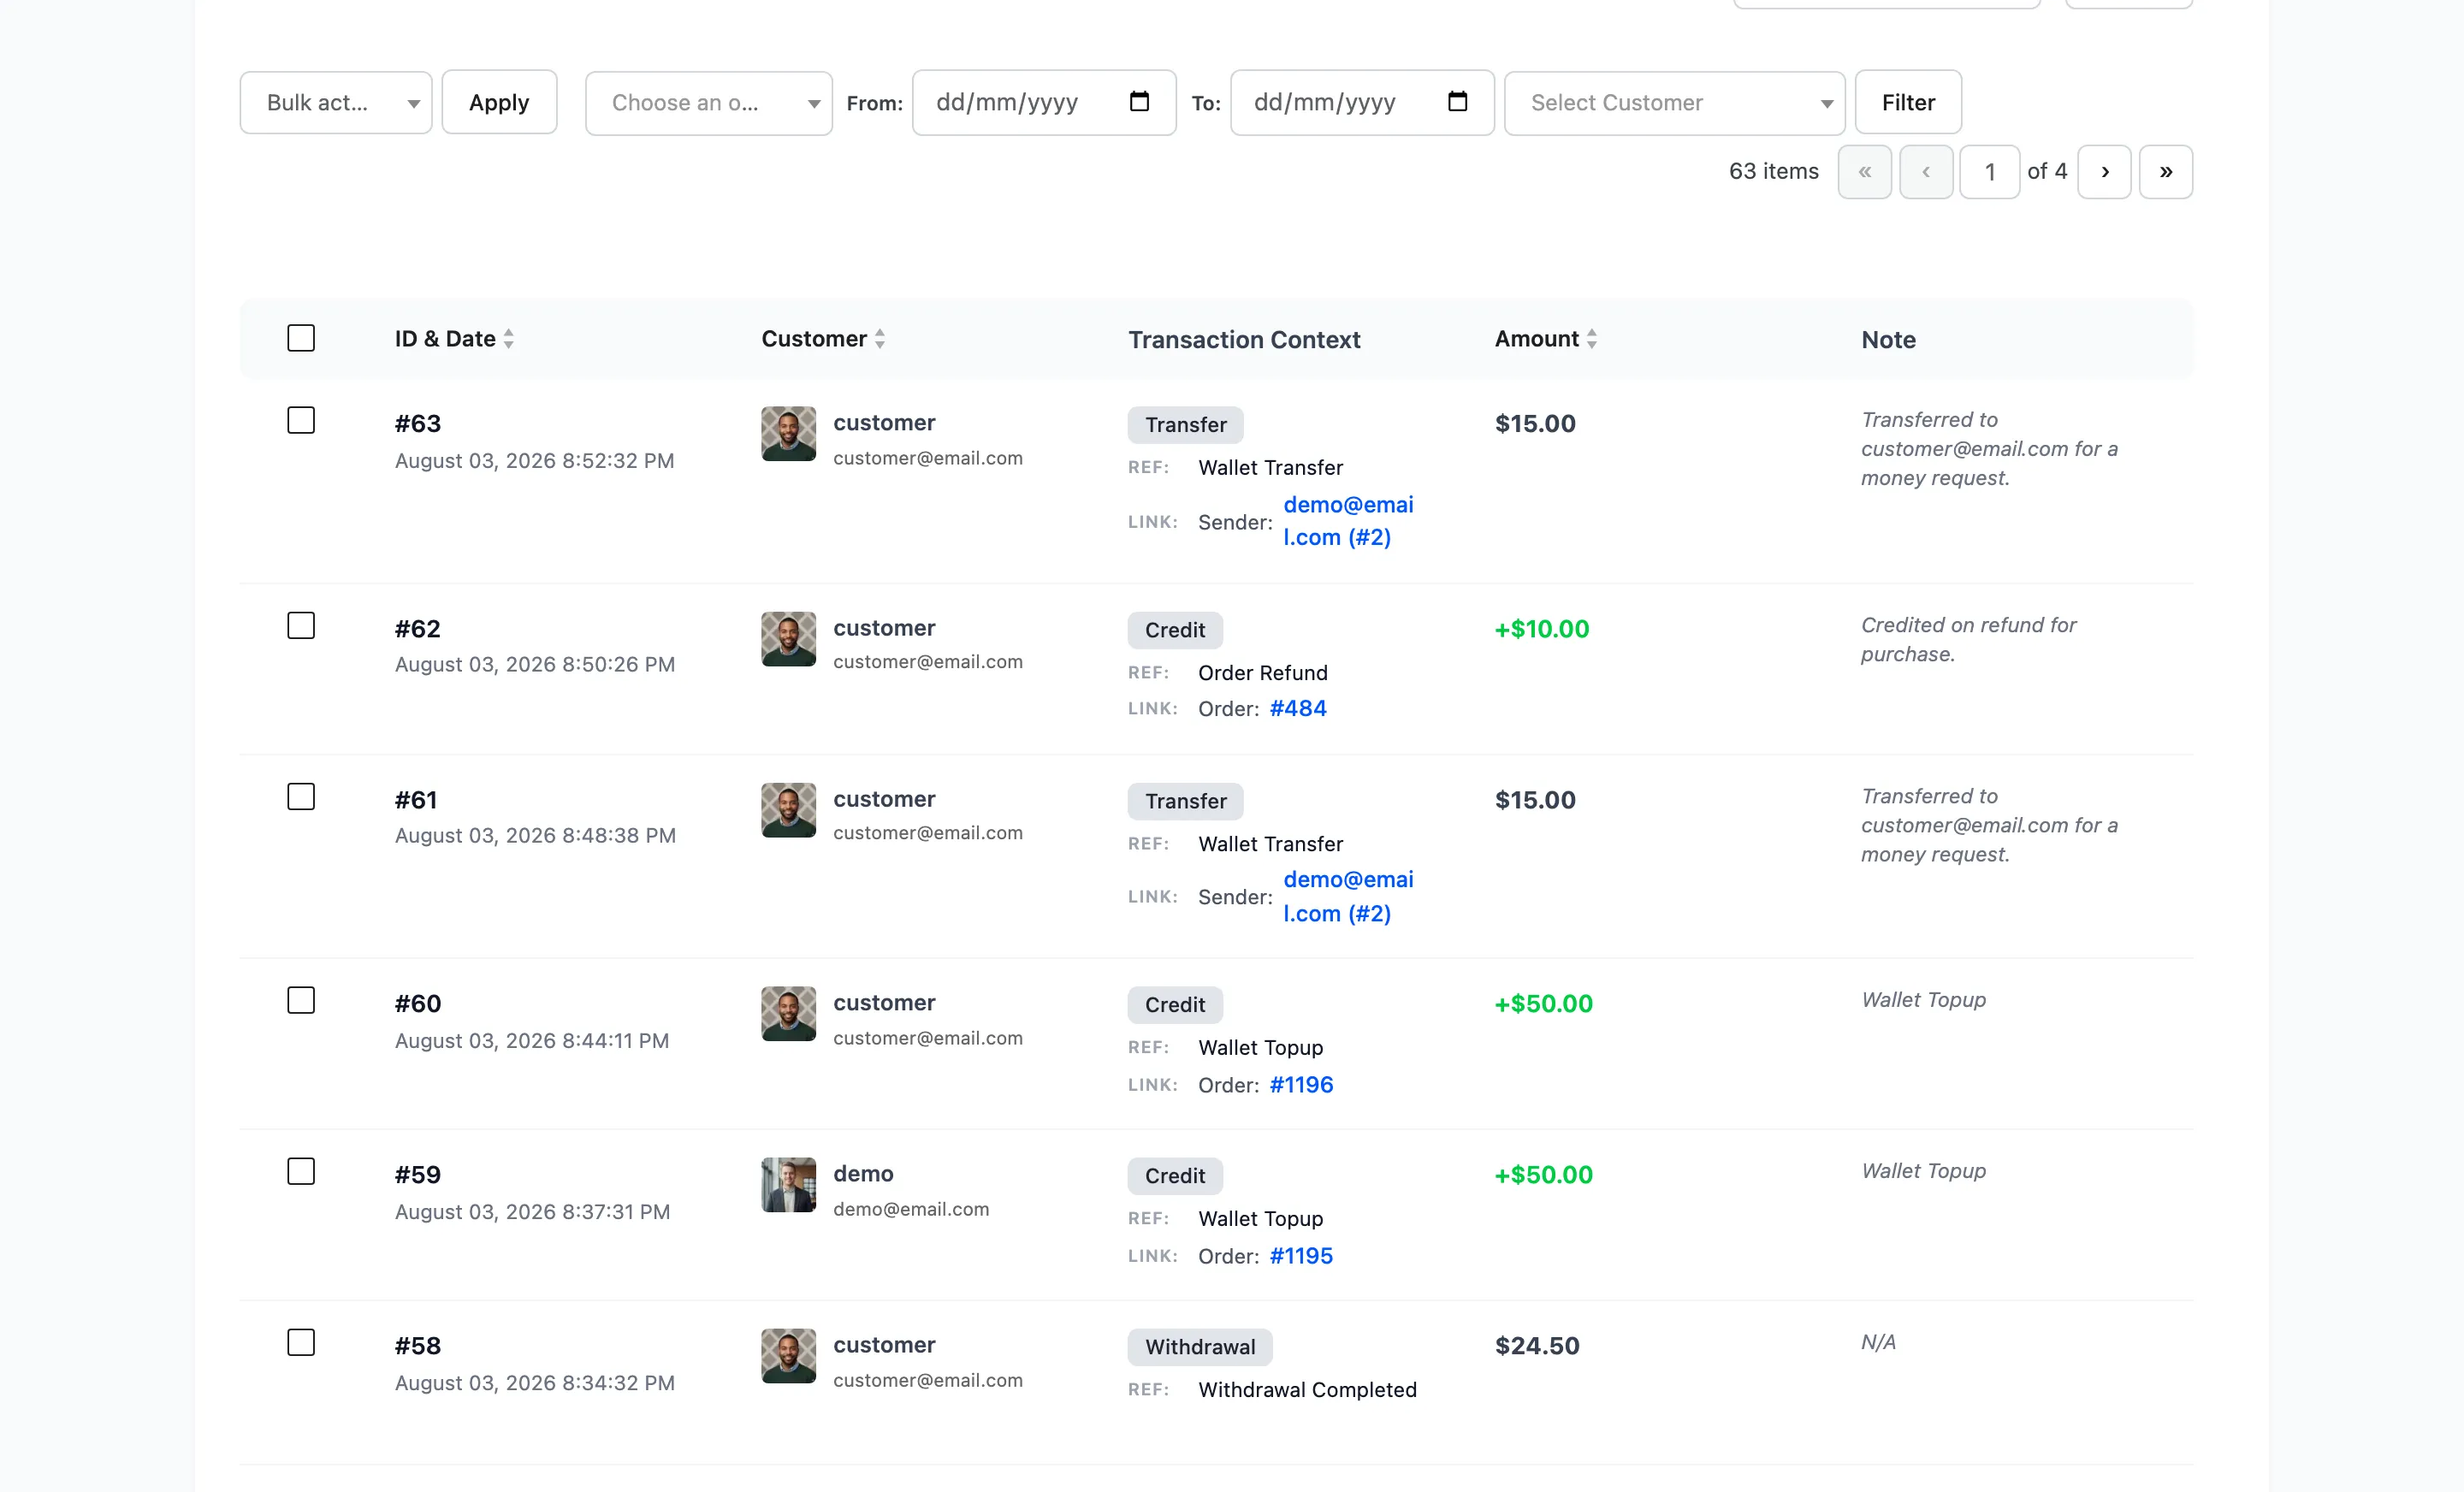
Every imported row writes a transaction, so an import is as explainable afterwards as a manual adjustment. The note is your Description column, or a default naming the CSV import.
Test on a small file first
Section titled “Test on a small file first”Cut ten rows out of your file, import those, and check the balances on the Users list before running the rest.
There is no undo. Correcting a wrong import means a second import with the opposite action, and every row of both is in the history for good.