

Import and Export
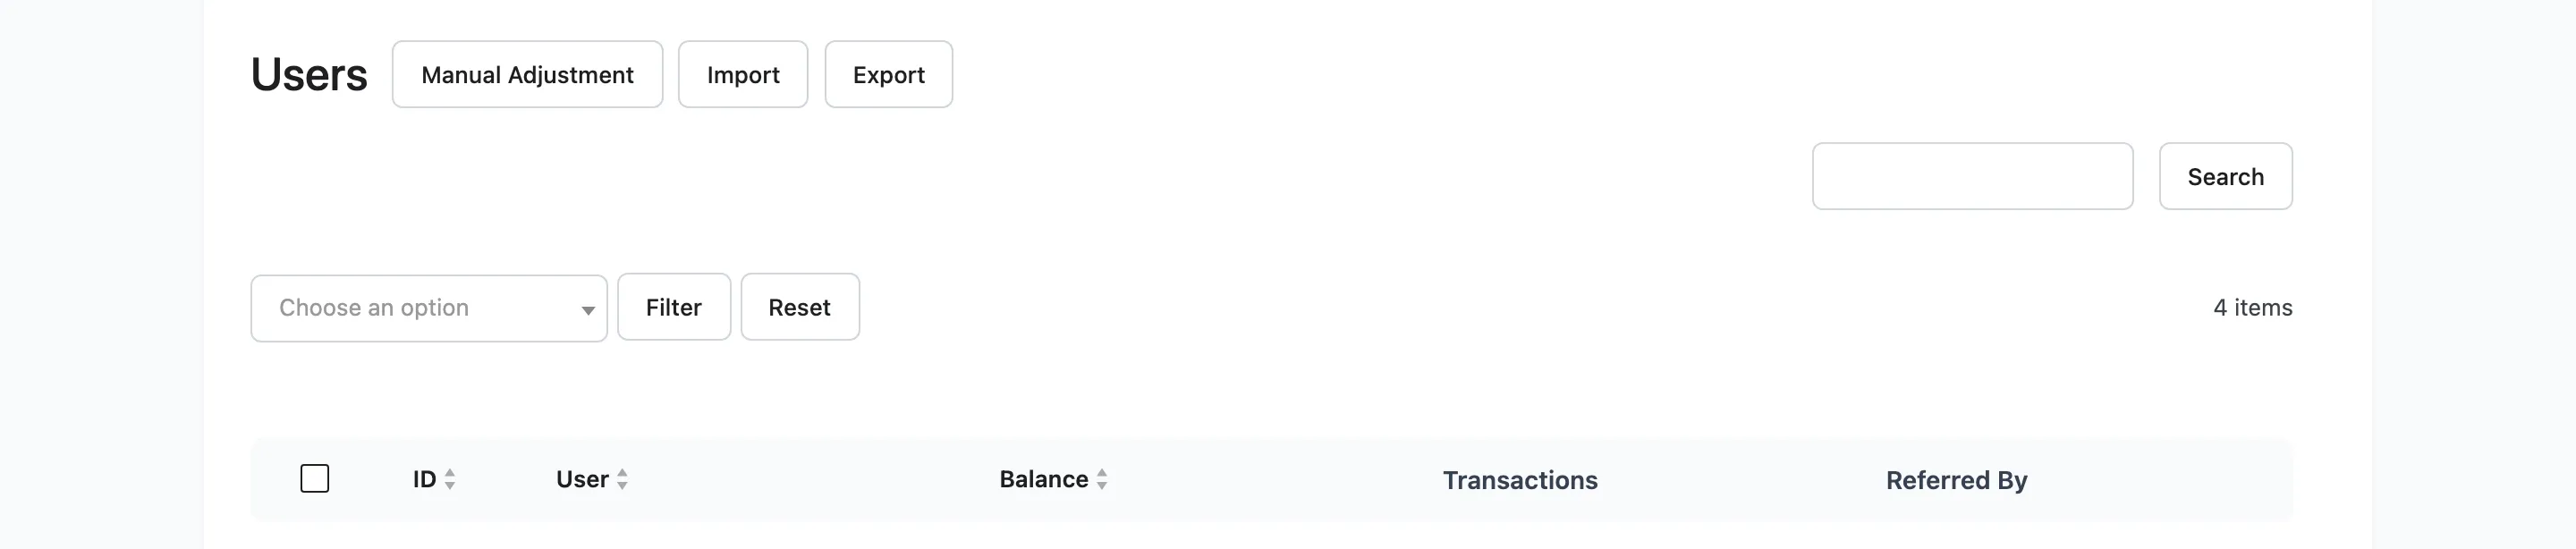
Two wizards for moving balances in bulk. Import is free, export is Pro. Both are reached from the buttons above the Users list.
Import
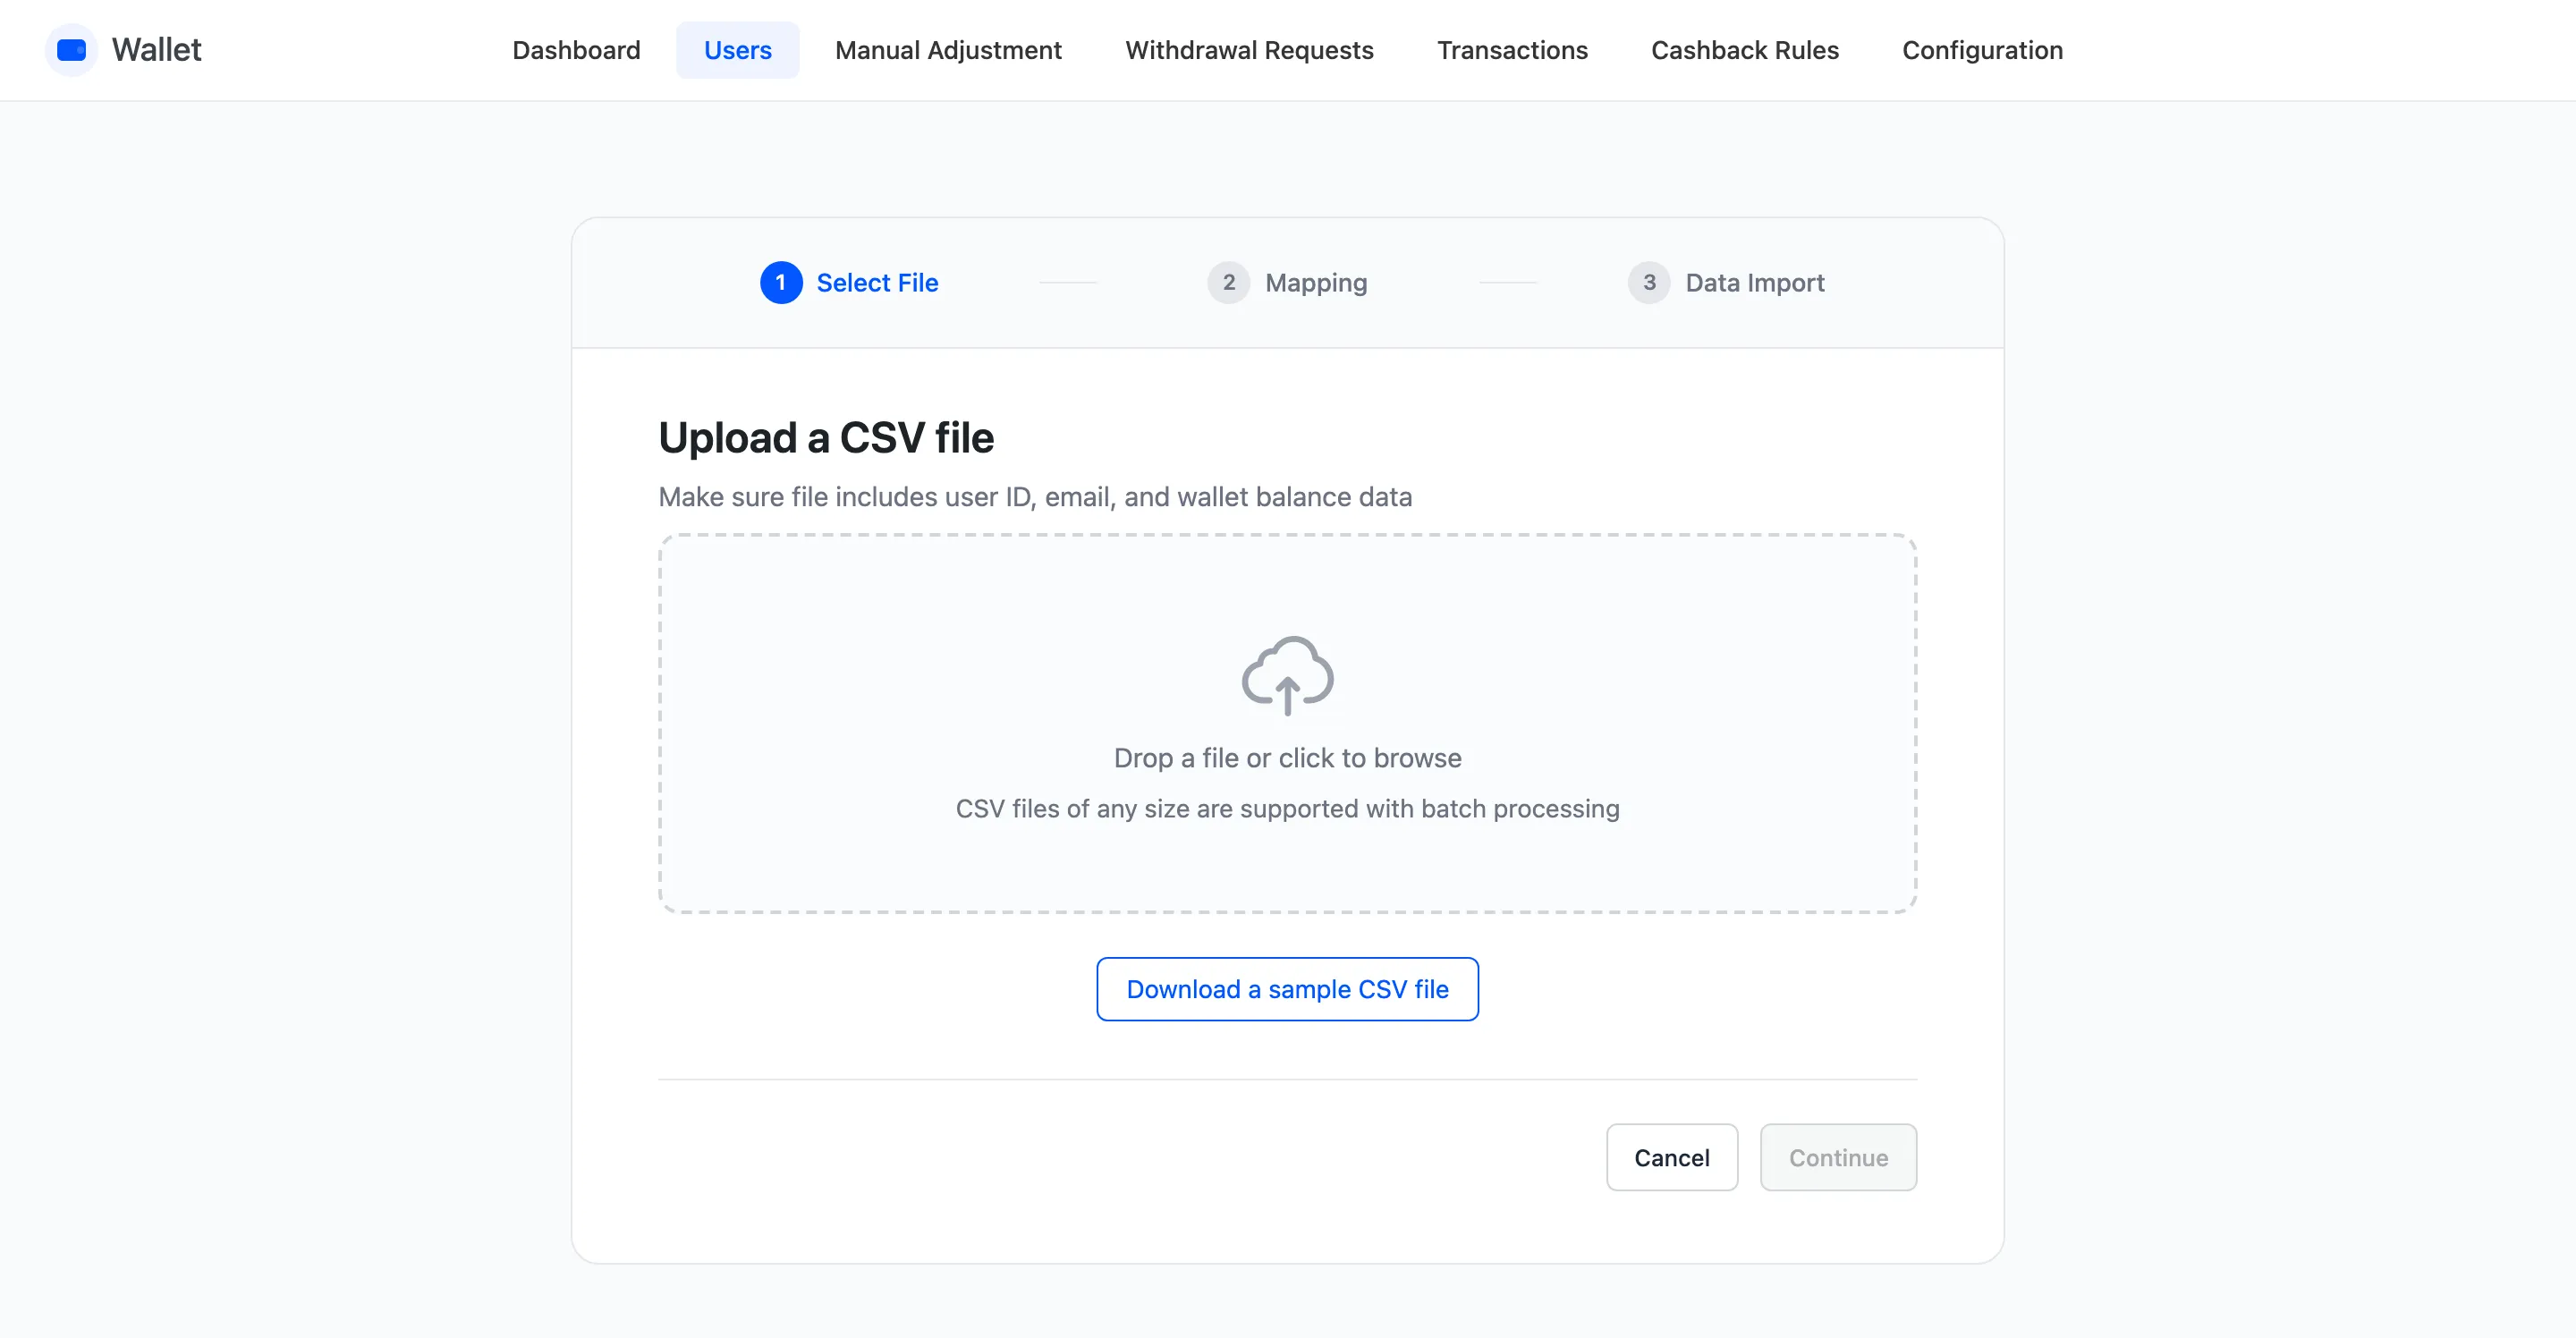
Section titled “Import”Three steps: Select File, Mapping, Data Import.
Step 1: the file
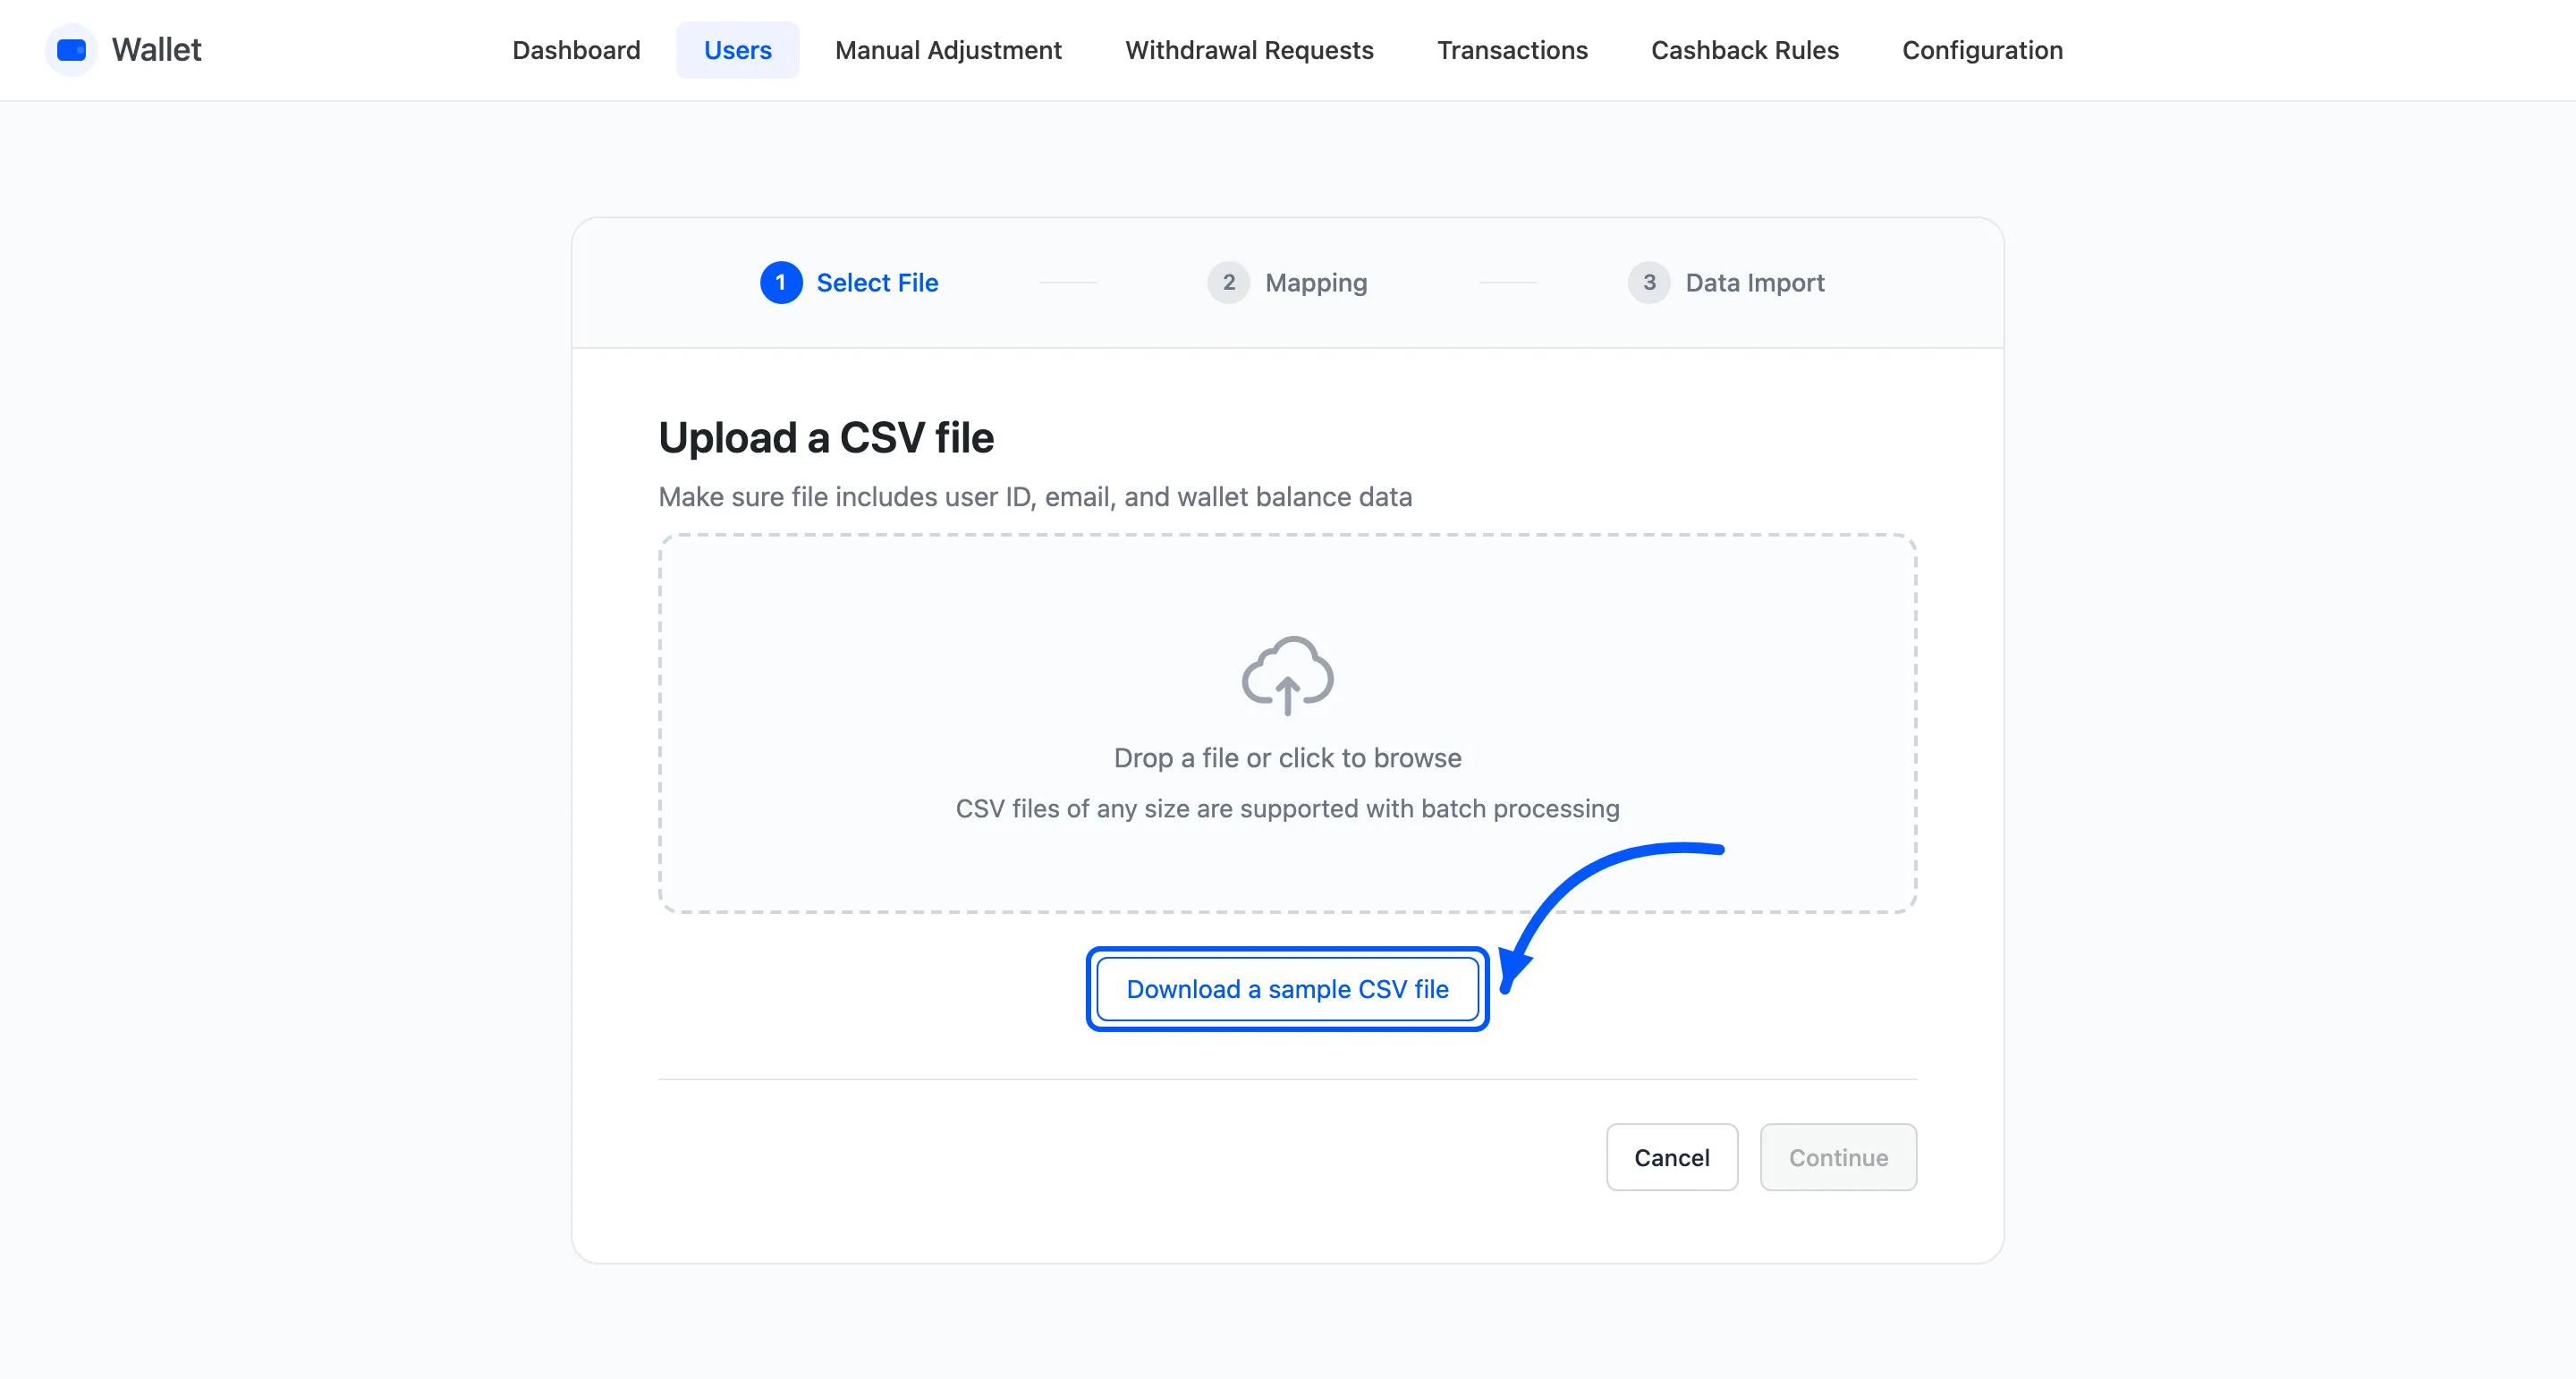
Section titled “Step 1: the file”Drop a CSV on the upload area or click to browse. Any size works, because the wizard reads it in batches.
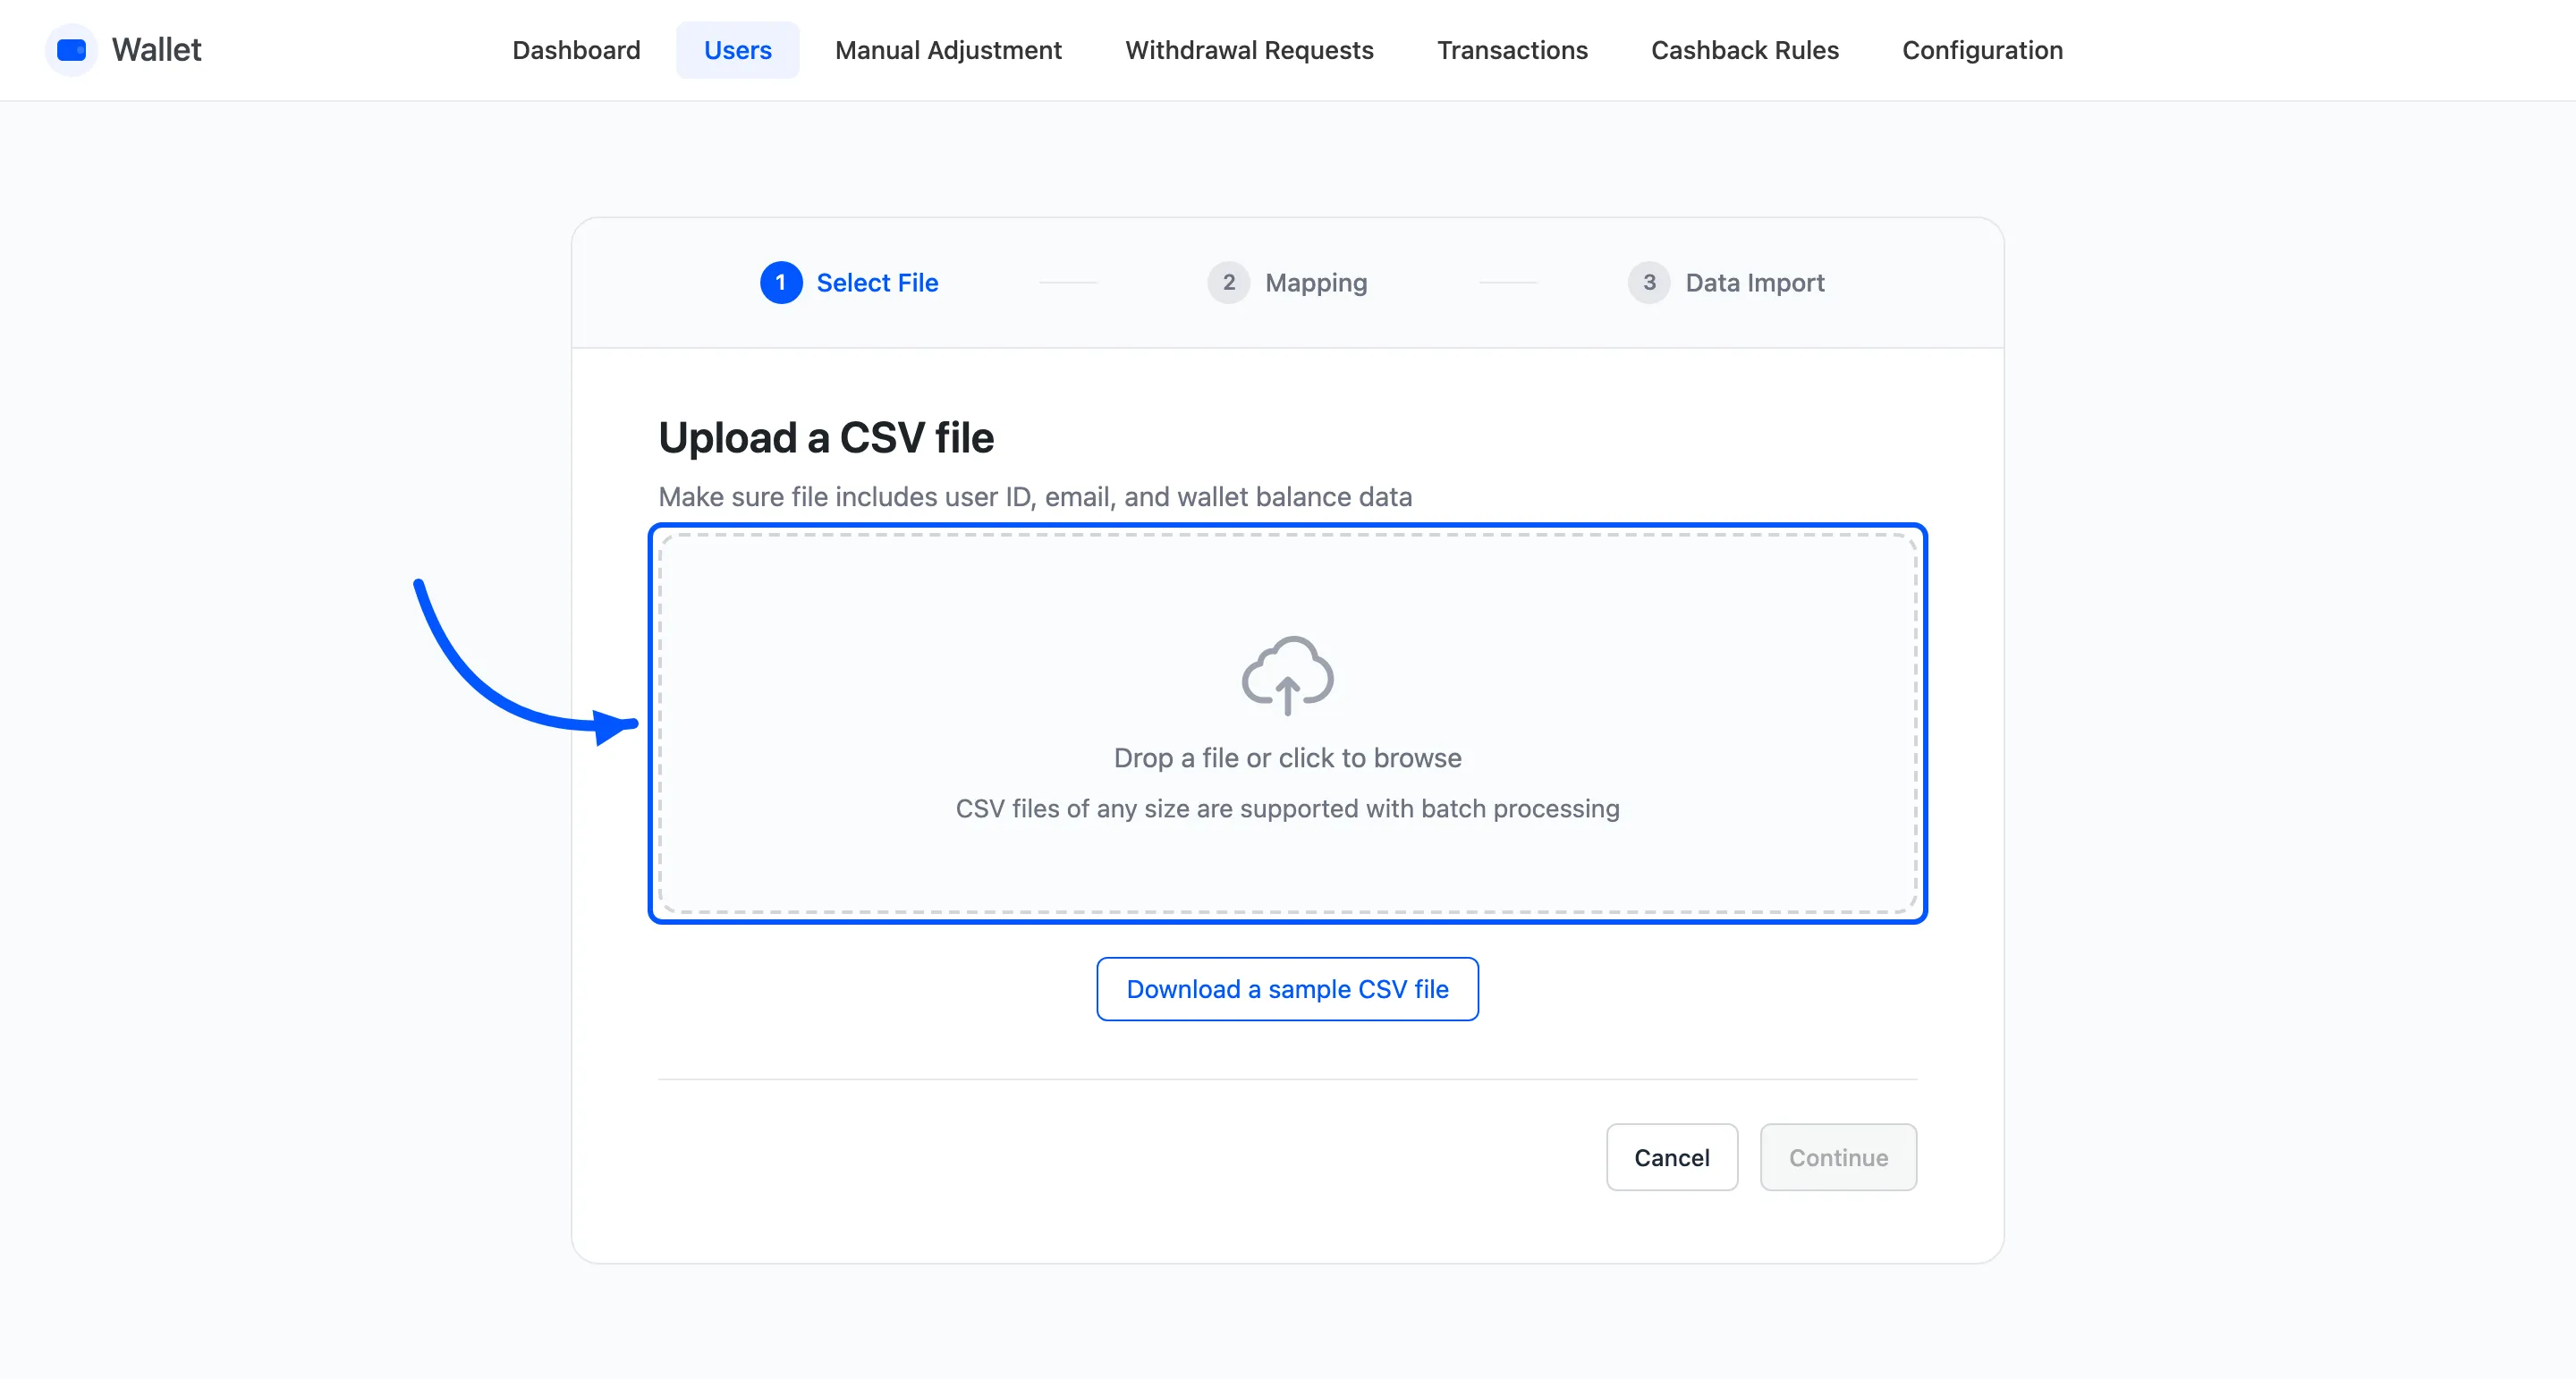
Download a sample CSV file gives you a file in the right shape. Start from it rather than guessing the headings.
Step 2: the mapping
Section titled “Step 2: the mapping”You map your columns onto five fields.
- ID, Username and Email identify the customer. At least one is required, and the first one that matches an account wins.
- Wallet Balance is required, and it is the number the action below is applied to.
- Description is optional, and lands on the transaction row.
Anything you do not map is ignored, so a CSV exported from another system can go in as it is.
Step 3: the action
Section titled “Step 3: the action”One choice that decides what the number in the file means.
- Add treats it as an amount to add to the existing balance.
- Subtract takes it off.
- Override makes the balance equal that number, adding or subtracting the difference.
Override is the one to use for a migration, because it makes the result independent of what is already there. Add is the one for a bulk gift.
Every row writes a transaction, so an import is as explainable afterwards as a manual adjustment.
Reading the summary
Section titled “Reading the summary”The final step reports rows in the file, duplicated rows, rows imported and rows not imported, with an expandable list of each. Rows fail for two reasons: no matching user, or a balance value that is not a number.
Export
Section titled “Export”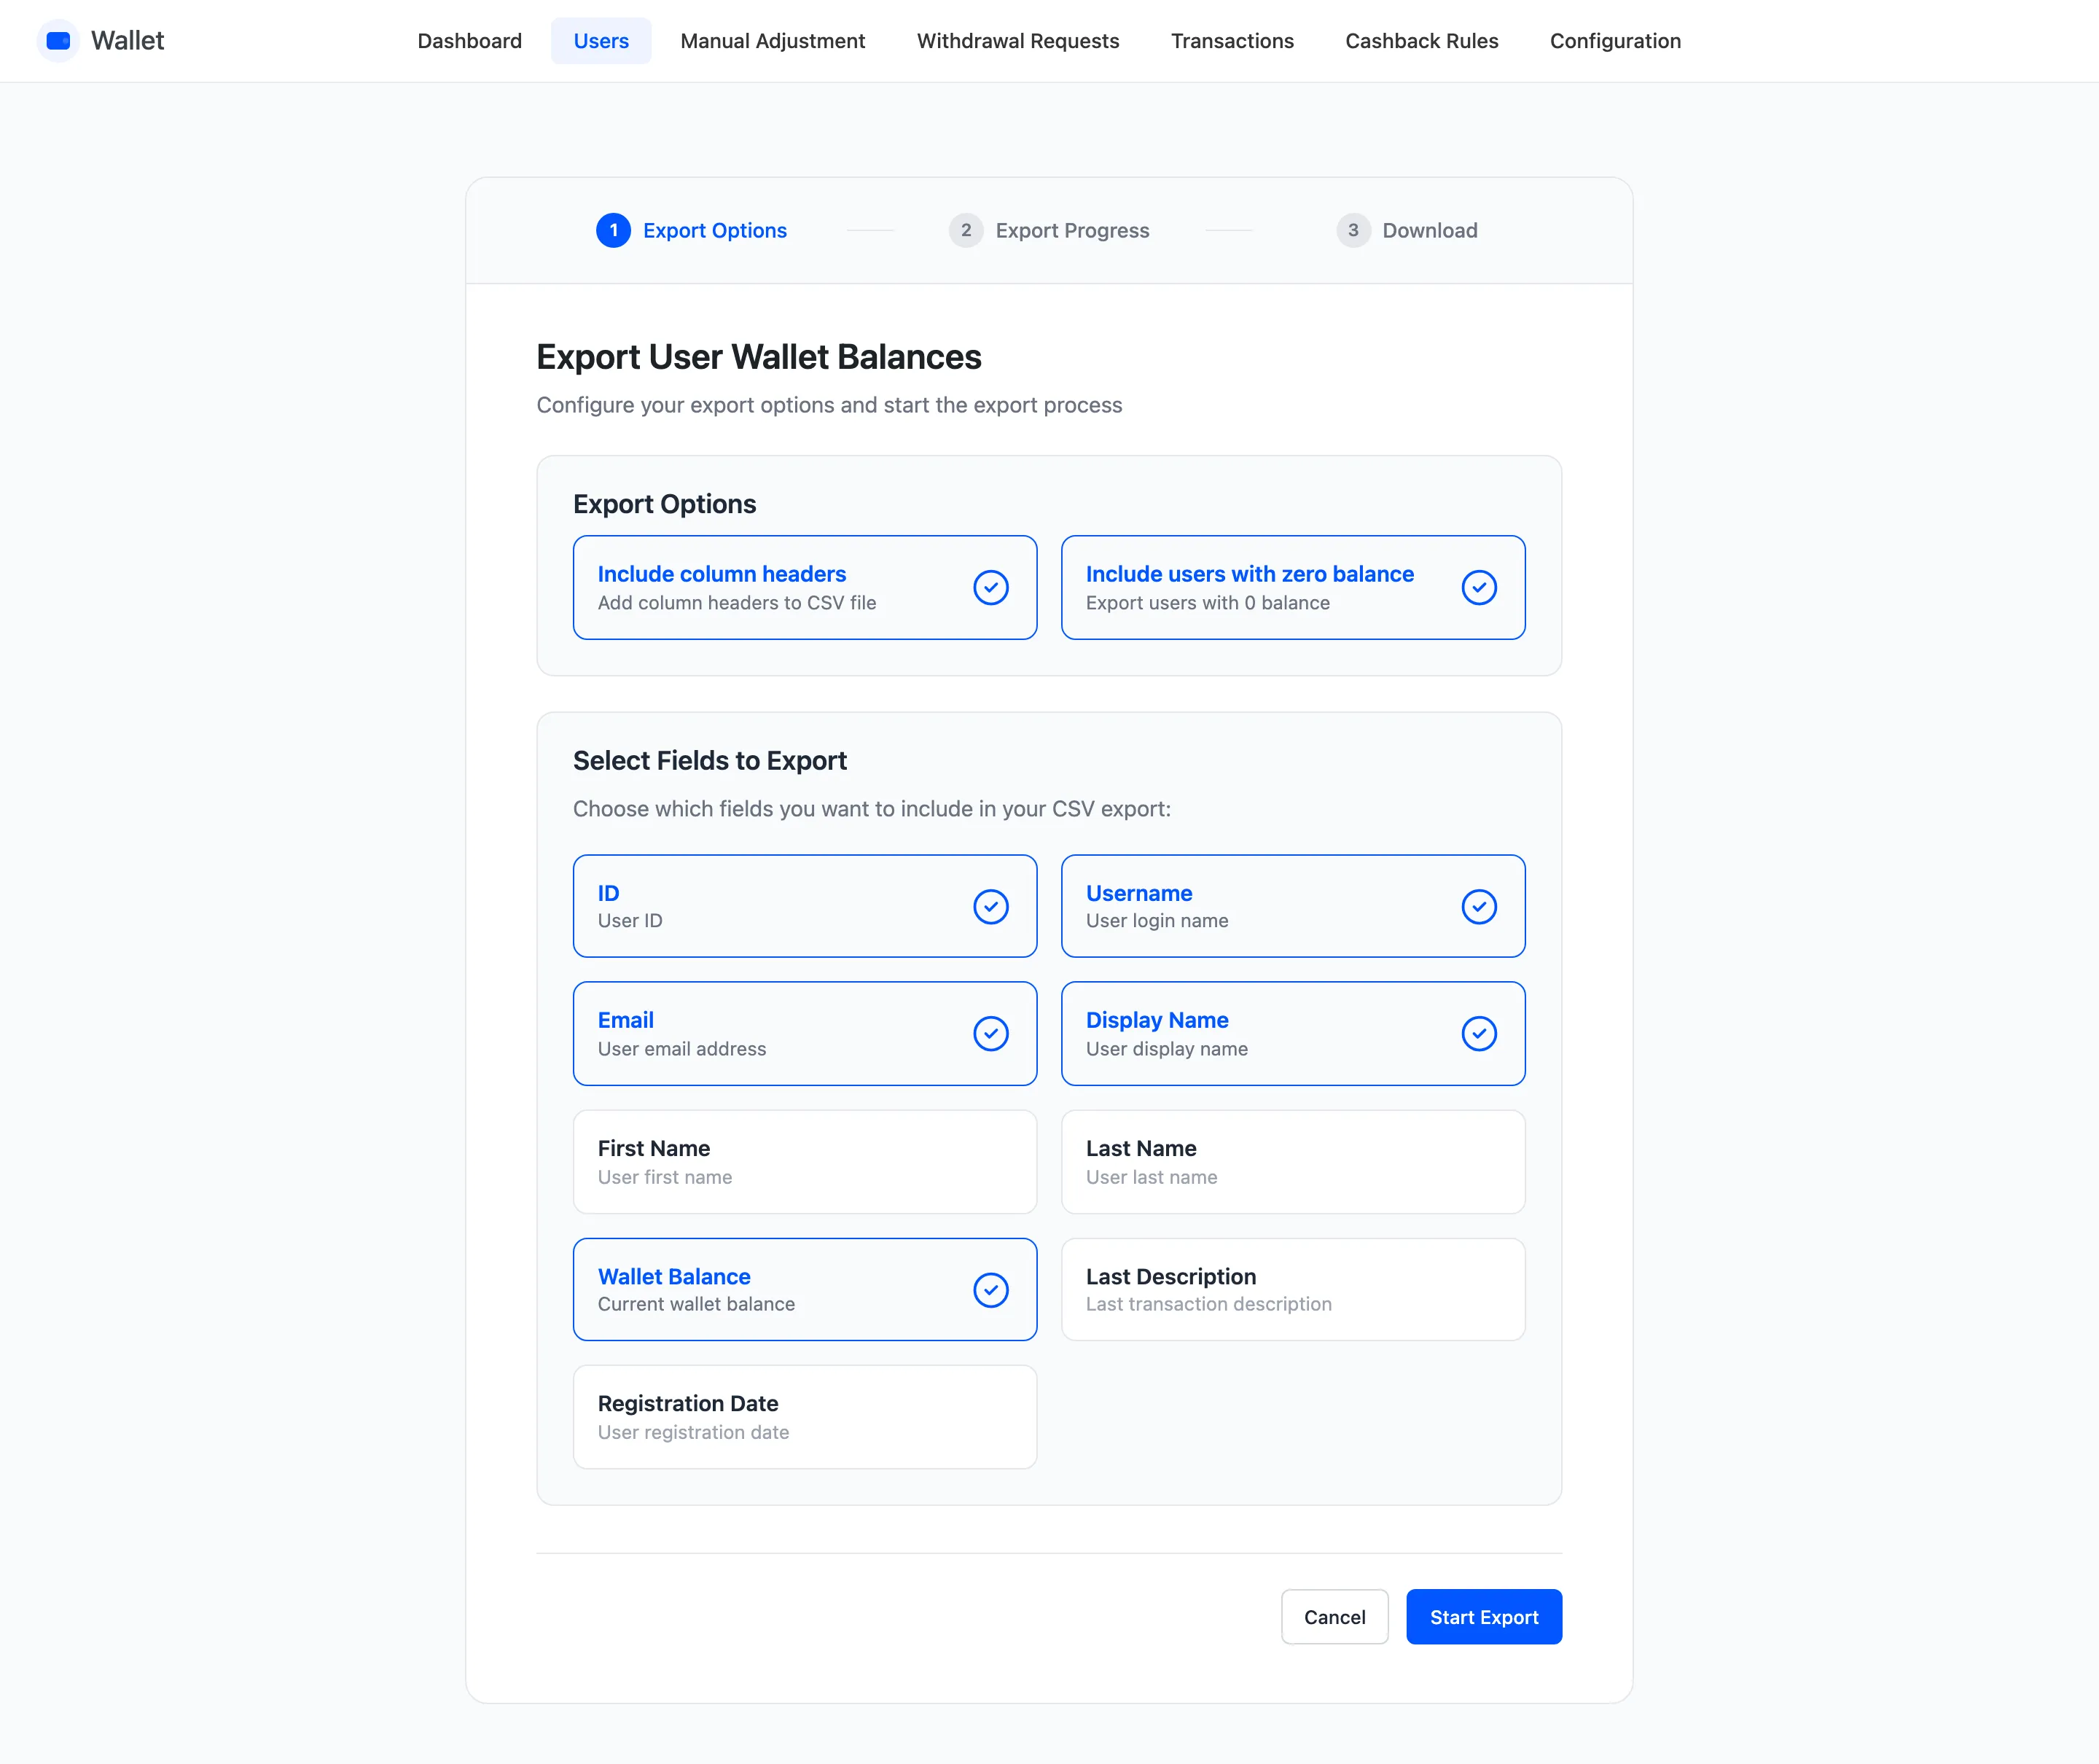
Three steps: Export Options, Export Progress, Download.
Two options
Section titled “Two options”- Include column headers puts a heading row in the file. Leave it on unless something downstream chokes on it.
- Include users with zero balance decides whether accounts with nothing are exported.
Nine fields to pick from
Section titled “Nine fields to pick from”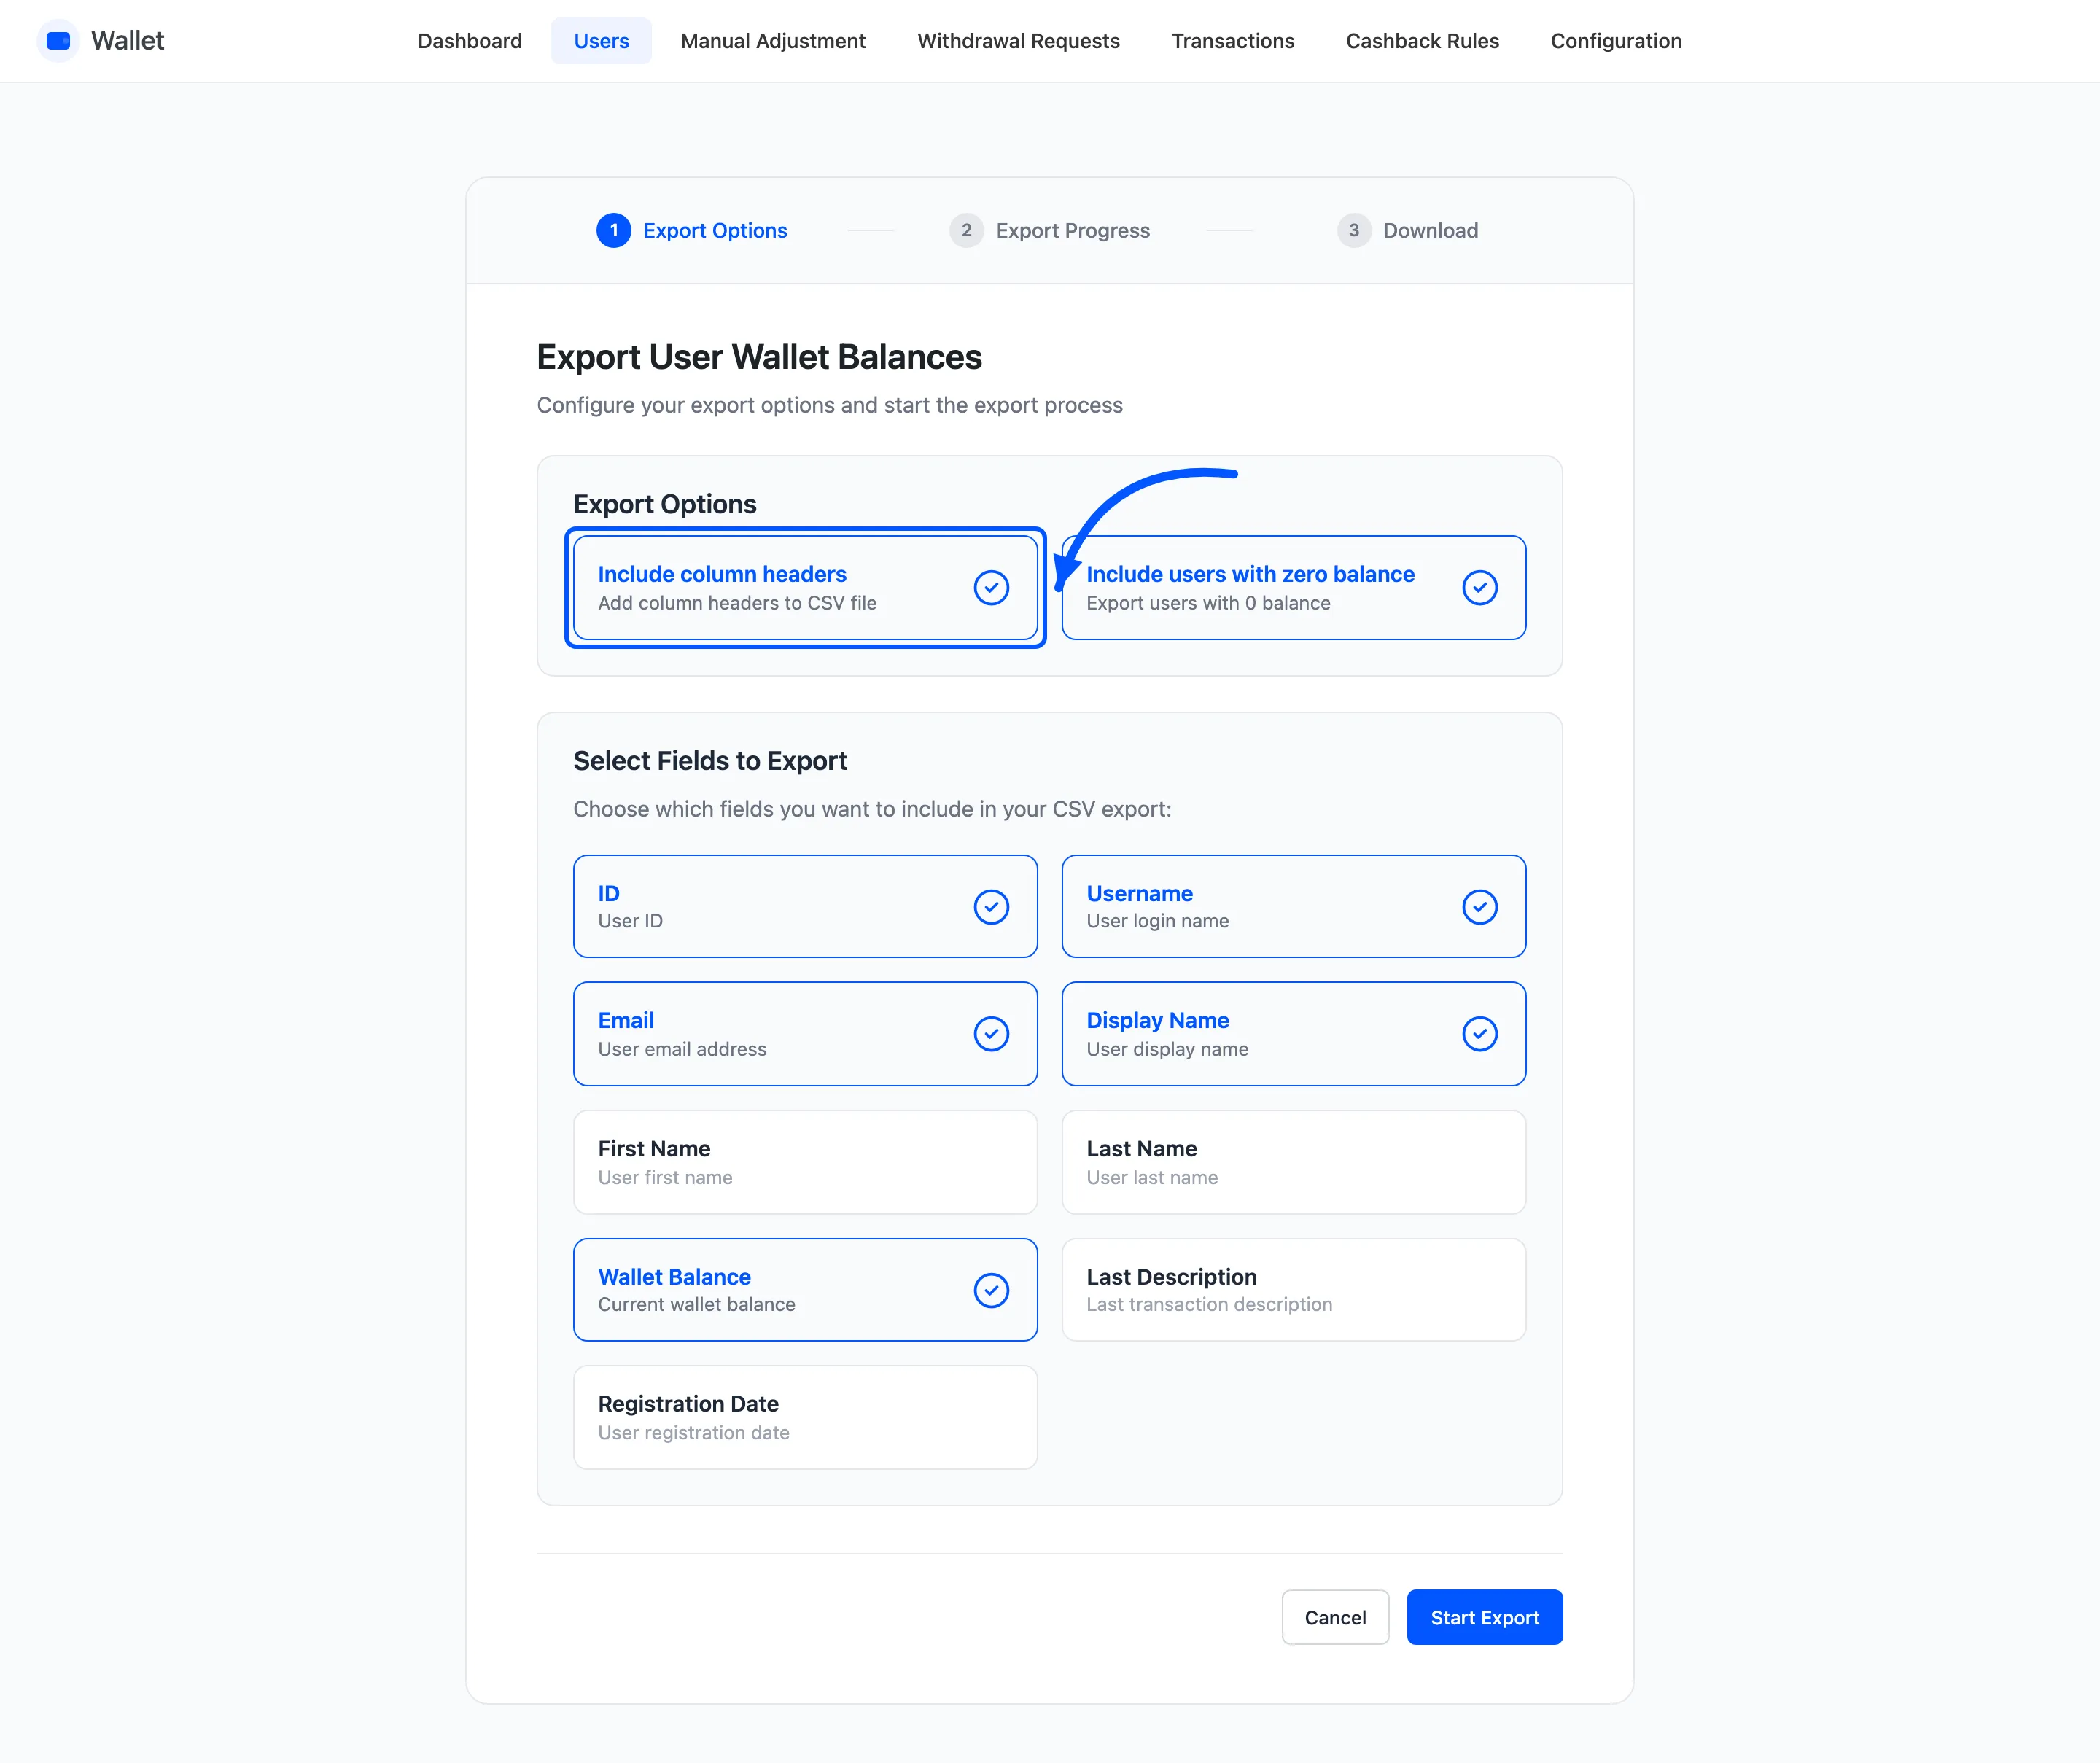
ID, Username, Email, Display Name, First Name, Last Name, Wallet Balance, Last Description and Registration Date.
Last Description is the note from that customer’s most recent transaction. It is the closest thing to a reason column in the export.
Pick the fields you will actually use. A file carrying names and email addresses is personal data, and the fewer columns leave your admin the better.
Start Export runs it in batches with a progress bar, then offers the download.
Round-tripping
Section titled “Round-tripping”Export, edit the balance column, import with Override. That is the fastest way to correct a lot of balances at once, and both halves leave a transaction trail.
Keep the ID column when you do. Usernames and emails change, IDs do not.