How to Turn On Double Opt-in (Pro)
Double opt-in stops mistyped and fake addresses reaching your list, and gives you proof that each guest asked for the email. Logged-in customers skip it, because their address is already confirmed.
Step 1: Turn on Double Opt-in
Section titled “Step 1: Turn on Double Opt-in”Open Configuration → Signup Form, go to Privacy & Spam Protection and tick Double Opt-in. Confirm Within (days) sets how long a guest has to confirm. Default 3.
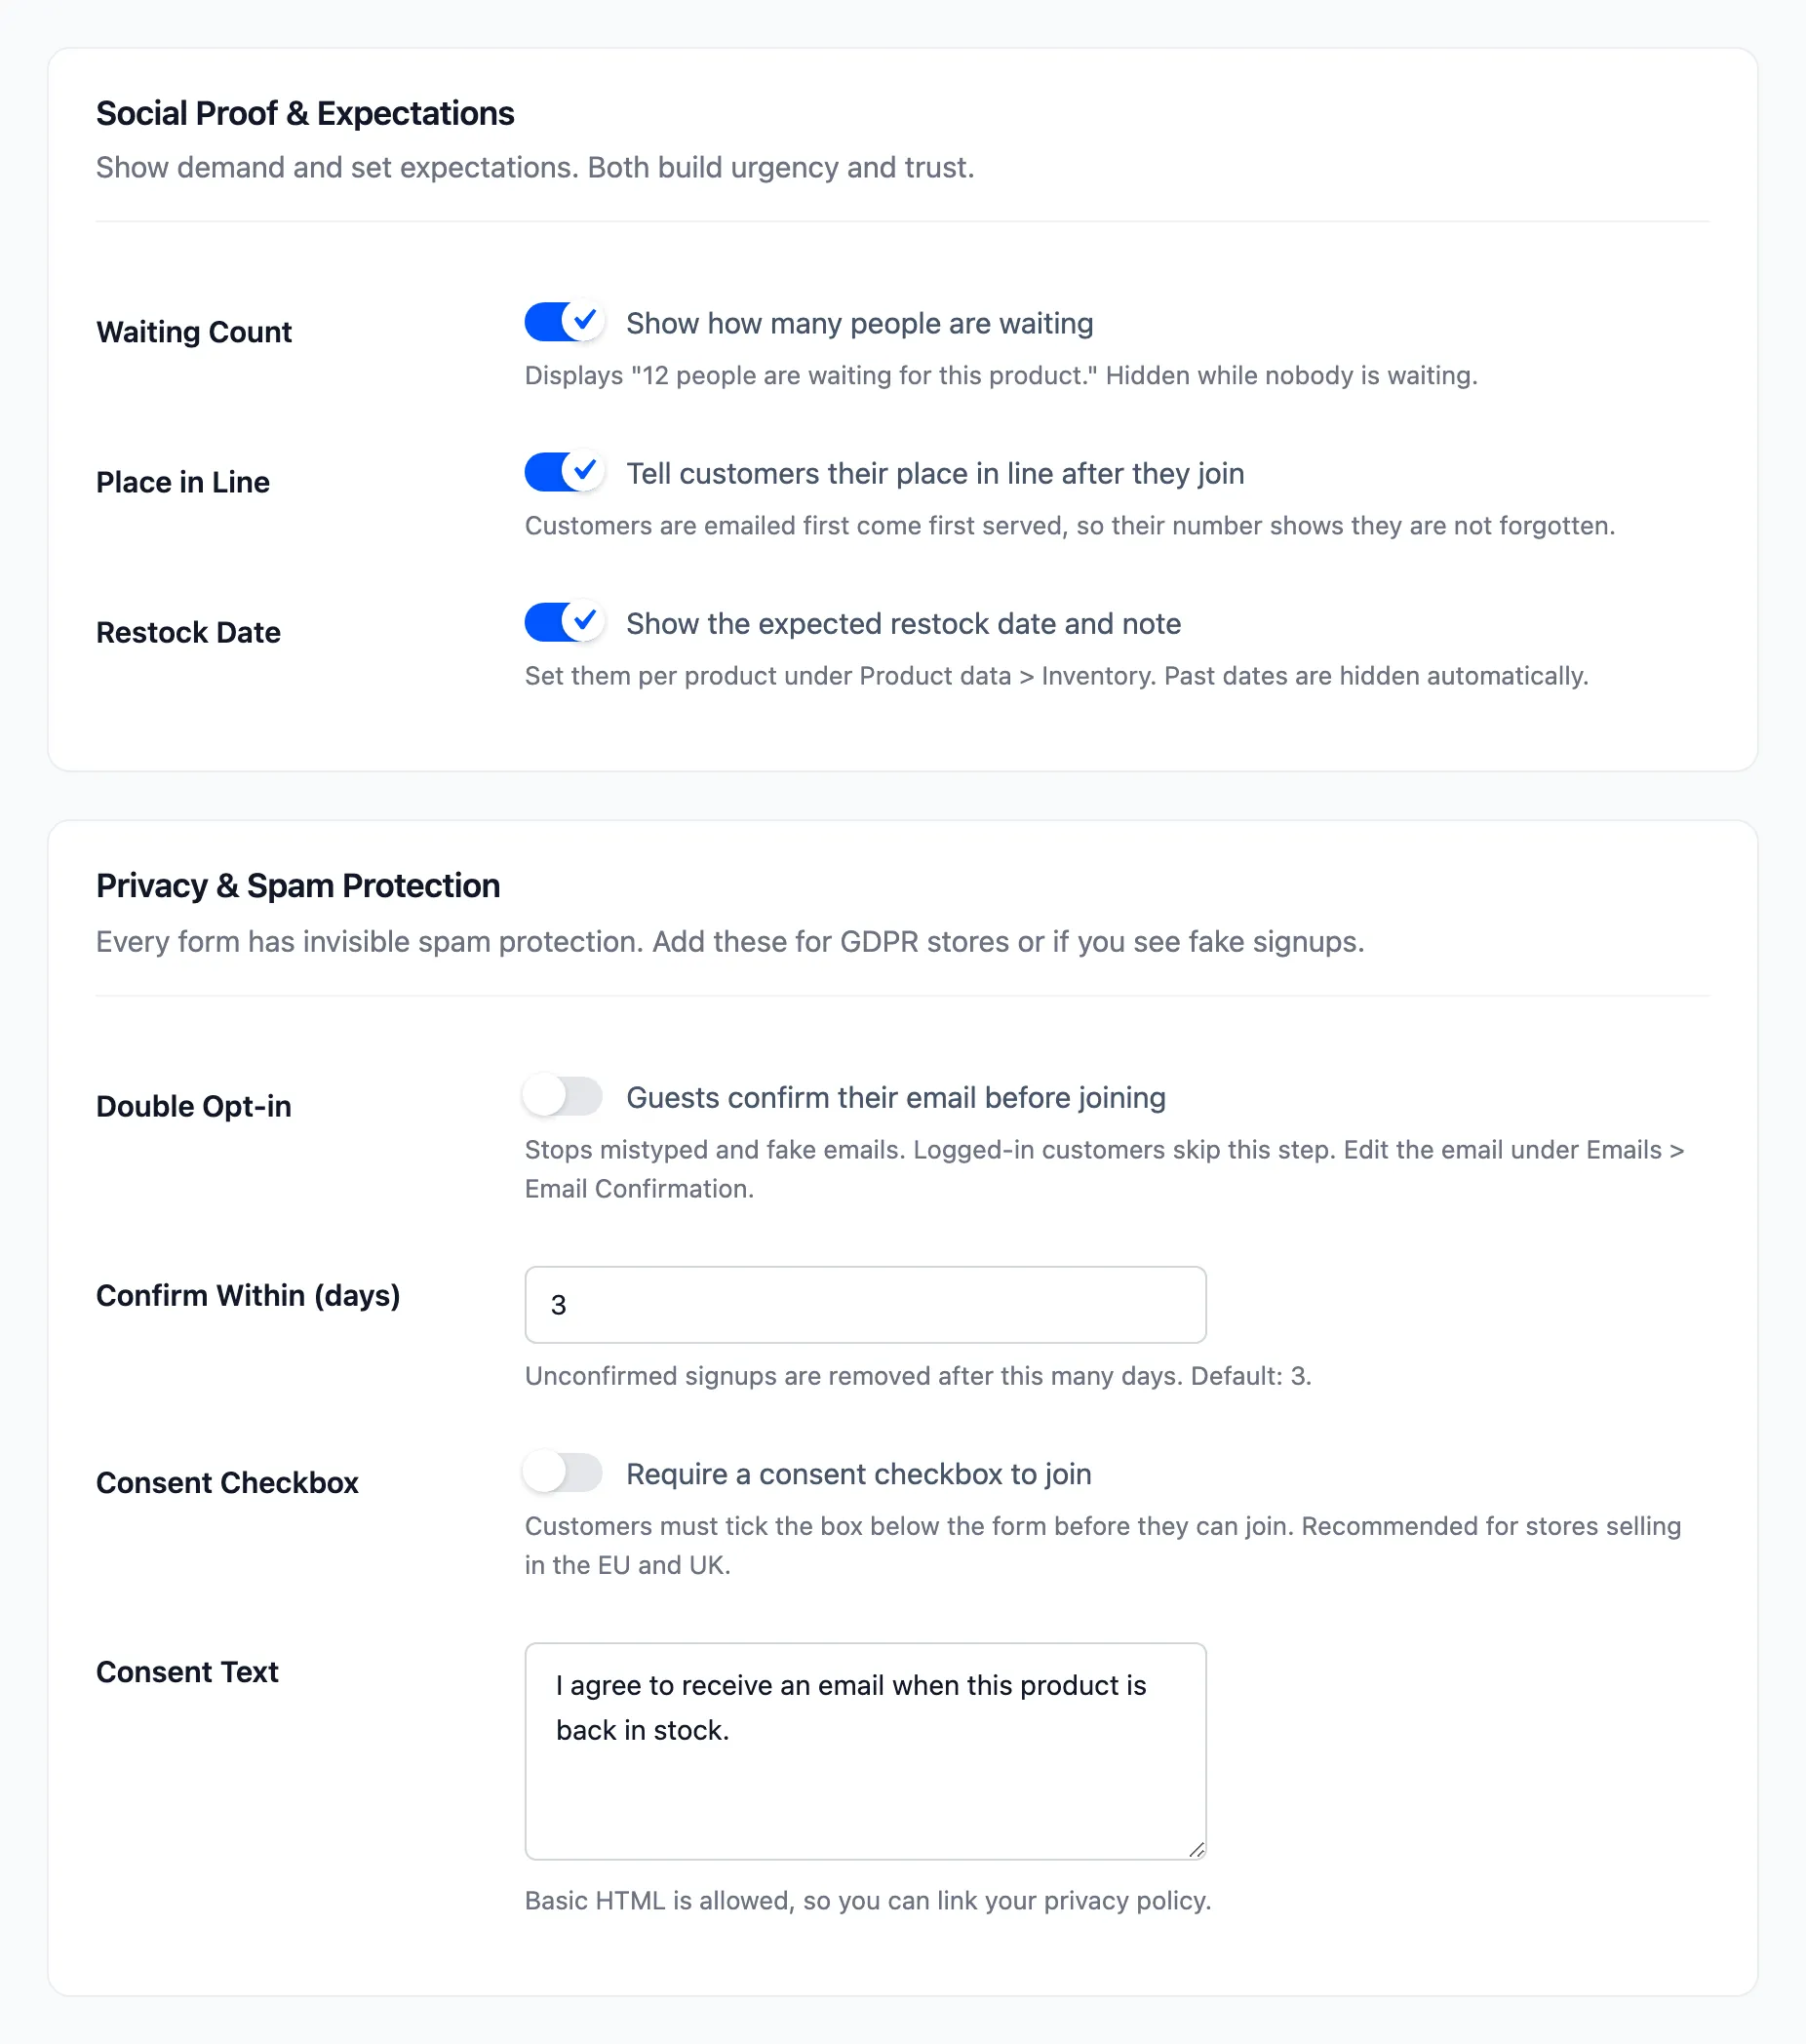
Click Save Changes. The Email Confirmation email switches on with it.
Step 2: Join as a guest
Section titled “Step 2: Join as a guest”A guest enters their email and presses Notify Me. The form says to check their inbox:
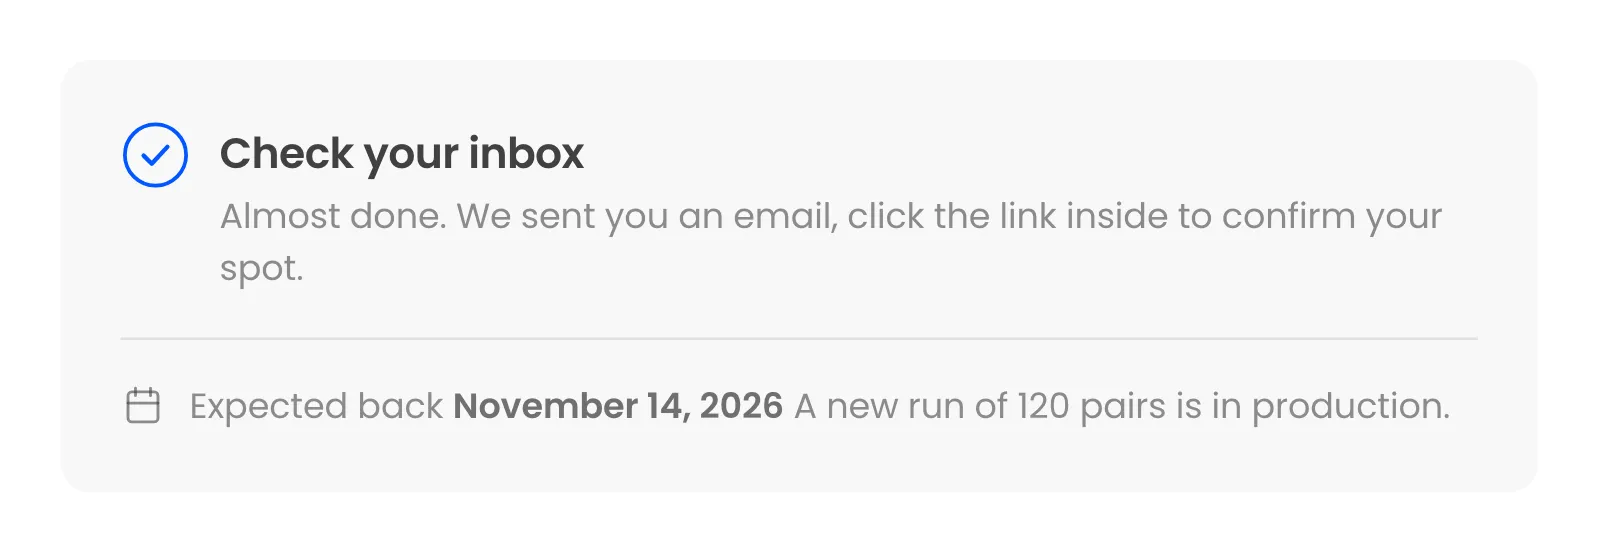
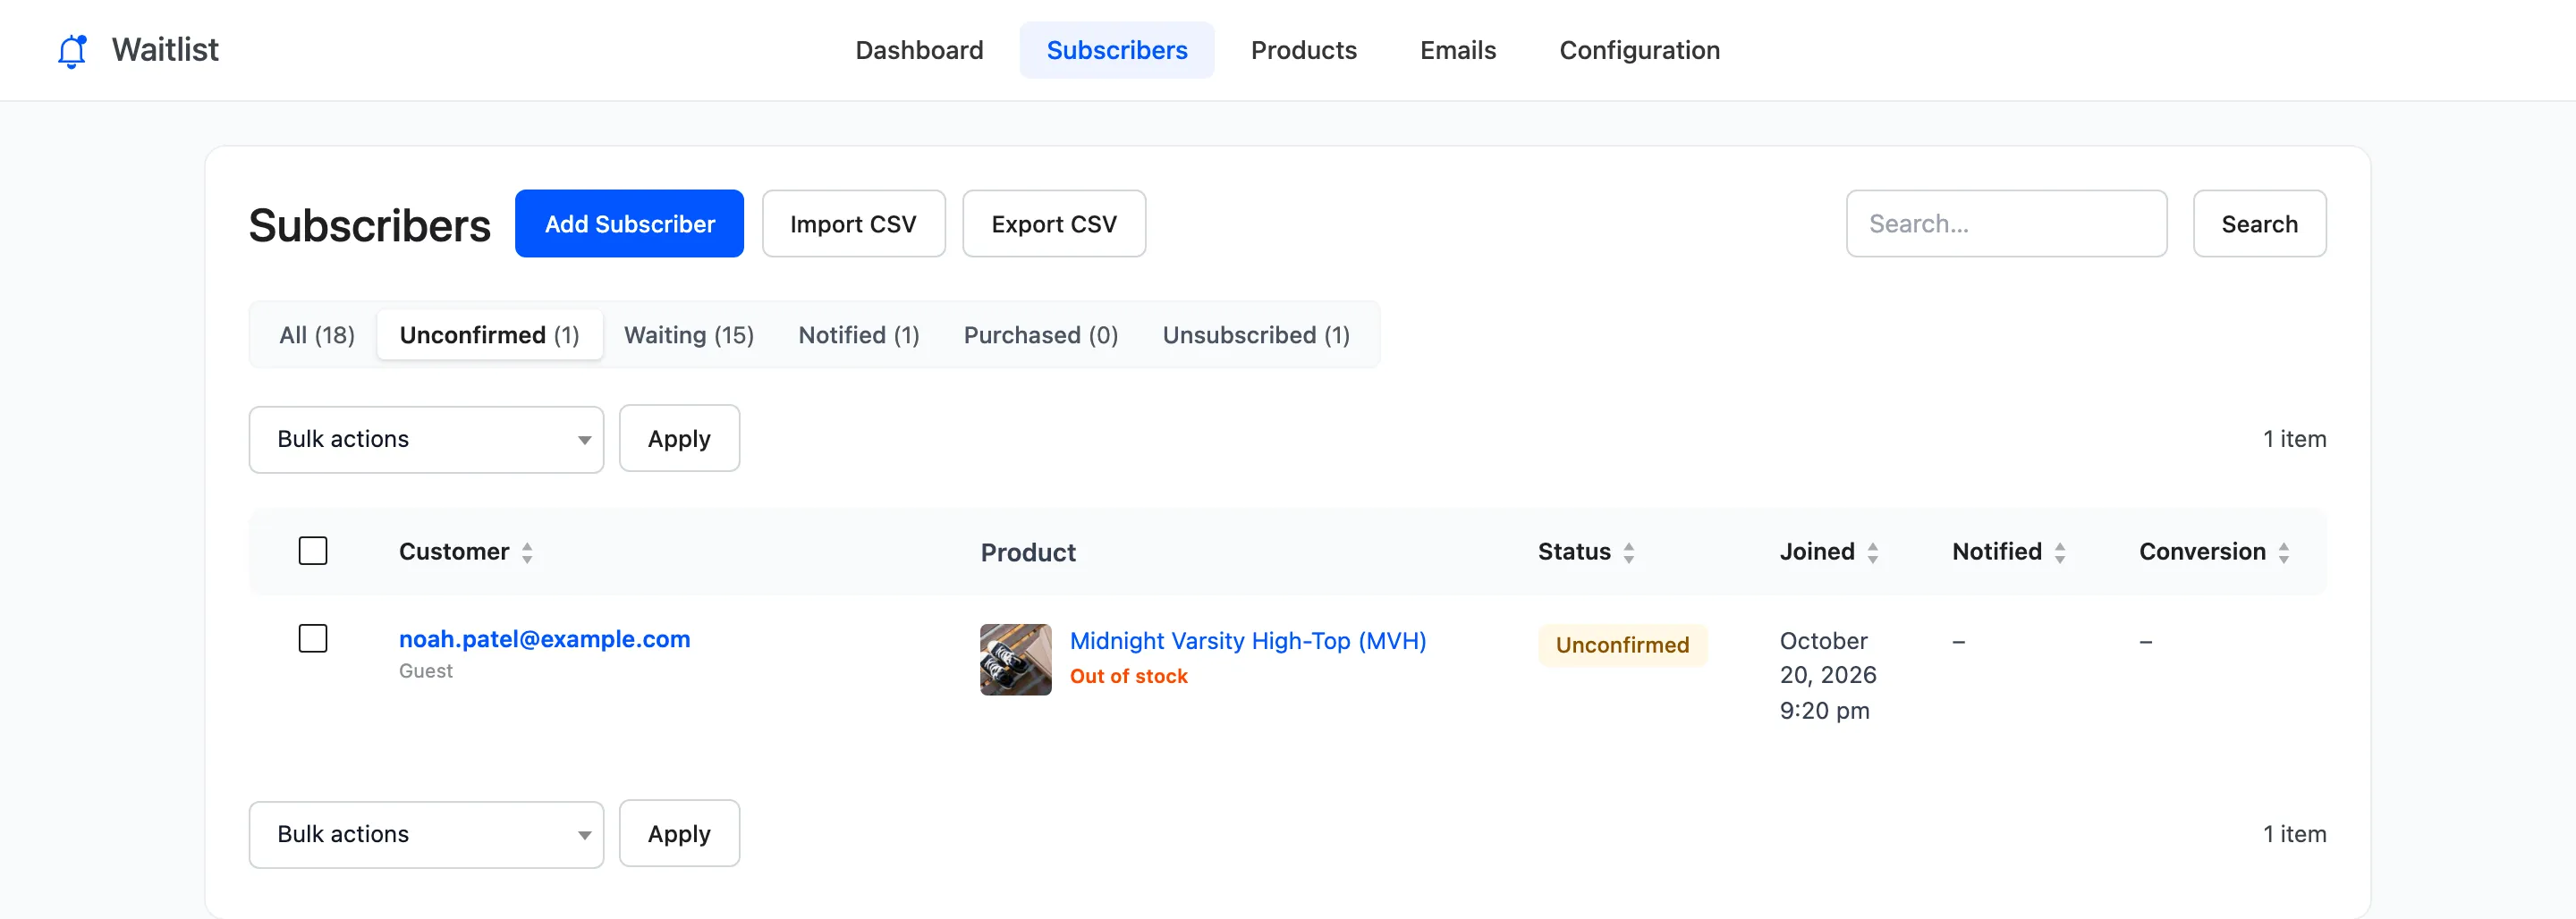
The signup is saved as Unconfirmed. It does not count as waiting, has no place in line, and gets no Signup Confirmation or Admin Alert yet.
Step 3: Click the confirmation link
Section titled “Step 3: Click the confirmation link”The guest receives the Email Confirmation:
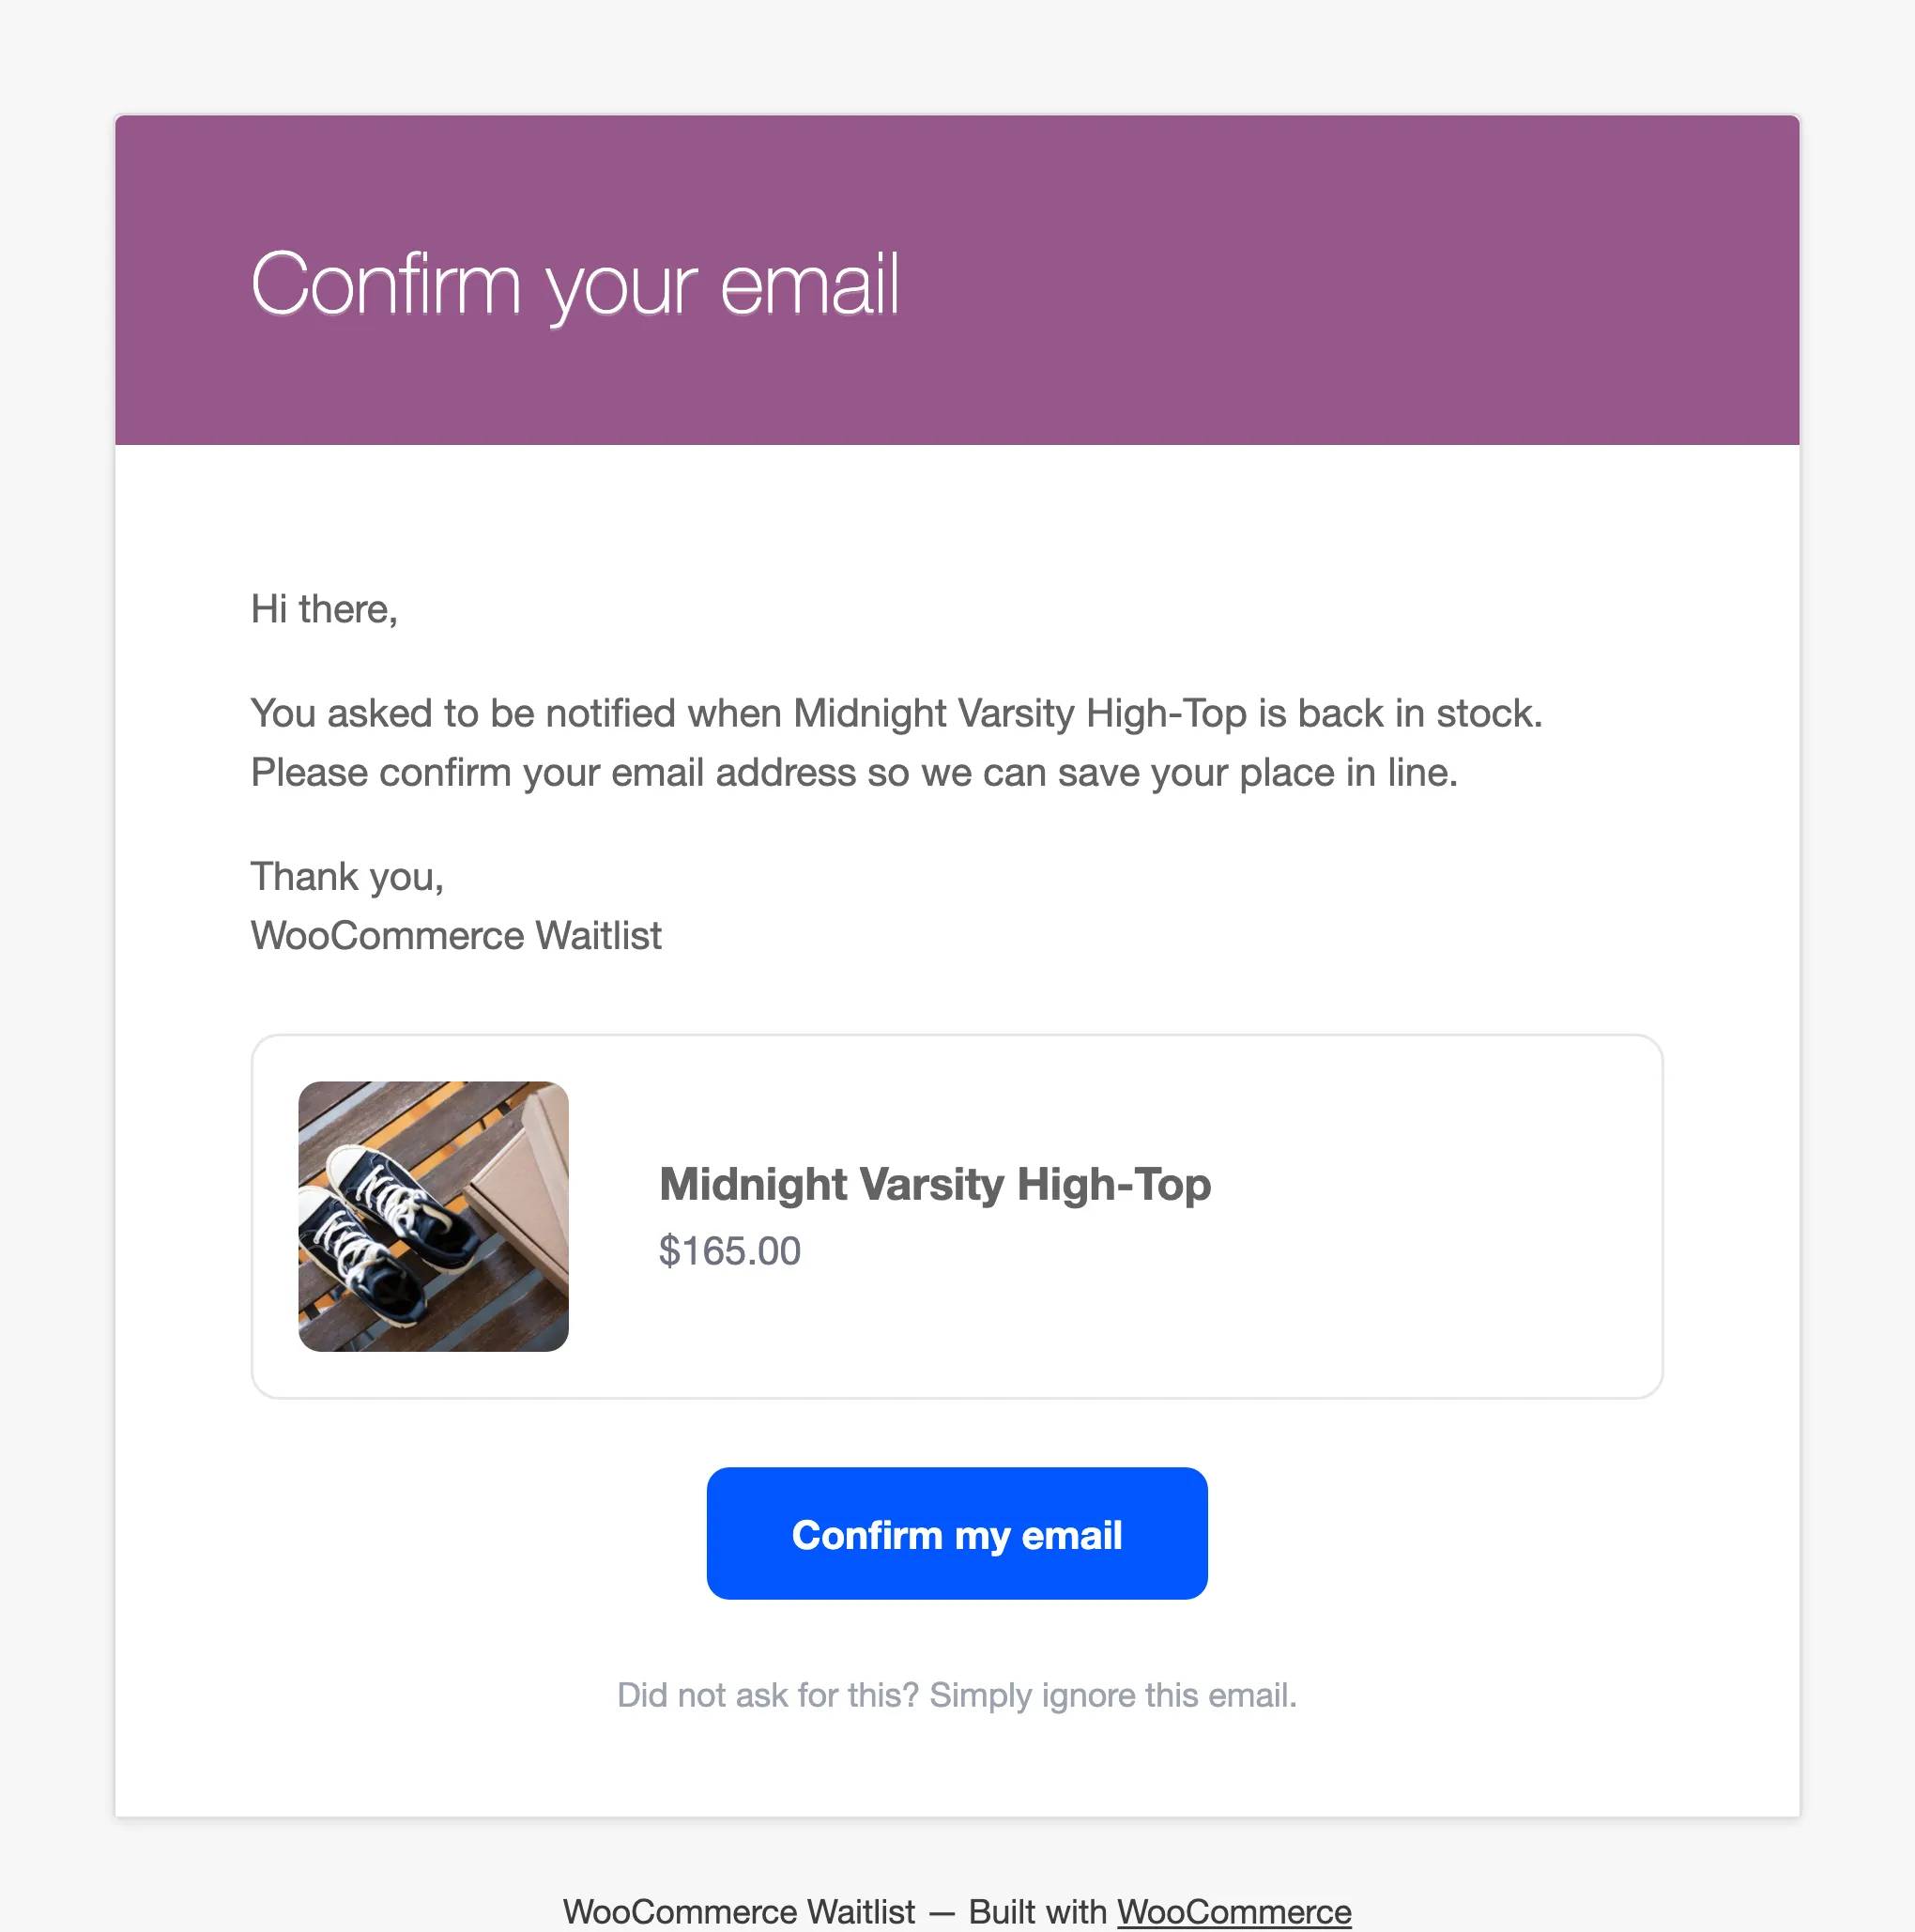
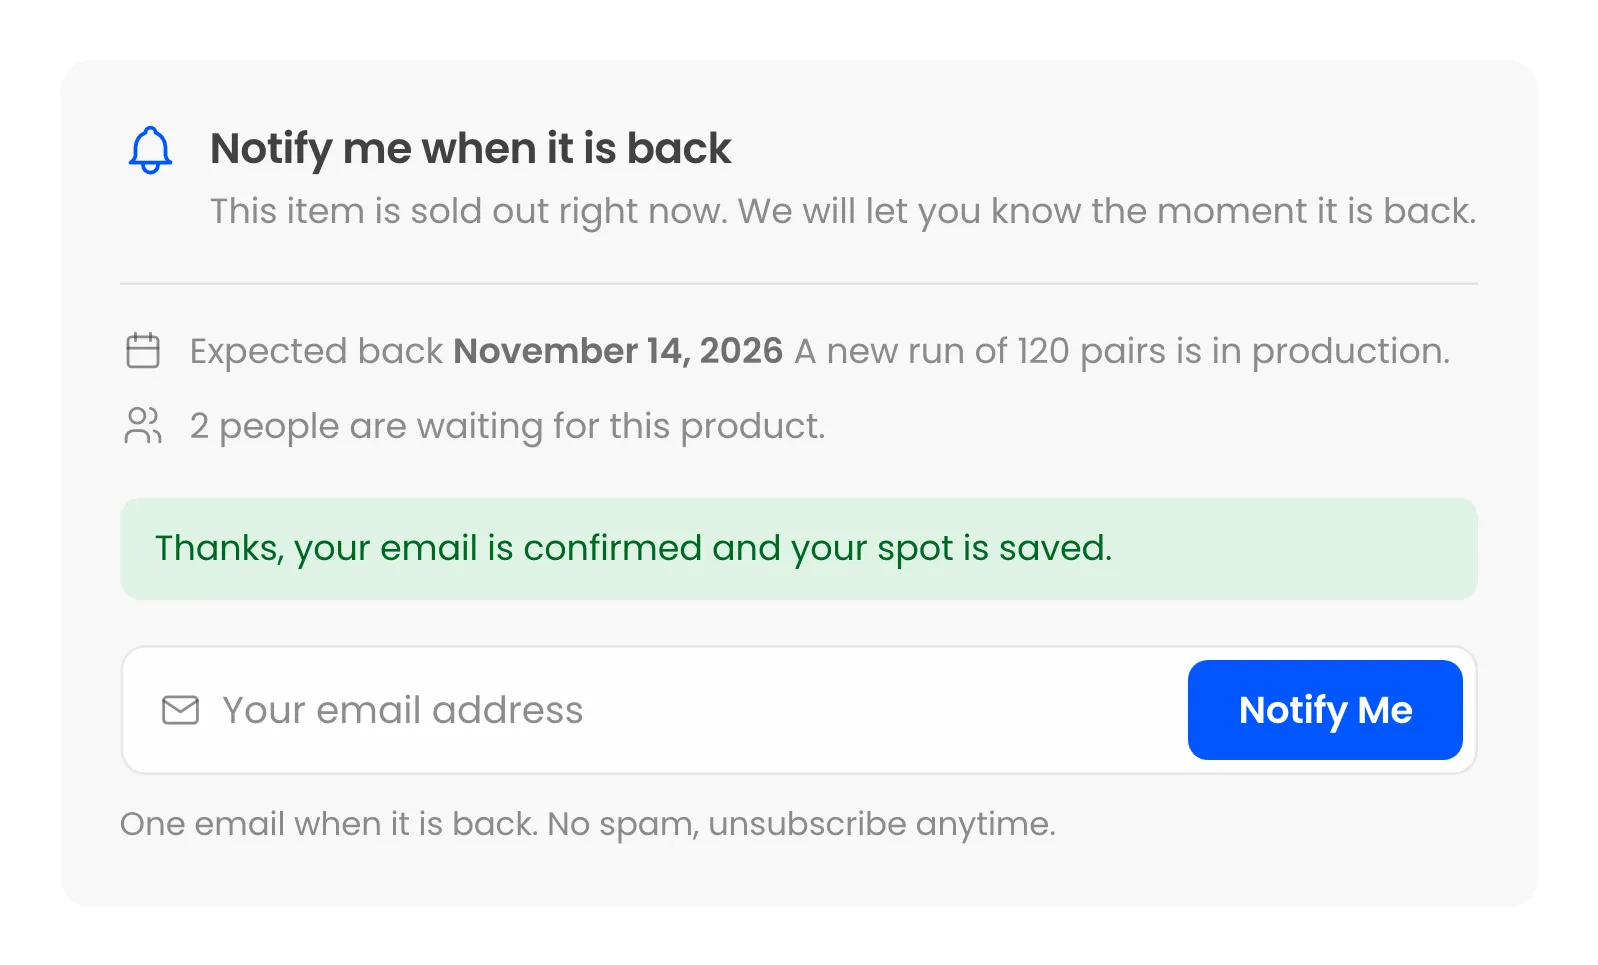
Confirm my email opens the product with a confirmation:
Step 4: Check the signup
Section titled “Step 4: Check the signup”The signup is now Waiting. Its place in line starts at the moment of confirmation, so a guest who confirms late does not jump ahead of people who confirmed earlier. The Signup Confirmation and Admin Alert go out now.
If they never confirm
Section titled “If they never confirm”Unconfirmed signups are deleted once an hour after Confirm Within (days). Nothing is ever sent to them except the one confirmation email.
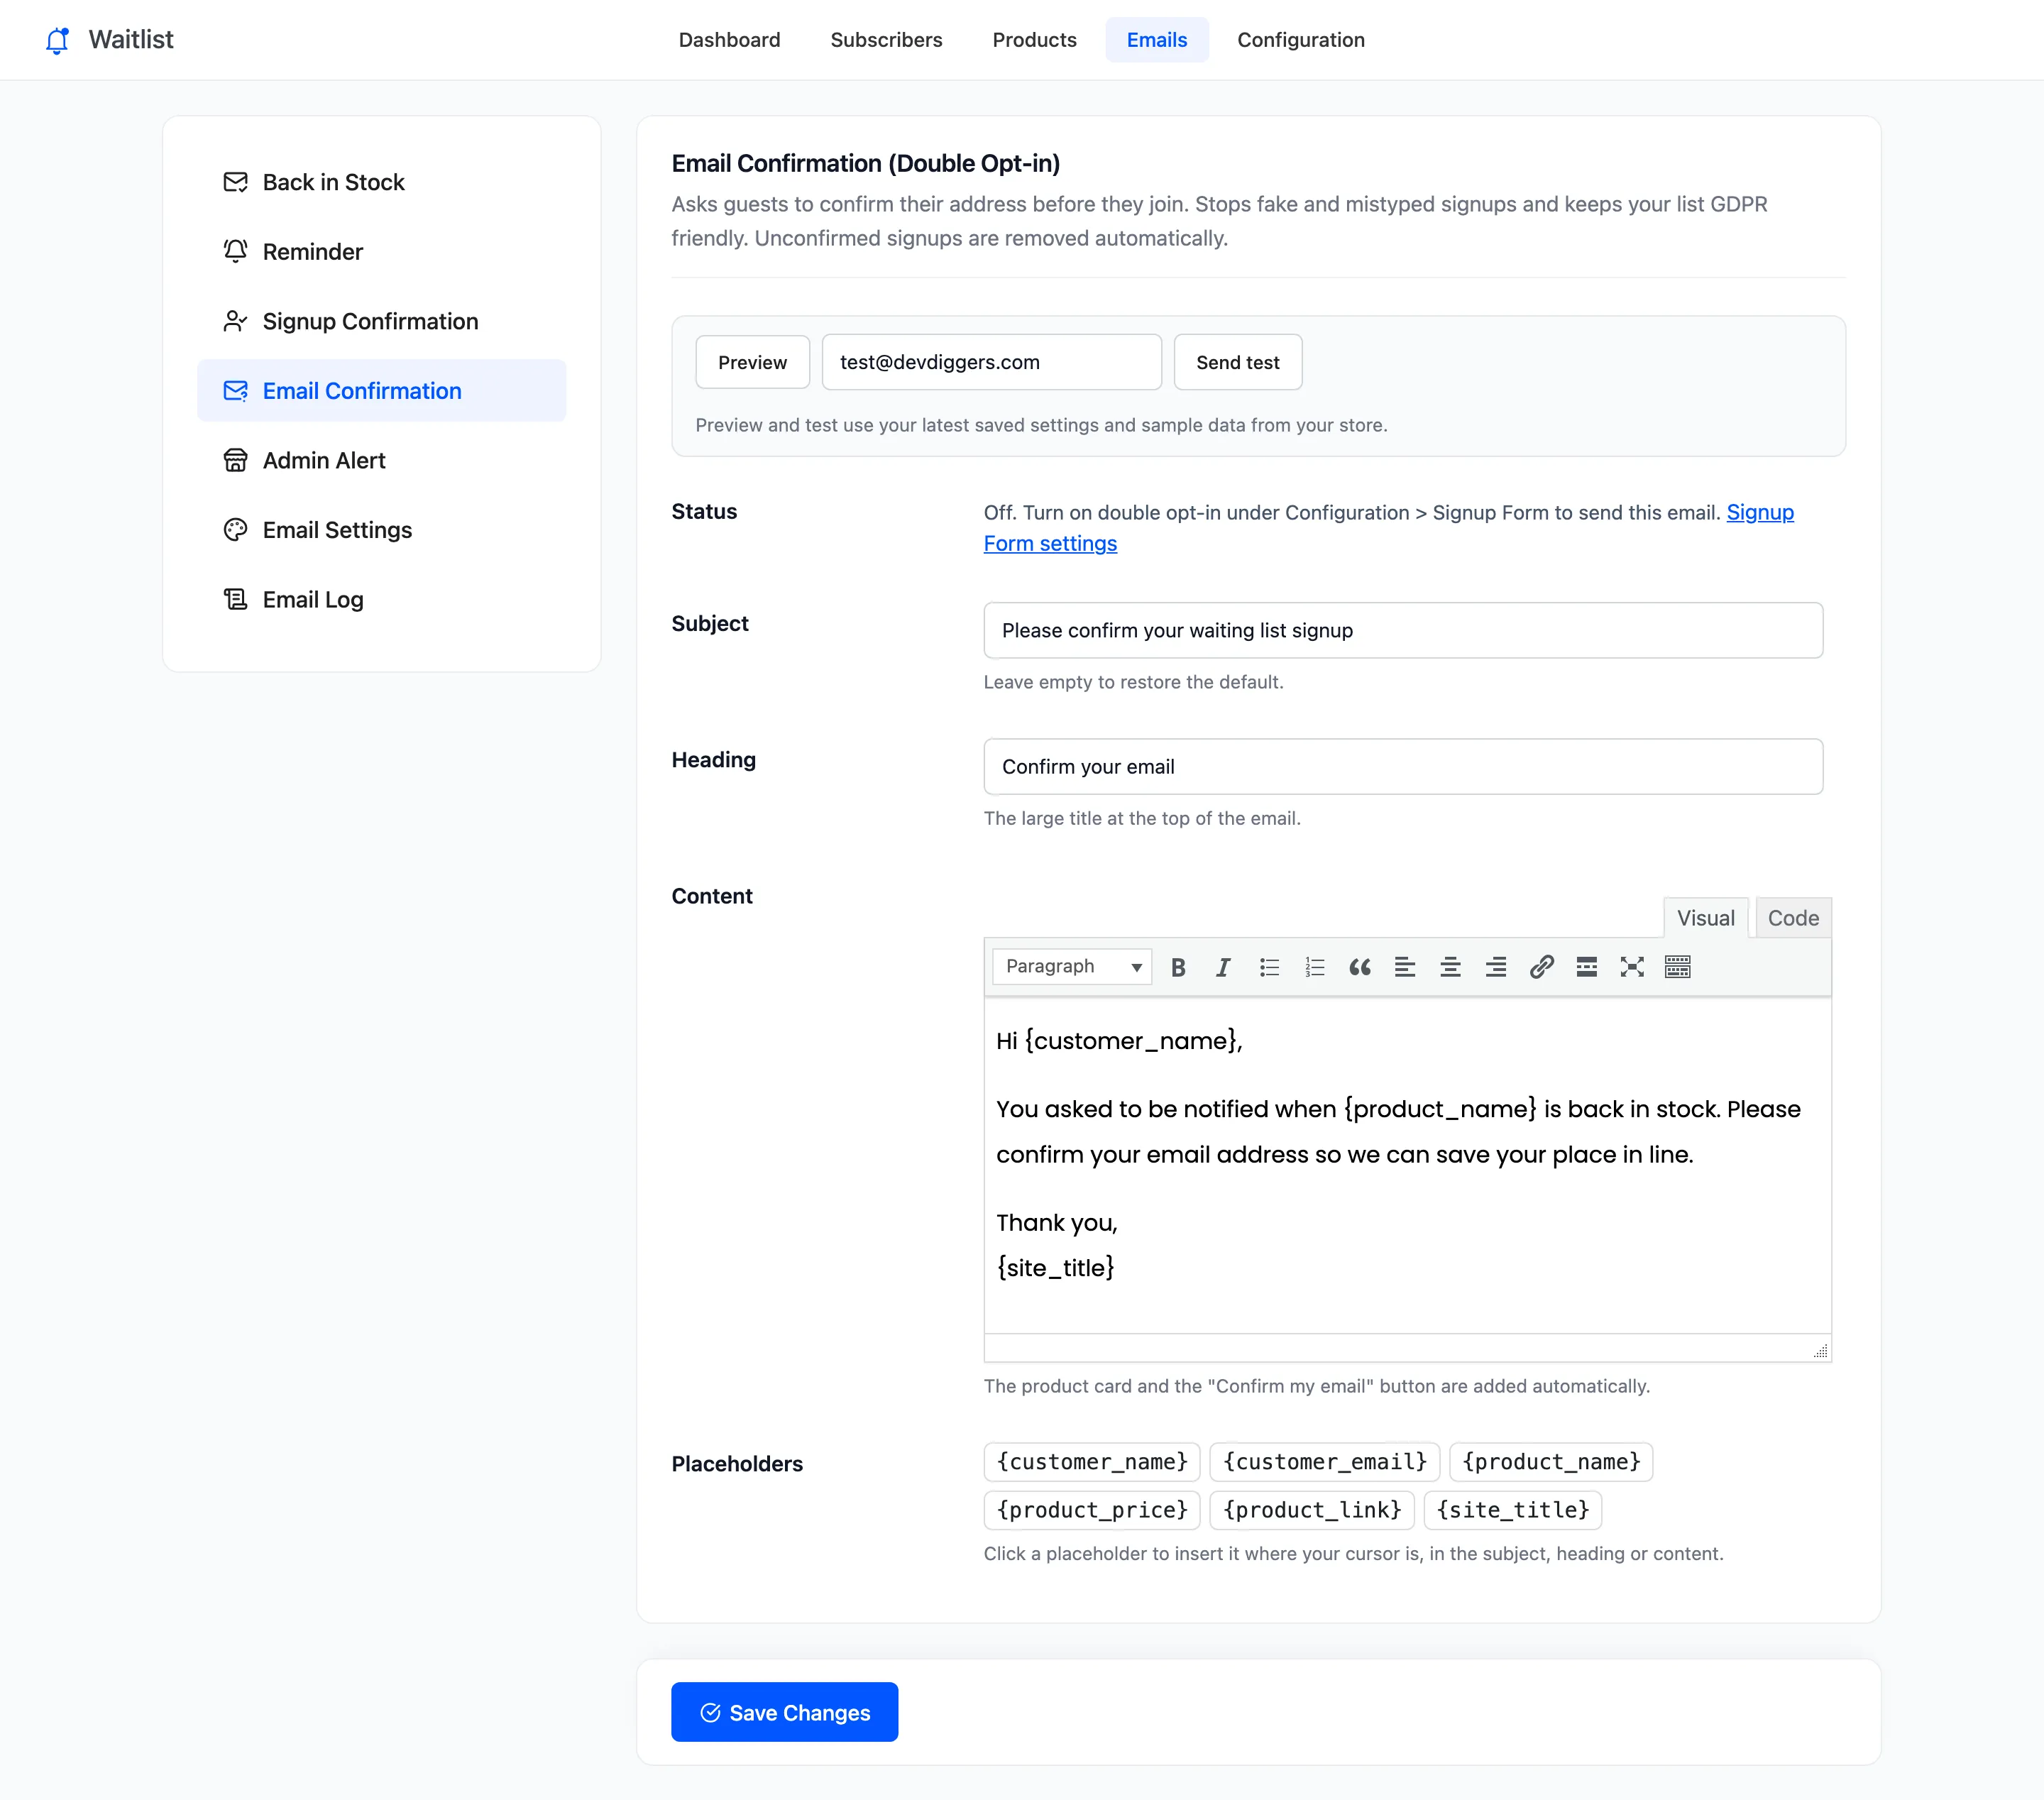
Changing the email
Section titled “Changing the email”Edit its subject, heading and content under Emails → Email Confirmation. Its switch follows Double Opt-in, so it has a Status line in place of Enable/Disable.