

How to Handle Unsubscribes and Privacy Requests
Customers can leave a waitlist whenever they like, without contacting you. When someone does ask you, WordPress’s own privacy tools cover their waitlist data. All of this is in both editions.
Step 1: Let customers leave on their own
Section titled “Step 1: Let customers leave on their own”Three ways, and none needs a password:
-
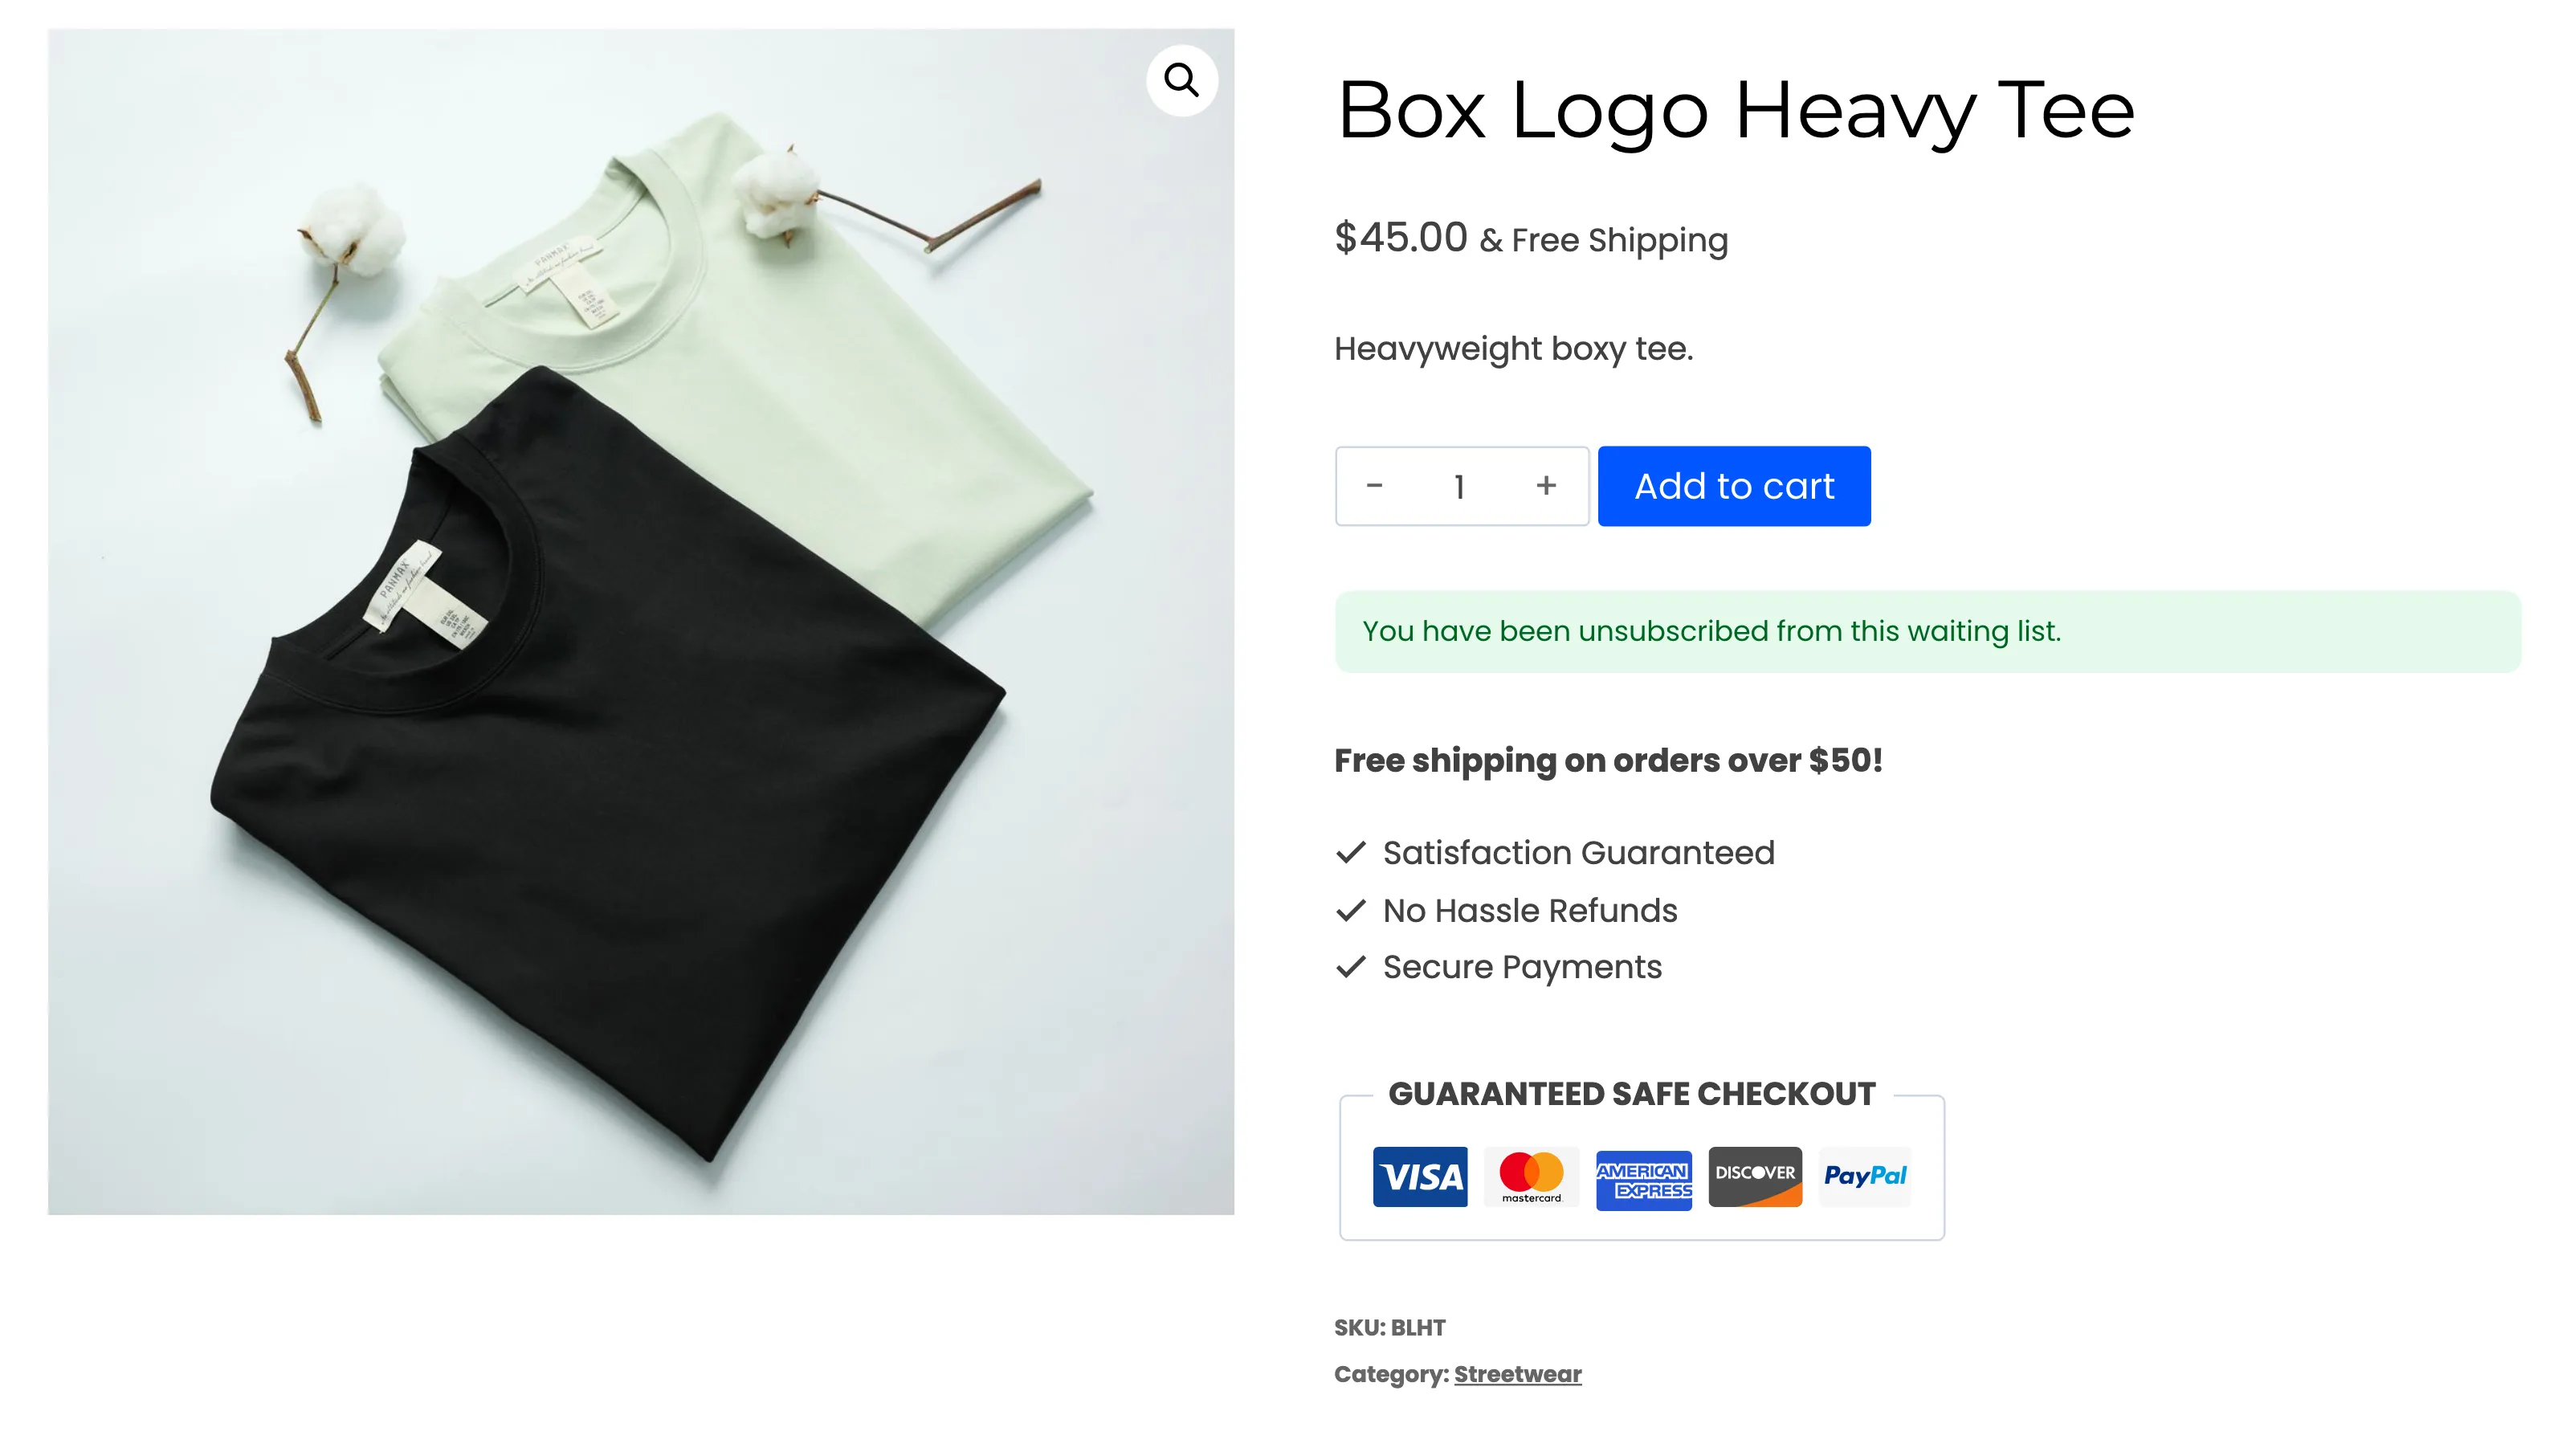
The email link. Every customer email ends with an unsubscribe link. It lands on the product with a confirmation, whether or not the product is back:
-
The product page. A logged-in customer who joined sees Leave waiting list on the form.
-
My Account. My Waiting List has Leave waiting list next to every product they still wait for.
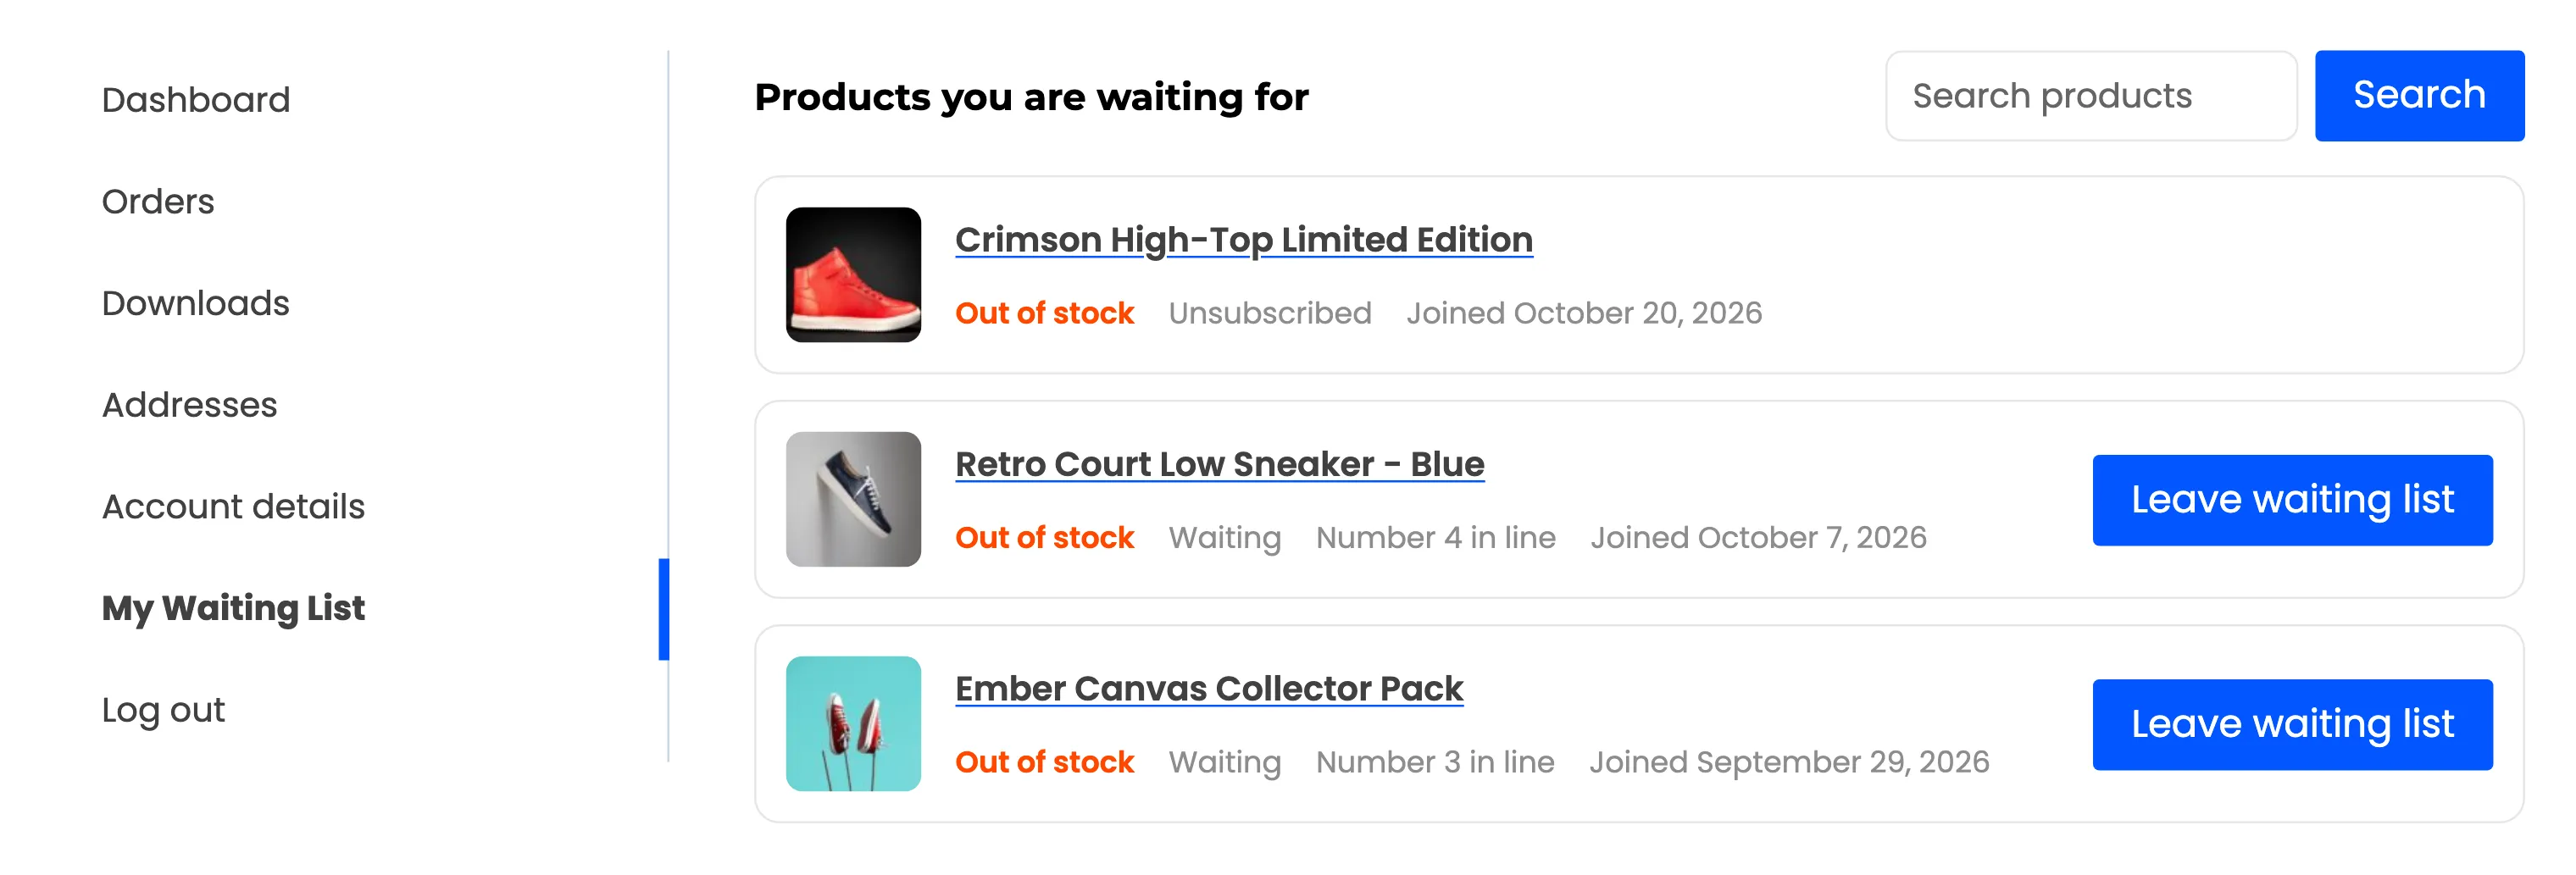
The signup changes to Unsubscribed. It stays on the Subscribers screen for your records and is never emailed again. Pro’s Data Retention (days) deletes it later if you set it.
Step 2: Remove someone yourself
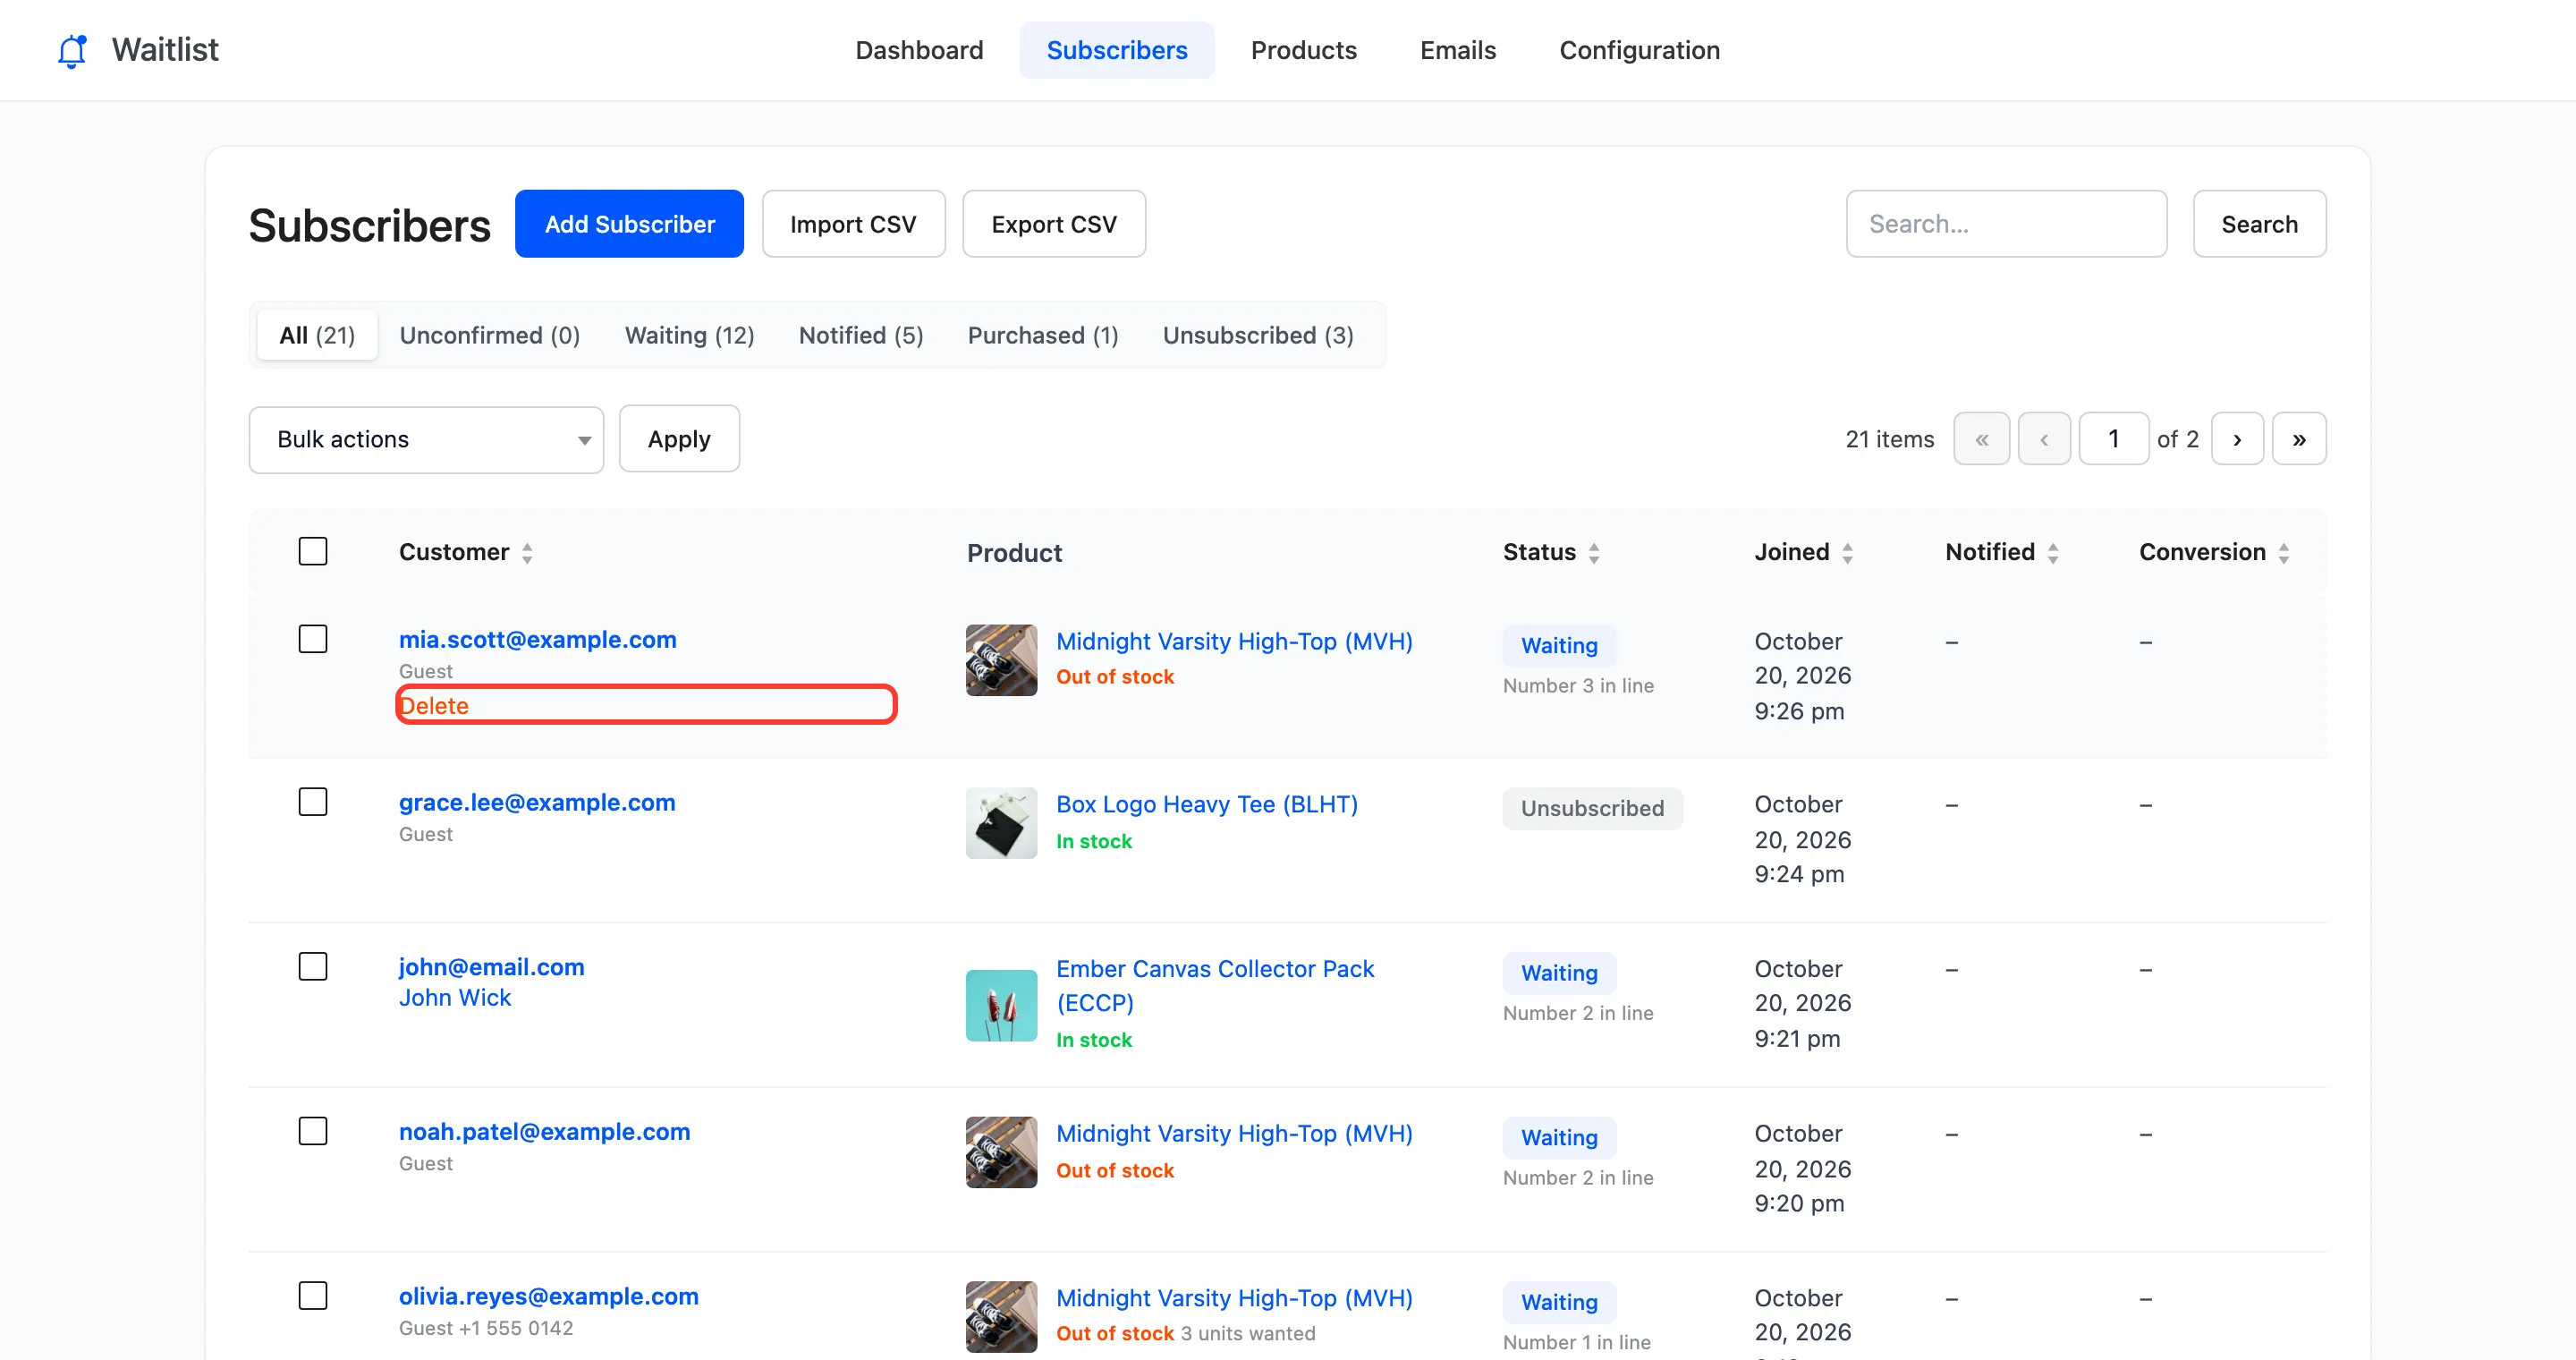
Section titled “Step 2: Remove someone yourself”Open Subscribers, search their email, hover the row and click Delete, or tick several rows and use the Delete bulk action. Delete removes the signup outright and sends nothing.
Step 3: Export their data on request
Section titled “Step 3: Export their data on request”Go to Tools → Export Personal Data, enter the customer’s email and send the request. Once confirmed, the export includes a Waiting List Subscriptions group: each product, its status and the date they joined.
Step 4: Erase their data on request
Section titled “Step 4: Erase their data on request”Go to Tools → Erase Personal Data and process the request for their email. Every signup with that email is deleted. In Pro, their Email Log entries go too.
Spam signups
Section titled “Spam signups”The form’s invisible spam protection stops most bots. If fake addresses still get through, turn on the consent checkbox, or Pro’s double opt-in, which saves nobody who does not click the link in their inbox.