

How to Add Notify Me Buttons to Shop Pages (Pro)
Many customers never open a sold out product, because the shop grid already says it is gone. A Notify Me button in the grid catches them where they are.
Step 1: Turn on Shop Pages
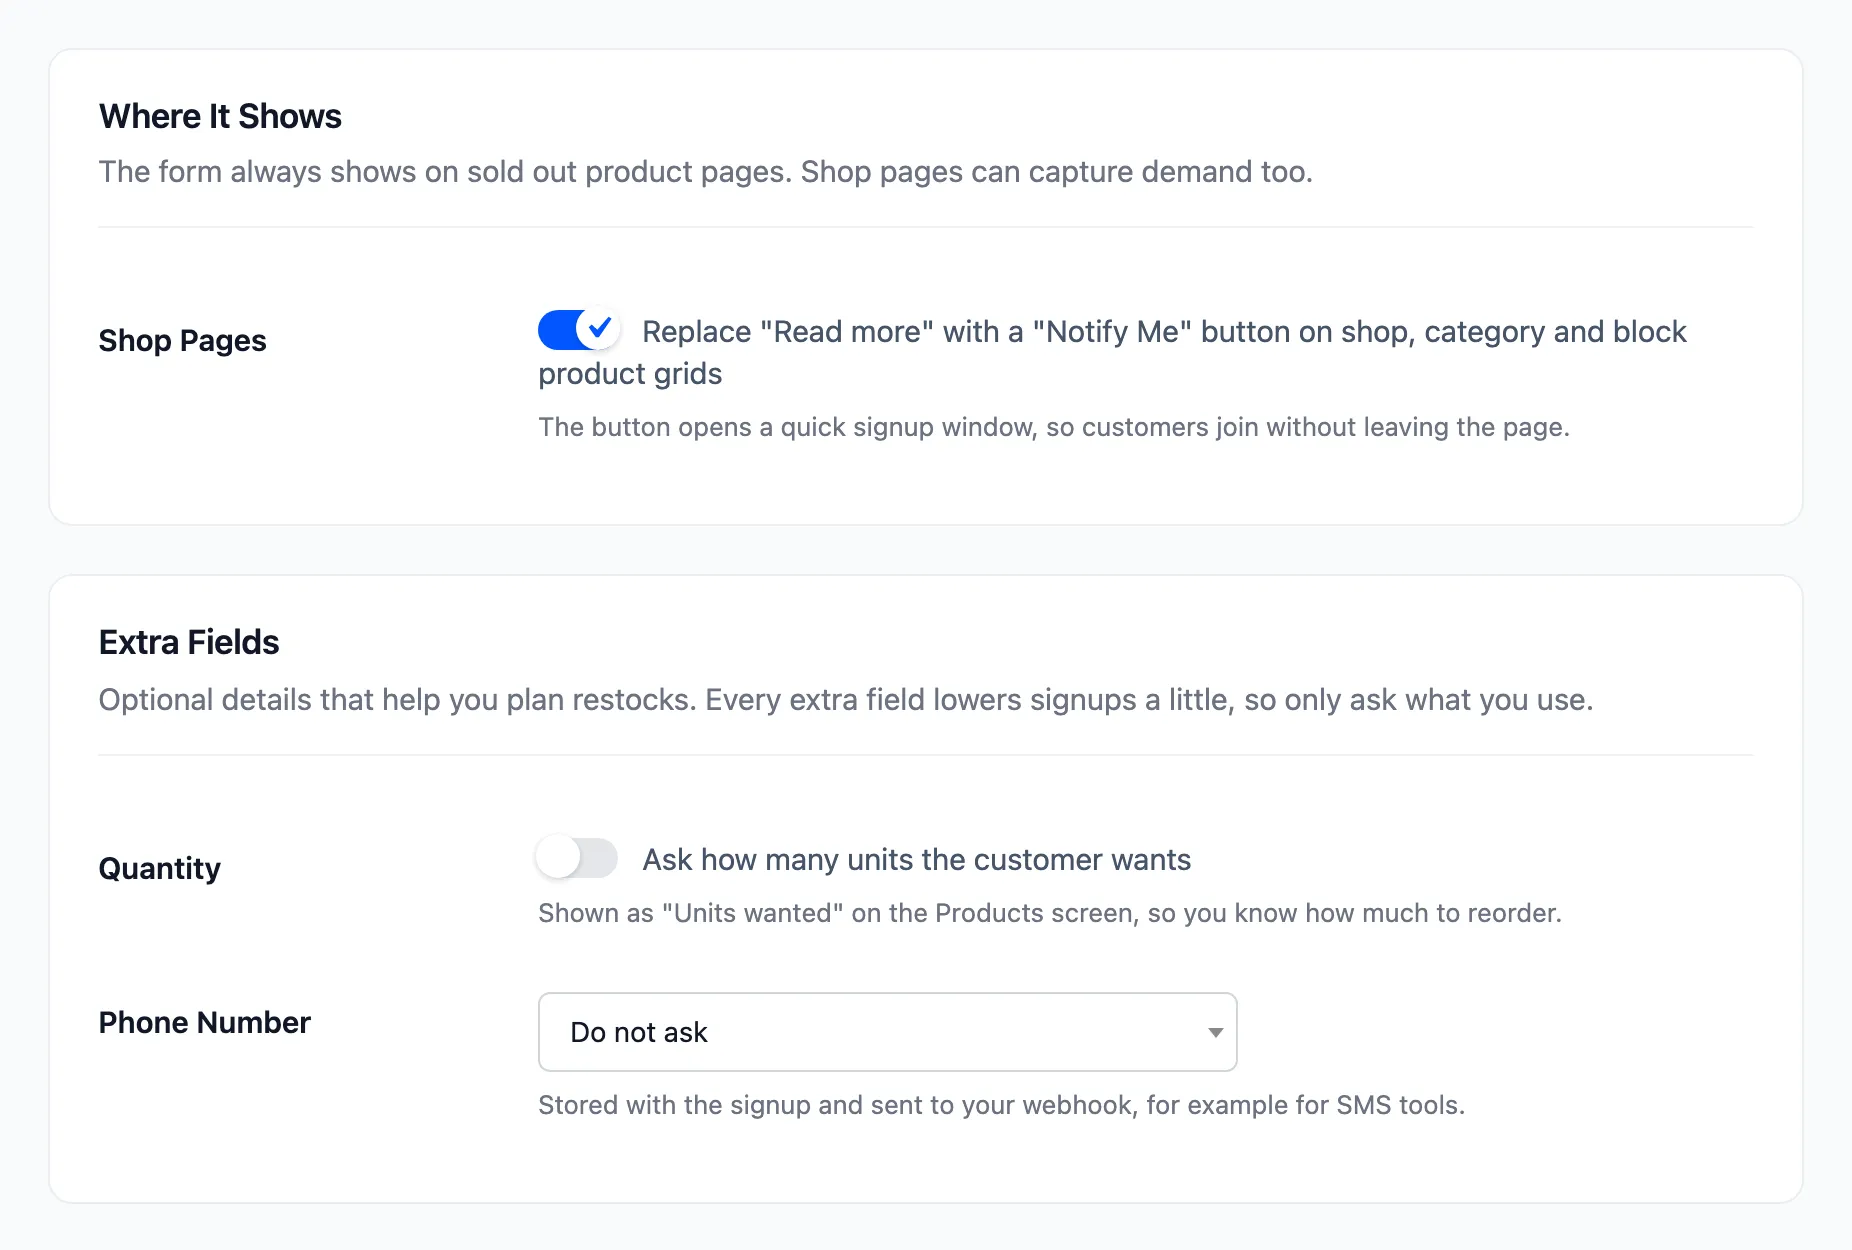
Section titled “Step 1: Turn on Shop Pages”Open Configuration → Signup Form and tick Shop Pages under Where It Shows. It is on by default. Click Save Changes.
Step 2: Open the shop
Section titled “Step 2: Open the shop”Every sold out product in the shop, its categories and the WooCommerce product blocks now shows Notify Me:
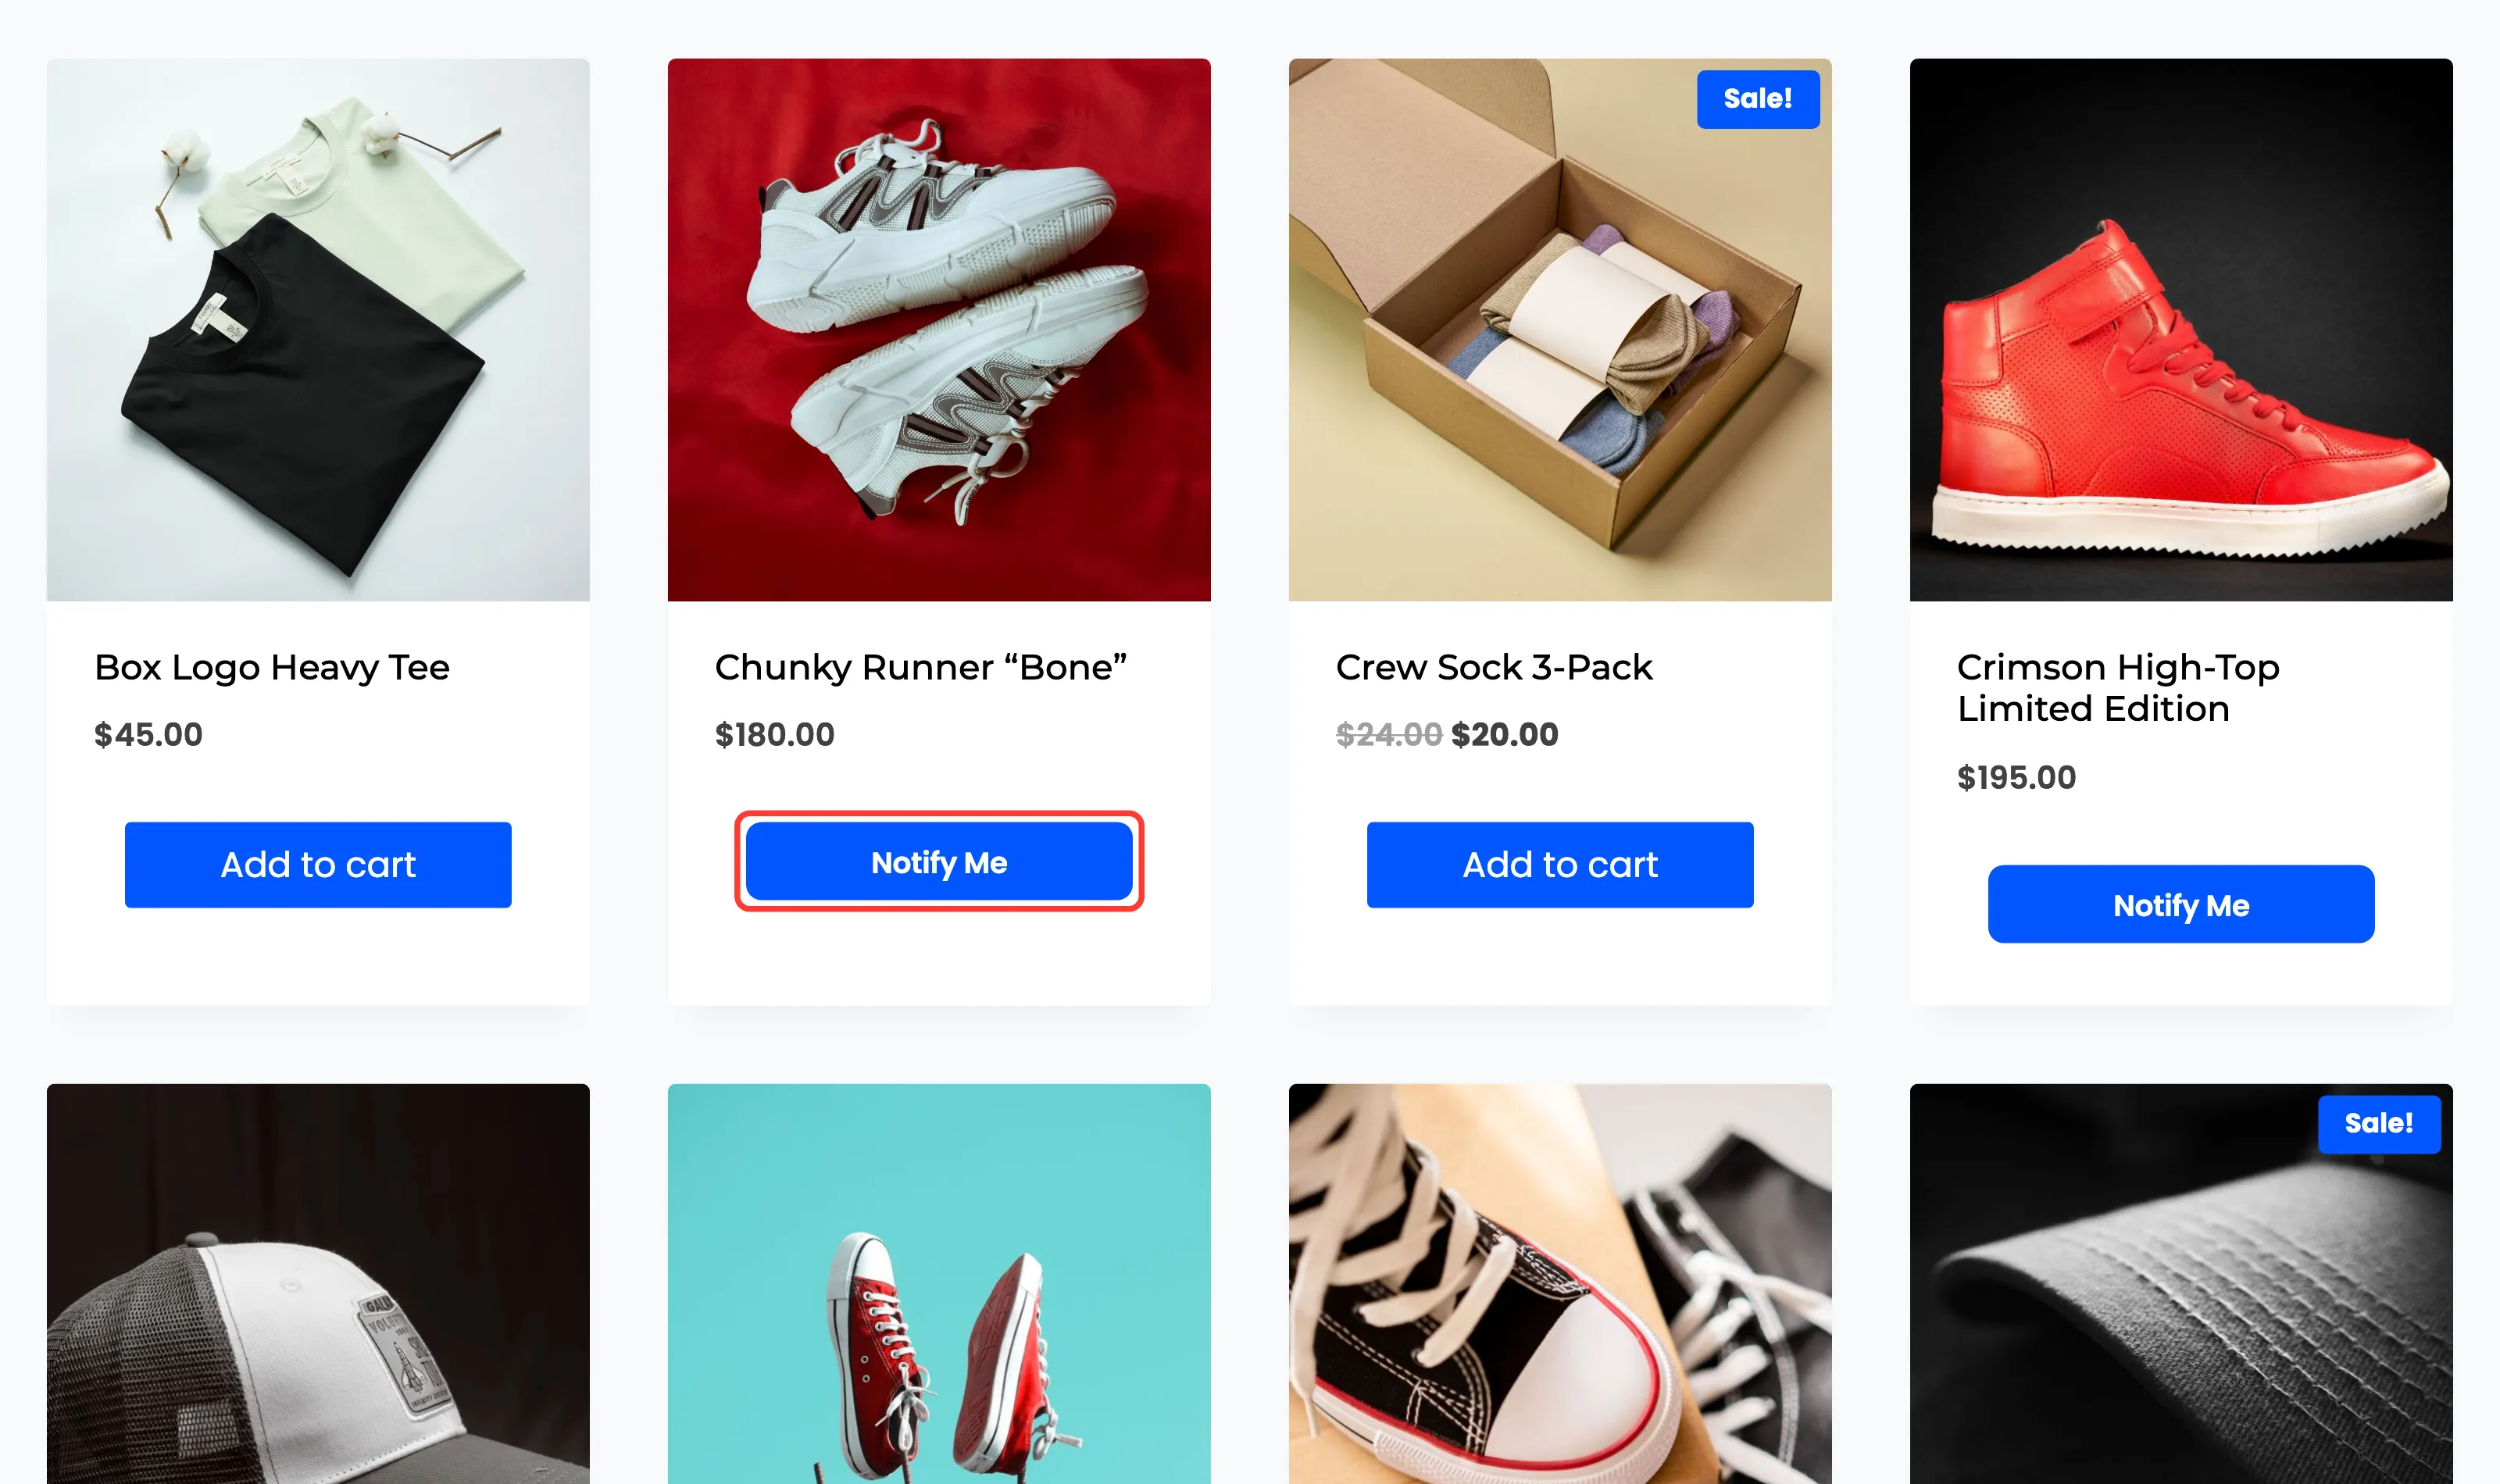
The button uses Button Text, Button Color and Button Text Color from the Signup Form tab.
A variable product shows the button only when every variation is sold out. If one is in stock, the product can be bought, so it keeps its normal button and customers pick a sold out variation on the product page.
Step 3: Join from the window
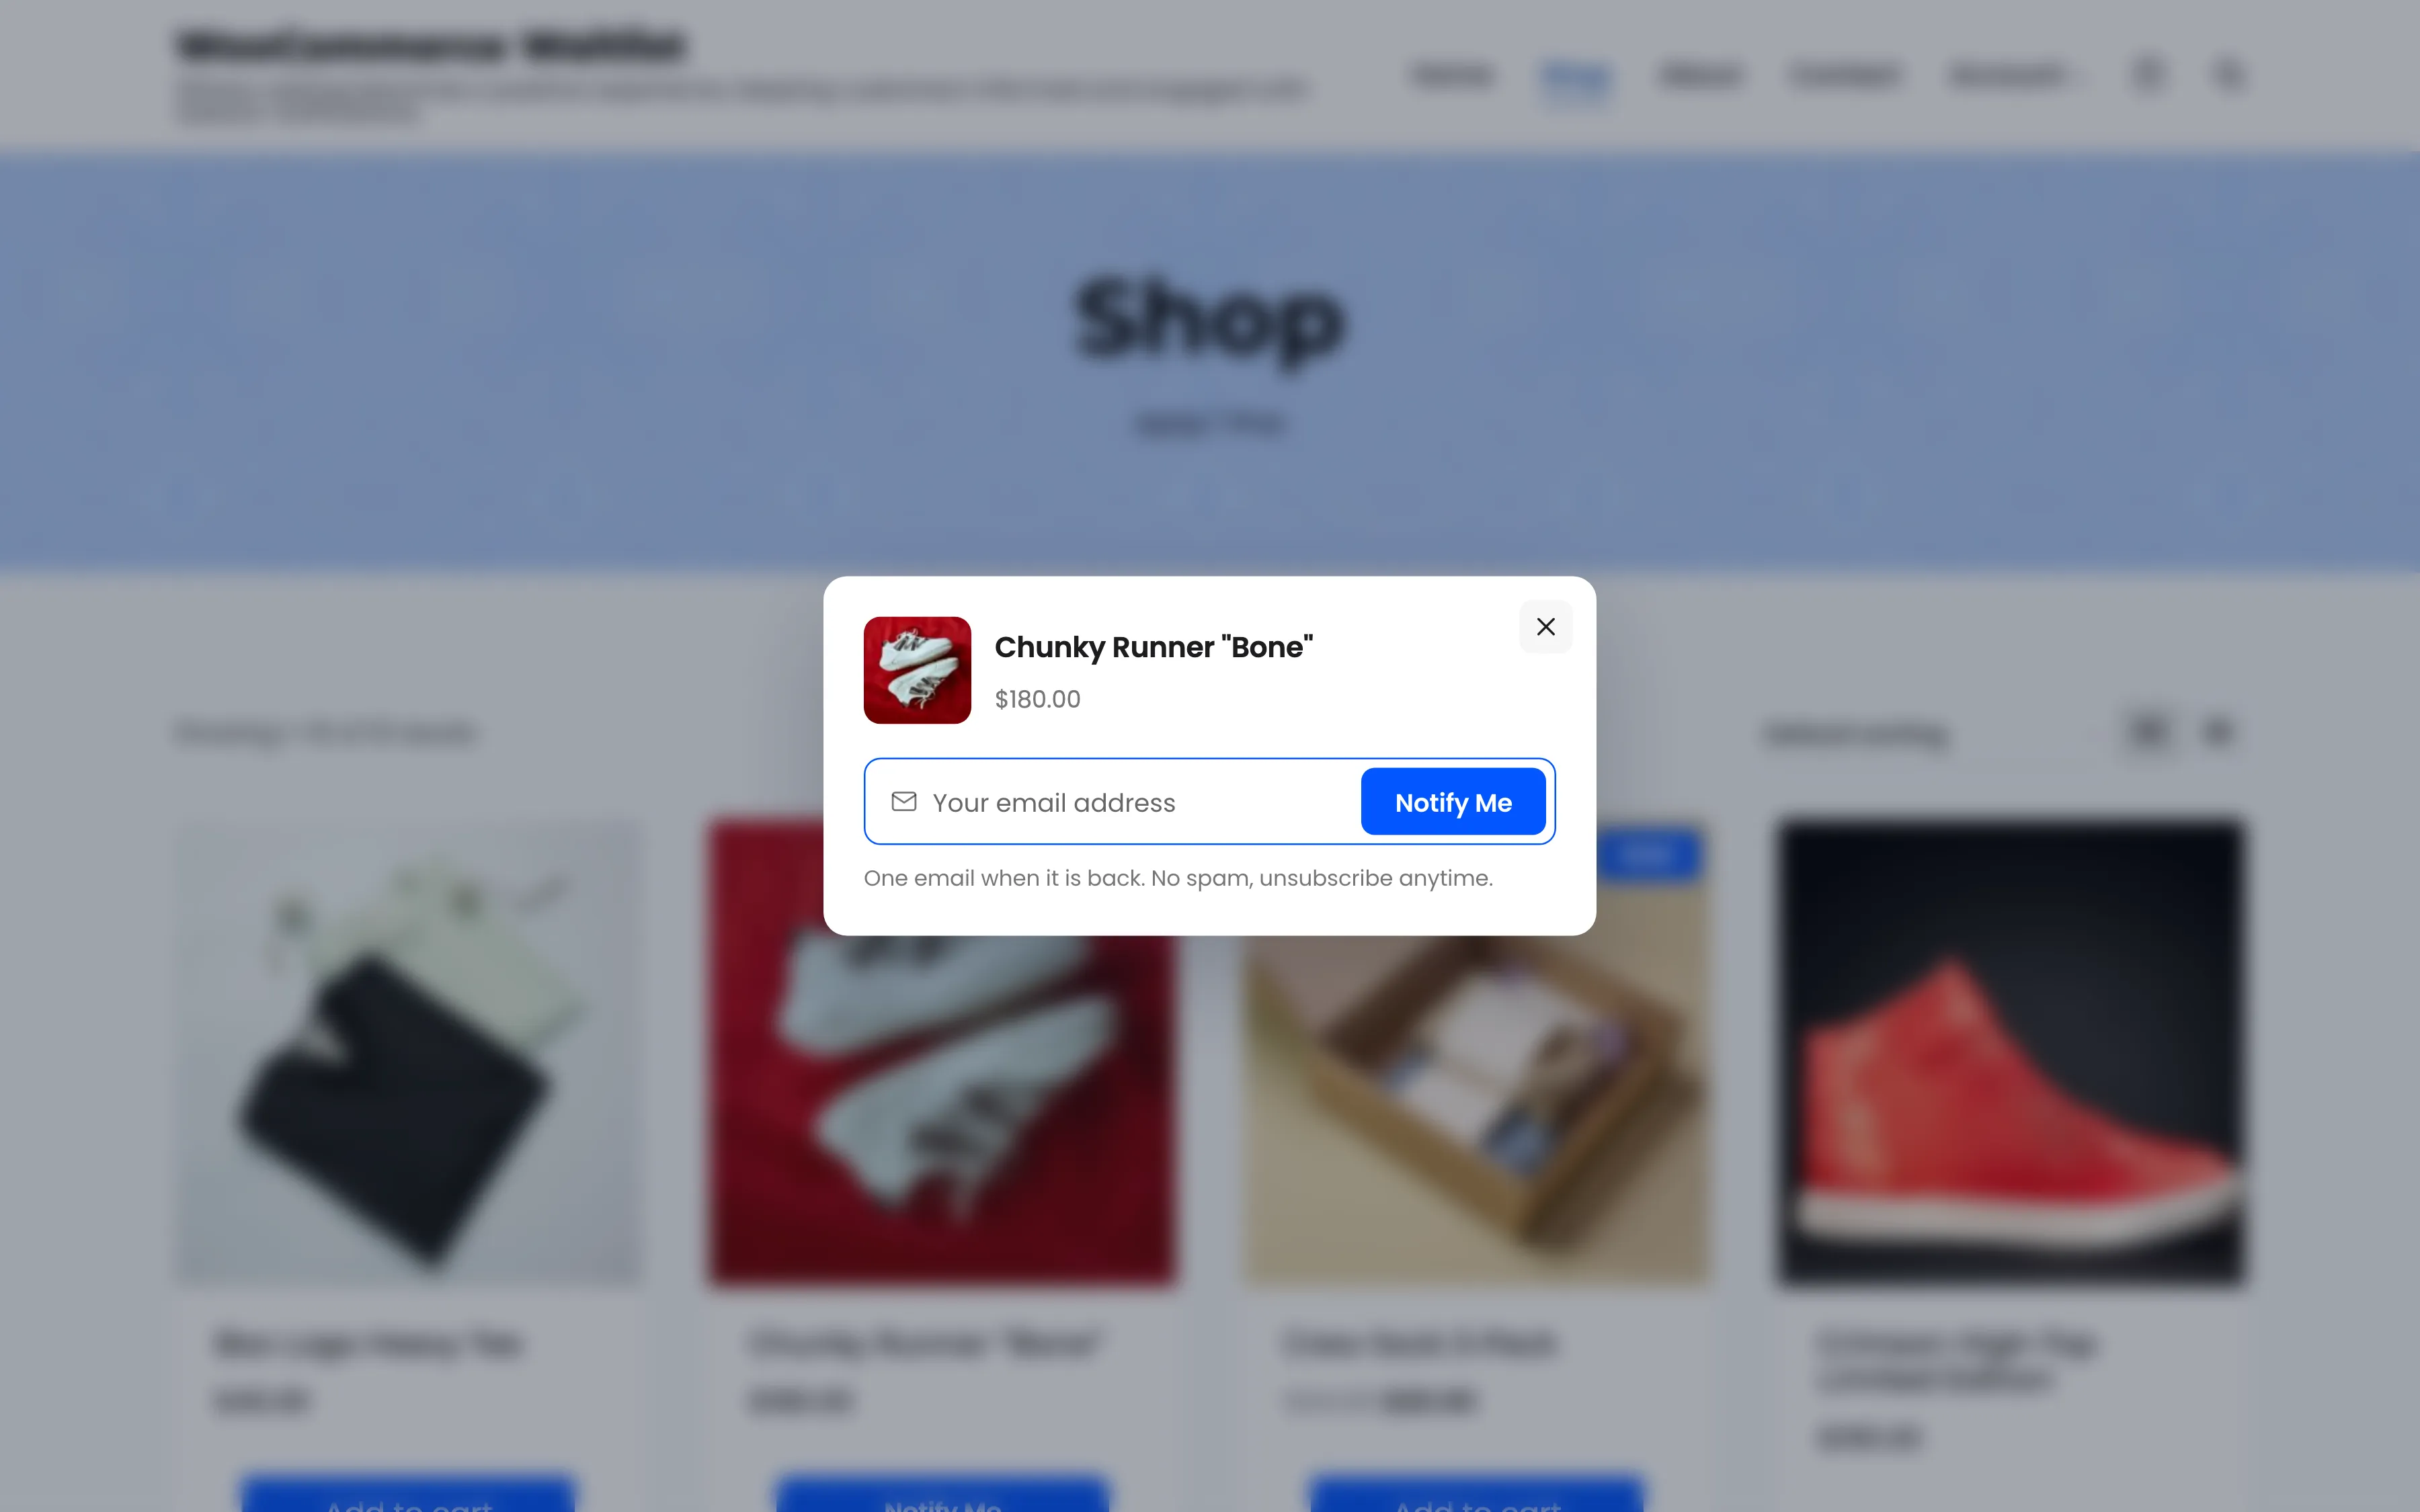
Section titled “Step 3: Join from the window”Notify Me opens a window with the product’s image, name, price and the same form:
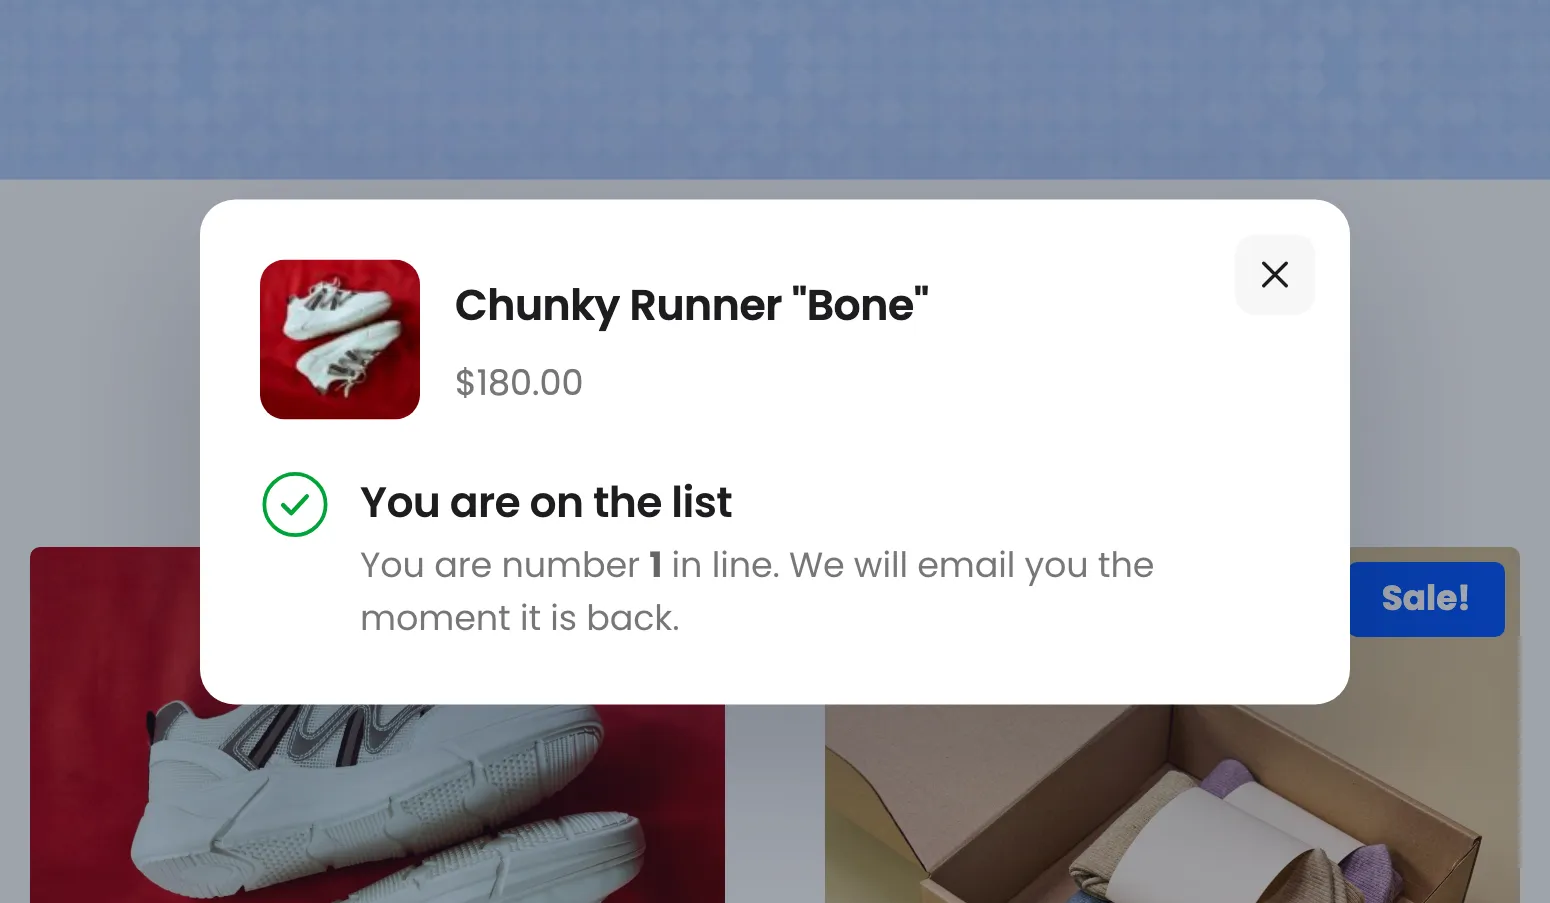
After joining, the window shows the place in line. Close it with the cross, the Escape key or a click outside.
For a variable product the window adds an Option menu listing its sold out variations.
Themes that hide shop buttons
Section titled “Themes that hide shop buttons”Some themes show a product card’s button only on hover. The Notify Me button follows the theme like any other button there. If your theme hides it until hover, a small CSS rule under Appearance → Customize → Additional CSS can show it all the time. The demo’s theme needed this one:
.woocommerce ul.products li.product .product-details .product-action-wrap { position: static !important; opacity: 1 !important; transform: none !important; visibility: visible !important;}The class names belong to the theme, so yours will differ.
With page caching
Section titled “With page caching”The button and the window work with full page caching: the window loads the form fresh for each visitor.