

How to Send Waitlist Events to Zapier With Webhooks (Pro)
A webhook hands each waitlist event to another tool the moment it happens. With Zapier, Make or n8n in the middle, no code is needed. A signup can land in your email marketing list, a sale in your CRM, and a restock in a Slack channel. The steps below use Zapier. The others work the same way.
Step 1: Create a catch hook
Section titled “Step 1: Create a catch hook”In Zapier, create a Zap and pick Webhooks by Zapier with the Catch Hook trigger. Zapier gives you a
URL like https://hooks.zapier.com/hooks/catch/123456/abcdef/. Copy it.
Step 2: Paste the URL and pick events
Section titled “Step 2: Paste the URL and pick events”Open Configuration → Integrations and paste it into Webhook URL.
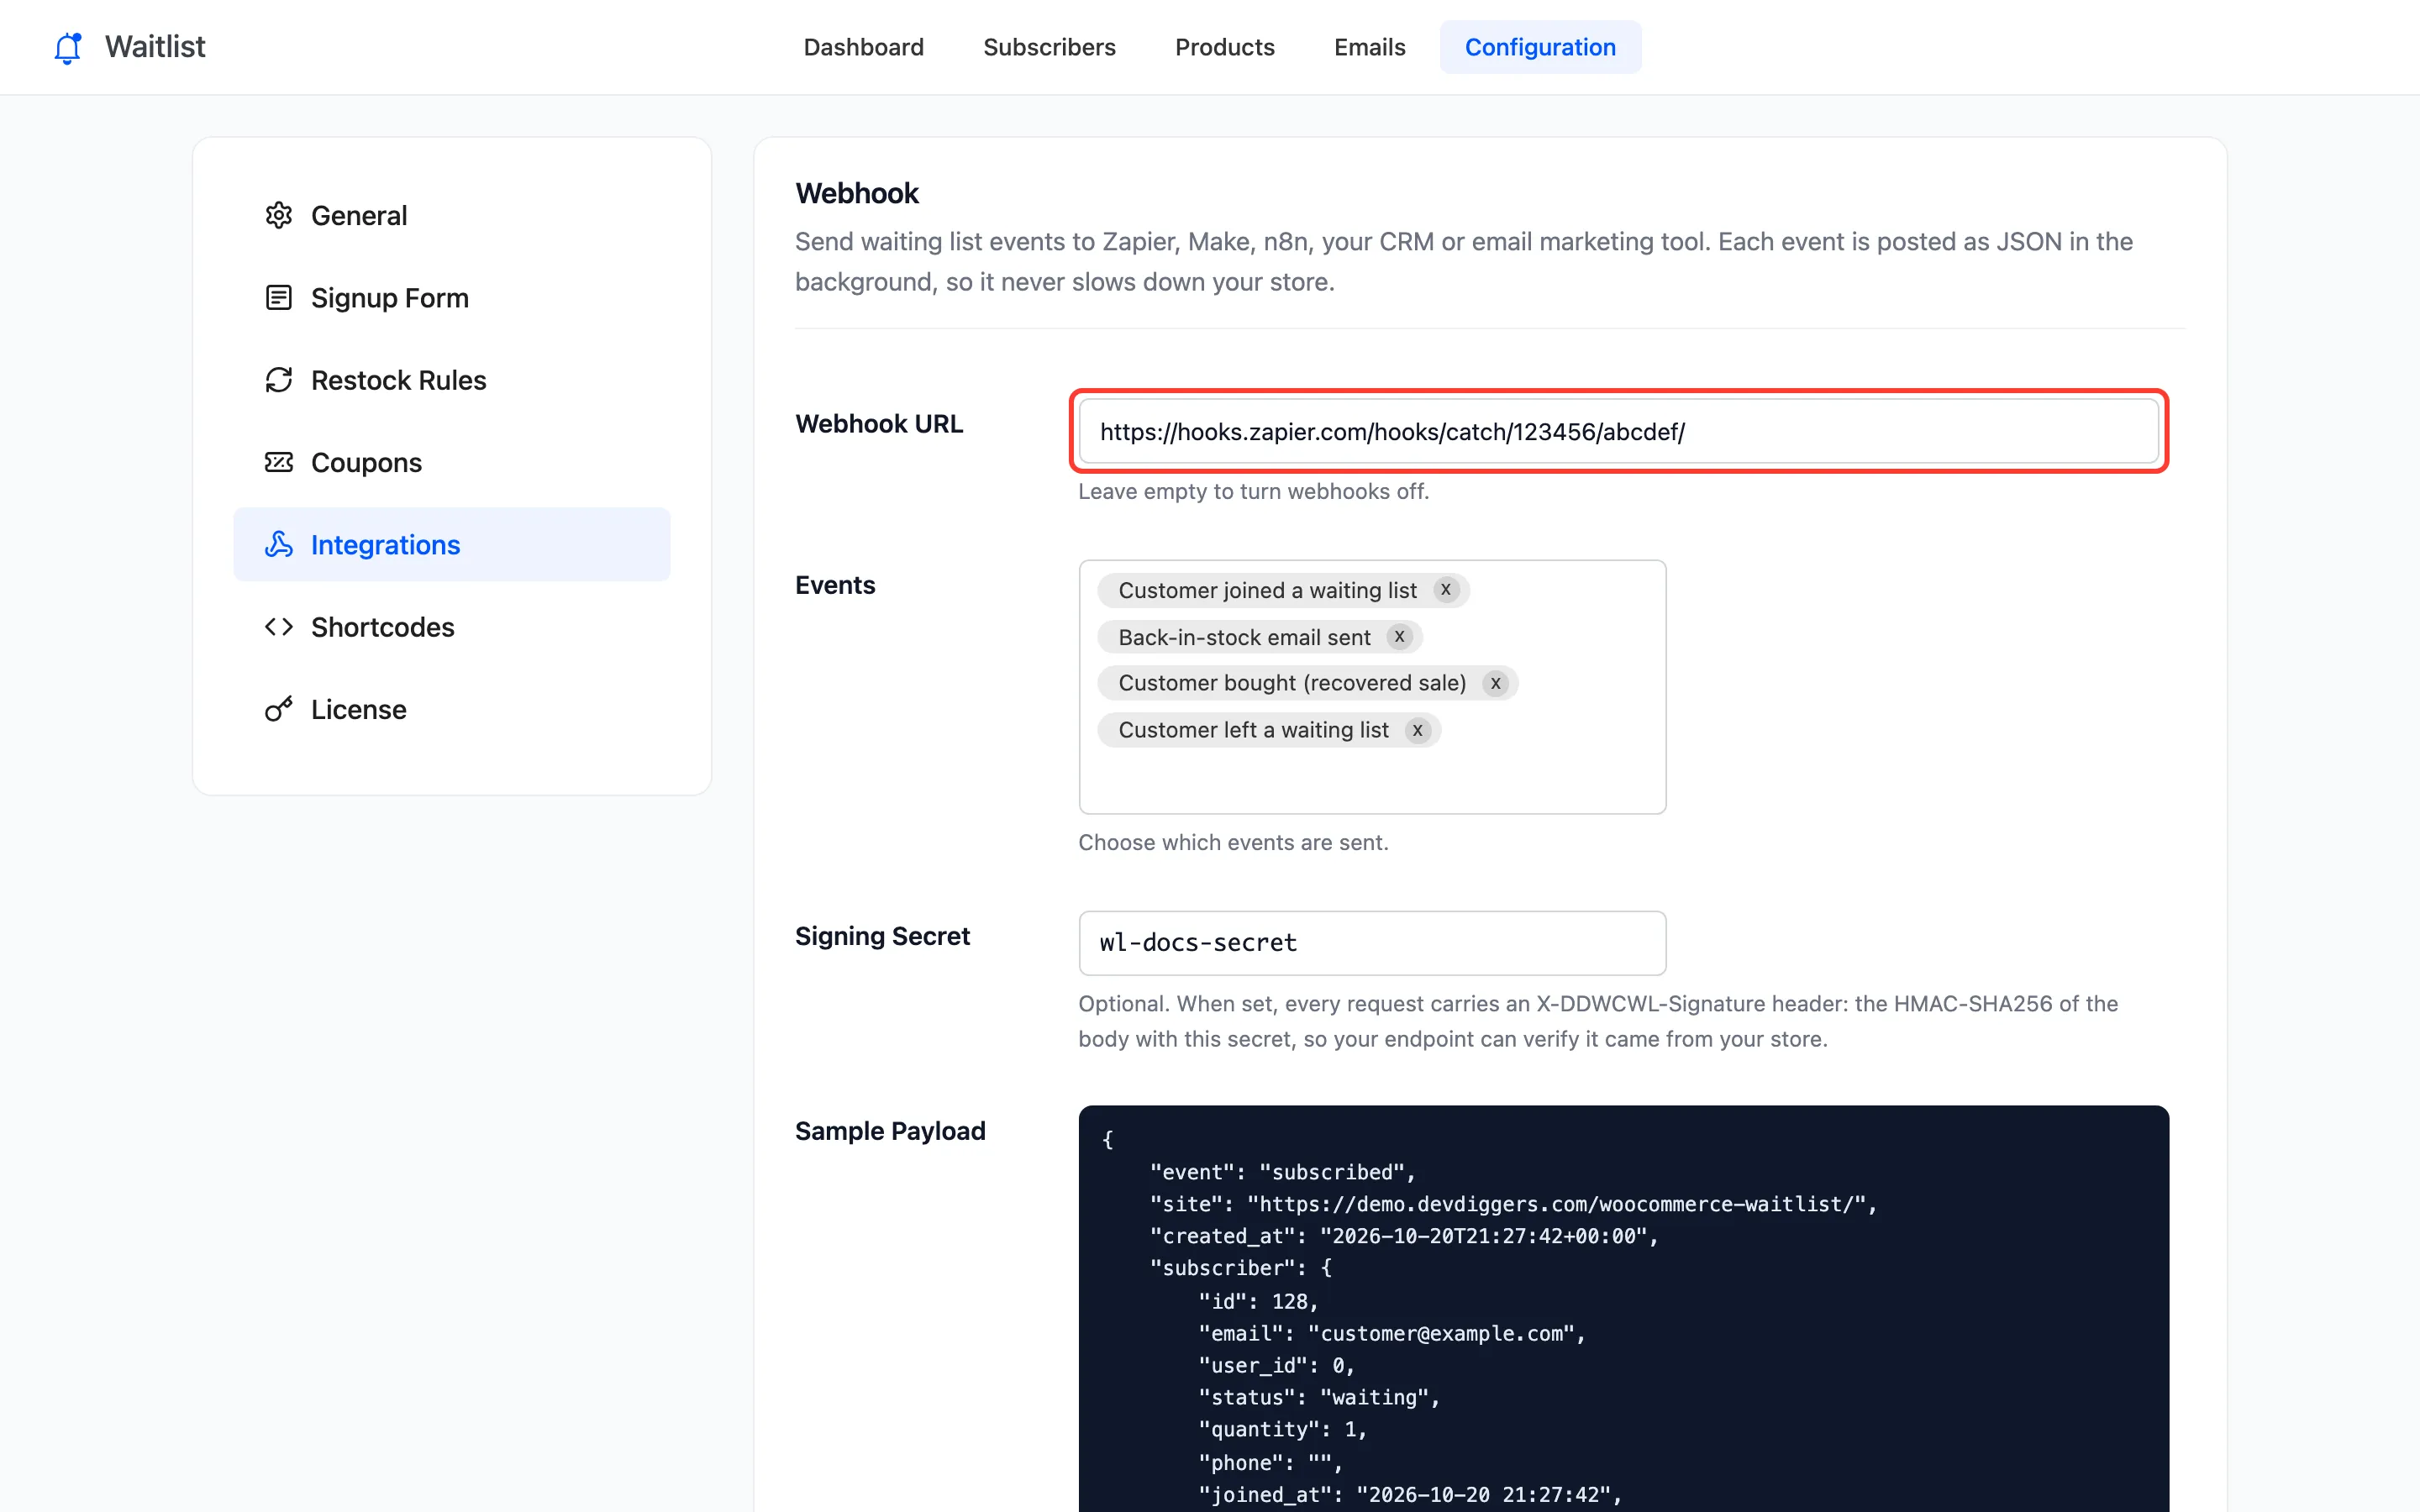
Choose the Events you want. To add every new signup to a mailing list, Customer joined a waiting list is enough. Add a Signing Secret if the receiving end can check it. Click Save Changes.
Step 3: Send a test event
Section titled “Step 3: Send a test event”Join a waitlist on a sold out product, in a private window. Zapier’s Test trigger then shows the
subscribed event with all its fields. The demo’s webhook received one for every step of its run. It got three
notified on the restock and subscribed when John joined during early access. Then came purchased
when Amara’s order was paid, and unsubscribed when Jane left.
Step 4: Map the fields
Section titled “Step 4: Map the fields”In the next step of the Zap, use the fields from the event:
- subscriber email and subscriber phone to add or find the contact.
- product name, product sku and product url for the message.
- event to branch: one path for
subscribed, another forpurchased. - subscriber revenue and order total on
purchased, for your CRM.
The full payload is on Integration Settings (Pro).
Things to know
Section titled “Things to know”- Events are sent in the background and your store does not wait for an answer. If the other tool is down, that event is not retried.
- There is one webhook URL. To reach several tools, fan out from Zapier, Make or n8n.
- With Phone Number on the form, the phone is in every event, so an SMS tool can text customers when they are notified.