

Email Settings
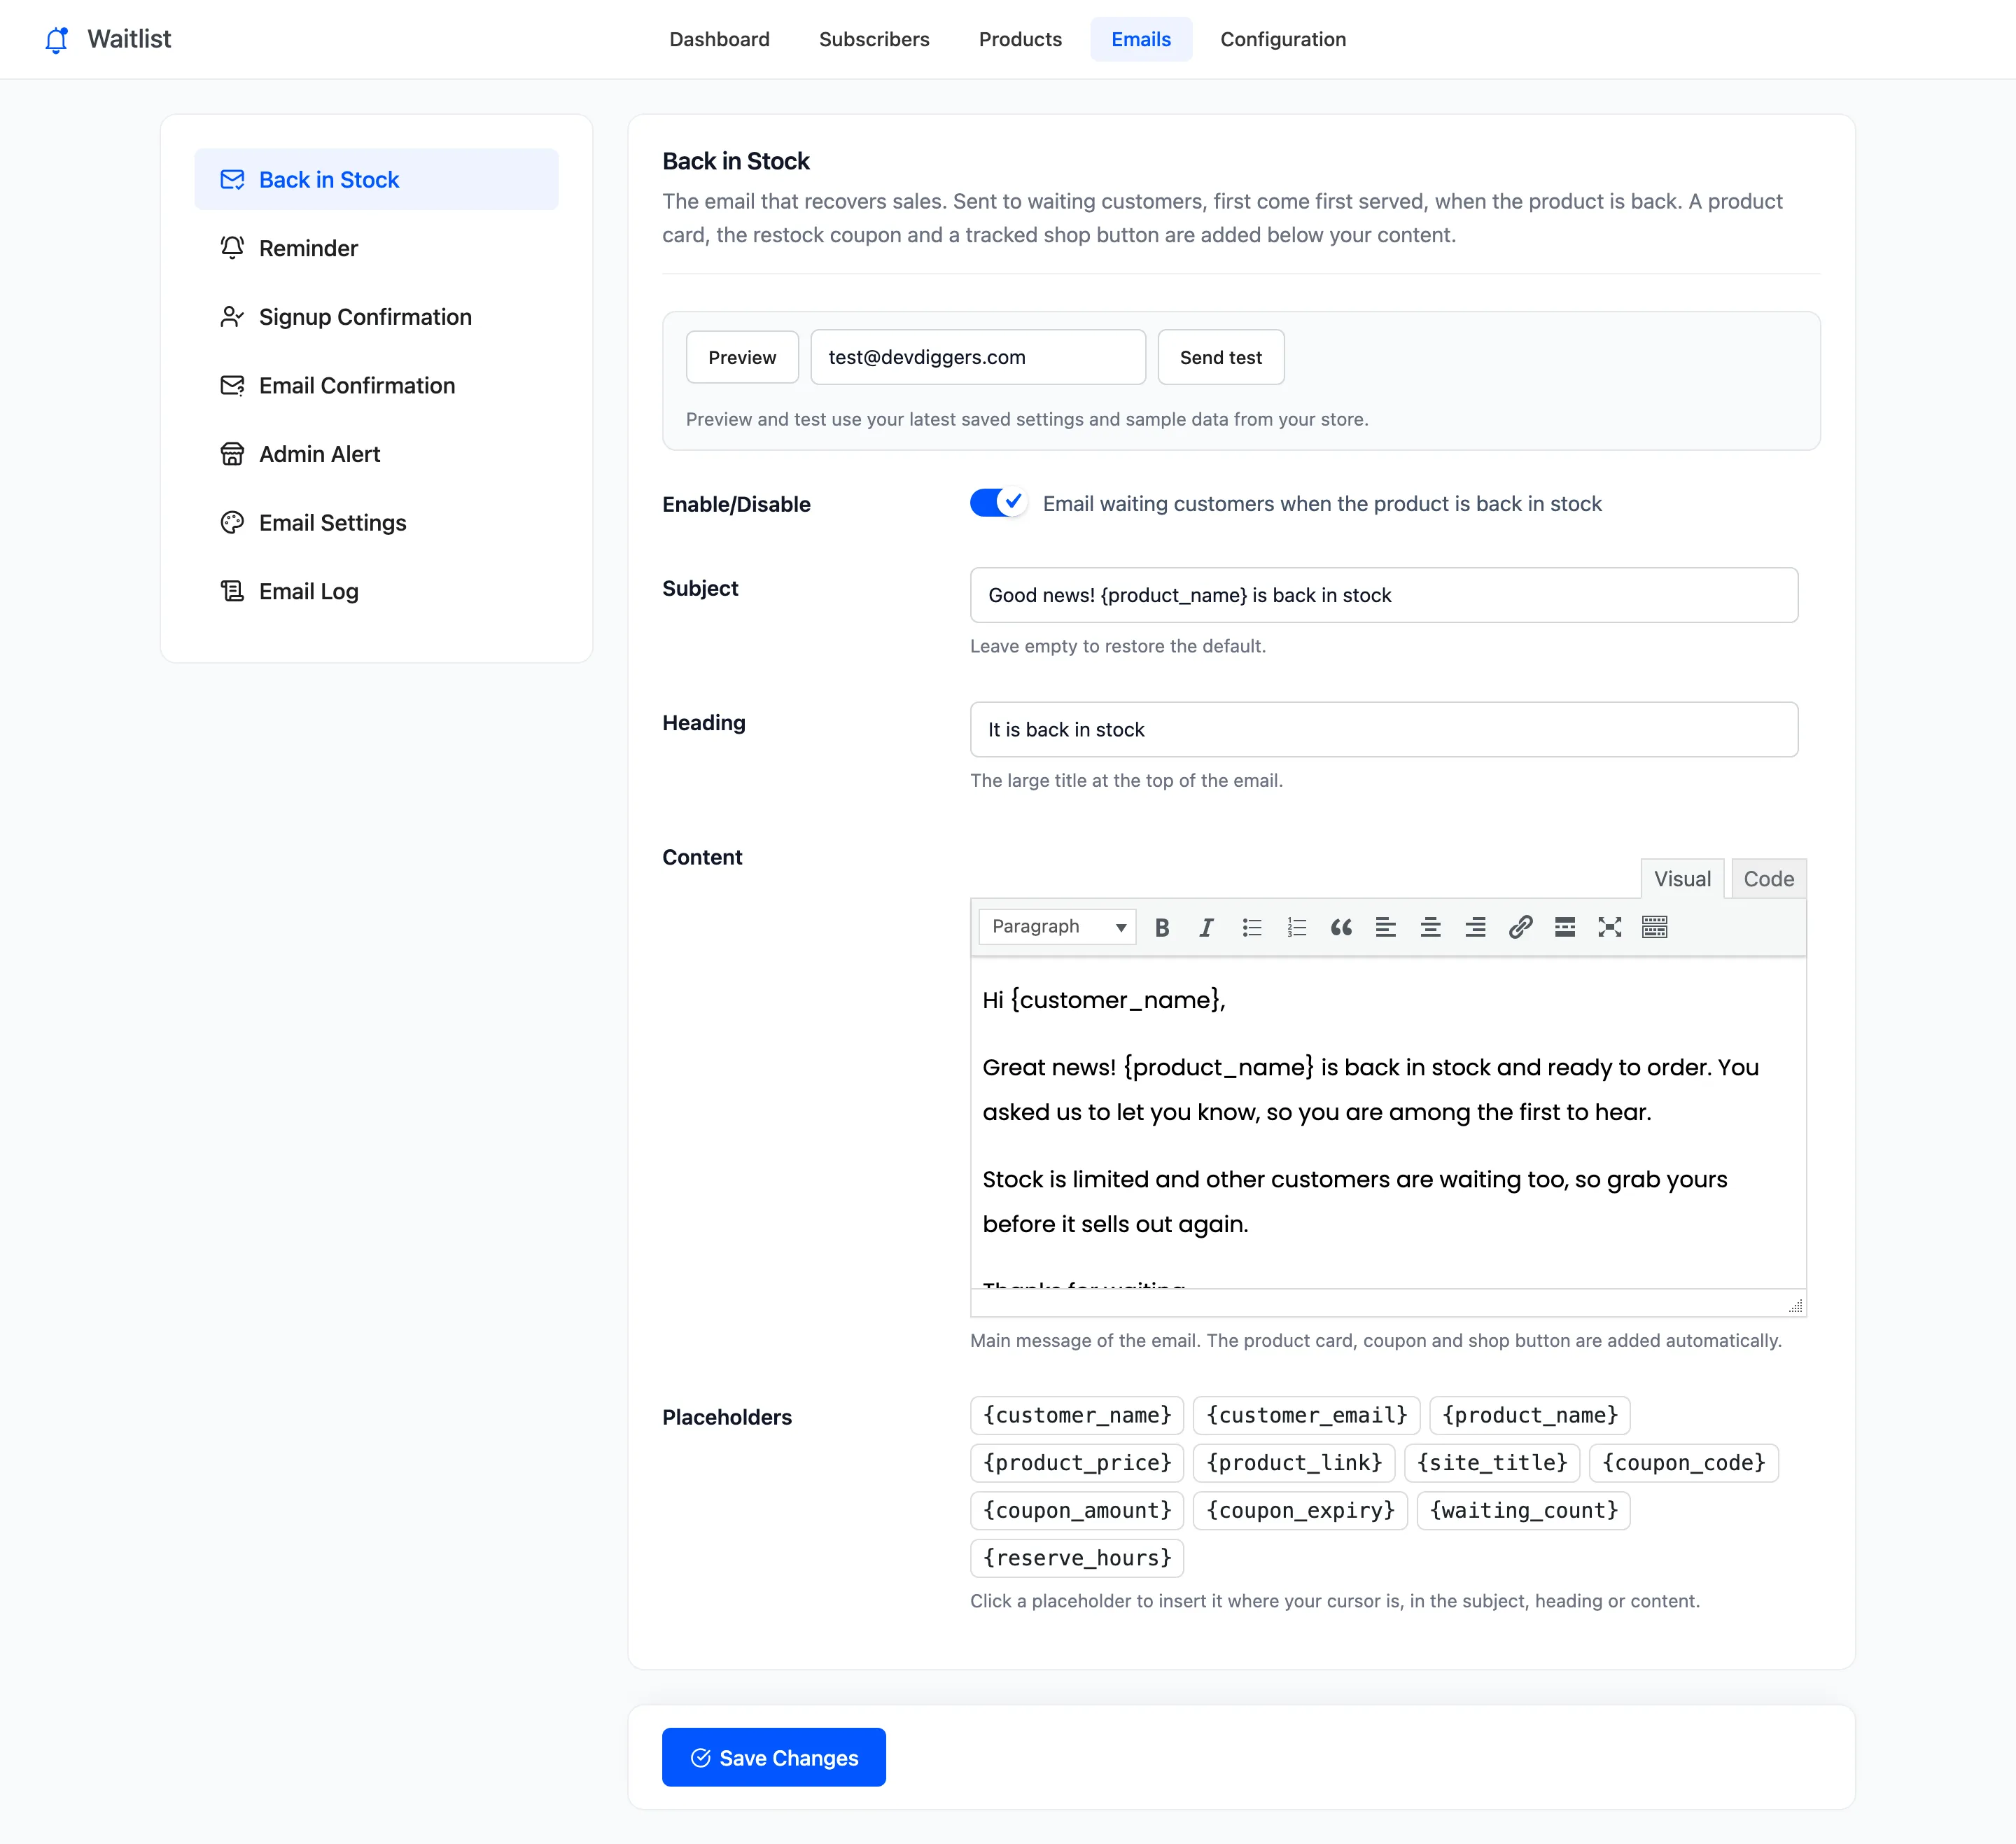
Every waitlist email is edited inside the plugin, under DevDiggers Plugins → Waitlist → Emails. The left column has one tab per email, then Email Settings for the parts they share and, in Pro, the Email Log.
The emails
Section titled “The emails”| Sent to | When | Default | |
|---|---|---|---|
| Back in Stock | The customer | The product is back, or you email them yourself | On |
| Signup Confirmation | The customer | They join, or confirm with double opt-in | On |
| Admin Alert | Your team | A customer joins | Off |
| Reminder (Pro) | The customer | Days after the back in stock email, if they have not bought | On |
| Email Confirmation (Pro) | A guest | They join with double opt-in on | Follows Double Opt-in |
Logged-in customers never get the Email Confirmation: they own their address already.
What each screen holds
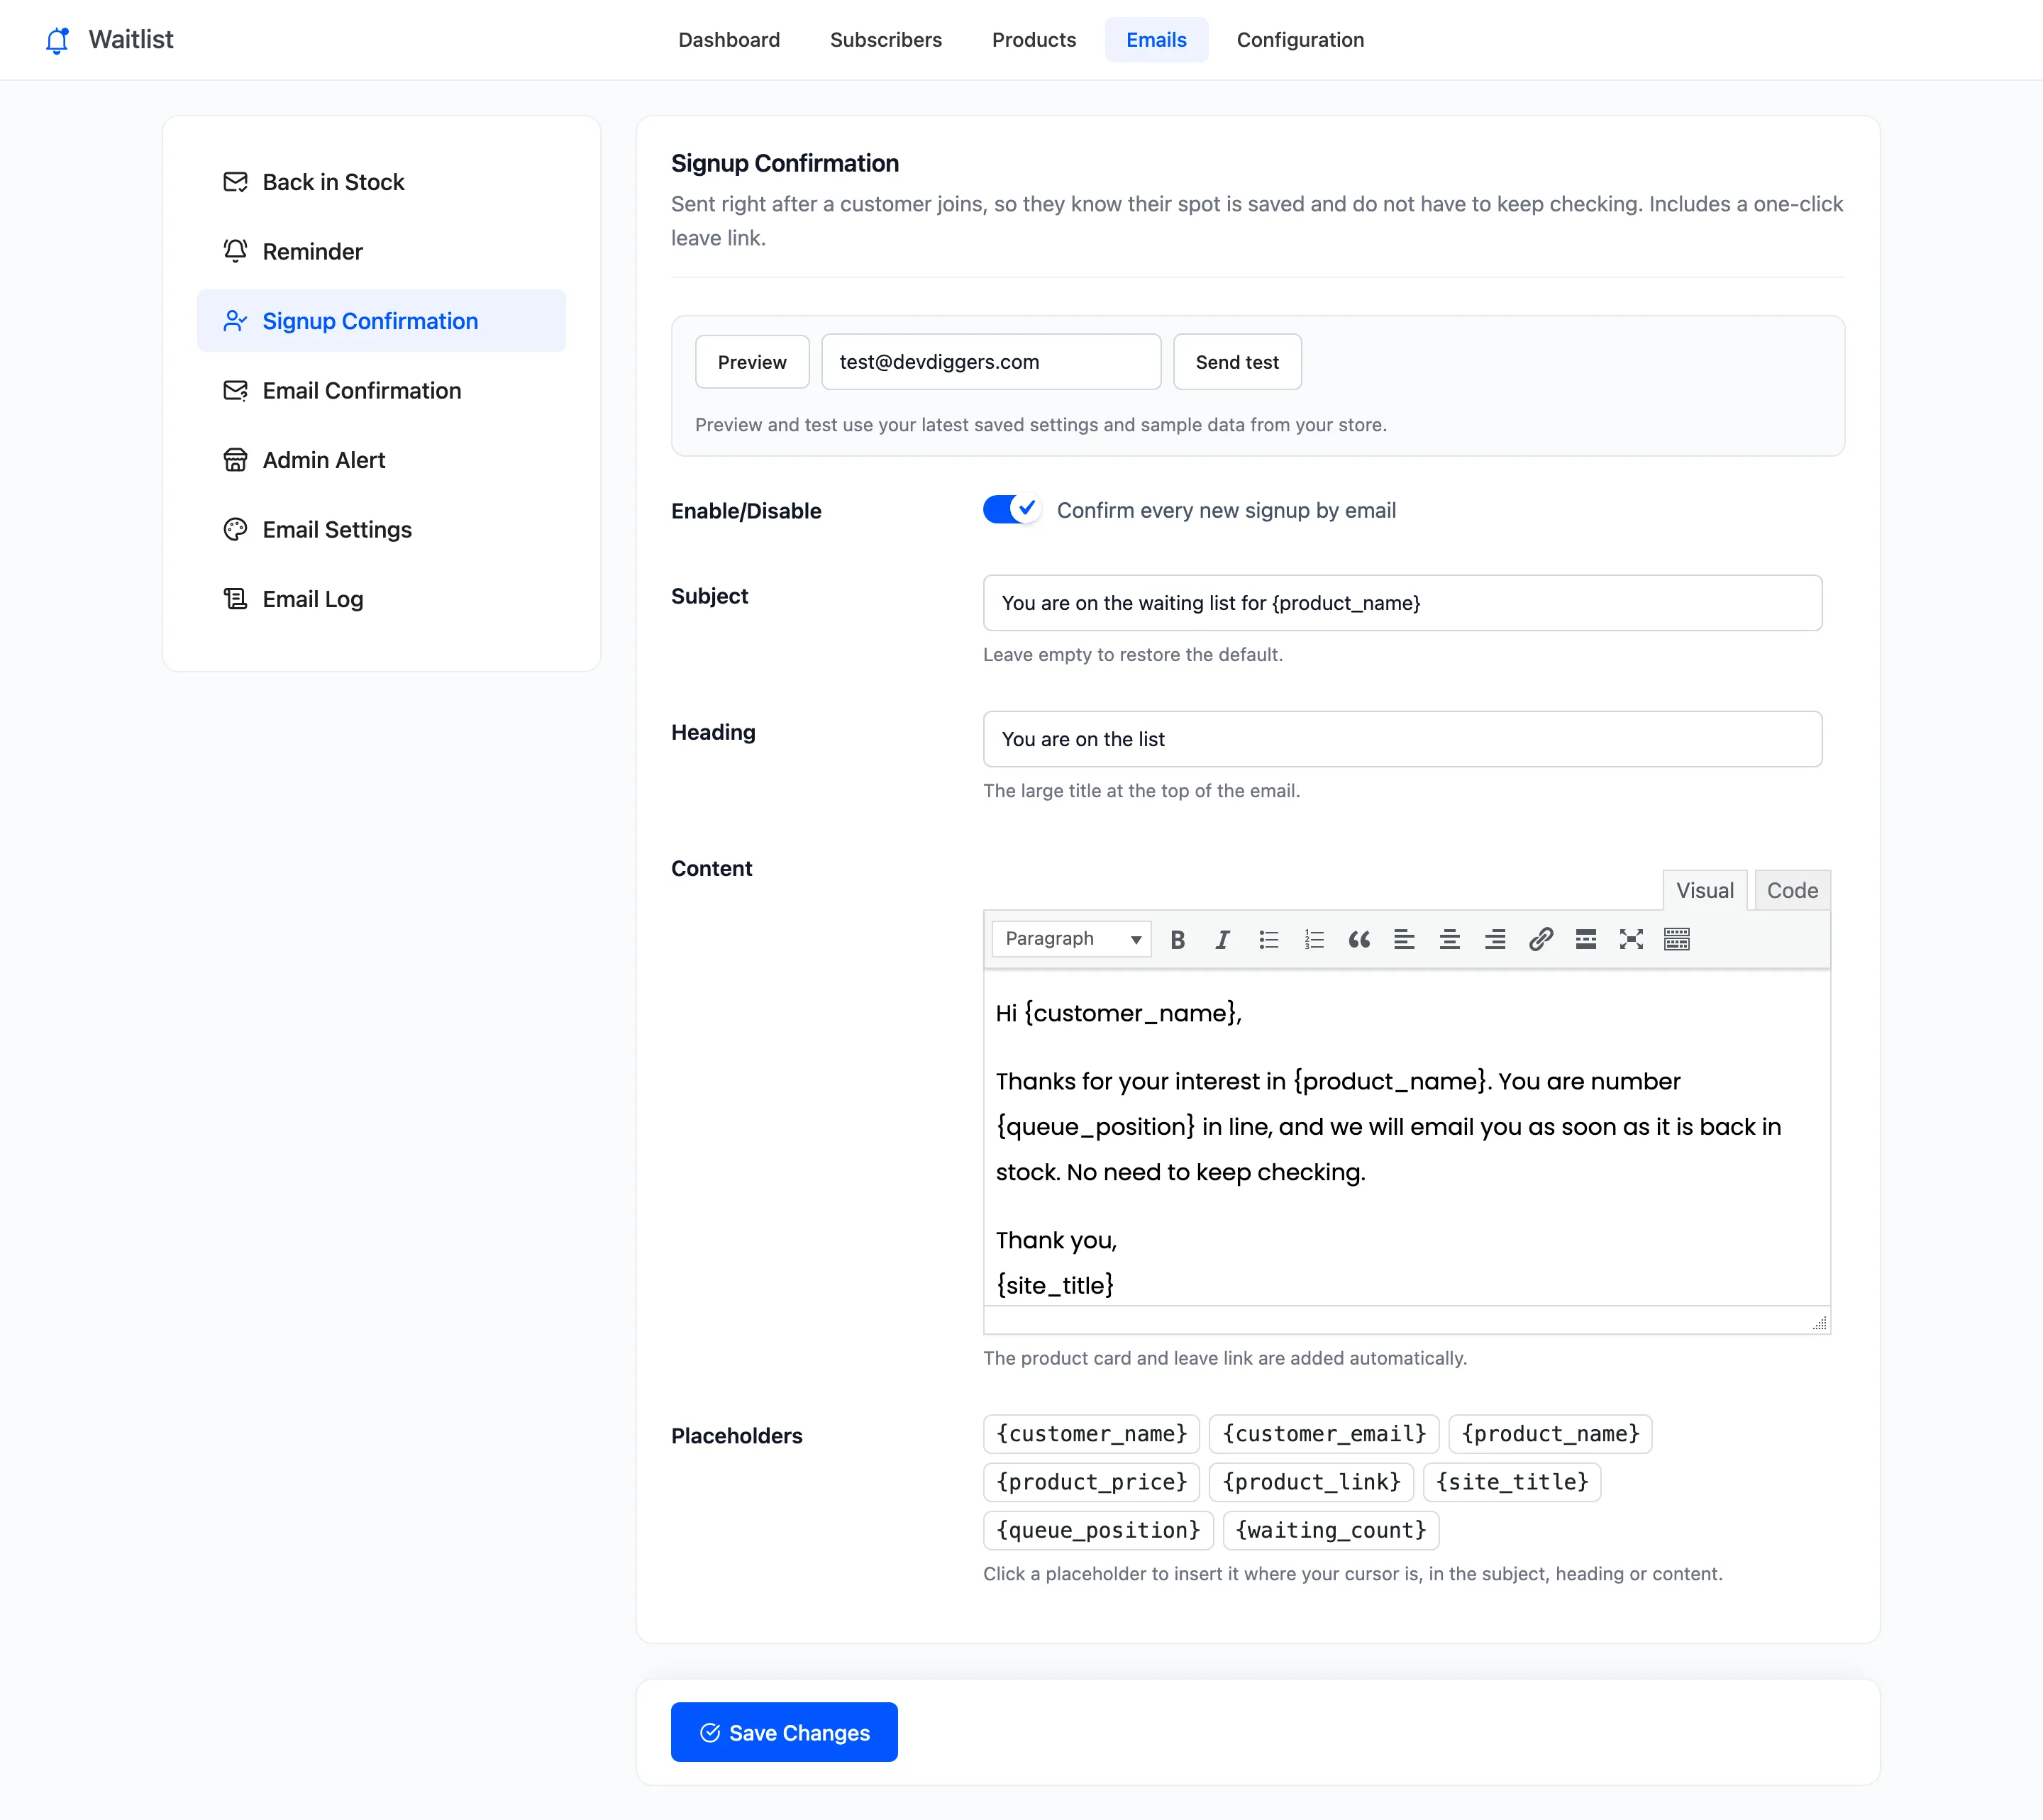
Section titled “What each screen holds”- Enable/Disable: Turns that email on or off. The Email Confirmation has a Status line instead, because it follows Double Opt-in on the Signup Form tab.
- Subject and Heading: The subject line and the large title at the top. Leave either empty to go back to the default.
- Content: Your message, in a visual editor with a Code tab. The product card and the button are added below it on their own, so you write only the words.
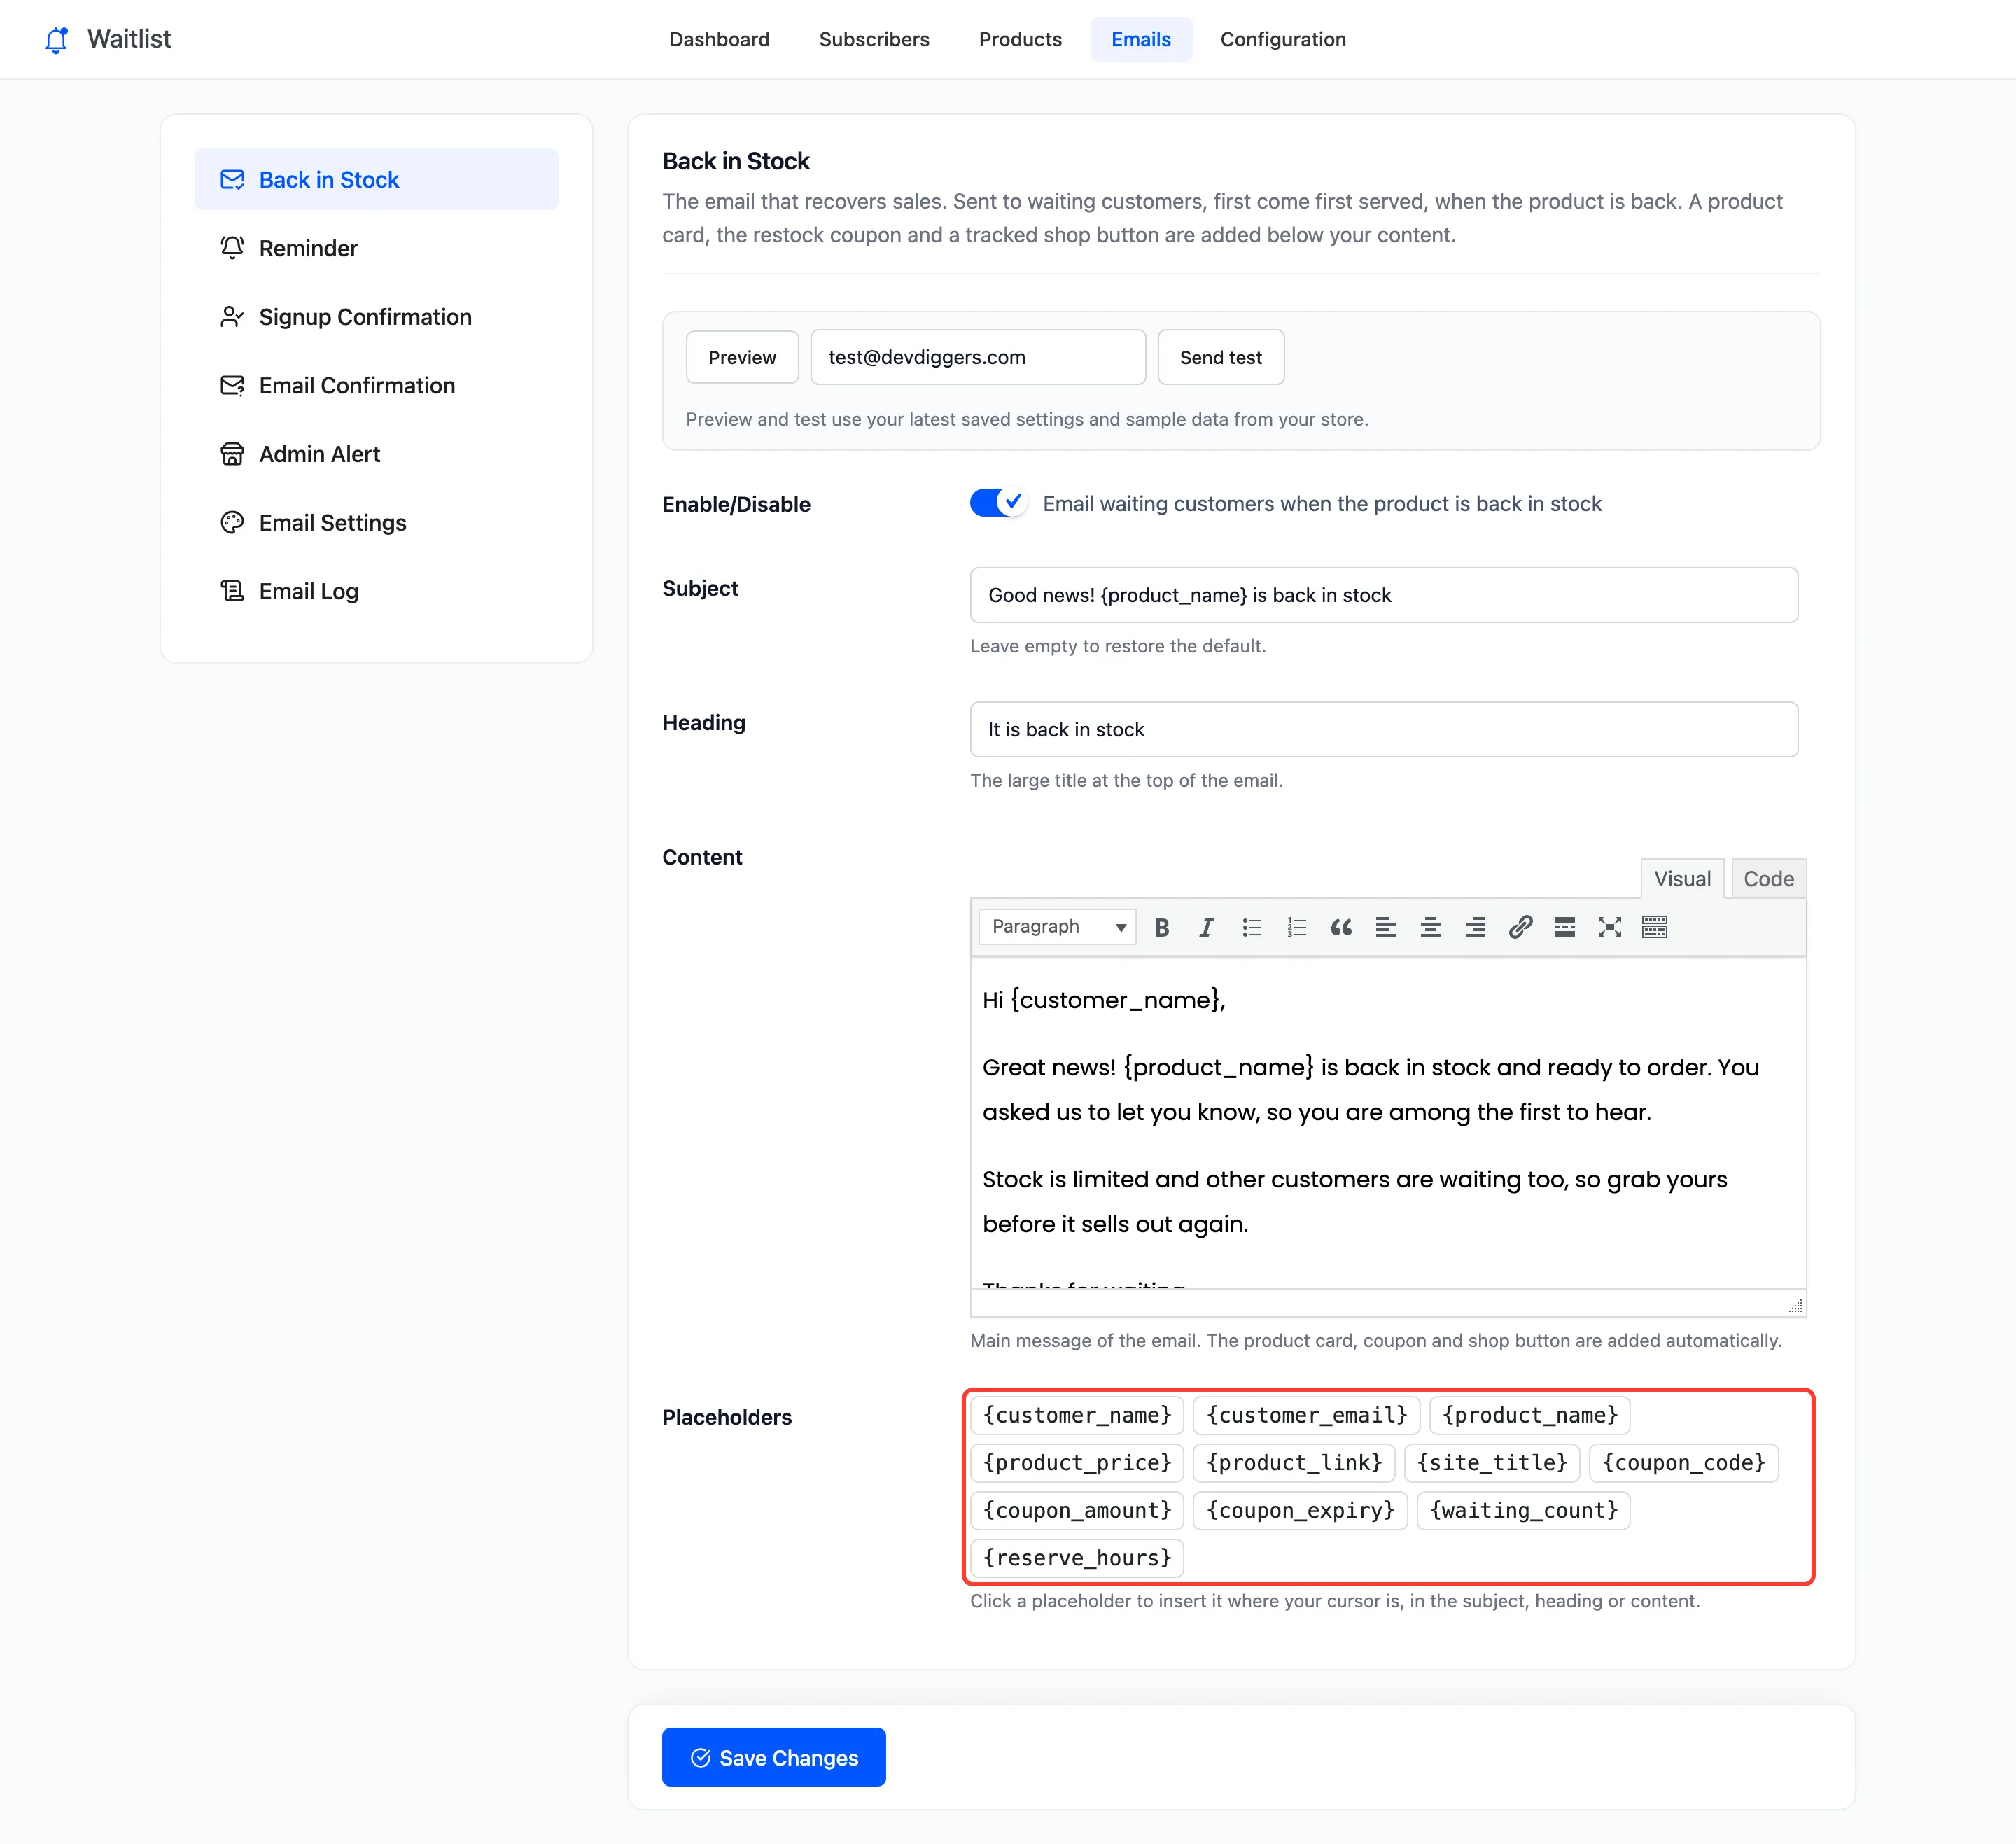
- Placeholders: Click one to insert it where your cursor is, in the subject, heading or content.
- Recipient: Admin Alert only. One address or several, separated by commas. Empty sends to the site’s admin email.
- Send After (days): Reminder only. Default 2.
Placeholders
Section titled “Placeholders”| Placeholder | Becomes |
|---|---|
{customer_name} |
The customer’s first name, or their display name, or “there” for a guest |
{customer_email} |
Their email |
{product_name} |
The product or variation name |
{product_price} |
Its price |
{product_link} |
A link to the product |
{site_title} |
Your site name |
{queue_position} |
Their place in line (Signup Confirmation) |
{waiting_count} |
How many people wait for the product |
{coupon_code}, {coupon_amount}, {coupon_expiry} |
The restock coupon (Pro) |
{reserve_hours} |
The early access window in hours (Pro) |
Each screen lists only the placeholders that make sense for that email.
Preview and Send test
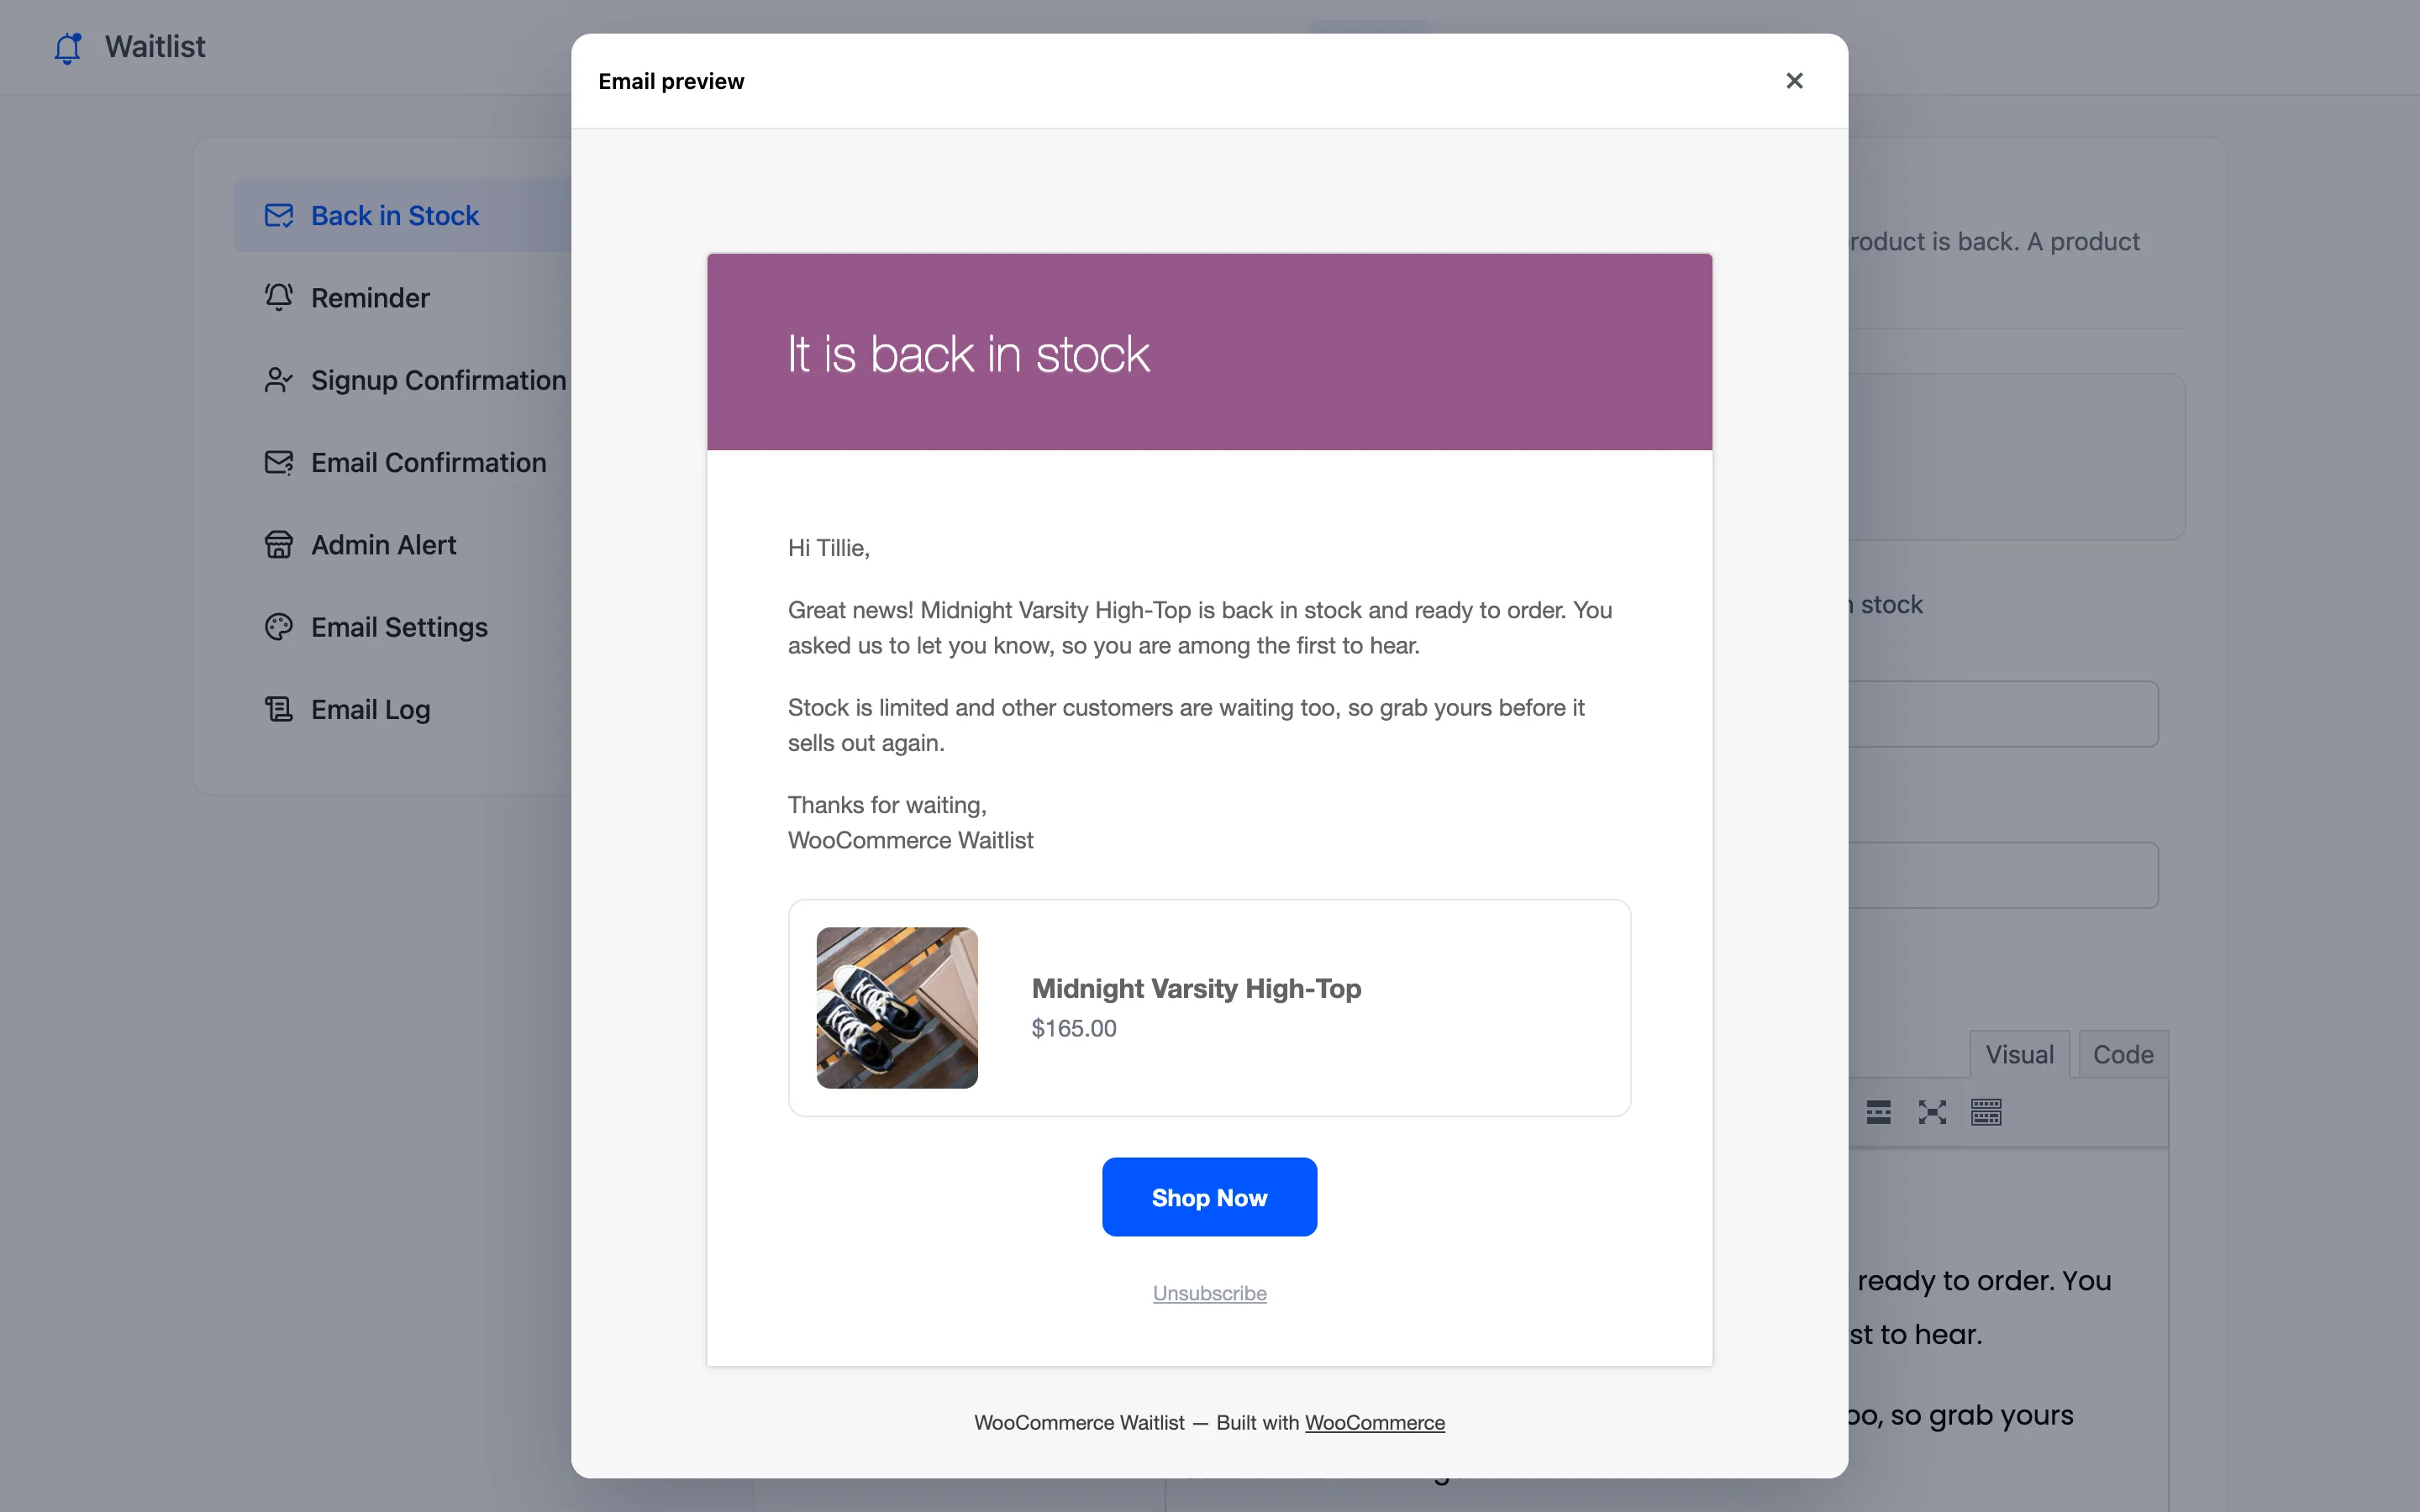
Section titled “Preview and Send test”Preview opens the email as customers receive it, using your latest saved settings and your newest signup as the sample. Send test emails a copy to the address you type.
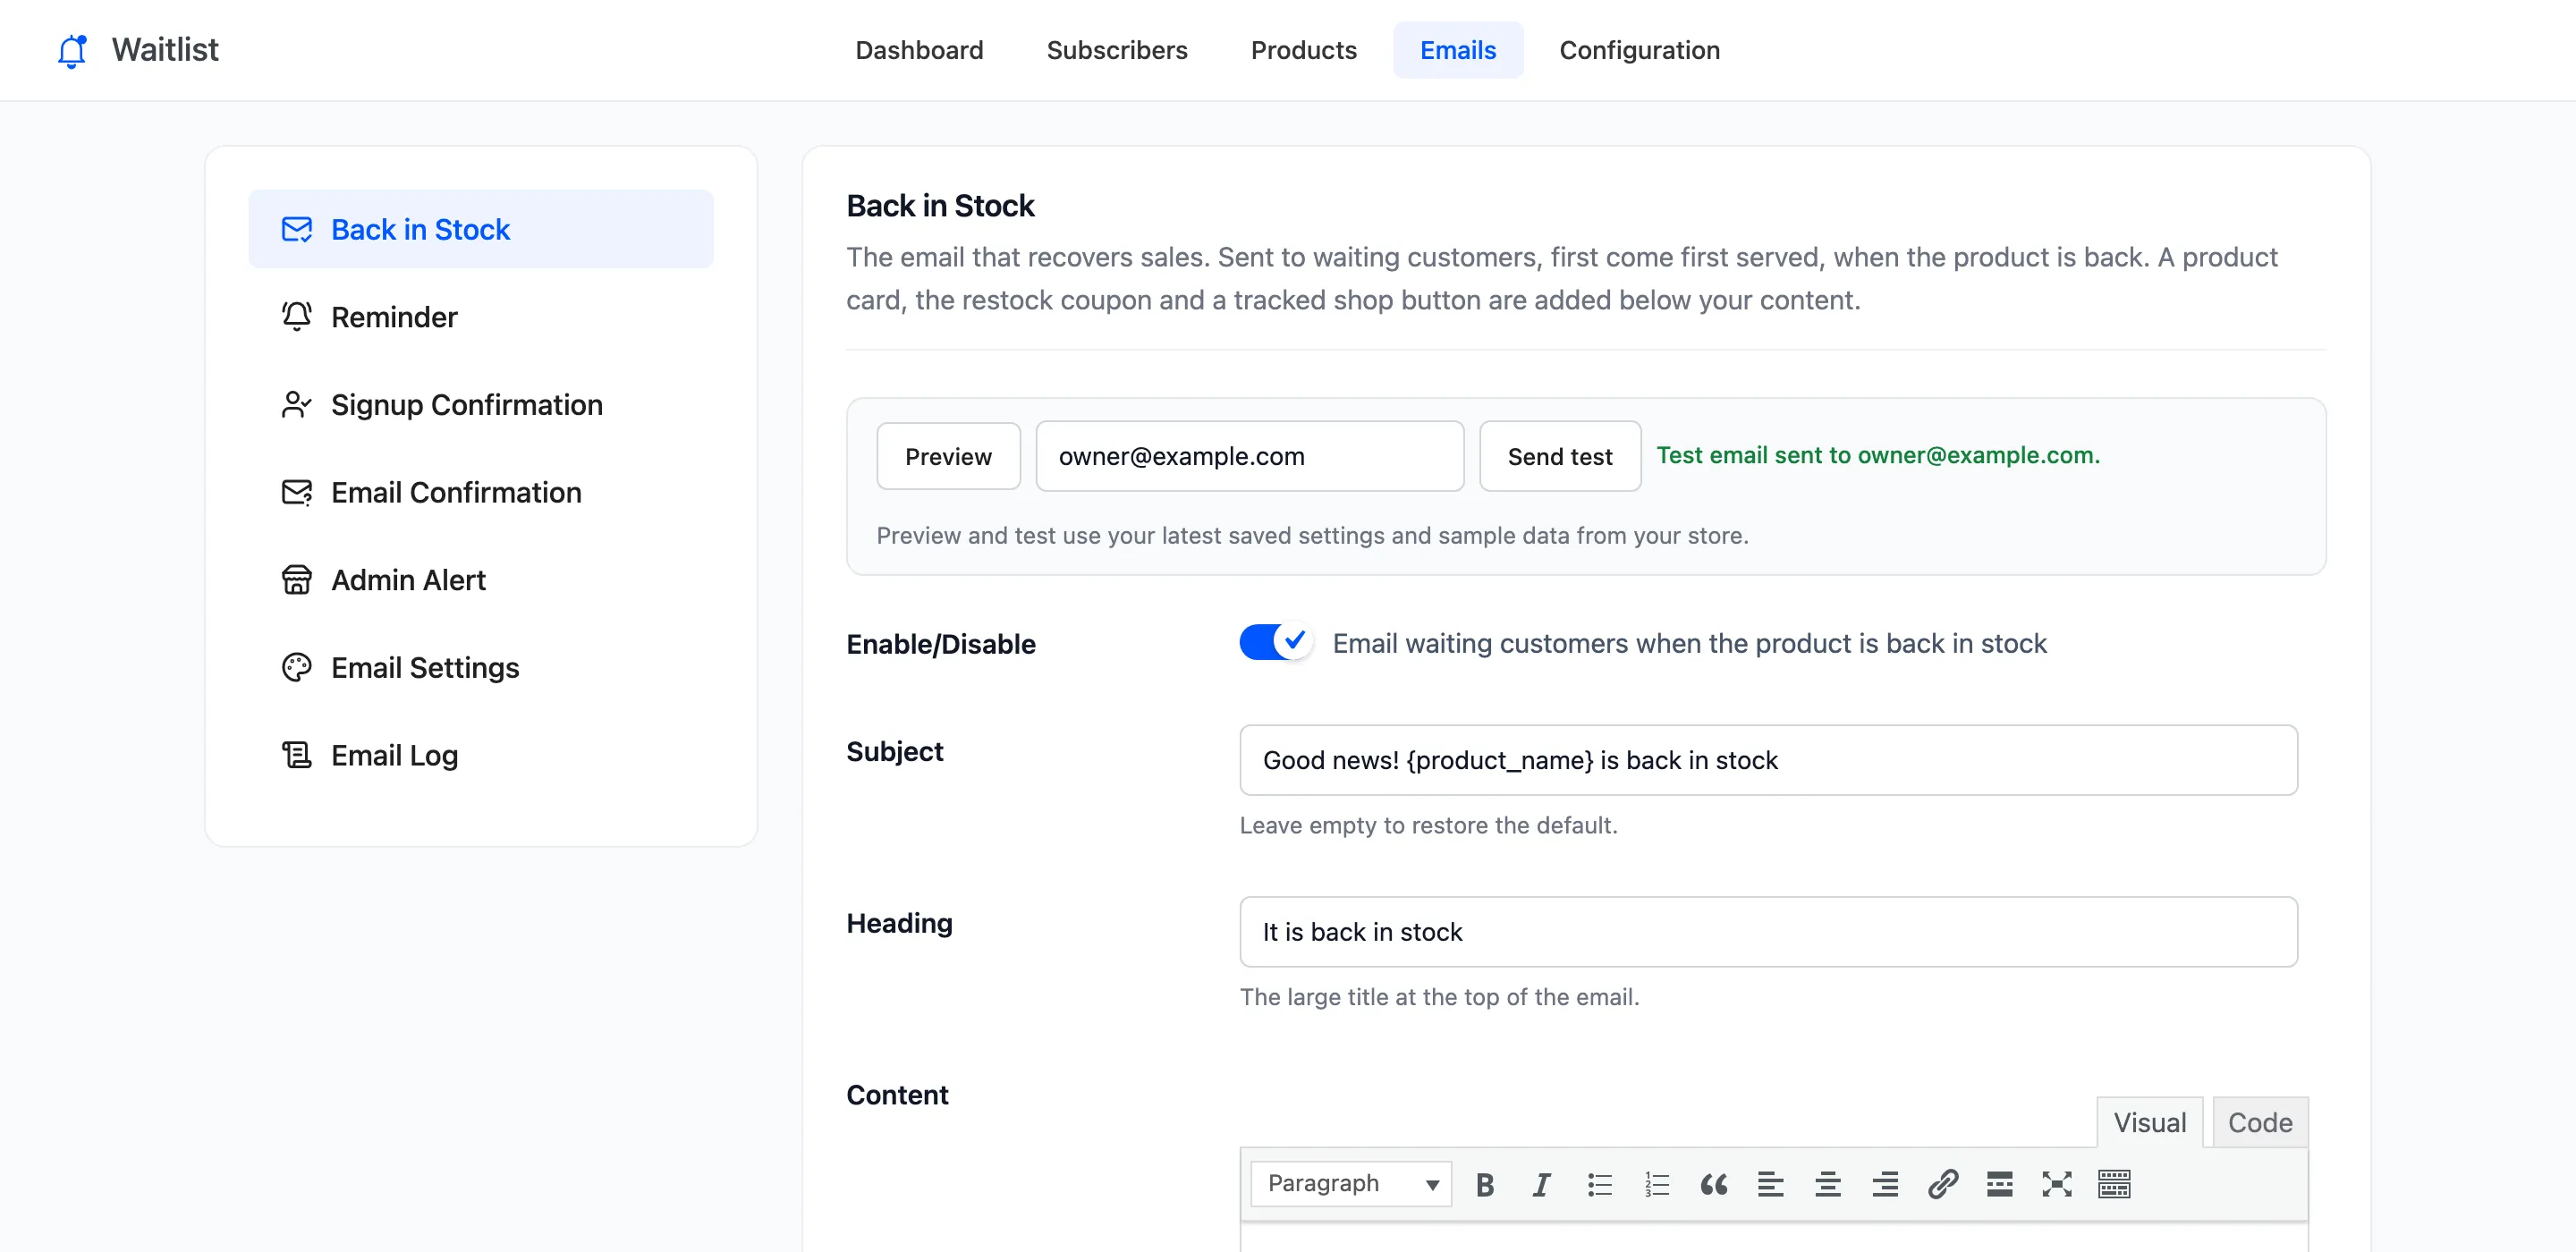
If a test never arrives, the store cannot send mail. Install an SMTP plugin, then test again.
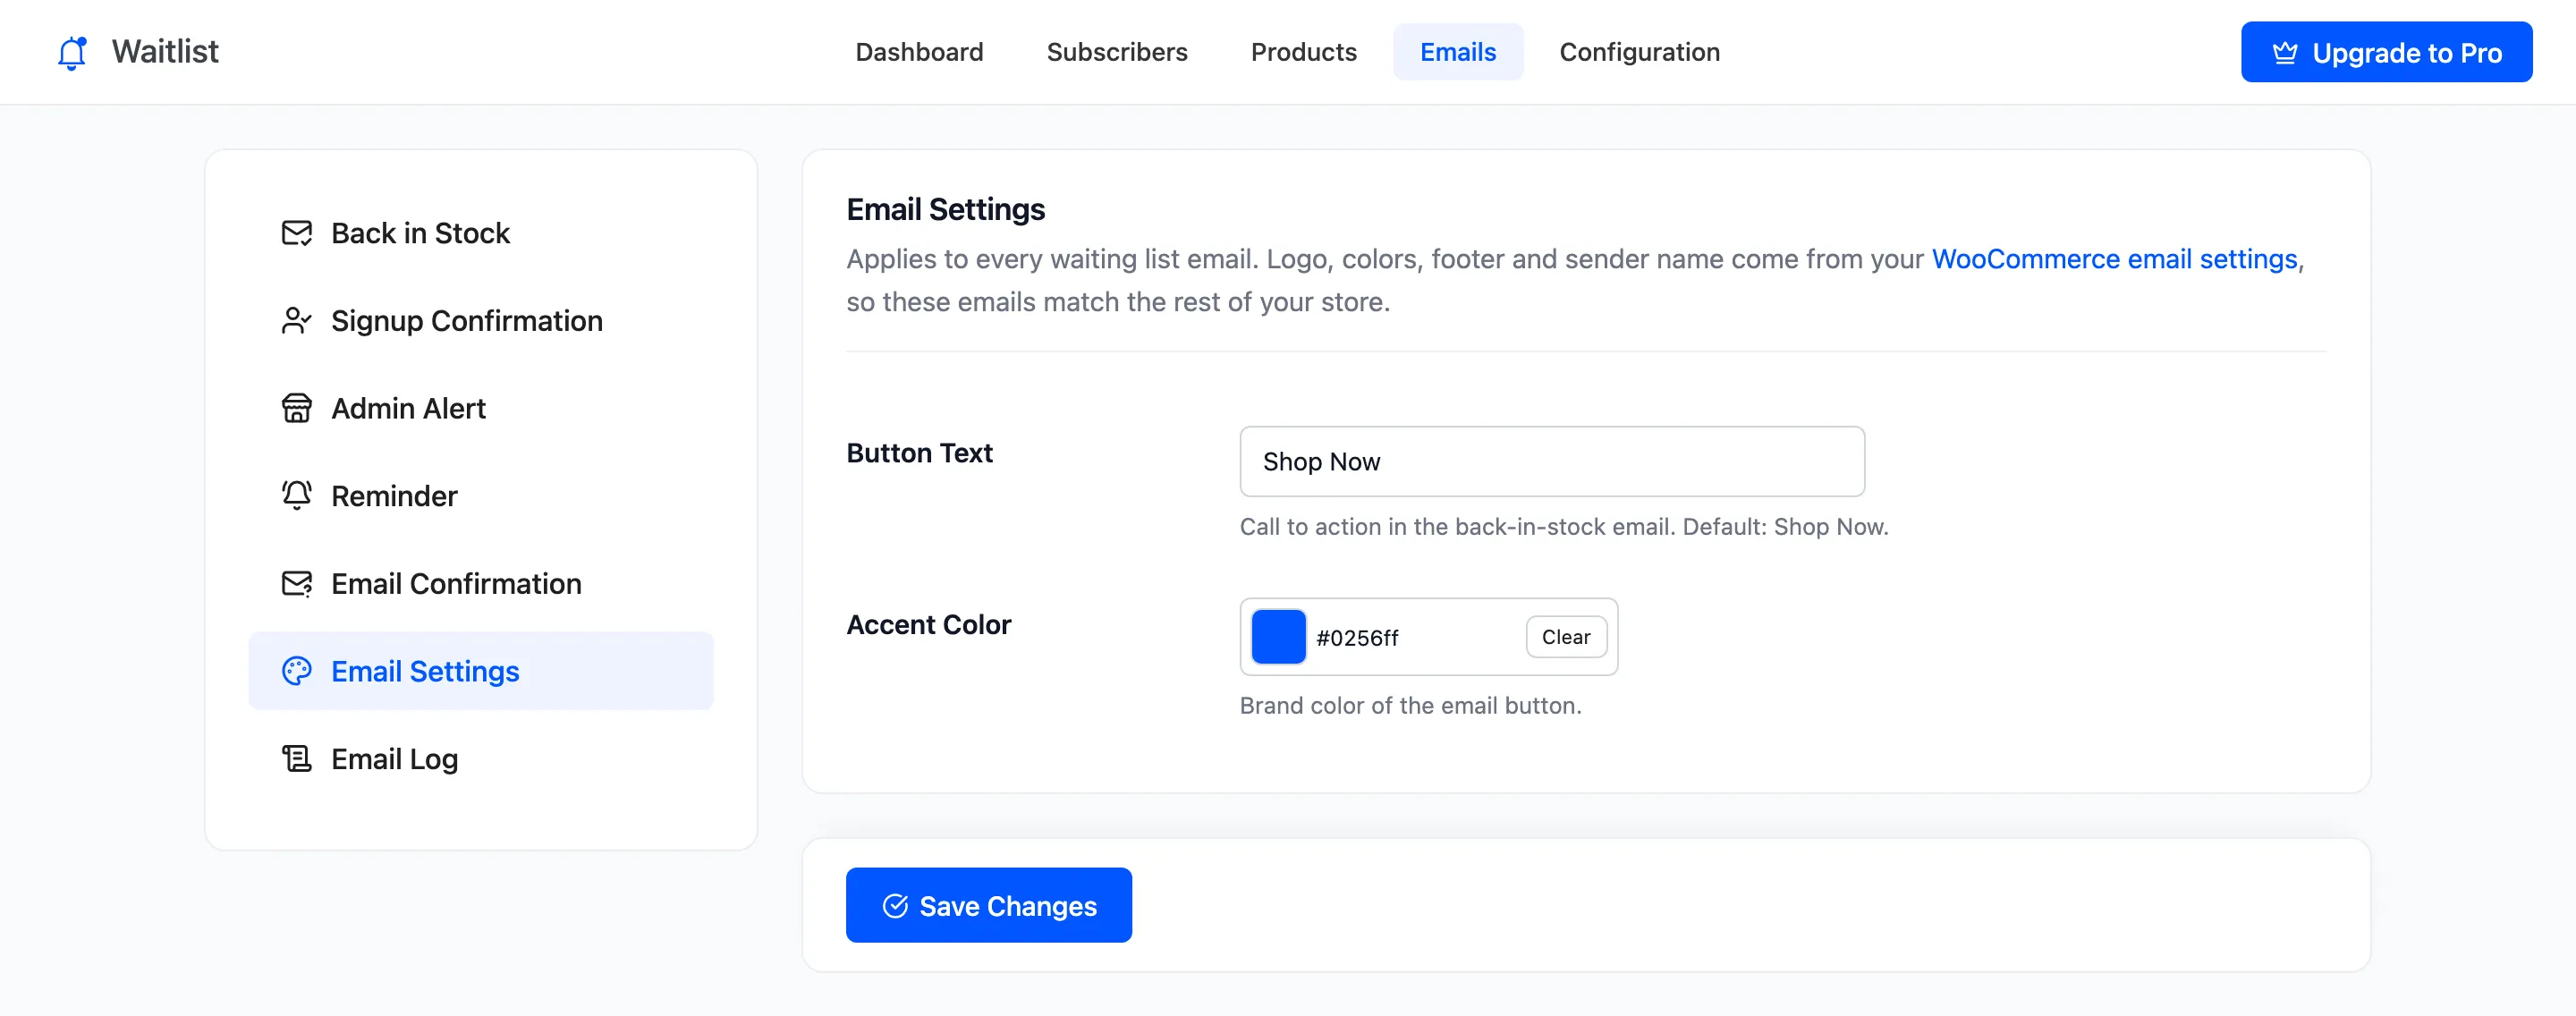
Email Settings
Section titled “Email Settings”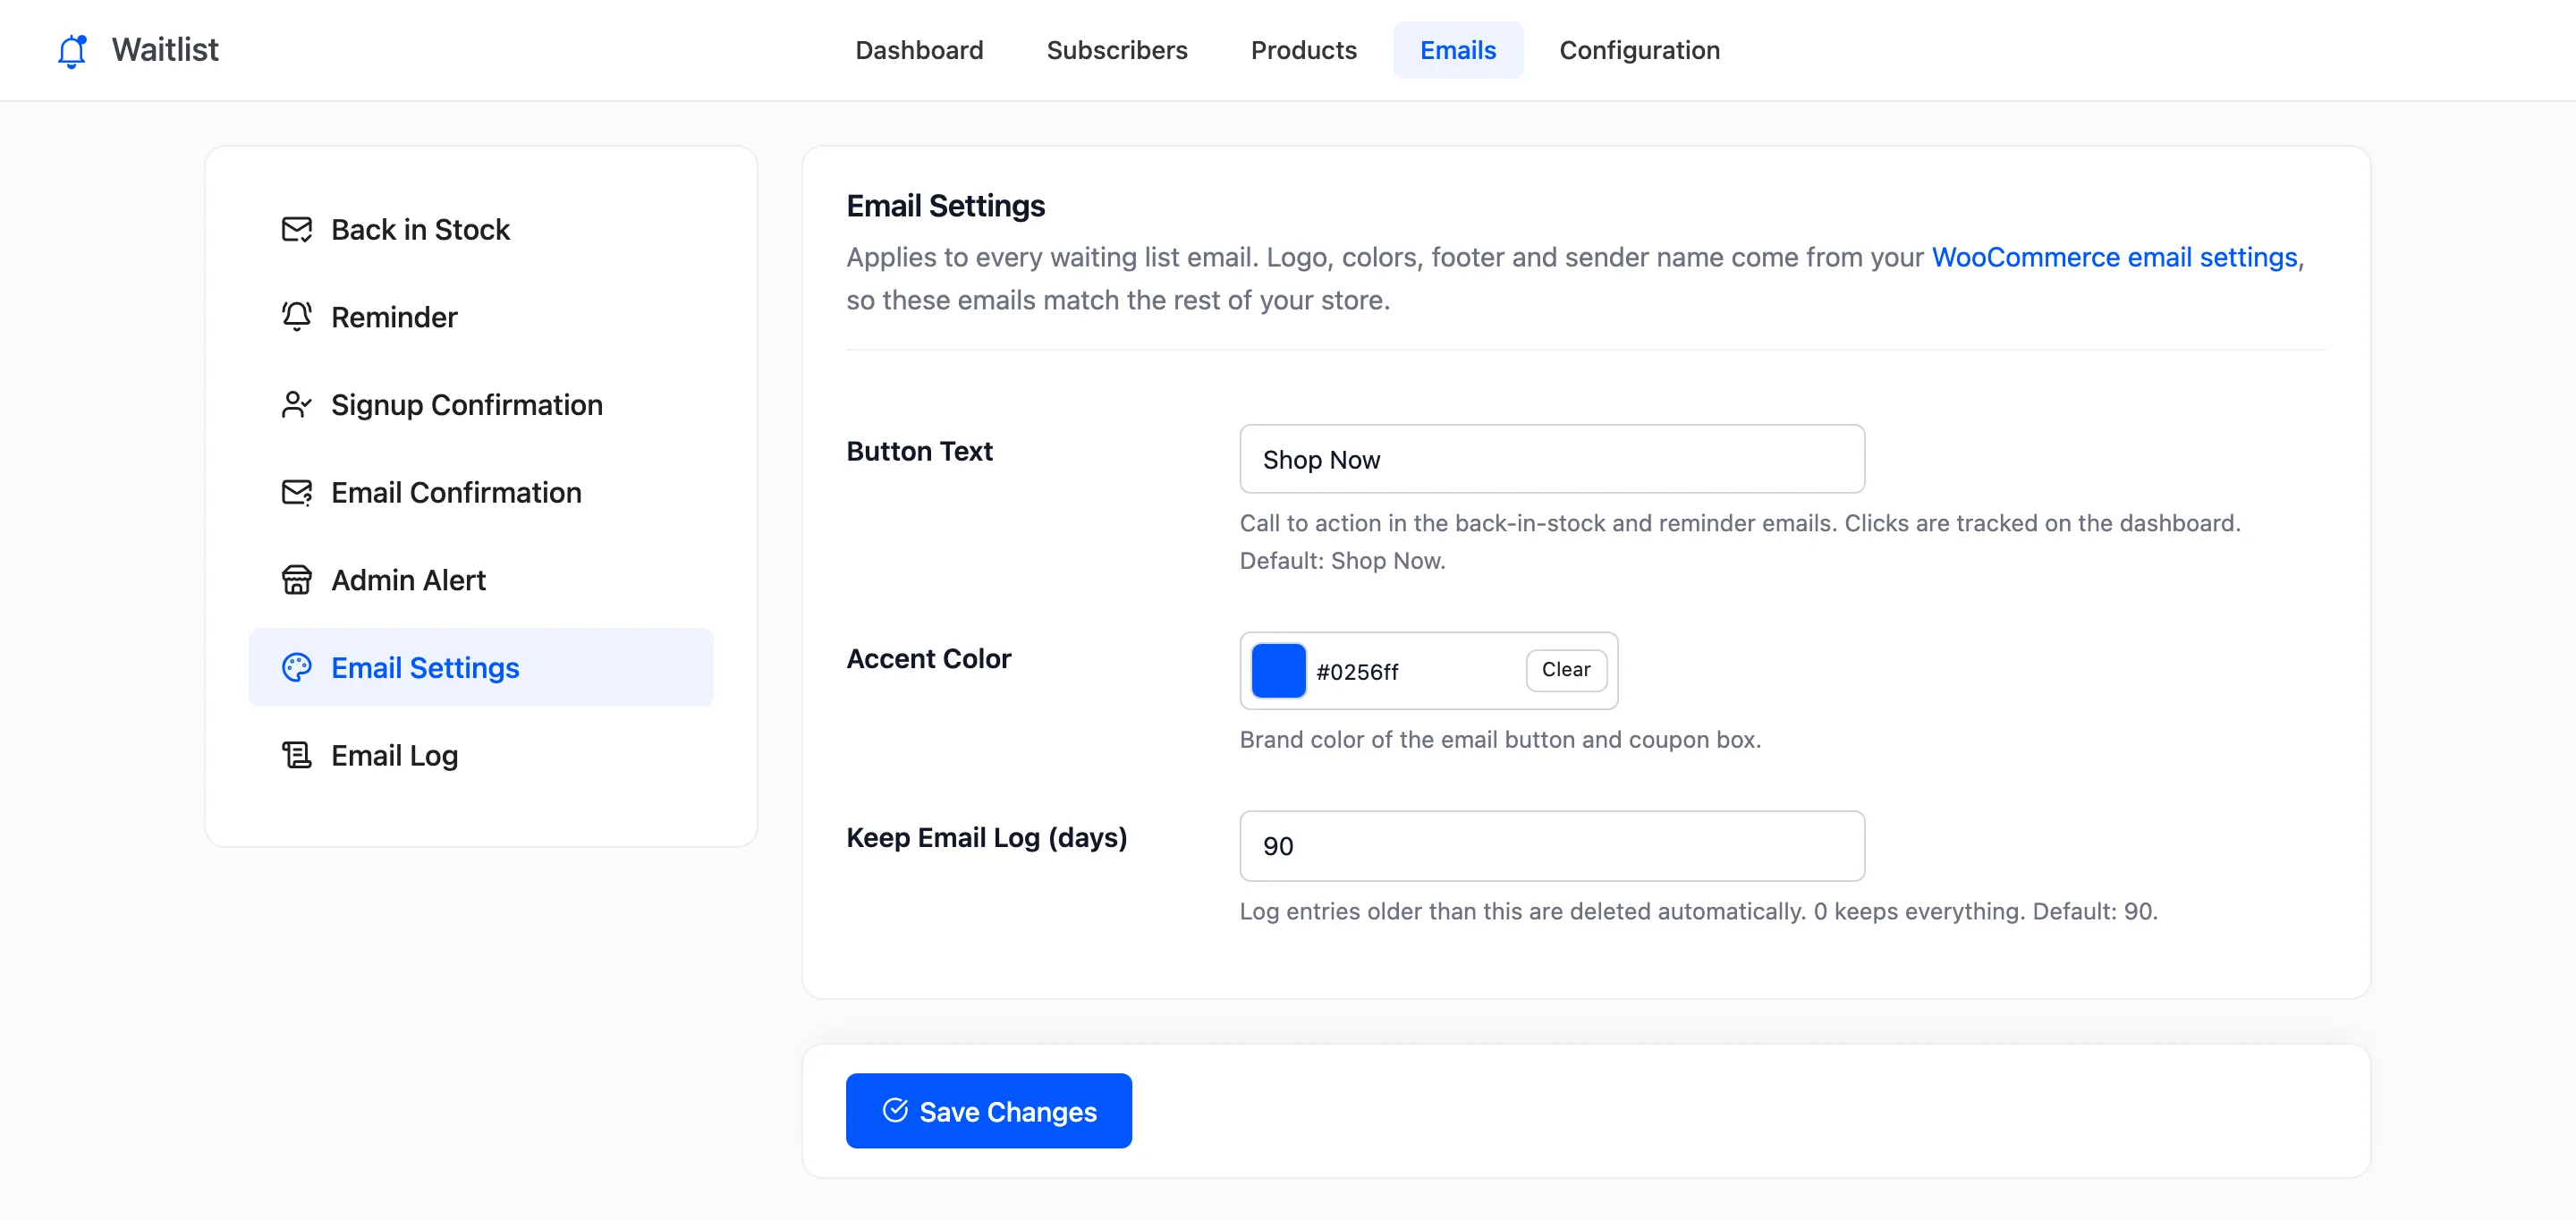
- Button Text: The button in the Back in Stock and Reminder emails. Default Shop Now. In Pro its clicks are counted on the dashboard.
- Accent Color: The button’s colour and, in Pro, the coupon box’s. Default #0256ff.
- Keep Email Log (days) (Pro): Log entries older than this are deleted. Default 90. 0 keeps everything.
The logo, header colour, footer and sender name come from WooCommerce → Settings → Emails, so these emails look like the rest of your store’s mail. Each one is also listed there, with a link back to its screen here.
Unsubscribe links
Section titled “Unsubscribe links”Every customer email ends with an unsubscribe link that works without logging in. The Signup Confirmation words it “Changed your mind? Leave the waiting list”. The Email Confirmation has none, because nothing is saved until the guest confirms.
In the free version
Section titled “In the free version”The Reminder and Email Confirmation tabs show upgrade cards, and so does the Email Log.
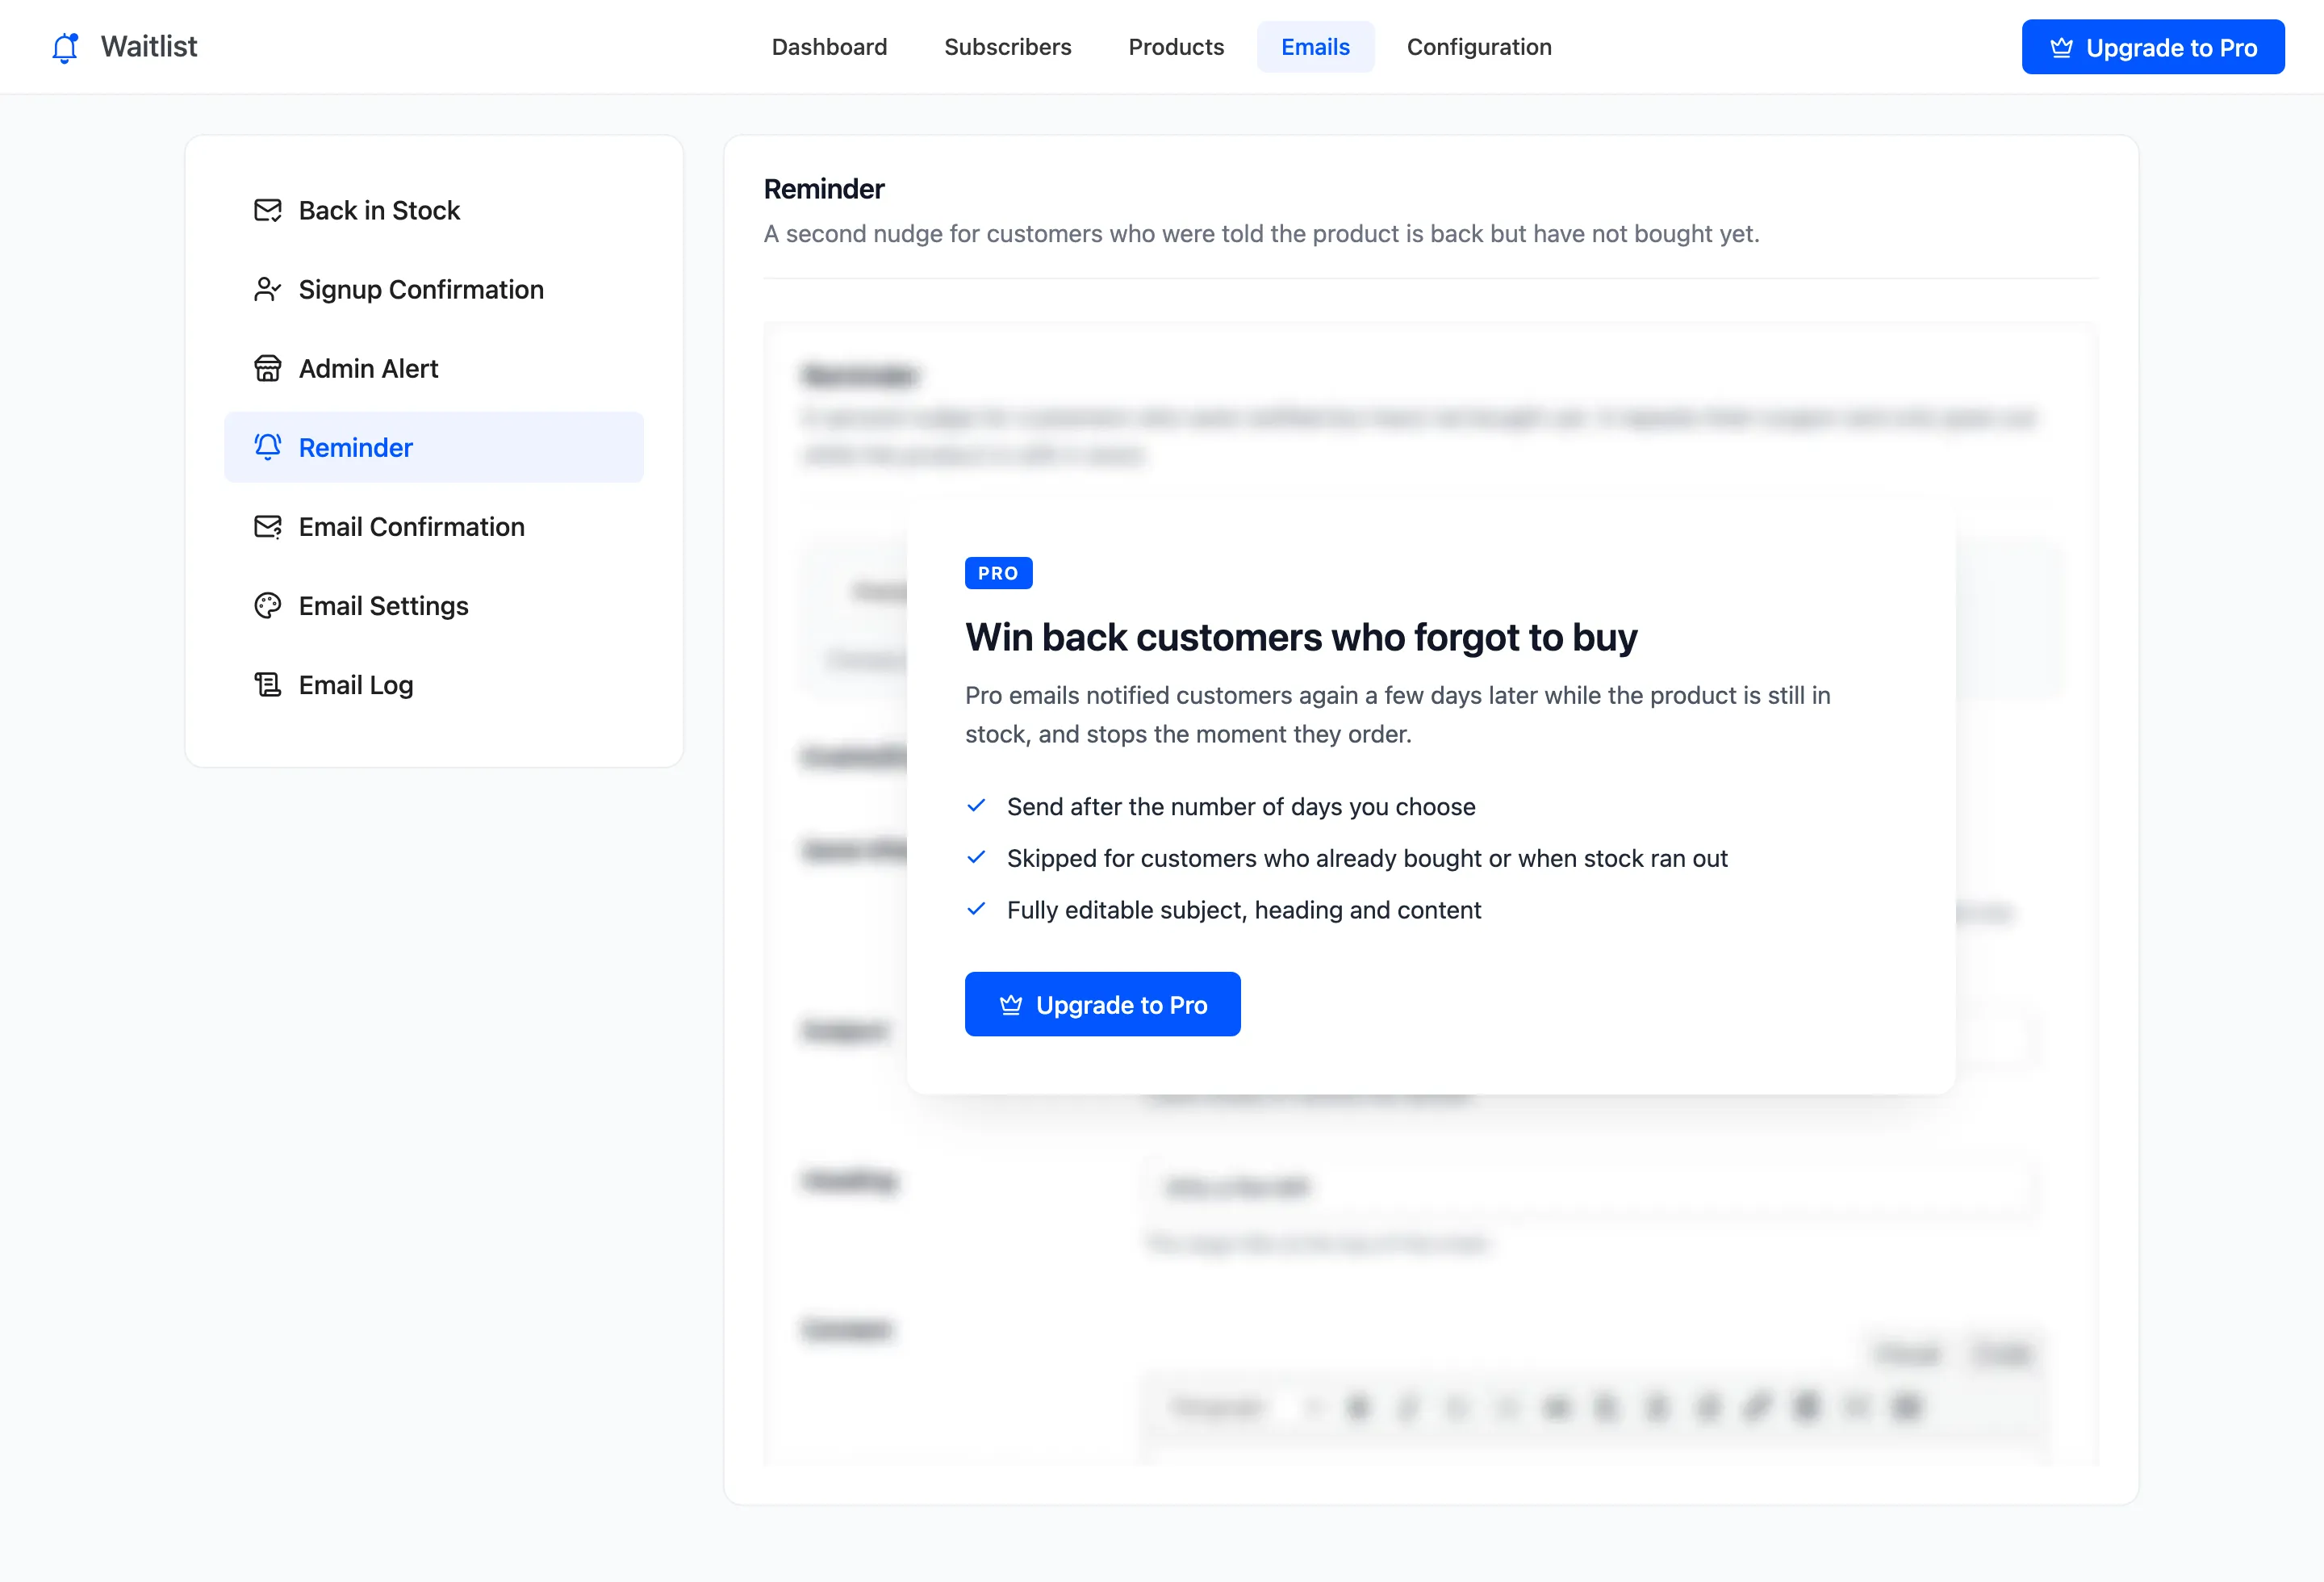
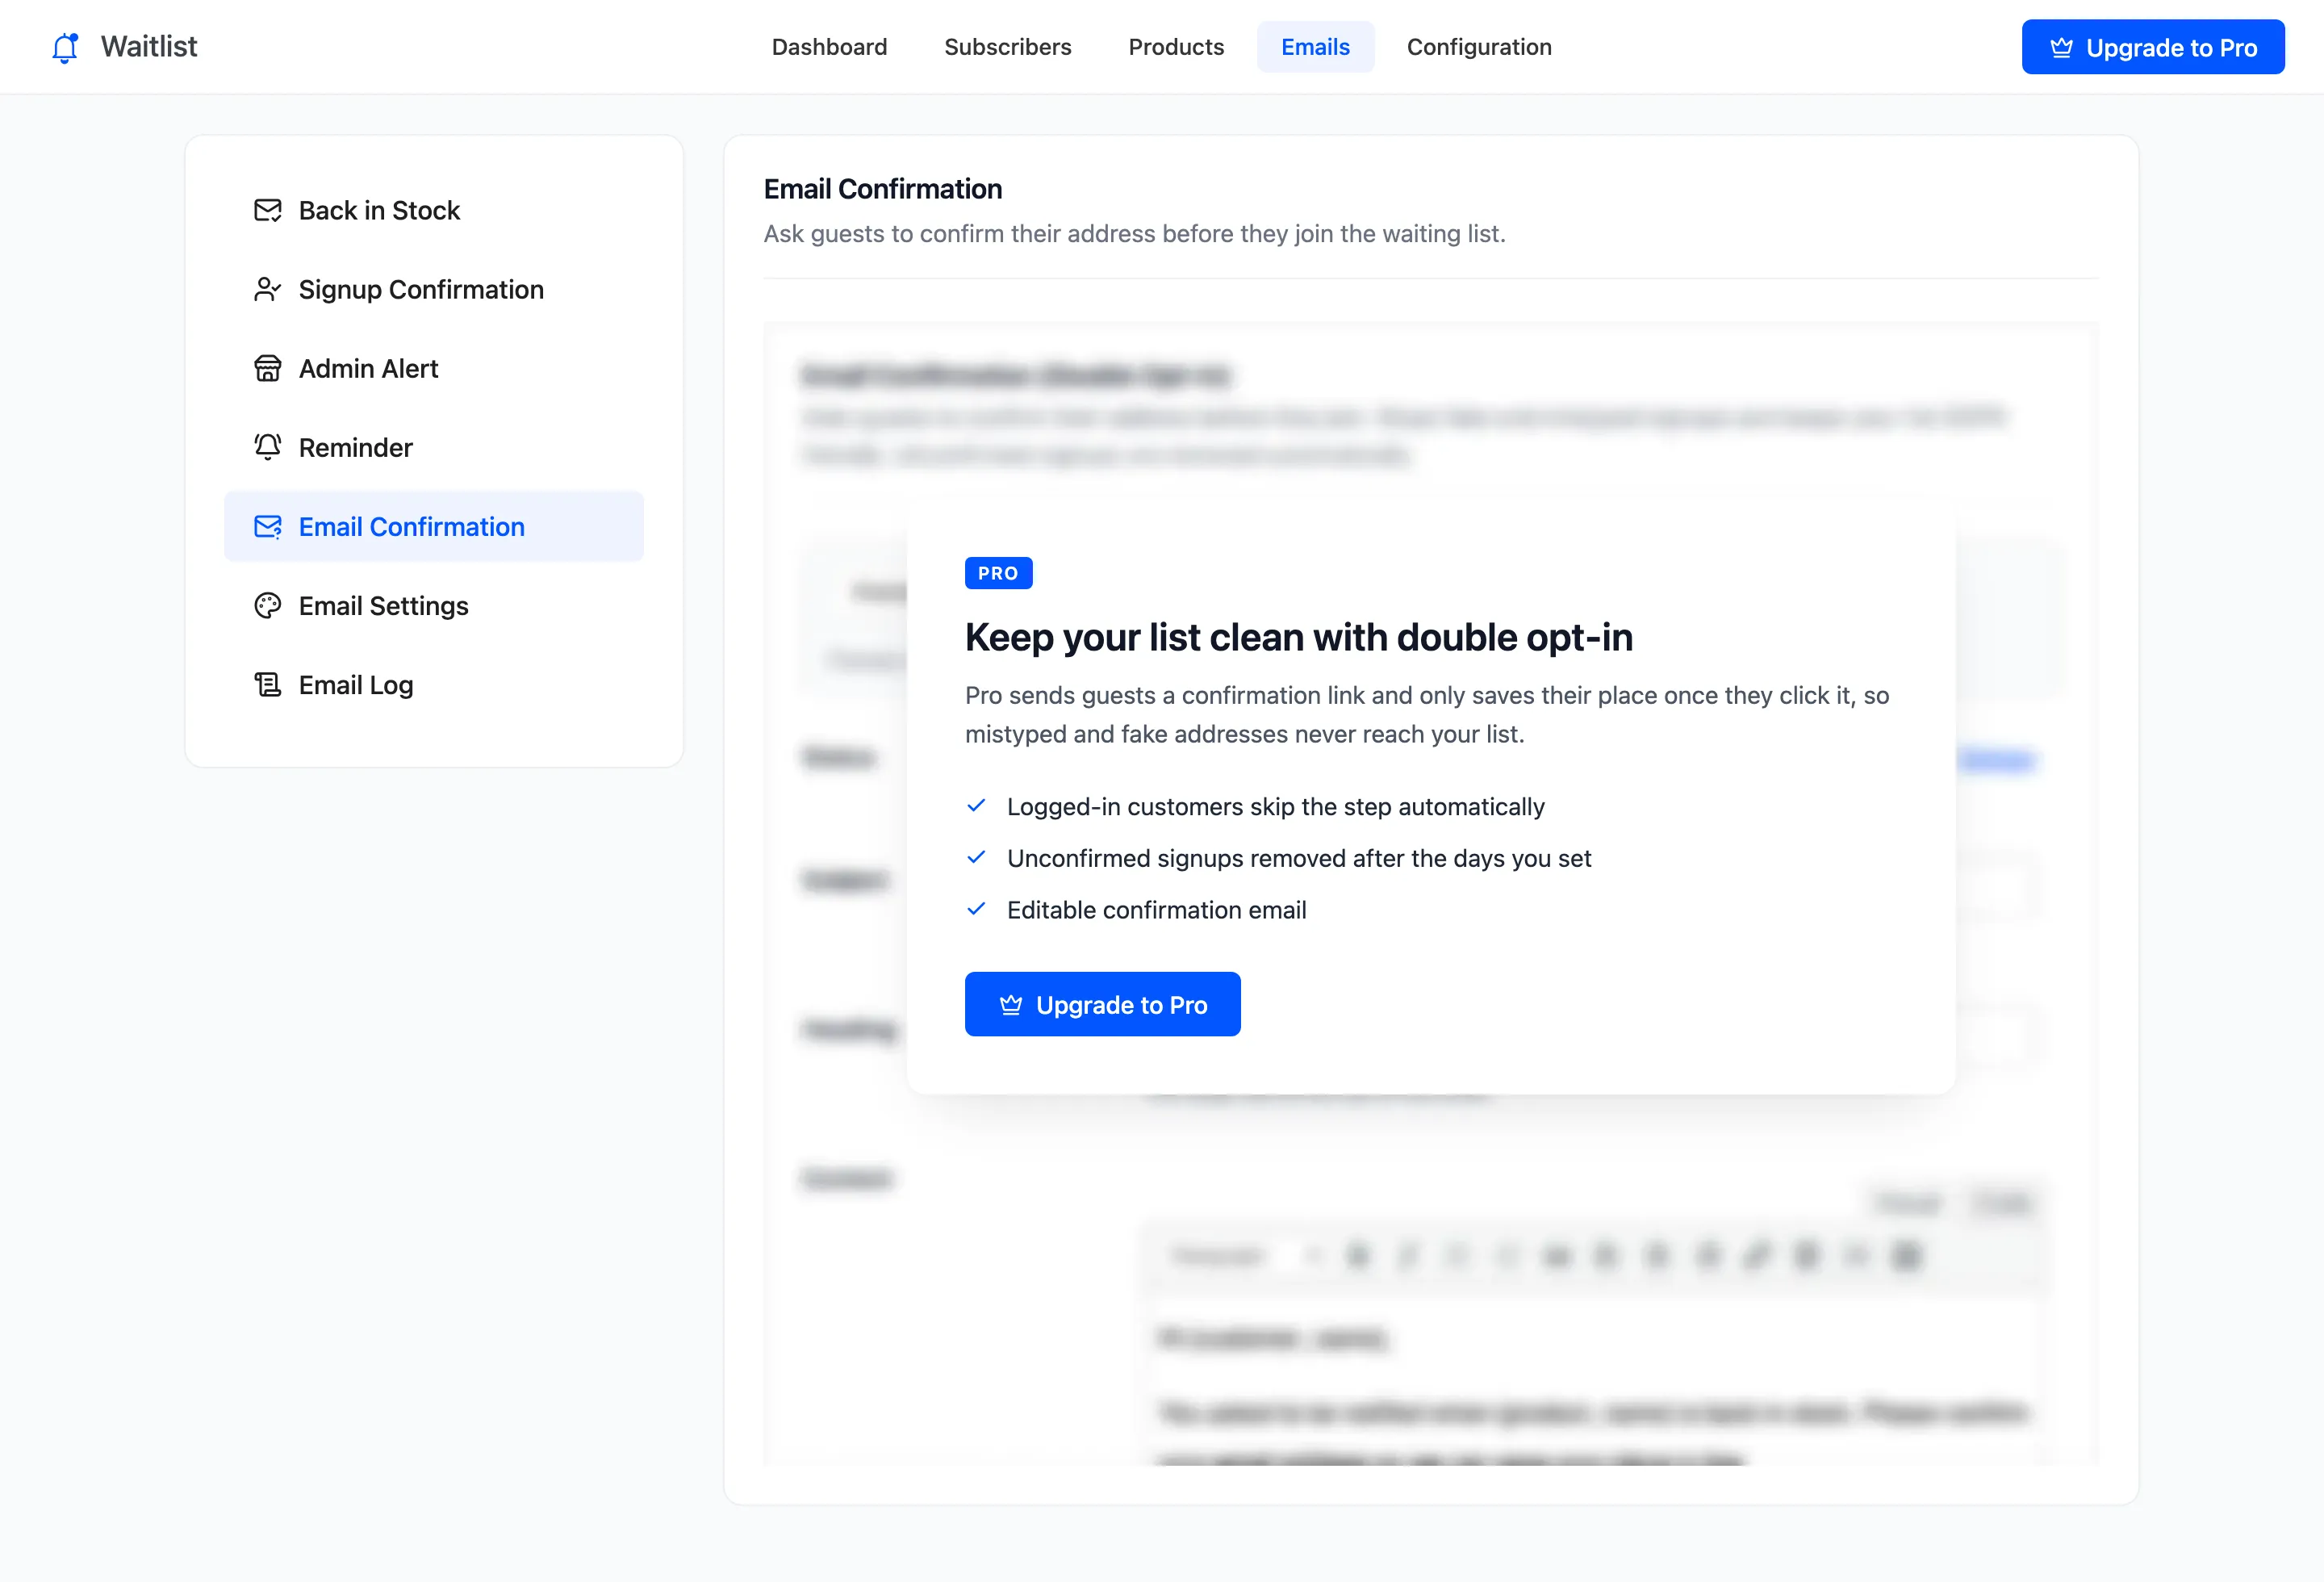
The free version’s Email Settings has the button text and colour, without the log setting:
See How to Customize the Waitlist Emails for an edit, preview and test run start to finish.