

How to Set Up App Icons and Splash Screens
Every image on this tab ends up in the app manifest. Leave one out and the plugin falls back to its own bundled placeholder, which means your app installs on somebody’s home screen under artwork that is not yours.
Step 1: Prepare a square source image
Section titled “Step 1: Prepare a square source image”One square PNG, 512 pixels or larger, with a transparent or solid background. Everything else is resized from it. This step happens in your image editor, so there is nothing on screen to show.
Two things to check before you start resizing.
- It has to read at 48 pixels. A logo with a tagline under it becomes an unreadable smudge. Use the mark, not the lockup.
- It has to survive a circular crop. Android, iOS and Windows all crop, each to a different shape.
Step 2: Upload the five icon sizes
Section titled “Step 2: Upload the five icon sizes”Go to DevDiggers Plugins → Progressive Web App → Configuration → App Icons.
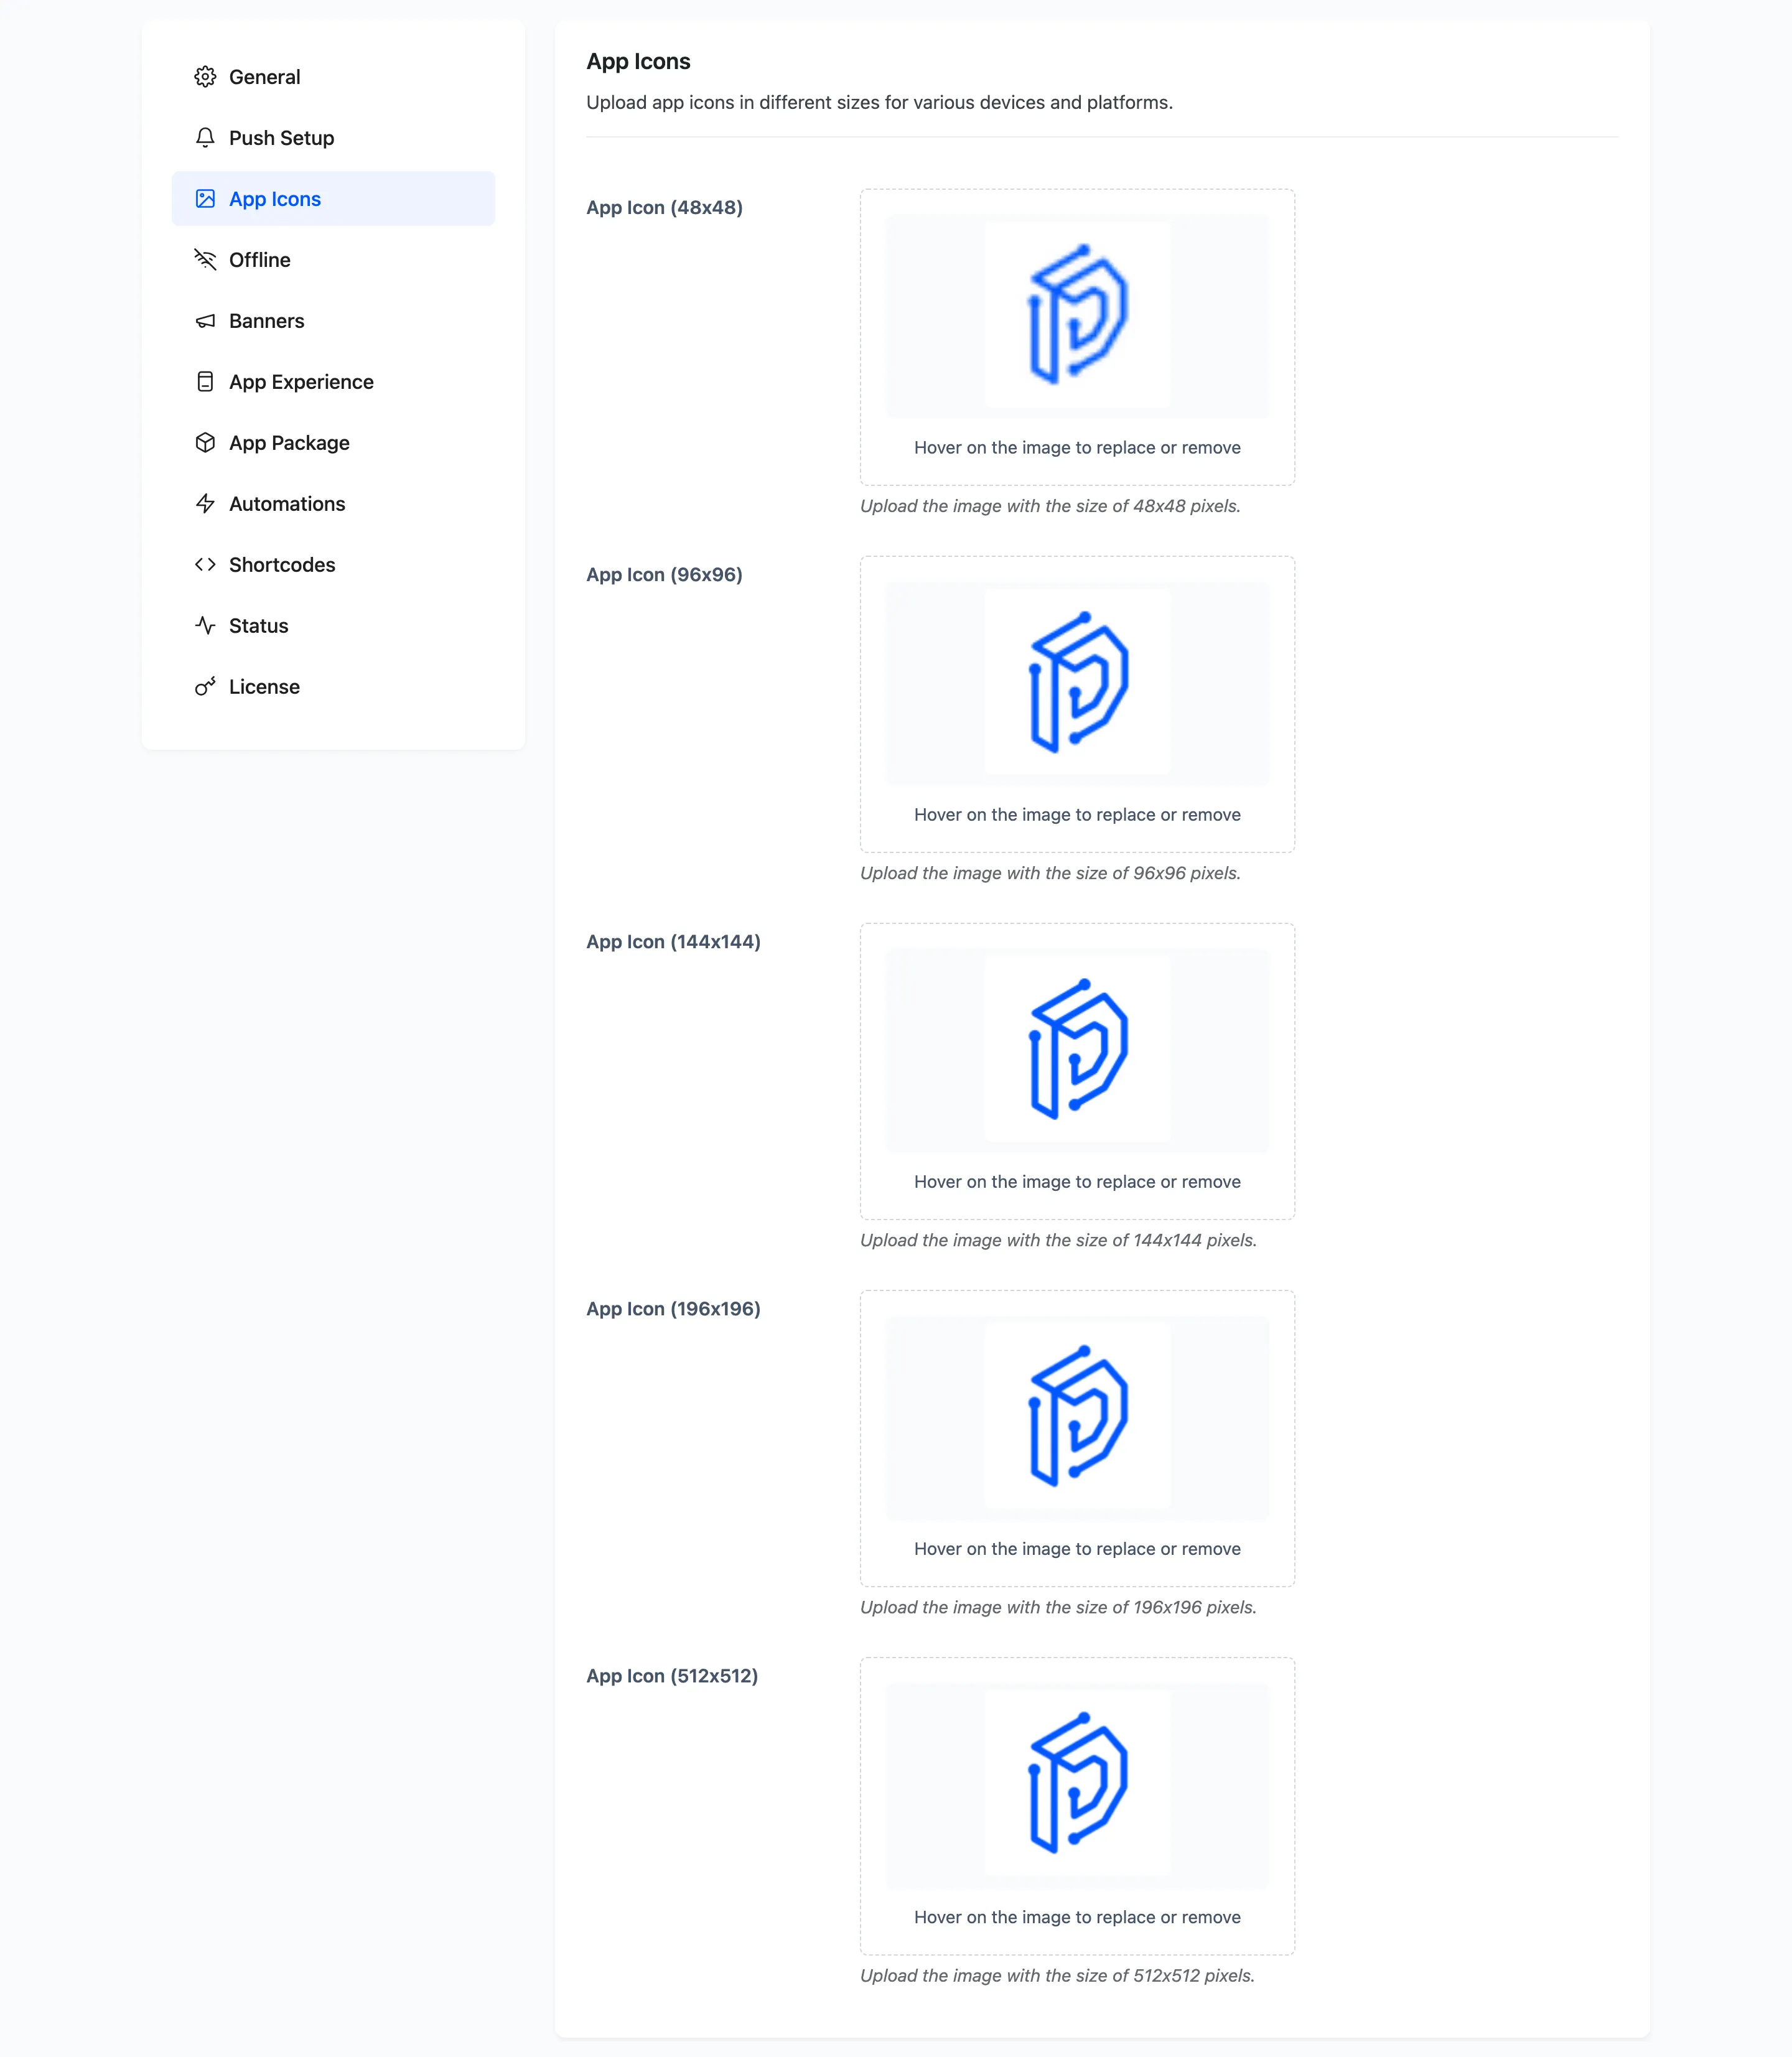
Five uploads: 48x48, 96x96, 144x144, 196x196 and 512x512. Different platforms pick different ones, so supply all five rather than guessing.
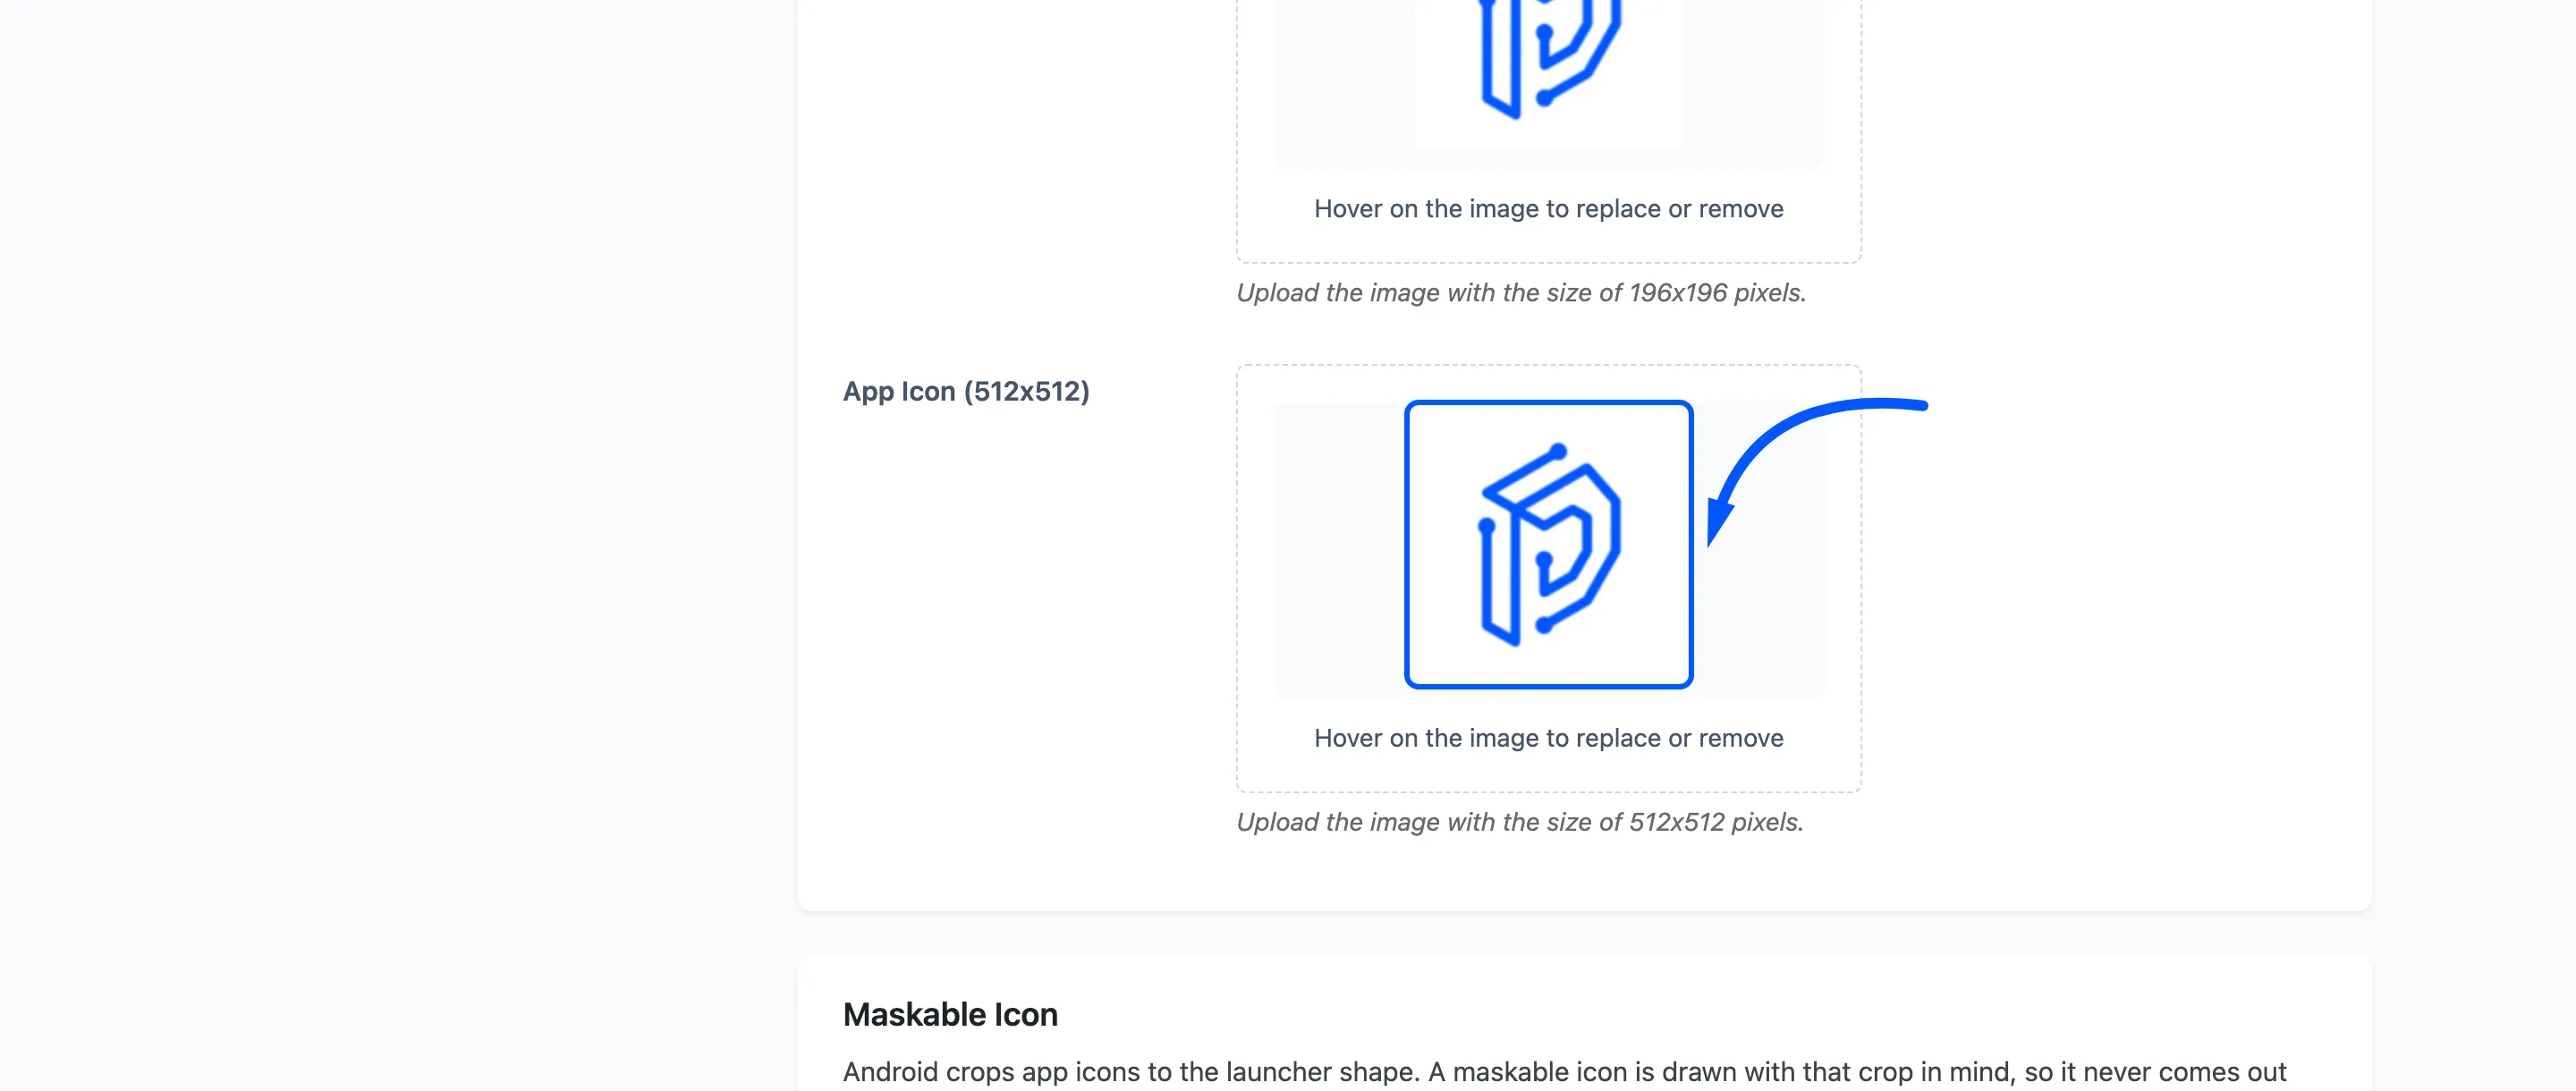
The 512 is the one to get right first. It is the icon the Android packager scales every density from, and the Store Readiness checks on the App Package tab look for it by name.
Step 3: Add a maskable icon
Section titled “Step 3: Add a maskable icon”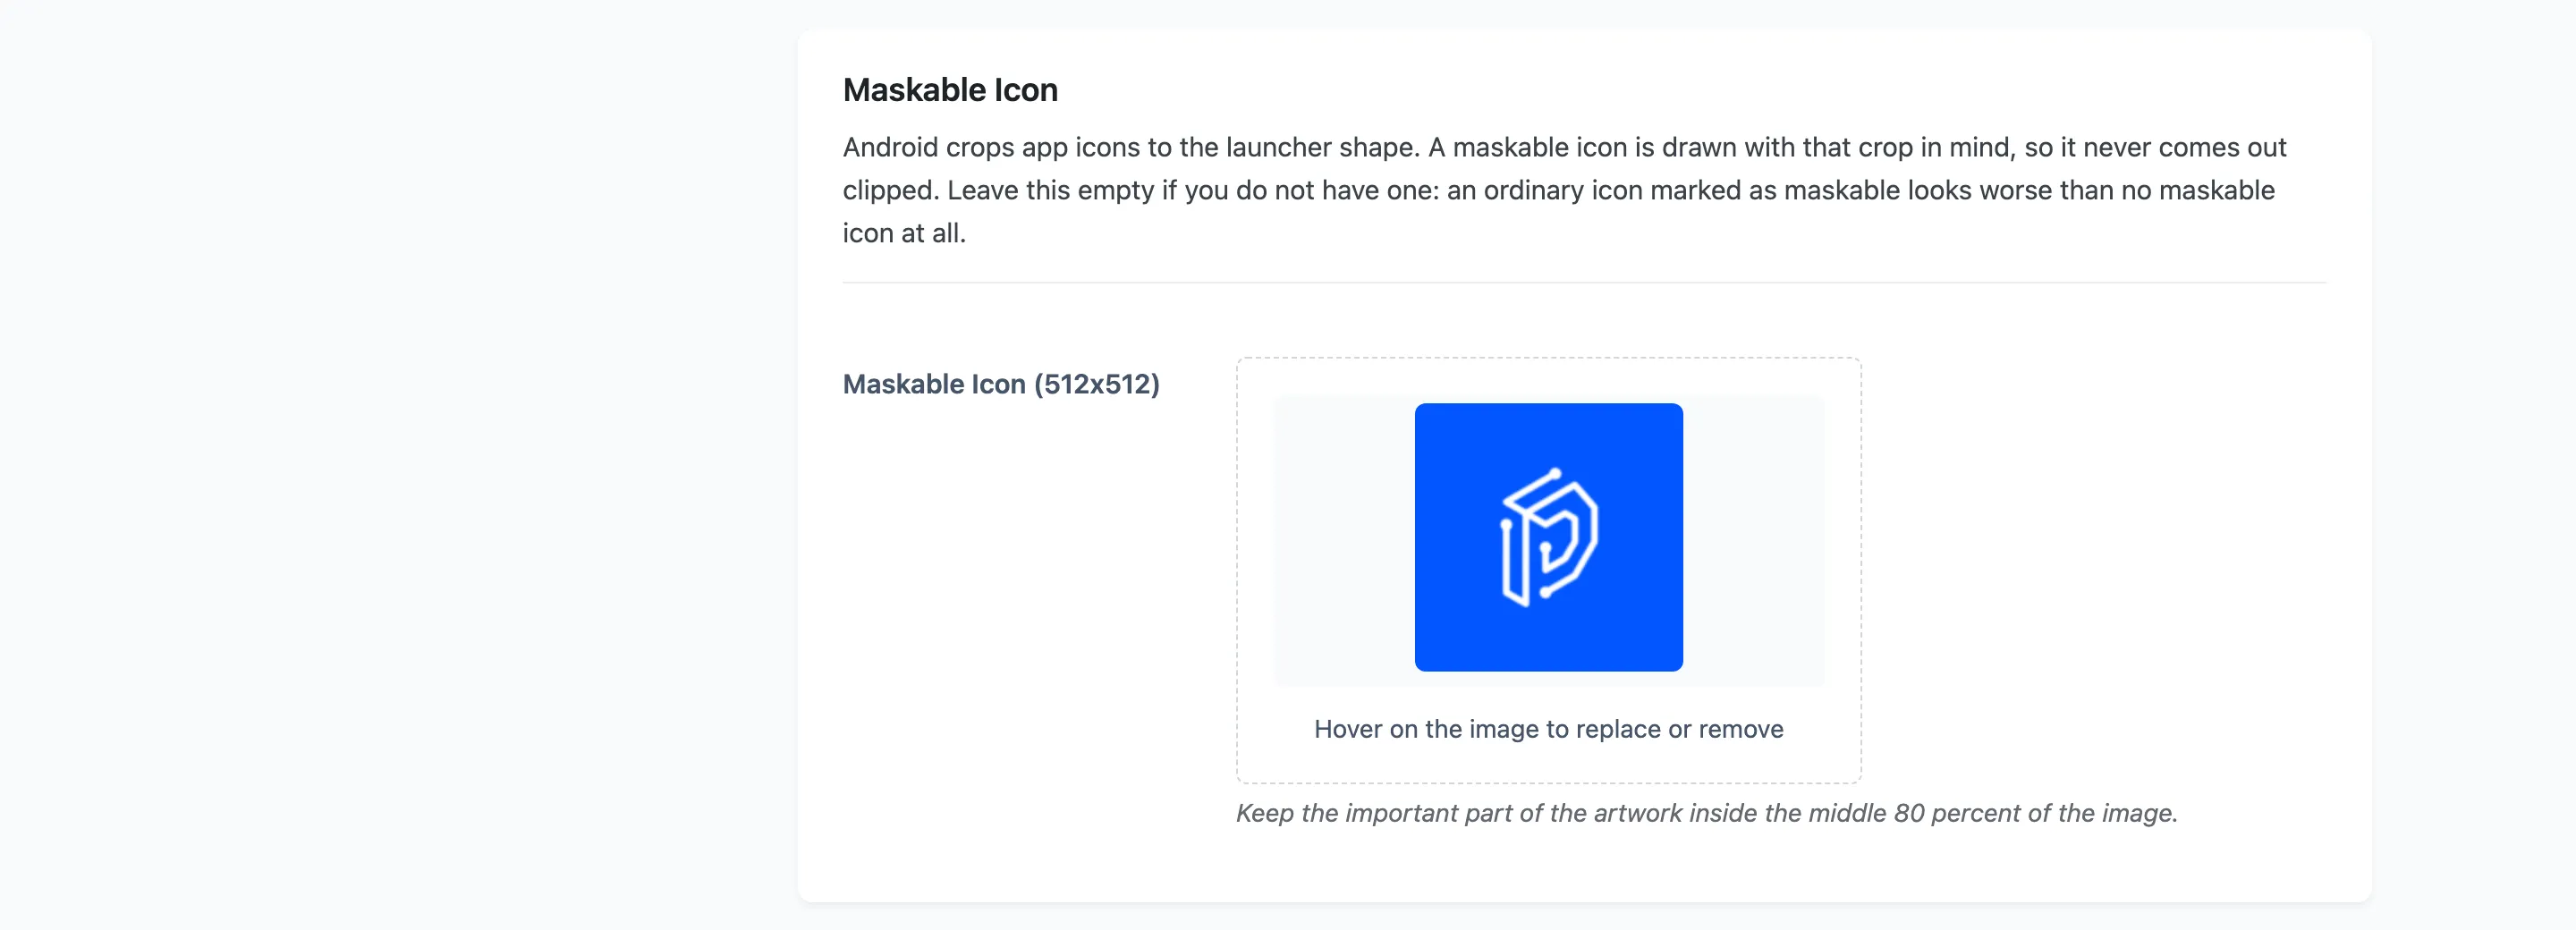
Android crops app icons to whatever shape the launcher uses, and that shape differs by device. A maskable icon is drawn with the crop in mind, so it never comes out clipped.
Make a second 512 image with the artwork inside the middle 80 percent and the rest a solid background colour. Uploading your ordinary icon here is worse than uploading nothing: marked as maskable, it will be cropped into.
Step 4: Add an iOS splash image
Section titled “Step 4: Add an iOS splash image”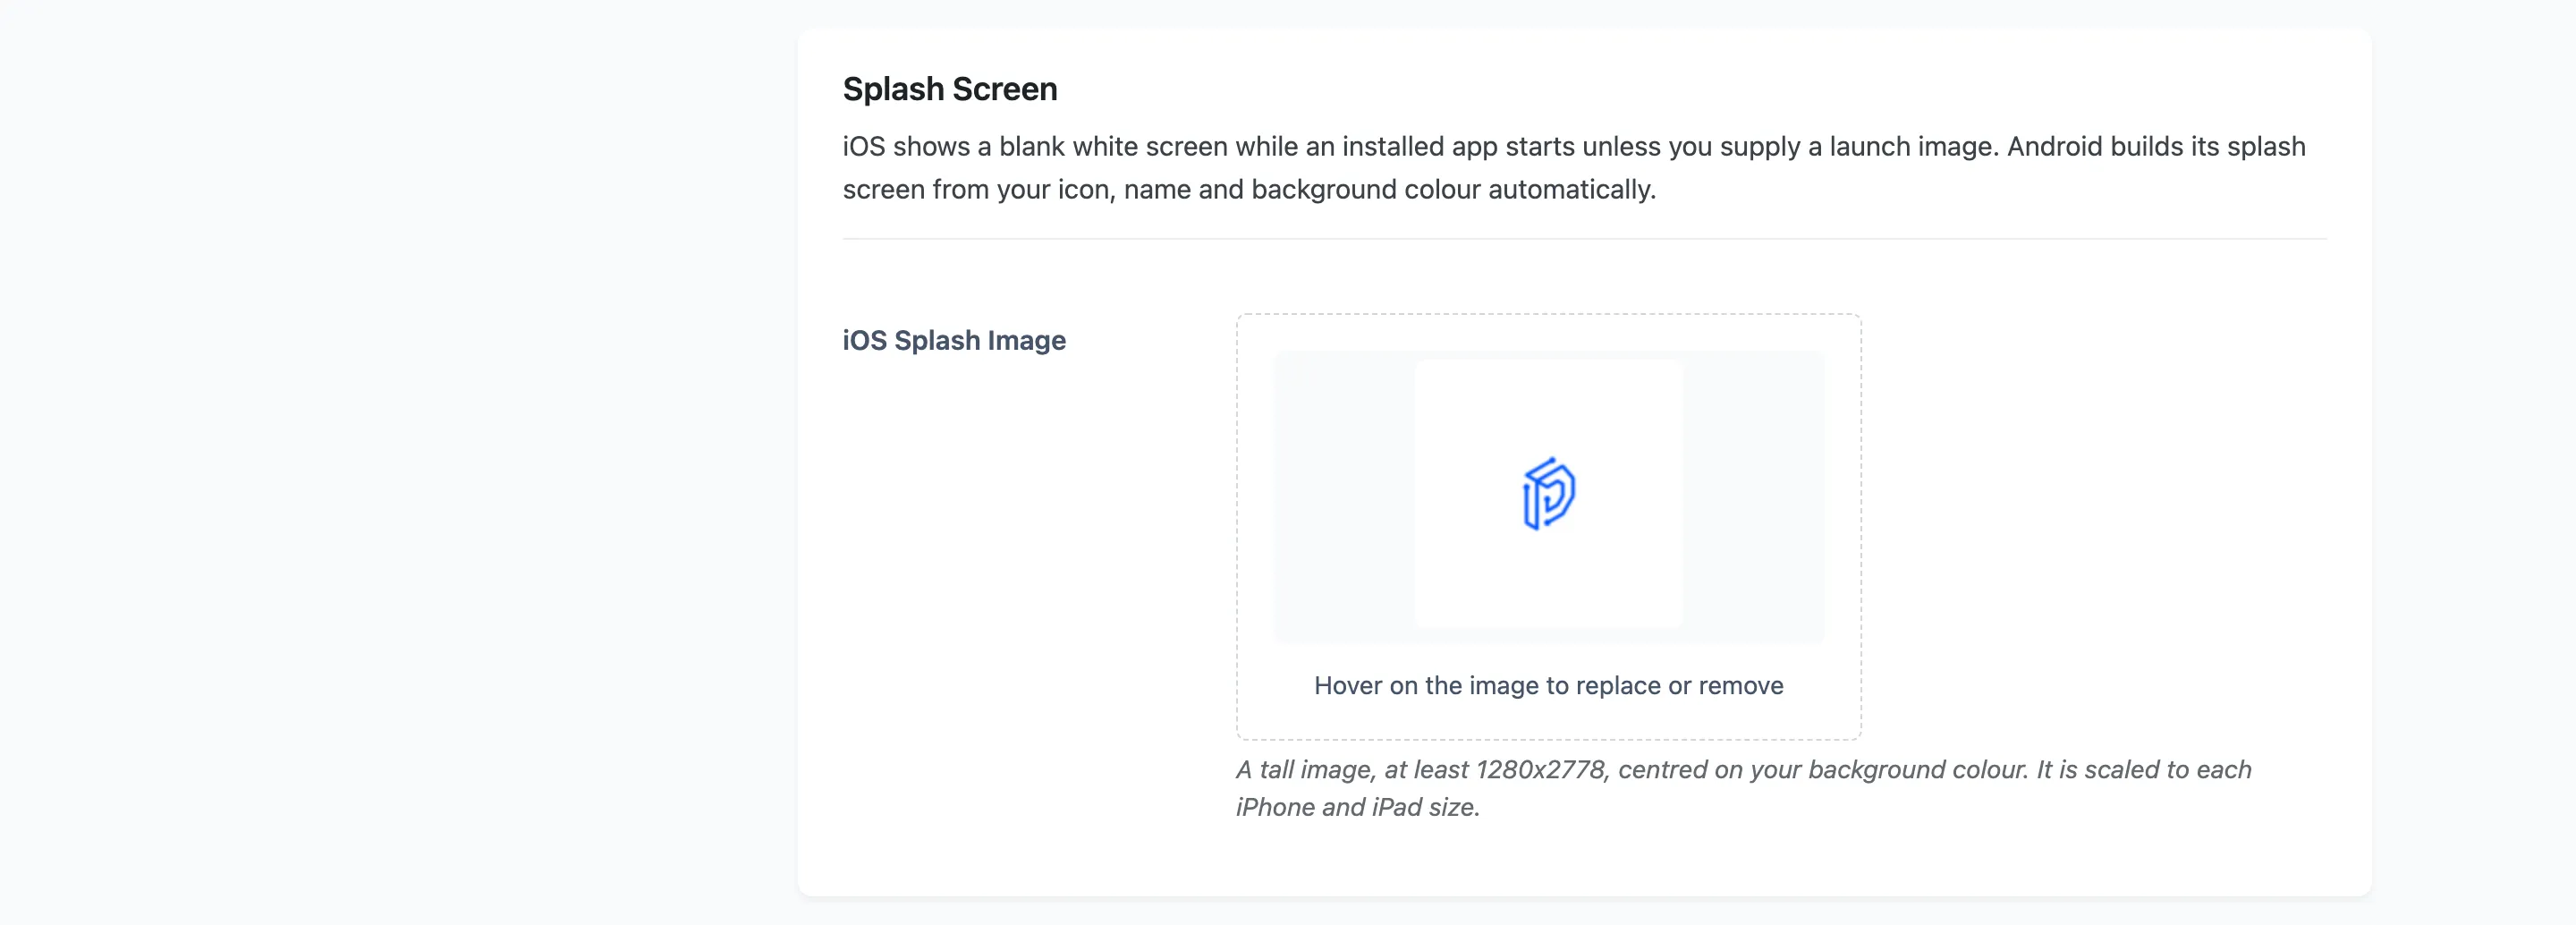
iOS shows a blank white screen while an installed app starts unless you supply a launch image. A tall image, at least 1280x2778, with your logo centred on your background colour. It is scaled to each iPhone and iPad size.
Android needs nothing here. It builds its splash from your icon, your app name and your background colour automatically. That is why matching the Background Color on the General tab to your page background matters more than it looks.
Step 5: Add the two store screenshots
Section titled “Step 5: Add the two store screenshots”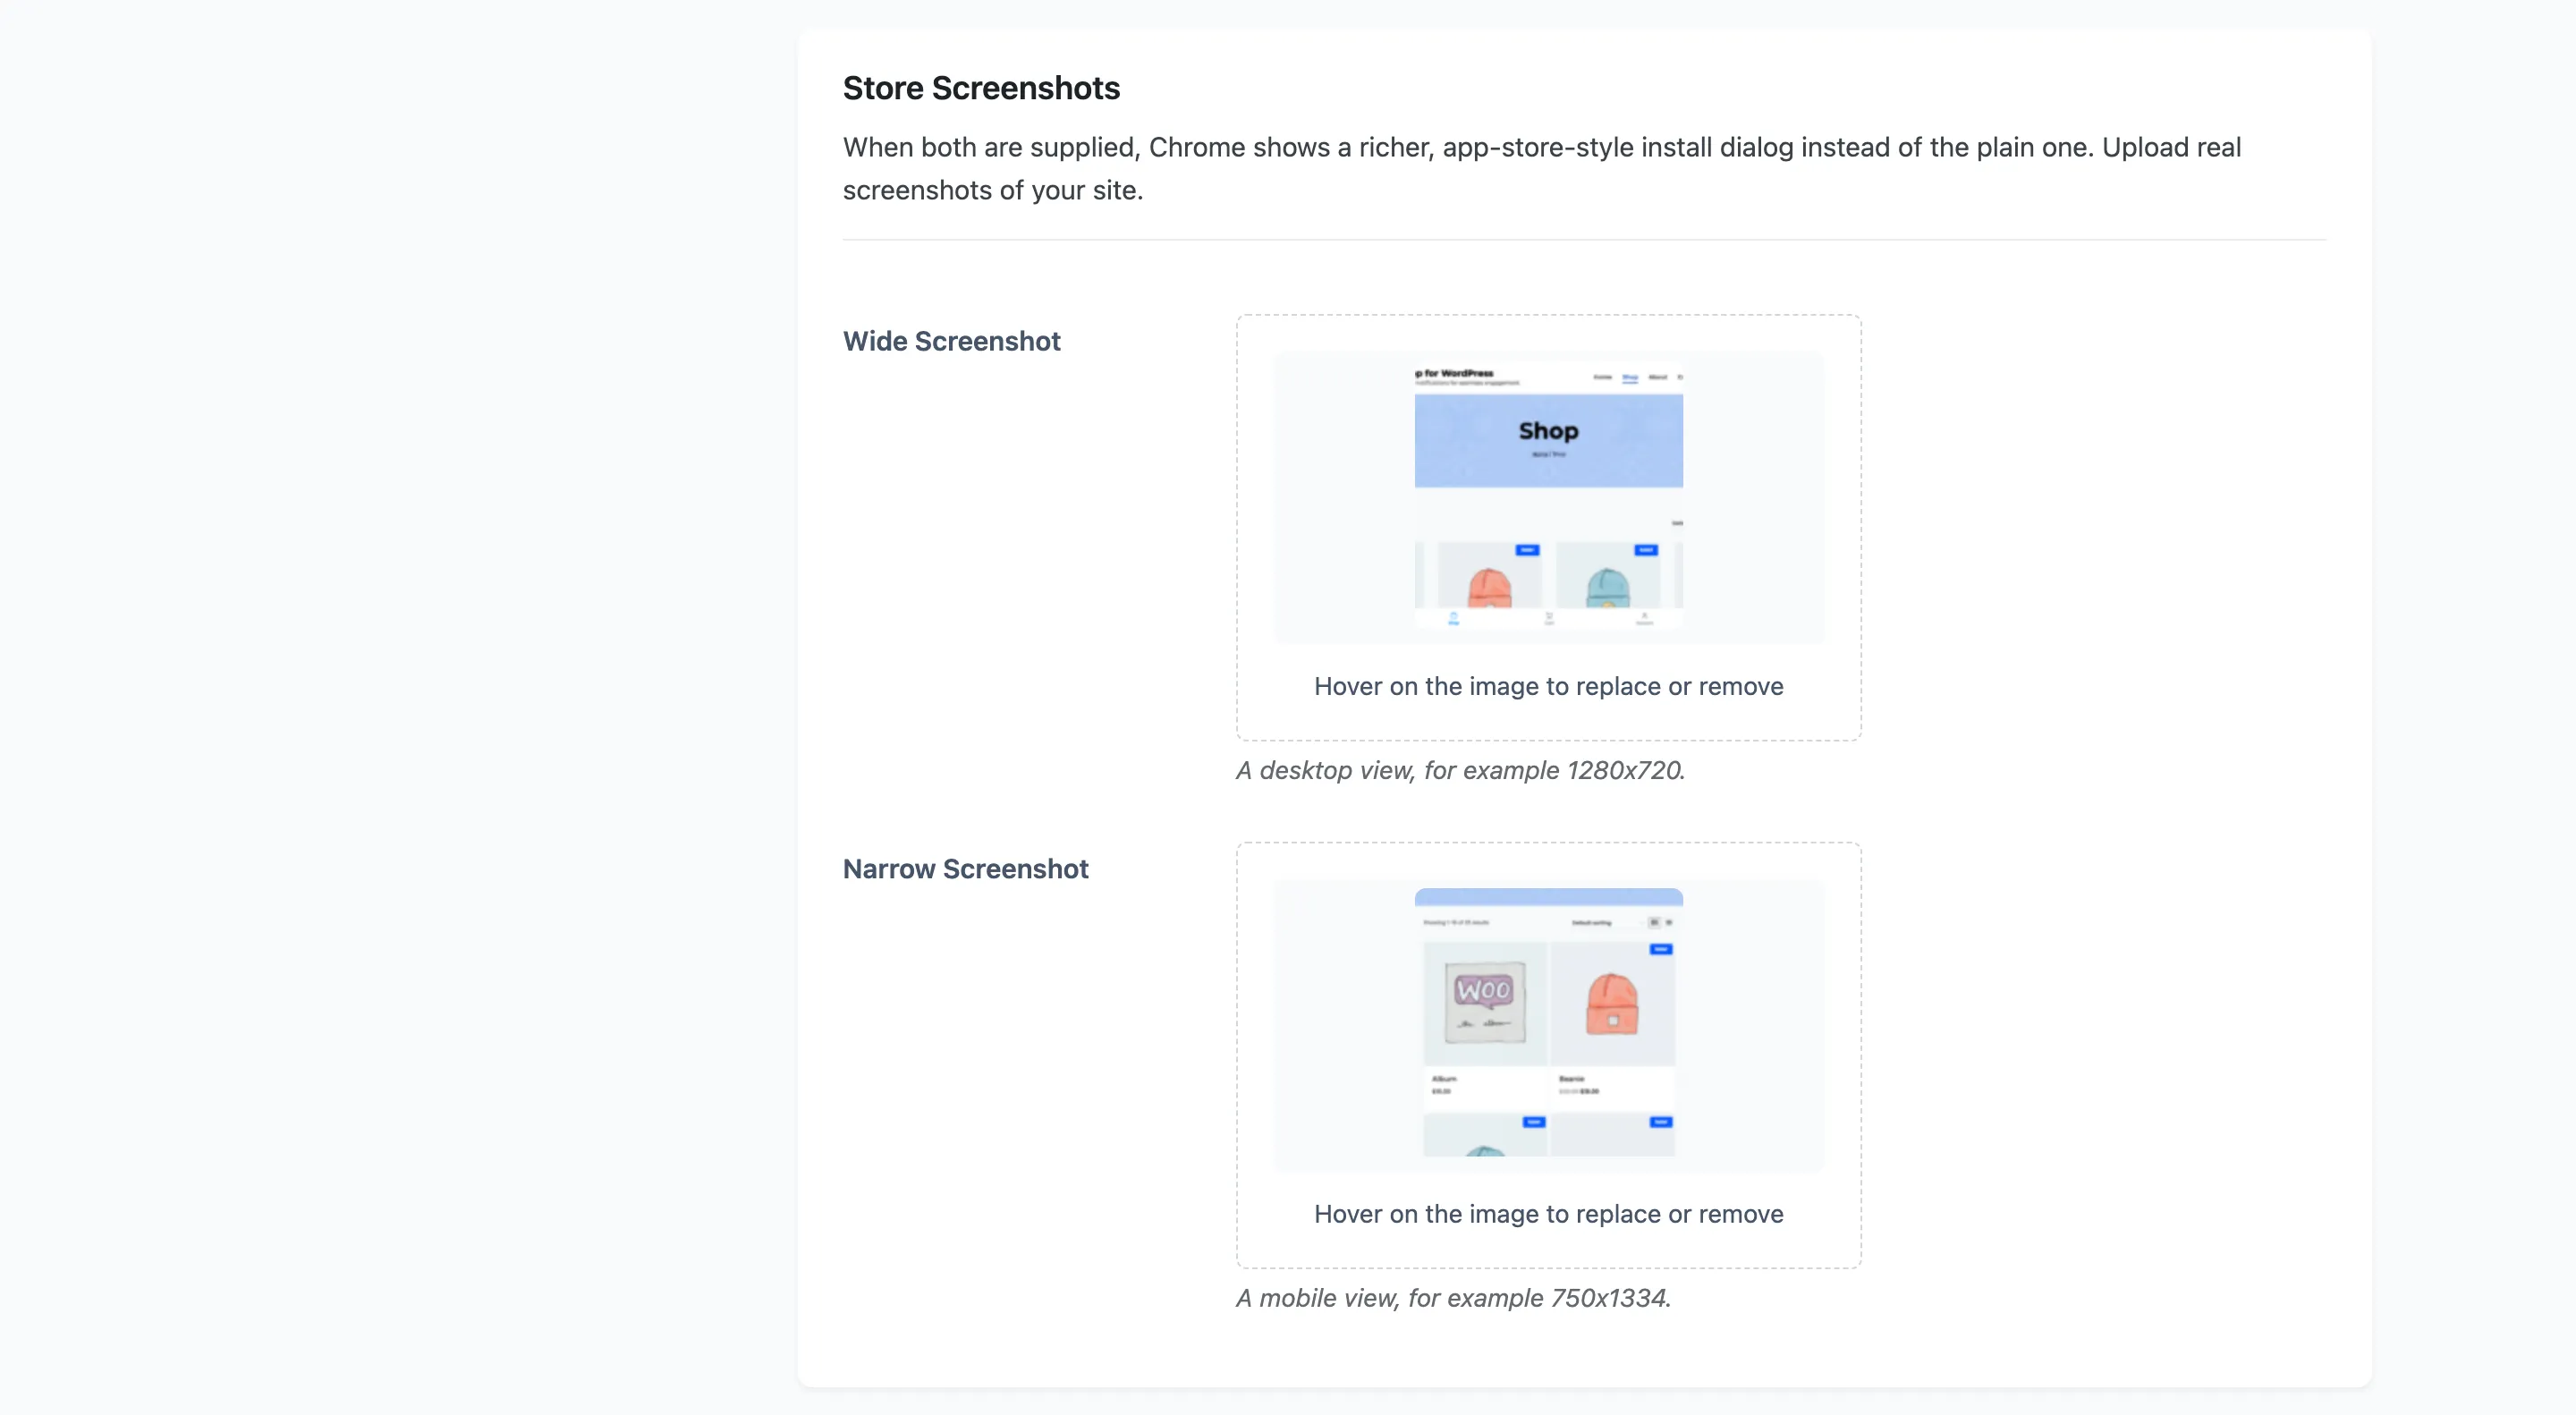
When both are supplied, Chrome shows a richer install dialog with your screenshots in it rather than the plain one. That dialog converts better, because the visitor can see what they are installing.
- Wide Screenshot: A desktop view, for example 1280x720.
- Narrow Screenshot: A mobile view, for example 750x1334.
Both are needed. One on its own changes nothing. Use real screenshots of your own site, taken with the browser chrome cropped off.
Step 6: Check the Status tab
Section titled “Step 6: Check the Status tab”Save, then go to Configuration → Status and read the Generated Files group.
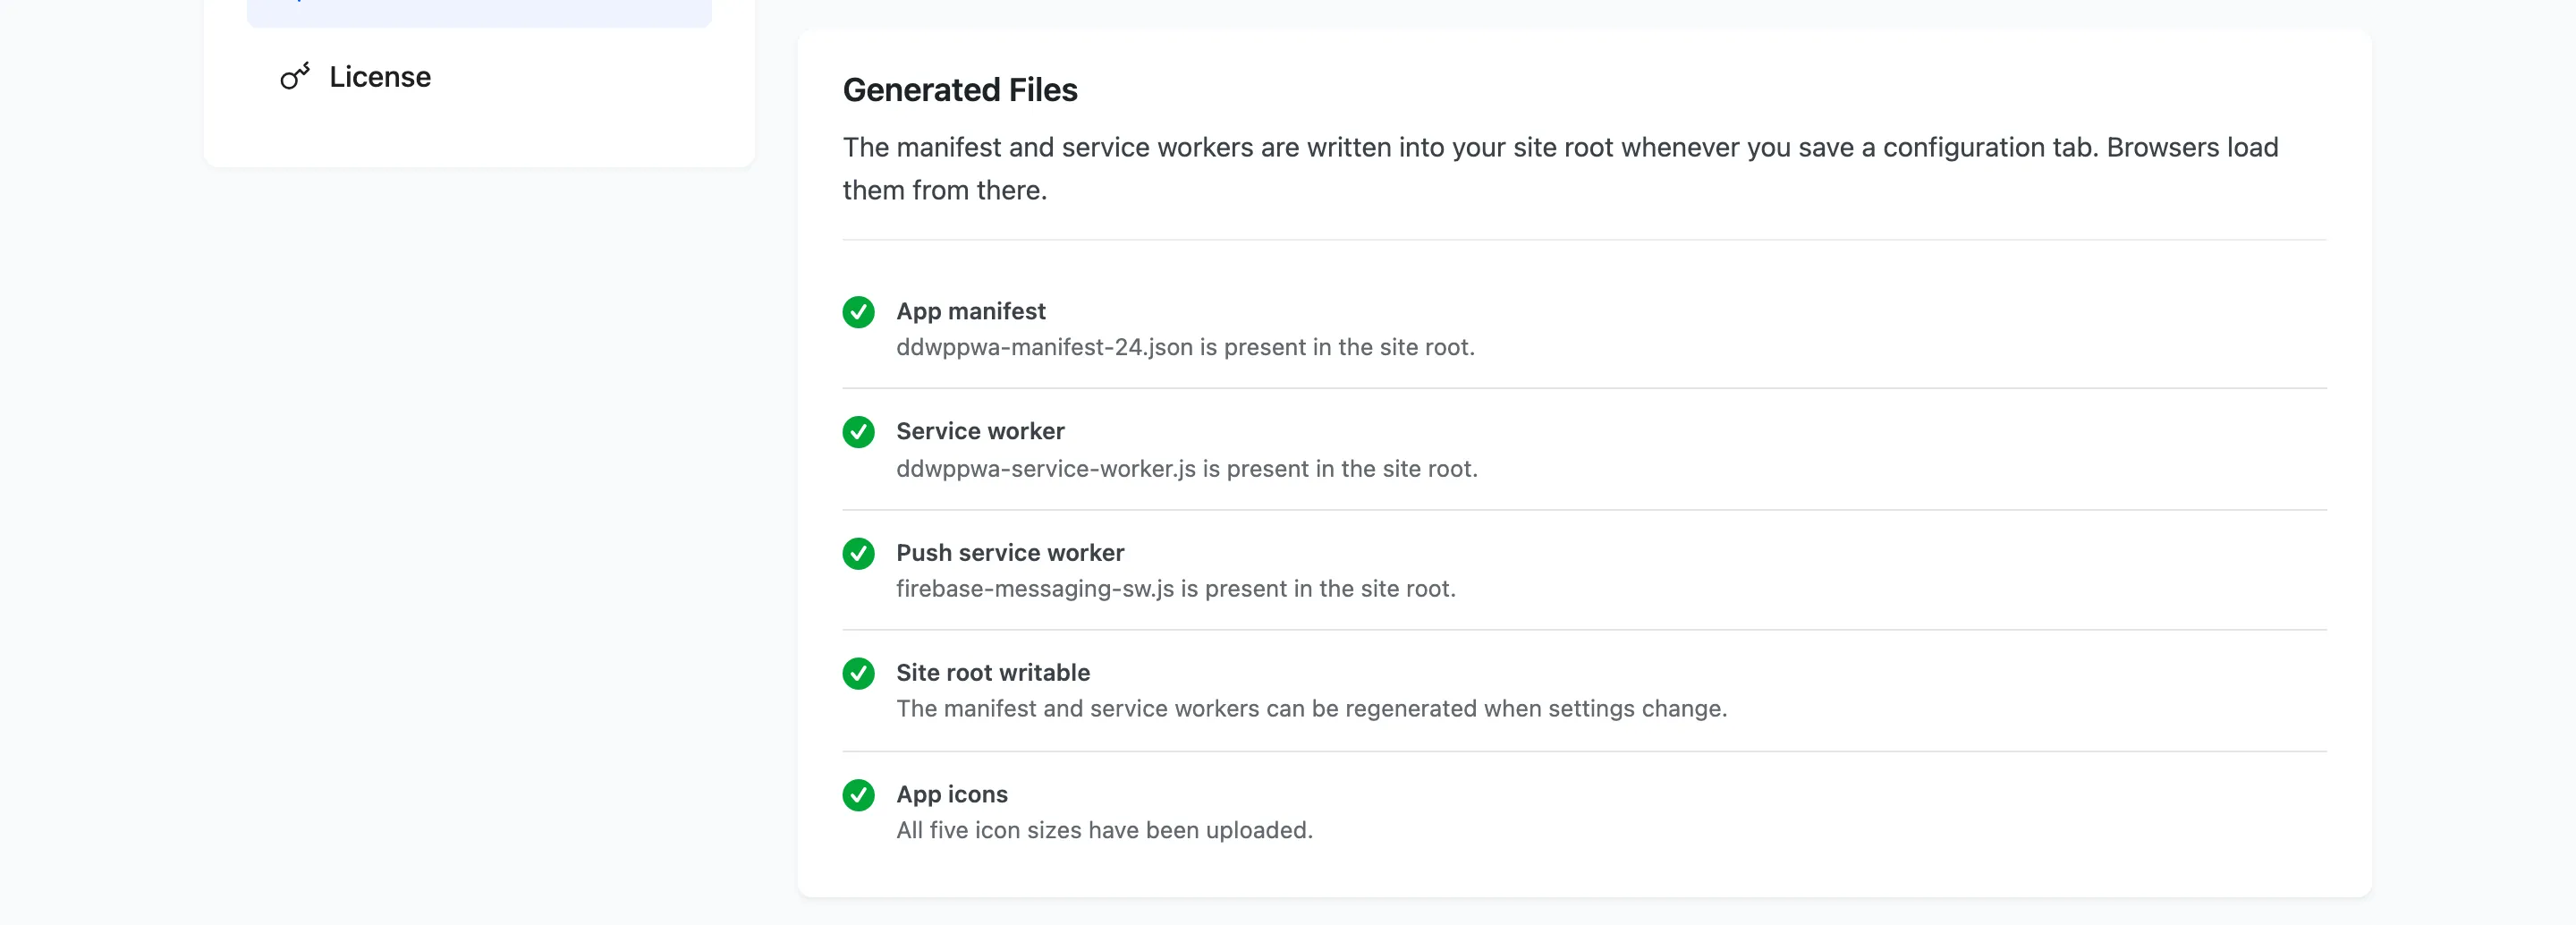
The App icons row counts how many of the five sizes are set and warns while any are missing. Saving any configuration tab rewrites the manifest, so the new icons are published the moment you press Save Changes.
Step 7: Check it on a real device
Section titled “Step 7: Check it on a real device”Open the site on a phone and install it. The icon on the home screen is the real test, and it is the only place a maskable icon can be judged. That is a device screen rather than a plugin screen, so there is nothing to show here either.
The Status tab carries the app start URL for exactly this, so you can open the app on a phone the way a visitor would.