

How to Customise the Notification Prompt
A browser lets a site ask for notification permission exactly once. Answer no and it never asks again, and nothing on your side can undo that.
The prompt exists to protect that one chance. It is your own box, not the browser’s, so dismissing it costs nothing. Only pressing Allow hands over to the real dialog.
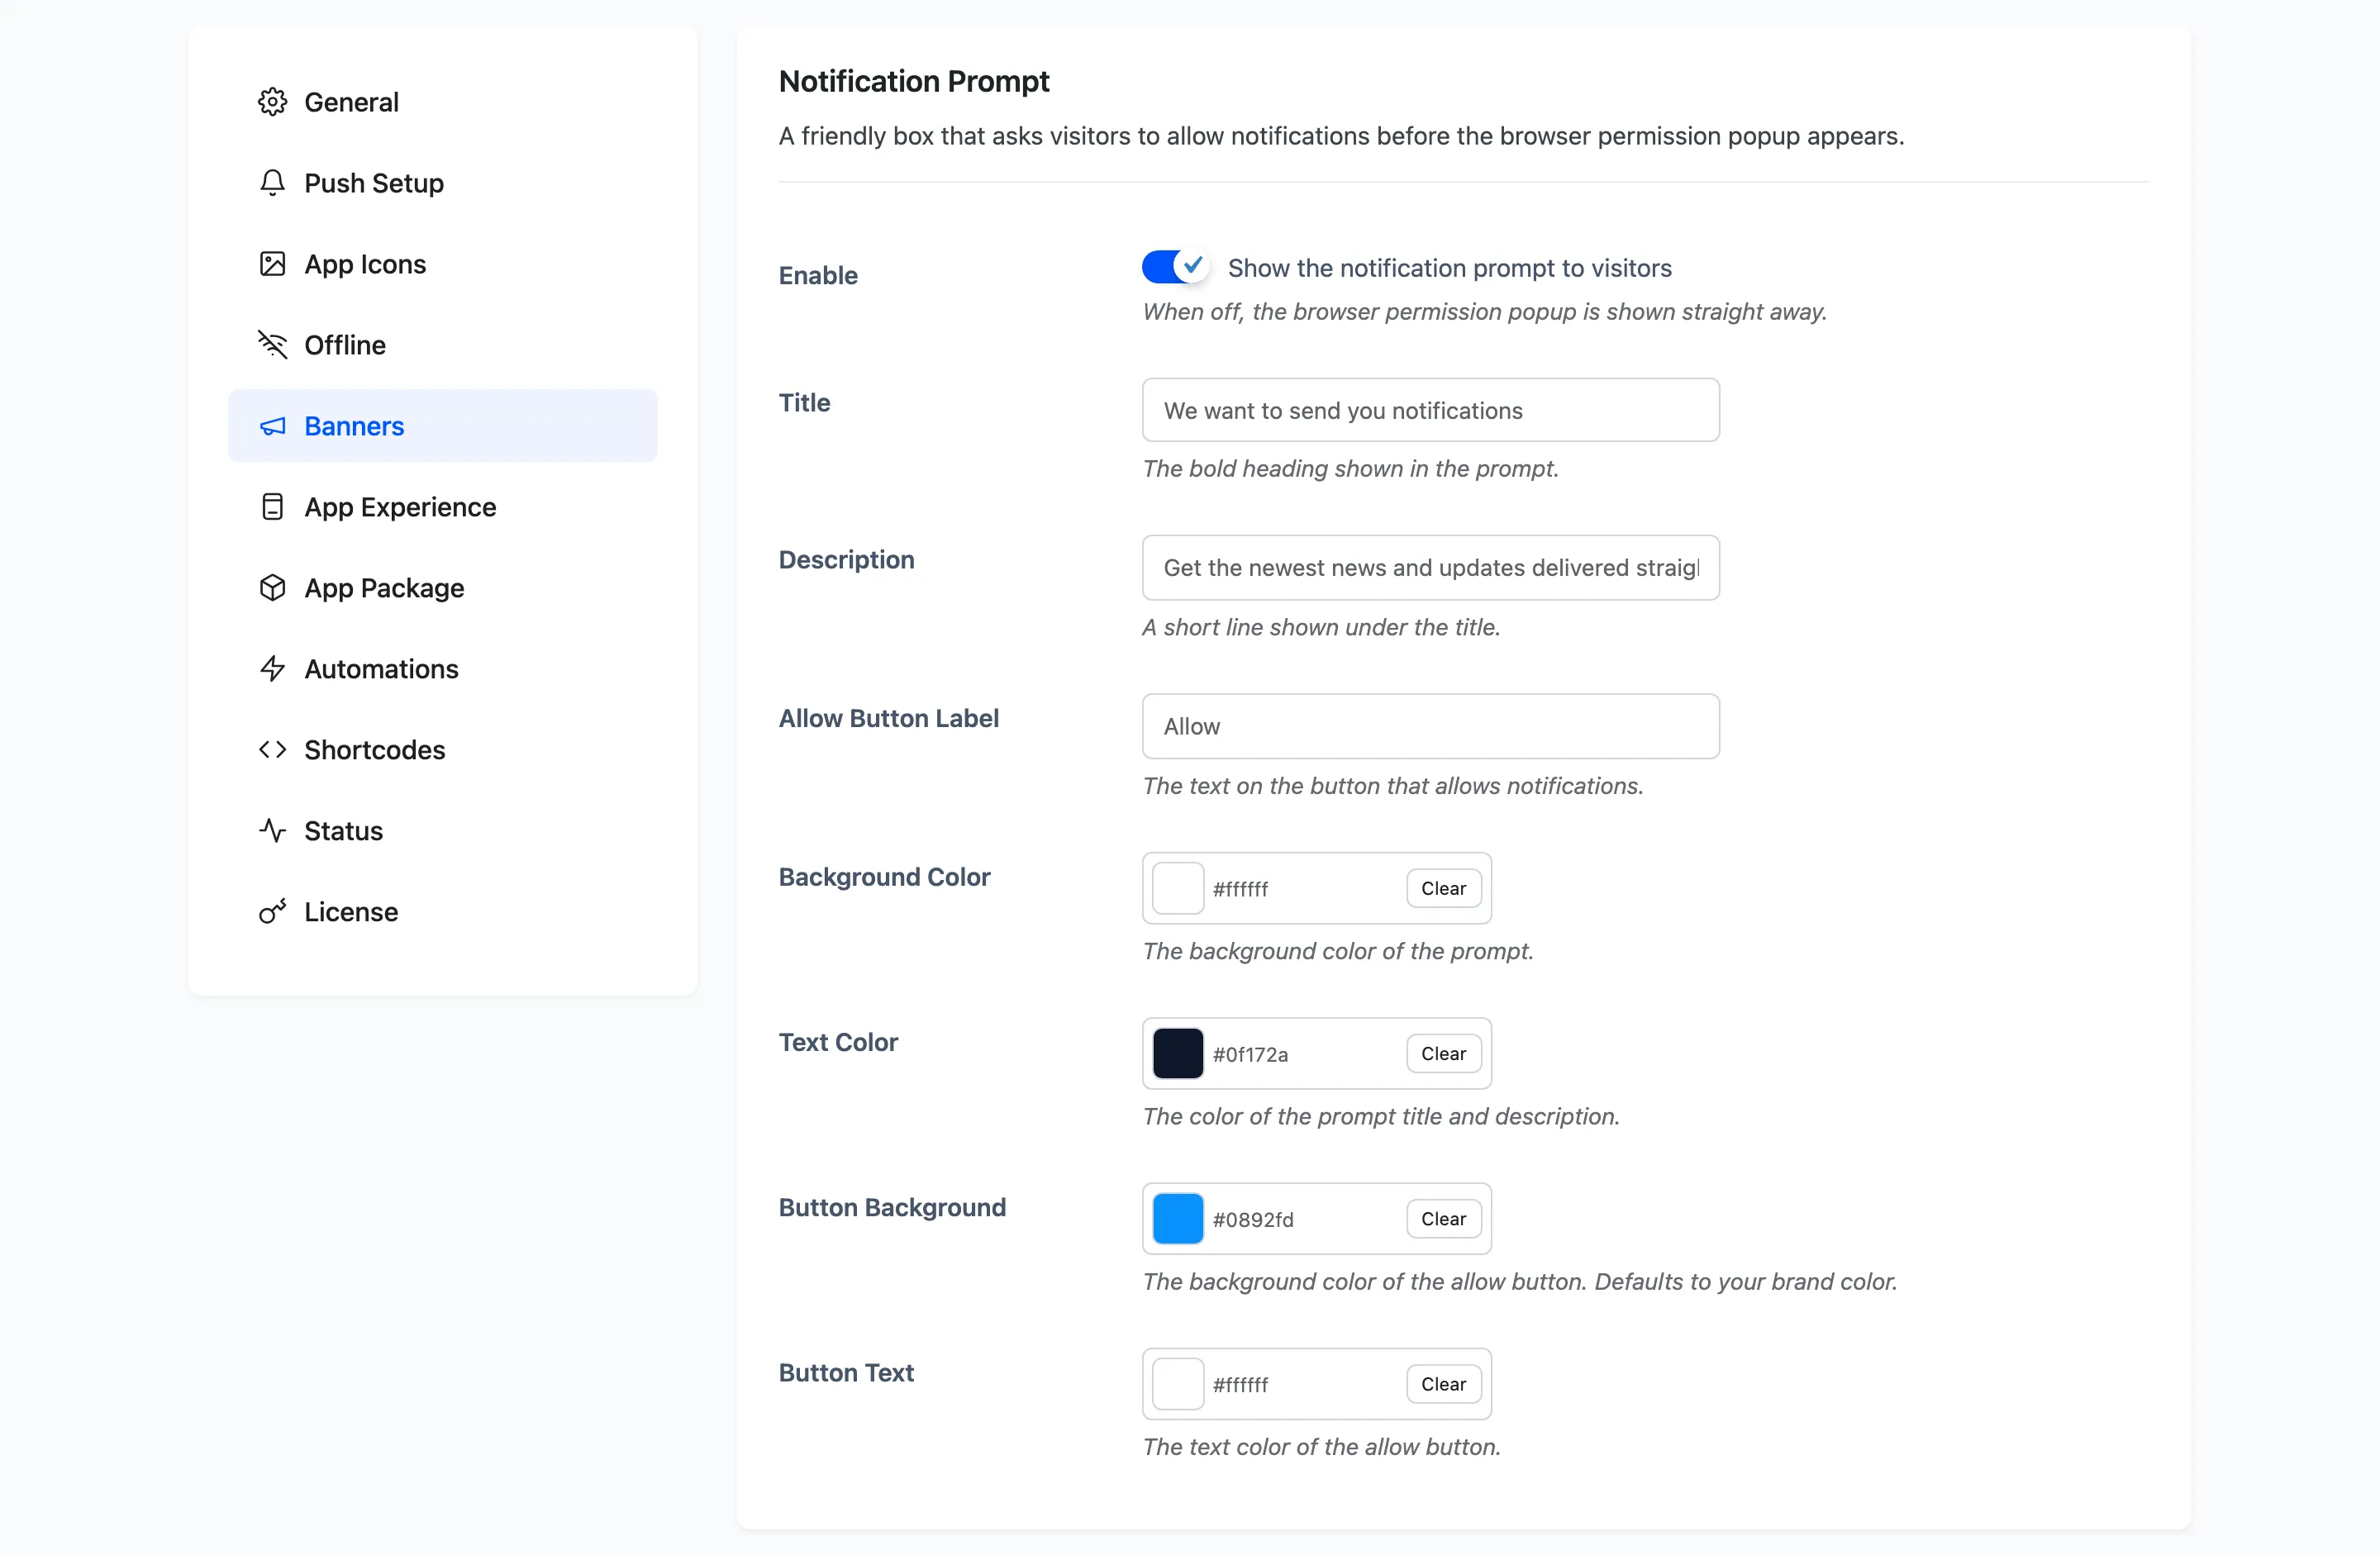
Step 1: Open the Banners tab
Section titled “Step 1: Open the Banners tab”Go to DevDiggers Plugins → Progressive Web App → Configuration → Banners.
Step 2: Switch the prompt on
Section titled “Step 2: Switch the prompt on”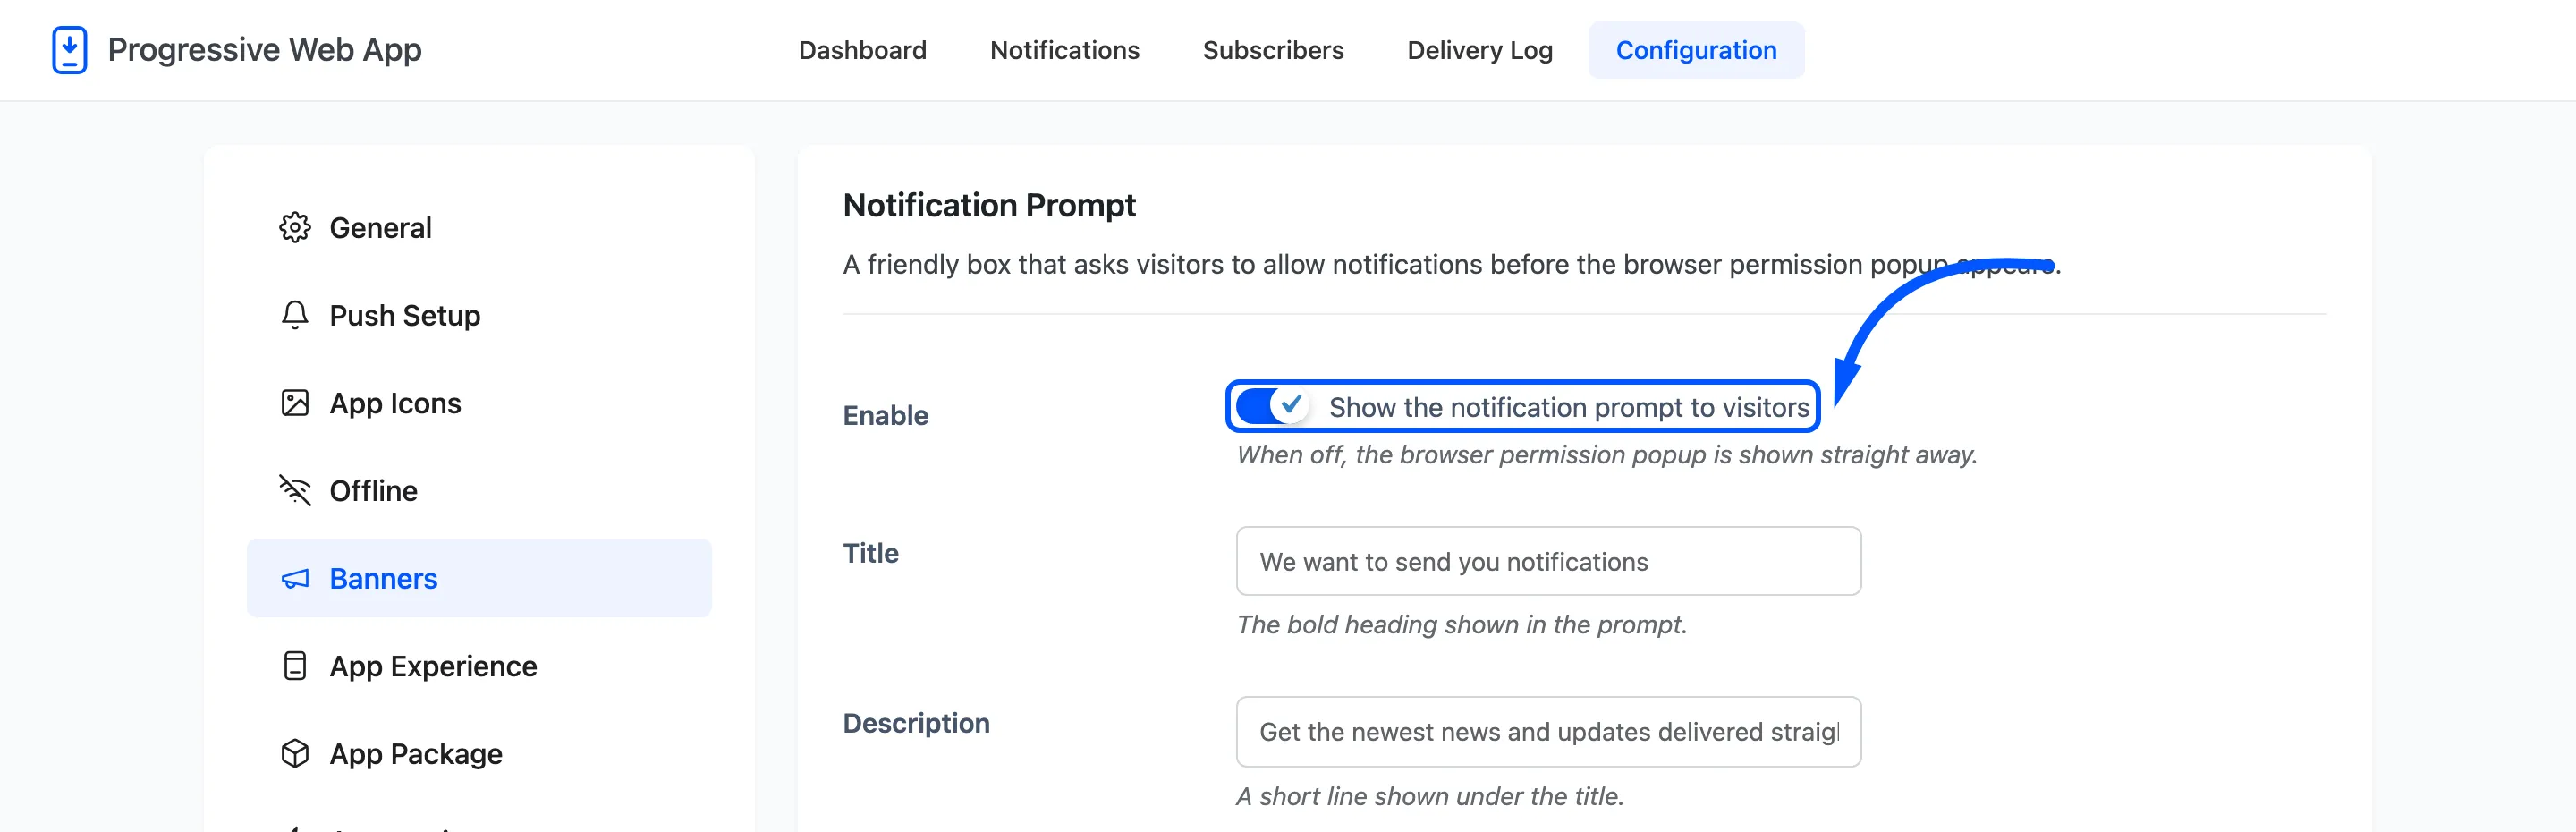
With it off, the browser’s permission popup is shown straight away with nothing in front of it. That is the arrangement that burns your one chance on visitors who have been on the site for four seconds.
Step 3: Write the wording
Section titled “Step 3: Write the wording”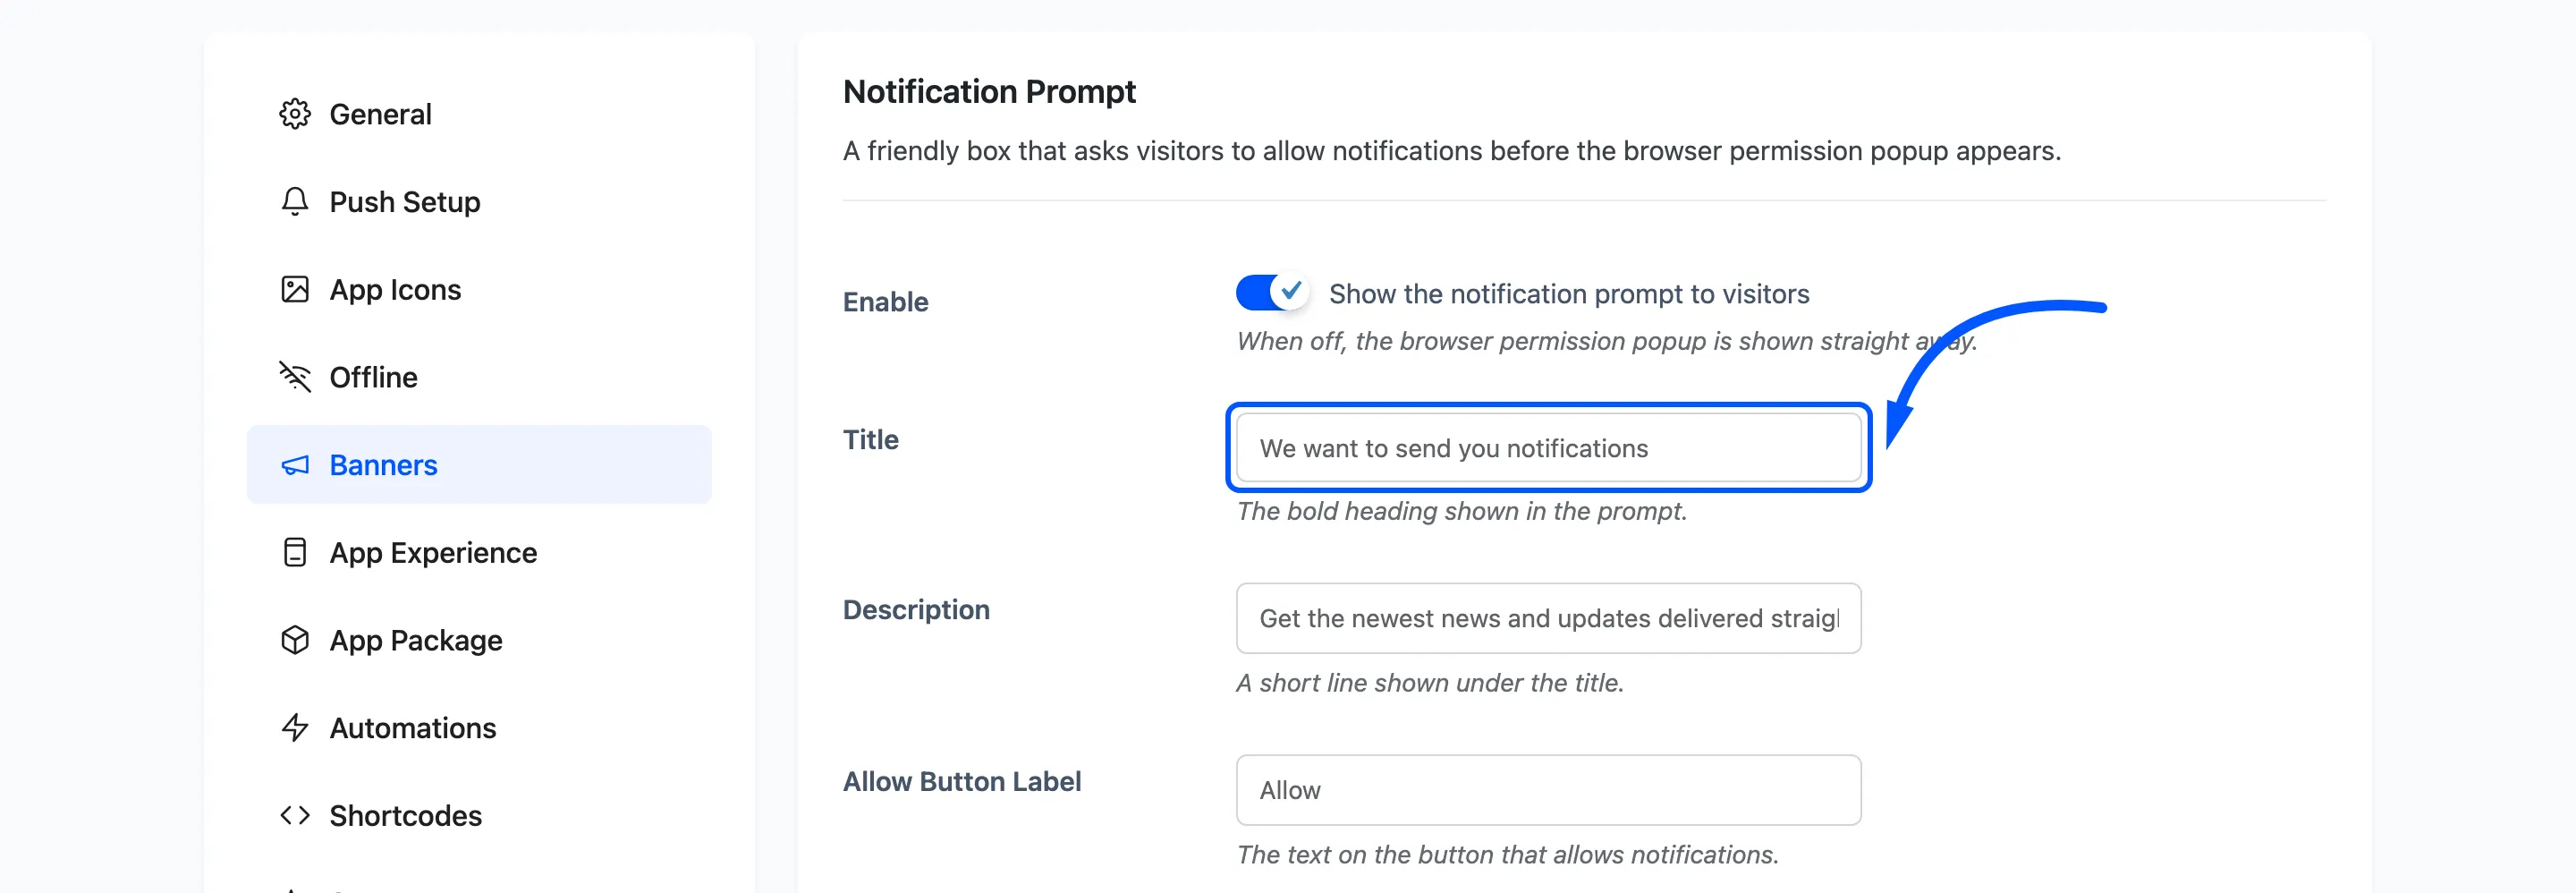
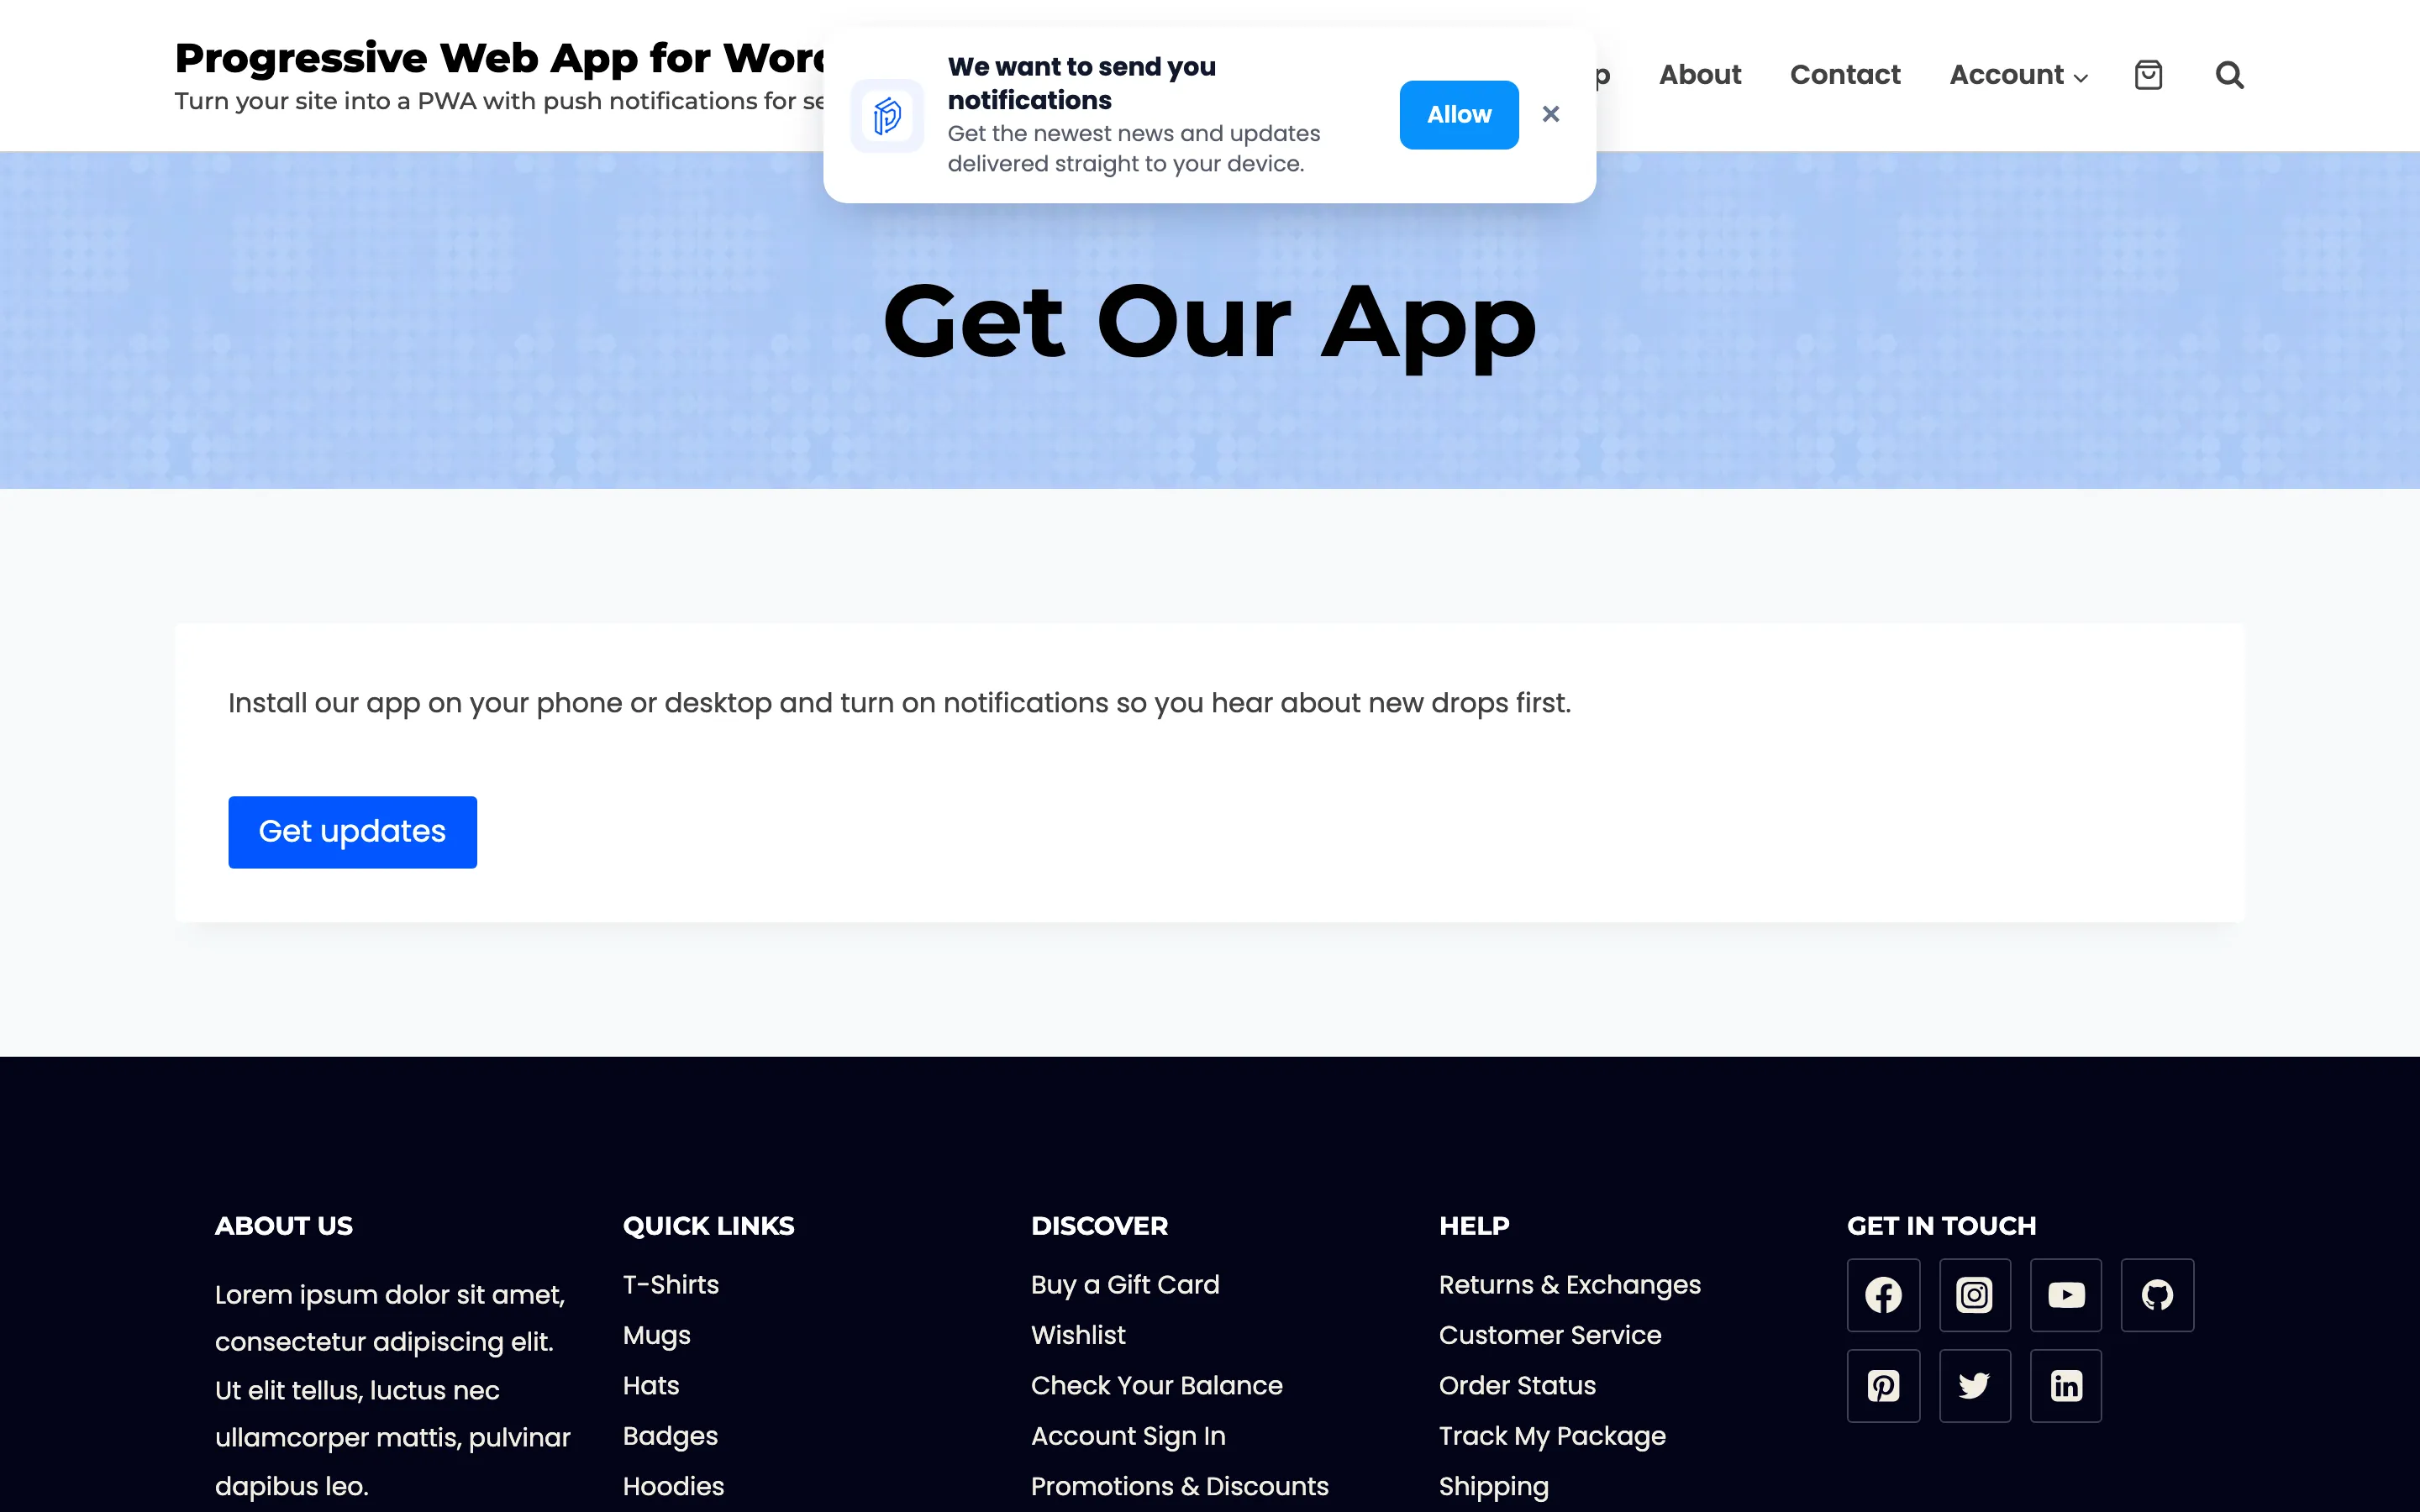
Title defaults to We want to send you notifications. That says what you want, not what they get. Know first when something is back in stock is the same box doing a different job.
Description defaults to Get the newest news and updates delivered straight to your device. One short line. Say how often, if you can: people say yes to “about once a week” far more readily than to an open-ended subscription.
Allow Button Label defaults to Allow. Leave it, or match the promise: Yes, tell me.
Step 4: Colour it
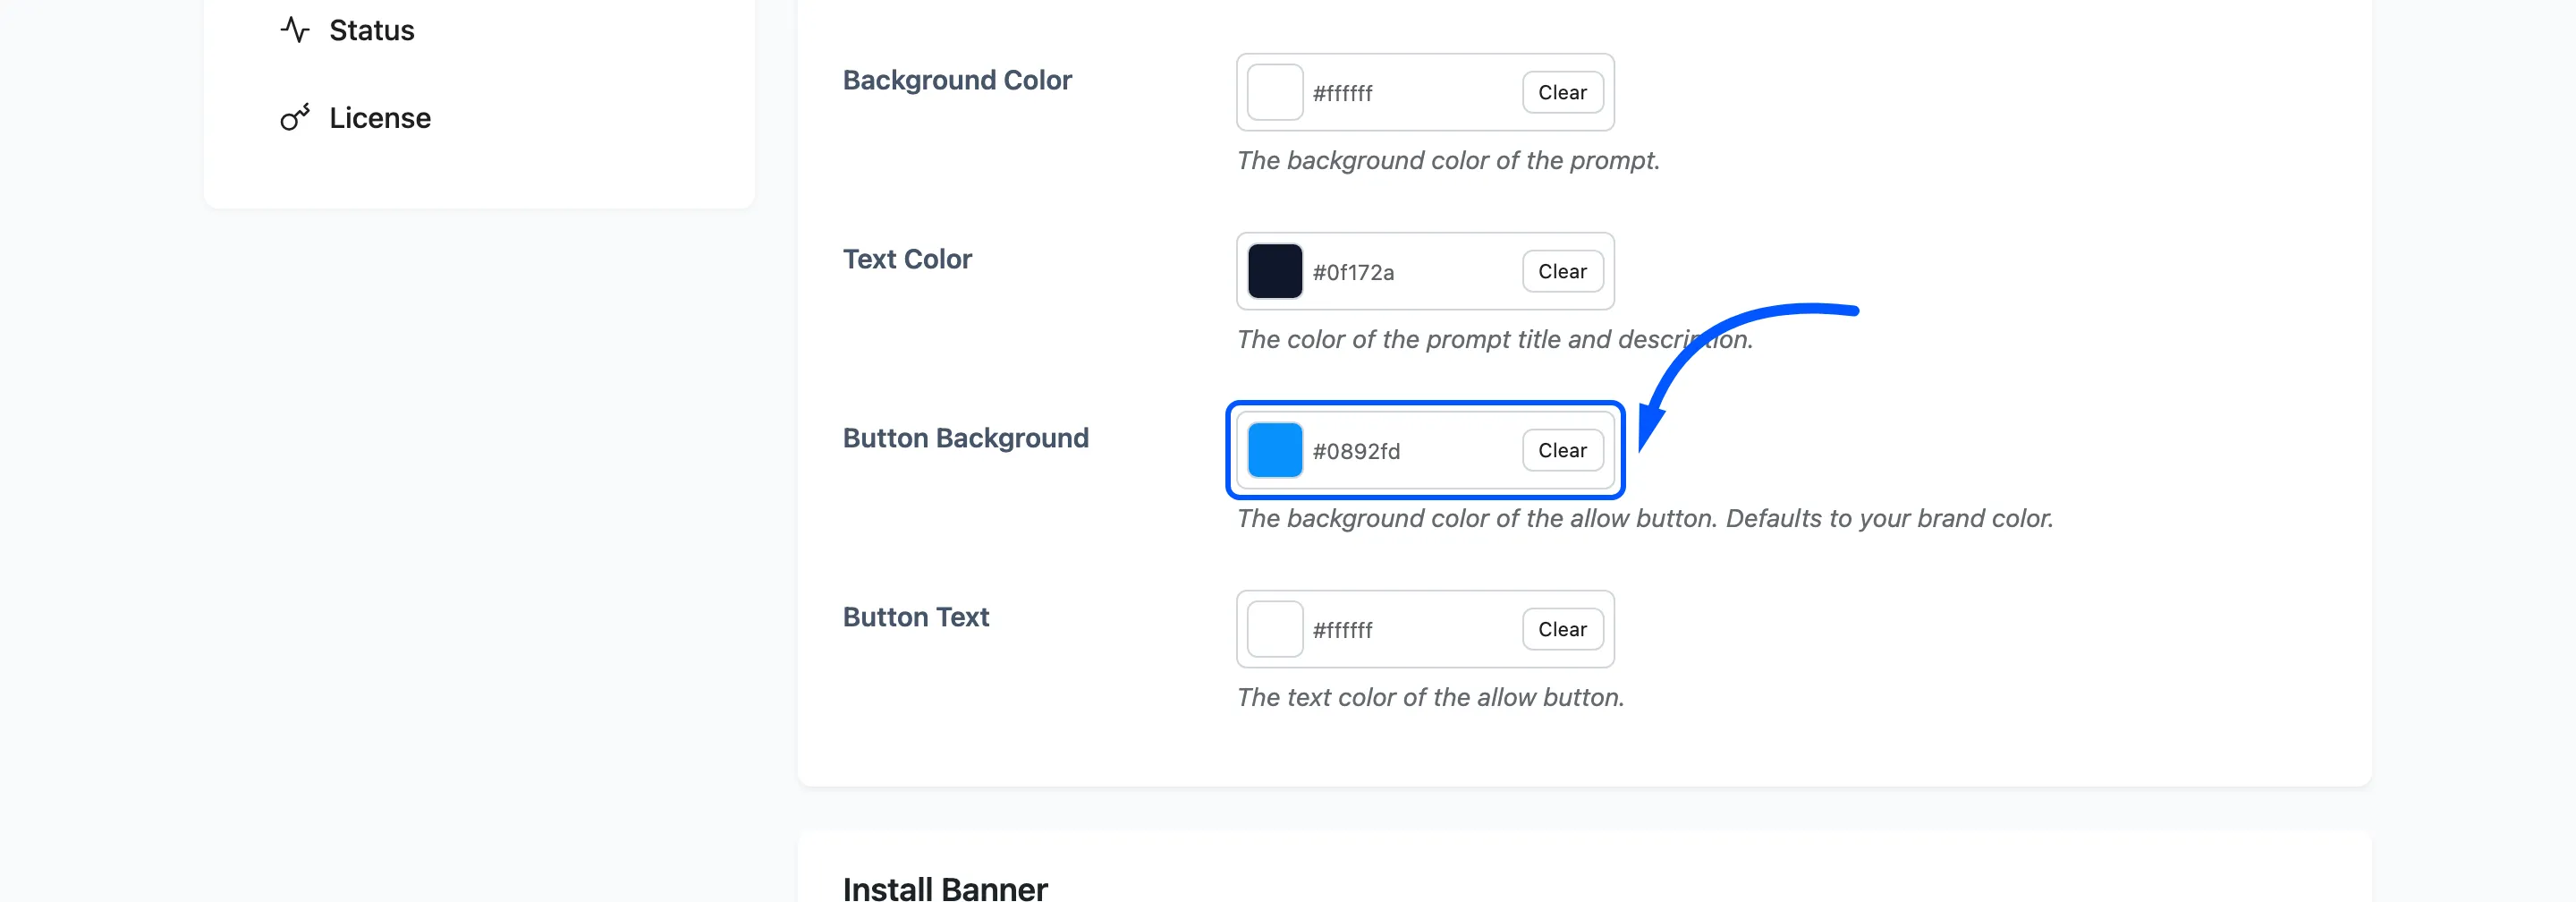
Section titled “Step 4: Colour it”Four pickers: background, text, button background and button text. The button background defaults to your theme colour, which is usually right, because the prompt should look like part of your site rather than part of the browser.
Step 5: Set the timing
Section titled “Step 5: Set the timing”Timing lives on a different tab, because it is about push rather than about wording. Go to Configuration → Push Setup and scroll to Permission Prompt Timing.
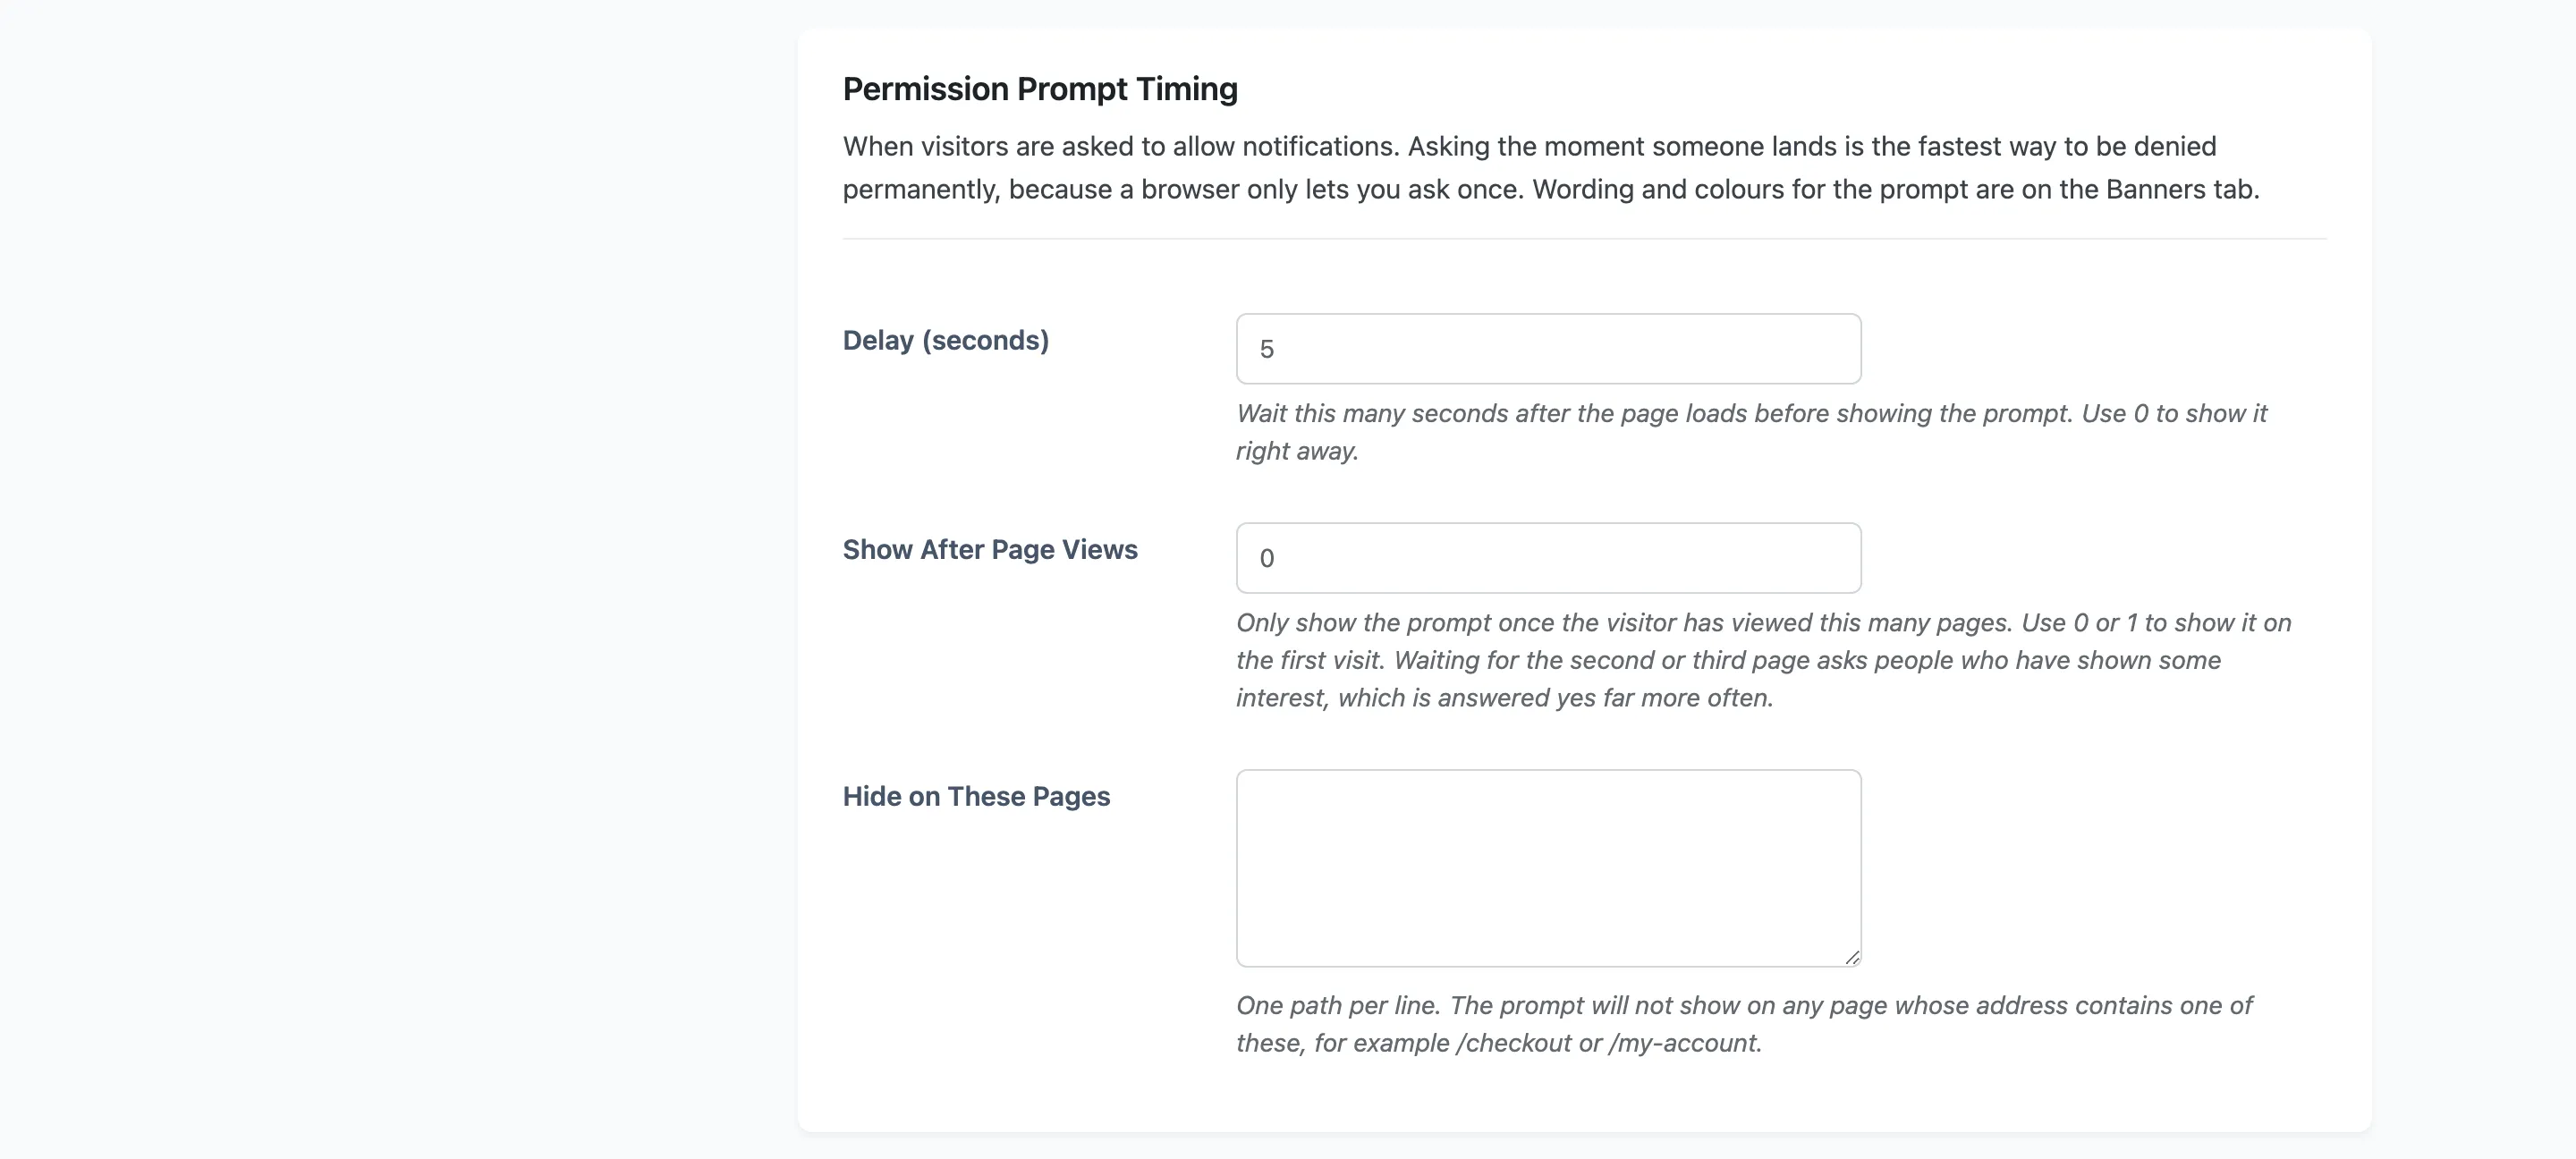
Delay (seconds) defaults to 5. How long after the page loads the box appears.
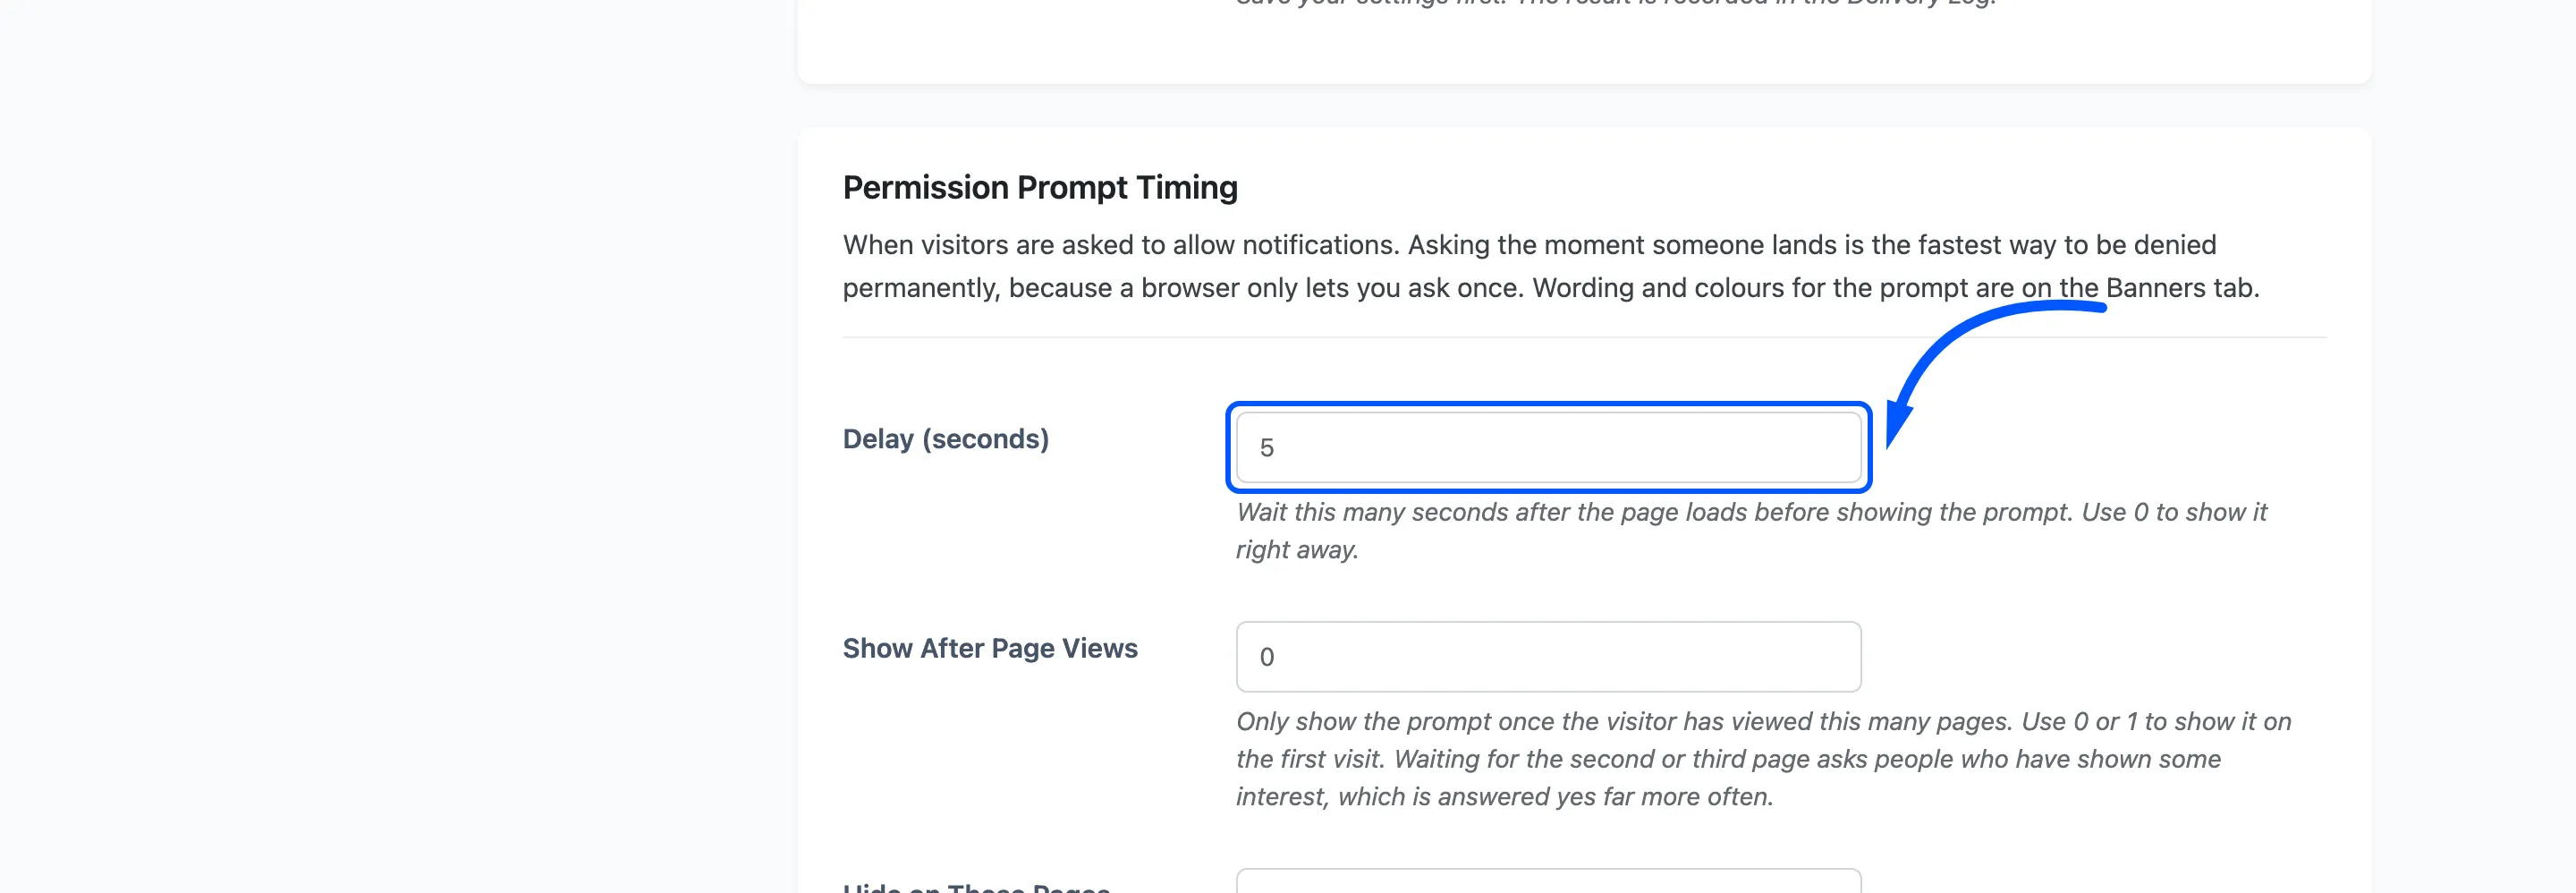
Show After Page Views defaults to 0, which shows it on the first visit.
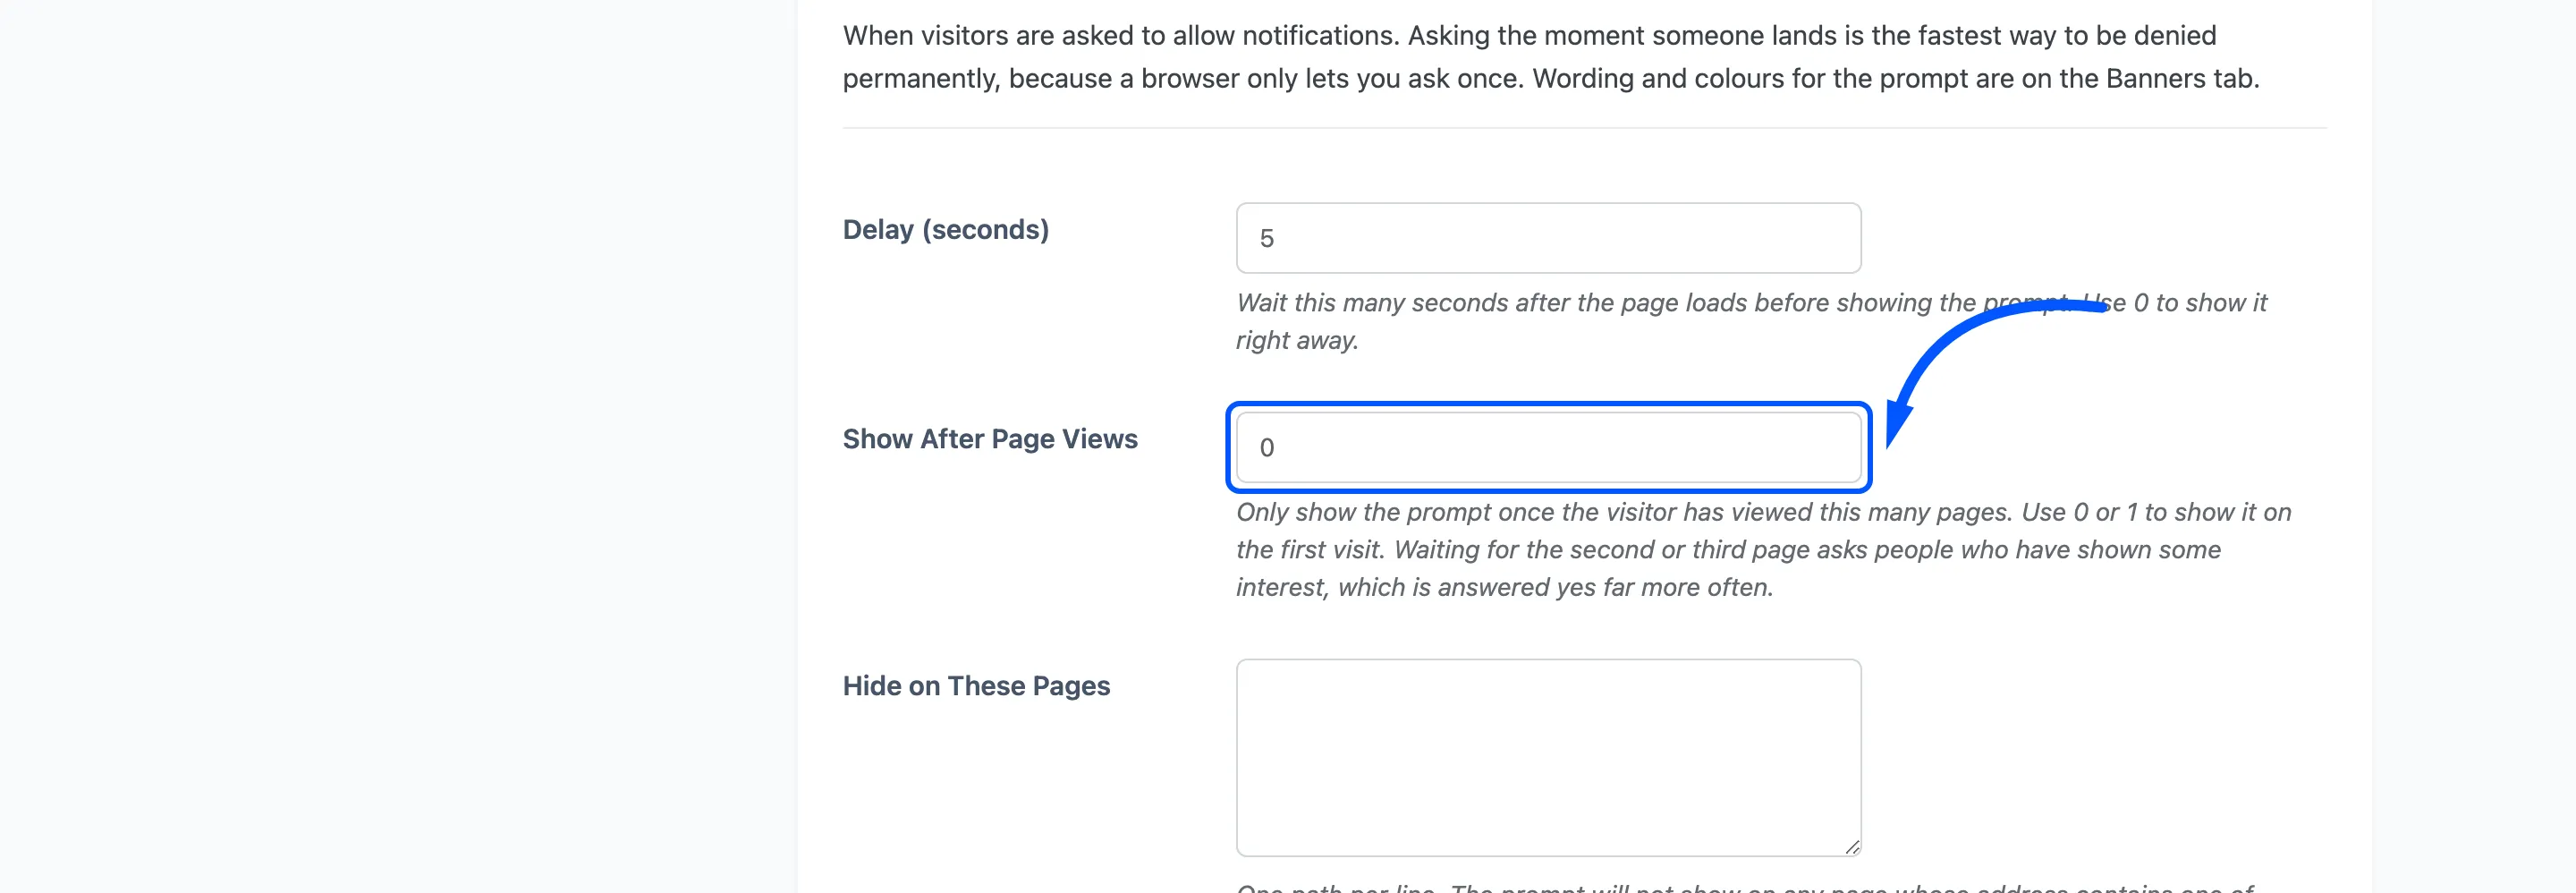
Set it to 2 or 3 and the prompt waits for somebody who has looked at more than one page. That is a visitor who has shown some interest, and they say yes far more often than a first-page arrival.
Step 6: Exclude the wrong pages
Section titled “Step 6: Exclude the wrong pages”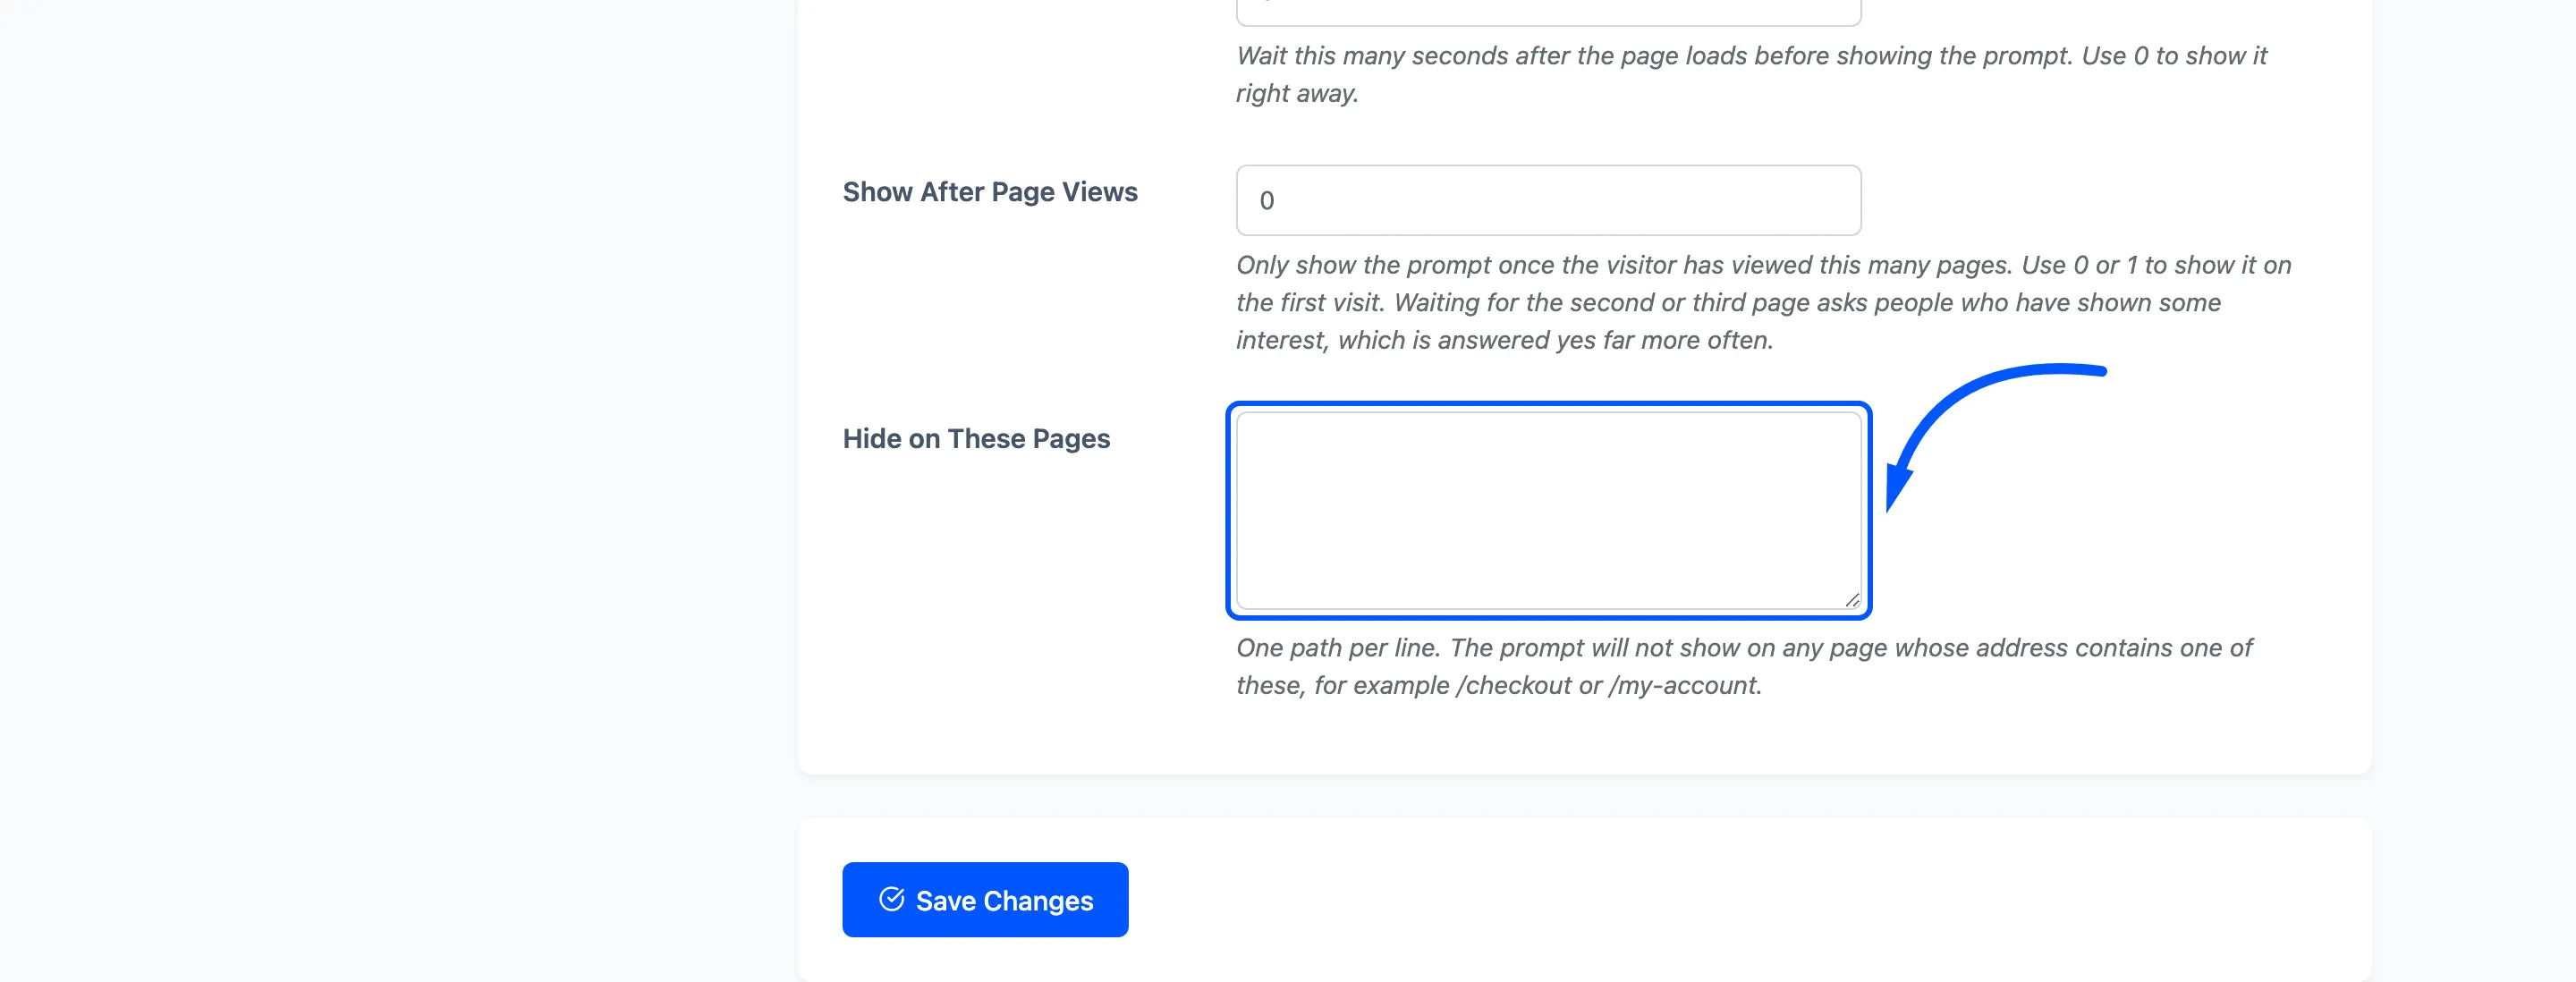
One path per line. The prompt will not show on any page whose address contains one of them.
Checkout is the obvious entry. Interrupting somebody mid-payment with a permission request is how you
lose the sale and the permission. /checkout and /my-account are a sensible starting pair on a
store.
Step 7: Check it on the storefront
Section titled “Step 7: Check it on the storefront”Save both tabs and open your site in a browser where you have not already answered.
On a phone it spans the width of the screen and the buttons drop onto their own row, so a long Allow Button Label has more room than the desktop preview suggests.
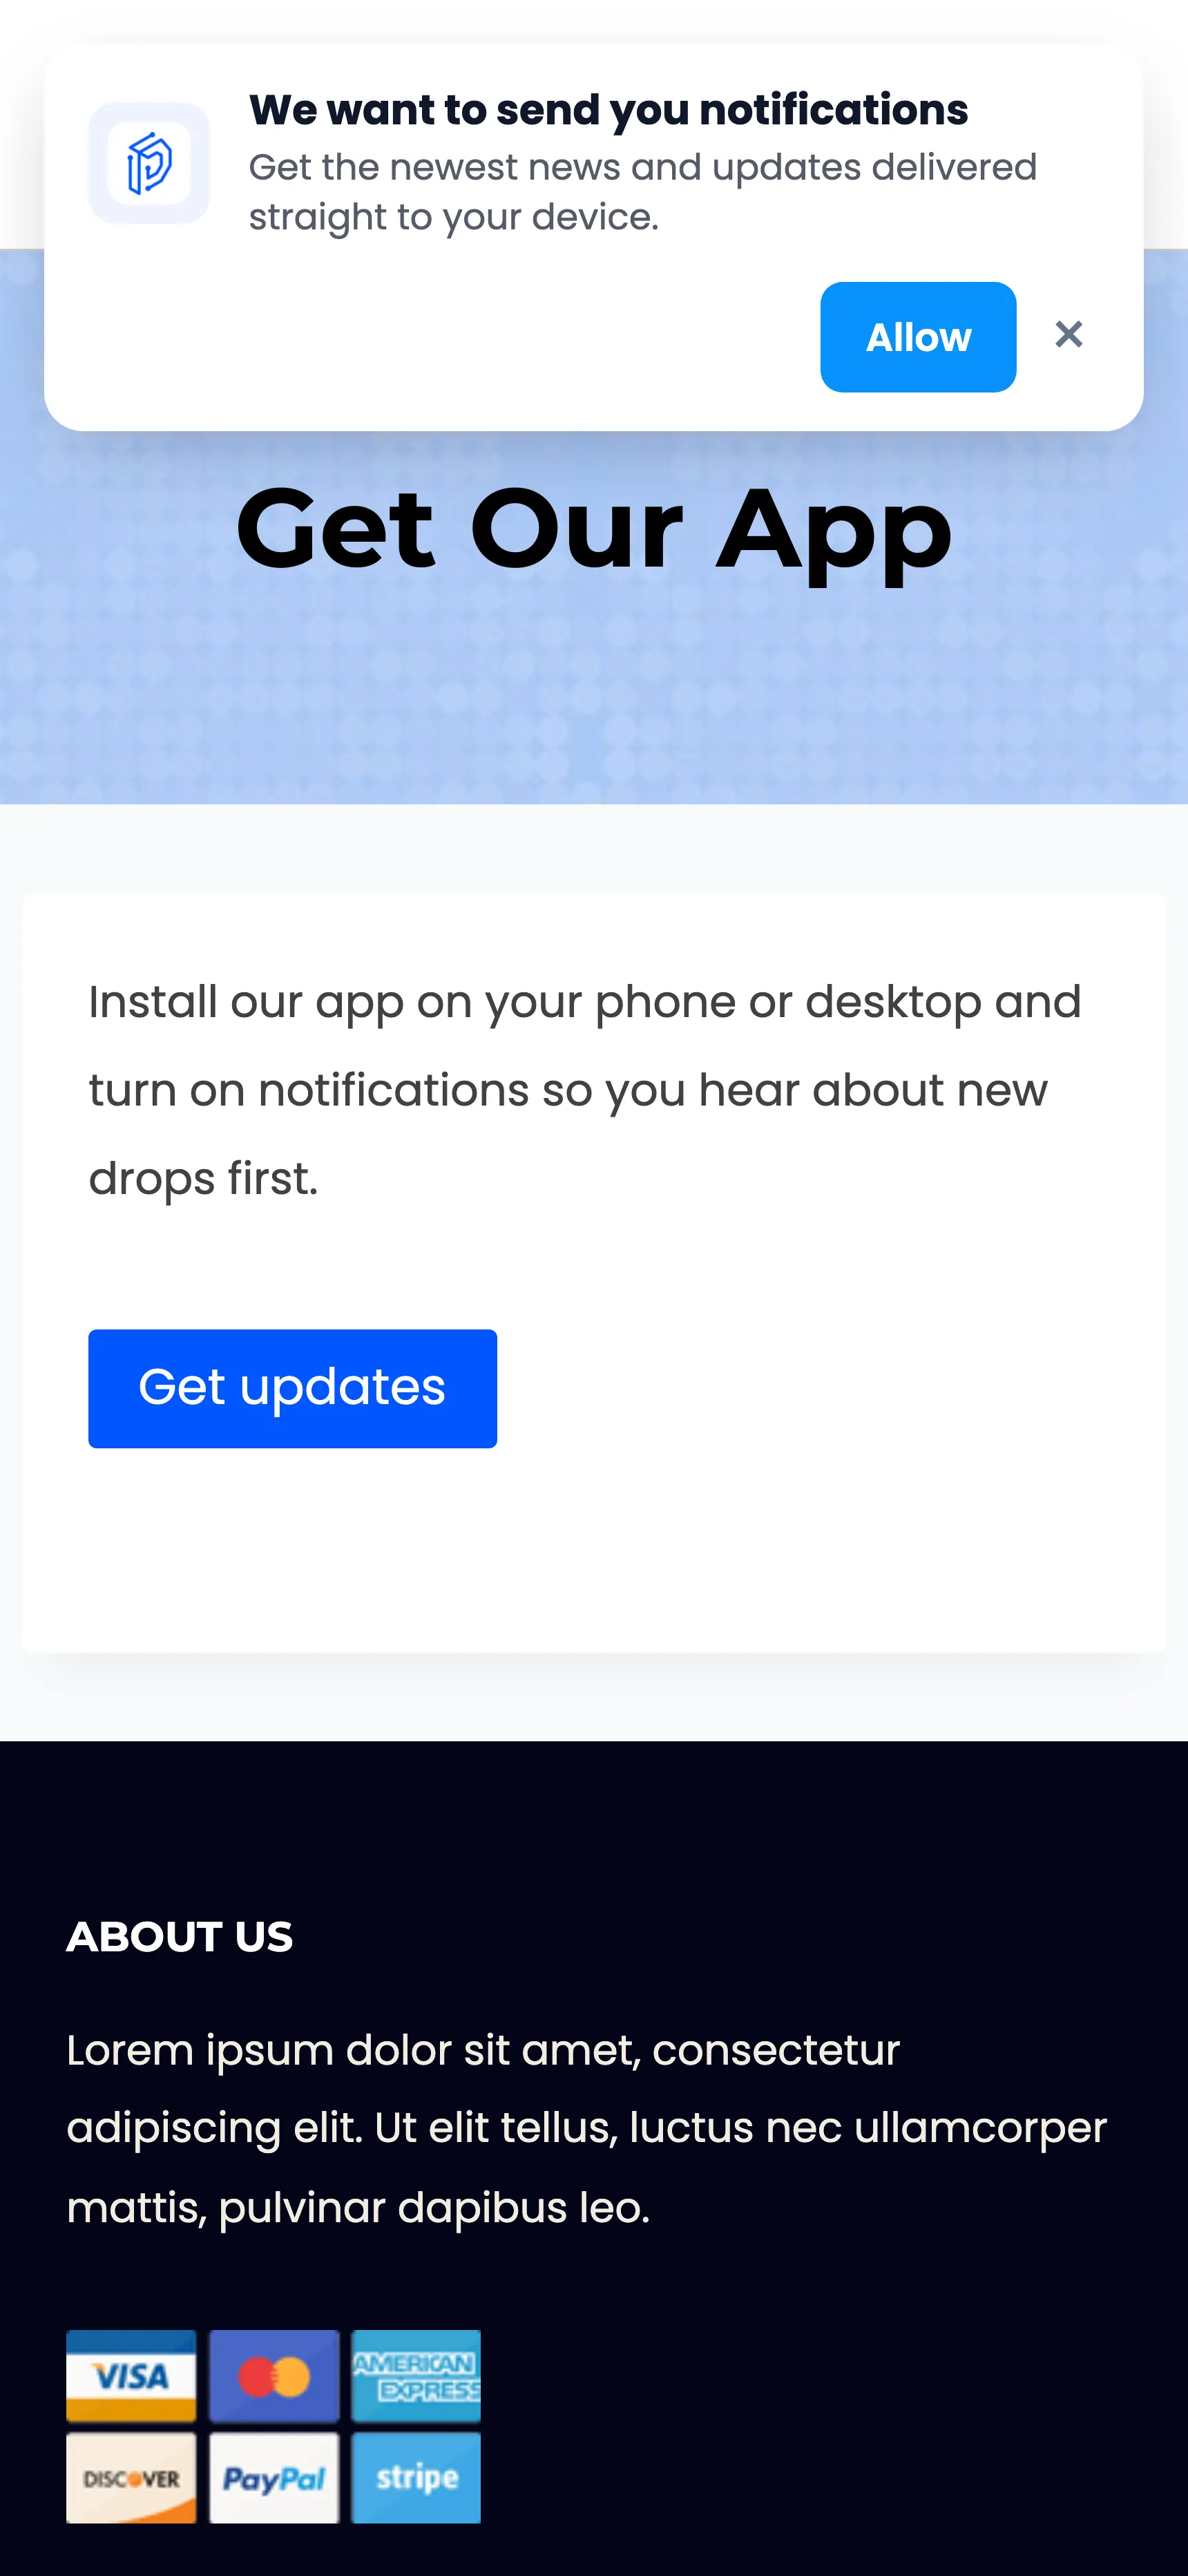
Closing it stores a dismissal and keeps it away for one hour, which is short on purpose: a dismissal is not a no.
If it never appears, check in this order.
- You have already allowed or denied. The browser will not ask again. Clear the site’s permissions or use a different browser.
- The delay or the page-view threshold has not been reached.
- The page is on your exclusion list.
- Push is switched off, or the Firebase config is empty. Both stop the prompt entirely.