

How to Schedule a Notification (Pro)
A scheduled notification is an ordinary notification with a due date. Nothing else about it changes: same form, same list, same log row afterwards.
Step 1: Check WP-Cron is actually running
Section titled “Step 1: Check WP-Cron is actually running”Do this first, because everything else depends on it. Go to Configuration → Status and read the Environment group.
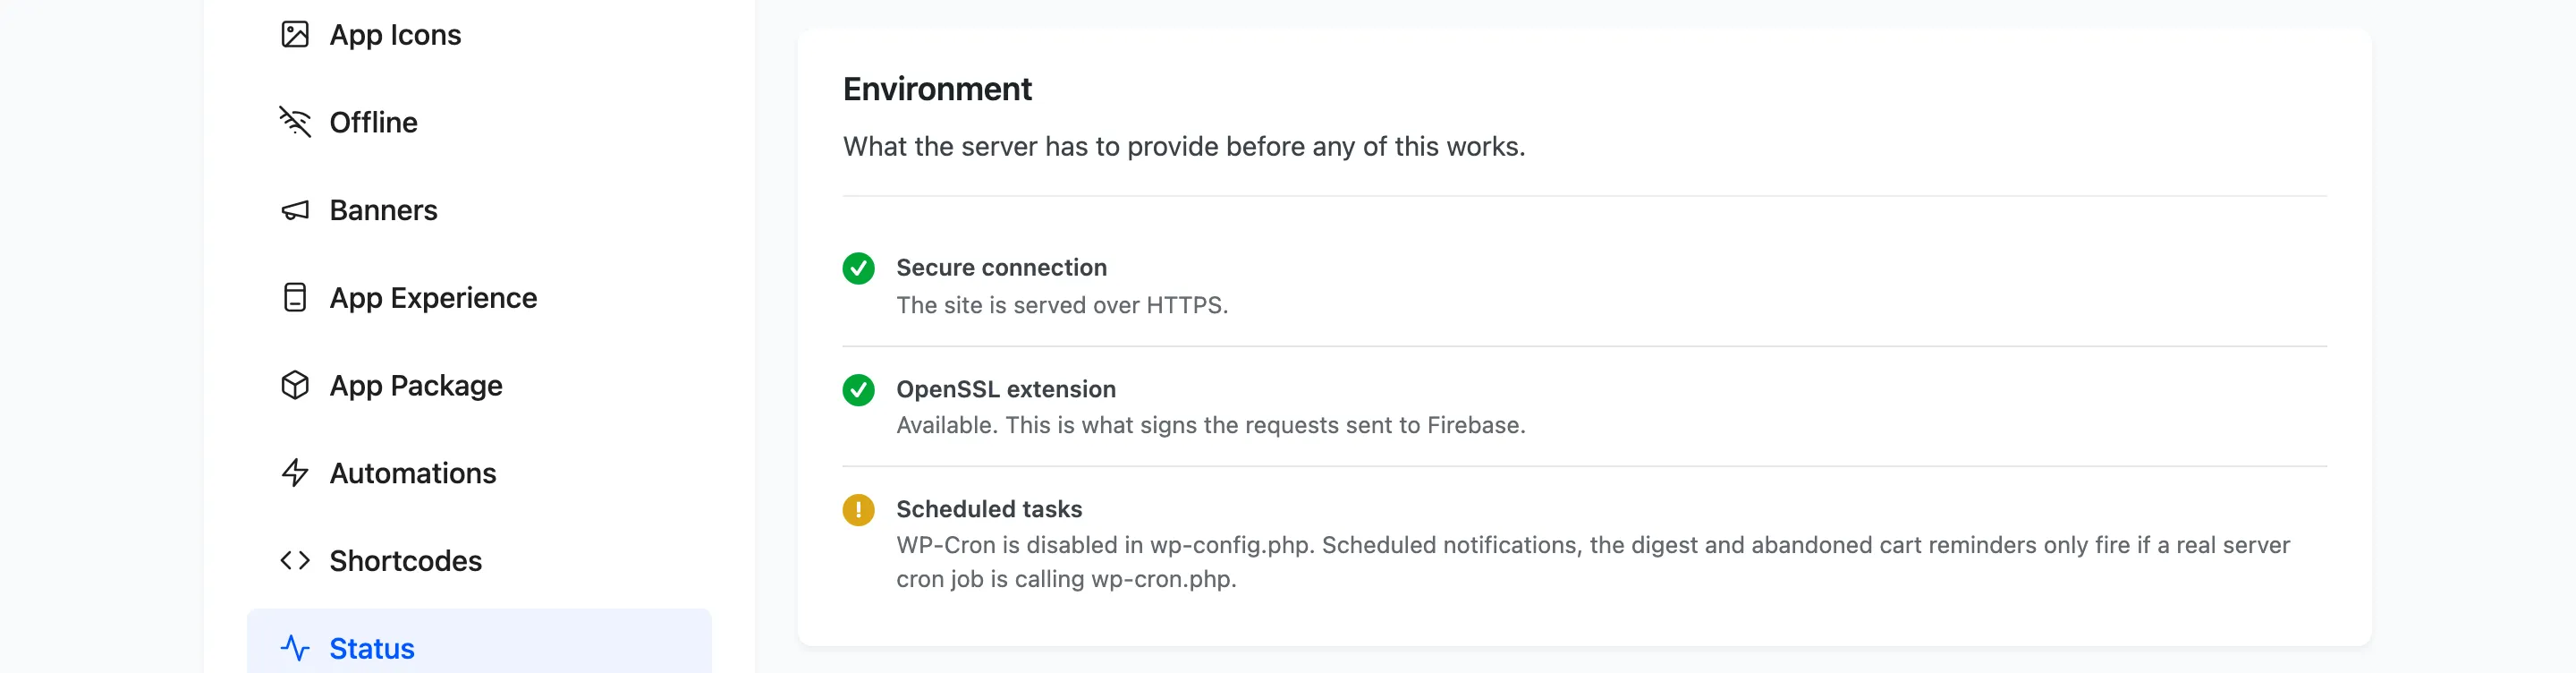
Scheduled tasks passes when WP-Cron is active. If it warns that DISABLE_WP_CRON is set in
wp-config.php, scheduled sends only fire when a real server cron job calls wp-cron.php. Plenty of
hosts set that up for you and never mention it, so a warning here is a question for your host rather
than a fault.
Step 2: Open or create the notification
Section titled “Step 2: Open or create the notification”Go to Notifications, press Add New, or hover an existing row and press Edit.
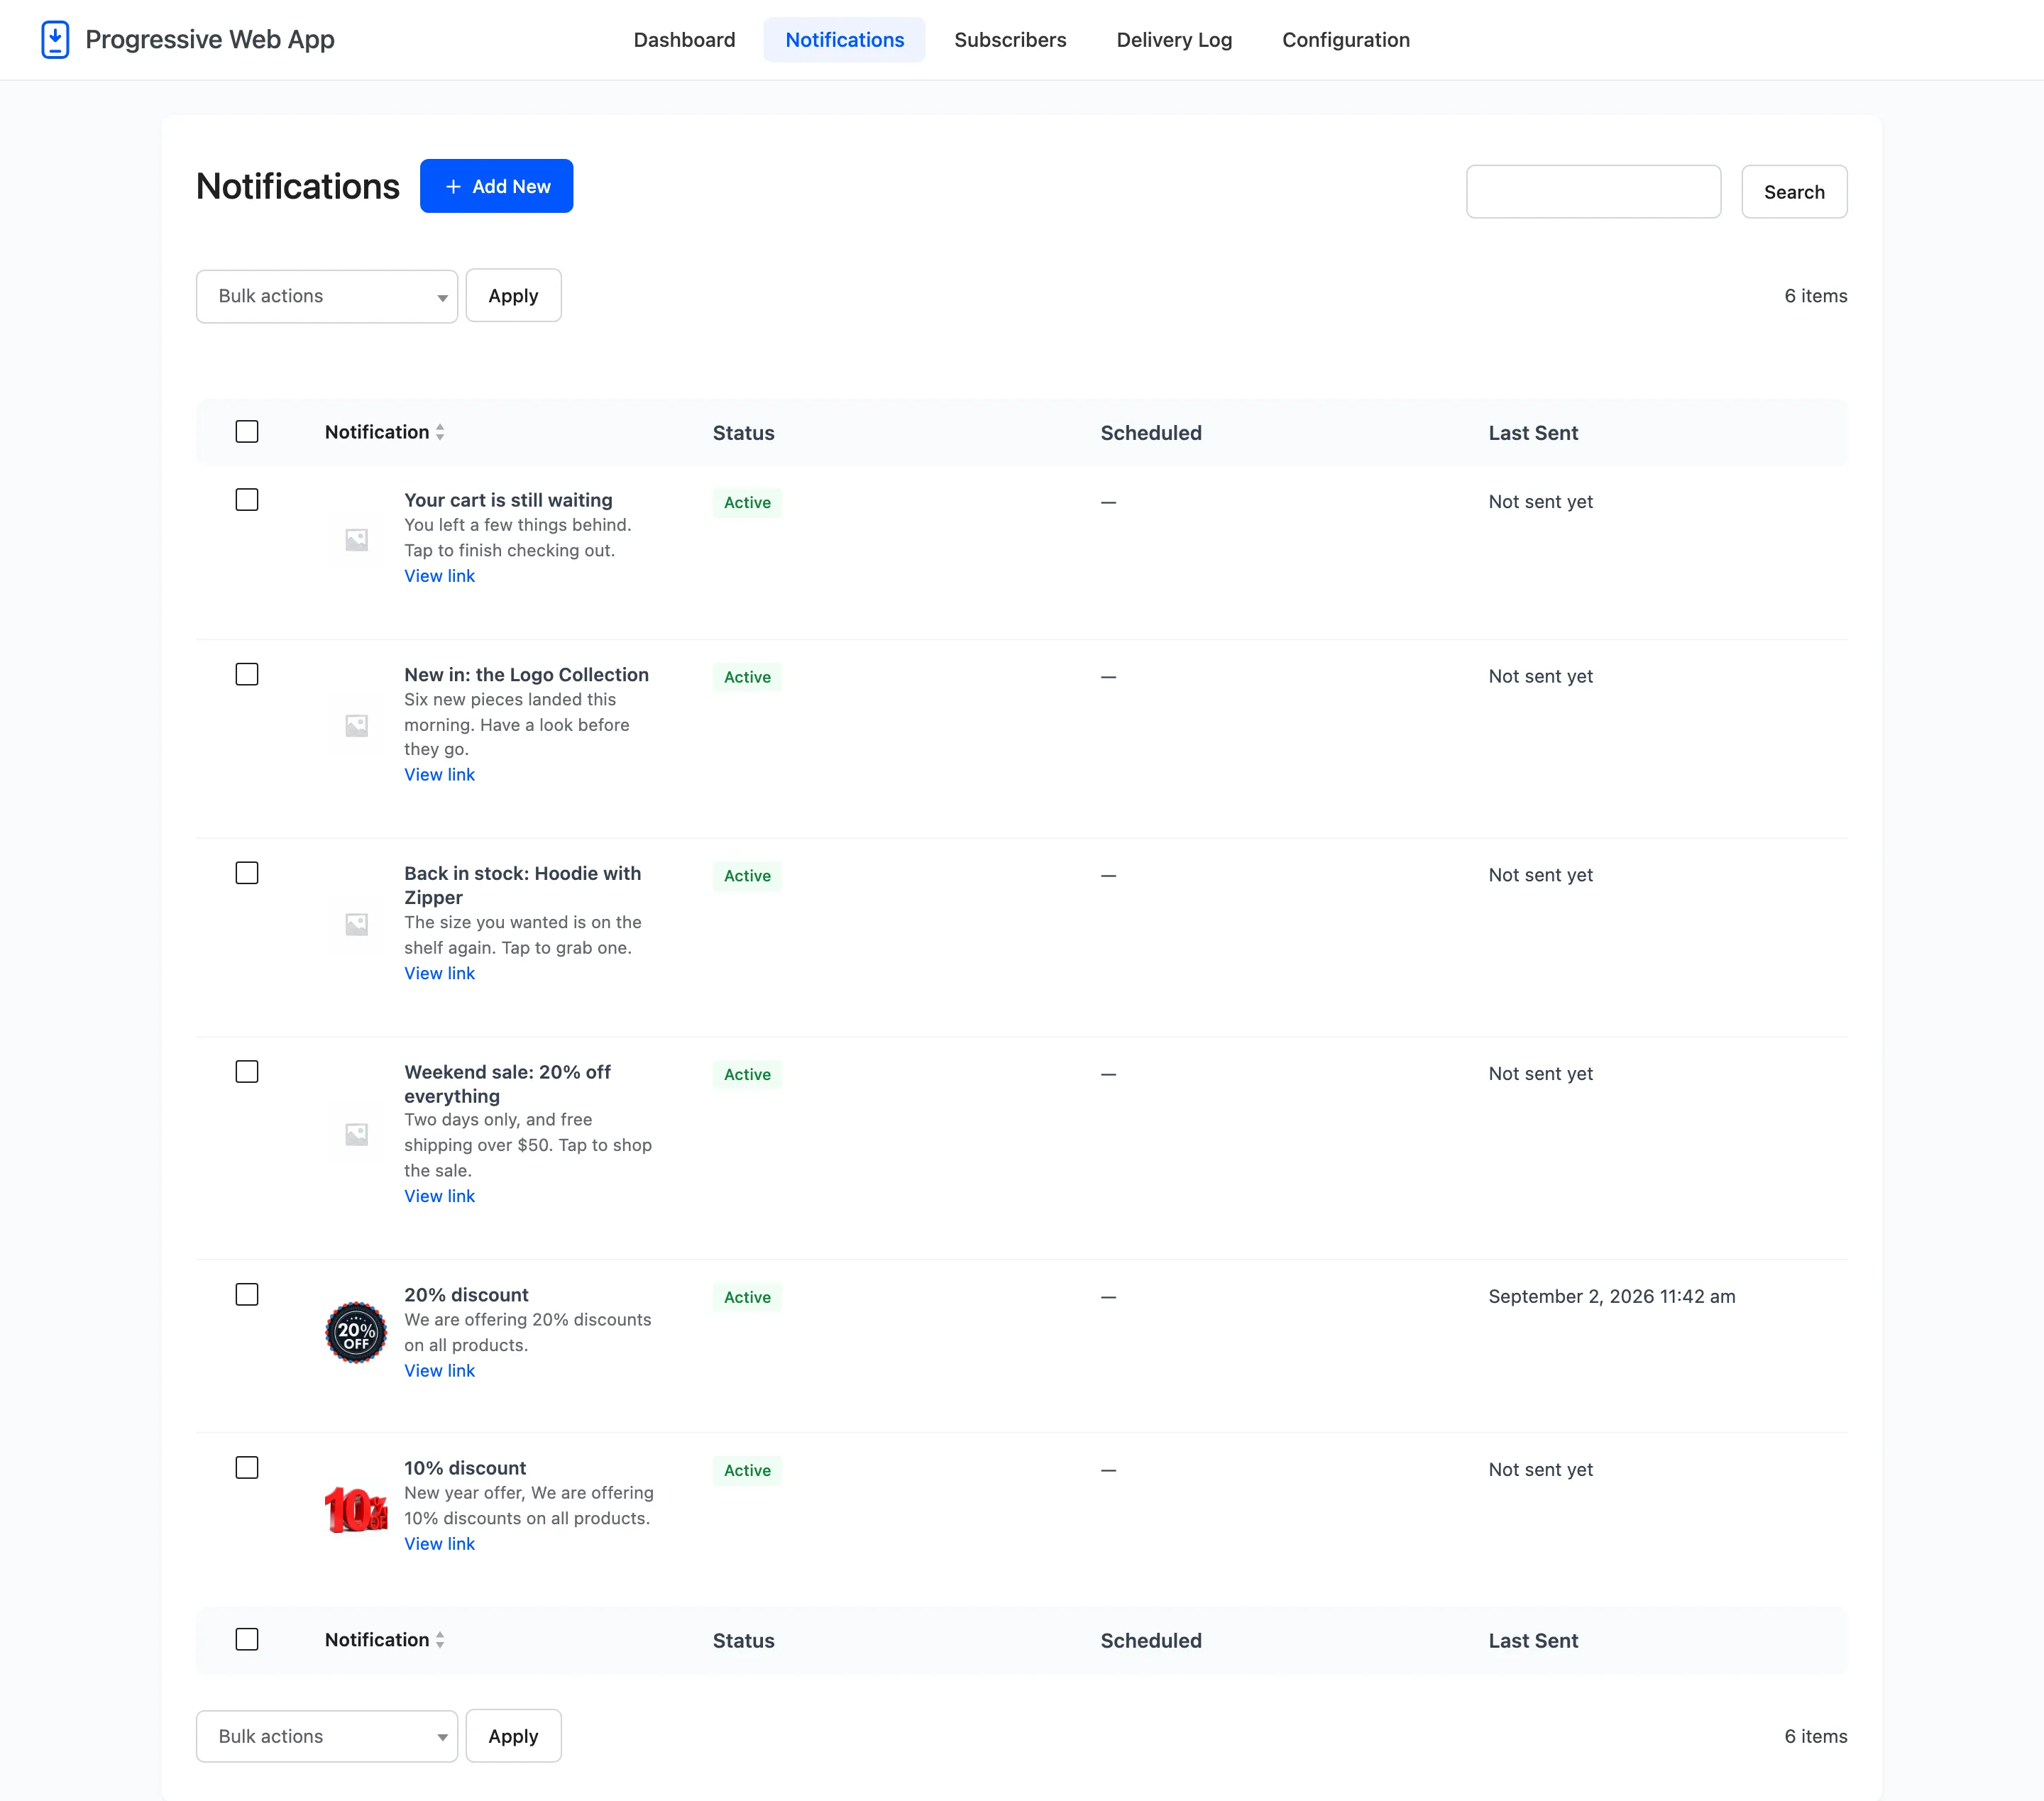
Write the title, message, image and URL exactly as you would for a manual send.
Step 3: Set the date and time
Section titled “Step 3: Set the date and time”Under the status field is Schedule Send.
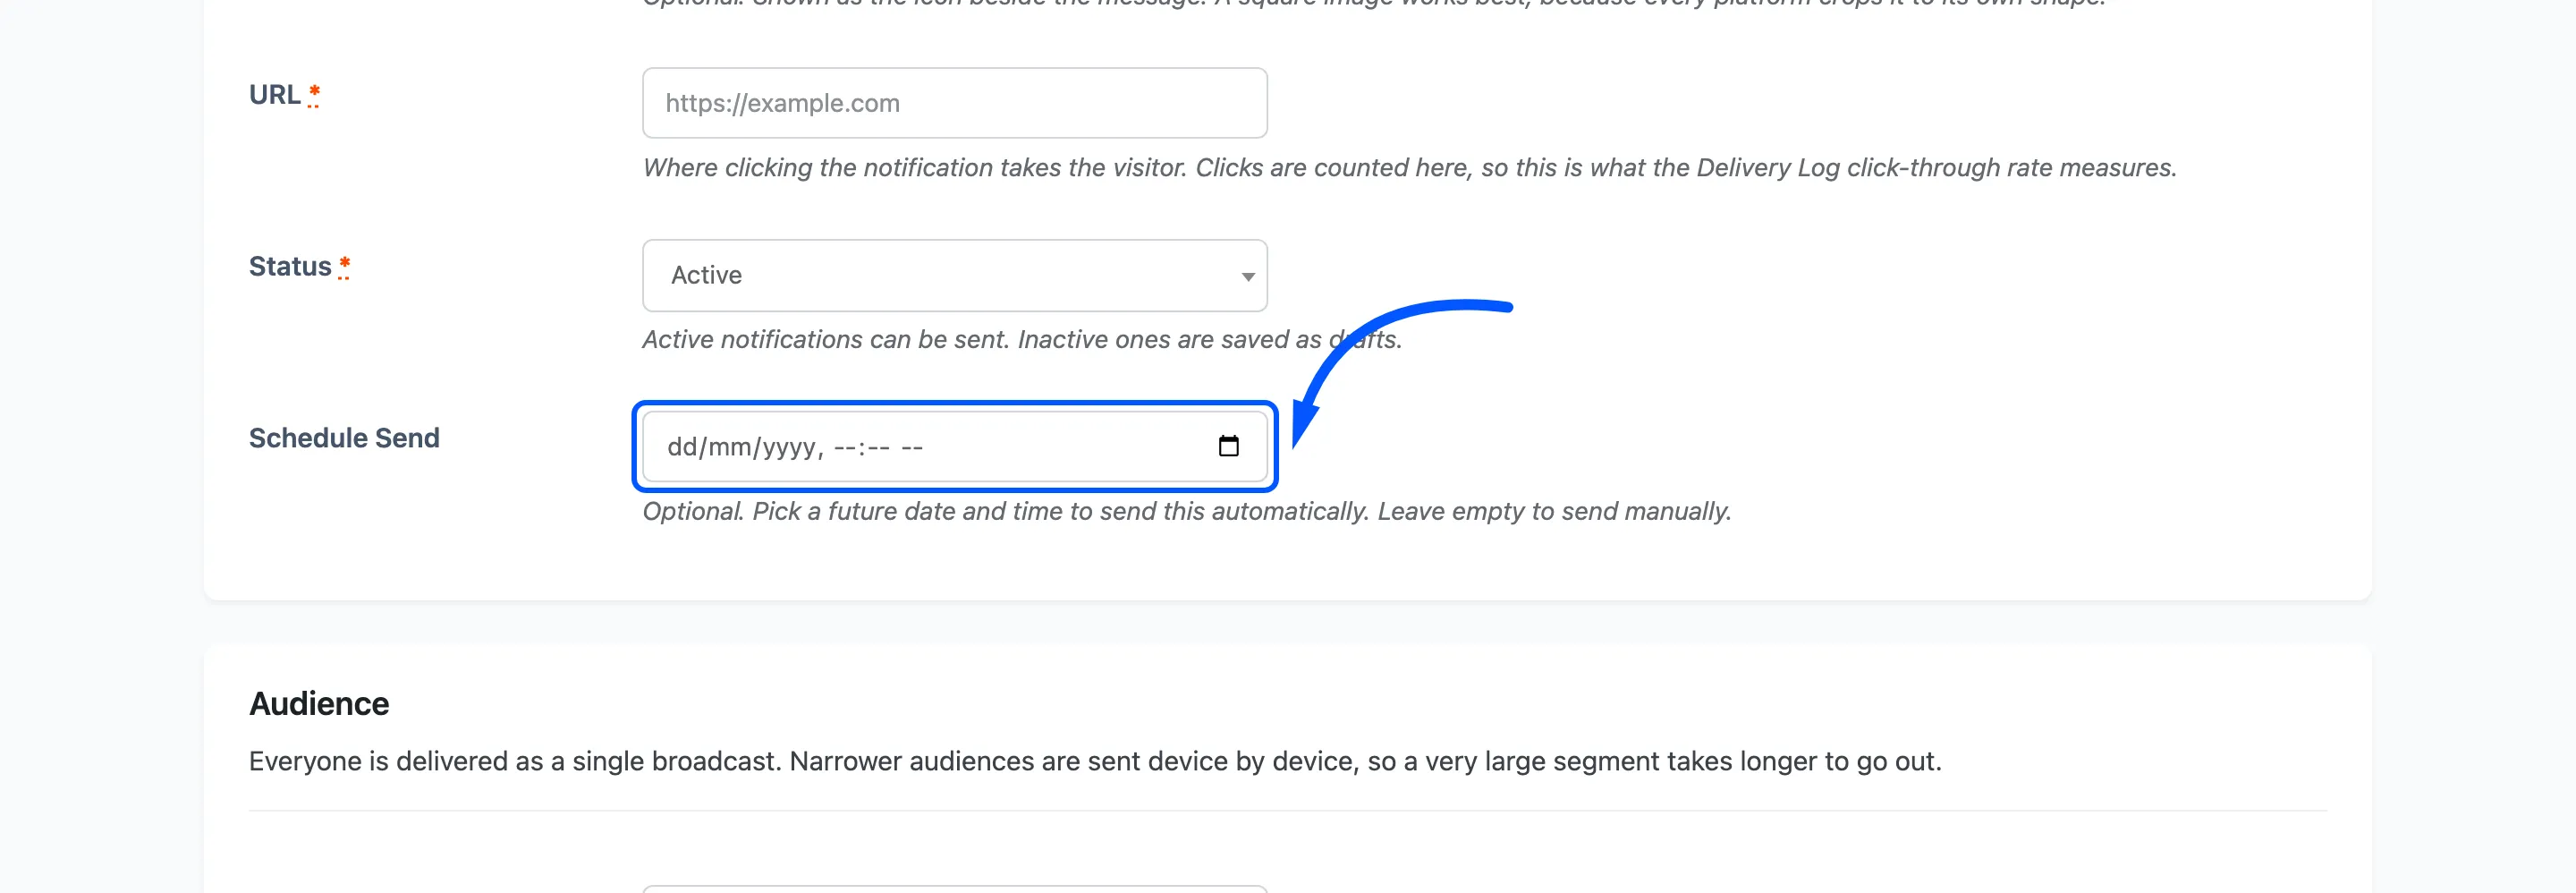
Pick a future date and time. It is read in your site’s own timezone, the one under Settings → General, not in the visitor’s.
Leave it empty and nothing changes: the notification stays a manual one you send from the list.
Step 4: Save it as Active
Section titled “Step 4: Save it as Active”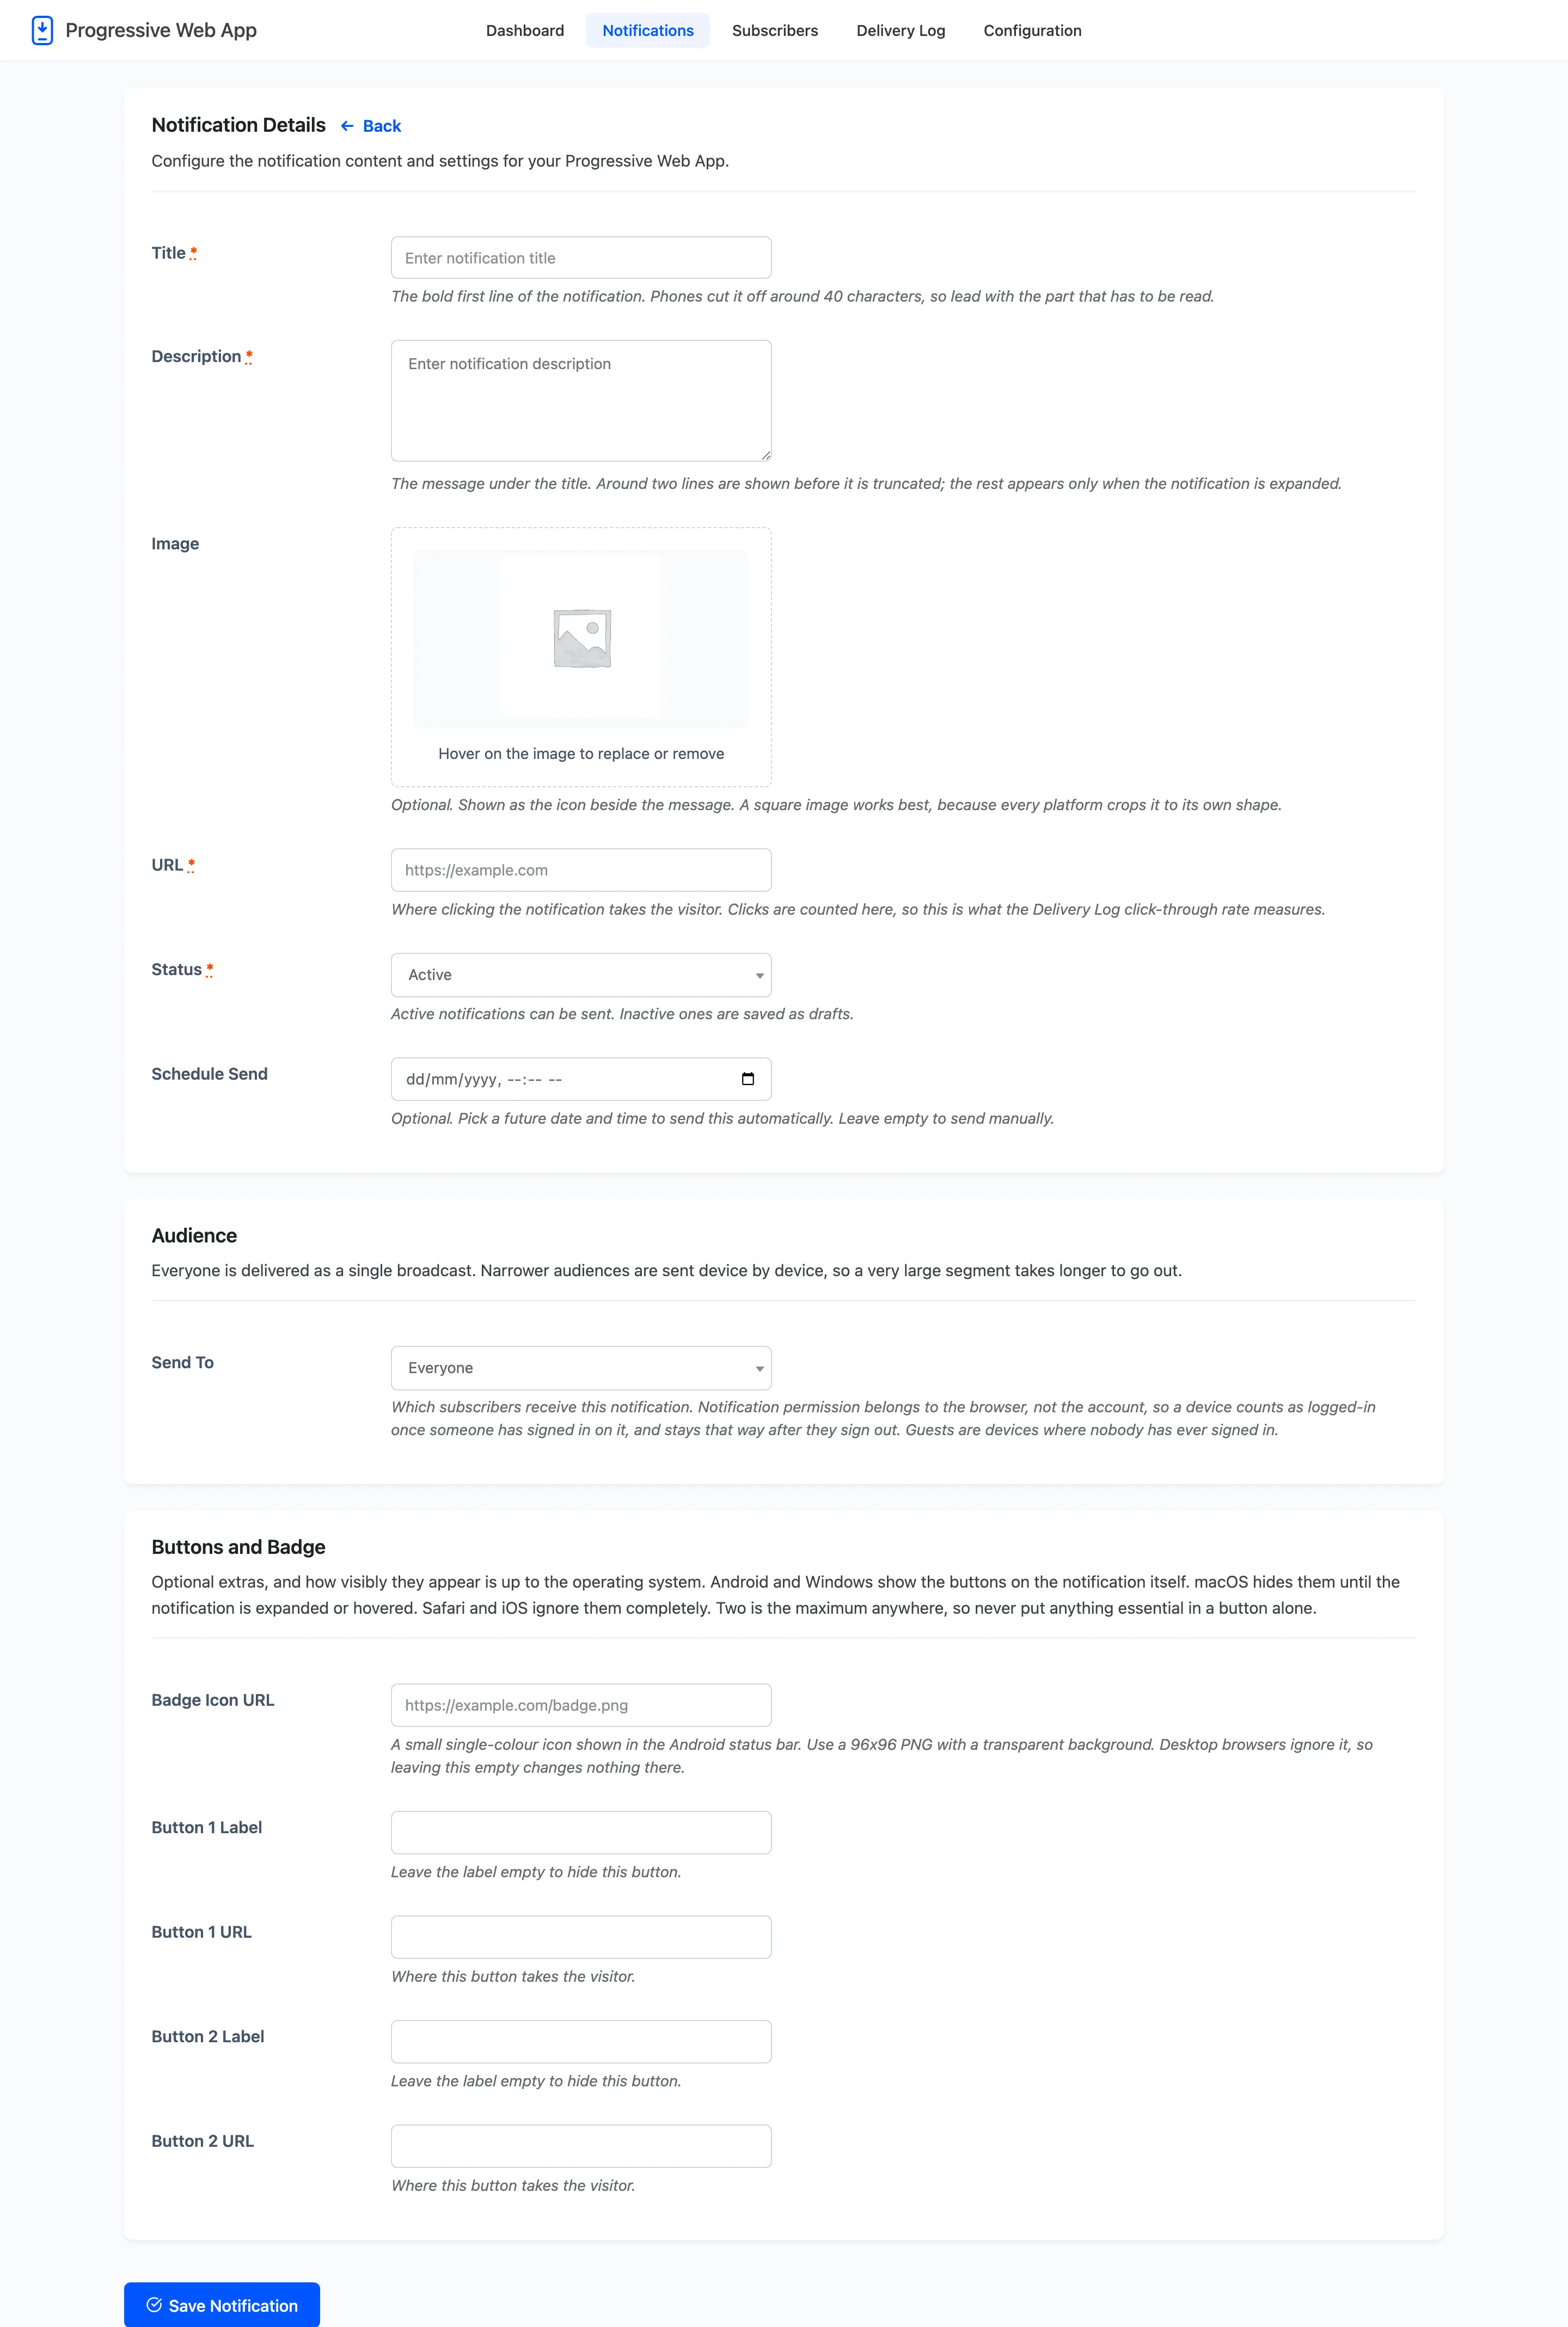
Set Status to Active before you save. Active is what puts Send Now on the row, and it is what stops the notification being picked up by a bulk send while you are still editing it.
Step 5: Confirm it in the list
Section titled “Step 5: Confirm it in the list”
The Scheduled column now carries the due date and time. A dash there means the notification has no schedule, whatever you thought you set.
Step 6: Check the log afterwards
Section titled “Step 6: Check the log afterwards”WordPress fires cron events on a page view, so a quiet site sends a few minutes after the time you picked rather than on the second. That is normal.
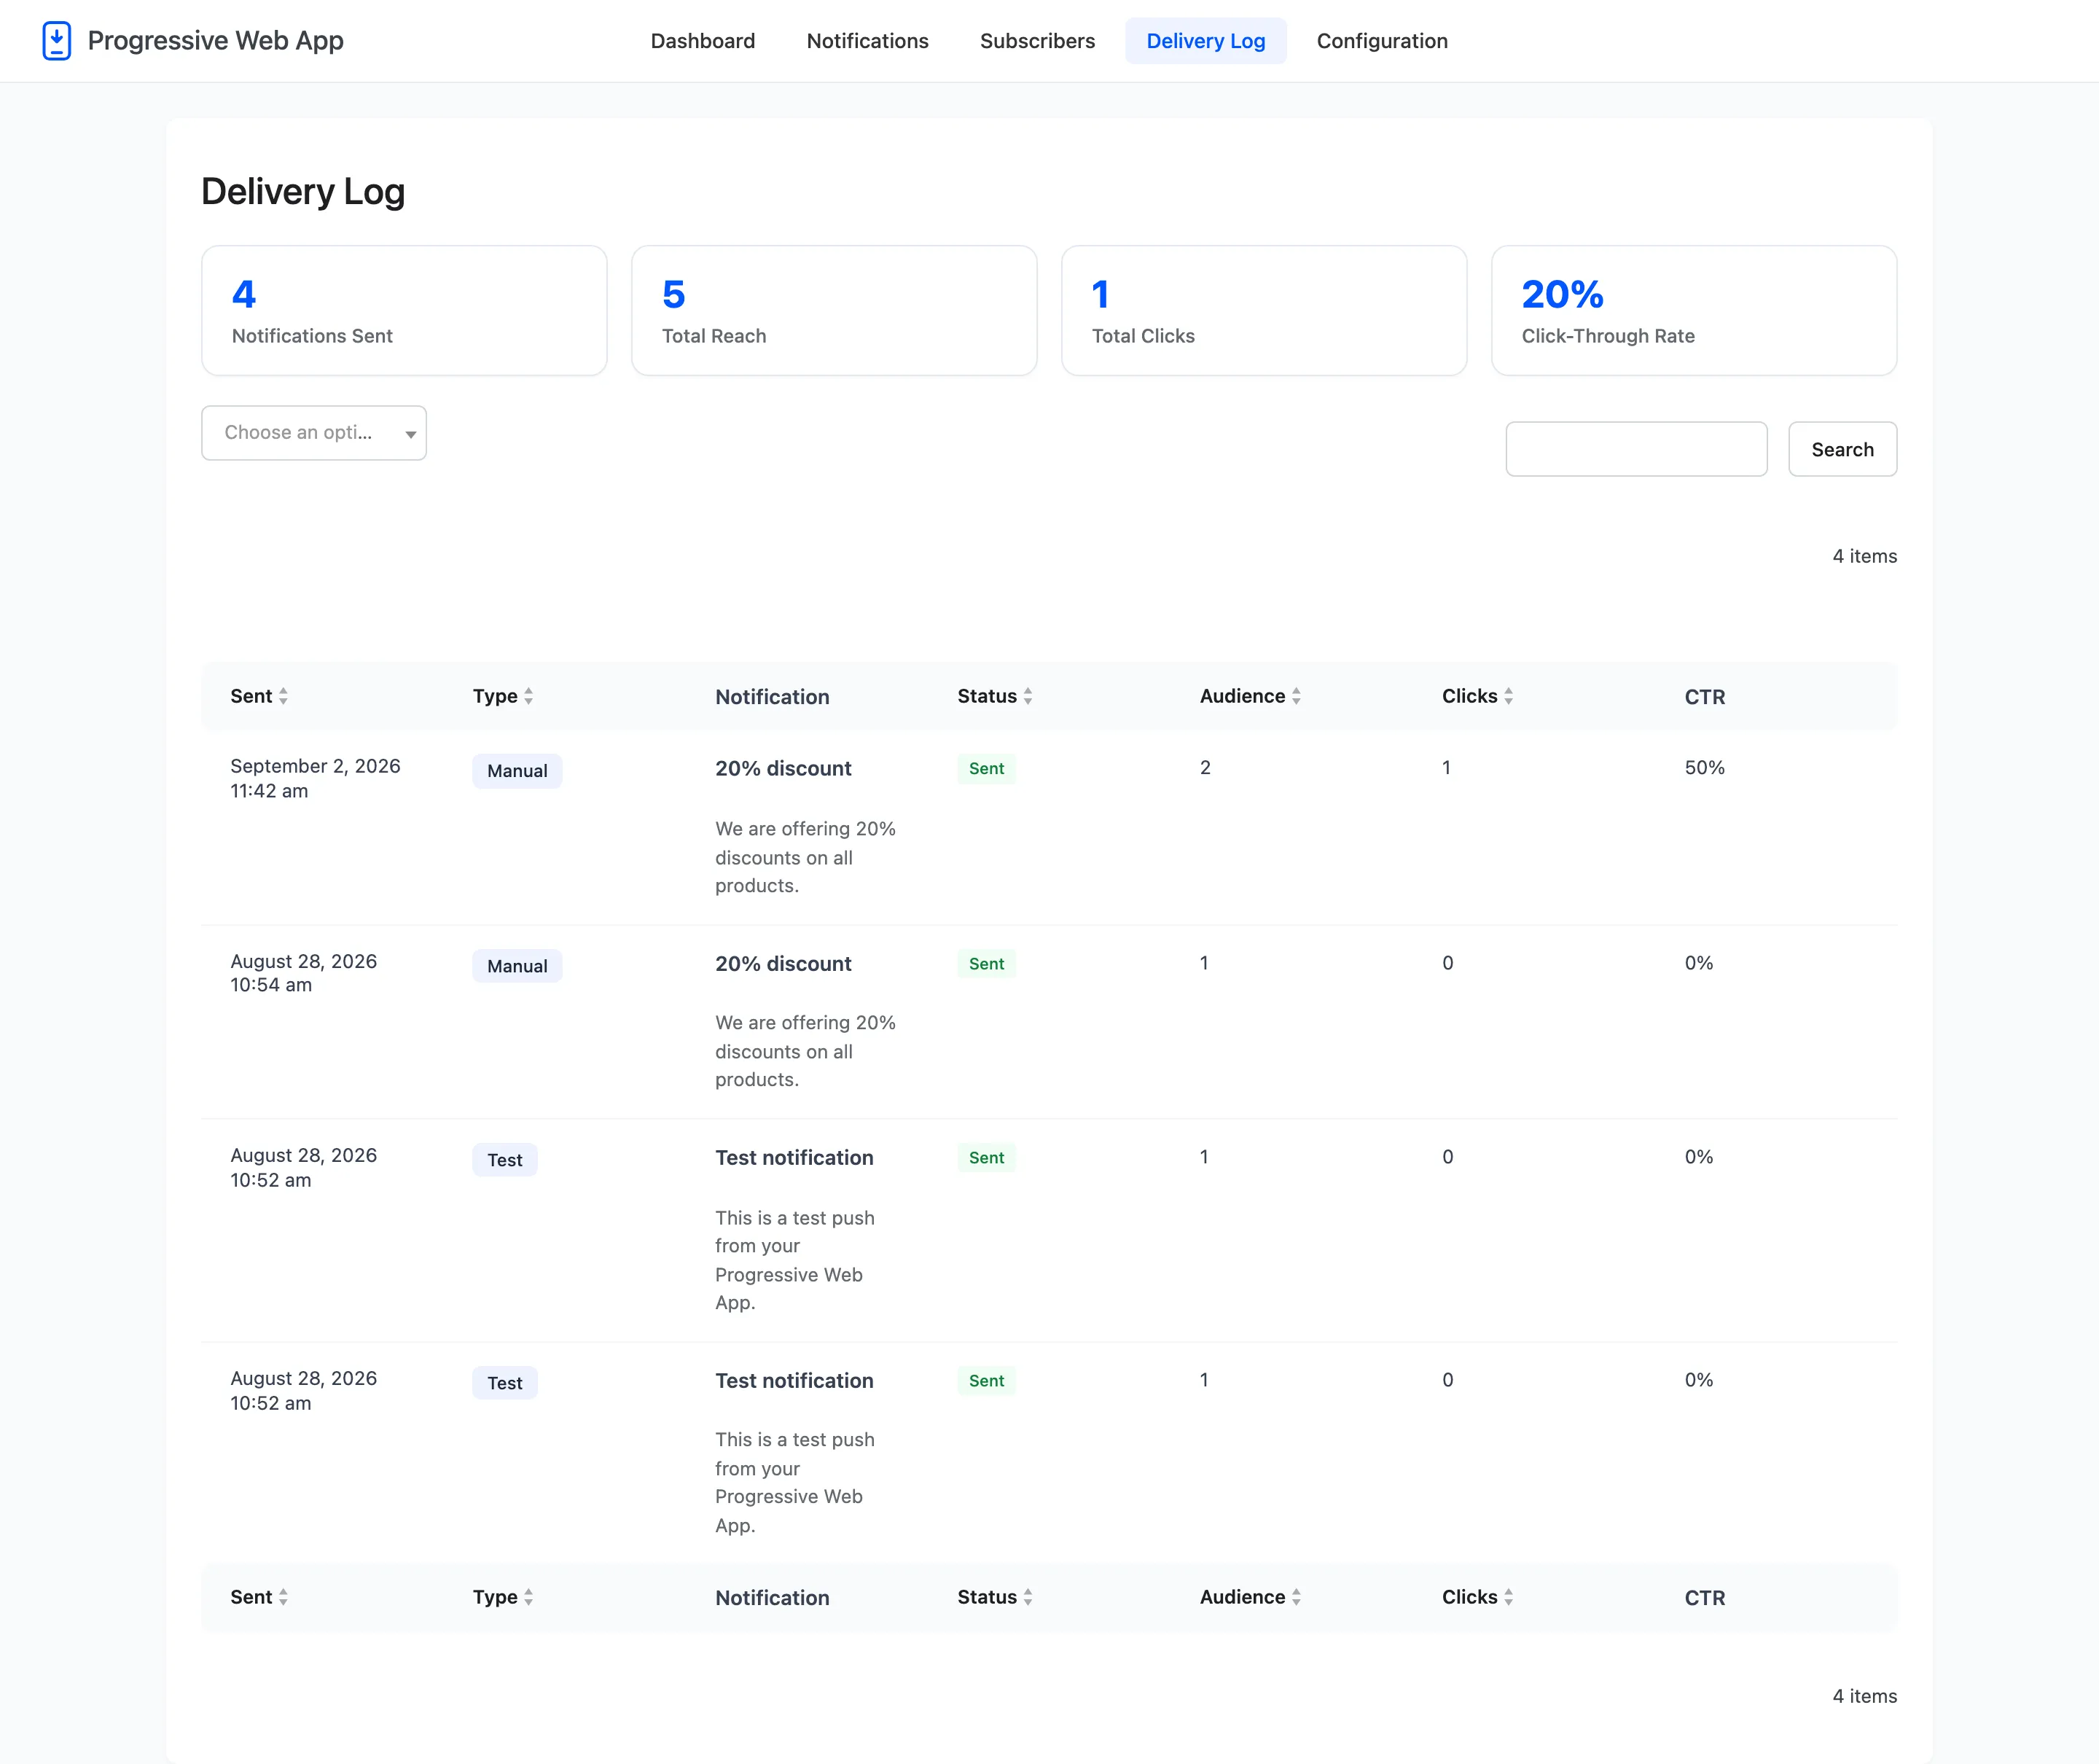
The send lands in the Delivery Log as a Manual row, because that is what it is: your own message, sent on a timer. The Last Sent column on the Notifications screen fills in at the same moment.
Changing or cancelling a schedule
Section titled “Changing or cancelling a schedule”Edit the notification and clear the date to cancel it. Change the date and the send moves with it. Clearing the date is the only way to cancel a scheduled send, because the status is not consulted when the timer fires.
Setting the status to Inactive does not stop it, which is worth knowing before you rely on that.
What scheduling is good for
Section titled “What scheduling is good for”Two cases where the timer earns its keep.
- A launch: Write the notification while you have the copy in front of you, set it for the moment the product goes live, and stop thinking about it.
- A better hour: A push arrives immediately. Scheduling one for the evening of the day you write it usually beats sending it at four in the afternoon because that is when you finished writing.