

How to Create a Firebase Project for Push Notifications
Push notifications are delivered by Firebase Cloud Messaging, Google’s own service. The plugin never talks to a device directly. It hands a message to Firebase, and Firebase reaches the browsers that have subscribed to you.
So before any of the Push Setup fields mean anything, you need a Firebase project. This page is the console half of that job, screen by screen. When you reach the end you will be looking at the settings page that holds all four values, and How to Connect Firebase for Push Notifications takes it from there.
It is free. Push at the volume a WordPress site sends stays inside the no-cost Spark plan, and Firebase does not ask for a card to create the project.
Step 1: Create a project
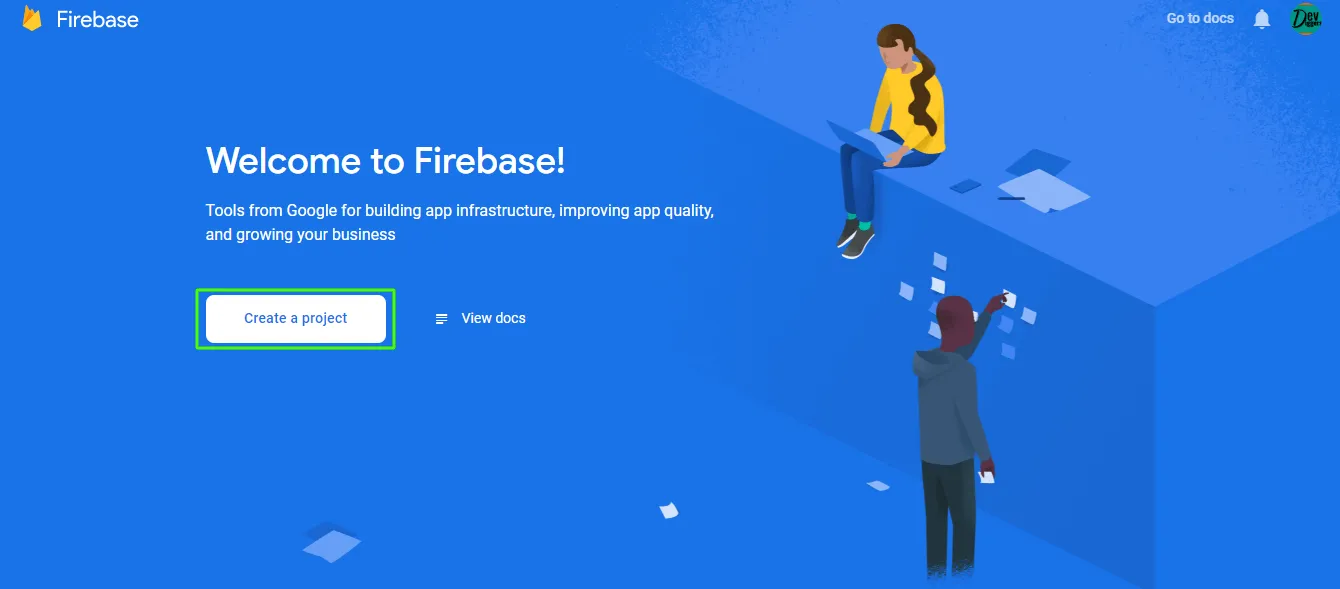
Section titled “Step 1: Create a project”Sign in at console.firebase.google.com with any Google account and press Create a project.
Step 2: Name it
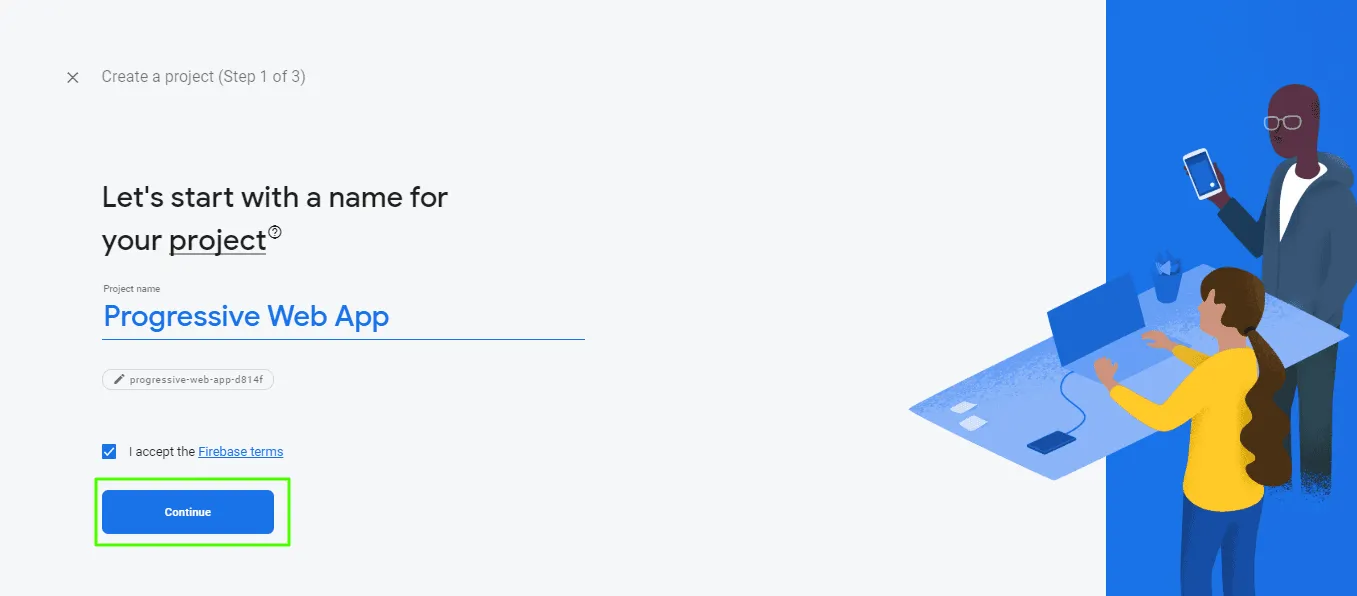
Section titled “Step 2: Name it”The name is for your own reference. Visitors never see it, and it does not have to match your domain. Tick the Firebase terms and press Continue.
Step 3: Decide about Google Analytics
Section titled “Step 3: Decide about Google Analytics”Firebase offers to attach Google Analytics. Push notifications do not use it, so this is entirely your call. Leaving it on costs nothing and gives you Firebase’s own delivery reporting alongside the plugin’s Delivery Log.
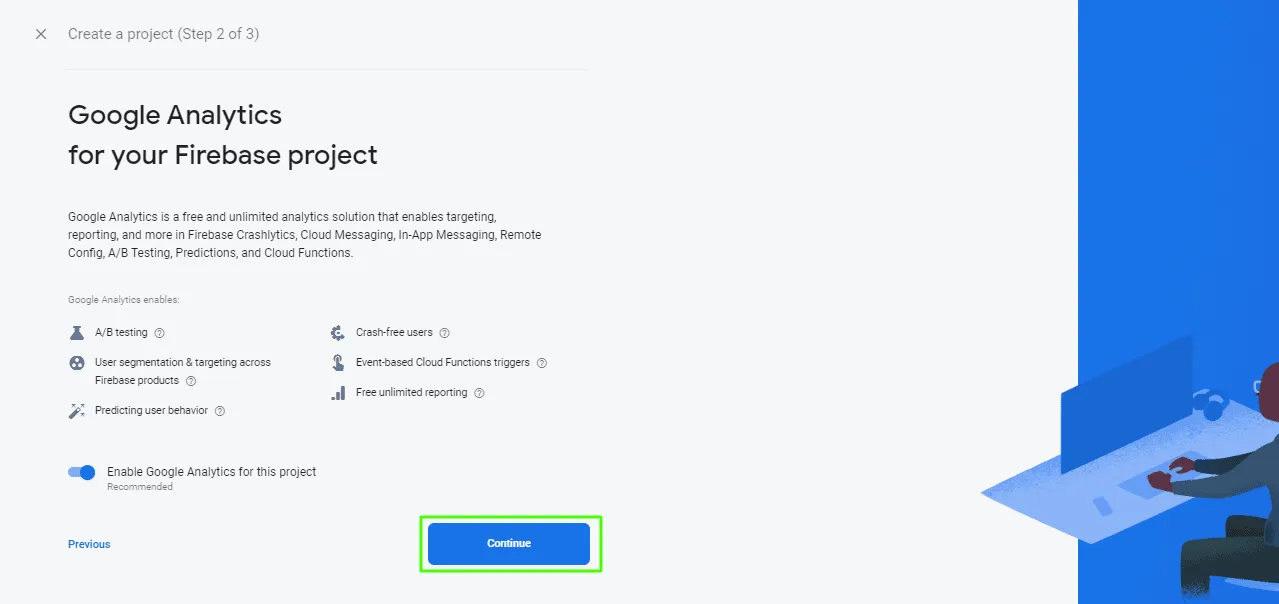
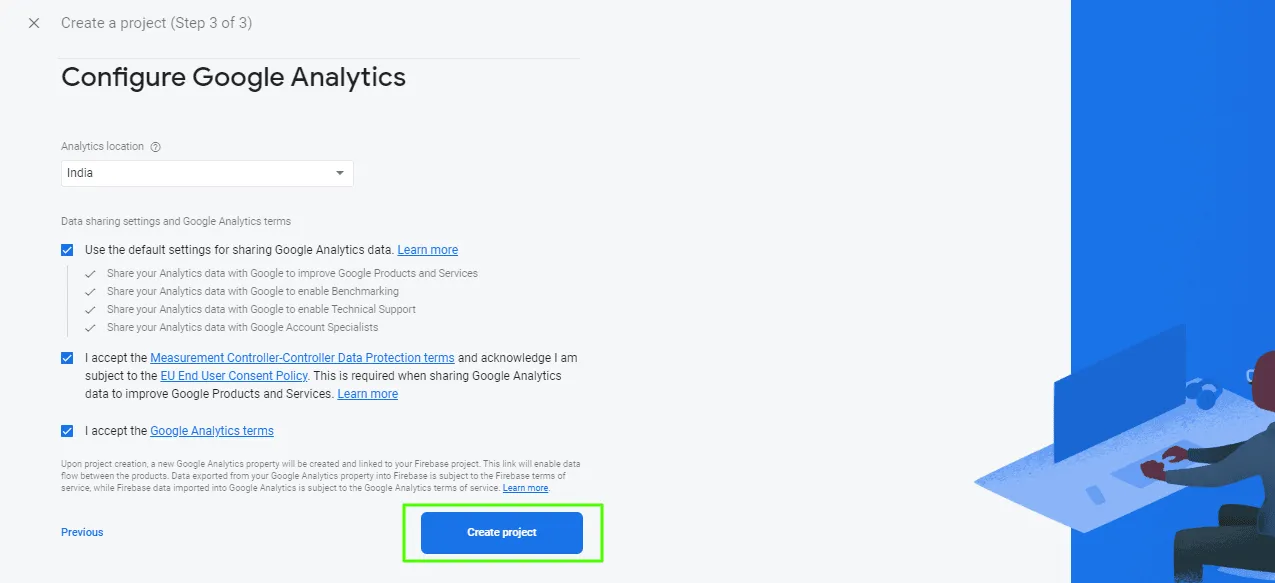
If you leave it on, the next screen asks which Analytics account to use. The default one is fine.
Step 4: Wait for it to be built
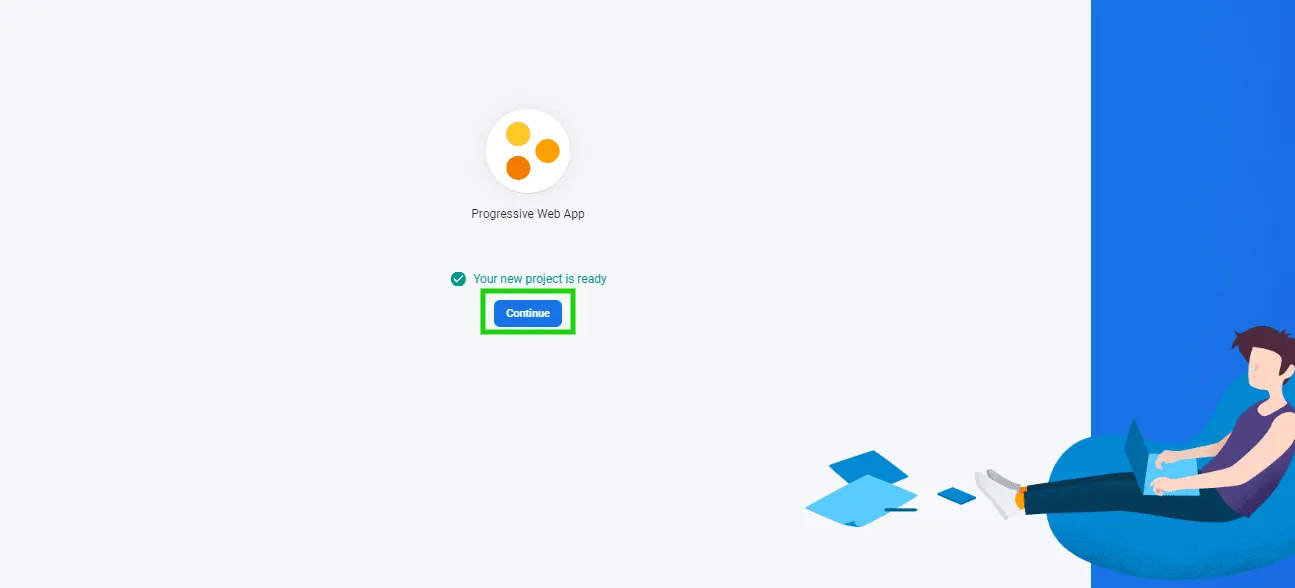
Section titled “Step 4: Wait for it to be built”Firebase takes a few seconds and then says the project is ready. Press Continue.
Step 5: Add a web app
Section titled “Step 5: Add a web app”A Firebase project on its own has no credentials to give you. The firebaseConfig block the plugin
asks for belongs to an app inside the project, so you have to register one.
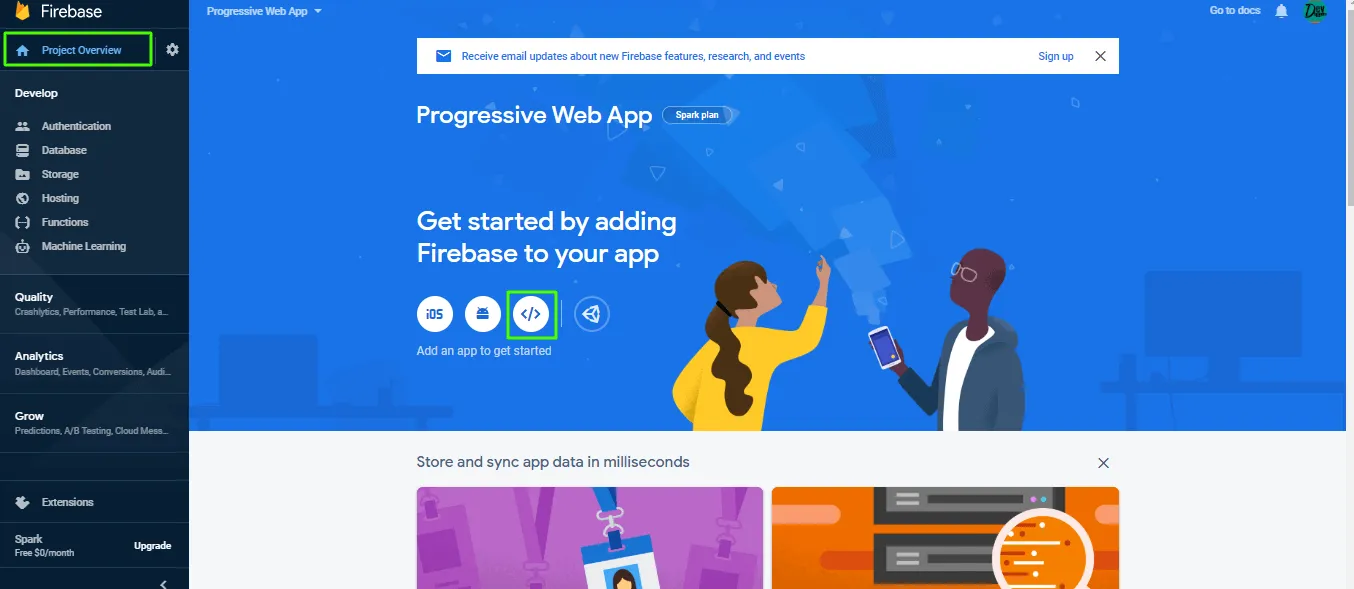
On the project overview, press the web icon. It is the one marked </>.
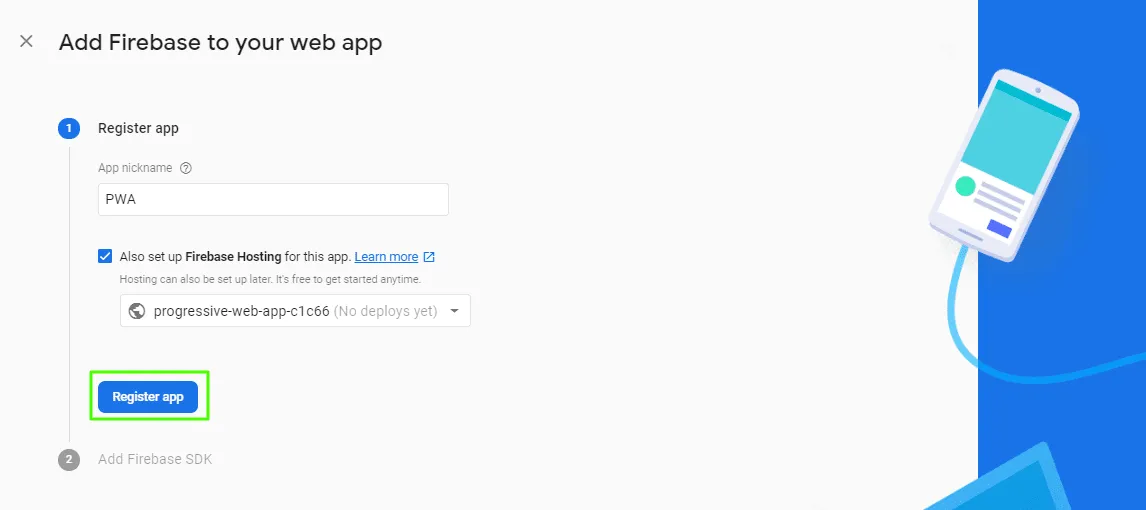
Give it a nickname and press Register app.
Step 6: Click through the rest of the wizard
Section titled “Step 6: Click through the rest of the wizard”Firebase now walks you through adding its SDK and installing its command line tool. Neither applies here. The plugin ships its own copy of the Firebase messaging SDK and registers its own service worker, so there is nothing for you to paste into a template.
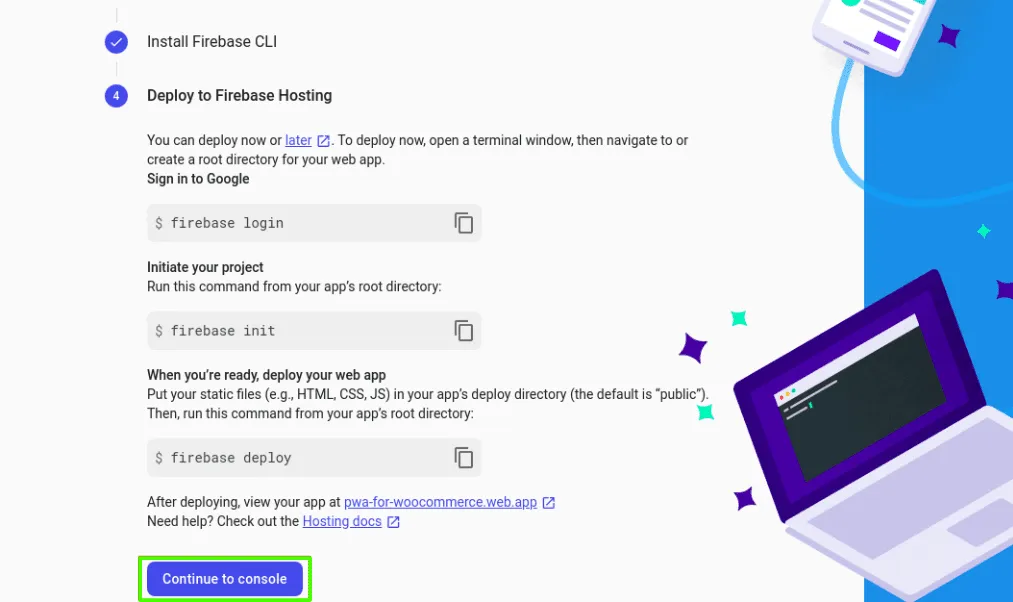
Press Next until the wizard offers Continue to console.
Step 7: Open Project settings
Section titled “Step 7: Open Project settings”Everything from here lives under Project settings. On the project overview your new app is listed near the top. Press the gear beside it.
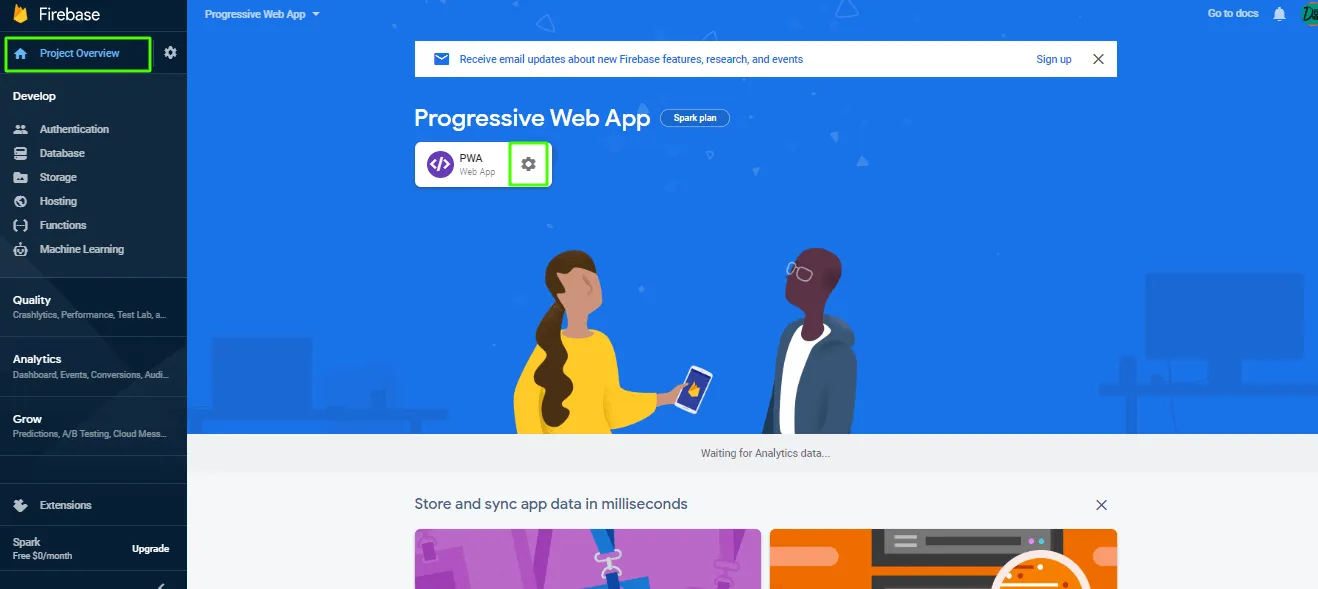
That screen has the tabs the next tutorial uses.
- Cloud Messaging holds the Web Push certificate key pair and the Sender ID.
- Service accounts is where you generate the private key file.
- General holds the
firebaseConfigblock.
What you do not need
Section titled “What you do not need”Two things the older setup guides for this plugin walked through, and neither is used:
- Firebase Storage: The plugin stores nothing in Firebase. Notification images are served from your own media library.
- Firebase Hosting: Your site is your site. Firebase only relays messages.
If you already enabled either, nothing breaks. They simply sit unused.
Where to go next
Section titled “Where to go next”The project exists and has a web app in it. The four values are now sitting in Project settings waiting to be copied.