

How to Set Up a Recurring Digest (Pro)
A digest is one notification that repeats. It is the same message every time, so it works when the destination is what changes: a new-arrivals page, a blog index, a weekly offers page.
If you want a different message each week, schedule individual notifications instead. That is How to Schedule a Notification.
Step 1: Check WP-Cron is actually running
Section titled “Step 1: Check WP-Cron is actually running”Go to Configuration → Status and read the Environment group.
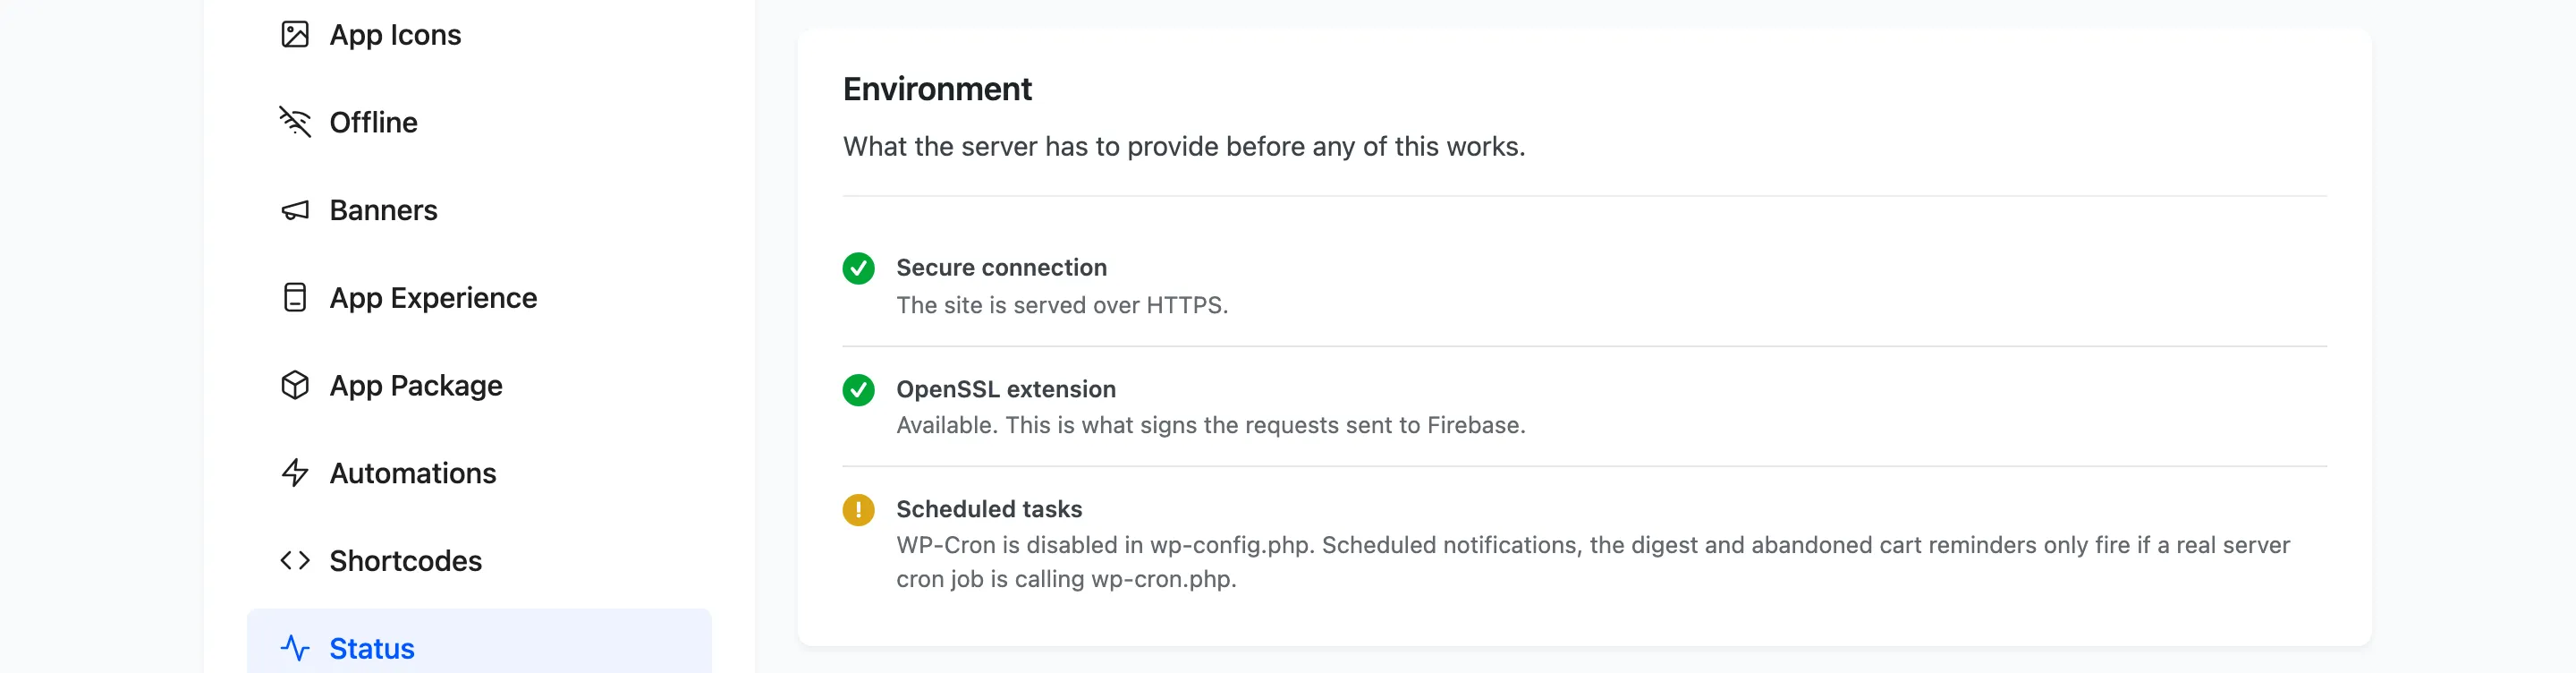
Scheduled tasks passes when WP-Cron is active. A warning means DISABLE_WP_CRON is set in
wp-config.php and the digest only fires when a real server cron job calls wp-cron.php. Ask your
host whether one is set up before assuming the feature is broken.
Step 2: Open the Automations tab
Section titled “Step 2: Open the Automations tab”Go to DevDiggers Plugins → Progressive Web App → Configuration → Automations and scroll to Recurring Digest.
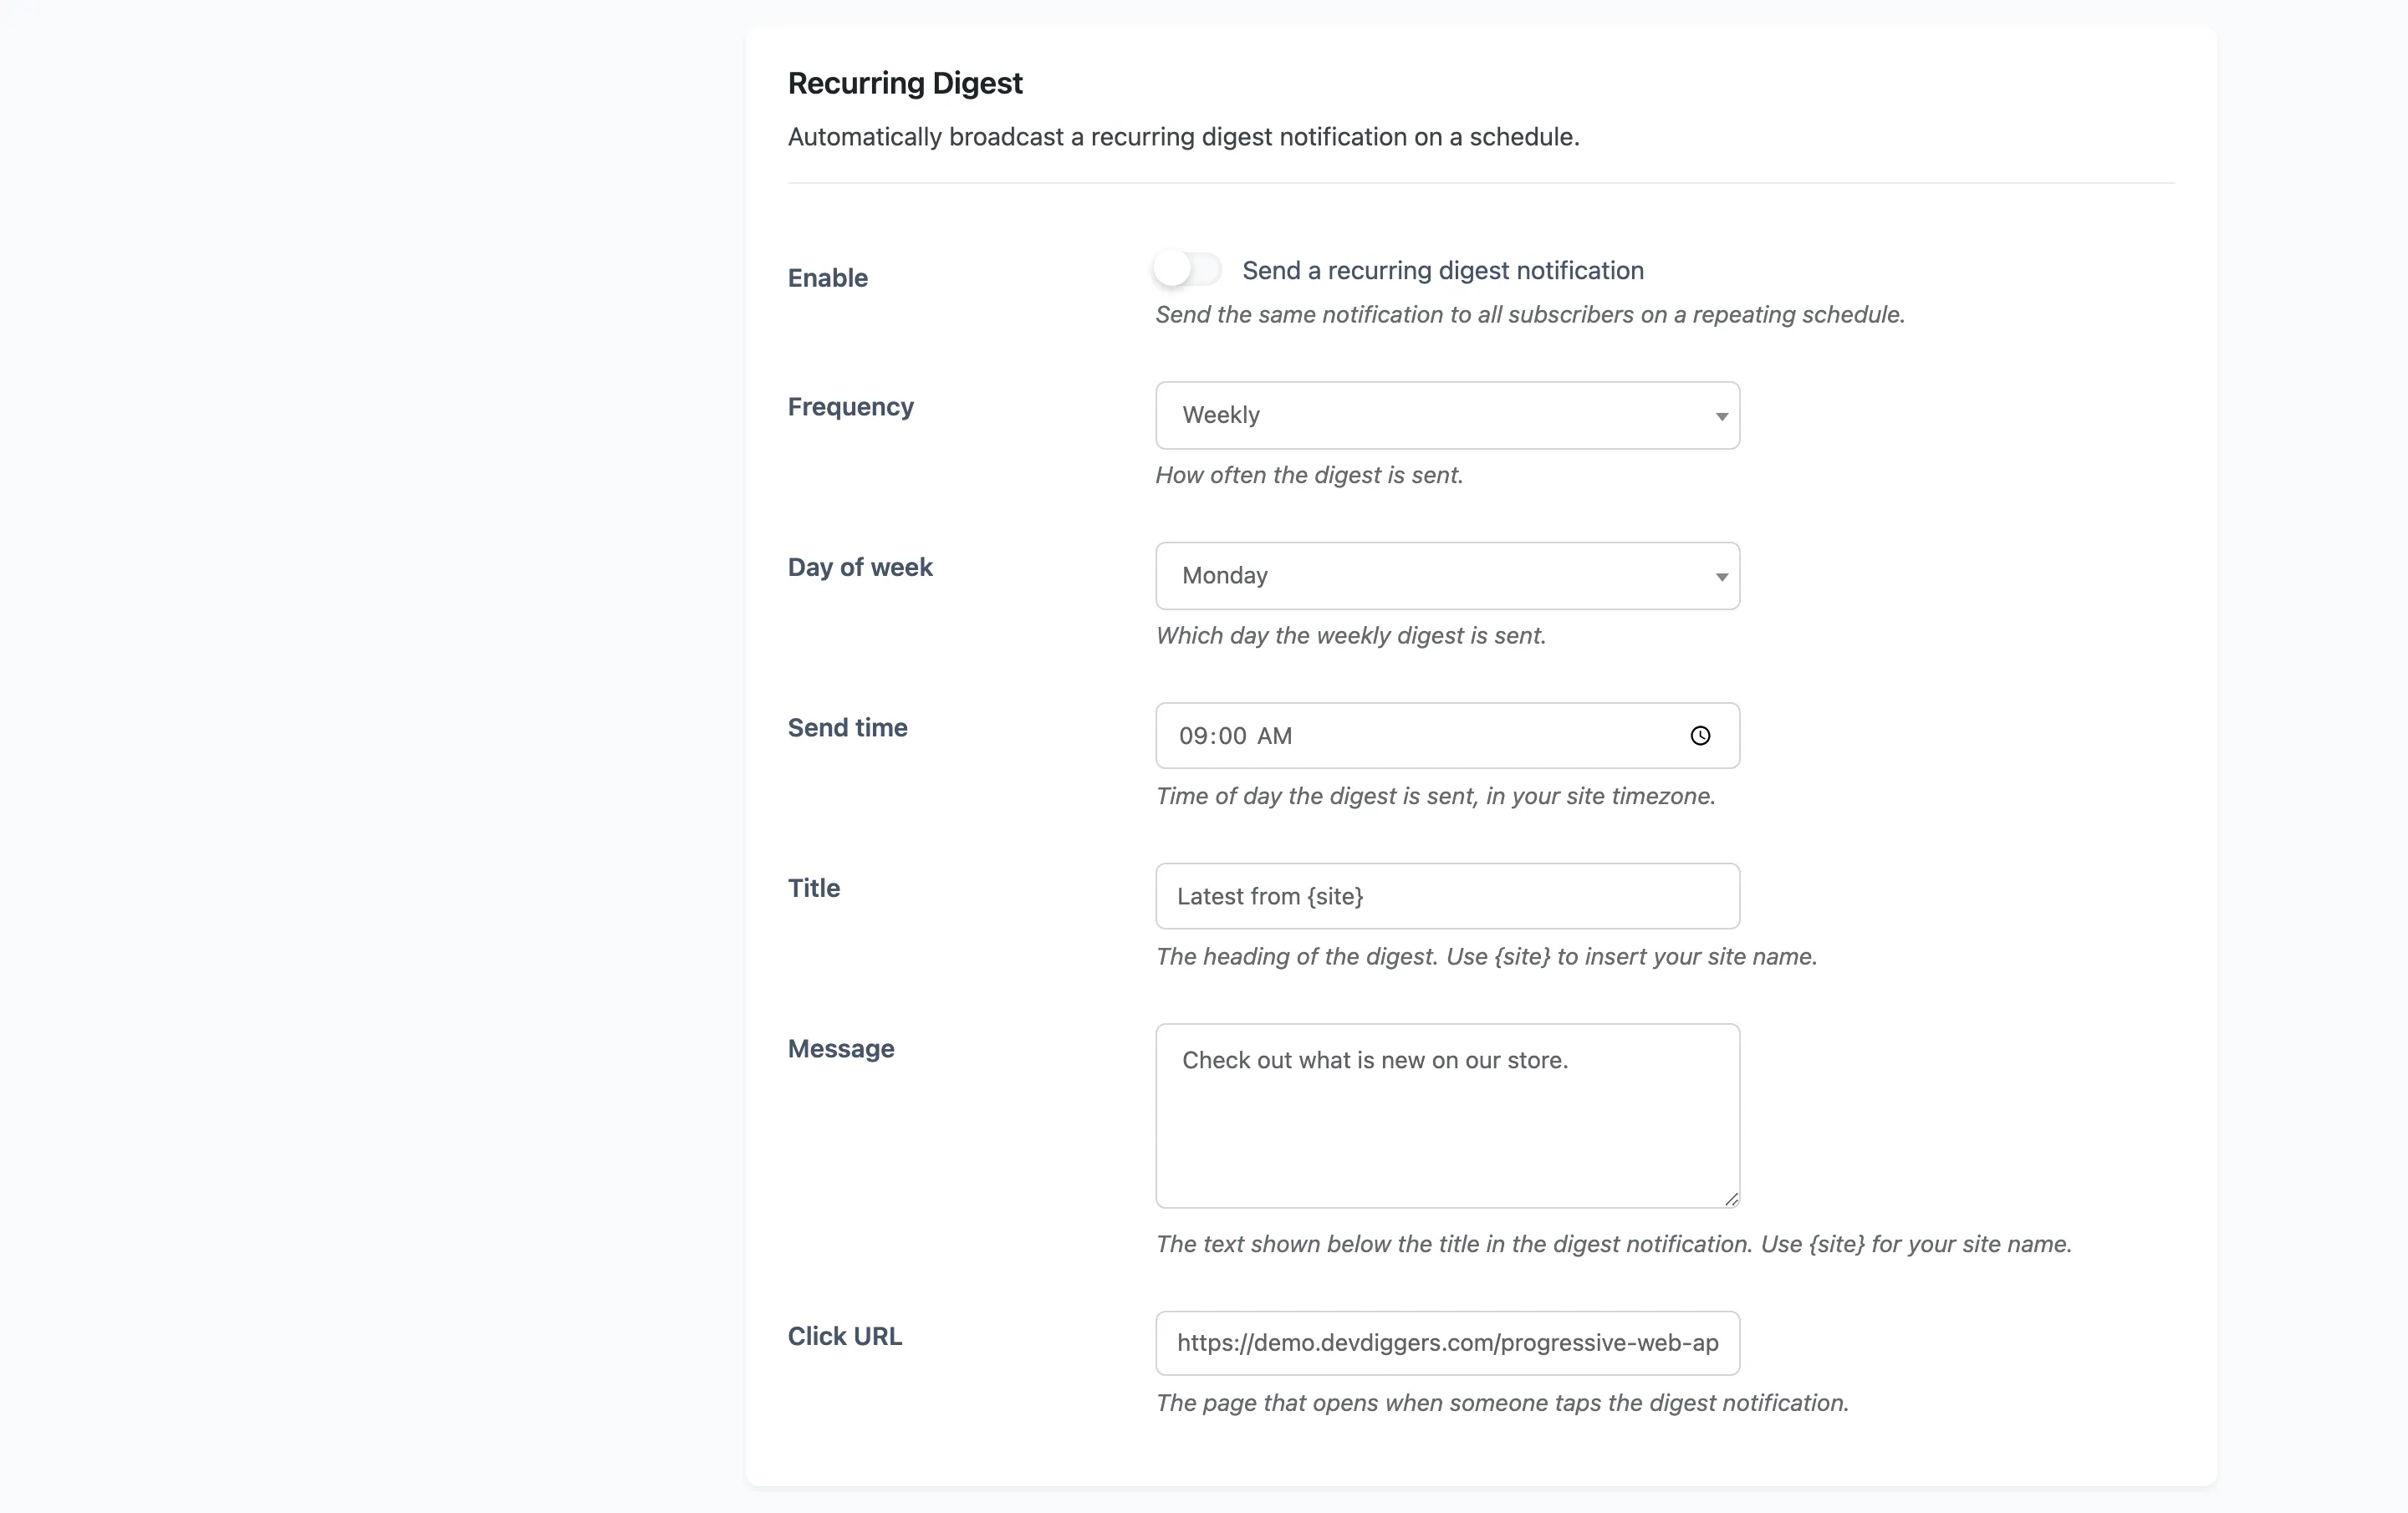
Tick Enable. The digest goes to every subscriber, with no segment.
Step 3: Choose daily or weekly
Section titled “Step 3: Choose daily or weekly”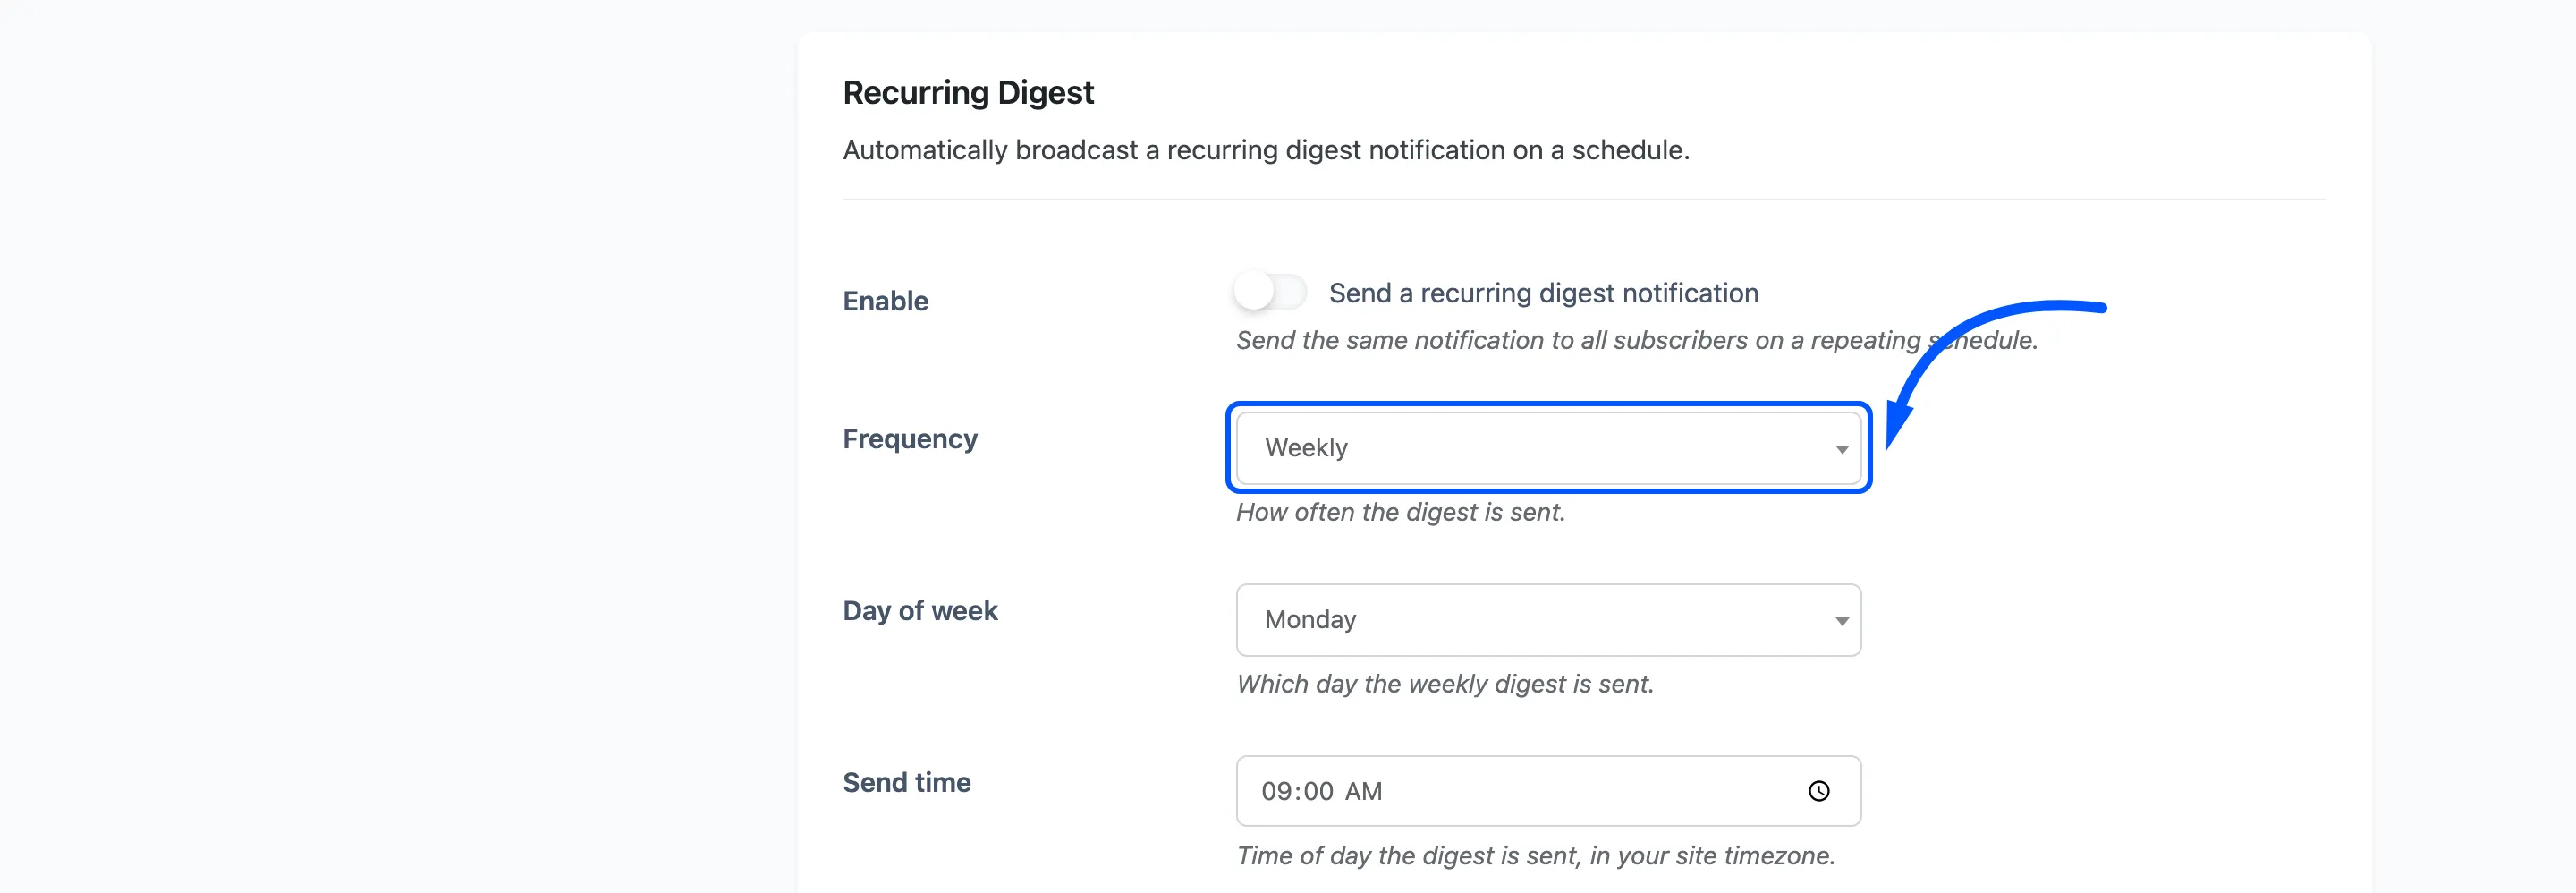
Weekly is the default, and it reveals a Day of week field under it. Choosing Daily hides that row, because it has nothing to say.
Weekly is right for almost every store. A daily push that says the same thing every day is the fastest way to be turned off, and the browser permission does not come back.
Step 4: Set the send time
Section titled “Step 4: Set the send time”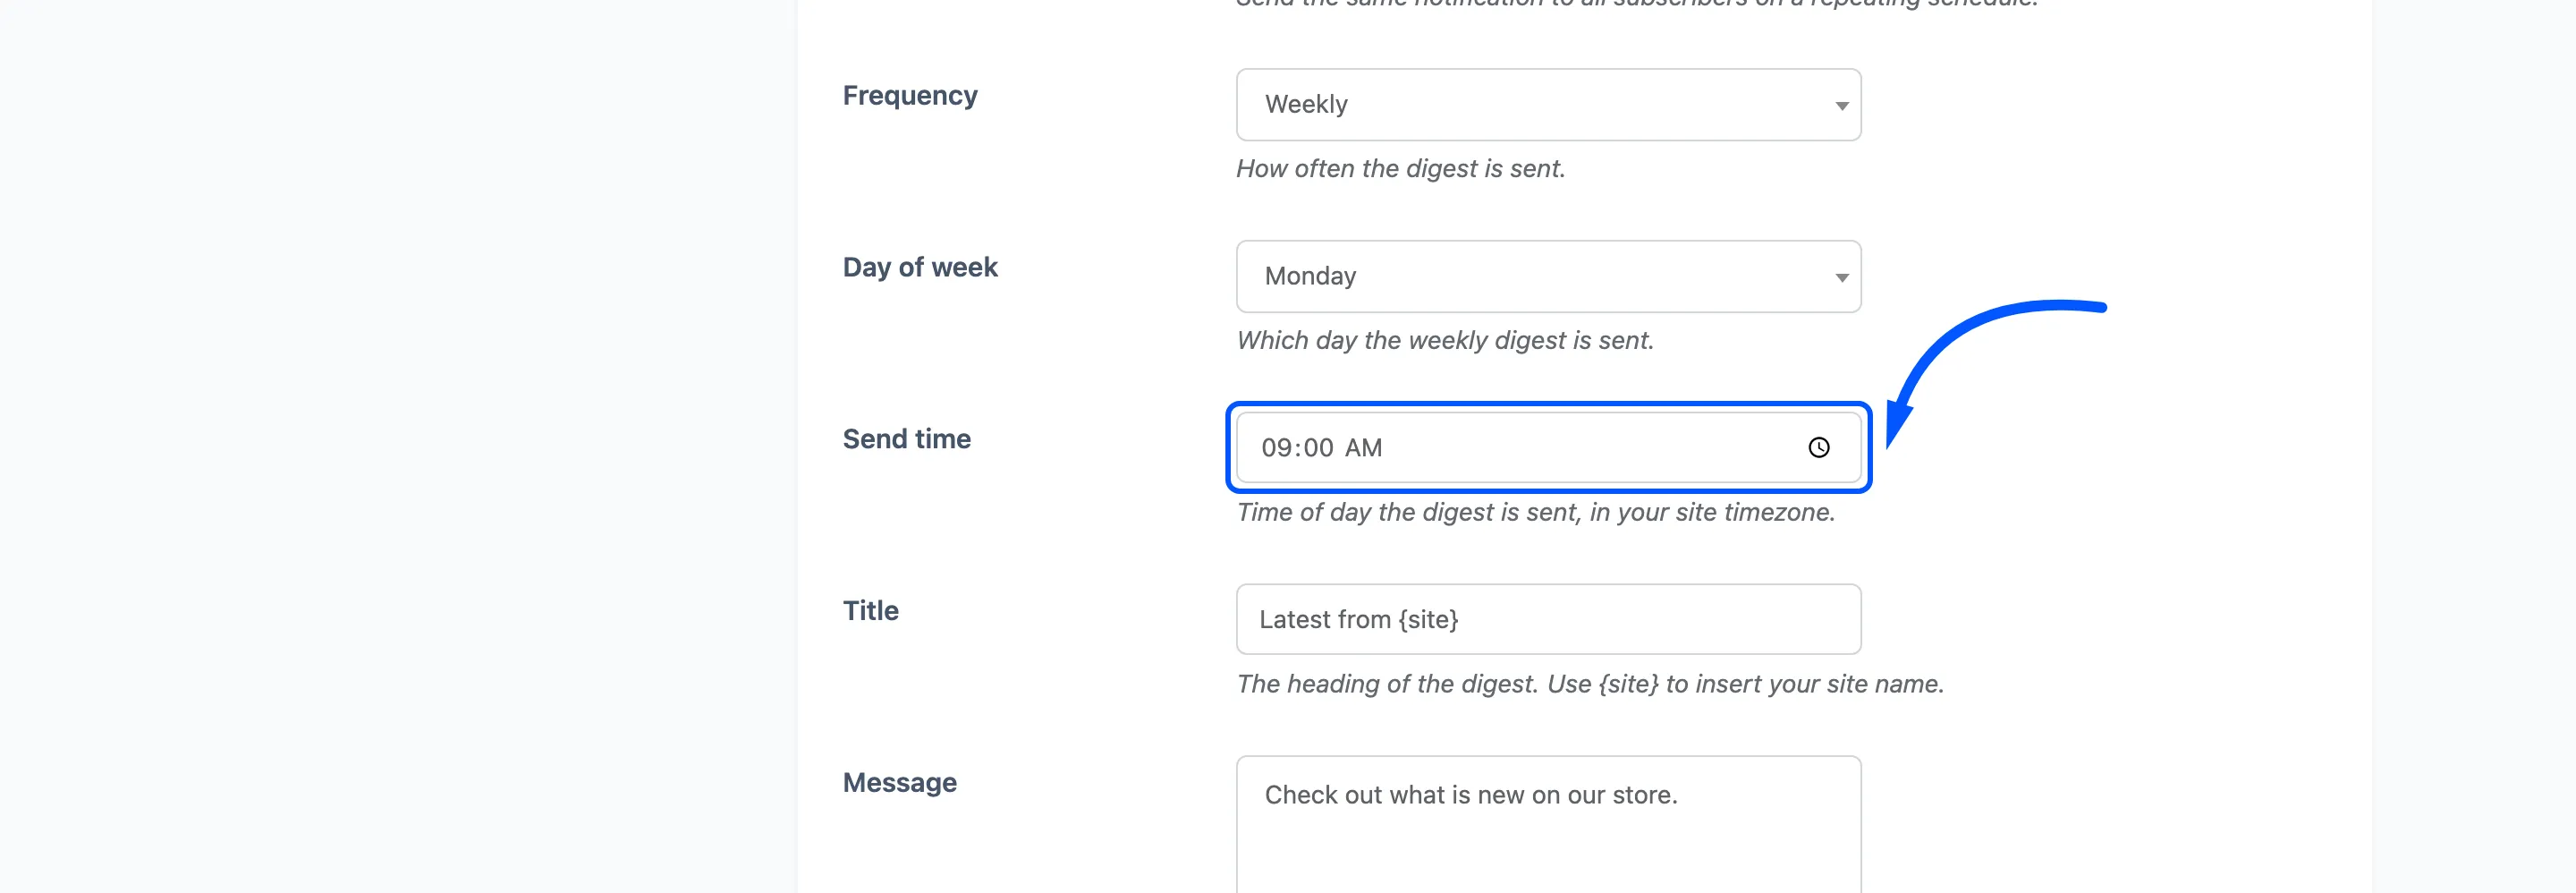
Default 09:00, read in your site’s own timezone, the one under Settings → General. It is not
adjusted per visitor, so a global audience receives it at whatever hour that is for them.
Pick the time your own customers are awake and idle. For a consumer store that is usually an evening. For a trade store it is a weekday morning.
Step 5: Write the digest
Section titled “Step 5: Write the digest”
- Title: Defaults to
Latest from {site}. - Message: Defaults to Check out what is new on our store.
- Click URL: Defaults to your home page.
Both text fields accept {site}.
The click URL is the field that decides whether this works. It is the same URL every week, so point it at a page that changes on its own: a new arrivals archive, a sale category, your blog index. Pointing it at your home page wastes the tap.
Step 6: Save and read the next send time
Section titled “Step 6: Save and read the next send time”Press Save Changes, then look at the section heading again.
With the digest enabled, the description carries Next send and the date and time. If it says Save to schedule the next send instead, the event has not been scheduled yet and saving again will do it.
That line is the honest confirmation. A ticked checkbox with no next send time means nothing is scheduled.
Step 7: Confirm afterwards
Section titled “Step 7: Confirm afterwards”After the first send, go to Delivery Log and set the type filter to Digest.
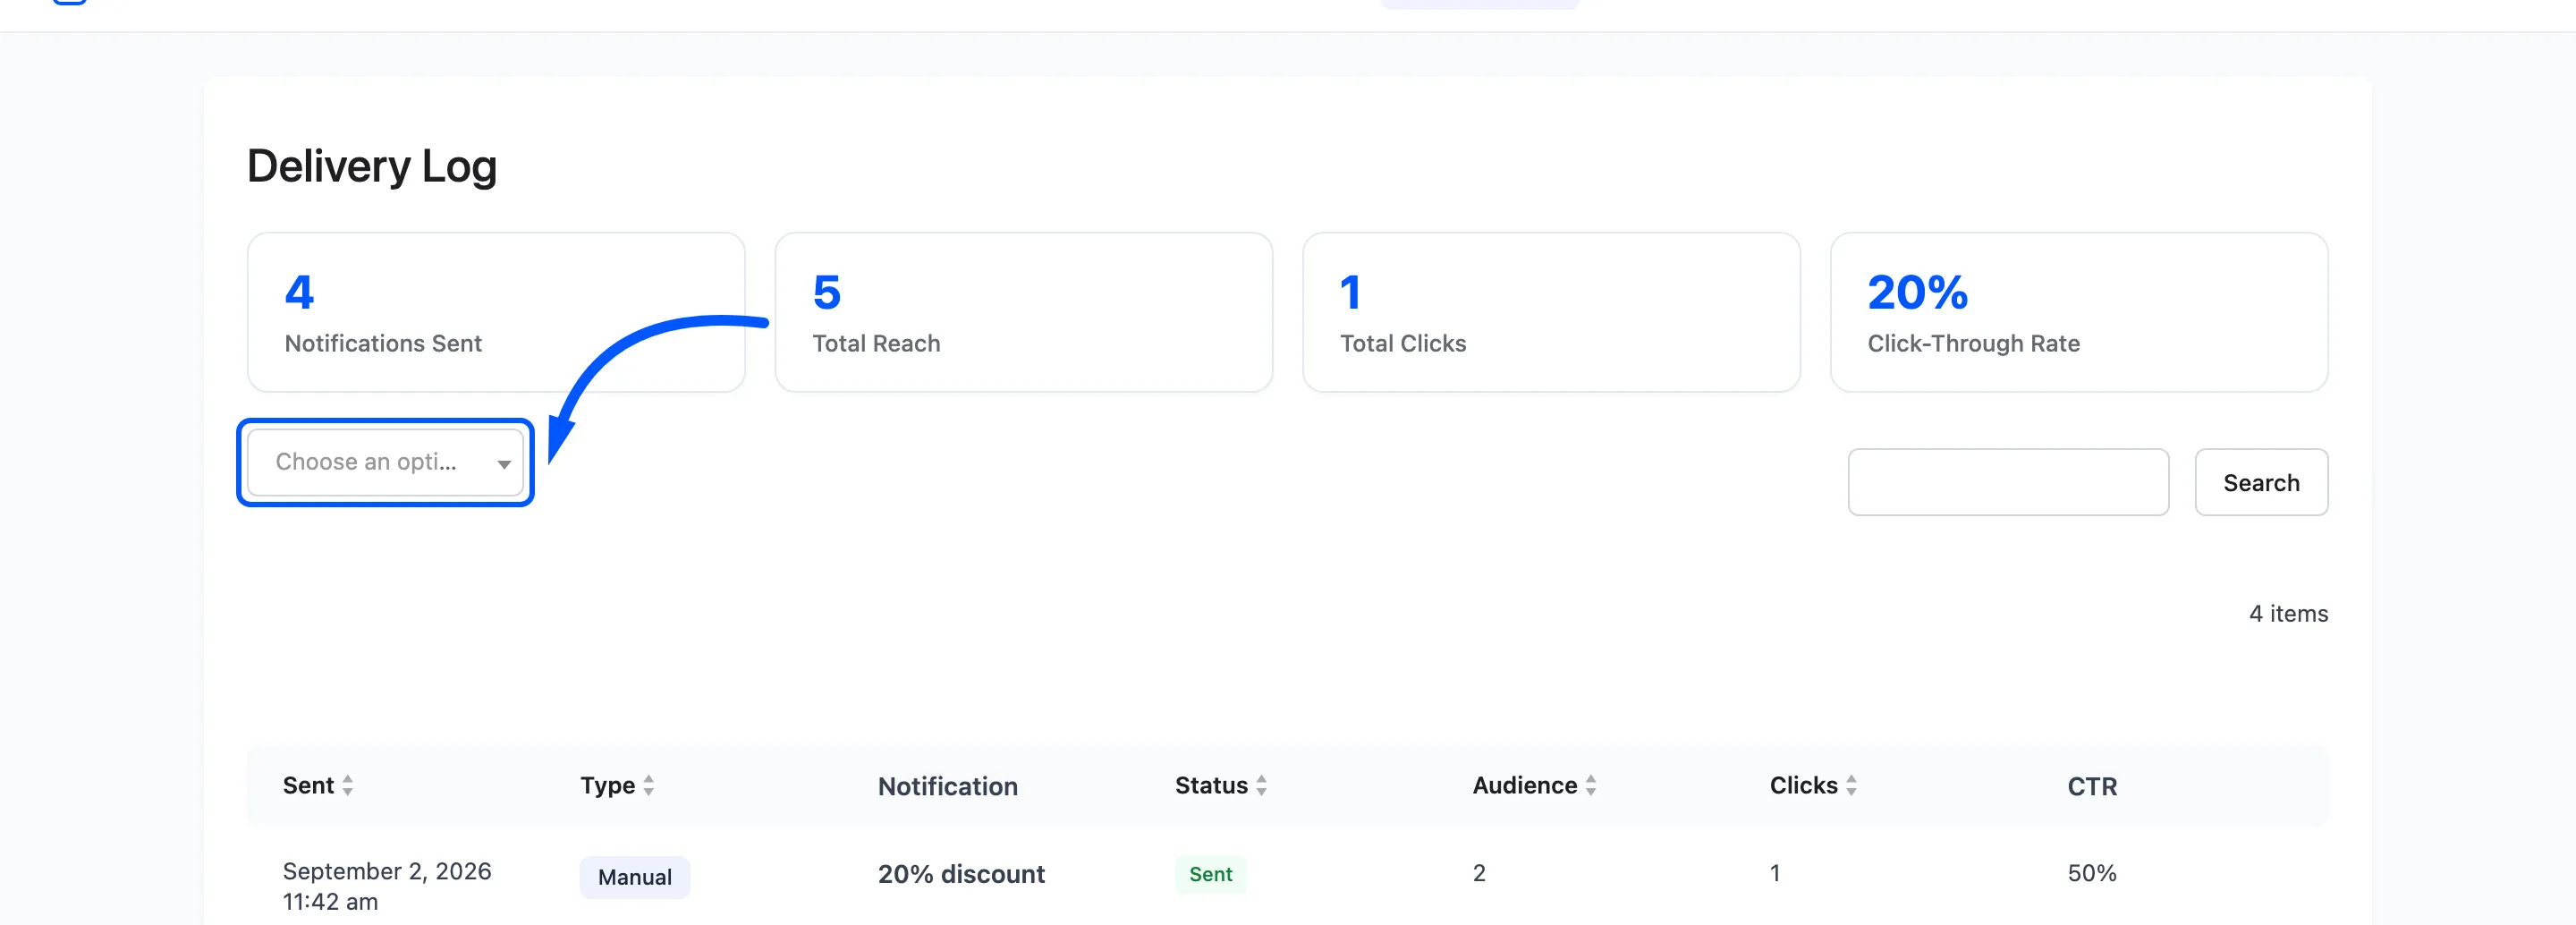
A quiet site fires cron a few minutes after the hour rather than on it, so an exact-minute match is not expected.
Turning it off
Section titled “Turning it off”Untick Enable and save. The scheduled event is cleared, and no further digests go out. Deactivating the plugin clears it too, so a plugin that is switched off cannot leave a timer running.